FUR4000 - Alarm clock radio Soundmaster - Free user manual and instructions
Find the device manual for free FUR4000 Soundmaster in PDF.
User questions about FUR4000 Soundmaster
0 question about this device. Answer the ones you know or ask your own.
Ask a new question about this device
Download the instructions for your Alarm clock radio in PDF format for free! Find your manual FUR4000 - Soundmaster and take your electronic device back in hand. On this page are published all the documents necessary for the use of your device. FUR4000 by Soundmaster.
USER MANUAL FUR4000 Soundmaster
soundmaster® highline
DEUTSCH
NEDERLANDS
ENGLISH
ESPÁNOL
FRANÇAIS
PORTUGÉS
FUR4000
| Reception signal | No signal |
| X | X |
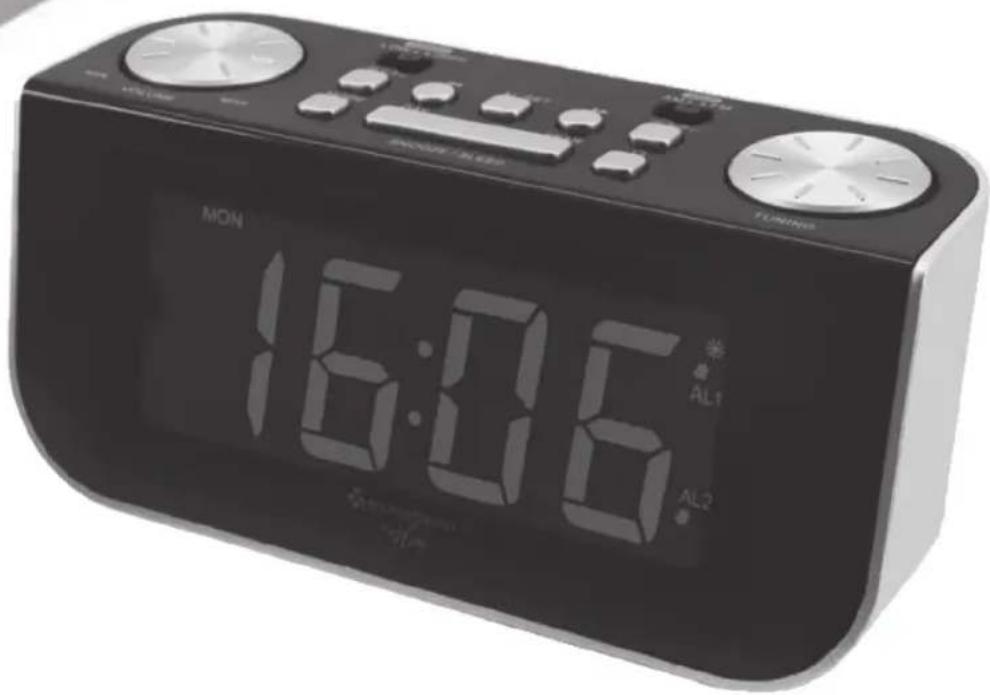
The unit is designed to automatically synchronize its current time and date with radio signal generated from DCF 77 Frankfurt, Germany.
POWER CONNECTION
Plug the AC power cord to a household outlet AC source. This unit is equipped with a battery back up system, it requires a 3V CR2032 flat lithium battery (not included). Insert the battery in the battery compartment, making certain that the positive and negative (+ and -) battery terminals are attached to the corresponding terminals on the plate in the battery compartment. If an AC power failure occurs, the clock automatically switches to the battery power supply, the clock and timer memory continue running. When the AC power resumes, the clock switches back to AC again.
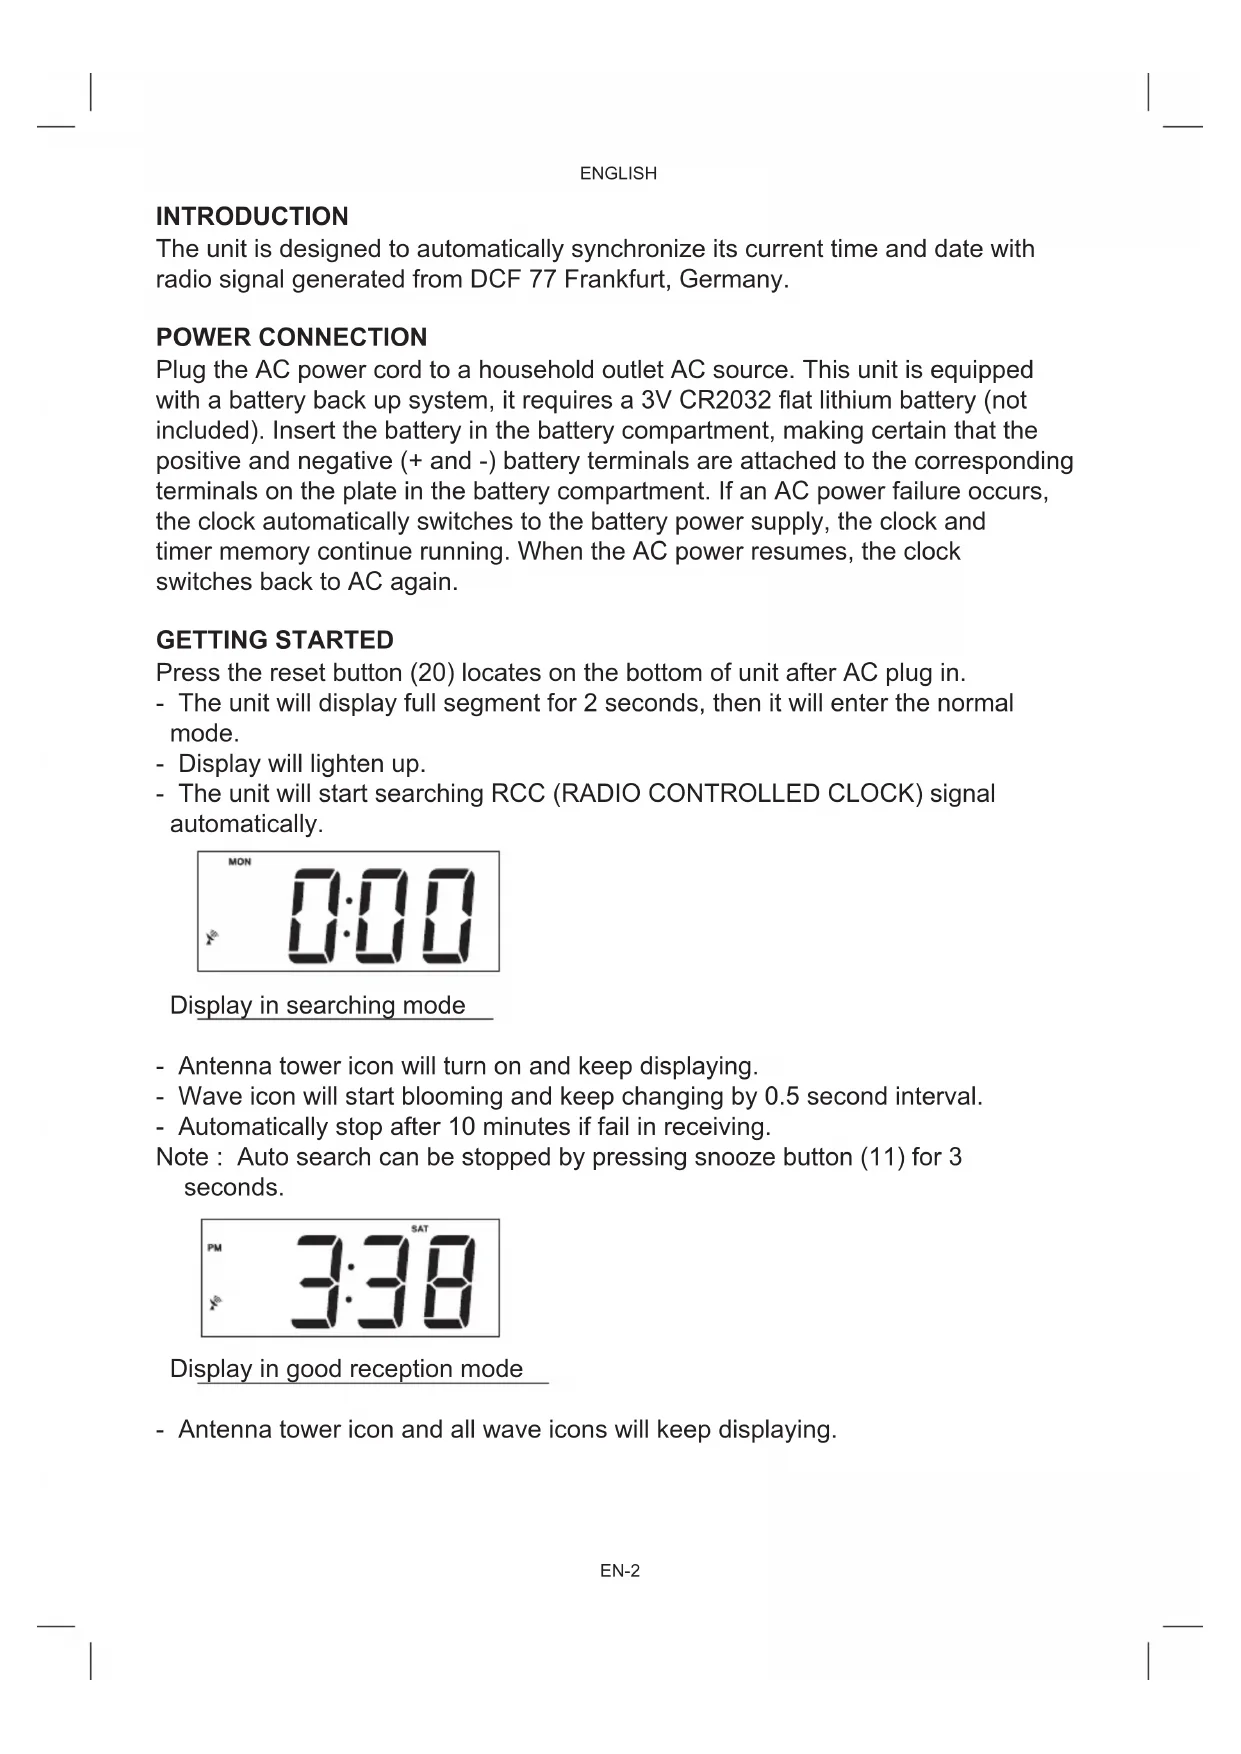
GETTING STARTED
Press the reset button (20) locates on the bottom of unit after AC plug in.
- The unit will display full segment for 2 seconds, then it will enter the normal mode.
- Display will lighten up.
- The unit will start searching RCC (RADIO CONTROLLED CLOCK) signal automatically.
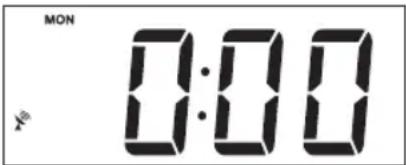
Display in searching mode
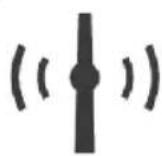
- Antenna tower icon will turn on and keep displaying.
- Wave icon will start blooming and keep changing by 0.5 second interval.
- Automatically stop after 10 minutes if fail in receiving.
Note : Auto search can be stopped by pressing snooze button (11) for 3 seconds.
Display in good reception mode
- Antenna tower icon and all wave icons will keep displaying.

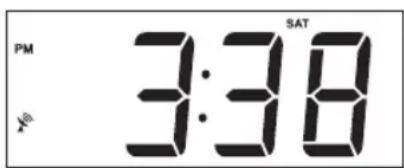
Display in poor reception mode
- Antenna tower icon and all wave icons will turn off.
1. RECEPTION
- It will take 3-10 minutes to complete.
| Reception signal | No signal |
| X | X |
Note: For best results, place the radio controlled clock antenna (8) away from metal or electrical objects and near a window with a clear view to the sky.
-
SETTING WITH RADIO CONTROLLED :
-
Not necessary as it is automatically adjusted.
-
SETTING WITHOUT RADIO CONTROLLED - MANUAL SETTING
-
Can be done when antenna tower icon is turned off by pressing "snoopze" button (11) for 3 seconds.
-
TIME AND CALENDAR SETTING
A. Setting Time and Calendar - Press Mode Set button (10) in normal mode and keep depress over 2 seconds to enter Time Set mode, after enter the setting mode, press Mode Set button (10) to change the mode cycle as follows:
Normal Year Month Day 12/24 Hg RTC Hour RTC Min Normal
Action (during data adjustment):
-
Press << button (4) to adjust data backward
-
Press >> button (6) to adjust data forward
-
Keep depress << or >> button for 2 second to enable auto forward.
B. Setting Alarm 1 and Alarm 2 - Press Alarm Set Button (5) during normal mode and keep depress over 2 second to enter alarm set mode, after enter the setting mode, press Alarm Set Button (2) to change the mode cycle as follows :
ENGLISH
Normal AL 1 Hour AL 1 Min AL 1 weekend Alarm AL 2 Hour AL2 Min g AL 2 weekend Alarm Normal
Action (during data adjustment):
- Press << button (4) to adjust data backward
- Press >> button (6) to adjust data forward
- Keep depress << or >> button for 2 second to enable auto forward.
2. SETTING ALARM OUTPUT AND ALARM ON/OFF
A. Change the alarm output
Press AL 1 (2) / AL 2 (8) button to Music Position to select wake up by Radio, set to Buzzer Position to select wake up by Buzzer, set to Alarm off position to disable all alarm.
3. ALARM DURATION AND SNOOZE FUNCTION
Alarm Duration - Buzzer alarm or Radio alarm will continue output for 30 minutes if no key press, then it will stop automatically and wait for same alarm time on next day.
Action for Snooze :
- During alarming, press Snooze button (11) will enable snooze function, Buzzer alarm or Radio alarm will stop.
- Snooze interval is 9 minute (not include second offset)
- Snooze will continue unless press On/Off (alarm off) button (12) to alarm off of Buzzer alarm or Radio Alarm stop automatically after 30 minutes.
4. CHANGE DISPLAY CONTENT
A. Press >> button (6) during normal can switch to display year, after 5 seconds timeout and return back to display time.
B. Press << button (4) during normal can switch to display month and day, after 5 second timeout and return back to display time.
5. SLEEP FUNCTION
During radio on mode, press Snooze/Sleep button (11) to turn on Sleep mode, the sleep time will keep flashing by 5 second, within 5 second and press Sleep button can change the duration from 90min - 15min . Press On/Off button (12) to cancel sleep function.
DST - Daylight saving time
Press >> button (6) and hold for 3 seconds to toggle on and off DST Function.
ENGLISH
RADIO OPERATION
- Press the On/Off button (12) to turn radio On.
- Select AM/FM band using the AM/FM band switch (7).
- Select the station using the tuning control (9).
- Turn the volume control (1) to adjust volume as required.
- Press the On/Off button (12) to turn radio off.
Note :
- The AM band use an internal directional aerial, rotate the radio for best reception.
- Ensure that the FM antenna (18) is completely unrolled and extended for best FM reception.
SPECIFICATIONS
Frequency:AM522-1620kHz
FM 87.5 - 108 MHz
Battery backup : 1 x 3V CR2032 flat lithium battery
(not included)
Power source: AC 230V ~ 50 Hz, 5W
RESET
- The reset button (20) is located on the back of unit. Use a ballpoint pen to press it whenever you change the batteries, or unit is not performing as expected. This will return all settings to default value, and you will lose any stored data (alarm and clock settings).
ENGLISH
WARNING
- No naked flame sources, such as lighted candles, should be placed on the apparatus.
- Do not place the product in closed bookcases or racks without proper ventilation.
- Where the mains plug is used as the disconnect device, the disconnect device shall remain readily operable.
- The ventilation should not be impeded by covering the ventilation openings with items, such as newspapers, table-cloths, curtains, etc.
- It shall not be exposed to dripping or splashing and that no objects filled with liquids, such as vases, shall be placed on the apparatus.
- Do not connect FM antenna to outside antenna.
- The unit should not be exposed to direct sunlight, very high or low temperature, moisture, vibrations or placed in dusty environment.
- Do not use abrasive, benzene, thinner or other solvents to clean the surface of the unit. To clean, wipe it will mild non-abrasive detergent solution and clean soft cloth.
- Never attempt to insert wires, pins or other such objects into the vents or opening of the unit.
- Disconnect device warning : Main plug is used as the connection, so it should always remain ready operate.
- Batteries shall not be exposed to excessive heat such as sunshine, fire or the like.
CAUTION
Danger of explosion if battery is incorrectly replaced Replace only with the same or equivalent type
FRANCAIS
| Reception signal | No signal |
| X | X |
| Reception signal | No signal |
| X | X |
2. ALARM WEERGAVE EN ALARM AAN/UIT INSTellen
A. De alarm weergave veranderen
| Reception signal | No signal |
| X | X |