
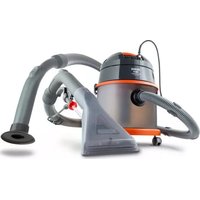
INOX 1520 Plus - Vacuum Cleaner THOMAS - Free user manual and instructions
Find the device manual for free INOX 1520 Plus THOMAS in PDF.
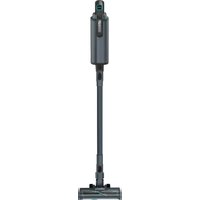
| Product type | Wet and dry vacuum cleaner |
| Brand | Thomas |
| Model | INOX 1520 Plus |
| Tank capacity | 20 liters |
| Tank material | Galvanized steel |
| Power supply | 220-240 V ~ 50/60 Hz |
| Maximum power of connectable tool | 60-2000 W (integrated socket for power tools) |
| Suction mode | Dry and wet |
| Filtration system | Washable cartridge filter (ref. 787021/421) and dust collection bag |
| Automatic shut-off in case of overflow | Yes (float) |
| Motor protection | Motor block protected against water splashes |
| Included accessories | Suction hose, crevice tool, smooth floor brush, upholstery nozzle, joint nozzle |
| Socket for power tools | Yes (model INOX 1520 S, similar for Plus) |
| Filter maintenance | Clean under running water and dry before reuse |
| Tank maintenance | Clean with soapy water after wet vacuuming |
| Bag replacement | By the cardboard tab, slide onto the suction opening |
| Warranty | 36 months for domestic use, 6 months for professional use |
| Environmental information | Recyclable, do not dispose with household waste |
Frequently Asked Questions - INOX 1520 Plus THOMAS
User questions about INOX 1520 Plus THOMAS
0 question about this device. Answer the ones you know or ask your own.
Ask a new question about this device
Download the instructions for your Vacuum Cleaner in PDF format for free! Find your manual INOX 1520 Plus - THOMAS and take your electronic device back in hand. On this page are published all the documents necessary for the use of your device. INOX 1520 Plus by THOMAS.
USER MANUAL INOX 1520 Plus THOMAS
natural_image
Line drawing of a vacuum cleaner with attached tubing, no text or symbols present in the diagram itself
natural_image
Line drawing of a vacuum cleaner with a curved arm and base mount (no text or symbols on the device itself)INOX 1420 Plus
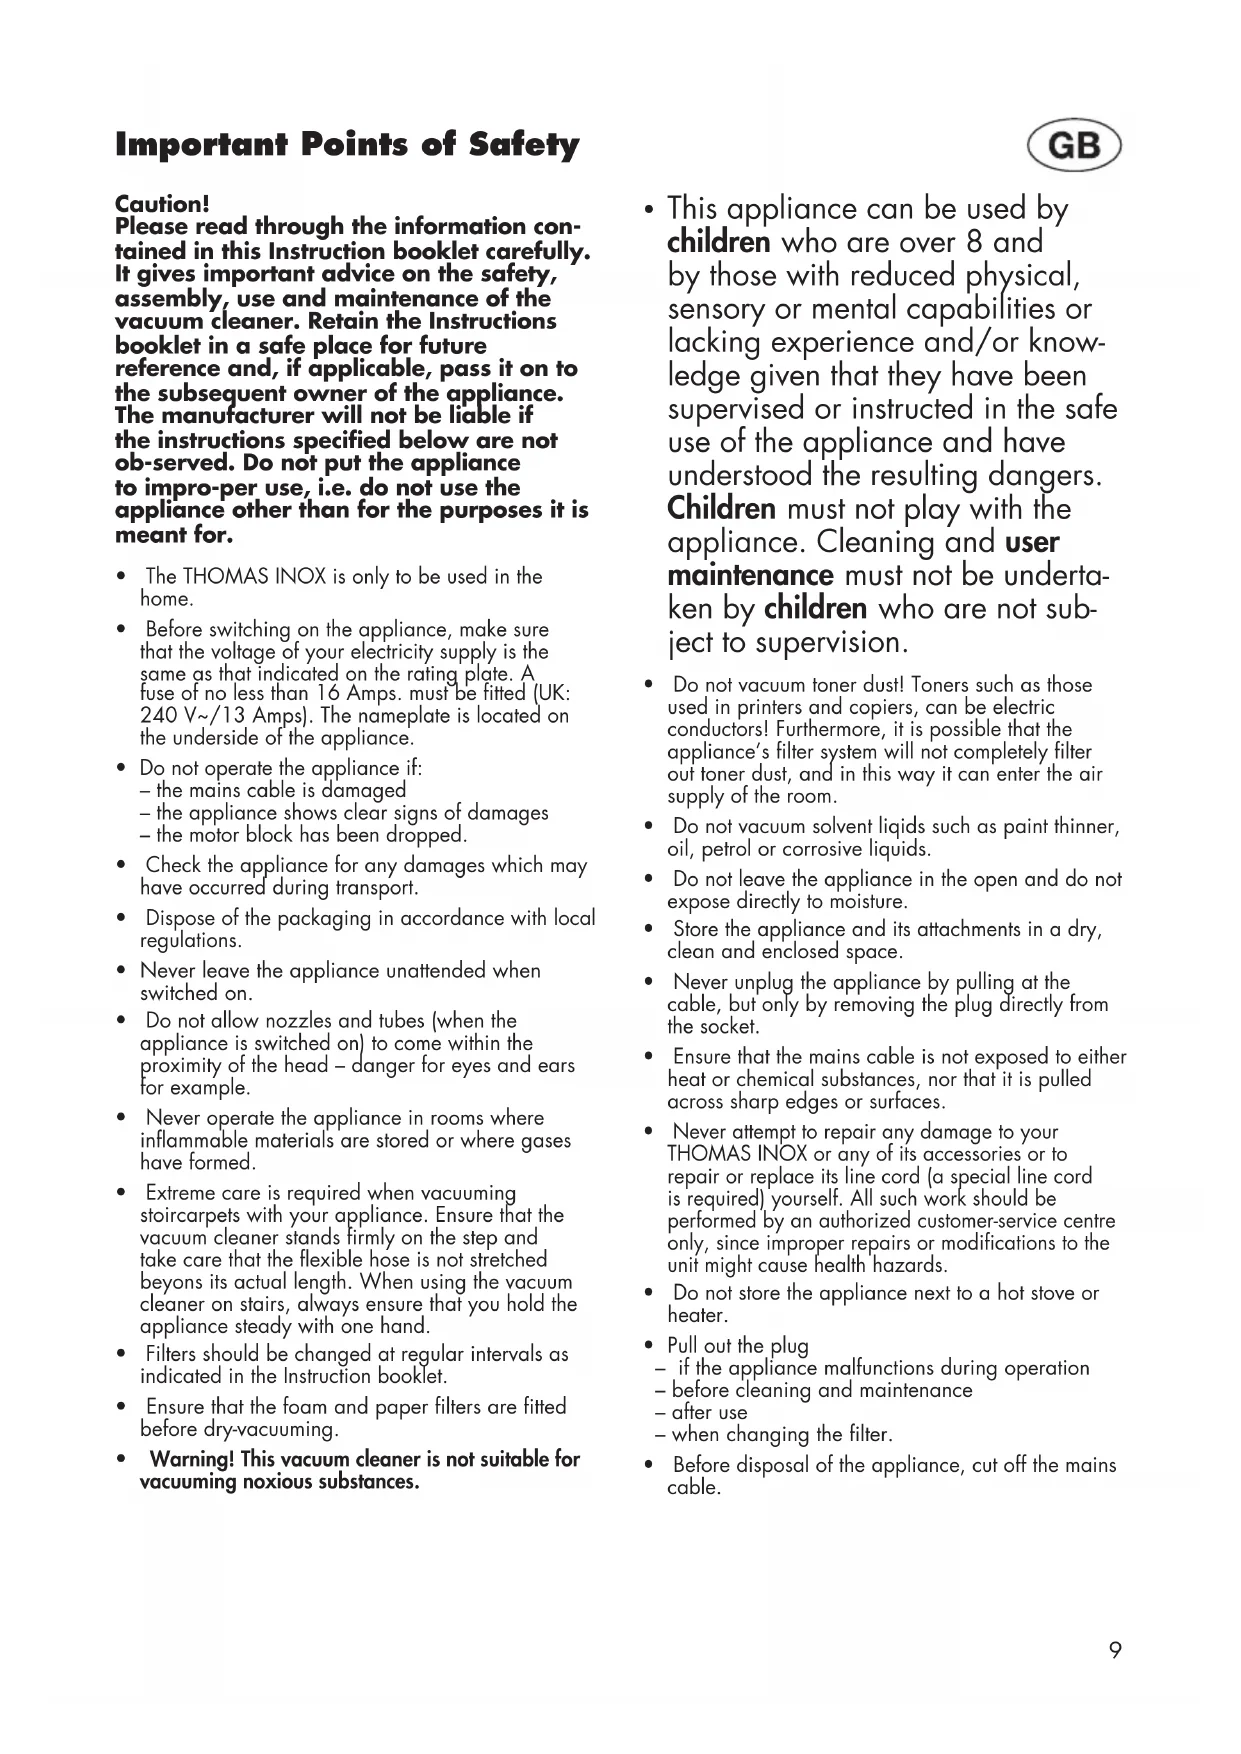
INOX 1520 Plus
Inhalt Seite D
Description of Parts 3
Important Points of Safety 9
Assembling the Appliance. 5/10
Operating Instructions.... 11
If unexpected difficulties arise 12
For the sake of the environment 12
Customer Service 12
Guarantee. 34
Sommaire Page F
By-pass suction control
inclined tube nozzle
buse à tube incliné
Krom mondstuk
Tobera de tubo inclinado
Eğik boru başlığı
Скошенная труба-
насадка
Important Points of Safety
Caution!
Please read through the information contained in this Instruction booklet carefully. It gives important advice on the safety, assembly, use and maintenance of the vacuum cleaner. Retain the Instructions booklet in a safe place for future reference and, if applicable, pass it on to the subsequent owner of the appliance. The manufacturer will not be liable if the instructions specified below are not ob-served. Do not put the appliance to impro-per use, i.e. do not use the appliance other than for the purposes it is meant for.
- The THOMAS INOX is only to be used in the home.
- Before switching on the appliance, make sure that the voltage of your electricity supply is the same as that indicated on the rating plate. A fuse of no less than 16 Amps. must be fitted (UK: 240 V\~/13 Amps). The nameplate is located on the underside of the appliance.
- Do not operate the appliance if:
- the mains cable is damaged
- the appliance shows clear signs of damages
- the motor block has been dropped.
- Check the appliance for any damages which may have occurred during transport.
- Dispose of the packaging in accordance with local regulations.
- Never leave the appliance unattended when switched on.
- Do not allow nozzles and tubes (when the appliance is switched on) to come within the proximity of the head – danger for eyes and ears for example.
- Never operate the appliance in rooms where inflammable materials are stored or where gases have formed.
- Extreme care is required when vacuuming stoircarpets with your appliance. Ensure that the vacuum cleaner stands firmly on the step and take care that the flexible hose is not stretched beyond its actual length. When using the vacuum cleaner on stairs, always ensure that you hold the appliance steady with one hand.
- Filters should be changed at regular intervals as indicated in the Instruction booklet.
- Ensure that the foam and paper filters are fitted before dry-vacuuming.
- Warning! This vacuum cleaner is not suitable for vacuuming noxious substances.
- This appliance can be used by children who are over 8 and by those with reduced physical, sensory or mental capabilities or lacking experience and/or knowledge given that they have been supervised or instructed in the safe use of the appliance and have understood the resulting dangers. Children must not play with the appliance. Cleaning and user maintenance must not be undertaken by children who are not subject to supervision.
- Do not vacuum toner dust! Toners such as those used in printers and copiers, can be electric conductors! Furthermore, it is possible that the appliance's filter system will not completely filter out toner dust, and in this way it can enter the air supply of the room.
- Do not vacuum solvent liquids such as paint thinner, oil, petrol or corrosive liquids.
- Do not leave the appliance in the open and do not expose directly to moisture.
- Store the appliance and its attachments in a dry, clean and enclosed space.
- Never unplug the appliance by pulling at the cable, but only by removing the plug directly from the socket.
- Ensure that the mains cable is not exposed to either heat or chemical substances, nor that it is pulled across sharp edges or surfaces.
- Never attempt to repair any damage to your THOMAS INOX or any of its accessories or to repair or replace its line cord (a special line cord is required) yourself. All such work should be performed by an authorized customer-service centre only, since improper repairs or modifications to the unit might cause health hazards.
- Do not store the appliance next to a hot stove or heater.
- Pull out the plug
- if the appliance malfunctions during operation
- before cleaning and maintenance
- after use
- when changing the filter.
- Before disposal of the appliance, cut off the mains cable.
Assembly Instructions
Dear client,
The THOMAS wet & dry vacuum cleaner will give excellent cleaning results throughout your home and workshop.
The Wet & Dry models INOX 1420 plus/1520 plus and INOX 1520 S are delivered with a 20-liter stainless-steel dirt collecting bin, and enhanced motor casing with protection against splash water.
Assembly Instructions
Ⓐ Assembling the chassis
The parts to be assembled are supplied loose for packing reasons. Open the snap fastener and lift up the motor head.
Place the container with opening facing downwards. Insert the steering castors with bolts in the drill holes marked with the number 4 and press in the bolts up to the stop. Make sure that one steering castor is directly in line under the suction intake opening.
B Fitting the motor block
Place the motor block onto the collecting bin, making sure that the operating switch lies directly in line with the middle of the suction socket. Lastly, secure the motor block by means of both snap fasteners.
© Connecting the flexible hose
Connecting the flexible hose. Remove the hose by turning the hose connecting piece and withdrawing the hose.
Assemble the accessoires you require.
Connect the main cable.
Operating the appliance
The Appliance is switched on and off by means of the switch located on the motor block casing.
The mains supply voltage must correspond to the voltage given on the rating plate.
(D) Changing the cartridge filter
(Optional extra, Part no. 787021/421)
Pull out the plug!
Undo the snap fasteners, remove the motor block from the collecting bin and turn over.
Secure the cartridge filter by the pre-mounted retaining clips.
Place the new cartridge filter in an upright position on the motor flange and gently but firmly slide it into place on the filter mounting. The pre-mounted retaining clips automatically snap into place, thus securing the cartridge filter. Place the motor block on the collecting bin again and secure by means of the snap fasteners.
E Inserting the paper filter bag
(when changing the paper filter bag)
F Place the filter bag inside the collecting bin, making sure that the opening located in the cardboard inlay is placed in line with the suction socket.
Then press the filter bag evenly around the sides of the collecting bin.
Thomas paper filter bags are essential when vacuuming fine dust, e.g. soot, ashes, sawdust or cement. However, they are also recommended for normal use, as they not only improve the retention of dust, but also make filter changes more hygienic.
Changing the cartridge filter
Gently pull the retaining clips back in the direction indicated and carefully remove the cartridge filter in an upright position from the filter mounting.
Operation
Dry-vacuuming
Important!
The paper filter bag must be fitted when dry-vacuuming. Plug in the appliance. The vacuum cleaner is switched on and off by means of he switch located on the motor block casing.
Use of tools and accessories
Both suction tubes are inserted into the end of flexible hose, as required.
Universal brush nozzle
For use on smooth floors (tiles, stone and PVC) and for vacuuming liquids.
Model INOX 1520 S
Upholstery nozzle
For vacuuming upholstered furniture, car seats, car boots and smaller uneven surfaces.
Crevice nozzle
For thorough vacuuming of corners, grooves, crevices and particularly hard-to-reach places.

Connection for electric tools Model INOX 1520 S
The integrated device socket is designed for the connection of electric tools with power consumption 60 - 2000 Watt.
The electric tool is plugged into the vacuum cleaner device socket and the suction hose is attached to the relevant connecting point of the electric tool.
After use
Switch off the appliance and pull out the plug. Wind the mains cable loosely in hand and store under the carrying handle. Change the paper filter bag as required.
Vacuuming liquids
Remove the cartridge filter and the paper filter bag before vacuuming liquids, as it will otherwise disintegrate (see section „Changing the filter“). When vacuuming liquids from a container, use only the flexible hose or suction tubes. Always ensure that the float is kept clean and in good condition. It acts as a safety device and automatically interrupts the flow of air when the collecting bin is full. Take care when vacuuming water from high-sided containers or basins where the quantity level exceeds the liquid capacity of the collecting bin. Remember that, in such a case, the water will continue to flow from the container even if the collecting bin is full and the float has stopped the suction flow of the appliance.
Therefore, vacuum only small quantities of water at a time and empty the collecting bin before switching on again.
Always lift the suction tube out of the water before switching off the motor. Pull out the plug.
WARNING! If petrol, paint thinner, fuel oil etc. are mixed to mix with suction air flow, explosive fumes or compounds may be formed.
Acetones, acids and solvents may attack the materials on your appliance.
It is quite safe to vacuum water which contains ordinary household cleaning agents.
After vacuuming liquids, the collecting bin and all accessories used should be wiped clean and left to dry (see section "Care and maintenance").
Changing the filter
Pull out the plug!
Remove the motor block from the collecting bin. Hold the paper filter bag by the cardboard inlay and pull off from the suction socket.
Place the new paper filter bag inside the collecting bin, making sure that the opening located in the cardboard inlay is placed in line with the suction socket. Then press the filter bag evenly around the sides of the collecting bin.
Place the motor block on the collecting bin again and secure by means of both snap fasteners.
Care and maintenance
Always pull out the plug before cleaning the appliance! Never immerse the motor block in water! Clean the motor block casing and collecting bin with a moist cloth and wipe dry. If there is a reduction in suction power, change the paper filter bag. If necessary, the collecting bin can be washed out with water. Ensure that the bin is completely dry before using again. Rinse out the collecting bin and all accessories with warm, soapy water after wet-vacuuming (particularly sticky liquids). Do not use abrasive cleaning agents!
Caution!
Replacing the Connecting Cable. This unit is equipped with a special connection cable which must only be replaced by an authorized workshop or customer service center.
If unexpected difficulties arise
Before contacting your dealer, check whether the fault is due to one of the following minor causes:
Dust escaping from suction socket:
- Is the cartridge filter correctly positioned and undamaged?
- Have you used the correct special filters?
Gradual reduction in suction power:
• Is the paper filter bag full?
- Is the cartridge filter clogged up by dust or soot?
- Is there a blockage in the nozzle, extension tube or flexible hose?
Sudden reduction in suction power:
- Has the floater stopped the flow of air? This can happen if the appliance is standing at a slant or if the appliance falls over. Turn off the vacuum cleaner – the floater will fall back into place – the appliance is ready for use again.
The motor does not function:
- Has the fuse blown?
- Is there damage to the mains cable, plug or socket?
- Pull out the plug before checking!
• Never open the motor yourself!
For the sake of the environment
Do not just throw away packaging material and worn out appliances!
Appliance packaging:
- The packaging carton can be placed in the waste paper collection bin
- The plastic bag made of polyethylene (PE) should be placed in the appropriate disposal bin for recycling.
Appliance disposal at the end of service life:
- Appliance disposal in accordance with the local regulations but before doing so disconnect and cut off the mains plug.
The symbol on the respective product or its packaging indicates that this product must not be disposed of as household waste. Instead, it should be handed into
the collection point for recycling electrical and electronic equipment.
By ensuring the proper disposal of this product, you will help to prevent potential adverse consequences for the environment and human health, which could otherwise be caused by inappropriate disposal of this product.
For more explicit information about recycling of this product, please contact your local town hall, your household waste disposal service or the shop where you purchased the product.
Customer service
Ask your dealer for the THOMAS Customer Service Area Centre responsible for you.
At the same time please tell your dealer the details given on the rating plate.
Repairs more especially to electrical parts must be carried out only by a qualified electrician. This ensures that your appliance remains fully functional and safe in operation.
As a consequence, in case of irregularities you should get in touch with your specialist dealer, or contact the THOMAS Customer Service Department directly.
Contact details are on the reverse side.
Right to technical changes reserved.
Attention!
© Raccordement du flexible
Irrespective of any guarantee obligations given by the dealer in the sales contract, we undertake to guarantee this appliance on the following conditions:
-
The guarantee is valid for a period of 36 months from the date of delivery to the first retail purchaser. In the case of industrial use or similar employment of the appliance, the guarantee period is reduced to 6 months. Proof of the date of purchase, e.g. presentation of the sales receipt, is required when making a claim on the guarantee.
-
Within the guarantee period, we undertake to remedy all functional defects, which have evidently arisen from faulty workmanship or materials, by repair or replacement of the faulty pans according to our choice. We assume possession of the defective parts thus replaced.
The guarantee does not apply to easily breakable parts, such as glass, plastics, lamps.
Any defects established should be reported to us immediately during the guarantee period.
Neither the replacement parts necessary for the repair of any functional defects occurring during the guarantee period, nor the labour costs incurred thereby, will be charged. Moreover, during the first 6 months, i.e. within the statutory guarantee period, neither standard charges for service calls nor forwarding costs will be invoiced. If unjustified claims are made on our service department, any costs associated therewith will be charged to the customer.
Demands for repair work to be carried out in the customer's home or wherever the appliance is installed can only be complied with in the case of large appliances. All other appliances are to be submitted to our
nearest service branch or authorized service agent or else sent to the factory.
-
The guarantee does not apply to minor discrepancies, which are immaterial for the value and operating efficiency of the appliance, nor does it apply to damages arising from chemical or electro-chemical reactions with water or in general through anomalous environmental conditions. No claims can be made on the guarantee for damages occurring as a result of normal wear and tear, non-observance of the operating instructions or improper use.
-
The guarantee will be invalidated if modifications or repairs are carried out on the appliance by any persons other than those authorised by us to do so.
-
Repairs and/or replacements carried out under the guarantee do not give rise to the extension or renewal of the guarantee period of either the appliance or the fitted replacement parts: the guarantee period of fitted replacement parts ends at the same time as that of the whole appliance.
-
So far as a defect cannot be eliminated or we refuse to carry out or unreasonably delay a repair within the first 6 months of the guarantee period, the appliance will be exchanged or taken back and the purchase cost refunded, if the customer so desires.
-
More extensive orotherclaims, particularly those for compensation for damages arising outside of the appliance, are exclusive, so far as a coercive liability has not been decreed by law.
Our after-sales services are also available after the expiry of the guarantee period. Please contact your dealer or our Customer Service Department directly.
GARANTIE
www.robert-thomas.net
Schweden:
Olsson & Co.
Toms Byväg 42
43033 Fjäras
Tel. +46 (0) 31 - 910085
Fax +46 (0) 31 - 015290
E-mail: chr.olsson@telia.com
Österreich:
Pölz GmbH
Brünner Straße 5
A-1210 Wien
Tel. +43 (0) 1/2785365
Fax +43 (0) 1/27853655
E-mail: info@poelz.co.at
www.poelz.co.at
Erwin Reicher
Hochenegg 17
A-8262 l/z
Tel. +43 (0) 3385 583
Fax +43 (0) 3385 583 89
E-Mail: thomas.service@aon.at
http://thomas.info/servis-warranty.html
Kasachstan:
www.robert-thomas.net
![[EAC]](/content/2026/02/371339/images/860e136648ebb7e64e4a0ff97ba8d46771494ffa57f999844196ecd16fcc8854.jpg)


- Inhalt Seite D
- Sommaire Page F
- Important Points of Safety
- Caution!
- Assembly Instructions
- Dear client,
- Ⓐ Assembling the chassis
- B Fitting the motor block
- © Connecting the flexible hose
- Operating the appliance
- Changing the cartridge filter
- E Inserting the paper filter bag
- Then press the filter bag evenly around the sides of the collecting bin.
- Changing the cartridge filter
- Operation
- Dry-vacuuming
- Important!
- Use of tools and accessories
- Universal brush nozzle
- Model INOX 1520 S
- Upholstery nozzle
- Crevice nozzle
- Connection for electric tools Model INOX 1520 S
- After use
- Vacuuming liquids
- WARNING! If petrol, paint thinner, fuel oil etc. are mixed to mix with suction air flow, explosive fumes or compounds may be formed.
- Changing the filter
- Pull out the plug!
- Care and maintenance
- If unexpected difficulties arise
- Dust escaping from suction socket:
- Gradual reduction in suction power:
- Sudden reduction in suction power:
- The motor does not function:
- For the sake of the environment
- Appliance packaging:
- Appliance disposal at the end of service life:
- Customer service
- Attention!
- © Raccordement du flexible
- GARANTIE
- Schweden:
- Österreich:
- Kasachstan:
Brand : THOMAS
Model : INOX 1520 Plus
Category : Vacuum Cleaner