HAVAC10 - Alarm clock radio KONIG - Free user manual and instructions
Find the device manual for free HAVAC10 KONIG in PDF.
| Product type | Clock radio |
| Brand | Konig |
| Model | HAVAC10 |
| Mains power | 230 V ~ 50 Hz |
| Backup power | 1 x 9 V battery (type 6F22/6LR61, not included) |
| Power consumption | 2 W |
| Display | Red LED |
| Alarm function | Yes, with indicator light |
| Snooze | Yes, repeats after 9 minutes, up to 2 hours |
| Time setting | TIME SET, HOUR SET, MINUTE SET buttons |
| Alarm time setting | ALARM SET, HOUR SET, MINUTE SET buttons |
| Alarm on/off | ALARM ON/OFF switch |
| Automatic battery backup | Yes (in case of power failure, if battery installed) |
| Maintenance | Clean with a dry cloth, do not use solvents |
| Safety | Do not open, do not expose to water/humidity, unplug if problem occurs |
| Warranty | No liability for modification or incorrect use |
| Repairability | Opening by qualified technician only |
| General information | Design and specifications subject to change without notice |
Frequently Asked Questions - HAVAC10 KONIG
User questions about HAVAC10 KONIG
0 question about this device. Answer the ones you know or ask your own.
Ask a new question about this device
Download the instructions for your Alarm clock radio in PDF format for free! Find your manual HAVAC10 - KONIG and take your electronic device back in hand. On this page are published all the documents necessary for the use of your device. HAVAC10 by KONIG.
USER MANUAL HAVAC10 KONIG
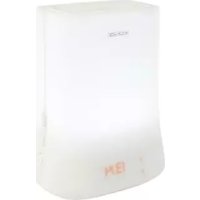
Alarm clock with red LED
MODE D'EMPLOI (p. 8)
Réveil à LED rouge
MANUALE (p. 14)
MANUAL DE USO (p. 17)
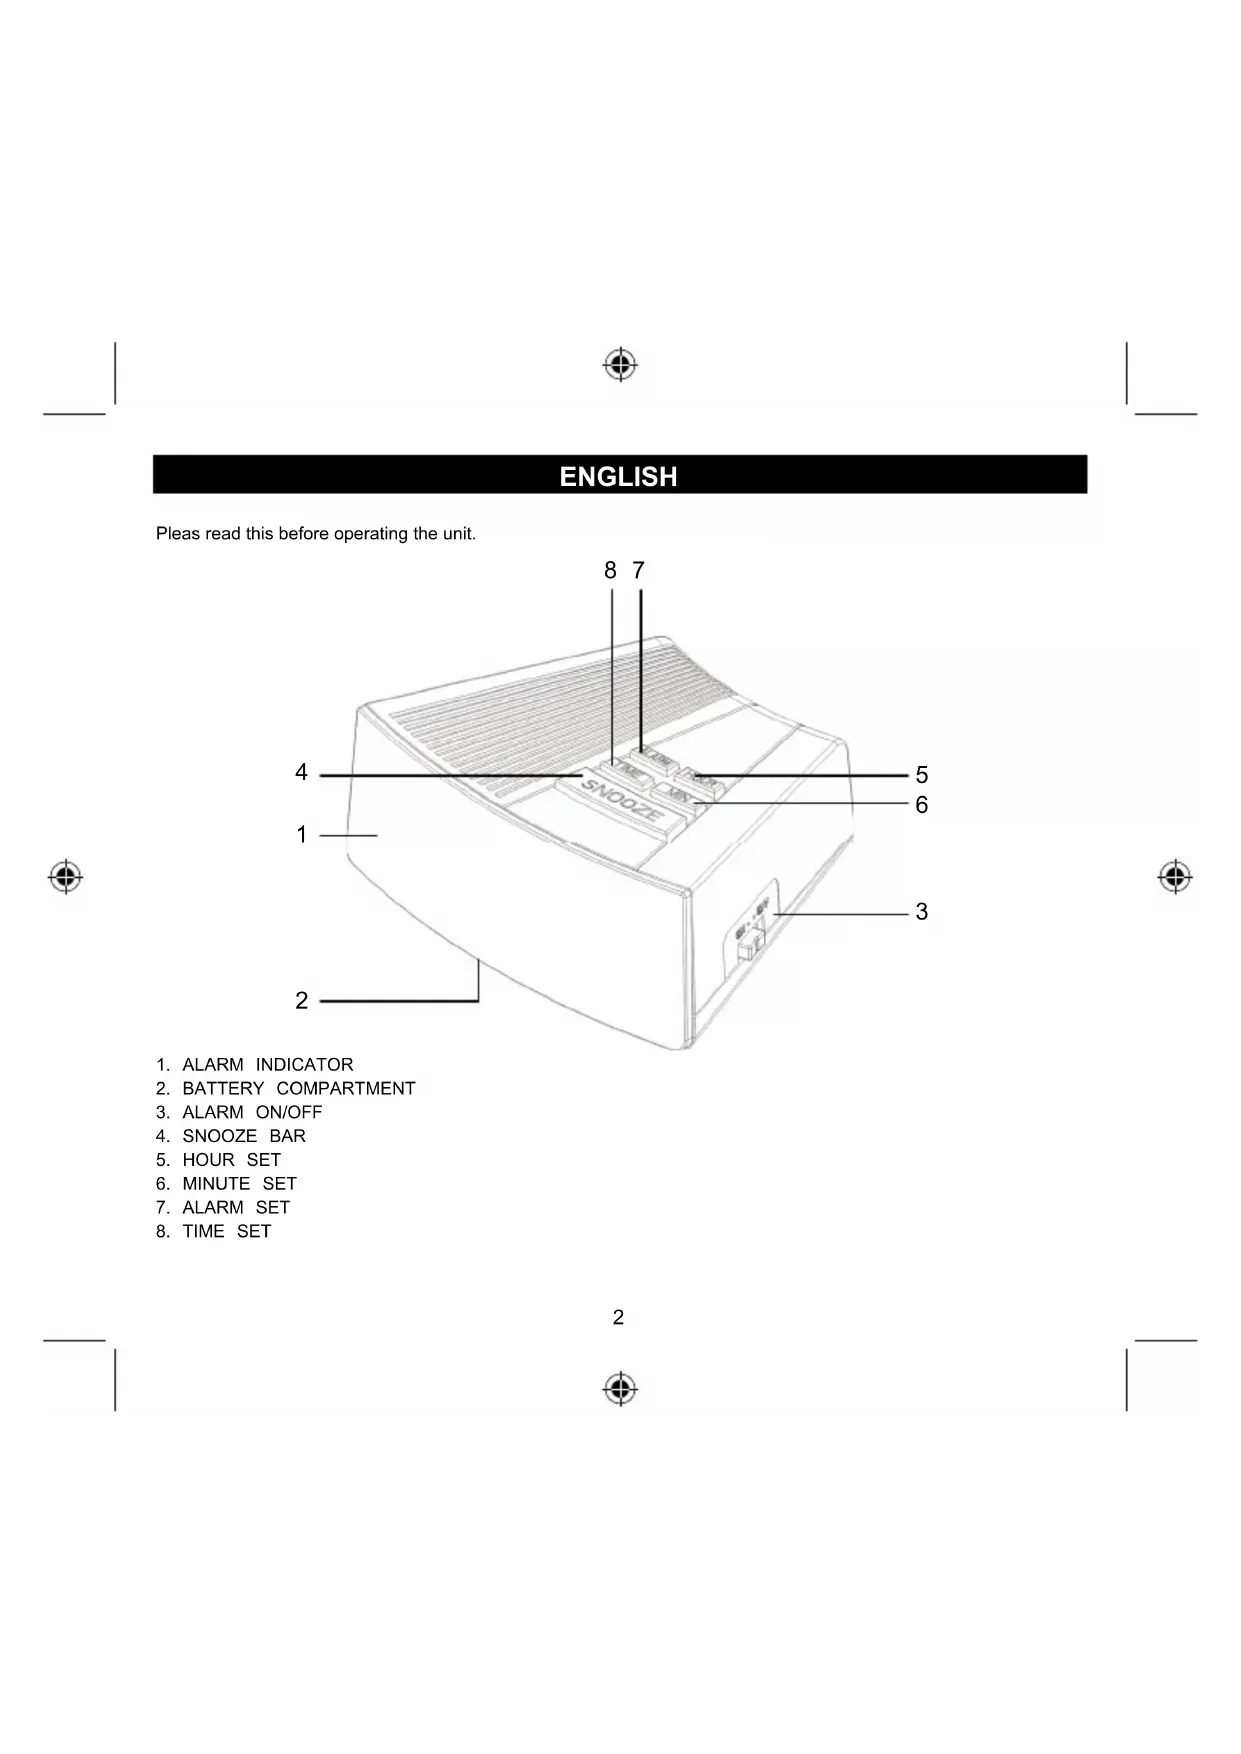
Pleas read this before operating the unit.

- ALARM INDICATOR
- BATTERY COMPARTMENT
- ALARM ON/OFF
- SNOOZE BAR
- HOUR SET
- MINUTE SET
- ALARM SET
- TIME SET


Operation
Plug the cord into any 230 V AC home outlet. The entire display will flash, meaning the incorrect time is being displayed. This is a normal condition and will stop when you set the time.
Setting the time
To set the time, press the TIME SET button (8), then press the HOUR SET button (5) and MINUTE SET button (6) simultaneously. Release the buttons to confirm that the time is set.
Setting the alarm
To set the alarm, press the ALARM SET button (7), then press the HOUR SET button (5) and MINUTE SET button (6) simultaneously. Release the buttons to confirm that the alarm is set.
To operate the alarm
Slide the ALARM ON/OFF button (3) to the "ON" position. The ALARM INDICATOR (1) will light up and the alarm will sound at the preset alarm time. To swith the alarm off, slide the ALARM ON/OFF button (3) to the "OFF" position.
Snoopze
When the alarm sounds, simply touch the SNOOZE BAR (4) to temporarily stop the alarm. The alarm will sound again 9 minutes later. This can be repeated as often you wish, for up to two hours.
Battery back-up (Battery not included)
In the event of a power failure, this unit will automatically switch to a battery standby circuit when a battery is installed. Open the BATTERY COMPARTMENT at the bottom of the unit and install a 9 volt battery. Under battery operation, the clock will keep the time running and the alarm will sound at the preset time. Only the clock display will not light up to save battery power. If you have a long power failure you may need to make a slight adjustment to the clock time after AC power returns. The clock uses an internal battery powered clock circuit that is less accurate than the power line frequency. The alarm time will remain correct.
Specifications
Power source: 230V 50Hz
DC battery: 9 V (1 x 9 V 6F22 / 6LR61 not included)
Power consumption: 2 W

Safety precautions:


To reduce risk of electric shock, this product should ONLY be opened by an authorized technician when service is required. Disconnect the product from mains and other equipment if a problem should occur. Do not expose the product to water or moisture.
Maintenance:
Clean only with a dry cloth. Do not use cleaning solvents or abrasives.
Warranty:
No guarantee or liability can be accepted for any changes and modifications of the product or damage caused due to incorrect use of this product.
General:
Designs and specifications are subject to change without notice.
All logos brands and product names are trademarks or registered trademarks of their respective holders and are hereby recognized as such.
Keep this manual and packaging for future reference.
Attention:

This product is marked with this symbol. It means that used electrical and electronic products should not be mixed with general household waste. There is a separate collections system for these products.
DEUTSCH
Description: Alarm clock with red LED