MIC100 - Système hifi THOMSON - Free user manual and instructions
Find the device manual for free MIC100 THOMSON in PDF.
Download the instructions for your Système hifi in PDF format for free! Find your manual MIC100 - THOMSON and take your electronic device back in hand. On this page are published all the documents necessary for the use of your device. MIC100 by THOMSON.
USER MANUAL MIC100 THOMSON
Get and download support at
Durant la lecture, presser successivement REPEAT:
Tarif France Métropolitaine, depuis un poste fixe 0.15€/minwww.thomsonaudiovideo.eu7 EN MICRO SYSTEM MIC100
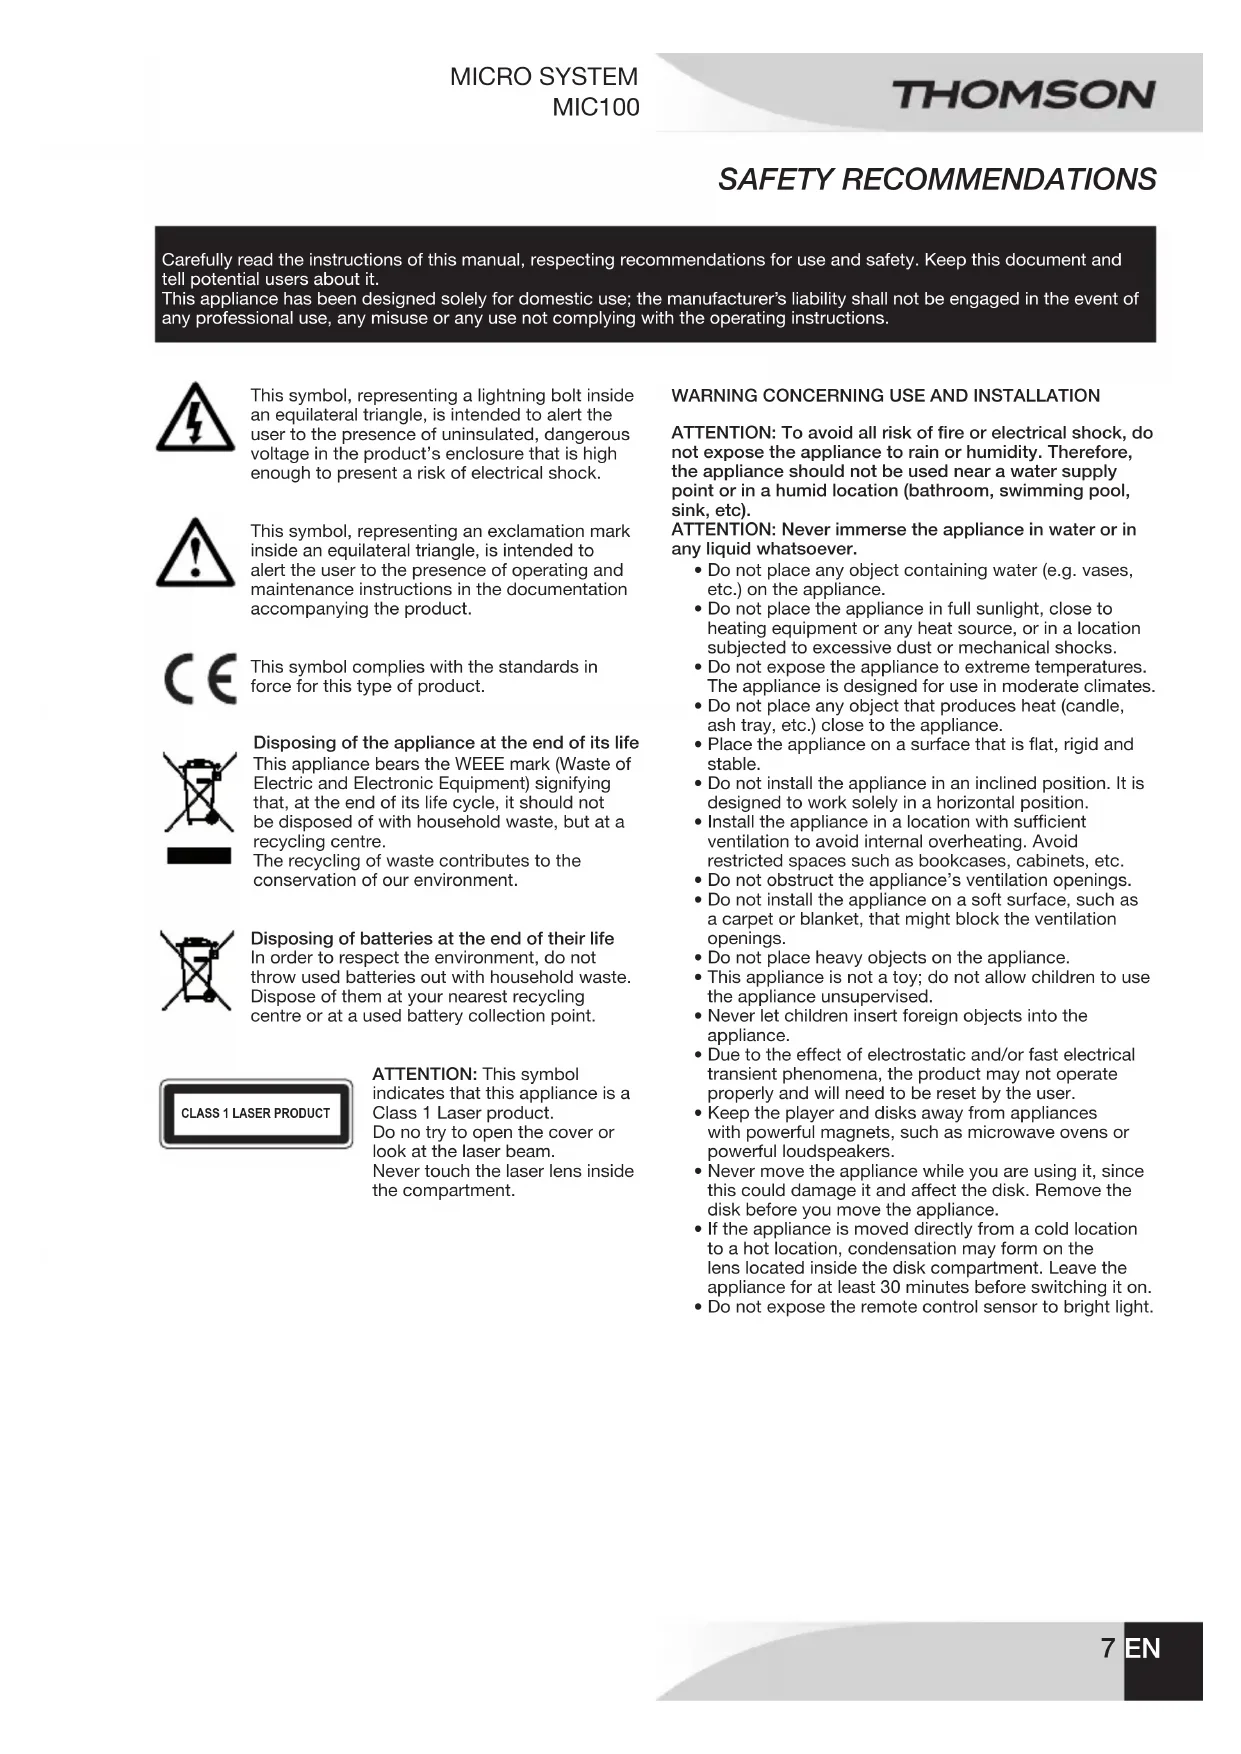
This symbol, representing a lightning bolt inside
an equilateral triangle, is intended to alert the
user to the presence of uninsulated, dangerous
voltage in the product’s enclosure that is high
enough to present a risk of electrical shock.
Carefully read the instructions of this manual, respecting recommendations for use and safety. Keep this document and
tell potential users about it.
This appliance has been designed solely for domestic use; the manufacturer’s liability shall not be engaged in the event of
any professional use, any misuse or any use not complying with the operating instructions.
This symbol, representing an exclamation mark
inside an equilateral triangle, is intended to
alert the user to the presence of operating and
maintenance instructions in the documentation
accompanying the product.
This symbol complies with the standards in
force for this type of product.
Disposing of the appliance at the end of its life
This appliance bears the WEEE mark (Waste of
Electric and Electronic Equipment) signifying
that, at the end of its life cycle, it should not
be disposed of with household waste, but at a
The recycling of waste contributes to the
conservation of our environment.
Disposing of batteries at the end of their life
In order to respect the environment, do not
throw used batteries out with household waste.
Dispose of them at your nearest recycling
centre or at a used battery collection point.
ATTENTION: This symbol
indicates that this appliance is a
Class 1 Laser product.
Do no try to open the cover or
look at the laser beam.
Never touch the laser lens inside
CLASS 1 LASER PRODUCT WARNING CONCERNING USE AND INSTALLATION ATTENTION: To avoid all risk of re or electrical shock, do
not expose the appliance to rain or humidity. Therefore,
the appliance should not be used near a water supply
point or in a humid location (bathroom, swimming pool,
ATTENTION: Never immerse the appliance in water or in
any liquid whatsoever.
• Do not place any object containing water (e.g. vases,
etc.) on the appliance.
• Do not place the appliance in full sunlight, close to
heating equipment or any heat source, or in a location
subjected to excessive dust or mechanical shocks.
• Do not expose the appliance to extreme temperatures.
The appliance is designed for use in moderate climates.
• Do not place any object that produces heat (candle,
ash tray, etc.) close to the appliance.
• Place the appliance on a surface that is at, rigid and
• Do not install the appliance in an inclined position. It is
designed to work solely in a horizontal position.
• Install the appliance in a location with sufcient
ventilation to avoid internal overheating. Avoid
restricted spaces such as bookcases, cabinets, etc.
• Do not obstruct the appliance’s ventilation openings.
• Do not install the appliance on a soft surface, such as
a carpet or blanket, that might block the ventilation
• Do not place heavy objects on the appliance.
• This appliance is not a toy; do not allow children to use
the appliance unsupervised.
• Never let children insert foreign objects into the
• Due to the effect of electrostatic and/or fast electrical
transient phenomena, the product may not operate
properly and will need to be reset by the user.
• Keep the player and disks away from appliances
with powerful magnets, such as microwave ovens or
powerful loudspeakers.
• Never move the appliance while you are using it, since
this could damage it and affect the disk. Remove the
disk before you move the appliance.
• If the appliance is moved directly from a cold location
to a hot location, condensation may form on the
lens located inside the disk compartment. Leave the
appliance for at least 30 minutes before switching it on.
• Do not expose the remote control sensor to bright light.
SAFETY RECOMMENDATIONS8EN ABOUT THE DISKS Handling
Do not touch the playback side of disks.
Hold disks by the edges to avoid leaving
ngerprints on the surface.
Any dust, ngerprints or scratches may cause
Never attach a label or sticky tape to the disk.
Put disks back in their case after playing them.
Never expose disks to direct sunlight or heat
sources. Never leave disks inside a car parked
Use a clean soft lint-free cloth to clean the disk,
working from the centre outwards in a straight
line. Do not use solvents such as petrol,
thinners, commercially available cleaners or
antistatic sprays for vinyl disks.
DESCRIPTION OF CONTROLS AND THE REMOTE CONTROL SAFETY RECOMMENDATIONS INFORMATION ABOUT BATTERIES
• The appliance must be equipped with the appropriate
batteries in order to function properly.
• Only recommended batteries should be used.
• Polarity must be respected when inserting batteries.
• The batteries should be inserted in such a way as to
avoid any short circuit.
• Do not mix used and new batteries.
• Do not mix alkaline, standard (carbon-zinc) and
rechargeable (nickel-cadmium) batteries.
• Do not recharge or try to open the batteries. Do not
throw the batteries in re.
• Replace all batteries at the same time with new,
identical batteries.
• Remove the batteries when unused for a long time.
• If the liquid contained in the batteries comes in contact
with eyes or skin, wash the area immediately and
carefully with clear water and consult a doctor.
• Battery shall not be exposed to excessive heat such as
sunshine, re or the like.
ATTENTION: Danger of explosion if batteries are not
Insertion (lithium battery)
Replacing the button battery
The battery usually lasts for about 1 year.
Replace the battery if the remote control does not operate
the appliance in normal use.
Button battery (lithium battery)
• Grip the battery compartment on the back of the
remote control, then pull the strip to lift the battery
• Insert 1 CR.2025 3V lithium mini battery, taking care to
respect the polarity indicated.
• Close the battery compartment.
2 REPEATOFF, REPEAT ONE, REPEAT ALL, RANDOM 3 SOURCEMode selector (TUNER / CD / USB/ AUX IN) 4 -10/+10During CD/USB mode: press to skip 10 songs forward or backward. 5 preselection / le +
6 preselection / le -
PROG CD and radio programme 8 MEMORYmemorisation 9 volume adjustment
/ previous track / Scan – radio frequency search - 11
/ next track / Scan - radio frequency search + 12 play/pause
BASS bass boost 17 Infrared sensor
A USB USB port B opens and closes the CD compartment
C On / Off indicator light
E AUX INsocket for auxiliary device F LED screen
H FM wire aerial AC230V 50Hz~
810EN MICRO SYSTEM MIC100
USING POWER SUPPLY Speaker connection
• Unfurl the load speaker wires and connect them to the
corresponding terminals. Red Black USING THE APPLIANCE
• Press once q of the device or twice q on the remote to
turn the appliance on: the indicator light (C) turns off.
• Press q button to turn the appliance to stand-by mode:
the indicator light (C) turns on.
COMMENTS CONCERNING TACTILE KEYS Tactile keys react to touch under normal conditions. They
do not react to greasy or wet ngers. Always clean and dry
the surface with a soft cloth. Do not use a damp cloth or an
aggressive detergent.
• Turn the appliance on and press SOURCE to select the
• Tune the radio to the desired station using keys {
and }: the frequency is displayed on the LED screen.
• Press and hold the key } to scroll through frequencies,
then release to trigger automatically on the nearest
• To turn the radio off, press the q button.
Note : For improved reception, unfurl the FM wire aerial (H)
located at the rear of the appliance.
PROGRAMMING RADIO STATIONS Manual programming:
• Select a station to be saved.
• Press PROG/MEM of the device or MEMORY on the
remote: program mode (P- 01) is displayed.
• Press w and s keys top select a number.
• Press PROG/MEM of the device or MEMORY on the
remote, to save each station (20 maximum).
Automatic programming:
Press PROG/MEM of the device or MEMORY on the remote
for 3 seconds: programming will launch automatically and
memorize received stations.
Accessing saved stations:
• Press keys CH+ and CH- to access the saved stations.
USING THE CD PLAYER Comment: Before rst use, remove the protective cardboard
insert on the lens located in the CD compartment (B).
Move the compartment door with care.
• Press the CD compartment door and insert a CD
• Close the CD compartment by hand.
• Turn the appliance on by pressing q button and press
SOURCE to select “CD” mode.
• Adjust the volume using the keys and .
REPEAT MODE Press REPEAT several times.
• NORMAL: stops repeat.
• REPEAT ONE: repeats one track.
• REPEAT ALL: repeats all tracks.
• REPEAT FLD: repeat all albums (only MP3 les).
• RANDOM: playback random.
TIME SETTING In Off mode:
• Press PROG/MEM of the device or on the remote.
• Press keys s and w to switch between 12 or 24-hour
• Press on the PROG/MEM of the device or on the
remote: the display ashes.
• Set the time using the keys s and w. PROG/MEM of
the device or on the remote to conrm.
• Repeat the previous operation to set the minutes.
NORMAL REP ONE REP ALL RANDOM NORMAL REP ONE REP ALL RANDOM REP FLD11 EN MICRO SYSTEM MIC100
• Frequency range: FM: 88 - 108.0 MHz.
• Consumption: 7W maximum.
PROGRAMMED PLAYBACK Programming up to 20 tracks in order:
• The CD or USB must be stopped.
• Press on the PROG key: “P01” is displayed on the
• Press keys { and } to choose a track.
• Press the PROG key to save each track (20 maximum).
• Press the key 12: the appliance plays the tracks in the
• To cancel programmed playback, press on the 3 key
USB PORT The appliance is tted with a USB port (A) to play music
les (MP3) stored on a USB key.
• No disc should be playing.
• Connect a USB drive to the USB port (A) of the reader.
• Press successively SOURCE: “USB” appears on the
screen and reading the contents of the USB stick is
The playback functions are the same as for a CD.
• Press the Mode Selector (3) to select the “USB”
• It is recommended that key content is backed up to
• IMPORTANT: 32 GB maximum capacity. The reader
does not work with all USB devices (external hard
drives for example.)
HEADPHONE SOCKET Headphones (not provided), tted with a Ø 3.5mm jack and
not exceeding 100dB can be connected to the appliance.
• Connect the headphones to the socket (D).
Note: When the headphones are connected, the loud
speakers are automatically inactive.
Use the appliance at a comfortable volume to preserve user
• Connect a portable CD or MP3 player to the AUX IN (E)
socket using an audio cable (cable not provided).
• Turn the appliance on.
• Press SOURCE several times: “AUX” is displayed on
• Use the peripheral device commands directly.
Note: Unit design and specications are subject to change
without notice. The manufacturer reserves the right to make
the necessary improvements.12EN MICRO SYSTEM MIC100
TROUBLESHOOTING AND CLEANING Problems Cause Solutions
No power • The power supply cable is
• Correctly connect the power supply cable to
No sound • The external source equipment is off. • Turn the external power source equipment on.
The appliance doesn’t
• No disc has been inserted into the tray.
• The disc in the tray cannot be read.
• The disc is upside down.
• The disc is not inside the guide.
• The disc is dirty.
• Place a disc in the tray.
• Place a legible disc in the tray.
• Position the readable side of the disc
The remote control does
• The remote control is not pointed
towards the appliance sensor.
• The remote control does not activate
• There is an obstacle between the
remote control and the appliance.
• The remote control batteries are at.
• Point the remote control towards the
• The remote control has an effective range of 5
metres or the angle of aim is not correct.
• Remove the object.
• Replace at batteries with new ones.
MAINTENANCE AND CLEANING
• Unplug the appliance before cleaning it.
• Remove ngerprints and dust with a soft and slightly damp cloth. Do not use abrasive products or solvents that may
damage the appliance’s surface.
ATTENTION: Never immerse the appliance in water or in any liquid whatsoever.
• If it is not used for a long time, unplug the appliance and remove the batteries.
is a trademark of TECHNICOLOR S.A. used under license by:
Parsons International France - 19 Boulevard Albert Einstein
77420 Champs sur Marne - France
Monday to Thursday (from 9 am to 18 pm) and Friday (9 am to 3:30 p.m.)
) 0825 745 770call rate according to operator
• Die Bedienung erfolgt dann direkt am Peripheriegerät.
Note: Unit design and specications are subject to change
without notice. The manufacturer reserves the right to make
the necessary improvements.18DE FEHLERBEHEBUNG UND REINIGUNG Problem Ursache Abhilfe