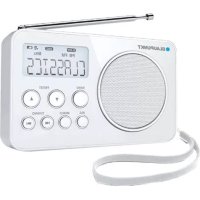
BDR501 - Radio BLAUPUNKT - Free user manual and instructions
Find the device manual for free BDR501 BLAUPUNKT in PDF.



User questions about BDR501 BLAUPUNKT
0 question about this device. Answer the ones you know or ask your own.
Ask a new question about this device
Download the instructions for your Radio in PDF format for free! Find your manual BDR501 - BLAUPUNKT and take your electronic device back in hand. On this page are published all the documents necessary for the use of your device. BDR501 by BLAUPUNKT.
USER MANUAL BDR501 BLAUPUNKT
USER MANUALS
Models: BDR-500 / BDR-501
| Page 2 | German |
| Page 6 | English |
| Page 10 | French |
| Page 13 | Italian |
| Page 17 | Spanish |
| Page 22 | Portuguese |
| Page 26 | Dutch |
| Page 30 | Swedish |
| Page 34 | Danish |
| Page 38 | Finnish |
| Page 42 | Norwegian |
| Page 46 | Russian |
| Page 51 | Greek |
| Page 55 | Turkish |
| Page 59 | Polish |
| Page 63 | Bulgarian |
| Page 67 | Romanian |
| Page 71 | Czech |
| Page 75 | Hungarian |
| Page 79 | Japanese |
| Page 83 | Chinese |
| Page 87 | Arabic |
Please read the instrucon carefully before operaon the unit.
GENERAL CONTROLS
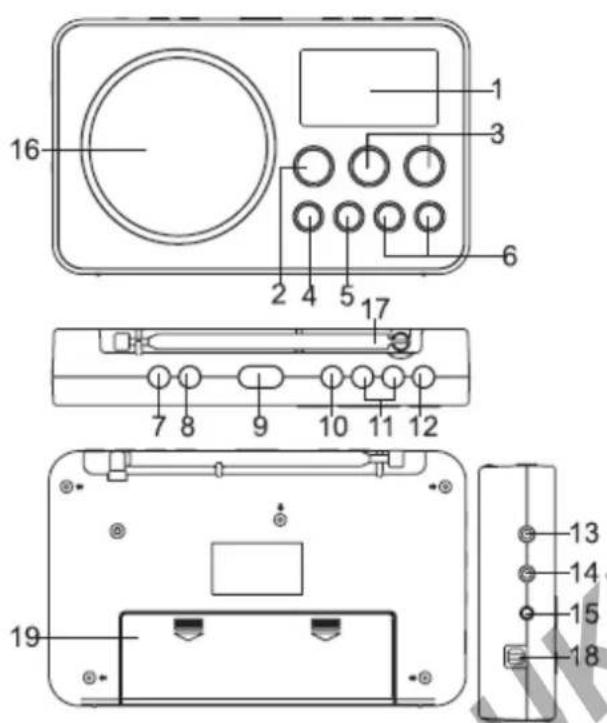
text_image
16 1 3 6 2 4 5 17 7 8 9 10 11 12 19 13 14 15 18- LCD display
- BAND buon
- PRESET buon
- RDS buon
- MEMO buon
- TUNING
- SLEEP buon
- ALARM buon
- SNOOZE buon
- AUDIO buon
- VOLUME+/- buons
- ON/OFF buon
- Earphone jack
- LINE IN jack
- DC IN 6V jack
- Speaker
- FM telescopic antenna
- Strap pin
- Baery compartment
POWER SUPPLY
Choose one of the power sources as below.
• AC adapter (not supplied): Output DC 6V
- 4x1.5V R6/UM3/AA baeries (not supplied)
Connecng power
Connect an AC adapter (not supplied) to the DC IN 6V jack of the unit and to the mains socket.
Cauon!
- Check that the voltage marked on the adapter rang plate matches your local supply.
- Never use an AC adaptor that is damaged, route power lead in a safe manner and make sure it is not subjected to trapping or pinching. If the power lead is damaged refer to a qualified service agent.
- The AC adaptor is used as the disconnect device and it shall remain readily operable. To be completely disconnected the power input, the AC adaptor shall be disconnected from the mains completely. The AC adaptor should not be obstructed or should be easily accessed during intended use.
Baery operaon
- Remove the lid of the baery compartment by sliding it outward in the direcon of the arrow.
- Insert 4 R6/UM3/AA baeries into the compartment. Make sure to match their polaries (+/-) to the markings inside the compartment.
- Replace the lid.
Notes on baeries (not supplied)
- Do not mix dierent types of baeries or old baeries with new ones.
- Never recharge the baeries, apply heat to them or take them apart.
- Baery shall not be exposed to excessive heat such as sunshine, re or the like.
·Do not throw the baeries in re!
·Aenon should be drawn to the environmental aspects of baery disposal.
The baeries need to be replaced when: The volume decreases, or sound is distorted during operaon.
The appearance of baery icon “ 📋 on display indicates that the baeries are low. Replace them with new baeries.
·In order to avoid leakage, remove the baeries when unit will not be used for a long period of me. - Please respect the environment. Before throwing any baeries away, consult your distributor who may be able to take them back for specific recycling.
Cauon!
Danger of explosion if baery is incorrectly replaced. Replace only with the same or equivalent type.
SETTING TIME
Aer the baeries are installed, the display will show "0:00".
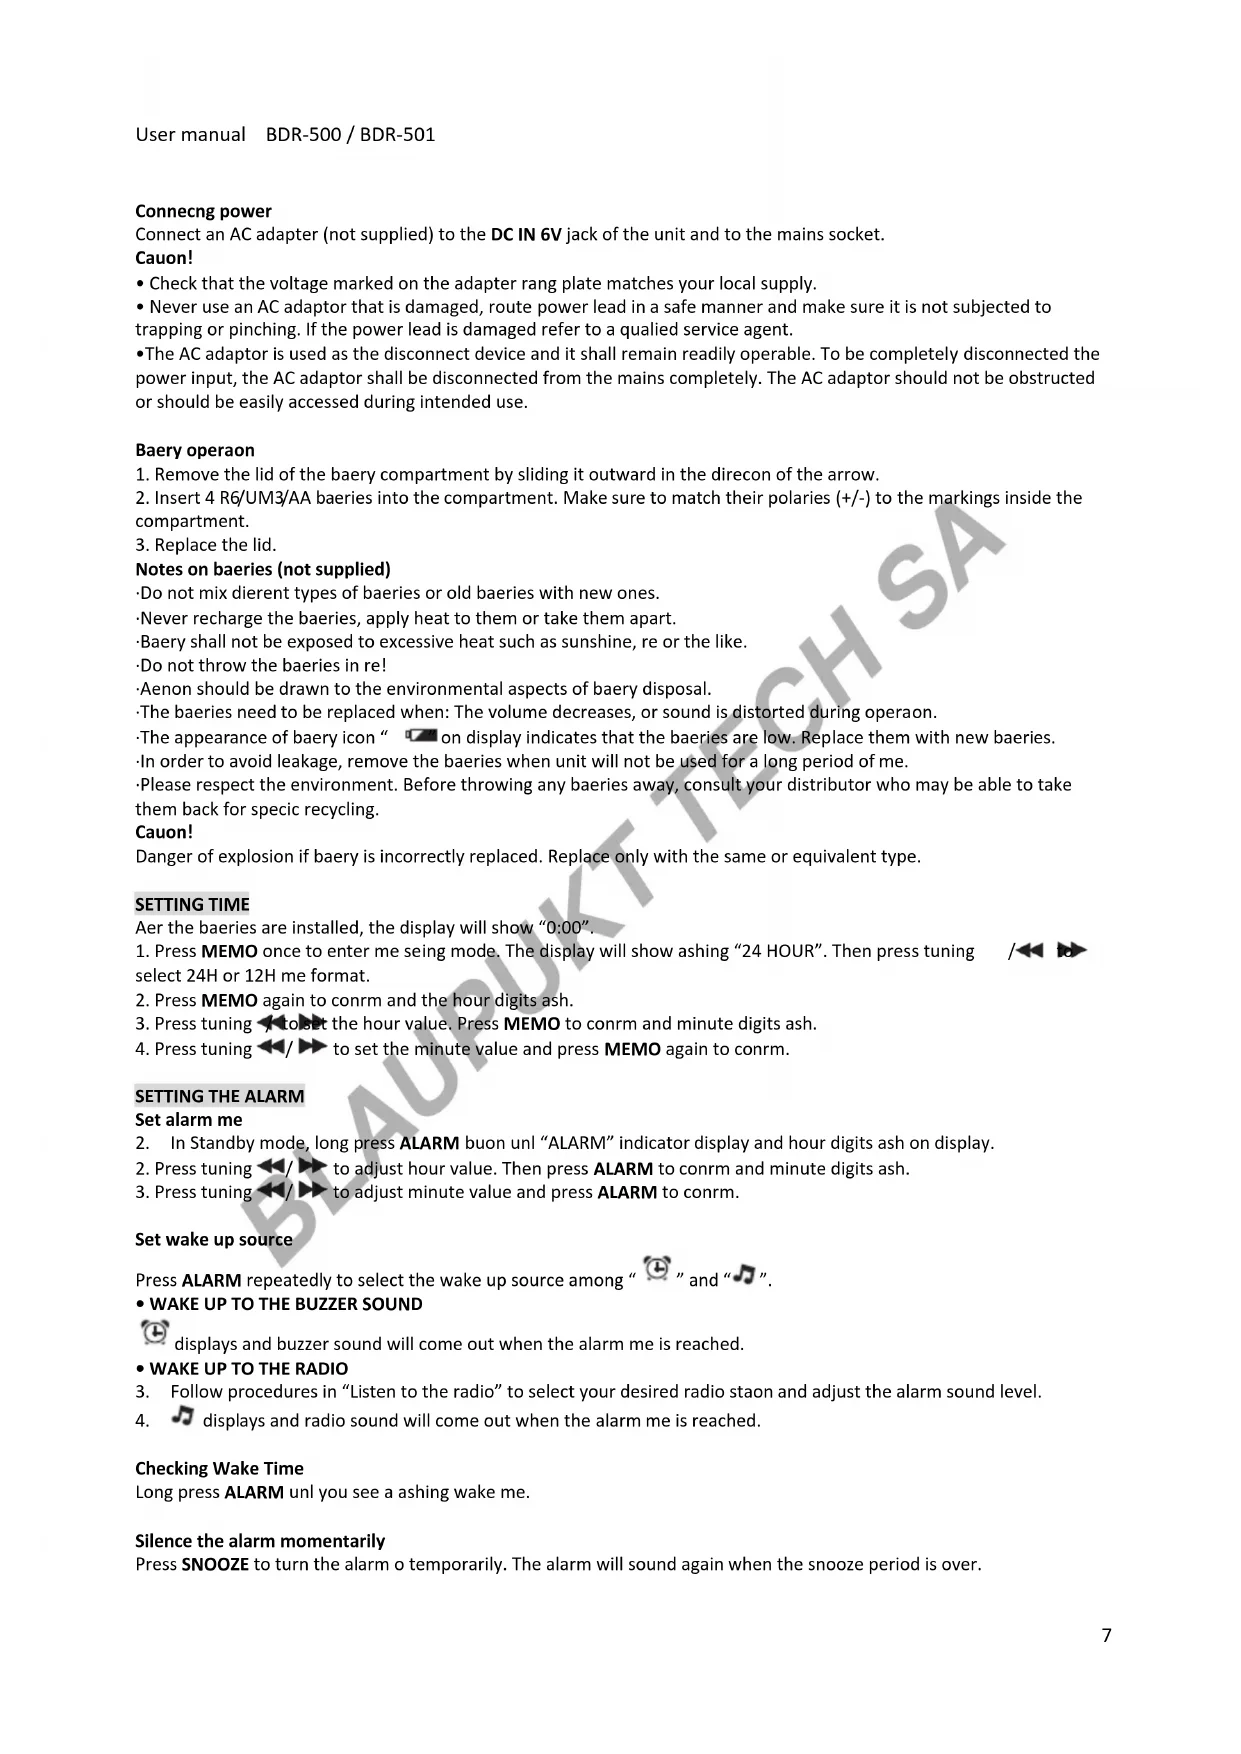
- Press MEMO once to enter me seing mode. The display will show ashing "24 HOUR". Then press tuning select 24H or 12H me format.

-
Press MEMO again to conrm and the hour digits ash.
-
Press tuning to set the hour value. Press MEMO to conrm and minute digits ash.
-
Press tuning ◀◀/▶▶ to set the minute value and press MEMO again to conrm.
SETTING THE ALARM
Set alarm me
- In Standby mode, long press ALARM buon unl "ALARM" indicator display and hour digits ash on display.
- Press tuning ◀◀/▶▶ to adjust hour value. Then press ALARM to conrm and minute digits ash.
- Press tuning ◀◀/▶▶ to adjust minute value and press ALARM to conrm.
Set wake up source
Press ALARM repeatedly to select the wake up source among “ ” and “ ”.
displays and buzzer sound will come out when the alarm me is reached.
- Follow procedures in "Listen to the radio" to select your desired radio staon and adjust the alarm sound level.
- ♪ displays and radio sound will come out when the alarm me is reached.
Checking Wake Time
Long press ALARM unl you see a ashing wake me.
Silence the alarm momentarily
Press SNOOZE to turn the alarm o temporarily. The alarm will sound again when the snooze period is over.
User manual BDR-500 / BDR-501
Note: snooze me is 9 minutes.
Stop the alarm
Press ON/OFF: The alarm will stop, and will sound again 24 hours later.
Cancel Wake Seng
Press ALARM repeatedly unl all alarm indicators disappear from the display.
SLEEP TO THE RADIO
In sleep mode, the radio will turn o automacally aer a specied me.
In radio ON mode, press SLEEP to select the desired me before turn o among 120-90-60-45-30-15-00.
* Select "00" then the sleep funcon is OFF, SLEEP indicator disappear from display.
When in SLEEP mode, press SLEEP buon to read the remaining sleep me.
SOUND PRESETS
When listening to the radio, press AUDIO buon repeatedly to select desired sound preset: VOICE, MUSIC or NORMAL.
USING THE RADIO
Listen to the radio
- Press ON/OFF.
- Select the frequency FM/MW by pressing BAND.
- Select the required radio staon with the buons
- Adjust the volume with the buons VOLUME +/-
To enhance radio recepon ability:
FM: Extend the telescopic antenna.
MW: Rotate the unit horizontally for opmum recepon.
Saving Preset Staons
-
Tune to a staon to be saved as a preset staon (see "Listen to the radio").
-
Press MEMO once and you will see "M" and a ashing "01" on the display.
-
Press PRESET / to select a preset number.
-
Press MEMO to save staon as selected preset number.
-
Repeat above steps to preset a maximum of 10 staons for MW and FM respectively.
Selecng Preset Staons
Press PRESET / to select a preset number.
RDS FUNCTION
When FM staon with RDS is received, the staon name (PS) is displayed. Press RDS buon repeatedly to display the program type (PTY), the radio text (RT), the frequency and the staon name (PS).
AUXILIARY FUNCTION
- Connect an audio device to the LINE IN jack, using an audio cable (not supplied).
- Switch the appliance on.
- Use the device's controls directly.
LISTENING WITH EARPHONES
Connect earphones (not included) to the earphone jack on unit.

Connuous use of earphones at high volume can damage the user's hearing.
SAFETY INSTRUCTION
IMPORTANT!
- The venlaon should not be impeded by covering the venlaon openings with items such as newspapers, tablecloths, curtains, etc.
- No naked ame sources, such as lighted candles, should be placed on the apparatus.
- The use of apparatus in moderate climates.
- The apparatus should not be exposed to dripping or splashing.
- Ensure a minimum distance of 5cm around the apparatus for sucient venlaon.
- Do not place objects lled with liquids, such as vases, on the apparatus.
- The rang plate is located at back of unit.
- Excessive sound pressure from earphones and headphones can cause hearing loss.
- Under the inuence of electrical fast transient or/and electrostac phenomenon, the product may malfuncon and require user to power reset.

If at any me in the future you should need to dispose of this product please note that Waste electrical products should not be disposed of with household waste. Please recycle where facilities exist. Check with your Local Authority or retailer for recycling advice. (Waste Electrical and Electronic Equipment Directive)
Note: Design and specicaon are subject to change without noce.
© 2011 All rights reserved by Blaupunkt. This material may be reproduced, copied or distributed for personal use only.
CE
