CL1460 - Radio AudioSonic - Free user manual and instructions
Find the device manual for free CL1460 AudioSonic in PDF.
User questions about CL1460 AudioSonic
0 question about this device. Answer the ones you know or ask your own.
Ask a new question about this device
Download the instructions for your Radio in PDF format for free! Find your manual CL1460 - AudioSonic and take your electronic device back in hand. On this page are published all the documents necessary for the use of your device. CL1460 by AudioSonic.
USER MANUAL CL1460 AudioSonic
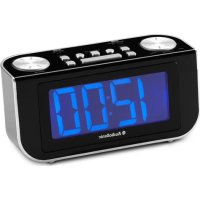
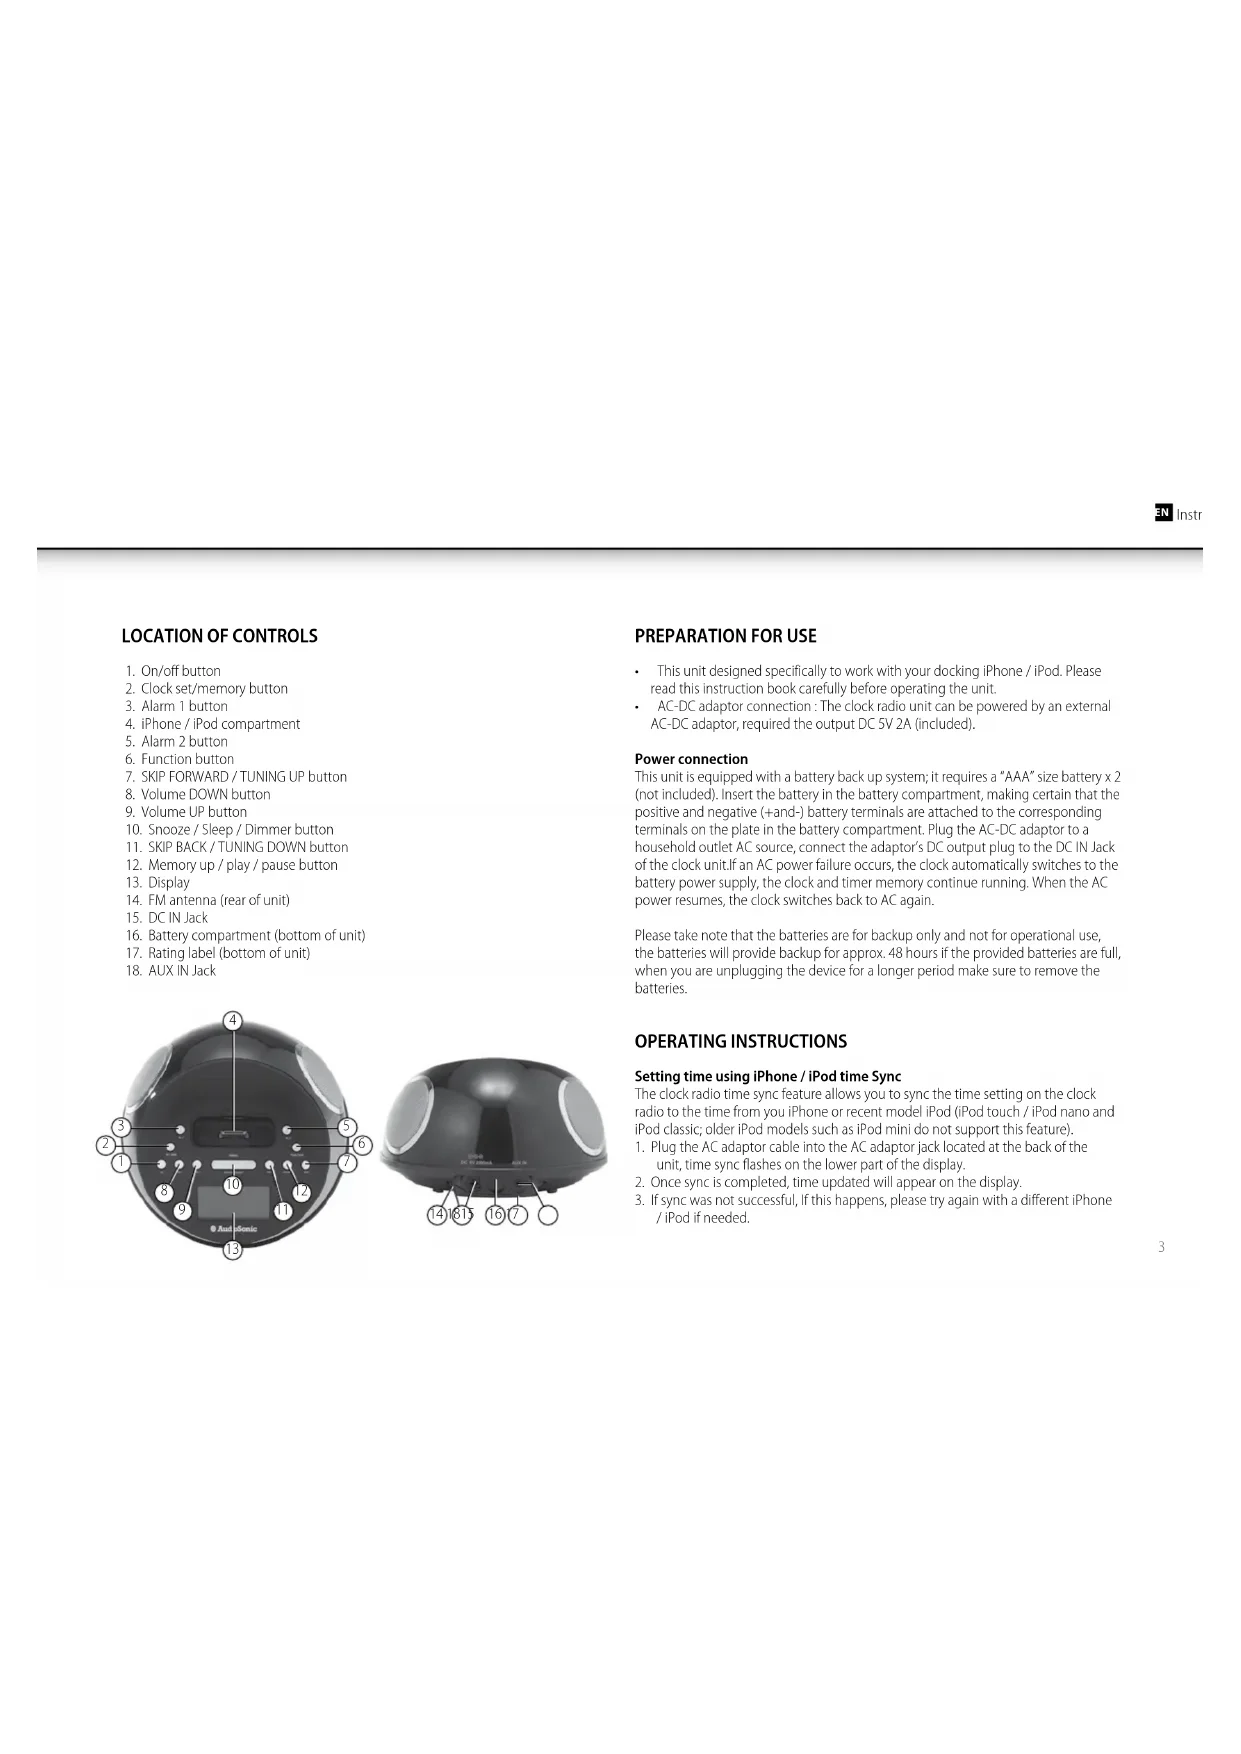
This unit designed specifically to work with your docking iPhone / iPod. Please read this instruction book carefully before operating the unit.
- AC-DC adaptor connection: The clock radio unit can be powered by an external AC-DC adaptor, required the output DC SV 2A (included).
Power connection
This unit is equipped with a battery back up system; it requires a "AAA" size battery x 2 (not included). Insert the battery in the battery compartment, making certain that the positive and negative (+and-) battery terminals are attached to the corresponding terminals on the plate in the battery compartment. Plug the AC-DC adaptor to a household outlet AC source, connect the adaptor's DC output plug to the DC IN Jack of the clock unit. If an AC power failure occurs, the clock automatically switches to the battery power supply, the clock and timer memory continue running. When the AC power resumes, the clock switches back to AC again.
Please take note that the batteries are for backup only and not for operational use, the batteries will provide backup for approx. 48 hours if the provided batteries are full, when you are unplugging the device for a longer period make sure to remove the batteries.
OPERATING INSTRUCTIONS
Setting time using iPhone / iPod time Sync
The clock radio time sync feature allows you to sync the time setting on the clock radio to the time from you iPhone or recent model iPod (iPod touch / iPod nano and iPod classic; older iPod models such as iPod mini do not support this feature).
- Plug the AC adaptor cable into the AC adaptor jack located at the back of the unit, time sync flashes on the lower part of the display.
- Once sync is completed, time updated will appear on the display.
-
If sync was not successful, If this happens, please try again with a different iPhone / iPod if needed.
-
iPhone time is automatically updated to the correct time via cell phone towers, the time on you iPod is accurate only to the time on the computer the last time the iPod wasynced to it. It's possible to have up to 59 seconds difference between the clock radio andynced iPod /iPhone.
Setting Clock Time (manually)
- With the power off, press and hold the clock set / memory button; "12 Hr" will blink. Press the Tune UP or Tune DOWN button to set the unit to the 24 hour (24 Hr) mode or 12 Hour (12 Hr) mode.
Press the clock set / memory button and the hours will blink. - Press the Tune UP or DOWN to set the current hour, then press the clock set / memory button again; the minute digits will blink. Press the Tune UP or Tune DOWN to set the current minutes.
- When done and you press clock set / memory button once again and the display time will blink 4 times to indicate the current time is set.
Setting Alarm Time
To preview the alarm time. Press the ALARM button once.
While the display is showing the alarm time and you hold the ALARM button for 3 seconds and the hours will blink.
Press the Tune UP or Tune DOWN to set the alarm hour.
Press the ALARM button again; the minute digits will blink. Press the Tune UP or Tune DOWN to set the alarm minutes.
- Press the ALARM button and you can change the sound mode (Buzzer, Radio, iPhone / iPod) for the alarm.
Press Tune UP or Tune DOWN to choose different sound mode. The alarm volume will gradually increase. Then press the ALARM button when done.
- To delay the alarm, press SNOOZE. It will come on again in approx. 9 minutes. You may repeat this cycle several times during the alarm cycle. To stop the alarm, press ALARM button.
To stop the alarm from coming on the following day, hold the ALARM button to turn it off. The alarm icon 1 or 2 will disappear to indicate the alarm is disarmed.
Note: To wake to iPhone / iPod, your iPhone / iPod must be properly docked and off or no alarm will sound.
Note: If you select wake to iPhone / iPod but no iPhone / iPod is present, the alarm will automatically switch to buzzer alarm.
Listening to your iPhone / iPod
When the iPhone / iPod is docked and in standby mode, press the function button to select iPod/iPhone mode. The iPhone / iPod icon will appear on the display.
Charging your iPhone / iPod
When you docked your iPhone / iPod and it recharges (until fully charged).
Note: iPod Shuffles will NOT charge.
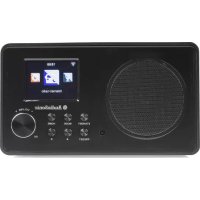
Listening to Radio
Press the On/off button to turn the unit on.
Press the FUNCTION button to select the Radio Mode.
- Use the Tune UP or Tune DOWN button to select the desired FM station. If you press and hold the Tune UP or Tune DOWN button for one second, then release, the unit will automatically scan to the next broadcasting station.
Press the On/Off button to turn the radio off.
To Set/Recall the radio presets
Press the On/off button to turn the unit on.
Press the FUNCTION button to select the Radio Mode.
Use the Tune UP or Tune DOWN button to select the desired FM station.
Press the clock set/memory button; "P01" will blink in the display.
Press the clock set/memory button again to set the preset. Repeat steps 2 through 4 to set more presets.
The unit can preset 20 station totally for FM.
- When "P01-P20" is blinking, press Tune UP or Tune DOWN to select the Preset number.
- When recalling preset stations, press Mem -up to select the Preset number.
Sleep Operation
- When listening to radio or iPhone / iPod, press SNOOZE button to enter sleep mode. You can just adjust the sleep timer from 90 mins to 10 mins by pressing the SNOOZE button. The unit will automatically turn off after the selected time.
Press On/Off button to cancel sleep function.
AUX IN
- The AUXIN Jack can be used to playback alternate audio signal sources on the unit speakers.
This AUX IN Jack requires a 3.5mm audio cable for input signal.
Note: This unit does not provide a recording signal from AUX IN to the iPhone / iPod. It's purpose is to allow other types of audio devices to playback on the unit speaker.
Note:The 3.5mm audio cable is not included
WARNING
- No naked flame sources, such as lighted candles, should be placed on the apparatus.
- Do not place the product in closed bookcases or racks without proper ventilation.
- Where the mains plug is used as the disconnect device, the disconnect device shall remain readily operable.
- The ventilation should not be impeded by covering the ventilation openings with items, such as newspapers, table-cloths, curtains, etc.
- It shall not be exposed to dripping or splashing and that no objects filled with liquids, such as vases, shall be placed on the apparatus.
- Do not connect FM antenna to outside antenna.
- The unit should not be exposed to direct sunlight, very high or low temperature, moisture, vibrations or placed in a dusty environment.
- Do not use abrasive, benzene, thinner or other solvents to clean the surface of the unit. To clean, wipe it will mild non-abrasive detergent solution and clean soft cloth.
-
Never attempt to insert wires, pins or other such objects into the vents or opening of the unit.
-
Disconnect device warning: Main plug is used as the connection, so it should always remain ready operate.
CAUTION
Danger of explosion if battery is incorrectly replaced
- Replace only with the same or equivalent type