AQUATRIO - Steam plant PHILIPS - Free user manual and instructions
Find the device manual for free AQUATRIO PHILIPS in PDF.
| Brand | Philips |
| Model | AQUATRIO |
| Product type | Vacuum cleaner |
| Power supply | Mains (local voltage) |
| Suction power | Electronically adjustable (MAX/MIN) |
| Container capacity | Dust bag (S-bag type) |
| Bag type | Double-layer paper S-bag |
| Motor protection filter | Replace once a year |
| Super Clean Air filter | Replace every 6 months (some models) |
| HEPA Super Clean Air filter | Replace every 6 months (some models) |
| Bag full indicator | Indicator light |
| Cord rewinder | Automatic with button |
| Included accessories | Hose, telescopic tube, combination nozzle, Reach & Clean brush, crevice tool, small nozzle, small brush |
| Accessory storage | Clip on tube, slot for nozzle on appliance |
| Weight | Approx. 5 kg |
| Dimensions (W x D x H) | Approx. 40 x 30 x 30 cm |
| Cord length | Approx. 8 m |
| Safety | Do not use if plug or cord is damaged; replacement by professional |
| Warranty | International Philips warranty |
| Recycling | Do not dispose with household waste |
Frequently Asked Questions - AQUATRIO PHILIPS
User questions about AQUATRIO PHILIPS
0 question about this device. Answer the ones you know or ask your own.
Ask a new question about this device
Download the instructions for your Steam plant in PDF format for free! Find your manual AQUATRIO - PHILIPS and take your electronic device back in hand. On this page are published all the documents necessary for the use of your device. AQUATRIO by PHILIPS.
USER MANUAL AQUATRIO PHILIPS
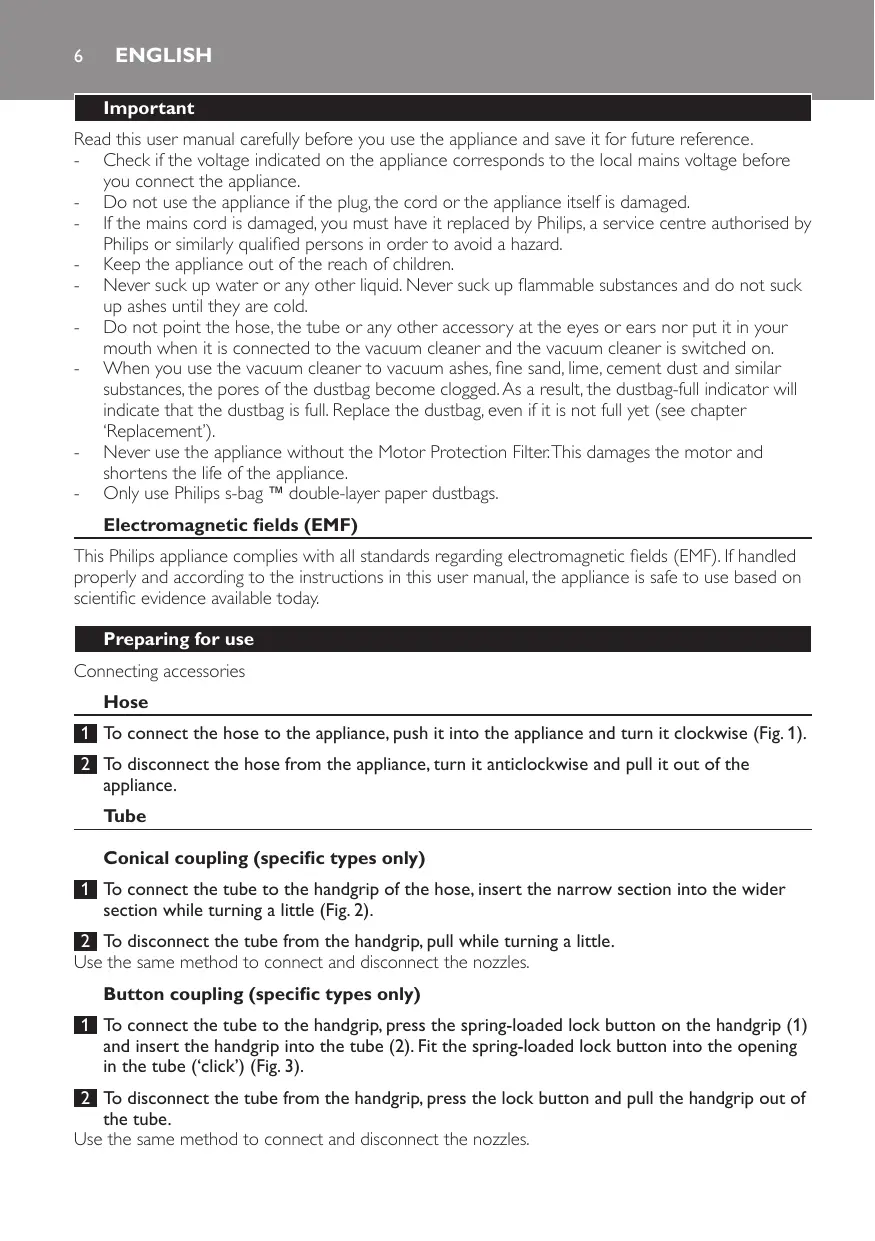
Read this user manual carefully before you use the appliance and save it for future reference.
- Check if the voltage indicated on the appliance corresponds to the local mains voltage before you connect the appliance.
- Do not use the appliance if the plug, the cord or the appliance itself is damaged.
- If the mains cord is damaged, you must have it replaced by Philips, a service centre authorised by Philips or similarly qualified persons in order to avoid a hazard.
- Keep the appliance out of the reach of children.
- Never suck up water or any other liquid. Never suck up flammable substances and do not suck up ashes until they are cold.
- Do not point the hose, the tube or any other accessory at the eyes or ears nor put it in your mouth when it is connected to the vacuum cleaner and the vacuum cleaner is switched on.
- When you use the vacuum cleaner to vacuum ashes, fine sand, lime, cement dust and similar substances, the pores of the dustbag become clogged. As a result, the dustbag-full indicator will indicate that the dustbag is full. Replace the dustbag, even if it is not full yet (see chapter 'Replacement').
- Never use the appliance without the Motor Protection Filter. This damages the motor and shortens the life of the appliance.
Only use Philips s-bagTM double-layer paper dustbags.
Electromagnetic fields (EMF)
This Philips appliance complies with all standards regarding electromagnetic fields (EMF). If handled properly and according to the instructions in this user manual, the appliance is safe to use based on scientific evidence available today.
Preparing for use
Connecting accessories
Hose
1 To connect the hose to the appliance, push it into the appliance and turn it clockwise (Fig. 1).
2 To disconnect the hose from the appliance, turn it anticlockwise and pull it out of the appliance.
Tube
Conical coupling (specific types only)
1 To connect the tube to the handgrip of the hose, insert the narrow section into the wider section while turning a little (Fig. 2).
2 To disconnect the tube from the handgrip, pull while turning a little.
Use the same method to connect and disconnect the nozzles.
Button coupling (specific types only)
1 To connect the tube to the handgrip, press the spring-loaded lock button on the handgrip (1) and insert the handgrip into the tube (2). Fit the spring-loaded lock button into the opening in the tube ('click') (Fig. 3).
2 To disconnect the tube from the handgrip, press the lock button and pull the handgrip out of the tube.
Use the same method to connect and disconnect the nozzles.
Telescopic tube (specific types only)
1 Adjust the tube to the length you find most comfortable during vacuum cleaning (Fig. 4).
Nozzles
Combination nozzle (specific types only)
The combination nozzle can be used on either carpets or hard floors.
1 Connect the combination nozzle to the tube.
To clean hard floors, push the rocker switch on top of the combination nozzle with your foot. The brush strip comes out of the nozzle housing. (Fig. 5)
3 To clean carpets, push the rocker switch again to make the brush strip disappear into the nozzle housing again. (Fig. 6)
Reach & Clean nozzle (specific types only)
- The Reach & Clean nozzle can be used on either carpets or hard floors. The nozzle can be turned 360 degrees to 4 different positions, allowing you to vacuum large areas as well as hard-to-reach places in an easy way. When the nozzle is positioned lengthwise, the suction power is concentrated at the front side of the nozzle (Fig. 7).
- To adjust the nozzle to the type of floor and the area to be cleaned, put your foot on the indicated spot. Then turn the tube until the nozzle is in the required position (Fig. 8).
1 Connect the Reach & Clean nozzle to the tube.
2 With the nozzle positioned breadthwise and the brush strip folded out, you can vacuum large hard floor areas. Turn the tube until the brush strip pops out of the nozzle housing and the nozzle is positioned breadthwise (Fig. 9).
3 With the nozzle positioned lengthwise and the brush strip folded out, you can vacuum small hard floor areas. Turn the tube 90 degrees anticlockwise until the nozzle is positioned lengthwise with the brush strip still folded out of the nozzle housing (Fig. 10).
4 With the nozzle positioned breadthwise and the brush strip folded in, you can vacuum large soft floor areas. Turn the tube 90 degrees anticlockwise again to position the nozzle breadthwise and to make the brush strip disappear into the nozzle housing (Fig. 11).
5 With the nozzle positioned lengthwise and the brush strip folded in, you can vacuum small soft floor areas. Turn the tube 90 degrees anticlockwise again until the nozzle is positioned lengthwise with the brush strip still folded in (Fig. 12).
Crevice tool, small nozzle and small brush (specific types only)
1 Connect the crevice tool, small nozzle or small brush directly to the handgrip or to the tube.
Accessory clip (specific types only)
The accessory clip can simply be snapped onto the tube.
- The crevice tool and the small nozzle can be snapped onto the clip (Fig. 13).
Using the appliance
Vacuuming
1 Pull the cord out of the appliance and put the mains plug in the wall socket (Fig. 14).
Push the on/off button on top of the appliance with your foot to switch on the appliance.
3 The appliance can be carried in two ways:
-
You can carry the vacuum cleaner vertically by the handle on the front of the appliance (Fig. 15).
-
You can carry the vacuum cleaner horizontally by the handle on top of the appliance.
Adjusting suction power
You can adjust the suction power while vacuuming.
1 Adjust the suction power with the electronic suction power knob (Fig. 16).
- Turn the knob to MAX for maximum suction power (Fig. 17).
Use maximum suction power to vacuum very dirty carpets and hard floors.
- Turn the knob to MIN for minimum suction power.
Use minimum suction power to vacuum curtains, table carpets, etc.
Storage
1 Switch off the appliance and remove the mains plug from the wall socket.
Press the cord rewind button to rewind the mains cord (Fig. 18).
3 Put the appliance in upright position and insert the ridge on the nozzle into the slot to attach the nozzle to the appliance (Fig. 19).
Replacement
Always unplug the appliance before you replace the dustbag or the filters.
Replacing the dustbag
- Replace the dustbag as soon as the dustbag-full indicator has changed colour permanently, i.e. even when the nozzle is not placed on the floor (Fig. 20).
1 Switch off the appliance and open the dustbag compartment cover (Fig. 21).
2 Push the dustbag holder backwards (Fig. 22).
3 Pull the cardboard tag upwards to remove the full dustbag from the holder. The dustbag is sealed automatically (Fig. 23).
4 Slide the cardboard front of the new dustbag into the two grooves of the dustbag holder. Press it down as far as possible (Fig. 24).
5 Pull the dustbag holder forwards ('click') (Fig. 25). If you have not inserted a dustbag, you cannot close the dustbag compartment cover.
Replacing filters
Motor Protection Filter
Replace the Motor Protection Filter once a year.
1 Switch off the appliance and open the cover. Remove the filter.
2 Insert a new filter into the holder with the white side pointing towards the dustbag compartment (Fig. 26).
Super Clean Air Filter (specific types only)
Replace the Super Clean Air Filter every 6 months.
1 Open the grille at the back of the appliance and remove it (Fig. 27).
2 Remove the old filter. Place the bottom edge of the new filter properly behind the ridges on the inside of the grille (1). Then push the top of the filter down into the grille (2) (Fig. 28).
3 Reattach the grille to the vacuum cleaner. First hook the bottom edge of the grille into the appliance (1) and then push the grille towards the appliance (2) until it snaps home.
Super Clean Air HEPA Filter (specific types only)
Instead of the Super Clean Air Filter, some types are equipped with the special Super Clean Air HEPA Filter. This filter not only removes household dust, but also harmful microscopic vermin.
- Replace the Super Clean Air HEPA Filter every 6 months.
1 Open the filter grille and remove the Super Clean Air HEPA Filter.
2 Place the new filter behind the brackets. Make sure that the Philips logo on the filter is visible in the bottom right-hand corner (Fig. 29).
3 Close the filter grille.
Obtaining replacement items
If you have any difficulties obtaining dustbags or filters for this appliance, please contact the Philips Customer Care Centre in your country or consult the worldwide guarantee leaflet.
Dustbags
Philips Classic s-bag™ paper dustbags are available under type number FC8021.
Filters
Two Super Clean Air Filters and one Motor Protection Filter are available under type number FC8032.
Super Clean Air HEPA Filters are available under type number FC8044.
Environment
- Do not throw away the appliance with the normal household waste at the end of its life, but hand it in at an official collection point for recycling. By doing this, you help to preserve the environment (Fig. 30).
Guarantee & service
If you need information or if you have a problem, please visit the Philips website at www.philips.com or contact the Philips Customer Care Centre in your country (you find its phone number in the worldwide guarantee leaflet). If there is no Customer Care Centre in your country, go to your local Philips dealer or contact the Service Department of Philips Domestic Appliances and Personal Care BV.
Troubleshooting
1 The suction power is insufficient.
- Make sure the suction power knob is in maximum position.
- Perhaps the dustbag is full. Replace the dustbag.
- Perhaps the filters are dirty. Replace the filters.
- The nozzle, tube or hose may be blocked up. To remove the obstruction, disconnect the blocked-up item and connect it (as far as possible) the other way around. Switch on the vacuum cleaner to force the air through the blocked-up item in opposite direction (Fig. 31).