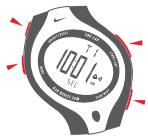
USER MANUAL TRIAX 50 NIKE
Your NIKE Triax running watch is engineered to meet the specific performance demands of the running athlete. It will provide quick, one-touch access to a variety of critical information during your training runs and in competition.
This manual combines step-by-step operational instructions to help you identify the programmable features and functions of each specific mode.
For a quick demonstration of the watch features, press the START/LAP and STOP/NEXT buttons simultaneously. Press any button to exit DEMO mode.
CONTENTS
MODES
a CHRONOGRAPH
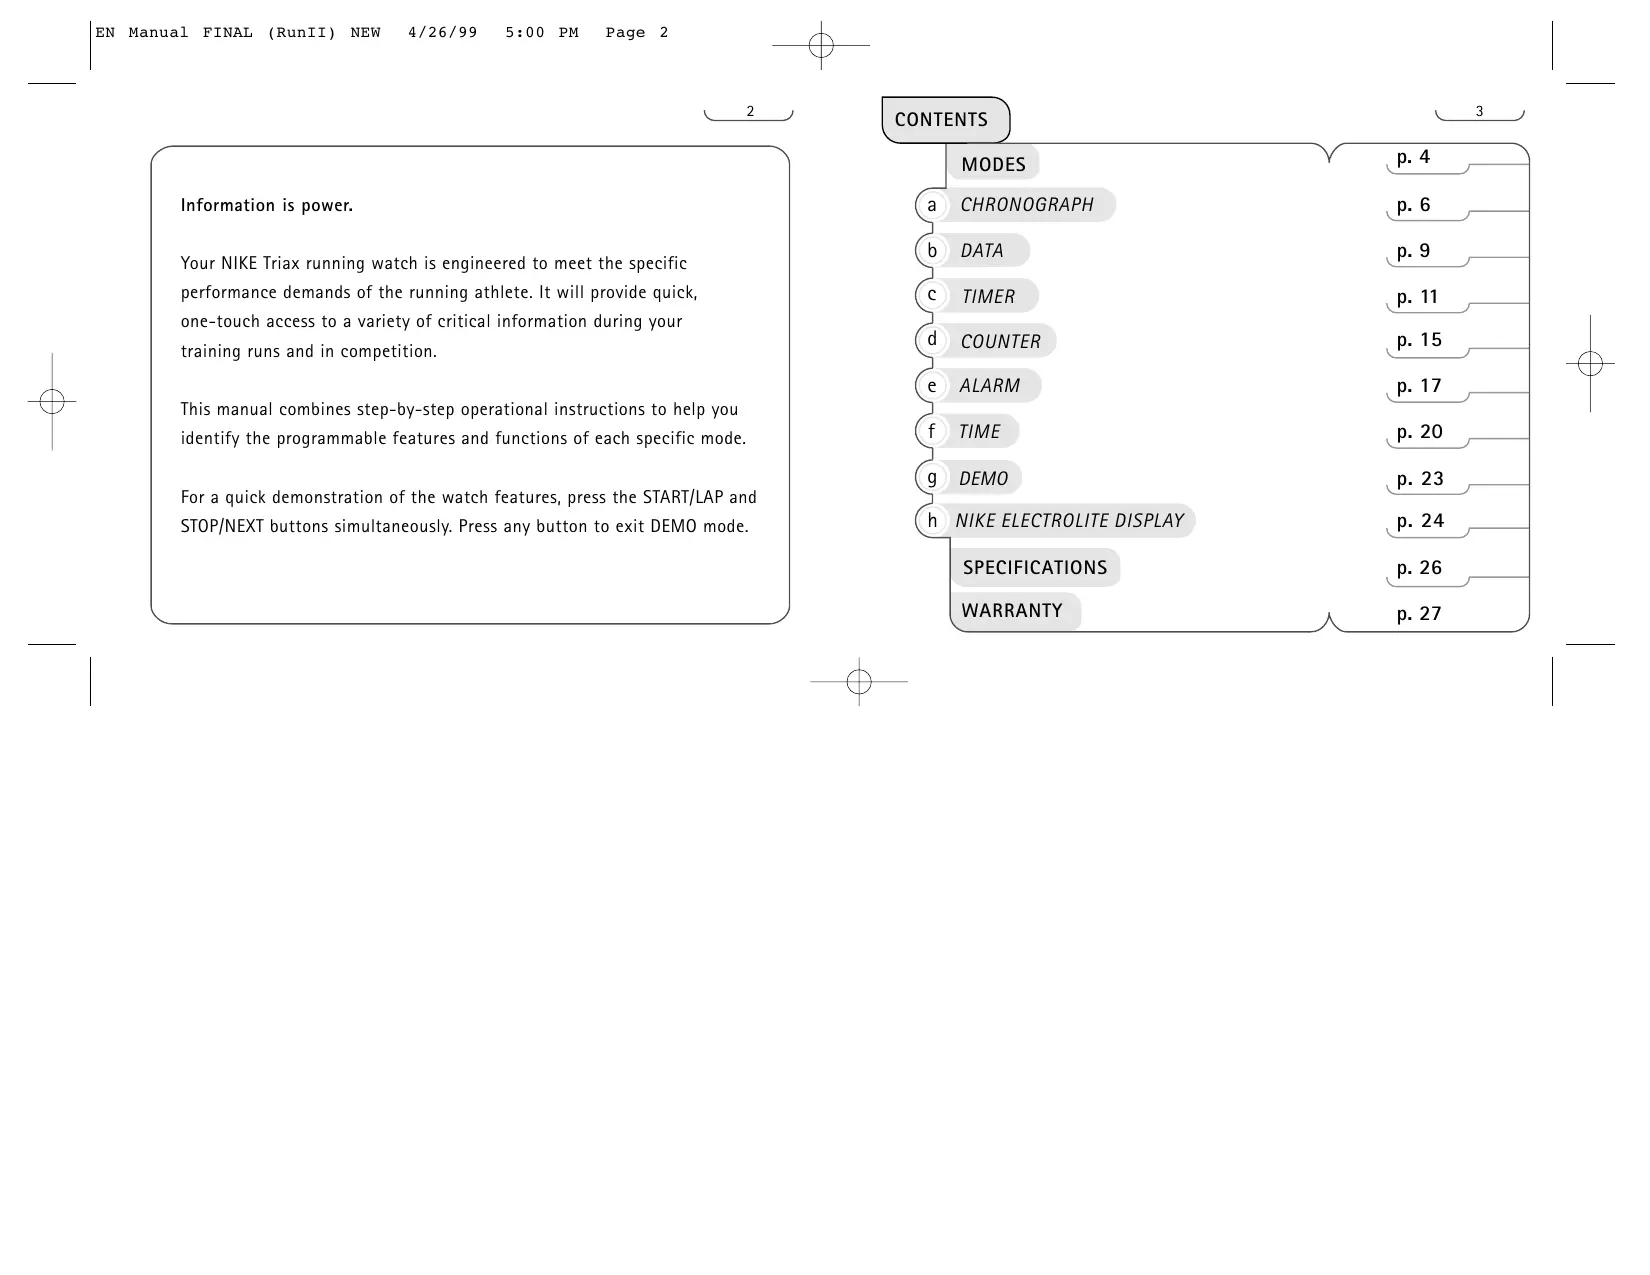
b DATA
d COUNTER
e ALARM
g DEMO
h NIKE ELECTROLITE DISPLAY
SPECIFICATIONS
WARRANTY
p. 4
p. 6
p. 9
p. 15
p. 17
p. 24
p. 27
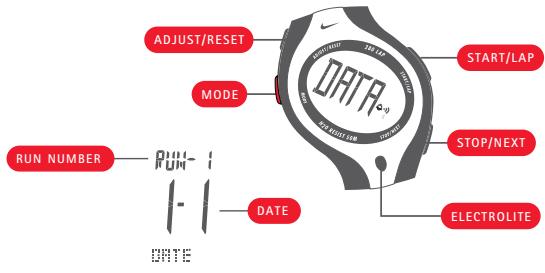
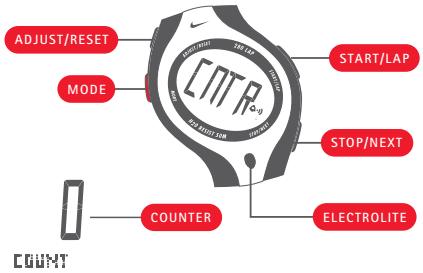
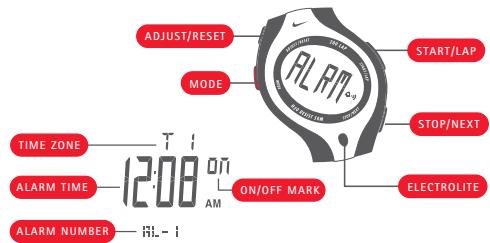
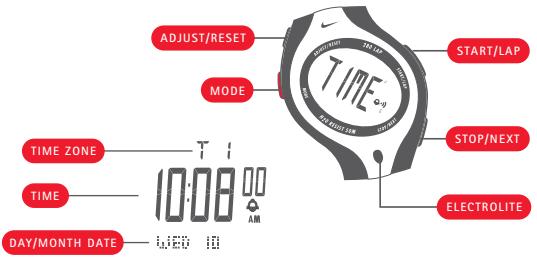
MODES
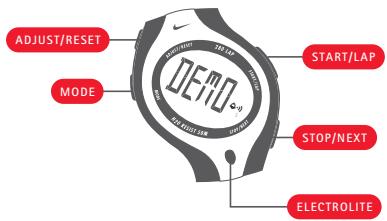
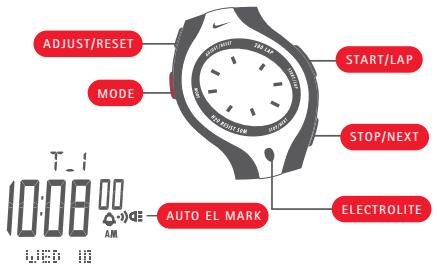
Cycle to a mode
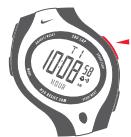
Press MODE button repeatedly until the desired mode (CHRONOGRAPH, DATA, TIMER, COUNTER, ALARM or TIME) appears. Release button; in 1.5 seconds the selected mode display appears. Note: Press and hold the MODE button for one second in any mode for quick return to TIME mode.
a CHRONOGRAPH

Measures and records lap and split times within runs.
DATA
Recalls lap and split time data from recorded runs.
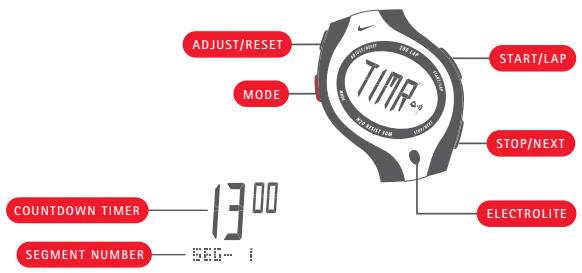
C TIMER
Countdown interval timer. Up to 5 consecutively counting, programmable segments.
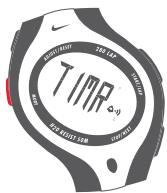
d COUNTER
Counts in positive or negative increments of one.
e ALARM
Features 7 alarms.
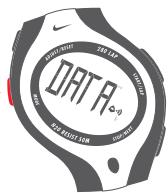
f TIME
Provides time and calendar information for two time zones.
g DEMO
Displays brief view of functions within each mode.
h ELECTROLITE
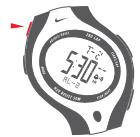
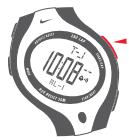
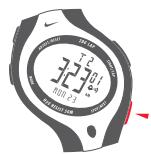
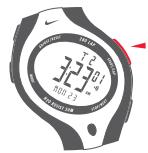
Provides one touch backlighting.

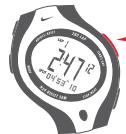
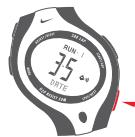
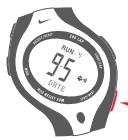
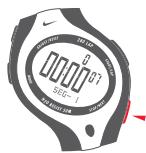
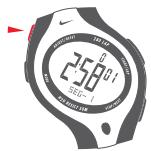
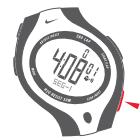
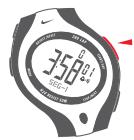
CHRONOGRAPH

In CHRONOGRAPH mode you can measure and record lap times and split times for multiple runs. Recorded times are accessed in DATA mode.
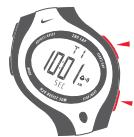
Lap and split times are displayed simultaneously. The primary display is centrally located and larger than the secondary display, which appears below. You can select whether lap or split time occupies the primary position.
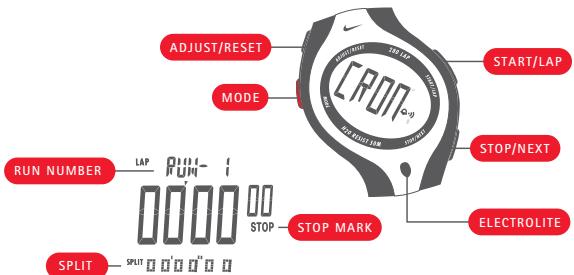
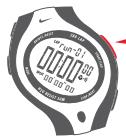
Run - A run is an exercise session consisting of any number of consecutive lap time measurements.
Lap - Lap time is the time required to cover a given segment of a run.
Split - Split time is the total elapsed time in a run up to the completion of a lap.
Start measuring a lap
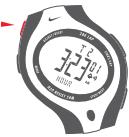
Press the START/LAP button.
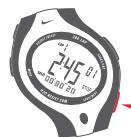
The lap/split time display begins with 1/100 seconds, then seconds, then minutes. If the accumulated times in a run proceed to hours, the elapsed hours appear above the primary display and replace 1/100 seconds in the secondary display.
Mark lap completion and start next lap measurement Press the START/LAP button.
The completed lap number appears above the primary display. The split time appears for 7 seconds, then the display returns to the overall time. Completed lap time appears for 7 seconds, then the display shows the elapsed time for the next lap.
Stop measuring a lap
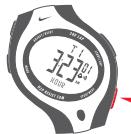
Press the STOP/NEXT button.
The counting stops, and the word "STOP" appears on the display.
The lap time and total elapsed time appear.
Restart a lap measurement
Press the START/LAP button.
The counting continues.
Note: If you want to save the times for your most recent run, cycle to the next run. If you want to erase the times for your most recent run, reset the run.
Cycle to the next run
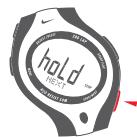
The chronograph must be stopped to cycle to the next run. Press and hold the STOP/NEXT button for two seconds. "HOLD NEXT" flashes in the display. Then the next run sequence appears at the top of the display. The time digits return to zero. Your Triax watch will record the next lap times as part of a new run.

Reset a run
The chronograph must be stopped to reset a run.
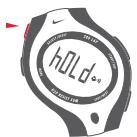
Press and hold ADJUST/RESET for 2 seconds.
"HOLD RESET" flashes to reset current run. Time returns to zero.
NOTE: Over 100 hours, the run will be reset automatically.
Switch the primary display between lap and split time In CHRONOGRAPH mode, press the ADJUST/RESET but
Lap and split times will change between primary and secondary position on the display.
Note that display settings in CHRONOGRAPH mode are also reflected in DATA mode.
Check remaining memory capacity
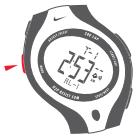
When the chronograph is reset, press the STOP/NEXT button.
Lap memory capacity is displayed.
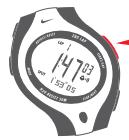
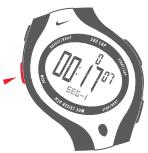
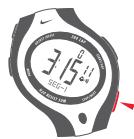
DATA
In DATA mode you can recall lap and split times measurements from your saved runs.
Cycle through the run numbers
Press the STOP/NEXT button.
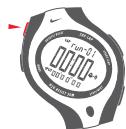
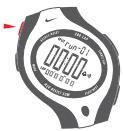
Run number and date of run are displayed.
NOTE: If dashes appear in the display, no data exists for that run.
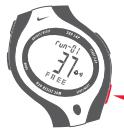
Cycle by date through lap and split times, total time, best time, and average time for each run
Press the START/LAP button.
Erase data for an individual run
Press the STOP/NEXT button to select a run that you want to delete.
"HOLD CLEAR" flashes, and you will hear a confirmation tone, then the data for the selected run is erased.
NOTE: When you delete a run the next run takes its place. For example, if you delete RUN 3 from memory, RUN 4 replaces RUN 3. If DATA memory becomes full during a run, delete that run and begin a new run.
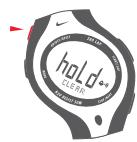
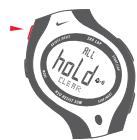
Erase all data
Press and hold the ADJUST/RESET button for an additional 4 seconds after deleting an individual run.
You will hear a continuous tone. "HOLD CLEAR ALL" flashes in the display. After 7 seconds, [- - - ] indicates that all data has been erased.
TIMER
TIMER mode provides
a programmable countdown
interval timer. You can set up
to 5 timed segments for your
workout. As each timer segment
is completed the next begins.
Set unused segments to zero.
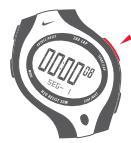
Set the timer segments
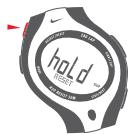
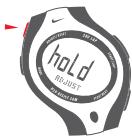
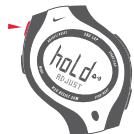
1 Press and hold the ADJUST/RESET button for two seconds.
"HOLD ADJUST" flashes in the display, then the segment number and hour:minutes seconds display appears.
The seconds indicator flashes.
2 Press the START/LAP button to increase the flashing value. Press once to increase the flashing value. Hold down for quick advance.
3 Press the STOP/NEXT button to decrease the flashing value.
4 Press the MODE button to cycle to the next value.
5 Repeat steps 2-4 until you have set all values: seconds, minutes, hours, and segment numbers.
6 Press the ADJUST/RESET button to save timer settings.
Start the countdown
1 Set any or all 5 segments.
2 Press the STOP/NEXT button to advance to the segment you want to start with.
3 Press the START/LAP button.
- Countdown begins. When the countdown reaches zero, the timer beeps, and the countdown begins for the next segment. The number completed timer cycles appears above the countdown display.
NOTE: When the countdown is complete for all 5 segments, the cycle repeats. For example, when segment 1 is completed, segment 2 will begin. If segments 3,4 and 5 are set to zero, segment 1 will begin at the completion of segment 2.
Stop the timer during countdown
Press the STOP/NEXT button.
Reset the timer
When timer is stopped, press and hold the ADJUST/RESET button for about 2 seconds. Display returns to the original starting point.
Clear all timer segments
Timer must be stopped and reset to clear all segments.
Press and hold the STOP/NEXT button for 4 seconds.
"HOLD ALL CLEAR" flashes and all timer segments reset to zero.

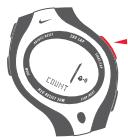
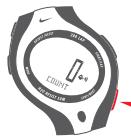
COUNTER
In COUNTER mode you can count in positive or negative increments of one.
Increase the count by one
Press the START/LAP button.
Decrease the count by one
Press the STOP/NEXT button.
NOTE: You can count from -999 to 999, beyond which the counter returns to zero.
Reset the counter to zero
Press and hold ADJUST/RESET for 2 seconds.
"HOLD RESET" flashes in the display, then the count returns to zero.


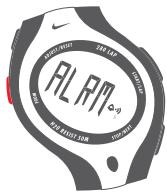
ALARM
In ALARM mode you can set seven distinct alarms that will sound intermittently for 55 seconds, or until any button is pressed.
The alarm sounds for fifteen seconds, then pauses for ten. Then it rings for ten seconds, pauses for ten seconds, and rings for ten more seconds. For the last five seconds Nike Electrolite display will flash in unison.
Set an alarm
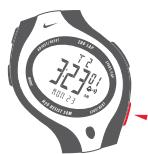
1 Press the STOP/NEXT button to select one of seven alarms to set.
2 Press and hold the ADJUST/RESET button for 2 seconds. "HOLD ADJUST" flashes in the display, then the hours:minutes and time zone appear. The hours indicator flashes.

3 Press the START/LAP button to increase the flashing value. Press once to advance one hour. Hold down for quick advance.
4 Press the STOP/NEXT button to decrease the flashing value.
5 Press the MODE button to cycle to the next adjustable value.
6 Repeat steps 3-5 until you have set all values: hour, minutes, time zone.

7 Press the ADJUST/RESET button to save the changes and activate the alarm.
NOTE: Each alarm is active only in the time zone for which it is set.
Advance to the next alarm
Press the STOP/NEXT button.
The next alarm number appears at the bottom of the display.
Turn the alarm on and off
Press the START/LAP button.
The word ON toggles off and on each time you press the button.
Turn all alarms off
Press and hold the STOP/NEXT button for 4 seconds.
"HOLD ALL OFF" flashes and all alarms turn off.
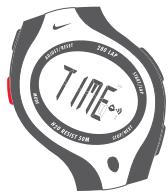
f TIME
20
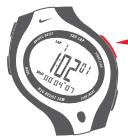
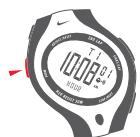
In TIME mode you can set the time and calendar information for two time zones.
NOTE: Press and hold the MODE button for one second in any mode for quick return to TIME mode.
Set time of day and calendar
1 Press and hold the ADJUST/RESET button for two seconds.
"HOLD ADJUST" flashes in the display, then the time and time zone appears. The seconds indicator flashes.
NOTE: Under thirty seconds the value resets to zero. Over thirty seconds, minutes advance.
2 Press the START/LAP or STOP/NEXT button to reset the seconds.
3 Press the MODE button to cycle to the next value.
4 Press the START/LAP button to increase the flashing value.
5 Press the STOP/NEXT button to decrease the flashing value.
6 Repeat steps 3-5 until you have set all values: seconds, hours, minutes, day, month, year, 12 or 24-hour clock, and day/date or month/date display.
7 Press the ADJUST/RESET button to save the changes.
21
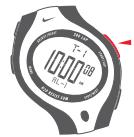
Switch between time zones
1 In TIME mode, press and hold the STOP/NEXT button. The alternate time zone time-of-day information appears.
2 Release the button when time zone indicator stops flashing.
3 Follow the preceding instructions to set the time and calendar information for the alternate time zone.
Hold the STOP/NEXT button for fewer than 3 seconds for a brief display of alternate time zone information.
The symbol toggles on and off each time the button is pressed.
NOTE: Press and hold the MODE button for one second in any mode for quick return to TIME mode.
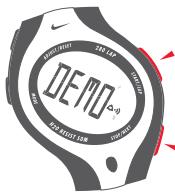
g DEMO
In DEMO mode you can display a brief view of functions within each mode.
Activate DEMO mode
DEMO mode is accessed through TIME mode. In TIME mode, press and hold the START/LAP and STOP/NEXT buttons simultaneously. While holding buttons, you will hear the sound demonstration. The watch will cycle through the modes, briefly demonstrating the functions of each.
Press any button to exit DEMO mode.
NOTE: If the timer or chronograph is running, their values will be displayed in DEMO mode.
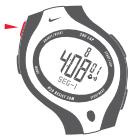
NIKE ELECTROLITE DISPLAY
24
You can illuminate the display by pressing the Electrolite button. Activating the auto-Electrolite display illuminates the display at the press of any button.
Activate the auto-Electrolite feature
Press and hold the Electrolite button for 2 seconds. The auto illumination symbol appears. The Electrolite display will illuminate for 2 seconds at the press of any button.
De-activate the auto-Electrolite feature
Press and hold the Electrolite button for about 2 seconds.
The auto illumination symbol disappears.
NOTE: The auto-Electrolite feature will turn itself off after 12 hours to conserve battery life.
SPECIFICATIONS
26
MODE LIMITS
CHRONOGRAPH
99:59'59"99
TIMER
99:59'59"
COUNTER
999/-999
WATER RESISTANCE
Up to 10 ATM
TRIAX MATERIALS
CRYSTAL
Mineral Glass
CASE
Plastic Resin
METAL BEZEL (Triax 300/51 only)
Anodized Aluminum
CASEBACK
Stainless Steel
STRAP
Urethane
BUCKLE
Stainless Steel
BATTERY LIFE
When TIME display flashes continuously, it may be time to replace battery. Battery life is 1.5-2 years. Triax 300/250/120 requires CR2025. Triax 50/42/26 requires CR1620.
WARRANTY
[USA ONLY] One Year Limited Warranty (USA)
Your NIKE watch is warranted to be free of defects in materials or workmanship, under normal use, for a period of one year from the date of original retail purchase. This limited warranty excludes the battery, crystal, strap, or damage resulting from improper care or handling, accidents, modification, unauthorized repairs, or normal wear.
Return the defective watch and the store receipt to the place of purchase. If there is a covered defect, the defective parts or watch will be repaired or replaced, at Nike's option, with the same product (if available) or a similar product of equal price.
This limited warranty is in lieu of all other express or implied warranties, and excludes refund of the purchase price. In no event shall NIKE be liable for direct, indirect, incidental, or consequential damages arising out of the use of the watch, and any recovery is limited to the purchase price. No other person or company is authorized to change this limited warranty, and your dealer is solely responsible for any other warranties.
Please fill out this registration card and retain as proof of warranty.
OWNER'S NAME
DATE OF PURCHASE
RETAILER (IF KNOWN)
NAME/STYLE OF WATCH
SERIAL NUMBER (LOCATED ON BACK OF WATCH)
SIGNATURE