
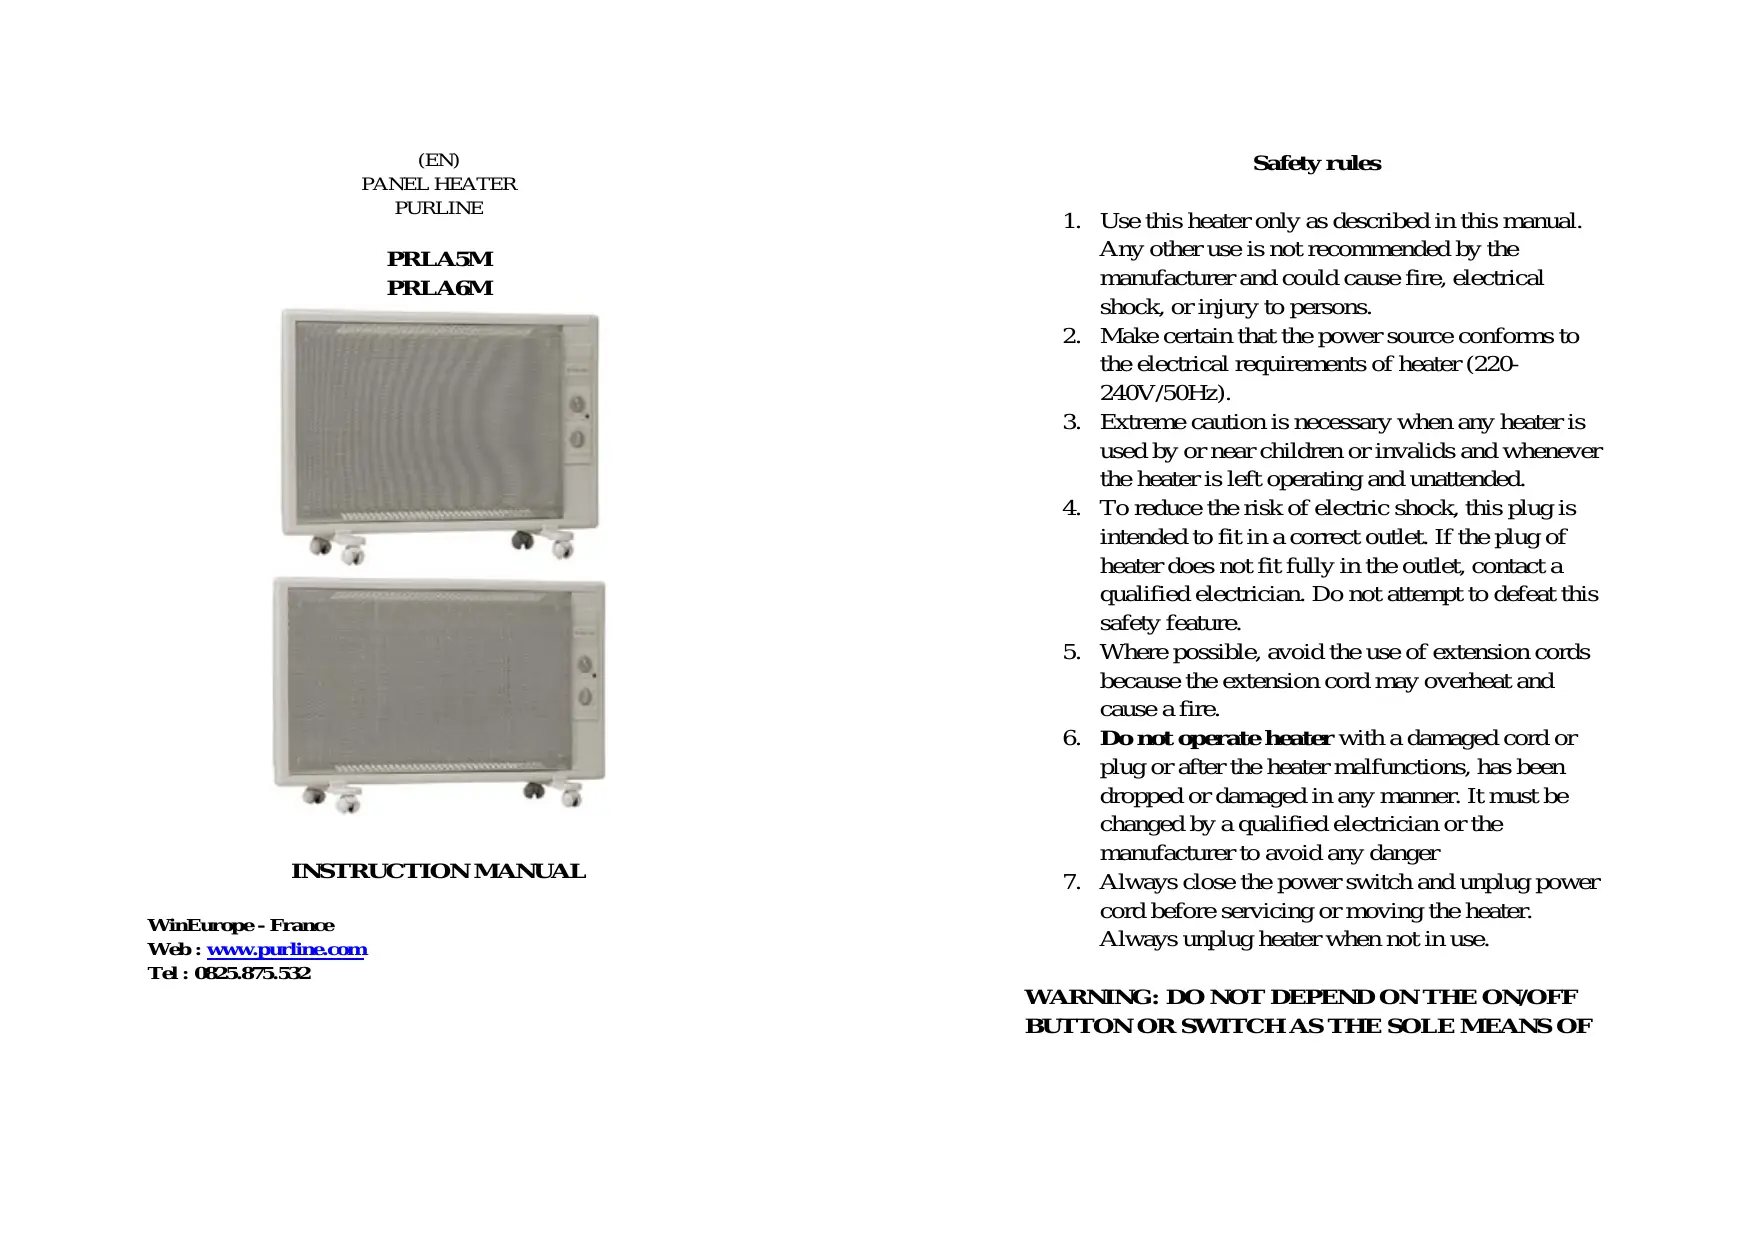
PRLA6M - Electric heating PUR LINE - Free user manual and instructions
Find the device manual for free PRLA6M PUR LINE in PDF.
User questions about PRLA6M PUR LINE
0 question about this device. Answer the ones you know or ask your own.
Ask a new question about this device
Download the instructions for your Electric heating in PDF format for free! Find your manual PRLA6M - PUR LINE and take your electronic device back in hand. On this page are published all the documents necessary for the use of your device. PRLA6M by PUR LINE.
USER MANUAL PRLA6M PUR LINE
installation fixe (murale)
installation mobile (routettes)
1) Installation mobile :
Specifications techniques
| Modèle | PRLA5M | PRLA6M |
| Type | ABC-02 1000W | ABC-02 1500W |
| Vitesse 1 | 500W | 750W |
| Vitesse 2 | 1000W | 1500W |
| Voltage | 220-240V | 220-240V |
| Poids net | 4.5 Kgs | 5.5 Kgs |
| Dimensions(Lx1xH)mm | 675*88*480 | 770*88*480 |
WinEurope - France Web: www.purline.com Tel: 0825.875.532
Safety rules
- Use this heater only as described in this manual. Any other use is not recommended by the manufacturer and could cause fire, electrical shock, or injury to persons.
- Make certain that the power source conforms to the electrical requirements of heater (220-240V/50Hz).
- Extreme caution is necessary when any heater is used by or near children or invalids and whenever the heater is left operating and unattended.
- To reduce the risk of electric shock, this plug is intended to fit in a correct outlet. If the plug of heater does not fit fully in the outlet, contact a qualified electrician. Do not attempt to defeat this safety feature.
- Where possible, avoid the use of extension cords because the extension cord may overheat and cause a fire.
- Do not operate heater with a damaged cord or plug or after the heater malfunctions, has been dropped or damaged in any manner. It must be changed by a qualified electrician or the manufacturer to avoid any danger
- Always close the power switch and unplug power cord before servicing or moving the heater. Always unplug heater when not in use.
WARNING: DO NOT DEPEND ON THE ON/OFF BUTTON OR SWITCH AS THE SOLE MEANS OF
DISCONNECTING POWER WHEN SERVICING OR MOVING THE HEATER.
ALWAYS UNPLUG THE POWER CORD.
- Always place the heater on a stable, flat, level surface when operating, to avoid the chance of the heater overturning. Locate the power cord so the heater or other objects are not resting on it. Do not run power cord under carpeting. Do not cover power cord with throws rugs, runners, or the like. Arrange power cord away from room traffic and where it will not be tripped over.
- This heater is hot when in use. To avoid burns, do not let bare skin touch hot surfaces. Keep combustible materials, such as furniture, pillows, bedding, papers, clothes and curtains at least 0.9m from the front of the heater and keep them at least 0.3m from the sides and rear.
- It must not be used in potentially dangerous locations such as flammable, explosive, chemical-laden or wet atmosphere.
- This heater is not intended for use in wet or damp locations. Never locate a heater where it may fall into a bathtub or other water container.
- This heater is intended for general use only.
- Do not use the heater outdoors.
- Do not cover the appliance.
Location of the Appliance :
- Do not install the appliance behind a door.
- Avoid any items that might block the transmission of heat, such as curtains, niches or radiator covers.
- Do not install the appliance right underneath a fixed electric socket.
- The appliance's power cord must not be left on top of the actual unit while it is in operation.
- The appliance should be located so that the plug is completely accessible.
- Do not fit the appliance to a wall directly under an electrical socket.
- This unit must not be covered while in operation, there is a danger of overheating.
Note: If the power cord is damaged, it must be changed by a qualified electrician or the manufacturer to avoid any danger.
Installation
This appliance can be installed by two different ways:
- Fixed installation (wall mounted)
- Portable installation (optional set of wheels)
1) Portable installation :
First turn the product, you will find two holes in the bottom that is fit for the screw for fixing the wheels.
2) Wall mounted installation :
Back panel view of the appliance:
The holes marked by a red arrow on the back of the panel are those to use for the wall brackets (the other holes are only used for ventilation and not for the wall installation.)
Please find below the detail of the wall installation in several points:
First point :
When you will open the gift box, you will find below elements to help you for the wall installation:
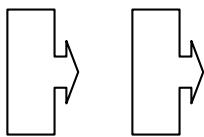
2 wall brackets
paper guide
The length of the paper guide corresponds to the distance between the two holes at the back of the appliance in which will be fitted the wall brackets (marked of a red arrow).
Second point :
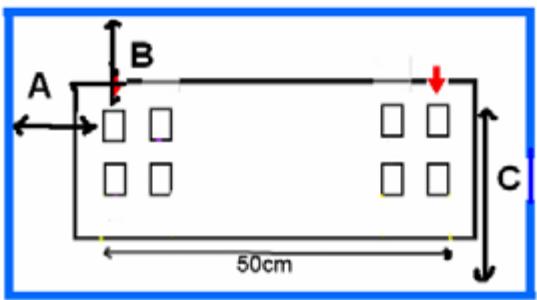
Perforated marks for each wall bracket.
Before taking your marks, please respect all below safety distances:
- The higher drilling of the wall bracket must be to 1200 mm minimum of the floor (distance C).
- The higher drilling of the wall bracket must be to 300 ~mm minimum on the right and left side of the wall (distance A).
- The higher drilling of the wall bracket must be to 300 ~mm minimum of the ceiling (distance B).
By taking these safety measures for reference, mark with the pencil the location of the higher hole of the first wall bracket.
You are useful of the guide paper to mark the higher hole of the second wall bracket by tightening paper well for good distance. Attention to be quite horizontal. Repeat the same operation for the lower holes of the two wall brackets.
- Once the 4 marked holes necessary to fix the bracket, you can bore. Once the holes of the wall bored, insert there the ankles in figure provided with the appliance (small plastic bag).
- Then you can fix, using the large screws, the higher and lower holes of the wall bracket. Do not forget to put a disc (small plastic bag) between the screw and the bracket.
- Once the wall brackets firmly fixed at the wall, you can suspend the appliance by the panel holes located at the back of the heater, those marked of a red arrow.
WARNING: If you choose wall mounted, you should pay attention to your wall, please be sure the wall is made of anti-burning materials, or bearing high temperature, otherwise we do advise you to choose Portable installation.
Operating instructions:
This unit is fitted with pilot lamp, switch and thermostat.
- Pilot lamp: This lamp lights on to indicate that the unit is producing heat, and it lights off when the appliance is no longer producing heat.
- Switch: This knob is used to turn the unit ON/OFF and to select one of two heating power levels (low or high). It has three positions: Position 0 means OFF; Position 1: low speed for heating; Position 2: high speed for heating.
- Thermostat: The thermostat is the device that regulates the room temperature that you have selected. To set the thermostat, plug the unit in and switch it on. Then turn the thermostat control completely to the right. Once the desired temperature has been obtained, slowly turn the thermostat control in the opposite direction (left) until the pilot lamp lights off. Keeping it in this position the appliance itself will automatically regulate the selected room temperature.
Maintenance:
Whenever the appliance is to be handled, the plug should be removed from the electrical socket with the switch in OFF position: 0 and never by pulling the power cord. Keep the air passage grille clean.
Cleaning:
- Always unplug & switch off the appliance before all operations.
- Wait a moment until the appliance is cooling down.
- Clean the appliance with a soft, non-abrasive, damp cloth. Do not use any kind of detergents or chemical based cleaners on the unit as it may damage the body. NEVER IMMERSE IN WATER.
If not using for a long time, please clean the surface of the appliance and put it into the original packing. Keep it in an airy place and pay attention to avoid dampness and clash.
Technical features:
| Model | PRLA5M | PRLA6M |
| Type | ABC-02 1000W | ABC-02 1500W |
| Speed 1 | 500W | 750W |
| Speed 2 | 1000W | 1500W |
| Voltage | 220-240V | 220-240V |
| Net weight | 4.5 Kgs | 5.5 Kgs |
| Dimensions(Lx1xH)mm | 675*88*480 | 770*88*480 |
Characteristics prone to modifications without advice.
Warranty:
The warranty is valid for 2 years for a « manufacturing fault »
To benefit from the warranty, please return the device to your dealer with POSTAGE PAID along with the document of purchase proof specifying the date of purchase.
Removal of used domestic appliances
European directive 2002/96/EC on the Electric and Electronic Equipment Waste requires that domestic appliances not be thrown out together with the rest of municipal waste. Used devices must be collected separately in order to optimize recuperation and recycling rates of the materials that make them up and so reduce the impact on human health and the environment. The symbol of the crossed out garbage can appears on all the products to remind the obligations regarding separated collection.
Consumers must contact local authorities or resellers regarding the procedure to follow for the device's removal.
(SP) PLACARADIANTE PURLINE
PRLA5M PRLA6M
MANUAL DE EMPLEO
WinEurope - France Web: www.purline.com Tel: 0825.875.532
Recomendaciones
WinEurope - France
Web: www.purline.com
Tel: 0825.875.532
Web: www.purline.com
Tel:0825.875.532