
4071D - Cordless drill MAKITA - Free user manual and instructions
Find the device manual for free 4071D MAKITA in PDF.
Download the instructions for your Cordless drill in PDF format for free! Find your manual 4071D - MAKITA and take your electronic device back in hand. On this page are published all the documents necessary for the use of your device. 4071D by MAKITA.
USER MANUAL 4071D MAKITA
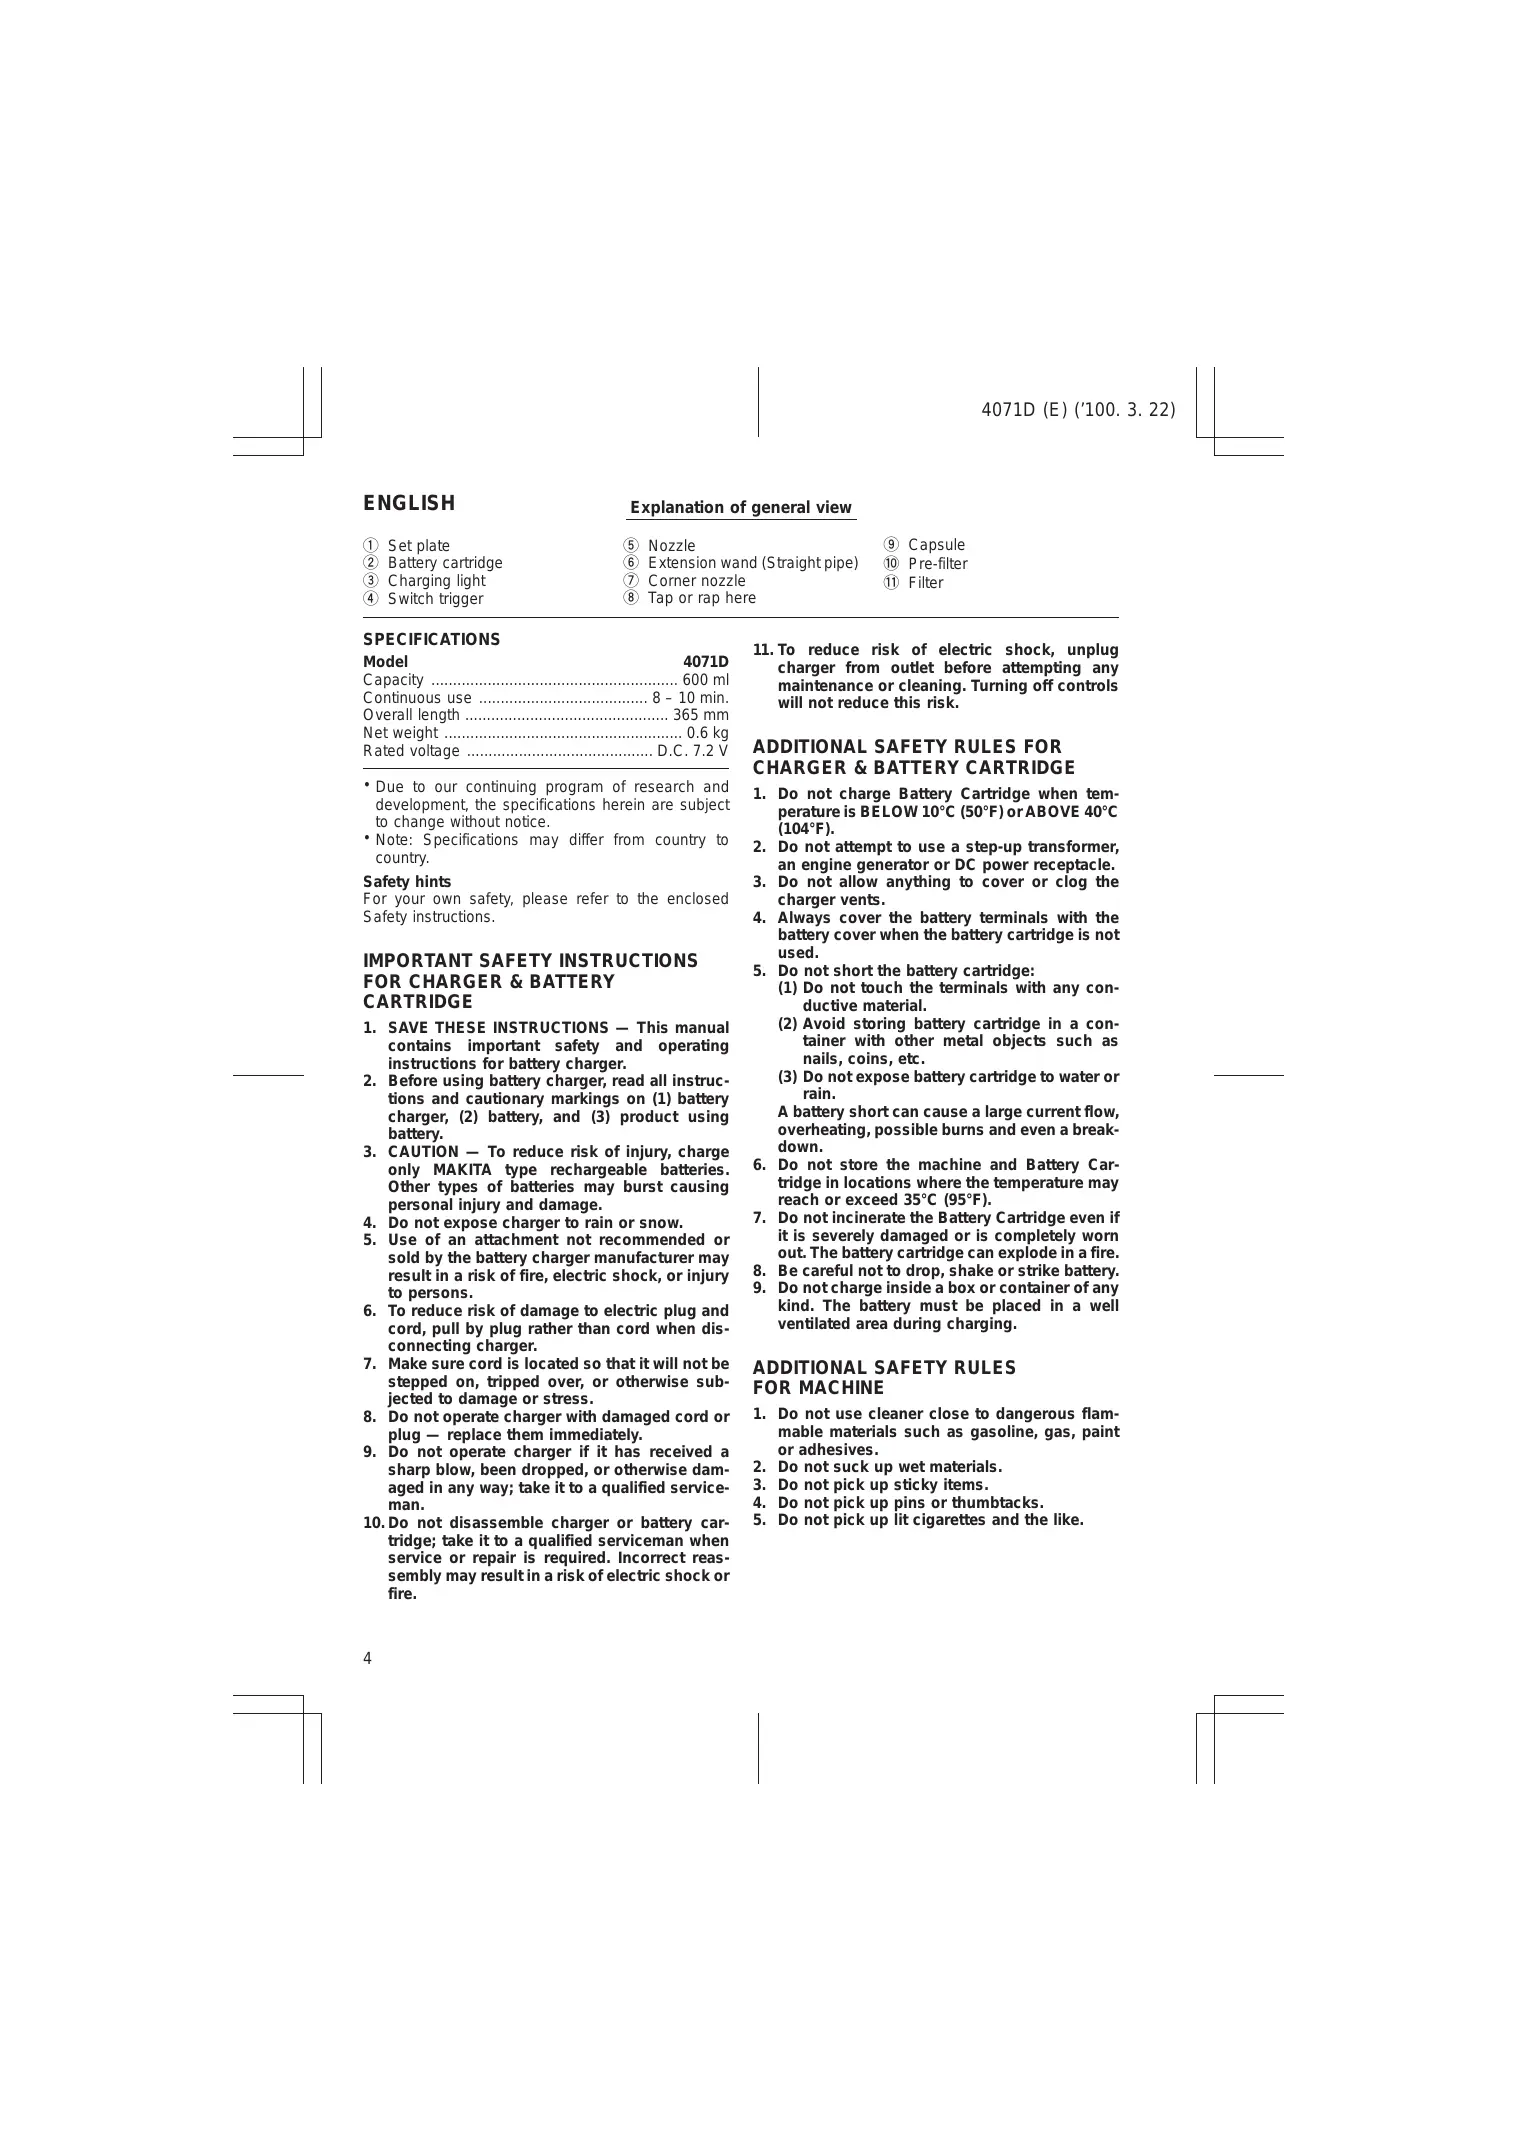
Set plate Battery cartridge Charging light Switch trigger Explanation of general view
Nozzle Extension wand (Straight pipe) Corner nozzle Tap or rap here SPECIFICATIONS Model 4071D Capacity ......................................................... 600 ml Continuous use ....................................... 8 – 10 min. Overall length ............................................... 365 mm Net weight ....................................................... 0.6 kg Rated voltage ........................................... D.C. 7.2 V
- Due to our continuing program of research and development, the specifications herein are subject to change without notice.
- Note: Specifications may differ from country to country. Safety hints For your own safety, please refer to the enclosed Safety instructions.
IMPORTANT SAFETY INSTRUCTIONS
FOR CHARGER & BATTERY
1. SAVE THESE INSTRUCTIONS — This manual
contains important safety and operating instructions for battery charger.
2. Before using battery charger, read all instructions and cautionary markings on (1) battery
charger, (2) battery, and (3) product using battery.
3. CAUTION — To reduce risk of injury, charge
only MAKITA type rechargeable batteries. Other types of batteries may burst causing personal injury and damage.
4. Do not expose charger to rain or snow.
5. Use of an attachment not recommended or
sold by the battery charger manufacturer may result in a risk of fire, electric shock, or injury to persons.
6. To reduce risk of damage to electric plug and
cord, pull by plug rather than cord when disconnecting charger.
7. Make sure cord is located so that it will not be
stepped on, tripped over, or otherwise subjected to damage or stress.
8. Do not operate charger with damaged cord or
plug — replace them immediately.
9. Do not operate charger if it has received a
sharp blow, been dropped, or otherwise damaged in any way; take it to a qualified serviceman.
10. Do not disassemble charger or battery cartridge; take it to a qualified serviceman when
service or repair is required. Incorrect reassembly may result in a risk of electric shock or fire.
9 Capsule 0 Pre-filter q Filter
11. To reduce risk of electric shock, unplug
charger from outlet before attempting any maintenance or cleaning. Turning off controls will not reduce this risk.
ADDITIONAL SAFETY RULES FOR
CHARGER & BATTERY CARTRIDGE
1. Do not charge Battery Cartridge when temperature is BELOW 10°C (50°F) or ABOVE 40°C
2. Do not attempt to use a step-up transformer,
an engine generator or DC power receptacle.
3. Do not allow anything to cover or clog the
4. Always cover the battery terminals with the
battery cover when the battery cartridge is not used.
5. Do not short the battery cartridge:
(1) Do not touch the terminals with any conductive material. (2) Avoid storing battery cartridge in a container with other metal objects such as nails, coins, etc. (3) Do not expose battery cartridge to water or rain. A battery short can cause a large current flow, overheating, possible burns and even a breakdown.
6. Do not store the machine and Battery Cartridge in locations where the temperature may
reach or exceed 35°C (95°F).
7. Do not incinerate the Battery Cartridge even if
it is severely damaged or is completely worn out. The battery cartridge can explode in a fire.
8. Be careful not to drop, shake or strike battery.
9. Do not charge inside a box or container of any
kind. The battery must be placed in a well ventilated area during charging.
ADDITIONAL SAFETY RULES
1. Do not use cleaner close to dangerous flammable materials such as gasoline, gas, paint
2. Do not suck up wet materials.
3. Do not pick up sticky items.
4. Do not pick up pins or thumbtacks.
5. Do not pick up lit cigarettes and the like.
4071D (E) (’100. 3. 21)
6. When you suck up a large item and revolution
becomes difficult, immediately switch off the cleaner and remove it.
7. Be careful not to let anything enter the exhaust
8. Do not bring close to stoves or other heat
9. Shut off the cleaner the moment you notice
anything abnormal in operation.
10. Always remove the dust case and empty out
the contents before beginning or after completing a cleaning job. A full dust case can cause problems, even a breakdown.
11. When not in use, it should be stored in dry
place. SAVE THESE INSTRUCTIONS. OPERATING INSTRUCTIONS Installing or removing battery cartridge (Fig. 1)
- Always switch off the machine before insertion or removal of the battery cartridge.
- To remove the battery cartridge, pull out the set plate on the machine and grasp both sides of the cartridge while withdrawing it from the machine.
- To insert the battery cartridge, align the tongue on the battery cartridge with the groove in the housing and slip it into place. Snap the set plate back into place. Be sure to close the set plate fully before using the machine.
- Do not use force when inserting the battery cartridge. If the cartridge does not slide in easily, it is not being inserted correctly. Charging (Fig. 2)
1. Plug the battery charger into your power source.
2. Insert the battery cartridge so that the plus and
minus terminals on the battery cartridge are on the same sides as their respective markings on the battery charger. Insert the cartridge fully into the port so that it rests on the charger port floor.
3. When the battery cartridge is inserted, the charging light color will flash in red color and charging
4. When charging is completed, the charging light
goes out. The charging time is as follows: Battery 7000, 7100, 7120, 9000, 9100, 9100A, 9120: approx. 60 minutes.
5. If you leave the battery cartridge in the charger
after the charging cycle is complete, the charger will switch into its ‘‘trickle charge (maintenance charge)’’ mode.
6. After charging, remove the battery cartridge from
the charger and unplug the charger from the power source. Battery type Capacity (mAh) Number of cells
- The battery charger is for charging Makita battery cartridge. Never use it for other purposes or for other manufacturer’s batteries.
- When you charge a new battery cartridge or a battery cartridge which has not been used for a long period of time, it may not accept a full charge. This is a normal condition and does not indicate a problem. You can recharge the battery cartridge fully after discharging it completely and recharging a couple of times.
- When you charge a battery cartridge from a justoperated machine or a battery cartridge which has been left in a location exposed to direct sunlight or heat for a long time, let it cool off. Then re-insert it and try to charge it once more.
- When you charge a new battery cartridge or a battery cartridge which has not been used for a long period, sometimes the charging light will go out soon. If this occurs, remove the battery cartridge and re-insert it. If the charging light goes out within one minute even after repeating this procedure a couple of times, the battery cartridge is dead. Replace it with a new one. Trickle charge (Maintenance charge) If you leave the battery cartridge in the charger to prevent spontaneous discharging after full charge, the charger will switch into its ‘‘trickle charge (maintenance charge)’’ mode and keep the battery cartridge fresh and fully charged. Tips for maintaining maximum battery life
1. Charge the battery cartridge before completely
discharged. Always stop machine operation and charge the battery cartridge when you notice less machine power.
2. Never recharge a fully charged battery cartridge.
Overcharging shortens the battery service life.
3. Charge the battery cartridge with room temperature at 10°C – 40°C (50°F – 104°F).
Let a hot battery cartridge cool down before charging it. Switch action (Fig. 3) CAUTION: Before operation, always check to be sure that the filter and pre-filter are correctly installed, or dirt and foreign matter will get into the motor and cause a failure. To start the machine, simply pull the trigger. Release the trigger to stop.
4071D (E) (’100. 3. 22) Cleaning (Suction) After use (Fig. 12) Nozzle (Fig. 4) Attach the nozzle to clean off tables, desks, furniture, etc. Nozzle slips on easily. When recharging or storing the cleaner, hang the cleaner from a nail using the convenient hanger in back. Nozzle + Extension wand (Straight pipe) (Fig. 5) The extension wand (straight pipe) fits in between the nozzle and the cleaner itself. This arrangement keeps the weight of the cleaner near your hand. It is especially convenient for overhead cleaning or when reach is important in close quarters. Corner nozzle (Fig. 6) Fit on the corner nozzle for cleaning corners and crevice of a car or furniture. Sand and other heavy items can be sucked up easily. Corner nozzle + Extension wand (Straight pipe) (Fig. 7) In tight quarters where the cleaner itself cannot squeeze in, or in high places hard to reach, the extension wand (straight pipe) may be used. Tapping out filter When you notice less suction force during operation, stand the cleaner so that the intake hole is in the upright position and tap by hand the side of the cleaner 4 or 5 times. This will unclog the pre-filter and filter and restore suction force. CAUTION: Empty the cleaner before it becomes too full, or the suction force weakens. Dust disposal Raise the end of the cleaner so that the contents will not fall out. Then tap by hand the side of the capsule 4 or 5 times in order to detach materials from the pre-filter and filter and facilitate emptying. (Fig. 8) Tip end unscrew Remove down so of cleaner (with suction hole) down and capsule as indicated in arrow direction. capsule carefully keeping it straight up and that the contents will not spill out. (Fig. 9) Empty the contents of the capsule and also the dust adhering to the pre-filter. Turn the pre-filter and pull it off toward you, emptying out the fine dust inside. Then take out the filter and tap out any adhering dust. (Fig. 10) After emptying out the cleaner, re-assemble in the order shown in Fig. 11.
1. Fit filter snugly on all the way.
2. Slip on pre-filter.
3. Screw on the capsule.
- Failure to re-assemble the filter and/or pre-filter so that they are back on all the way, or using a broken or ripped filter, can cause dust to get into the motor and result in a failure.
- Screw the capsule tightly into place. Tighten accessories (nozzle, etc.) in the same direction as the capsule screws on.
MAINTENANCE CAUTION: Always be sure that the machine is switched off and the battery cartridge is removed before carrying out any work on the machine. From time to time wipe off the outside (housing) of the cleaner using a cloth dampened in soapy water. Never use gasoline, thinner or the like or discoloration or cracks can take place. Rinsing out the filter in soapy water occasionally. Never use a washing machine to clean the filter. Dry it out thoroughly before use. Do not use oil, benzine, thinner or the like to clean off the cleaner itself. Cracks or discoloration will result. To maintain product safety and reliability, repairs, maintenance or adjustment should be carried out by a Makita Authorized Service Center. GUARANTEE We guarantee Makita machines in accordance with statutory/country-specific regulations. Damage attributable to normal wear and tear, overload or improper handling will be excluded from the guarantee. In case of complaint, please send the machine, undismantled, with the enclosed GUARANTEE CERTIFICATE, to your dealer or the Makita Service Center. 4071D (F) (’100. 3. 22) FRANÇAIS
4071D (It) (’100. 3. 22) ITALIANO
4071D (It) (’100. 4. 10) 4071D (It) (’100. 3. 22) 4071D (Sw) (’100. 3. 22) SVENSKA 4071D (Sw) (’100. 3. 21) 4071D (Sw) (’100. 3. 21) 4071D (Nor) (’100. 3. 22) NORSK 4071D (Nor) (’100. 3. 21) 4071D (Nor) (’100. 3. 21) 4071D (back) (’100. 3. 22)
4071D (back) (’100. 3. 22)