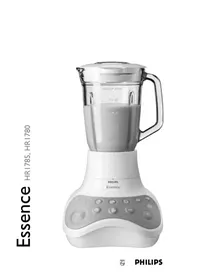
HR1785 - Blender PHILIPS - Free user manual and instructions
Find the device manual for free HR1785 PHILIPS in PDF.


| Product type | Versatile blender |
| Brand | Philips |
| Model | HR1785 |
| Dimensions (L x W x H) | 20 x 20 x 40 cm |
| Weight | 2.5 kg |
| Power | 700 W |
| Bowl capacity | 1.5 liters |
| Number of speeds | 2 speeds + Pulse function |
| Bowl material | Tempered glass |
| Blades | Stainless steel, 4 blades |
| Anti-slip feet | Yes |
| Overheat protection | Yes, automatic shut-off |
| Cleaning | Bowl and lid dishwasher safe |
| Maintenance | Clean blades with a brush |
| Warranty | 2 years |
| Spare parts available | Yes (bowl, lid, gasket, blades) |
| Repairability | Repairability score 8.2/10 |
| Color | White and gray |
| Power supply | 220-240 V, 50-60 Hz |
Frequently Asked Questions - HR1785 PHILIPS
User questions about HR1785 PHILIPS
0 question about this device. Answer the ones you know or ask your own.
Ask a new question about this device
Download the instructions for your Blender in PDF format for free! Find your manual HR1785 - PHILIPS and take your electronic device back in hand. On this page are published all the documents necessary for the use of your device. HR1785 by PHILIPS.
USER MANUAL HR1785 PHILIPS
Essence HR1785, HRI780
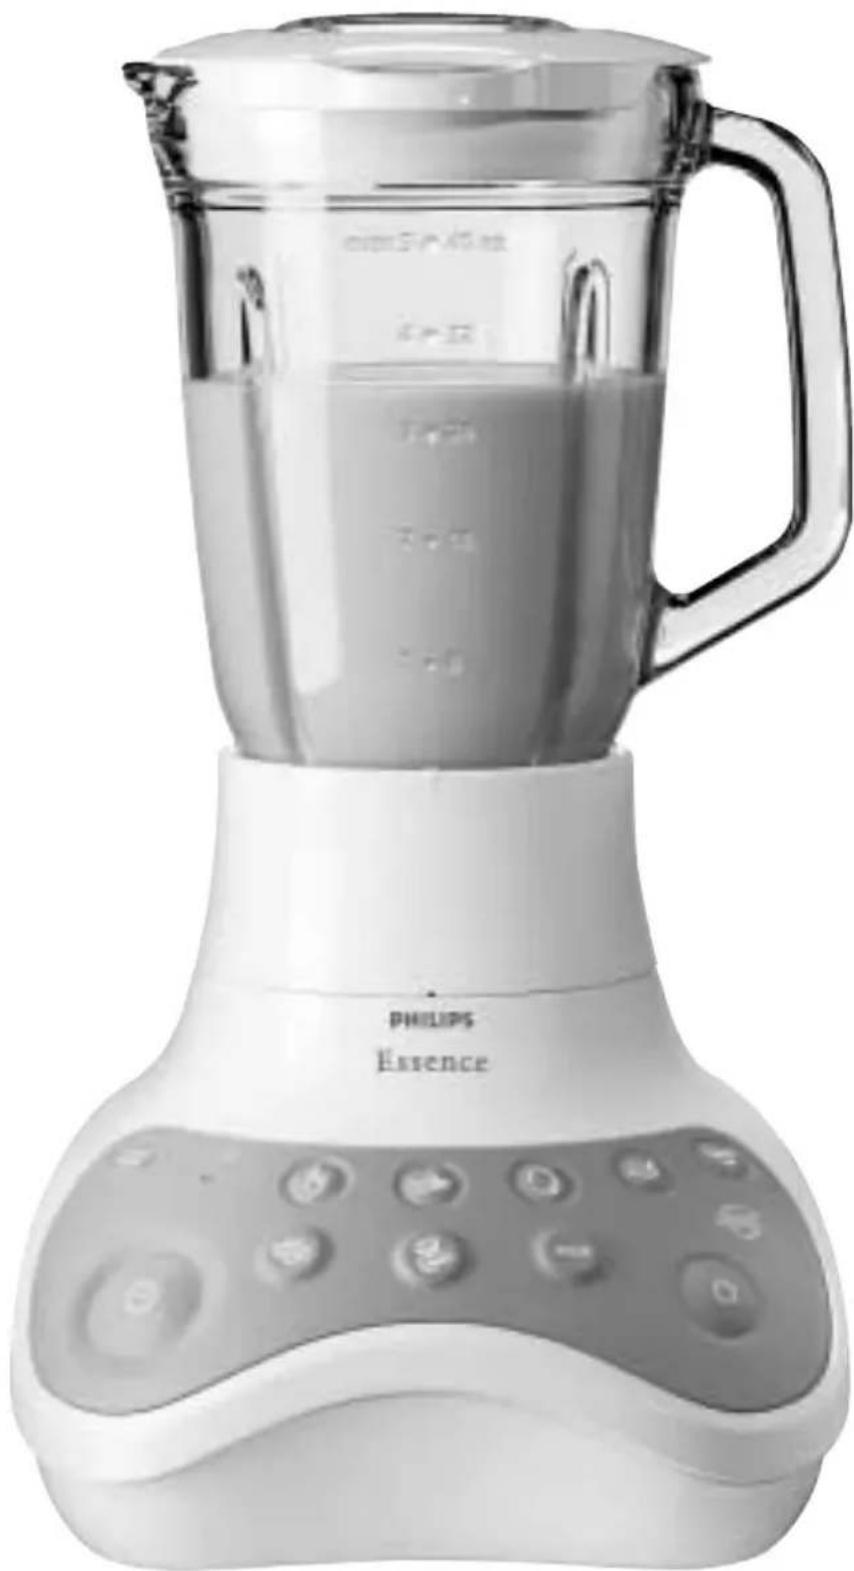
ENGLISH 4
DEUTSCH 14
FRANÇAIS 25
NEDERLANDS 35
ESPAÑOL 45
ITALIANO 55
PORTUGUÊS 65
Introduction
The appliance is equipped with a built-in safety lock that prevents it from functioning if the accessories have been assembled incorrectly or have not been assembled at all.
Never use the accessories to turn the appliance on and off!
Important
- Keep these instructions for future reference.
- Read these instructions for use carefully and look at the illustrations before using the appliance.
- Check if the voltage indicated on the appliance corresponds to the local mains voltage (115V or 220-230V) before you connect the appliance.
- Never use any accessories or parts from other manufacturers or that have not been specifically advised by Philips. Your guarantee will become invalid if such accessories or parts have been used.
- Do not use the appliance if the mains cord, the plug or other parts are damaged.
- If the mains cord of this appliance is damaged, it must always be replaced by Philips or a service centre authorised by Philips in order to avoid hazardous situations.
- Thoroughly clean the parts that will come in contact with food before using the appliance for the first time.
- Do not exceed the quantities and preparation times indicated in the table.
- Do not exceed the maximum level indicated on the accessories.
- Unplug the appliance immediately after use, e.g. before unscrewing the jar.
- Assemble the appliance properly before putting the plug in the wall socket.
- Never let the appliance run unattended.
- Keep the appliance out of the reach of children.
- Never immerse the motor unit in water or any other fluid, nor rinse it under the tap. Use only a moist cloth to clean the motor unit.
- When you mount the jar and the other accessories properly onto the motor unit, you will hear a click.
- Never touch the blades while the jar is attached onto the motor unit.
- Never reach into the jar with your fingers or an object while the appliance is running.
- Always unplug the appliance before you start cleaning the motor unit.
- If the blades get stuck, unplug the appliance before removing the ingredients that are blocking the blades.
-
Let hot ingredients cool down before chopping them or pouring them into the jar (max. temperature 80°C / 175°F , especially for recipes with large quantities of oil or fat).
-
Reduce risk of injury to persons, never place mixing blades on base without blender jar properly attached.
- The blender jar is made of glass and therefore breakable. Do not drop the glass jar on a floor or hard surface. Avoid extreme temperatures. If the glass jar is very cold, rinse it well with lukewarm water before pouring in hot liquid. If the glass jar cracks, discontinue use.
- Always make sure that the rubber sealing ring is in the correct position before you use the blender to avoid leakage.
- The motor only starts if the blender jar has been assembled properly onto the motor unit.
- Never touch the blade unit when it is assembled on the appliance when the appliance is plugged in.
- Avoid touching the cutting edges of the blade units when cleaning them. They are very sharp, you could easily cut your fingers on them.
- When removing the blender jar from the motor unit, take care not to unscrew the glass jar from the blade unit as this will cause the ingredients to leak from the blender jar.
Tip: You can get fresh and delicious fruit juices by means of the fruit filter which can be purchased at your local Philips Service Centre.
Preparing the appliance for use

Wash all accessories and detachable parts (see 'Cleaning').
- Push excess mains cord back into the cord storage compartment on the right side of the appliance.
Using the appliance
Blender

The blender is intended for:
- Blending fluids, e.g. dairy products, sauces, fruit juices, soups, mixed drinks, shakes.
- Mixing soft ingredients, e.g. pancake batter or mayonnaise.
- Pureeing cooked ingredients, e.g. for making baby food.
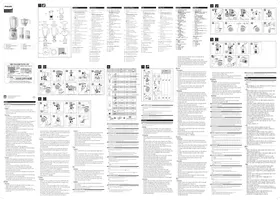
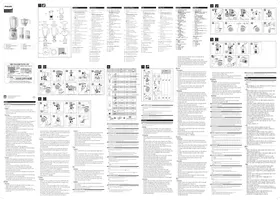
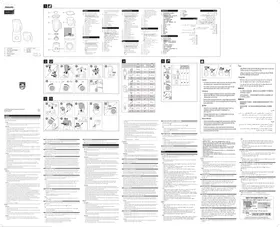
1 Place the rubber sealing ring on the inner edge of the blade unit.
ENGLISH6
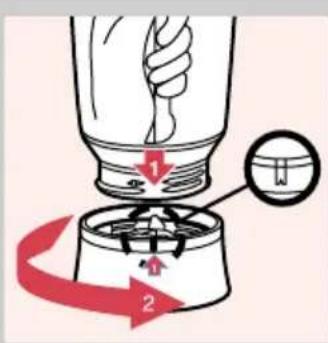
2 Mount the blender jar onto the blade unit and turn it in the direction of the arrow until it is fixed.

3 Mount the jar onto the motor unit. Turn it in the direction of the arrow until you hear a click.
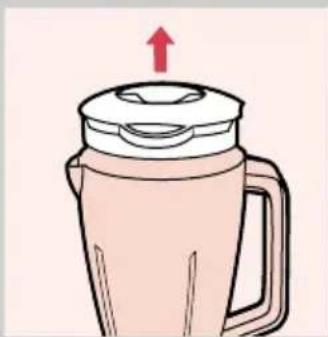
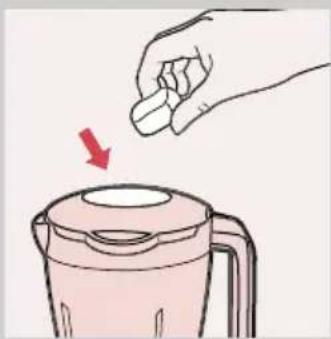
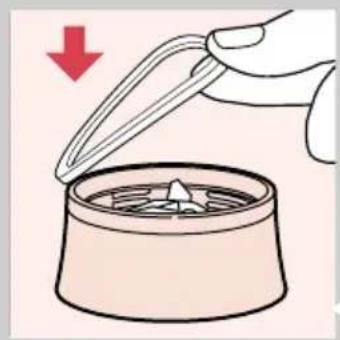
4 Open the lid. Only remove the lid (by pulling it off the blender jar) for cleaning purposes.

5 Put the ingredients in the jar.
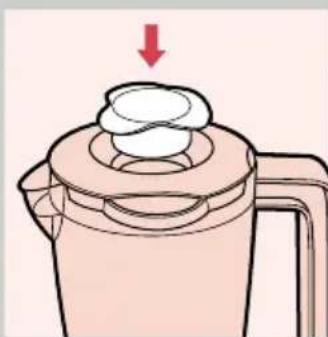
6 Close the lid and insert the stopper into the opening in the lid.
To avoid spillage, always insert the stopper into the lid before you start processing.
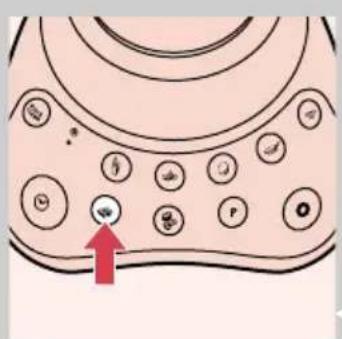
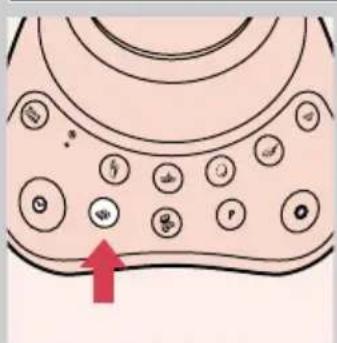
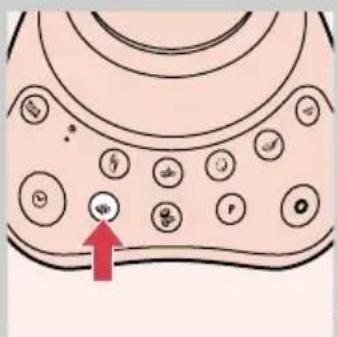
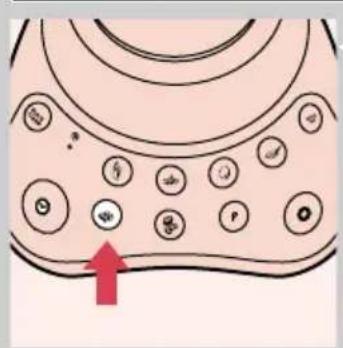
- The different buttons allow you to obtain optimal results with different ingredients. The buttons are represented by icons, which correspond to specific speeds suitable for processing specific ingredients.
7 See the table for the recommended functions.

| Settings | Recommended applications |
| Making chocolate milk and blending instant juices and cocktails with alcohol | |
| Blending soft fruits and milkshakes with soft fruits | |
| Making mayonnaise | |
| Blending soups, milkshakes with harder fruits (e.g. apples) and cocktails with fresh fruits | |
| Making different kinds of sauces (e.g. tomato sauce), pureeing hard fruits, vegetables (e.g. carrots) and cooked beans and making baby food | |
| Crushing ice cubes | |
| Chopping nuts (shelled), hard cheese, chocolate, dry bread, beef, parsley and onions |
8 Select the required function by pressing the appropriate button and the appliance will switch on automatically.
If you are not sure which function you should use, select the 🎨 button, which represents the highest processing speed.
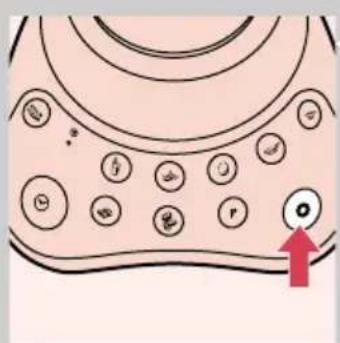
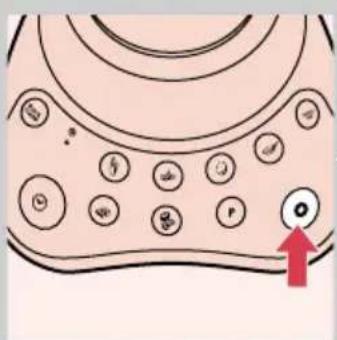
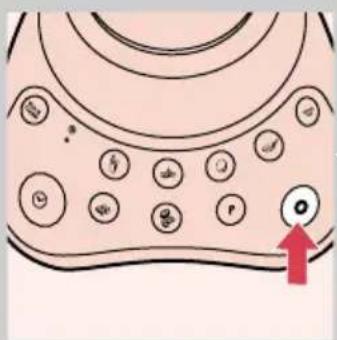
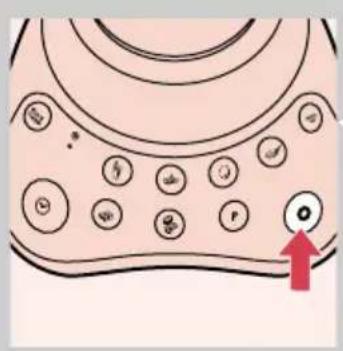
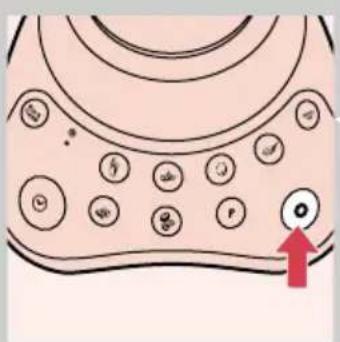
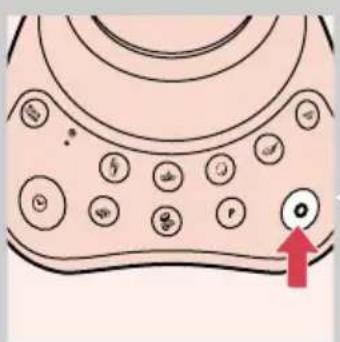
9 To switch the appliance off, press the off button (O).
Never switch the appliance on or off by turning the jar.
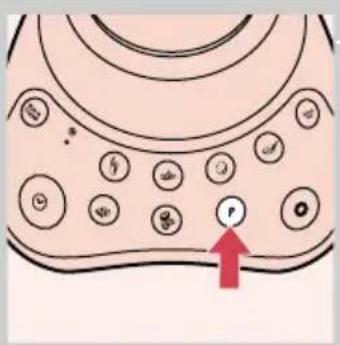
Pulse button
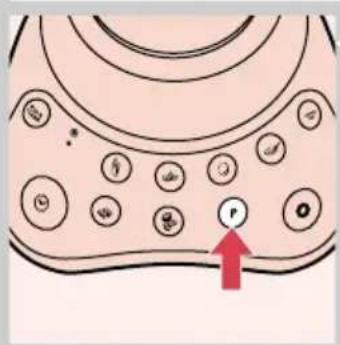
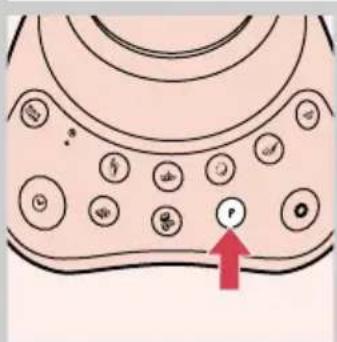
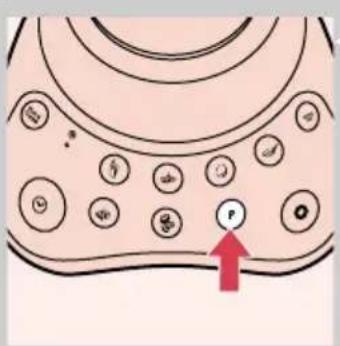
- If you are not satisfied with the result when blending solid ingredients, switch the blender off and let it run briefly a number of times by pressing the Pulse button (P).
When the Pulse button is pressed, the motor runs at maximum speed.
- You can also use the Pulse function when the blender is already switched on. If you press the Pulse button when blending at, for example, the function, the appliance will start running at the highest speed. As soon as you release the Pulse button, the appliance will automatically continue running at the speed belonging to the function.
Crushing ice
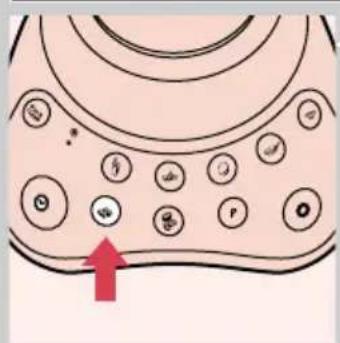
- Put at max. 5 ice cubes per batch in the blender jar and press button (💡). The ice will be finely chopped in a few seconds. Empty the jar before processing another batch of ice cubes.
Timer
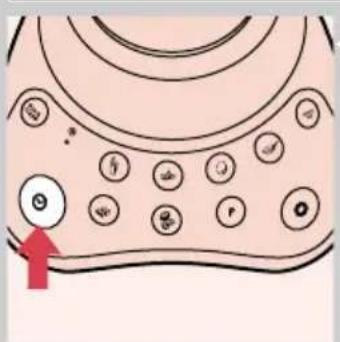
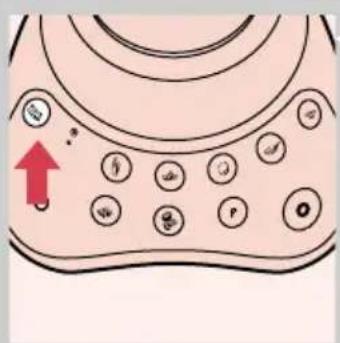
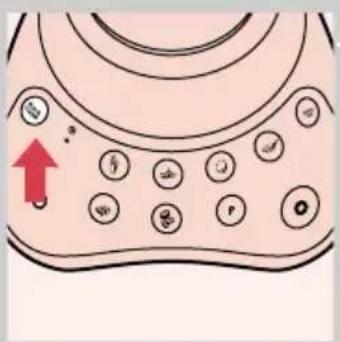
- When processing light or heavy ingredients you can make use of the timer ( ① ). When the timer button is pressed in, the timer pilot light goes on and the appliance starts running. It will gradually increase its speed until it reaches maximum speed. 35 seconds after the timer button was pressed, the motor automatically stops and the pilot light goes out.
- You can also use the timer in combination with a particular setting. For instance, if you press the 🔊 button after the timer has been running for 10 seconds, the appliance will run at the 🔊 setting for the remaining 25 (35-10 = 25) seconds and then switch off automatically.
If you press the Pulse button while the timer is being used, the timer pilot light will go out after 35 seconds but the appliance will continue running. The appliance will only stop running when you release the Pulse button. Once the timer function is running additional touches will not increase the time
Other functions
- When the appliance is running at a speed belonging to a particular, it will immediately switch to a different speed when the different button is pressed.
- The appliance will stop running as soon as the OFF button is pressed.
Tips
To avoid spillage, never fill the jar above the maximum level indication (1 litre), particularly not when you are blending hot liquids (maximum 0.9 litre).

- While the blender is running, you can unscrew the stopper, remove it from the lid and pour liquid ingredients into the blender jar.
- Do not let the blender run for more than 3 minutes at a time. If you have not finished blending after 3 minutes, switch the appliance off for one minute before you continue blending.
- Process dry ingredients such as coconut, Parmesan cheese, chocolate, peanuts, almonds and coffee at maximum speed for 1 minute. DO NOT process more than 1 cup at a time.
- Cut solid ingredients into smaller pieces before putting them into the blender jar. Feed a series of small amounts into the jar rather than processing a large quantity at once.
- If you are not satisfied with the result when blending solid ingredients, stir the ingredients with a spatula (not while the blender is running!), or pour out some of the contents of the jar and process smaller amounts.
Never reach into the jar with your fingers or an object (e.g. a spatula) while the blender is running.
Filter (type HR1785)

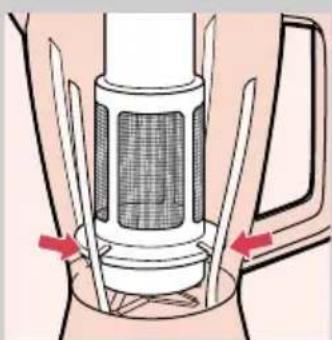
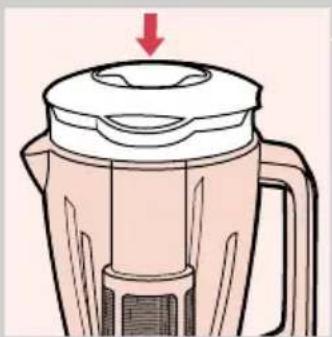
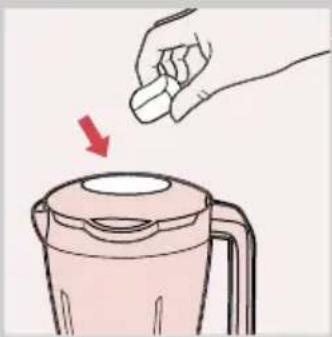
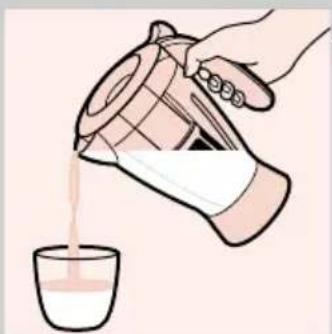
You can use the filter accessory to obtain extra finely blended sauces, fresh fruit juices or cocktails. All pips and skins will be caught in the filter.
Put the filter in the blender jar. Make sure that the blender jar is disconnected from the motor unit before you assemble the filter into the blender jar.
2 Make sure that the bottom of the filter is properly fitted into the jar.
3 Put the lid on the jar to fix the filter in its proper position.
4 Put the ingredients in the filter through the opening in the lid.
5 Add water or another liquid.
6 Insert the stopper in the lid and switch the appliance on. Press the 🔊 button and let the appliance run for 40 seconds.
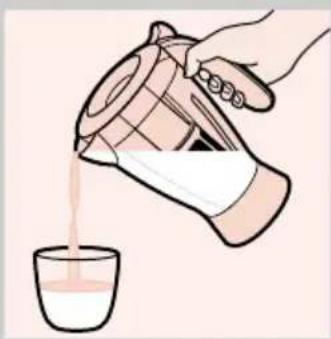
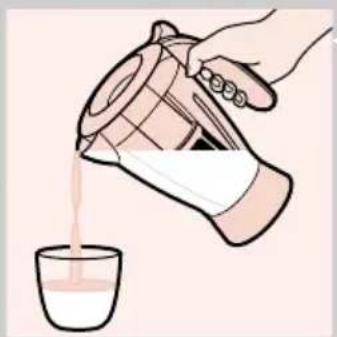
7 Switch the appliance off. Pour out the drink through the spout of the blender jar.
8 For optimal results, put the jar with the remaining ingredients back onto the appliance and let it run for a few more seconds.
9 Pour out the rest of the drink.
Tips
Particularly when you are processing large quantities, we advise you not to put all the ingredients in the filter at the same time. Start processing a small quantity, let the appliance run for a moment, switch it off, empty the jar and the add another small quantity. Repeat this procedure until you have processed all the ingredients.
For making soy milk:
Soak soy beans for 4 hours before processing them.
Do not process more than 75g of dry soy beans with max. 600ml of water at one time.
Select setting 📌.
For making fruit juices and cocktails:
Do not fill up beyond the metal part of filter.
Add approx. 300 ml water (or another liquid if you are making e.g. cocktails, etc.) to 150 g fruit.
Select setting 📄.
Cleaning
Cleaning of the appliance, its parts and the accessories is easiest immediately after use.
Never clean the accessories or parts of the appliance in the dishwasher.
Clean the motor unit with a moist cloth.
Do not use abrasives, scourers, alcohol, etc.
1 Unplug the appliance and detach the accessory you have been using.
2 Clean the blender jar, the lid, the filter, the chopping beaker and the blade units in warm soapy water.
3 Then rinse them under the tap to wash away soap residues.
4 Wipe the motor unit with a damp cloth. Do not immerse it in water!
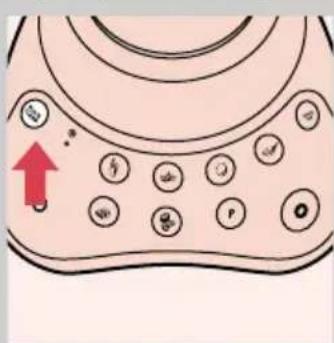
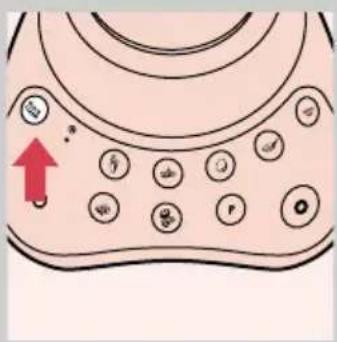
5 The blender jar can also be cleaned by means of the Quick Clean function.
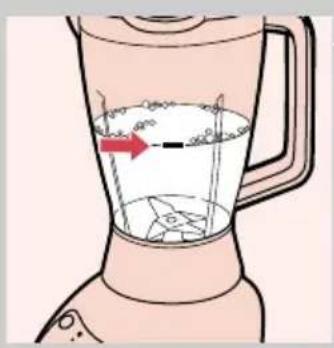

Quick cleaning of the blender jar
Pour lukewarm water and some washing-up liquid into the blender jar, up to 1/2 of the jar. Do not exceed this level when using the Quick Clean function.
2 Assemble the lid and the stopper.
CAUTION: Handle the cutting blades with extreme care and caution. They are sharp and may cause injury.
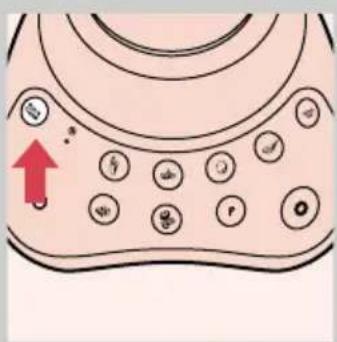
3 Press the QUICK CLEAN button and let the appliance run for a few moments. Stop as soon as the jar is clean.
4 Detach the blender jar and rinse it with clean water.
5 Never clean the glass jar with water hotter than 80° C/175°F.
6 Remove the blade unit and clean all parts separately.
Information & service
If you need information or if you have a problem, please visit the Philips Web site at www.philips.com or contact the Philips Customer Care Centre in your country (you will find its phone number in the worldwide guarantee leaflet). If there is no Customer Care Centre in your country, turn to your local Philips dealer or contact the Service Department of Philips Domestic Appliances and Personal Care BV.
Recipes
Broccoli soup

- 50 g Gouda cheese
- 250 g cooked broccoli
- 2 cooked potatoes
- 2 stock cubes (chicken or vegetable)
- a dash of cream
- a pinch of curry
- salt
- pepper
- nutmeg
- First cook the broccoli and retain 3/4 l of the water in which the broccoli has been cooked. Shred the cheese. Put the cooked broccoli with a little of the cooking water and the potatoes in the blender jar and process at maximum speed (setting ⚙). Put the broccoli puree and the stock cubes in the rest of the cooking water and bring to the boil. Add the cheese and season the soup with salt, pepper, nutmeg and a dash of cream. Serve with croutons.
Gazpacho

- 250 g tomatoes
- 2 slices of white bread
- I large clove of garlic
- 15 ml red wine vinegar
-
150 ml tomato juice
-
100 g fresh red pepper
- | small onion
- 1/2 cucumber
- 15 ml olive oil
- salt
- pepper
- Put the tomato juice, olive oil and vinegar in the jar. Then add all the other ingredients. Blend the ingredients until you have obtained a smooth soup. Serve chilled.
Milkshakes

- 200 ml milk
- 30 g banana
- 30 g papaya
- 30 g apple
- 30 g sugar
- Peel the fruits and cut them into pieces. First put the milk in the jar, then add the fruits and the sugar. Press the 🎨 button and blend approx. 30 seconds.
Soya milk

- 75g soya beans
- 600 ml water
▶ Soak the soya beans in cold water for at least 4 hours. Set aside to drain.
- Place the beans in the filter. Add water, press the 📋 button and blend for 40 seconds..
You can process max. 75 g. of dried soya beans or max. 2/3 of the sieve of the filter filled with soaked soya beans. Do not process more then 75 g. soya beans + 600 ml water at one time.
▶ Bring the soya milk to the boil, then add sugar and leave to simmer.
▶ Serve hot or cold.
Einleitung

Gebruik
Blender
4 Open het deksel.



4 Abra a tampa.



- INTRODUCTION
- IMPORTANT
- PREPARING THE APPLIANCE FOR USE
- USING THE APPLIANCE
- BLENDER
- ENGLISH6
- PULSE BUTTON
- CRUSHING ICE
- TIMER
- OTHER FUNCTIONS
- TIPS
- FILTER (TYPE HR1785)
- CLEANING
- QUICK CLEANING OF THE BLENDER JAR
- INFORMATION & SERVICE
- RECIPES
- BROCCOLI SOUP
- GAZPACHO
- MILKSHAKES
- SOYA MILK
- EINLEITUNG
- GEBRUIK
Brand : PHILIPS
Model : HR1785
Category : Blender