
IMAC 24 INCH - Desktop computer APPLE - Free user manual and instructions
Find the device manual for free IMAC 24 INCH APPLE in PDF.
| Product type | Desktop All-in-One |
| Brand | Apple |
| Model | iMac 24-inch |
| Screen | 24-inch 4.5K Retina display (4480 x 2520 resolution) |
| Processor | Apple M1 (8-core CPU, 7 or 8-core GPU) |
| RAM | 8 GB (configurable up to 16 GB) |
| Storage | 256 GB SSD (configurable up to 2 TB) |
| Connectivity | 2 Thunderbolt / USB 4 ports, 2 USB 3 ports, 3.5 mm headphone jack, Gigabit Ethernet (optional) |
| Wireless | Wi-Fi 6 (802.11ax), Bluetooth 5.0 |
| Power supply | Built-in 143 W power adapter |
| Weight | 4.48 kg |
| Dimensions (height, width, depth) | 46.1 x 54.7 x 14.7 cm (with stand) |
| Main functions | Desktop, browsing, multimedia creation, light video editing |
| Maintenance and cleaning | Unplug the device, use a soft, lint-free cloth slightly dampened |
| Safety precautions | Do not expose to moisture, do not block ventilation openings |
| Spare parts and repairability | VESA adapter available as an option, Apple authorized repairs |
| Included accessories | Magic Keyboard, Magic Mouse, power cable |
| VESA compatibility | VESA mount adapter available (installation described in the manual) |
Frequently Asked Questions - IMAC 24 INCH APPLE
User questions about IMAC 24 INCH APPLE
0 question about this device. Answer the ones you know or ask your own.
Ask a new question about this device
Download the instructions for your Desktop computer in PDF format for free! Find your manual IMAC 24 INCH - APPLE and take your electronic device back in hand. On this page are published all the documents necessary for the use of your device. IMAC 24 INCH by APPLE.
USER MANUAL IMAC 24 INCH APPLE
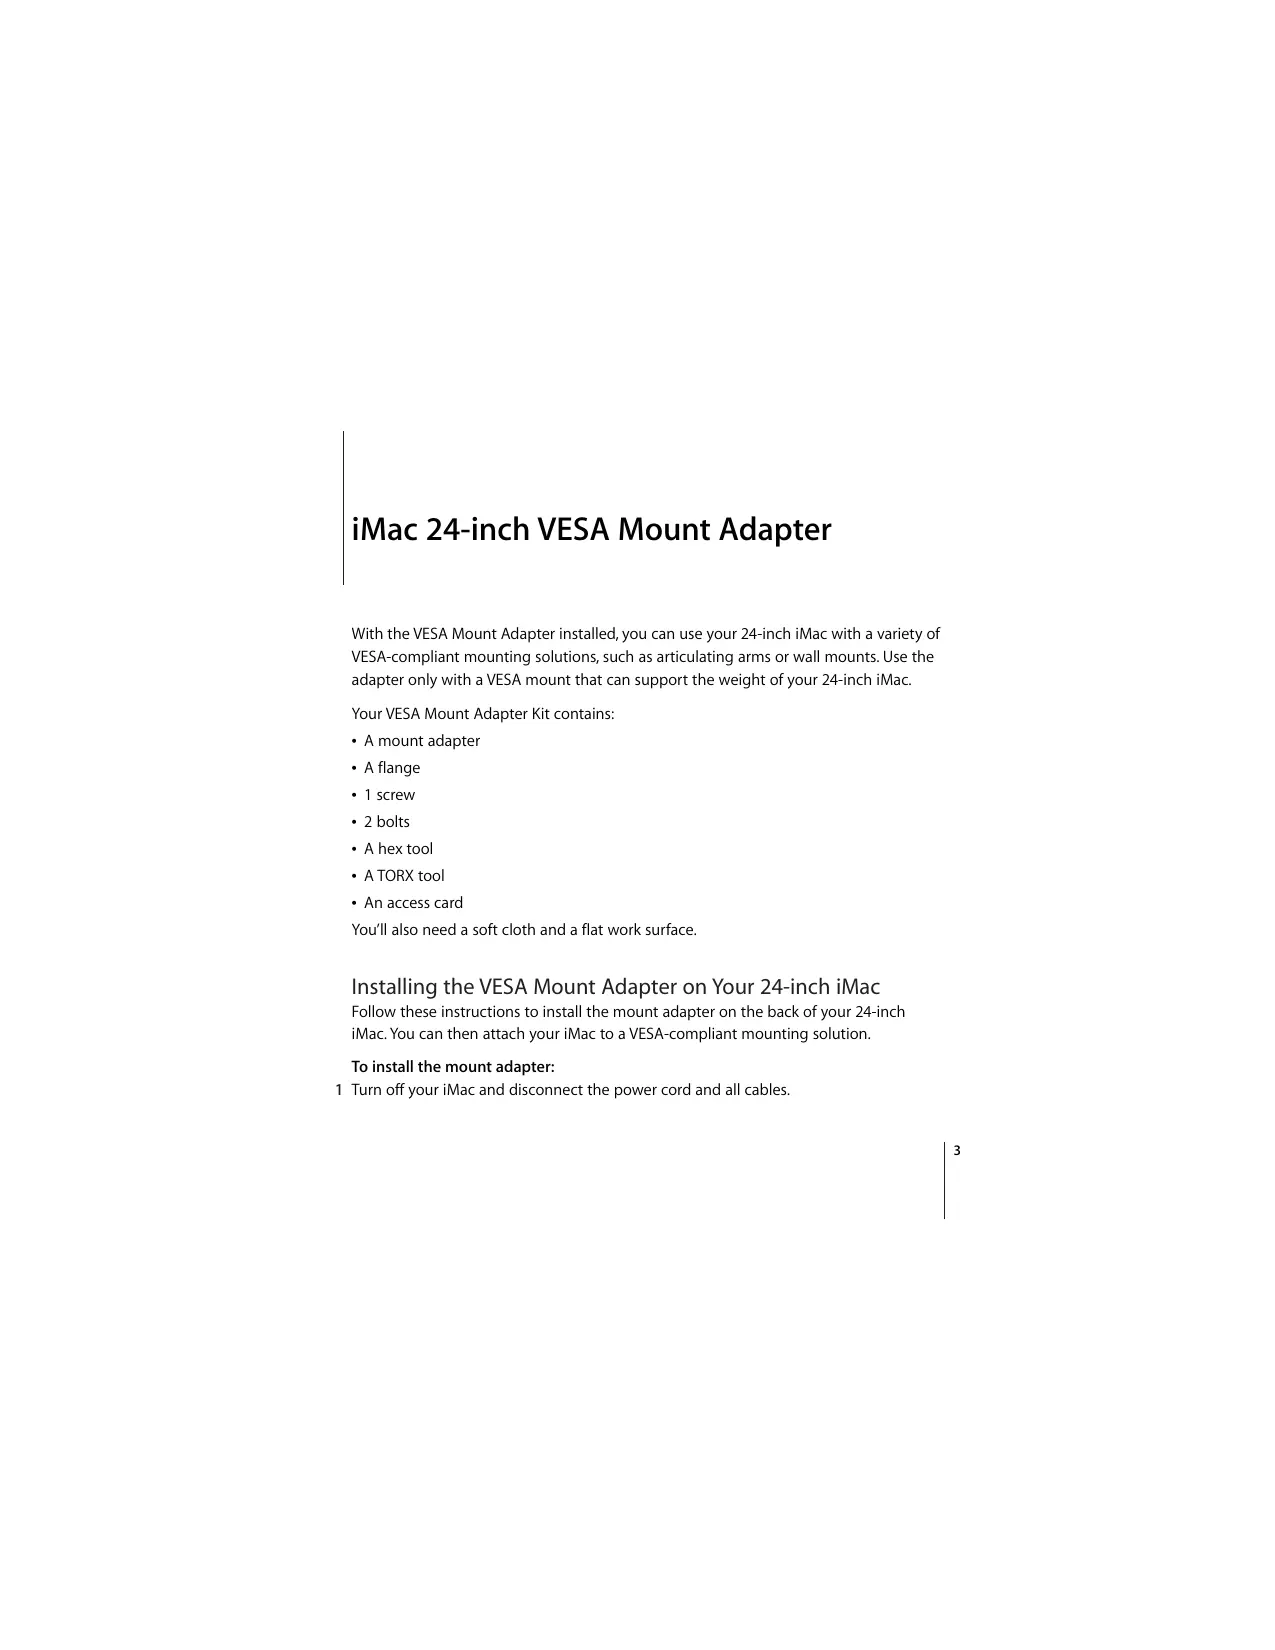
iMac 24-inch VESA Mount Adapter
iMac 24-inch VESA Mount Adapter
With the VESA Mount Adapter installed, you can use your 24-inch iMac with a variety of VESA-compliant mounting solutions, such as articulating arms or wall mounts. Use the adapter only with a VESA mount that can support the weight of your 24-inch iMac.
Your VESA Mount Adapter Kit contains:
- A mount adapter
A flange
1 screw
2 bolts
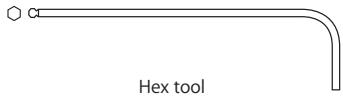
A hex tool - A TORX tool
An access card
You'll also need a soft cloth and a flat work surface.
Installing the VESA Mount Adapter on Your 24-inch iMac
Follow these instructions to install the mount adapter on the back of your 24-inch iMac. You can then attach your iMac to a VESA-compliant mounting solution.
To install the mount adapter:
1 Turn off your iMac and disconnect the power cord and all cables.
2 Turn your iMac so that the back is facing you, and then rotate the top forward until it won't go any further.
3 Release the latch by inserting the access card in the space directly above the top of the stand.
The access card should go into the space at a slight upward angle for about 3/4 of an inch. If it goes in farther, you've missed the latch, so try again.
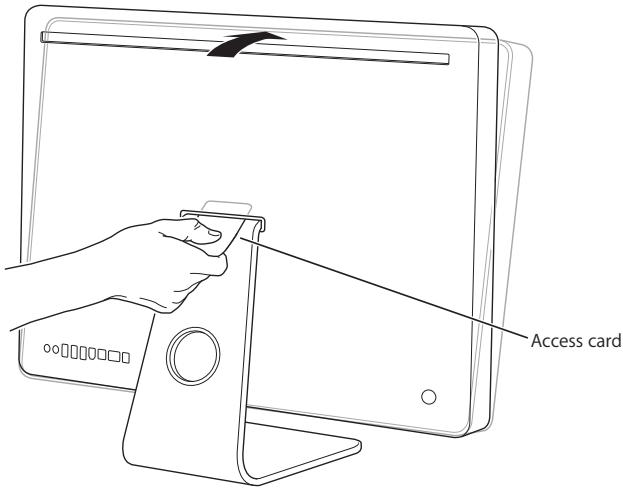
Important: Use only the access card provided with the kit for this step. Use of any other object or instrument could result in personal injury, and damage to your iMac. If your access card has become lost or damaged, go to www.apple.com/support/imac/diy/vesa to purchase a replacement access card.
4 Rotate your iMac forward another 10 degrees until the 8 screws on top of the stand are visible and the stand is locked in place.
Important: Keep your iMac upright until the stand is locked in place.
5 Hold the sides of your iMac and carefully lay it down so that the screen is resting on a soft towel or cloth on a flat surface and the stand hangs over the edge of your work surface.
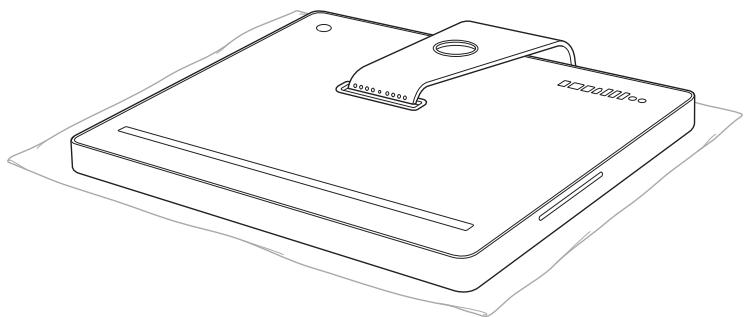
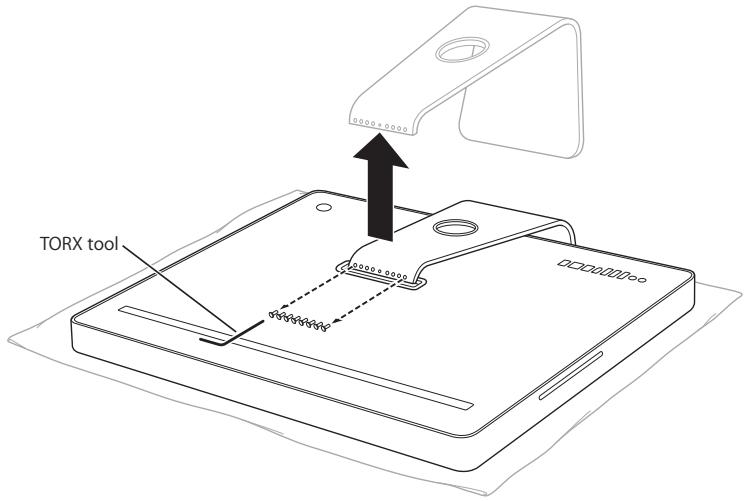
6 Use the TORX tool to remove the 8 screws that attach the stand to the back of your iMac. You'll need these screws to attach the flange to your iMac, so set them aside.
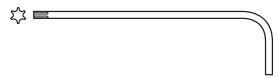
TORX tool
7 Remove the stand and put it in a safe place in case you want to reattach it.
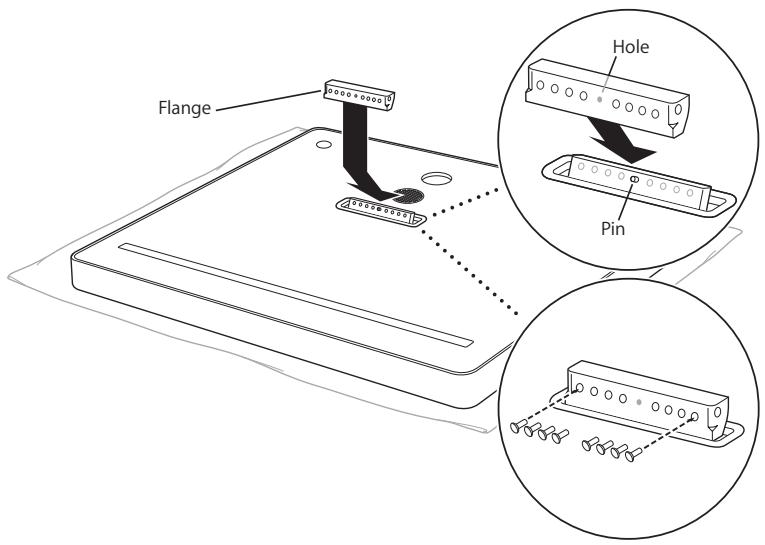
8 Align the hole in the flange with the pin on the back of your iMac, and then use the TORX tool and the 8 screws you removed from the stand to attach the flange.
9 Place the mount adapter over the flange.
Important: Keep the flange in the locked position while you attach the mount adapter.
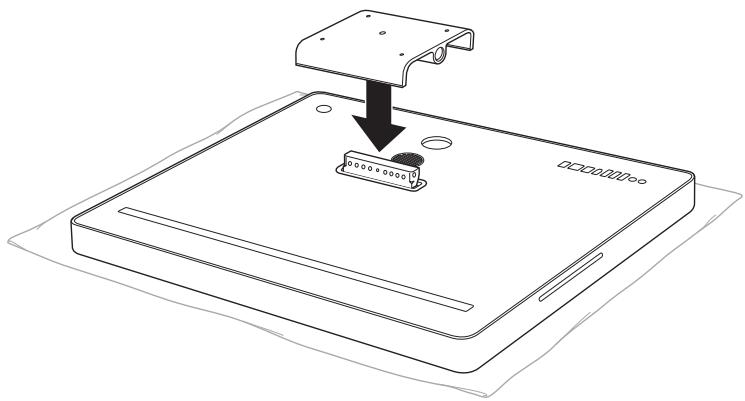
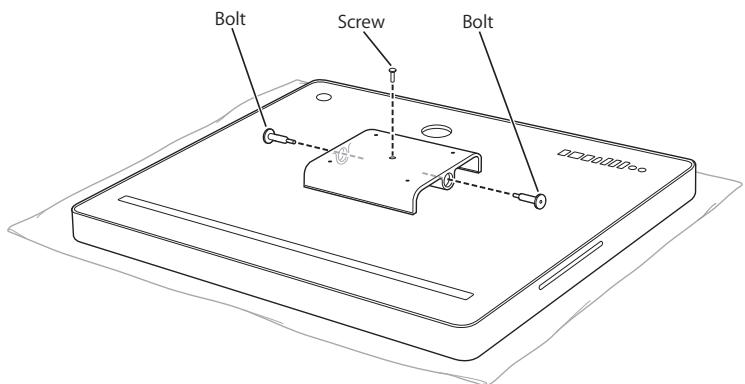
10 Use the TORX tool to screw the screw into the top of the mount adapter, and then use the hex tool and the two bolts to attach the mount adapter to the back of your iMac.
11 Follow the instructions included with the VESA-compliant mounting solution to attach it to your 24-inch iMac.
12 Connect the power cord and cables to your iMac.
iMac 24-inch VESA Mount Adapter
© 2006 Apple Computer, Inc. All rights reserved.
Apple, the Apple logo, and iMac are trademarks of Apple
Computer, Inc., registered in the U.S. and other countries.
Other company and product names mentioned herein are trademarks of their respective companies.
Printed in XXXX
