
DVX4P - AV Extender Smart-AVI - Free user manual and instructions
Find the device manual for free DVX4P Smart-AVI in PDF.


| Product Type | AV Extender |
| Brand | Smart-AVI |
| Model | DVX4P |
| Dimensions (W x D x H) | 4.5 x 2.4 x 1.0 in (114 x 61 x 25 mm) |
| Weight | 0.4 lbs (180 g) |
| Power Supply | 5V DC, 1A (included) |
| Video Interface | VGA (DB-15) / DVI-D (via adapter) |
| Audio Interface | 3.5mm stereo audio |
| Max Resolution | 1920x1200 @ 60Hz |
| Transmission Distance | Up to 300 ft (91 m) via CAT5e/6 |
| Connectors | 1x VGA in, 1x 3.5mm audio in, 1x RJ-45 out |
| Supported Signals | Analog RGB, stereo audio |
| EDID Management | Built-in EDID emulation |
| Housing Material | Metal |
| Operating Temperature | 32°F to 122°F (0°C to 50°C) |
| Humidity | 10% to 85% RH (non-condensing) |
| Included Accessories | Power adapter, mounting bracket |
| Maintenance | Wipe with dry cloth; no liquids |
| Safety | Use only supplied power adapter |
| Repairability | No user-serviceable parts |
Frequently Asked Questions - DVX4P Smart-AVI
User questions about DVX4P Smart-AVI
0 question about this device. Answer the ones you know or ask your own.
Ask a new question about this device
Download the instructions for your AV Extender in PDF format for free! Find your manual DVX4P - Smart-AVI and take your electronic device back in hand. On this page are published all the documents necessary for the use of your device. DVX4P by Smart-AVI.
USER MANUAL DVX4P Smart-AVI
| DVI | |
| Video Interface | DVI-L' |
| Resolution | 1920 x 1200@60Hz, Resolution up to 1280 x 1024 min. 75Hz |
| Input Interface | DVI-D (Single-Link) |
| Upgradeable | Onboard Flash |
| USB | |
| CAI6 (STP) | Maximum Rarg e 220ft |
| USB Data | Data Rate of 12Mbp sCompatible with USB version 1.1 |
| USB Connectors | USR-TX-DVX-4P, Type AUSB-TX-DVX-4P, Type B |
| RS2 32 and Audic | |
| RS2 32 | (TX-DB9Female) (RX-DB9Male) |
| CAT6 | STP CAT6 |
| Protocol | Full duplex, transparent to all baud rate |
| Audio | Signal Iype Stereo AudioBandwidth 1 5MHzU dbImpedance 100 OhmConnector 3.5 mini jack, |
| Power | 110/120V |
| Dimension (inches) | 1U( 17" x 1.73') |
| Weight (lbs) | 6h |

| Pin # | Signal | Pin # | Signal |
| 1 | T.M.D.S Data 2- | 16 | Hot Plug Detect |
| 2 | T.M.D.S Data 2+ | 17 | T.M.D.S Data 0- |
| 3 | T.M.D.S Data 2/4 Shield | 18 | T.M.D.S Data 0+ |
| 4 | T.M.D.S Data 4- | 19 | (75x80x82) |
| 5 | T.M.D.S Data 4+ | 20 | T.M.D.S Data 5- |
| 6 | DDC Clock | 21 | T.M.D.S Data 5+ |
| 7 | DDC Data | 22 | T.M.D.S Clock Shield |
| 8 | Analog Vert. Sync | 23 | CS@MAT |
| 9 | T.M | 1ataDS.D. | 24 T.M.D.S Clock - |
| 01 | 1ataDS.D.M.T | ||
| 11 | T.M.D.S Data 1/3 Shield | C1 | Analog Red |
| 12 | T.M.D.S Data 3- | C2 | Analog Green |
| 31 | T.M.D.S Data 3 + | C3 | Analog Blue |
| 14 | 5VDC 1.6A | C4 | Analog Horz Sync |
| 15 | GND | C5 | Analog Ground |
Smart-AM
2840 N. Naomi Ave.
Burbank California 91 504
Phone: (818) 565-0011
Facsimile (818) 565-0020
Please visit smartavi.com for a expanded version of this manual.
Smart-AM
SMART AUDIO VIDEO INNOVATION
User Manual

Extend 4 DVI-D, RS232, Stereo Audio and USB1.1 using a
Single Rack Mount System.
Connection Diagram
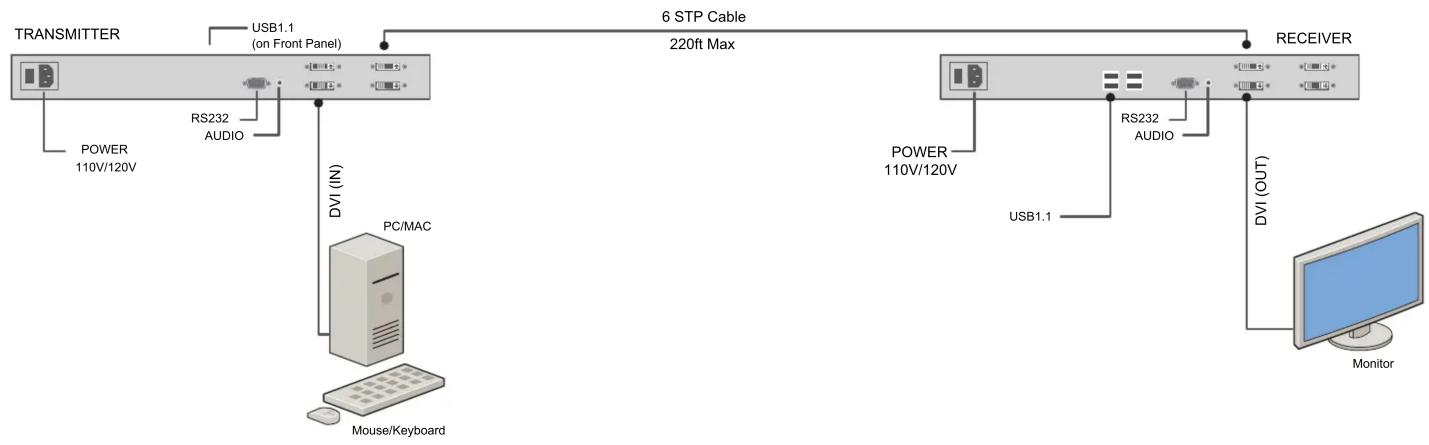
flowchart
graph TD
    A["TRANSMITTER"] --> B["USB1.1 (on Front Panel)"]
    B --> C["6 STP Cable 220ft Max"]
    C --> D["RECEIVER"]
    E["POWER 110V/120V"] --> F["RS232 AUDIO"]
    F --> G["DVI (IN)"]
    G --> H["PC/MAC"]
    H --> I["Mouse/Keyboard"]
    J["POWER 110V/120V"] --> K["RS232 AUDIO"]
    K --> L["DVI (OUT)"]
    L --> M["Monitor"]
Connecting the DVI
- Turn off computer and monitor.
- Connect DVI male to male cable between the computer and the transmitter.
- Connect monitor or projector to the DVI port on the receiver.
- Connect a shielded Cat 6 STP cable between port 1 on the transmitter and port 1 on the receiver.
- Repeat for 3 other ports.
Connecting the USB In/Out
- Connect the transmitter to the host using the A-B USB cable (included with the unit).
- The A side of the connector would go to the computer host and the B side would be connected to the transmitter.
- Connect the receiver to the peripheral.
- Connect the CAT6 STP Cable.
Note: The receiver provides remote power up to 500
mA to the connected peripherals. This power comes from the host computer and is passed by the transmitter to the receiver. In some applications, and external power supply is required. SmartAVI can provide a power supply for such cases with the receiver and transmitter units.

Connecting the Audio and RS232
- Connect an RS232 cable and/or audio cable to the source unit.
- Connect the Audio using 3.5mm cable at the transmitter
- Connect the Speaker/s. at the Receiver.
- Connect the last CAT6 STP Cable.
Preparing & Connecting System CAT5 Cable Following is the wiring standard for terminating CAT 5 cable using RJ-45 connector:
Pair 1 Pins 1 & 2
Pair 2 Pins 3 & 6
Pair 3 Pins 4 & 5
Pair 4 Pins 7 & 8


Connectors: RJ-45
Capacitance: 14 pf/ft (46.2 pf/m)
Conductor Gauge: 24 AWG
Impedance: 100 +/- 15 ohms
4 - Pair
Connecting the TX/RX
- Connect DVI, USB (In/Out) and Audio/RS232 as outlined.
- Connect Power Cord.
- Turn on TX and RX.
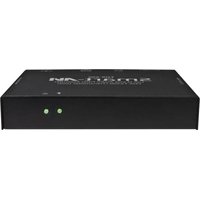
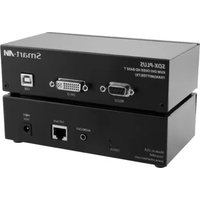
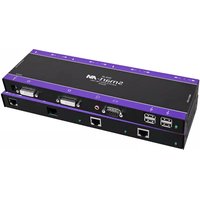
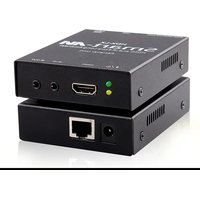
Brand : Smart-AVI
Model : DVX4P
Category : AV Extender