
Tørr DES-09W - Air conditioner WILFA - Free user manual and instructions
Find the device manual for free Tørr DES-09W WILFA in PDF.


| Product Type | Portable Air Conditioner / Dehumidifier |
| Brand | Wilfa |
| Model | Tørr DES-09W |
| Cooling Capacity (BTU) | 9,000 BTU |
| Dehumidification Capacity (pints/day) | 20 pints |
| Energy Efficiency Ratio (EER) | 2.8 |
| Power Supply | 230 V / 50 Hz |
| Power Consumption (Cooling) | 950 W |
| Air Flow (max) | 300 m³/h |
| Noise Level (max) | 52 dB(A) |
| Refrigerant Type | R290 |
| Dimensions (W x D x H) | 350 x 350 x 680 mm |
| Weight | 22 kg |
| Operating Temperature Range | 18°C - 35°C |
| Timer Function | Yes, 24-hour |
| Remote Control | Yes |
| Caster Wheels | Yes |
| Filter Type | Washable dust filter |
| Dehumidifier Drainage | Continuous drainage hose |
| Security Features | Auto-restart, overload protection |
| Spare Parts Availability | Filters, remote control, hose |
| Warranty | 2 years |
Frequently Asked Questions - Tørr DES-09W WILFA
User questions about Tørr DES-09W WILFA
0 question about this device. Answer the ones you know or ask your own.
Ask a new question about this device
Download the instructions for your Air conditioner in PDF format for free! Find your manual Tørr DES-09W - WILFA and take your electronic device back in hand. On this page are published all the documents necessary for the use of your device. Tørr DES-09W by WILFA.
USER MANUAL Tørr DES-09W WILFA
natural_image
White and gray portable electronic device with 'wifa' branding on the front panel (no other text or symbols visible)Tørr 0°
Dehumidfier
Bruksanvisning
Bruksanvisning
Brugsanvisning
Käyttöohje
Instruction manual
Ugit officia porem et ent, inctorem resent volorumqui bearum corestota et ut am
quo magnihitae
magninitae DES-09W
natural_image
Grid of 16 gray squares arranged in a 3x3 pattern, no text or symbols visibleAktivt
kol-filter
Filterfäste
natural_image
Line drawing of a rectangular electronic device with a grid-patterned panel and an arrow pointing to it (no text or symbols)Kontrollpanel
natural_image
Grid of 16 gray squares arranged in a 3x3 pattern, no text or symbols visibleAktivt
kul-filter
natural_image
Plain gray rectangular shape with no visible text, symbols, or markings.Filterholder
natural_image
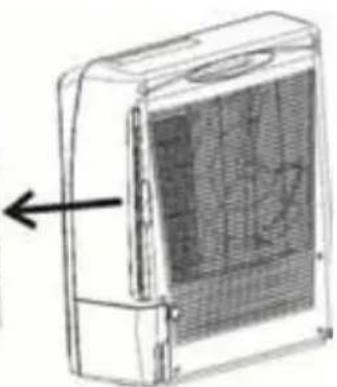
Technical line drawing of a rectangular electronic device with a grid-patterned panel and an arrow pointing to it (no text or symbols present)Kontrolpanel
RENG∅RING.AF.APPARATET
The image contains only background ruled lines. According to Rule 2, these lines must be ignored. There is no actual text content to extract.
Therefore, the corrected OCR output is:
[Empty String]
Tekniset tiedot ....3
Specifications ....3
Safety warnings ....4
DO NOT USE your dehumidifier in the following conditions .....5
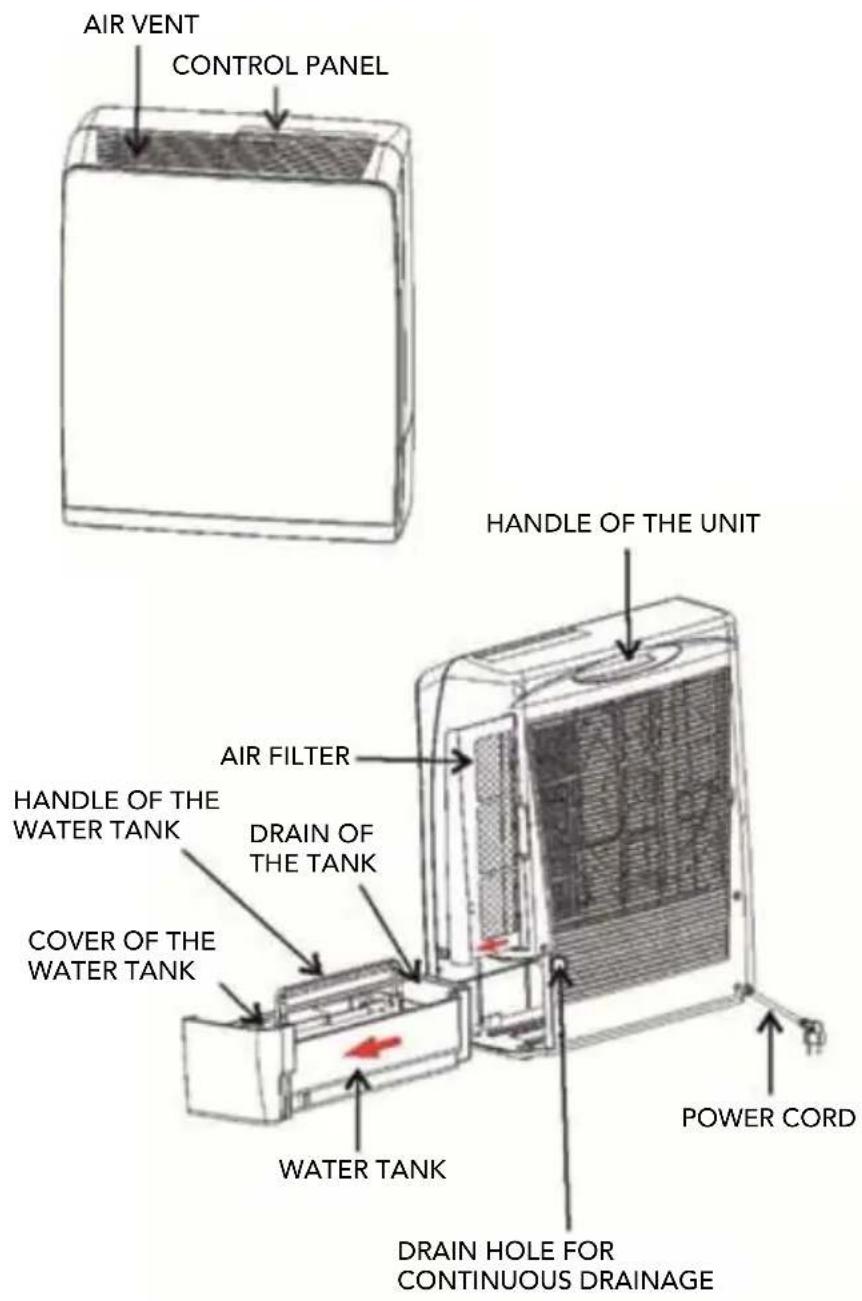
Parts 6
Control panel 7
Operation....8
Important 8
Drainage 10
Continuous drainage ....11
Maintenance ....12
Thank you for choosing a Wilfa dehumidifier which will provide you and your family with the home comfort you require.
This user manual will provide you with important information about the correct care and maintenance for your new dehumidifier. Take a few minutes to carefully read the instructions and familiarise yourself with all the functions of the dehumidifier. Keep the manual for future reference.
This is a compressor-free dehumidifier that works without coolant and is more effective than compressor-based dehumidifiers when used at temperatures below 5^ C.
Specifications
Model DES-09W
Power supply 220-240V / 50Hz
Capacity 9 litres/day
Power supply High 780W
Low 470W
Area 200 m ^3 /h
Water tank capacity 3.5 litres
Fan speed 2
Hours 1-24 hours
Continuous drainage Yes
Safety features Overturn protection
Weight (kg) 8.5
Size (W x D x H) 445 x 200 x 525 mm
Dehumidifying capacity is measured at a room temperature of 30^ C and a relative humidity of 80%.
Safety.warnings
■ Position this unit on a firm, even surface to avoid water leakage. Ensure that the unit remains upright at all times.
■ The unit may emit a chemical odour the first hour of operation, this has no dangerous consequences.
■ Ensure that there is a distance of at least 30 cm between the unit and any combustible materials.
■ Ensure that there is a distance of at least 90 cm between the top of the unit and any combustible materials.
■ Disconnect the power supply before cleaning the unit or any of the components or before moving the unit. Never use the power socket to turn the unit off directly. Always use the switch on the control panel.
■ The unit has overturn protection which will turn the unit off if it overturns during operation.
■ If the cable is damaged it must be replaced by authorised service personnel.
If there is any damage to the appliance or if it does not work, only authorised personnel may repair the appliance.
■ Do not place the unit on soft surfaces.
■ Do not block air inlets or exhaust systems.
■ Do not place fingers or items in air inlets or outlets.
■ Do not cover.
■ For indoor use.
■ Do not use inside cupboards.
■ Do not use in bathrooms.
■ Do not place the power cord under duvets or throws.
■ Do not use the appliance in places where paint, petrol or other combustible fluids are used or stored.
■ Always transport and store in an upright position.
■ The appliance must not be overturned when there is water in the water tank.
■ Never immerse the appliance in water or other fluids.
■ Do not spray water on the appliance.
■ The appliance must be turned off before moving, remove the plug and empty the water tank. It will take approximately 2 minutes to stop the unit. The fan will then cool the appliance.
■ Always disconnect the appliance from the mains and wait for at least one hour before carrying out any maintenance, transport or cleaning of the unit.
This unit is not intended for use by persons (including children) with reduced physical, sensory or mental capabilities or who have limited experience and knowledge, unless they are under the supervision of or have been trained to use the unit by a person responsible for their safety. Supervise children to ensure that they do not play with the appliance.
DO.NOT.USE.your.dehumidifier.in.the.following.conditions
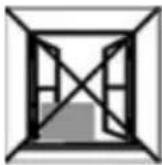
Exposed to
the weather
outdoors
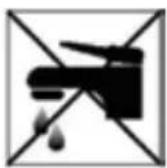
Near water If ther power
cable wires are
frayed or cut

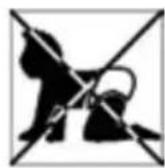
Where small
children
may be left
unattended
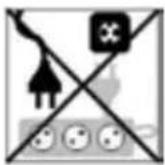
If an extension
lead may
become
overloaded
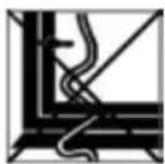
Where the
power cable
may be
damaged
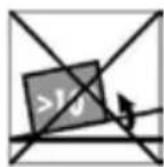
On a slope or
uneven surface

Where there is risk of fire or close to a naked flame
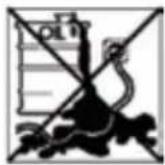
Where it may
be damaged
by chemicals
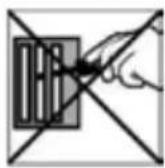
Where there is a risk of interference by foreign objects
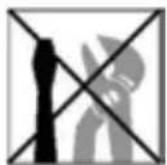
This product is not made for DIY repair
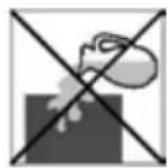
If there is a risk of water falling on the unit
Parts
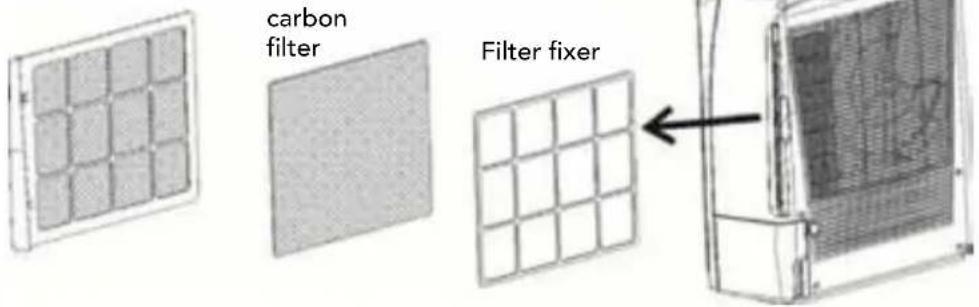
Dust filter
Control.panel
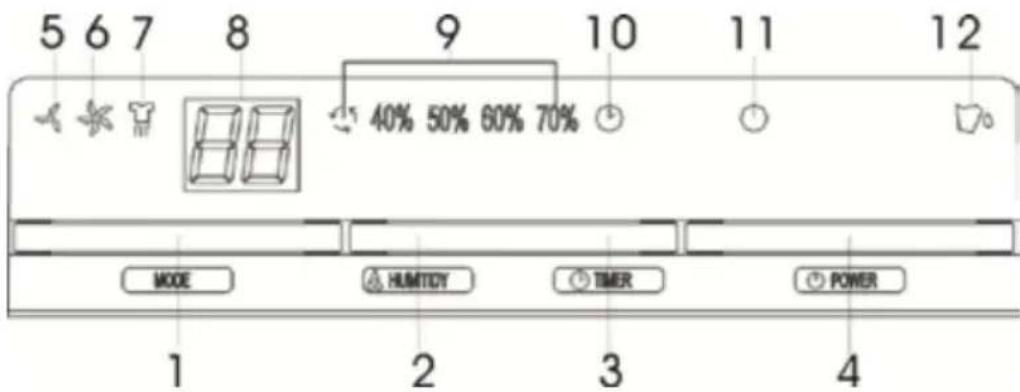
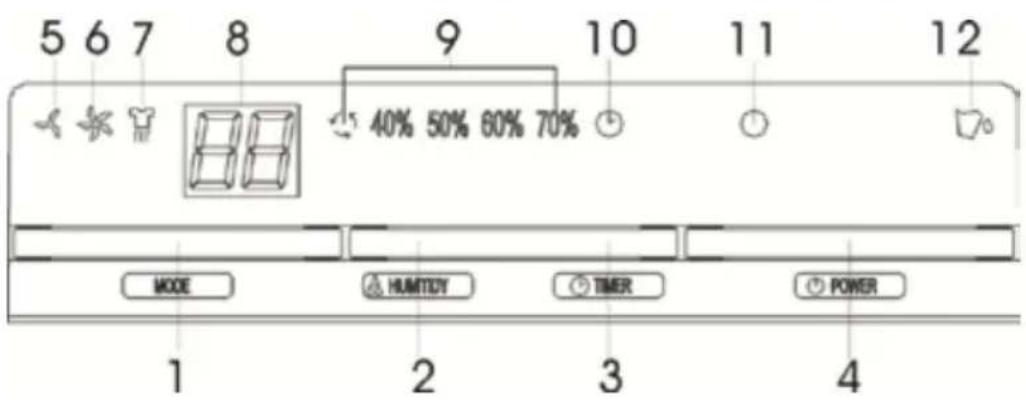
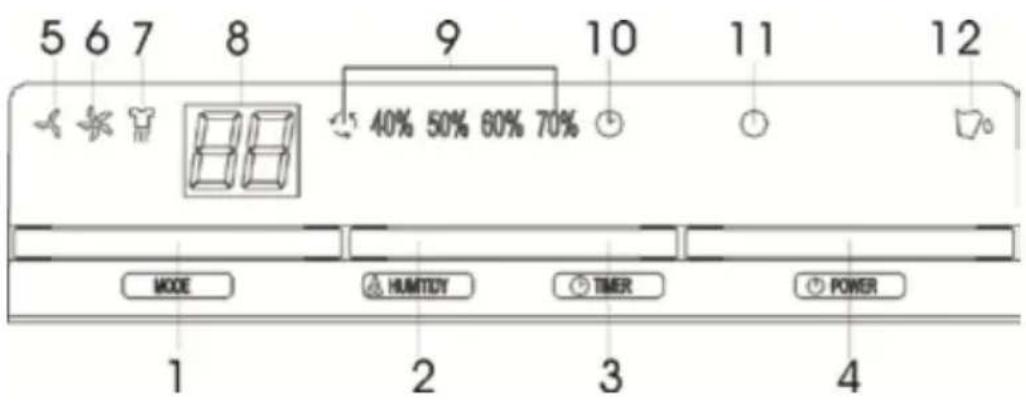
1 MODE button for choosing fan speed and drying function.
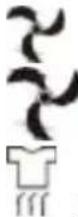
Low fan speed, low dehumidifying.
High fan speed, high dehumidifying.
Drying function: turns on with high fan speed and heat.
2 HUMIDITY button for humidity
■ Press the HUMIDITY button to adjust the desired humidity of the room. Continuous dehumidifying, 40%, 50%, 60% or 70%. The selected setting will be lit up.
■ If the HUMIDITY has not been set, the unit will use the pre-installed humidity: 50 %.
3 TIMER button
■ Press the TIMER button to set the desired operating time for the appliance. Press the TIMER button and the LED display will show the selected time (from 0, 1 to 24 in a cycle).
■ When the TIMER is activated, the clock symbol will light up and the selected time will be shown for 8 seconds in the LED display.
■ When the selected time has elapsed, the machine will automatically turn off.
4 POWER (ON/OFF) button Press this button to turn the machine on or off.
5 LOW fan speed, the indicator lamp will light up when this function has been selected.
6 HIGH fan speed, the indicator lamp will light up when this function has been selected.
7 DRYING function, the indicator lamp will light up when this function has been selected.
8 LED DISPLAY, shows the humidity in the room 35% \~ 95%. If you press the "TIMER" button it will show the selected time and after 8 seconds it will revert to showing the humidity in the room (will display minimum 35%).
9 HUMIDITY indicator, shows the selected dehumidifying, 40%, 50%, 60%, 70%.
10 TIMER indicator ⬇ will light up when the timer function is operating.
11 POWER (ON / OFF) / indicator. During normal operation, this indicator will be lit up in green. The power indicator will flash when:
■ The unit is overturned.
■ The fan is on to reduce heat (after the power has been turned off the unit will continue to run for 2 minutes to cool the unit down).
12 WATER TANK INDICATOR will light up in red when the water tank is full or not in the correct position.
Operation
- Plug the unit into a power socket. Ensure that the plug is securely plugged in. (Please check that the label on the product corresponds with the voltage on location).
- Press the POWER button to turn the unit on. The unit will start working in continuous mode.
- Press the HUMIDITY button to set the humidity for the room.
- Press the MODE button to select the fan speed, LOW, HIGH or DRYING.
- Press the TIMER button to select the desired operating time for the appliance (1 - 24 hours).
- To turn the unit off, press the POWER button again.
Important:
- When turning the unit off it will take at least 2 minutes before the unit turns off. The fan will run to reduce the heat inside the appliance.
- Do not use the unit without the air filter.
- When the unit has been running continuously for 8 hours it will stop for 2 minutes before turning back on again.
■ The fan will continue working for those 2 minutes.
■ To turn the unit off, press the "POWER" button (the selected time will then be deleted).
■ When the water tank is full, the selected time will be removed.
■ If the TIMER function is not in use, the machine will automatically turn off after 24 hours.
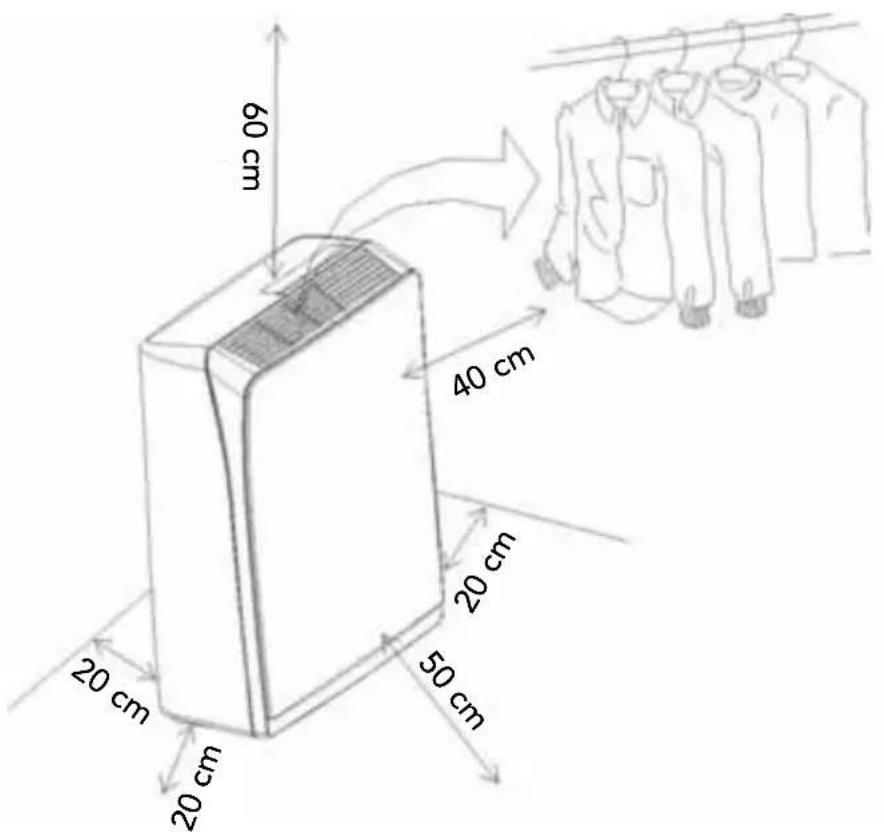
- If you use the DRYING function for clothes, please keep the unit at least 40 cm away from the objects (e.g. clothes) and ensure that water cannot drip onto the unit. Please refer to the illustrations below for the minimum distance in each direction.
-
This unit is equipped with overturn protection. If the unit is turned on its side the unit will automatically stop. The POWER indicator will light up in red and the unit will beep 3 times to alert you. Place the product in the correct position and press the POWER button to restart.
-
Self-diagnosis: If the room sensor, humidity sensor or overturn protection are not working, the unit will beep 3 times to alert you, the POWER indicator will light up in red and the unit will turn off.
Drainage
If the water tank is full, the unit will stop working:
■ The water tank indicator will light up when the tank is full.
■ The unit will beep 10 times to alert you that the container is full. The alerts will stop when the POWER button is pressed.
When emptying the container, proceed as follows:
1 Use one hand to securely hold the unit.
2 Remove the water tank.
3 Hold the handle of the water tank, remove the cover and empty out the water.
4 After emptying the container, put it back in its position. Ensure that it has been positioned correctly so that the "full container indicator" stops being lit up and the dehumidifier works again.
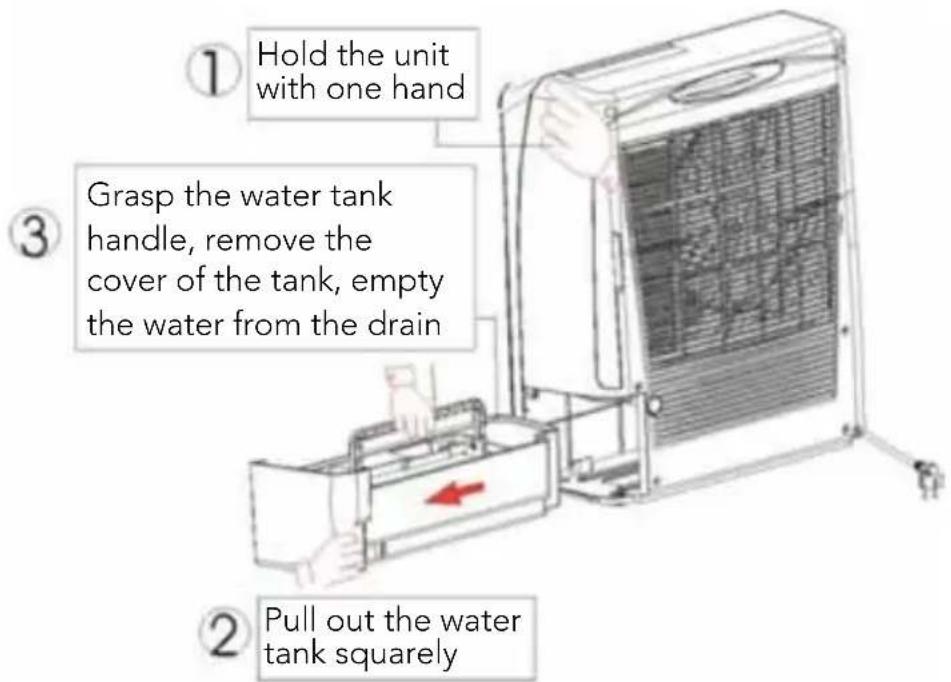
Please note: if the water tank has not been positioned correctly, the full water tank indicator will be lit up in red and the unit will beep.
Continuous.drainage
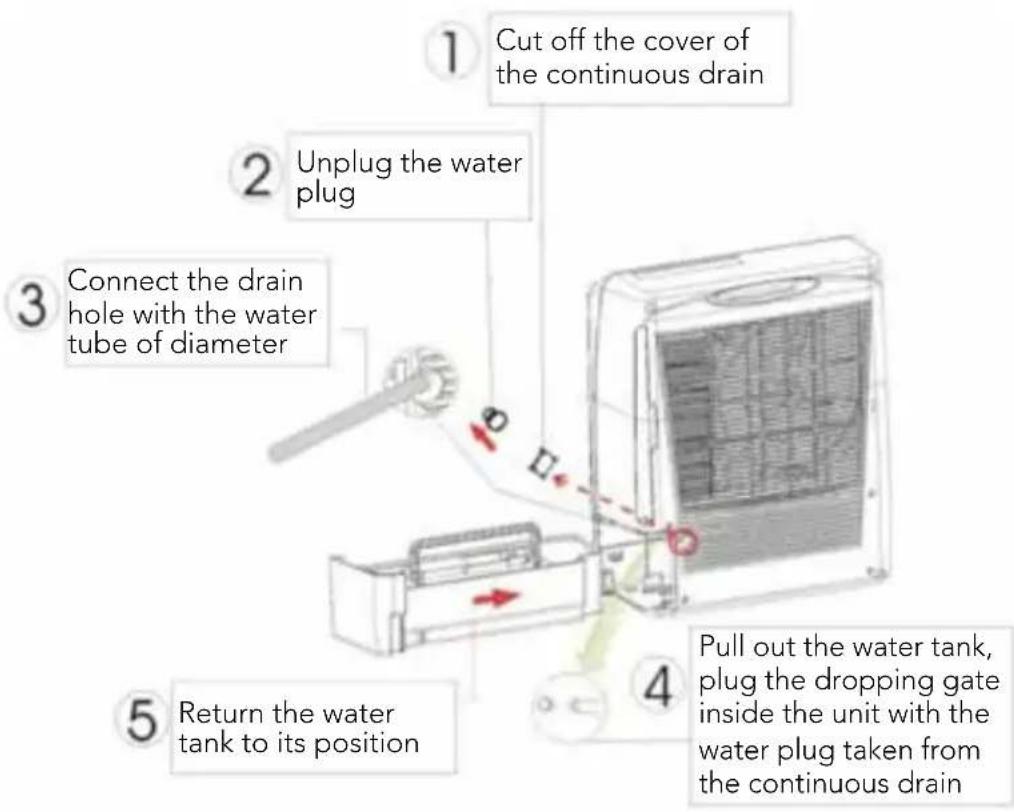
When the dehumidifier is run under very high humidity, the water tank will need to be emptied more frequently. In such circumstances it may be more practical to prepare the unit for continuous drainage using the following procedures:
Cut off the cover of the continuous outlet at the rear of the unit.
1 Remove the plug.
2 Connect an outlet hose to the drainage hole (12 mm).
Please be aware that the outlet hose is not supplied with the unit.
3 Remove the water tank, insert the plug into the drainage hole inside the unit.
4 Return the water tank to its position.
Maintenance
Always disconnect the appliance from the mains and wait for at least one hour before carrying out any maintenance or cleaning of the unit.
CLEANING.THE.UNIT
Use a soft cloth to wipe the unit clean.
Never use petrol, detergents or other chemicals for cleaning.
CLEANING.THE.FILTER
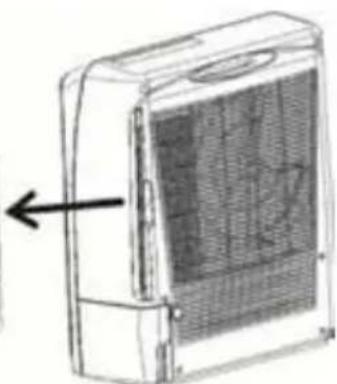
Remove the air filter from the rear of the unit.
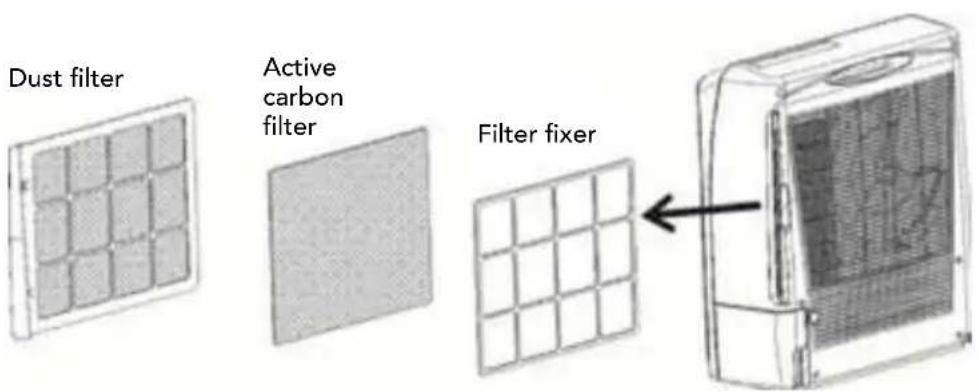
For.dust.filters.(washable.filter).-
-
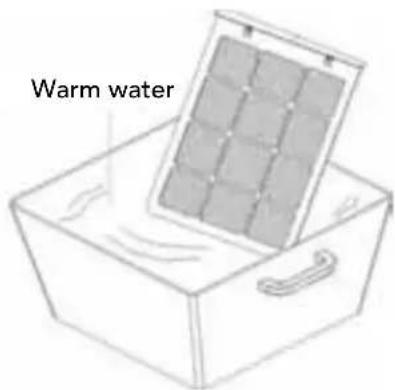
Use a vacuum cleaner or lightly tap the filter for simple cleaning. If the filter is particularly dirty, use warm water.
-
Ensure that the filter is completely dry before putting it back into the unit.
-
Do not expose the filter to sunlight.
For.active.carbon.filters
This filter is not washable. Its service life varies and depends on the conditions in which the appliance is used. The filter must be inspected at regular intervals and replaced if necessary.
STORAGE
If the appliance is to be stored for a prolonged period:
■ Remove the plug.
■ Empty the water tank and wipe it dry.
■ Cover the unit so that it is not exposed to direct sunlight.
| Troubleshooting | |
| PROBLEM POSSIBLE REASON | |
| The unit is not working at all. Check | the plug.The water tank is not in position or is full.Check that the unit is standing correctly. |
| The unit does not dehumidify. Too | much dust in the air filter.Check that the air valve is not covered.Humidity is too low already. |
| Poor dehumidifying effects. Too many open doors and windows.There may be something in the room which is adding humidity. | |
| Abnormal sounds from the motor. Check and clean the air filter.Check that the unit is upright and on a level surface. | |
| The unit is leaking water. Check whether the unit has been overturned.Check the internal drainage opening for the water tank. | |
| After turning the appliance off, the fan motor continues to run | After stopping the unit, approximately 2 minutes will pass in order to cool down the electrical pre-heater. |
Please turn the power off immediately if the unit emits strange sounds, smells, etc.
We reserve the right to make changes.
According to the Waste Electrical and Electronic Equipment (WEEE) Directive, this type of waste must be collected and treated separately. If it becomes necessary to dispose of this product at some point, kindly make sure that it is not discarded with your everyday household refuse. Instead, bring the product to your closest WEEE collection centre.

- Tørr 0°
- Kontrollpanel
- Kontrolpanel
- RENG∅RING.AF.APPARATET
- Specifications
- Safety.warnings
- DO.NOT.USE.your.dehumidifier.in.the.following.conditions
- Control.panel
- Operation
- Important:
- Drainage
- Continuous.drainage
- Maintenance
- CLEANING.THE.UNIT
- CLEANING.THE.FILTER
- For.dust.filters.(washable.filter).-
- For.active.carbon.filters
- STORAGE
Brand : WILFA
Model : Tørr DES-09W
Category : Air conditioner