SSD 3000 A1 - Tripod SILVERCREST - Free user manual and instructions
Find the device manual for free SSD 3000 A1 SILVERCREST in PDF.

| Brand | SilverCrest |
| Model | SSD 3000 A1 |
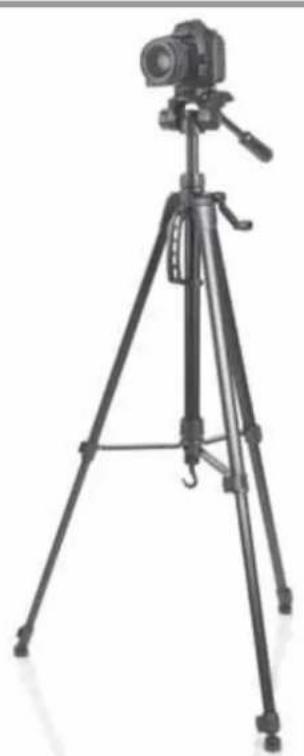
| Product Type | Telescopic Tripod |
| Minimum Height | Approx. 62 cm |
| Maximum Height | Approx. 158 cm |
| Maximum Load | 3 kg |
| Thread Size | 1/4 inch (6.35 mm) |
| Spirit Level | Bubble level on tripod head |
| Quick Shoe | Removable quick shoe with lever |
| Crank Adjustment | Central column crank for vertical adjustment |
| Leg Sections | Three leg sections with locking levers |
| Feet | Movable rubber feet |
| Hook | Hook for hanging weights up to 2 kg |
| Panoramic Rotation | 360° rotation with locking screw |
| Tilt Range | Up/down tilt with handle |
| Portrait Tilt | Tripod head can be tilted for portrait shots |
| Included Accessories | Transport bag, operating instructions |
| Compatible Devices | Cameras and devices with 1/4-inch thread |
| Cleaning | Wipe with damp cloth; no abrasive cleaners |
| Storage | Store in dry place using provided bag |
| Safety Note | Secure camera firmly; max load 3 kg |
| Warranty | 3 years from date of purchase |
Frequently Asked Questions - SSD 3000 A1 SILVERCREST
User questions about SSD 3000 A1 SILVERCREST
0 question about this device. Answer the ones you know or ask your own.
Ask a new question about this device
Download the instructions for your Tripod in PDF format for free! Find your manual SSD 3000 A1 - SILVERCREST and take your electronic device back in hand. On this page are published all the documents necessary for the use of your device. SSD 3000 A1 by SILVERCREST.
USER MANUAL SSD 3000 A1 SILVERCREST
natural_image
Color palette bar with grayscale gradient and a crosshair symbol (no text or labels)SILVER CREST®
natural_image
Black-and-white photo of a tripod-mounted camera setup with tripod legs and tripod base (no text or symbols visible)
TELESKOP-STATIV SSD 3000 A1
DE AT CH
TELESKOP-STATIV
Bedienungsanleitung
IT CH
CAVALLETTO TELESCOPICO
Operating instructions
FR CH
TRÉPIED TÉLESCOPIQUE
Mode d'emploi
NL
TELESCOOP STATIEF
Gebruiksaanwijzing
IAN 79831
DE AT CH
FR IT NL GB
Inhalt
- Overview 26
- Intended purpose 27
- Safety information 27
- Items supplied 28
- Operation 28
5.1 Setup and alignment 28
5.2 Securing the camera 28
5.3 Settings at the tripod and transport.... 29
- Cleaning and storage 29
- Disposal 29
- Technical specifications 29
- Warranty of the HOYER Handel GmbH 30
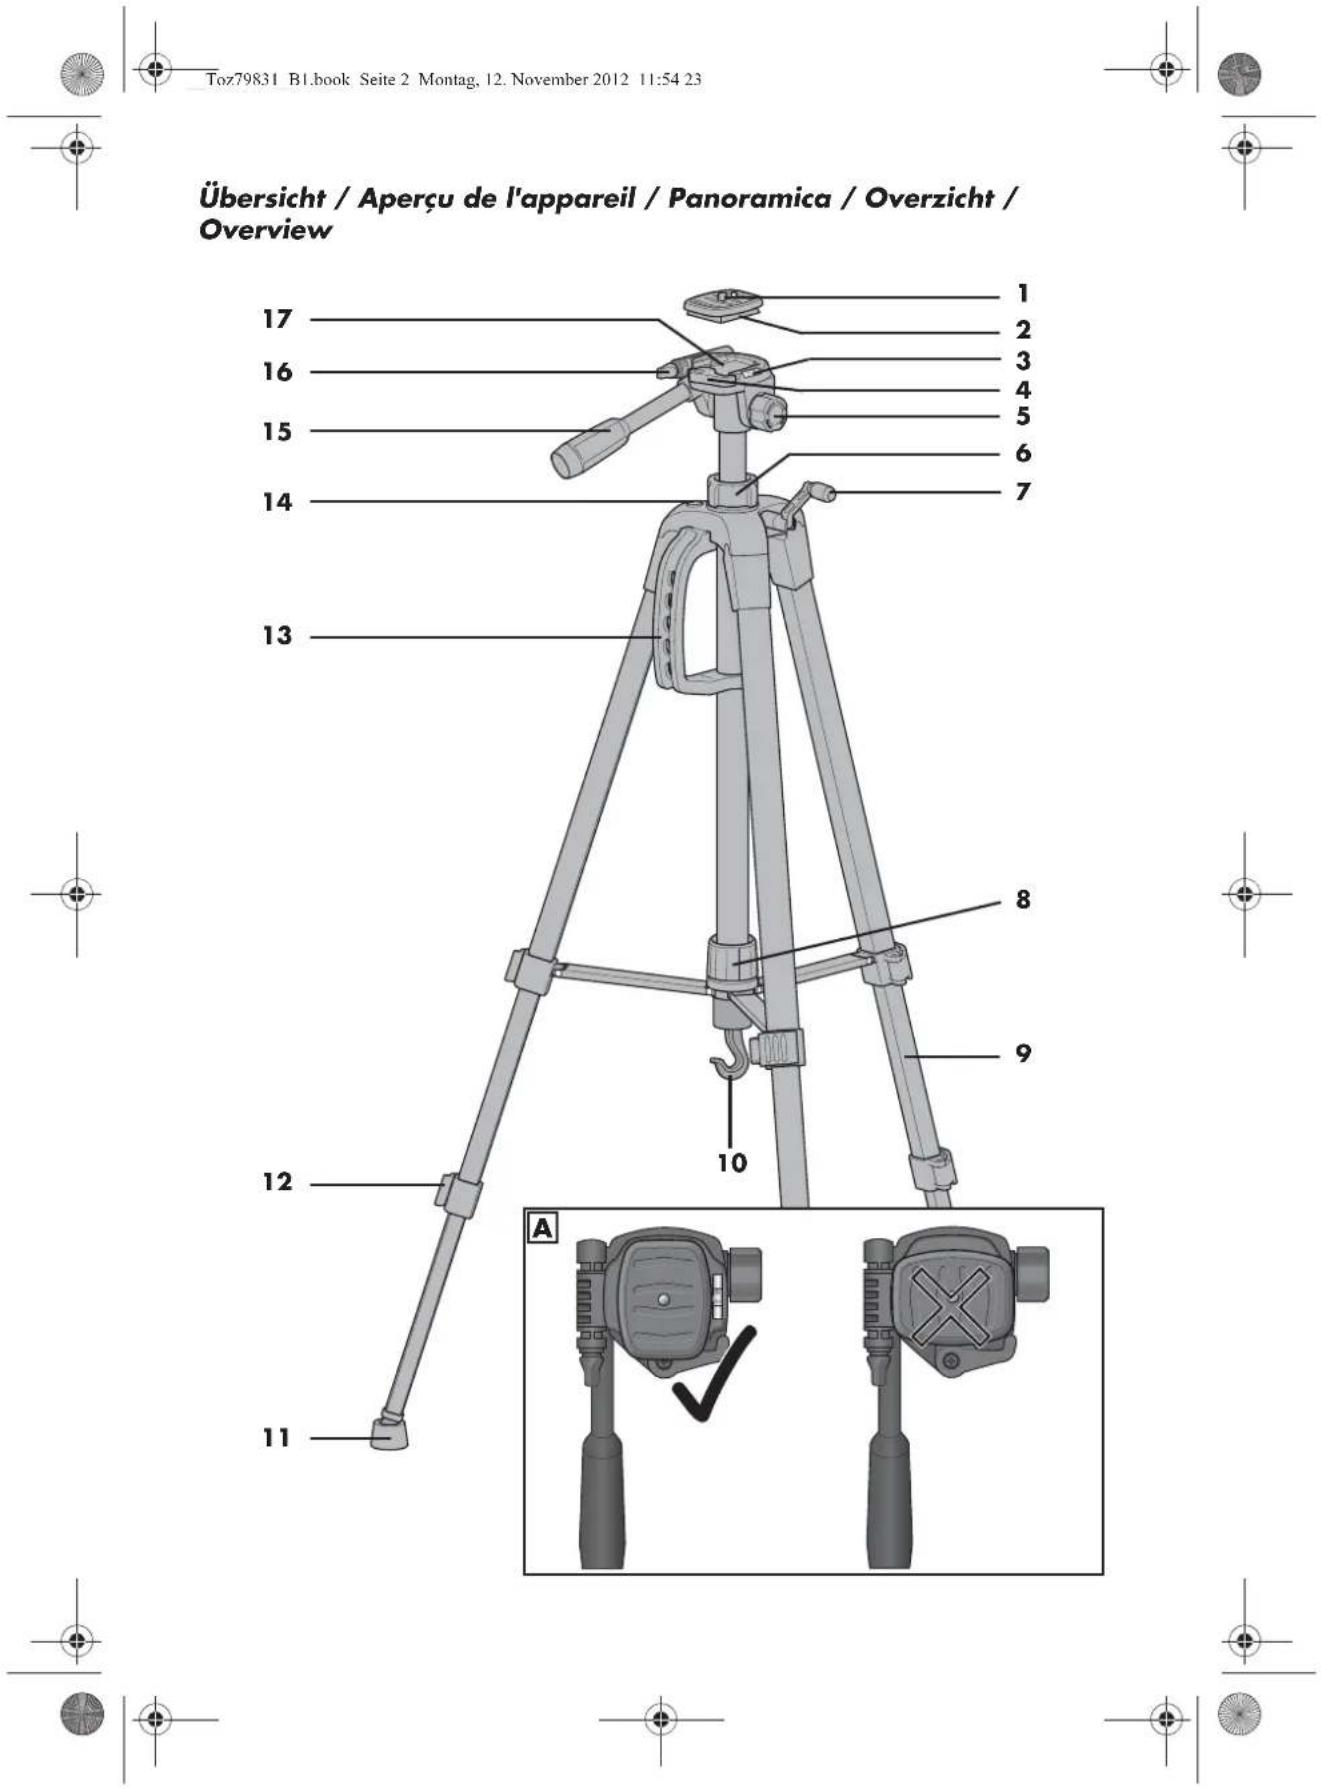
1. Overview
1 Thread screw
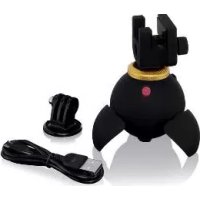
2 Quick shoe
3 Spirit level
4 Lever of the quick shoe
5 Locking screw (left-right movement of the tripod head)
6 Locking screw (secures the tripod head against accidental lowering)
7 Crank (for vertical adjustment)
8 Locking screw (secures the legs against folding up)
9 Legs (vertically adjustable)
10 Hook (for camera bag, accessories)
11 Moveable feet
12 Blocking lever (for a variable adjustment of the legs)
13 Handle
14 Bubble level (alignment of the tripod)
15 Handle (slanting up/down)
16 Locking screw of tripod flat head
17 Tripod flat head
Thank you for your trust!
Congratulations on your new tripod.
For a safe handling of the tripod and in order to acquaint yourself with all its features:
• Thoroughly read these operating instructions prior to initial commissioning.
- Above all, observe the safety instructions!
• The tripod should only be used as described in these operating instructions.
- Keep these operating instructions for reference.
- If you pass the tripod on to someone else, please include these operating instructions.
We hope you enjoy your new tripod!
2. Intended purpose
The tripod serves to fasten photo cameras, video cameras or other devices with a 1/4-inch thread.
It is only intended for private use and not suited for commercial or industrial purposes.
3. Safety information
Warnings
If necessary, the following warnings will be used in these operating instructions:

DANGER! High risk: failure to observe this warning may result in injury to life and limb.
WARNING! Moderate risk: failure to observe this warning may result in injury or serious material damage.
CAUTION: low risk: failure to observe this warning may result in minor injury or material damage.
NOTE: circumstances and specifics that must be observed when handling the device.

DANGER for children
- Packing materials are not children's toys. Children should not be allowed to play with the plastic bags. There is a risk of suffocation.
- This device is not designed to be used by people (including children) with limited physical, sensory or mental capabilities or people without adequate experience and/or understanding unless they are supervised by someone responsible for their safety or are instructed by them on how to use the device.
• Children must be supervised to ensure that they do not play with the device. - Keep the device out of the reach of children.


WARNING! Risk of injury
- After cranking the tripod head up, tighten the locking screw 6. Otherwise the tripod head, including the camera may lower quickly. You may pinch your fingers.
WARNING! Risk of material damage
- The tripod must always be positioned such that it is stable and secure in order to be protected against toppling over or falling. Ensure a safe position or a safe attachment of the camera.
• In order to protect your photo or film camera against damages caused by falling, always make sure that
- the camera is firmly screwed to the quick shoe 2;
- the quick shoe is firmly connected to the tripod flat head 17;
- camera and lens do not weigh more than the admissible 3 kg.
- Especially check during the use of 500 mm or 1000 mm lenses if the tripod safe from tipping over.
- Only use the original accessories.
- Do not use any astringent or abrasive cleaning agents.
4. Items supplied
1 tripod
1 transport bag
1 set of operating instructions
5. Operation
5.1 Setup and alignment
-
Pull the legs 9 of the tripod apart. The locking screw 8 above the three cross braces is moved to the end of the column.
-
Tighten the locking screw 8 only until it can no longer be turned.
-
Release the blocking lever 12 and extend the legs to the desired length.
-
Close the blocking lever 12.
-
Check the straight positioning by using the bubble level 14. If the tripod is straight, the air bubble is positioned in the centre of the circle. If necessary, re-adjust the length of the legs 9.
-
For a horizontal alignment of the tripod flat head 17 release the long handle 15 (turn anti-clockwise) and turn it up or down. If the air bubble of the spirit level 3 is located accurately between the markings, the tripod flat head is aligned horizontally.
-
Tighten the long handle 15 by turning it clockwise.
5.2 Securing the camera
The camera is screwed onto a quick shoe 2. Thus, it is not necessary to position and remove the camera by screwing it on or un-screwing it every time you would like to take pictures with or sometimes without the tripod.
-
Pull the lever 4 of the quick shoe 2 up.
-
Remove the quick shoe 2.
-
Fold the small clamp on the lower side up and screw the camera firmly onto the quick shoe.
-
Pull the lever 4 of the quick shoe up and place it on again (Figure A).

- If you release the lever 4, it must sit very close to the flat head of the tripod 17.
- Check the tight fitting of the quick shoe 2 within the tripod flat head 17.
5.3 Settings at the tripod and transport
NOTE:
For additional stabilisation, you may use the hook 10 to fasten weights up to 2 kilograms.
Height
WARNING!
After loosening the locking screw 6, the centre axle is released. Therefore, the centre axle, including the camera could slide down. So this can be prevented, hold the handle 15 firmly when loosening the locking screw 6.
- Extend the legs 9 to the desired length.
- Loosen the locking screw 6 and crank the centre axle upward using the crank 7. Afterwards, retighten the locking screw 6.
Slant upward/downward
- Loosen the long handle 15 by turning it anti-clockwise. Move the handle up or down. When you are done, tighten the handle 15 by turning it clockwise.
Turn it 360°
- In order to turn the centre axle, loosen the locking screw 5. Afterwards retighten the locking screw 5.
Tipping the tripod flat head
For pictures in the portrait format tip the flat head of the tripod.
- In order to tip the flat head of the tripod 17, loosen the locking screw 16, tip the flat head of the tripod to the de-
sired position and retighten the locking screw.
Transport
- Use the handle to carry the tripod 13.
6. Cleaning and storage
WARNING! Risk of material damage!
- Do not use any astringent or abrasive cleaning agents.
- Use a slightly moist cloth to clean the tripod. If necessary, you may also put mild soapy water on the cloth.
• After cleaning, let the tripod dry. - Store the tripod in a dry place using the tripod bag included in the delivery.
7. Disposal
After the end of service life, the product is to be disposed of in a proper and environmentally-compatible manner.
Packaging
When disposing of the packaging, make sure you comply with the environmental regulations applicable in your country.
8. Technical specifications
| Model: SSD 3000 A1 | |
| Height: min: max: | approx. 62 cm approx. 158 cm |
| Max. load: 3 kg | |
| Thread size: 6.35 mm / 1/4 inch | |
Subject to technical modification.


9. Warranty of the HOYER Handel GmbH
Dear Customer,
your device is provided with a 3 year warranty starting with the purchase date. In the event of product defects, you are entitled to statutory rights against the vendor. These statutory rights are not restricted by our warranty presented in the following.
Warranty conditions
The warranty period starts with the purchase date. Please keep the original purchase receipt in a safe place. This document is required to verify the purchase.
If within three years from the purchase date of this product a material or factory defect occurs, the product will be repaired or replaced by us – at our discretion – free of charge to you. This warranty implies that within the period of three years the defective device and the purchase receipt are presented, including a brief written description of the defect and the time it occurred.
If the defect is covered by our warranty, the repaired or a new product will be returned to you. No new warranty period starts with a repair or replacement of the product.
Warranty period and statutory claims for defects
The warranty period is not extended when the warranty has been claimed. This also applies to replaced and repaired parts. Any damages and defects already existing at the time of purchase must be reported immediately upon unpacking. Repairs arising after the expiration of the warranty period are subject to a charge.
Warranty coverage
The device was produced carefully according to strict quality guidelines and tested diligently prior to delivery.
The warranty applies to material or factory defects. This warranty does not include prod-
uct parts that are subject to standard wear and therefore can be considered wear parts; the same applies to damages at fragile parts, e.g. switches, rechargeable batteries or parts made of glass.
This warranty expires if the product is damaged, not used as intended or not serviced. For the proper operation of the product, all instructions listed in the operating instructions must be observed carefully. Any form of use and handling that is advised against in the operating instructions or warned against must always be avoided.
The product is only intended for private and not for commercial use. In the case of incorrect and improper treatment, use of force and interventions not performed by our authorised Service Centre, the warranty shall cease.
Handling in case of a warranty claim
In order to ensure prompt processing of your matter, please observe the following notes:
- Please keep the article number
IAN: 79831 and the purchase receipt as a purchase verification for all inquiries. - If faulty operation or other defects occur, first contact the Service Centre listed in the following by telephone or email.
- Then, you are able to send a product reported as defective free of charge to the service address specified to you, including the purchase receipt and the information on the defect and when it occurred.

Please visit www.lidl-service.com to download this and many other manuals, product videos and software.


GB Service Great Britain
Tel.: 0871 5000 720 (£ 0.10/Min.)
E-Mail: hoyer@lidl.co.uk
IE Service Ireland
Tel.: 1890 930 034
(0,08 EUR/Min., (peak))
(0,06 EUR/Min., (off peak))
E-Mail: hoyer@lidl.ie
IAN: 79831

Supplier
Please note that the following address is no
service address. First contact the aforementioned Service Centre.
HOYER Handel GmbH
Kühnehöfe 5
22761 Hamburg
Germany


GB
31


natural_image
Pure color palette bar with no text or symbols, showing grayscale gradient and a color swatch (no text or symbols)HOYER HANDEL GMBH
Kühnehöfe 5
D-22761 Hamburg