
OptiGrill Elite XL GC760D - Grill TEFAL - Free user manual and instructions
Find the device manual for free OptiGrill Elite XL GC760D TEFAL in PDF.


| Product Type | Electric Grill |
| Brand | Tefal |
| Model | OptiGrill Elite XL GC760D |
| Power | 2000 W (approx.) |
| Weight | Approx. 7 kg |
| Dimensions | Approx. 40 x 35 x 15 cm |
| Cooking Plate Material | Non-stick coating |
| Number of Automatic Programs | 16 (Beef, Chicken, Fish, etc.) |
| Manual Mode | Yes (4 temperature levels: 120°C, 160°C, 200°C, 240°C) |
| Frozen Food Function | Yes (automatic mode only) |
| Searing Function | Yes (automatic mode only) |
| Preheating Time | 4–7 minutes |
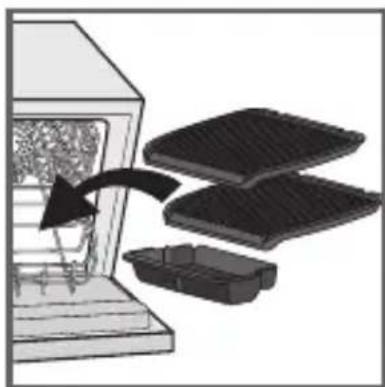
| Drip Tray | Removable, dishwasher safe |
| Dishwasher Safe Parts | Cooking plates and drip tray |
| Control Panel | LCD display with buttons (On/Off, OK, navigation, Frozen, Searing) |
| Safety Features | Auto shut-off, overheat protection, safety system if open too long |
| Color | Black and silver |
| Includes | Cooking plates, drip tray, user manual |
| Warranty | See manufacturer's warranty |
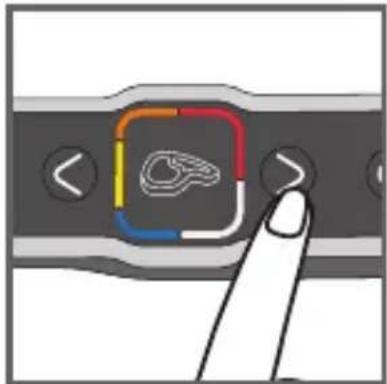
Frequently Asked Questions - OptiGrill Elite XL GC760D TEFAL
User questions about OptiGrill Elite XL GC760D TEFAL
0 question about this device. Answer the ones you know or ask your own.
Ask a new question about this device
Download the instructions for your Grill in PDF format for free! Find your manual OptiGrill Elite XL GC760D - TEFAL and take your electronic device back in hand. On this page are published all the documents necessary for the use of your device. OptiGrill Elite XL GC760D by TEFAL.
USER MANUAL OptiGrill Elite XL GC760D TEFAL
natural_image
Exterior view of a black and silver food grater with visible branding (no text or symbols on the device itself)Instructions for use - Инструкция по эксплуатации - Instrukcja użytkowania - Інструкція з використання - Pokyny k použití - Használati útmutató - Návod na použitie - Upute za uporabu - Instrucțiuni de utilizare - Инструкции за употреба - Uputstvo za upotrebu - Navodila za uporabo - Uputstvo za upotrebu -
SAFETY INSTRUCTIONS IMPORTANT SAFEGUARDS
Use, maintenance, cleaning and product installation guidelines: for your own safety, please read through all paragraphs of the instruction manual including the associated pictograms.

This appliance is intended for indoor, domestic household use only. It is not intended to be used in the following applications, and the guarantee will not apply for:
- staff kitchen areas in shops, offices and other working environments;
- farm houses;
- by clients in hotels, motels and other residential type environments;
- bed and breakfast type environments.
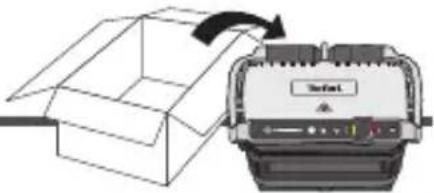
Before first use remove all packaging materials, stickers and accessories from the inside and the outside of the appliance.
This appliance is not intended for use by persons (including children) with reduced physical, sensory or mental capabilities, or lack of experience and knowledge, unless they have been given supervision or instruction concerning use of the appliance by an adult responsible for their safety. Children should be supervised to ensure that they do not play with the appliance, and do not use as a toy.
This appliance can be used by children aged from 8 years and above and persons with reduced physical, sensory or mental capabilities or lack of experience and knowledge if they have been given supervision or instruction concerning use of the appliance in a safe way and understand the hazards involved. Cleaning and user maintenance shall not be made by children unless they are older than 8 and supervised.
Keep the appliance and its cord out of reach of children less than 8 years.
Never leave the appliance unattended when in use.
Accessible surface temperatures can be high when the appliance is operating. Never touch the hot surfaces of the appliance.
This appliance is not intended to be operated by means of an external timer
or separate remote-control system.
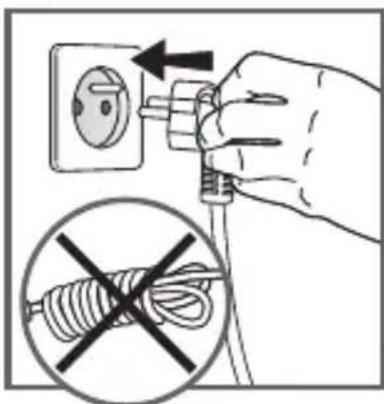
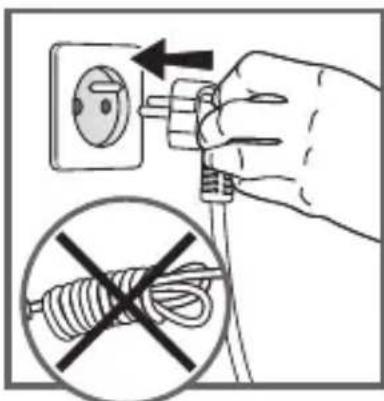
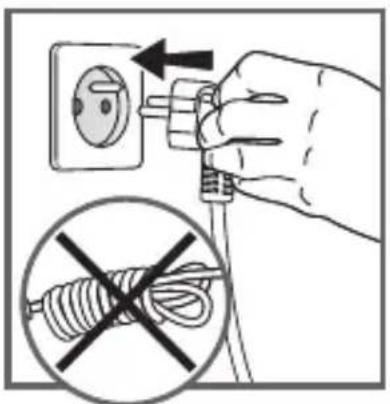
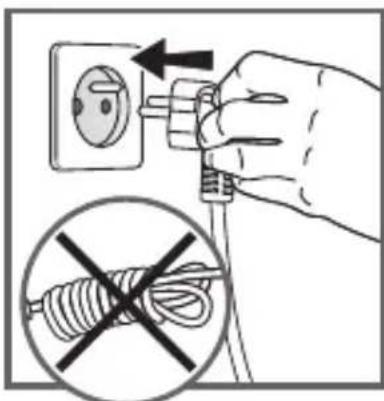
Fully unwind the power cord before plugging in the appliance.
If the power supply cord is damaged, it must be replaced by the manufacturer or its after sales service in order to avoid any danger.
Do not use an extension lead. If you accept liability for doing so, only use an extension lead which is in good condition, has a plug with an earth connection and is suited to the power rating of the appliance. Take all necessary precautions to prevent anyone tripping over an extension cord.
Always plug the appliance into an earthed socket.
Make sure that the electric power supply is compatible with the power rating and voltage indicated on the bottom of the appliance.
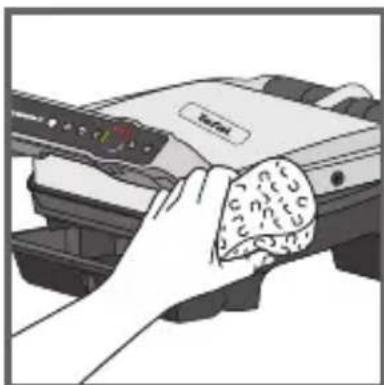
Use a sponge, hot water and washing up liquid to clean the cooking plates.
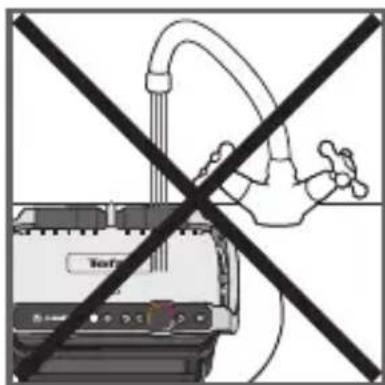
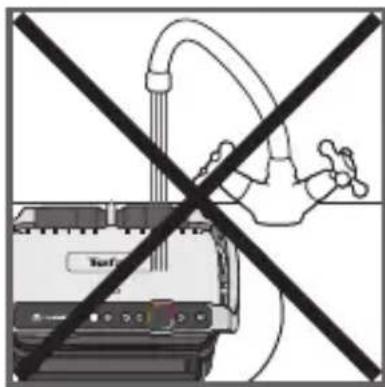
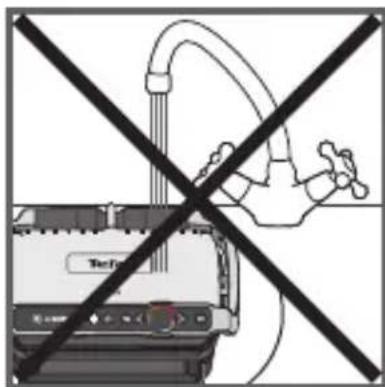
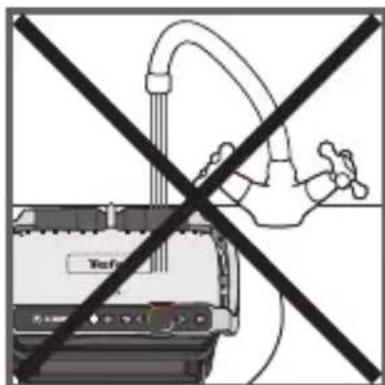
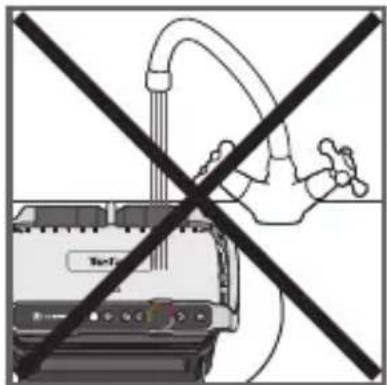
Never immerse the appliance, its power cord or plug in water or any other liquid.
WARNING: Do not heat or pre-heat without the 2 cooking plates inside the grill.
Do
- Read the instructions carefully, common to different models depending on the accessories your appliance with supplied with. Keep the instructions within reach.
- If an accident occurs, rinse the burn immediately with cold water and call a doctor if necessary.
- Before first use, wash the plates (see paragraph 11), pour a little cooking oil onto the plates and wipe with a soft cloth or paper kitchen towel.
- Position the power cord carefully, whether an extension is used or not, so that guests can move freely around the table without tripping over it.
- Cooking fumes may be dangerous for animals which have a particularly sensitive respiratory system, such as birds. We advise bird owners to keep them away from the cooking area.
• Always keep the appliance out of the reach of children. - Check that both faces of the plate are clean before use.
- To prevent damage to the plates, only use them on the appliance for which they were designed (e.g., do not place in an oven, on the gas ring or electric hot-plate, etc.).
- Ensure that the plates are stable, well positioned and correctly clipped to the appliance. Only use the plates provided with the appliance or bought from an Approved Service Centre.
• Always use a wooden or plastic spatula to avoid damaging the cooking plates. - Only use parts or accessories provided with the appliance or bought from an Approved Service Centre. Do not use them for other appliances or intention.
Do not
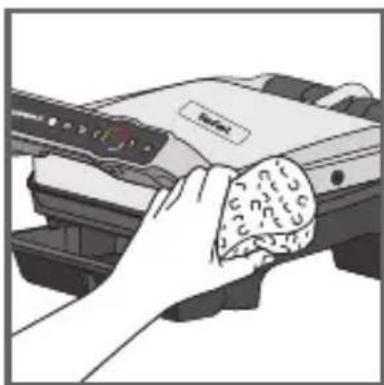
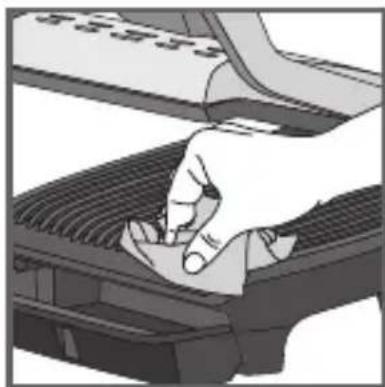
- Do not use the appliance outside.
- Never leave the appliance unattended when plugged in or in use.
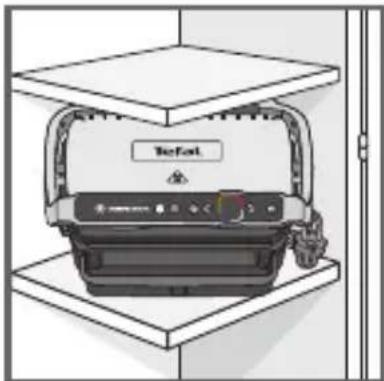
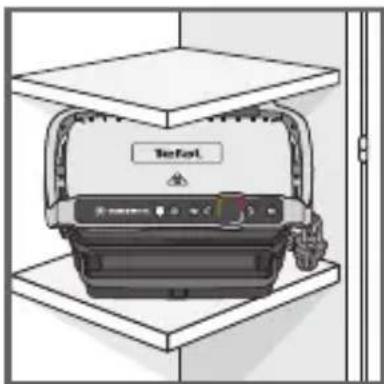
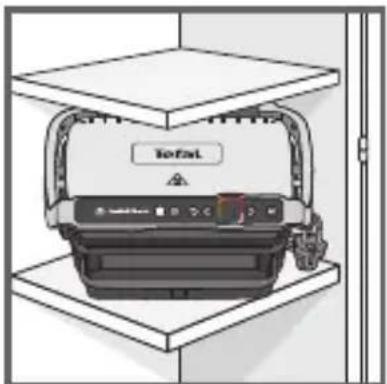
- To prevent the appliance from overheating, do not place it in a corner or below a wall cupboard.
-
Never place the appliance directly on a fragile surface (glass table, tablecloth, varnished furniture, etc.) or on a soft surface such as a tea-towel.
-
Never place the appliance under a cupboard attached to a wall or a shelf or next to inflammable materials such as blinds, curtains or wall hangings.
- Never place the appliance on or near hot or slippery surfaces; the power cord must never be close to or in contact with hot parts of the appliance, close to a source of heat or resting on sharp edges.
- Do not place cooking utensils on the cooking surfaces of the appliance.
- Never cut food directly on the plates,
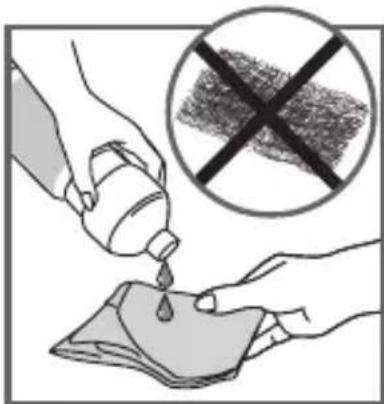
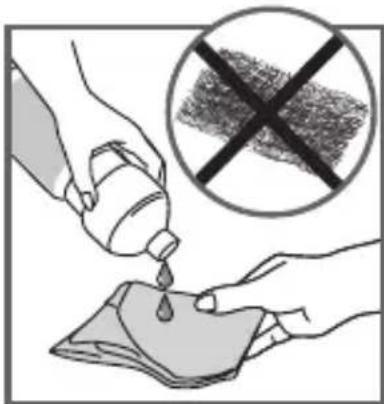
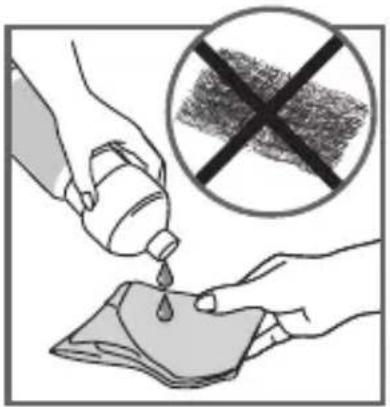
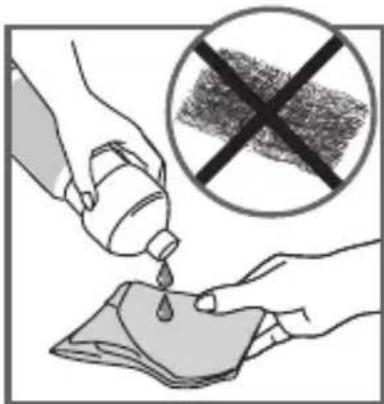
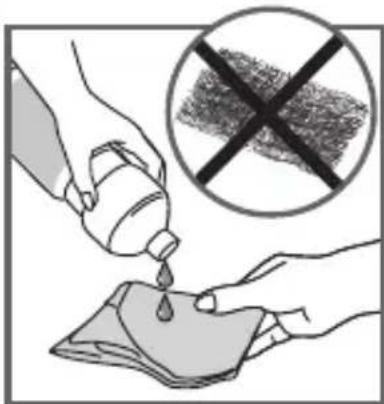
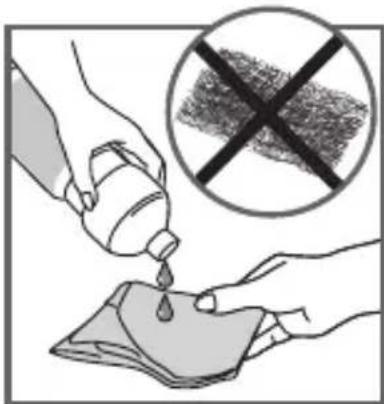
- Do not use metal scouring pads, abrasive wire wool or harsh scouring powder as this may damage the nonstick coating.
- Do not move the appliance when in use.
- Do not carry the appliance by the handle or metallic wires.
- Never run the appliance empty.
- Do not use aluminium foil or other objects between the plate and the food being cooked.
- Do not remove the grease collection tray while cooking. If the grease collection tray becomes full when cooking: let the appliance cool down before emptying.
- Do not place the hot plate on a fragile surface or under water.
- To preserve the non-stick properties of the coating, avoid excessive pre-heating with the appliance empty.
- The plates should never be handled when hot.
- Do not cook food in aluminium foil.
- To avoid spoiling your appliance, do not use flambé recipes in connection with it at any time.
- Do not place a sheet of aluminum or any other object between the plates and the heating element.
- Never heat or cook whilst the grill is open.
- Never heat up the appliance without the cooking plates.
Tips/information
- Thank you for buying this appliance, which is intended for domestic use only.
- For your safety, this appliance complies with the applicable standards and regulations - Low voltage directive - Electromagnetic compatibility - The environment - Materials in contact with food.
- On first use, there may be a slight odour and a little smoke during the first few minutes.
- Our company has an ongoing policy of research and development and may modify these products without prior notice.
- Do not consume foodstuff that comes into contact with the parts marked with logo
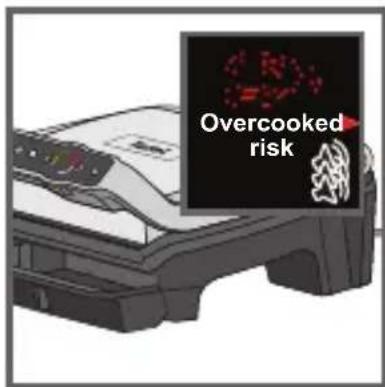
- If the food is too thick, the safety system will stop the appliance from working.
- The instrument panel is fragile: clean, wipe and dry with a dry, soft cloth only. Do not clean it with a wet sponge as this may damage its functions.

Environment
Environment protection first!
① Your appliance contains valuable materials which can be recovered or recycled. Leave it at a local civic waste collection point.
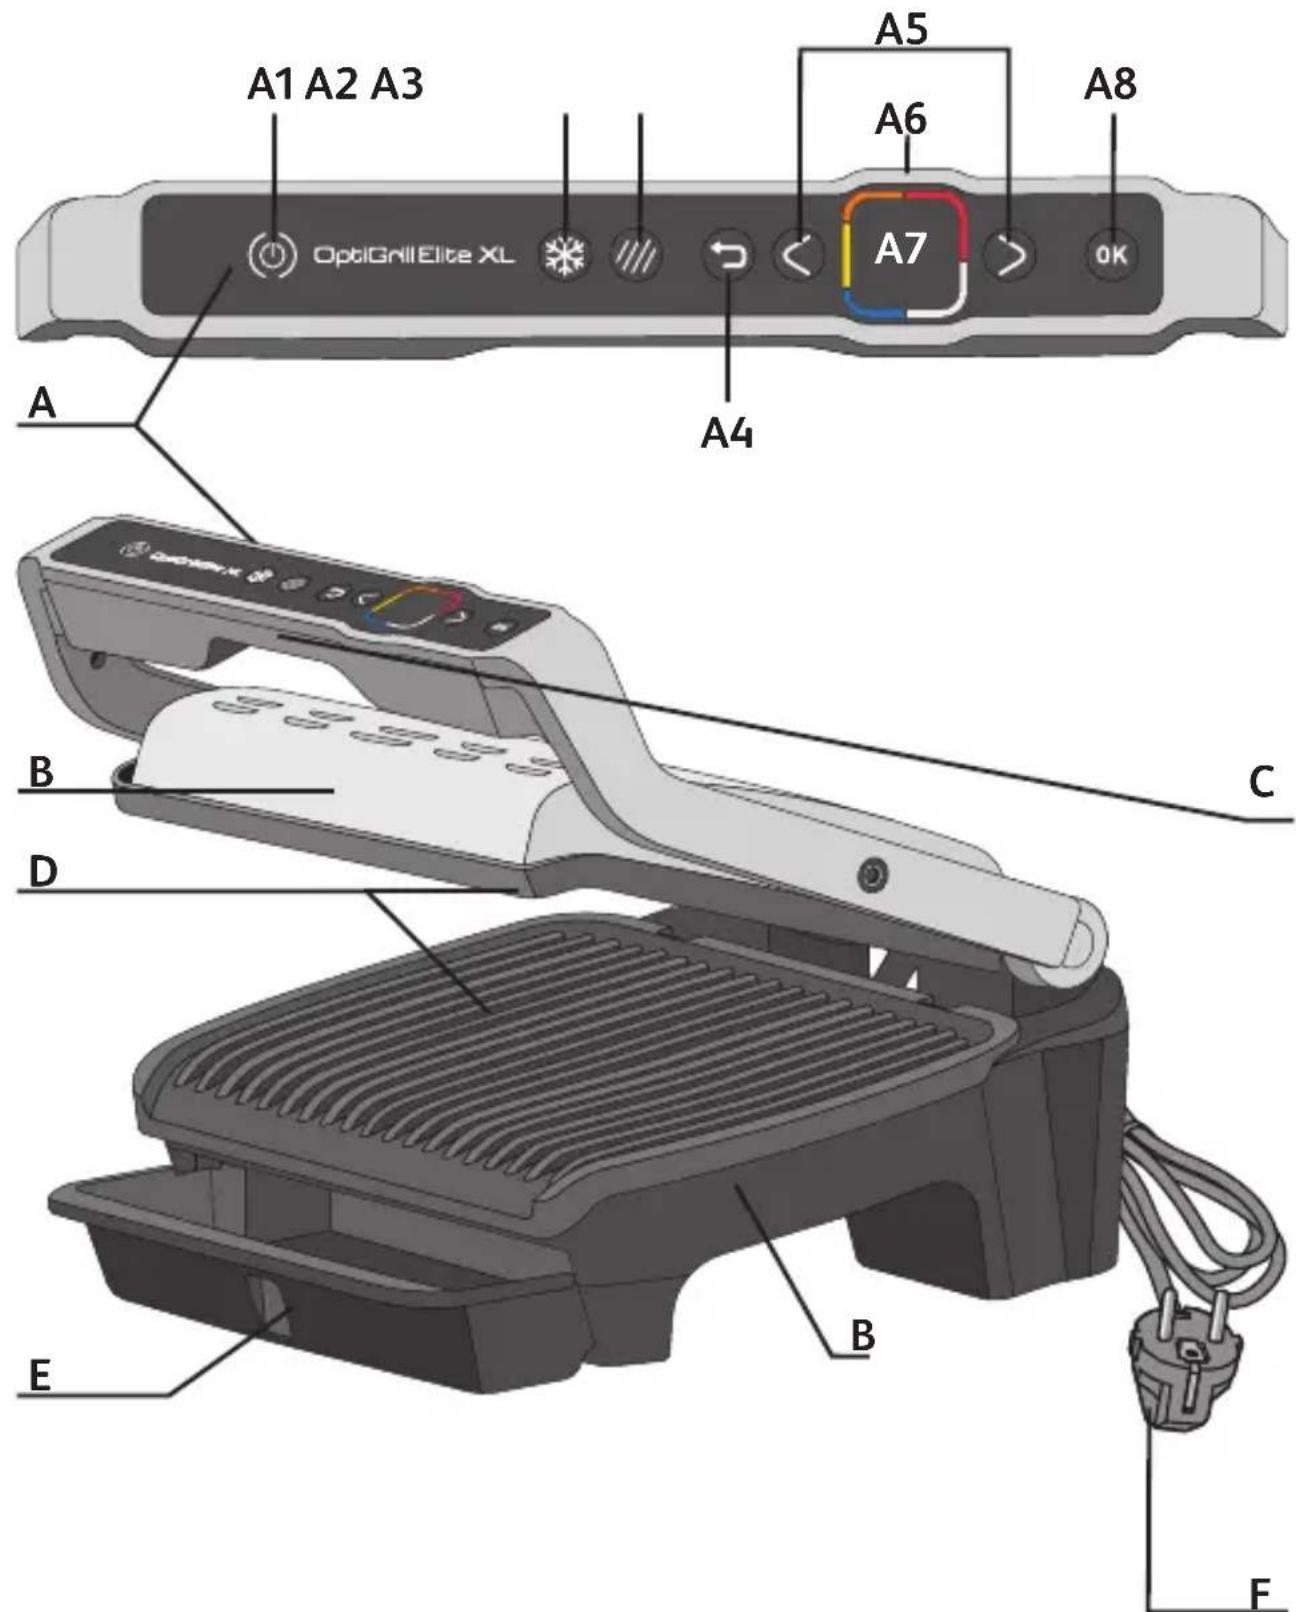

Description
A Control panel
A1 On/Off button
A2 Frozen food function
A3 Searing function
A4 Return button
A5 Adjustment and navigation buttons
A6 Preheating indicator and cooking level
A7 Display screen
A8 OK button
B Appliance body
C Handle
D Cooking plates
E Drip tray
F Power cord
Buttons are only activated when they are lit up.
16 automatic cooking programs
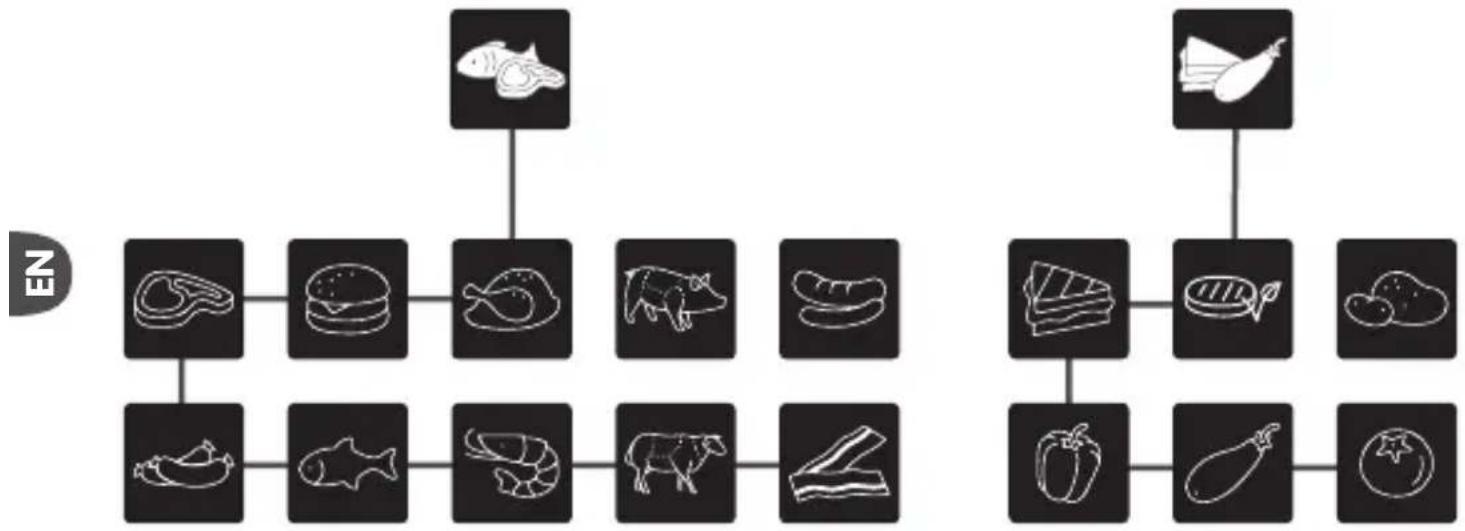
flowchart
graph TD
    A["Beef"] --> B["Seafood"]
    A --> C["Beef"]
    A --> D["Beef"]
    A --> E["Beef"]
    A --> F["Beef"]
    A --> G["Beef"]
    H["Beef"] --> I["Seafood"]
    H --> J["Beef"]
    H --> K["Beef"]
    H --> L["Beef"]
    H --> M["Beef"]
    N["Beef"] --> O["Seafood"]
    N --> P["Beef"]
    N --> Q["Beef"]
    N --> R["Beef"]
    N --> S["Beef"]
Two additional cooking options in automatic mode

Frozen food function
Searing function
Note: The Frozen food function and Searing function can be used independently or both at the same time.
Manual mode
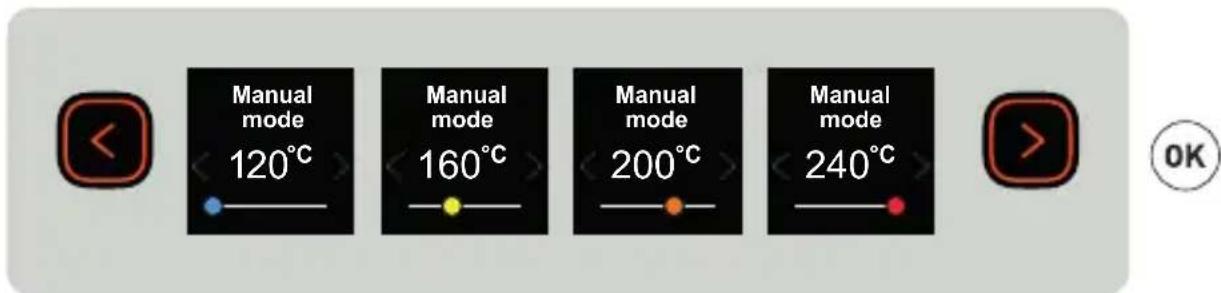
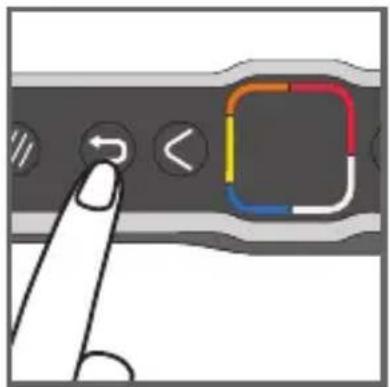
A Return button

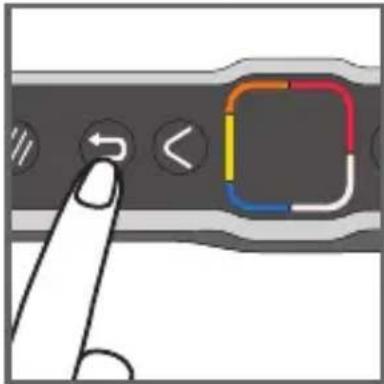
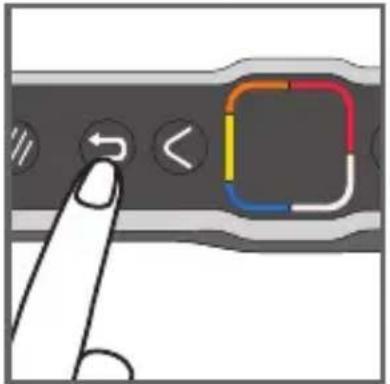
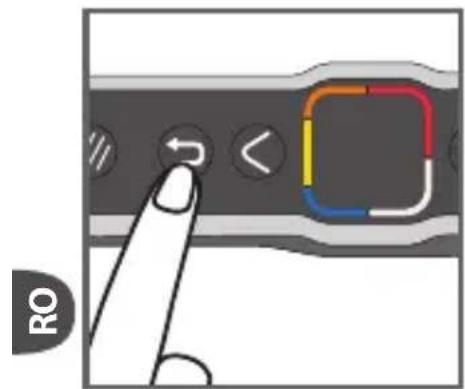
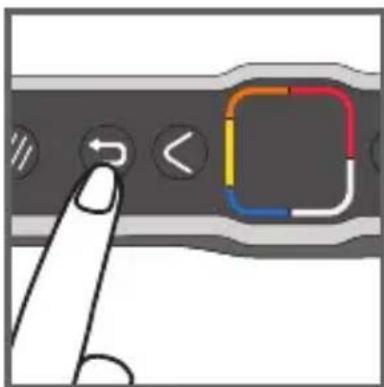
If you are in a submenu and wish to return to the main menu, press once on the return button.
If you have selected the wrong program, press twice on the return button to cancel the function.
1 Before first use
natural_image
Diagram showing a box being opened with a device, no text or symbols present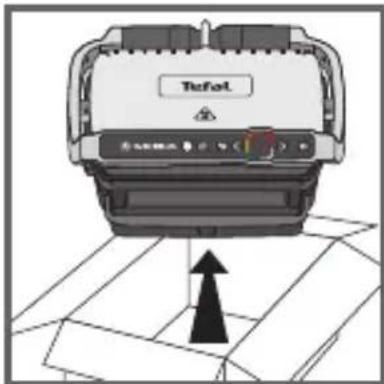
1
natural_image
Illustration of a hand pressing down on a mechanical component (no text or symbols visible)2
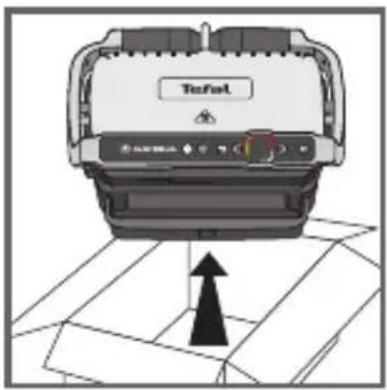
1 Remove all packaging, stickers and various accessories from both the inside and outside of the appliance.
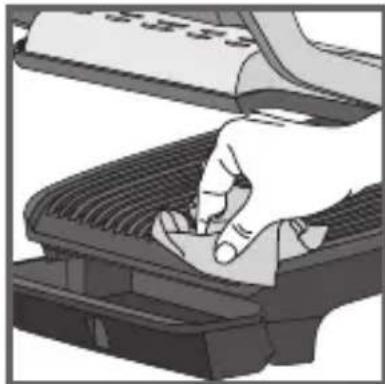
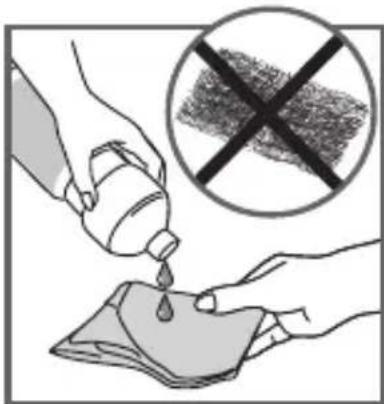
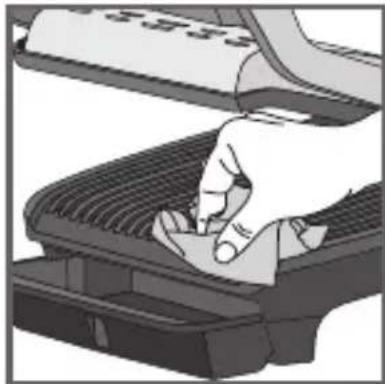
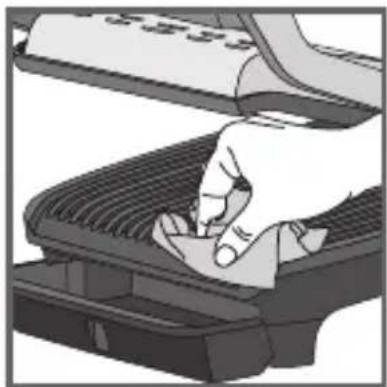
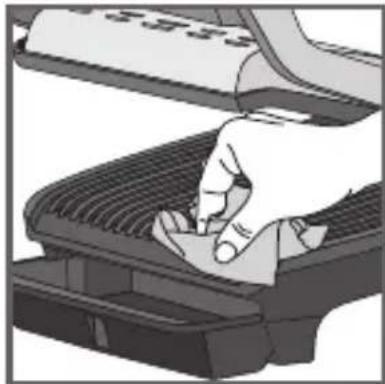
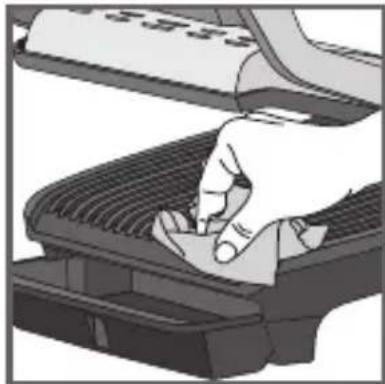
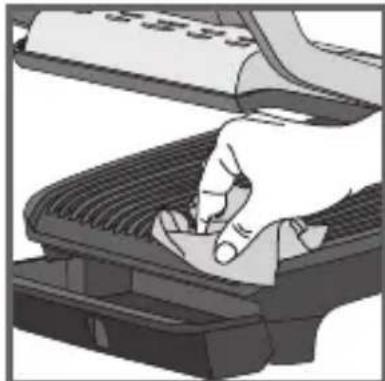
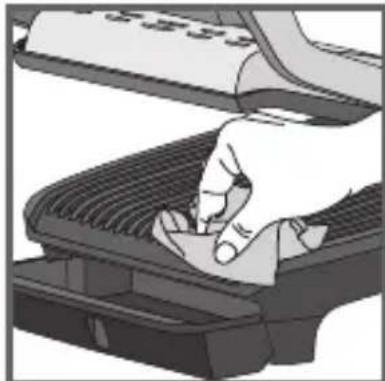
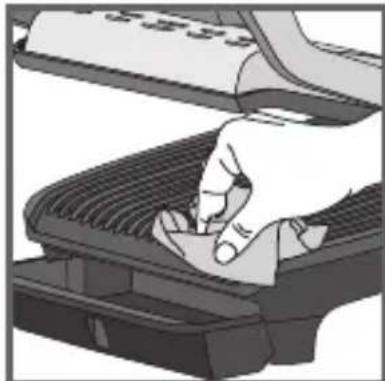
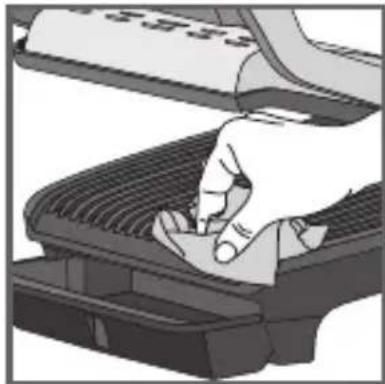
2 Prior to first use, thoroughly clean the cooking plates using some hot water and some washing-up liquid, carefully rinse and dry.
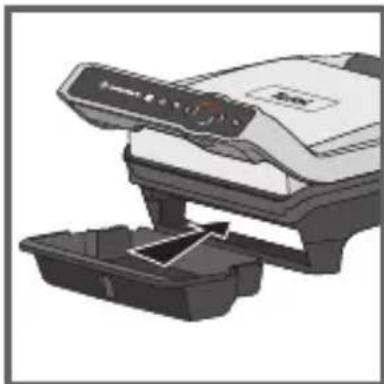
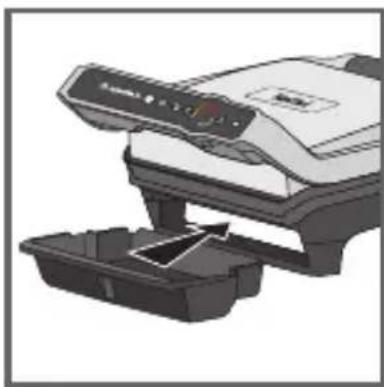
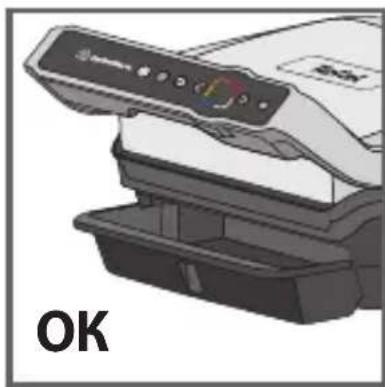
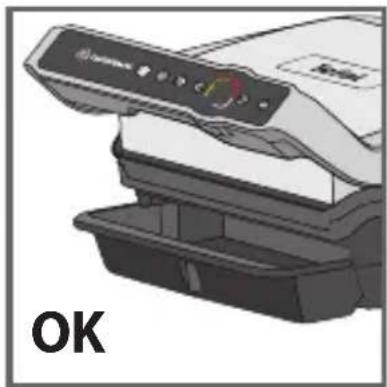
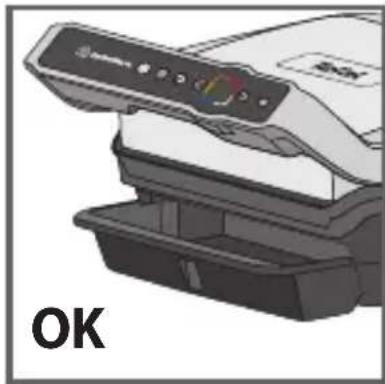
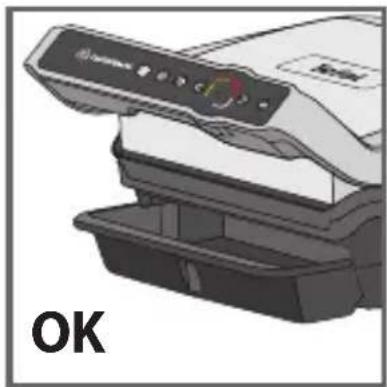
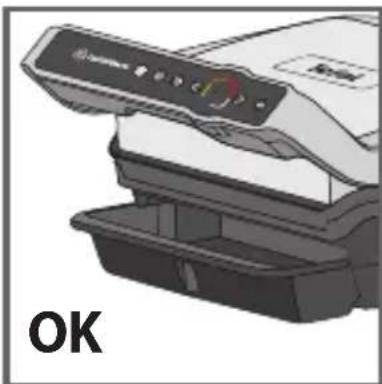
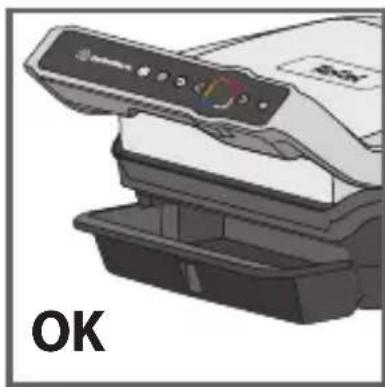
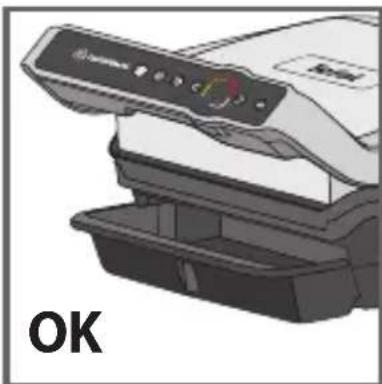
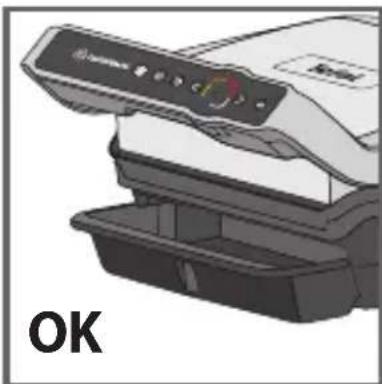
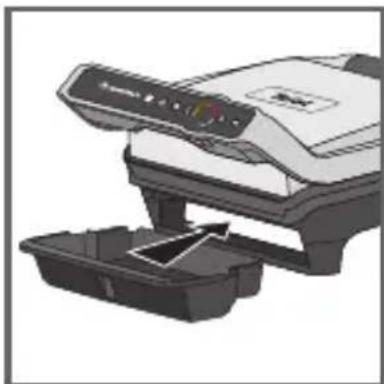
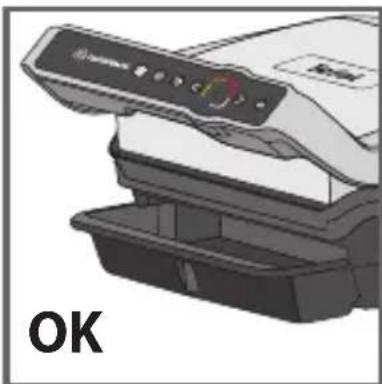
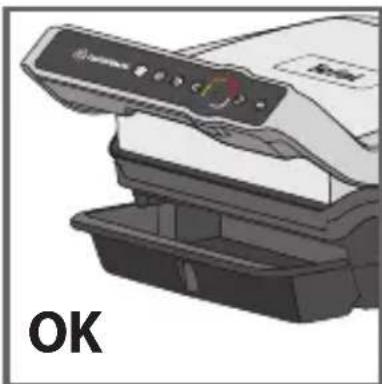
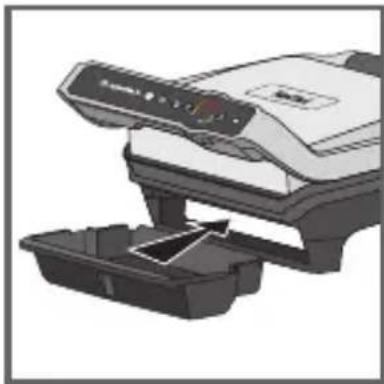
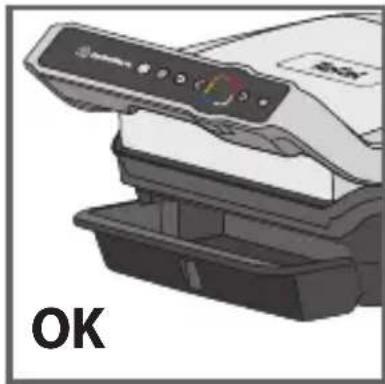
3-4 Install the removable drip tray at the front of the machine.
natural_image
Illustration of a printer with a paper feeding into a container (no text or symbols visible)3
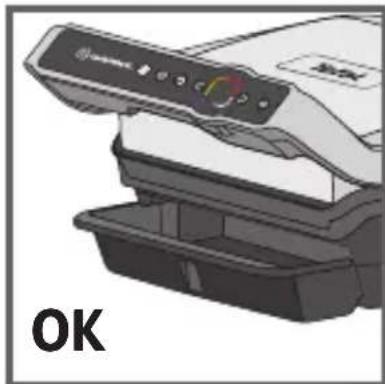
natural_image
Illustration of a printer with control panel and base tray, labeled 'OK' (no text or symbols on the device itself)4
5
natural_image
Illustration of a hand pressing down on a keyboard (no text or symbols visible)6
7
8
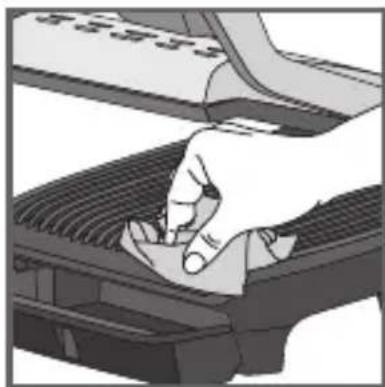
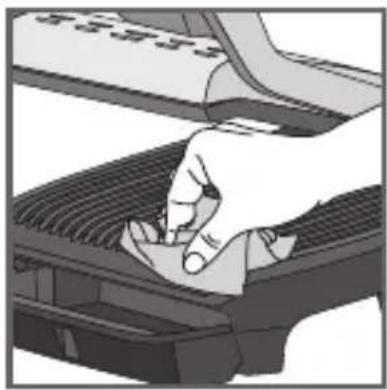
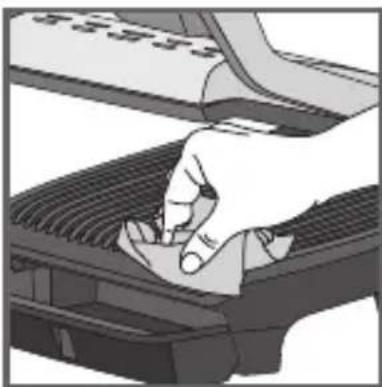
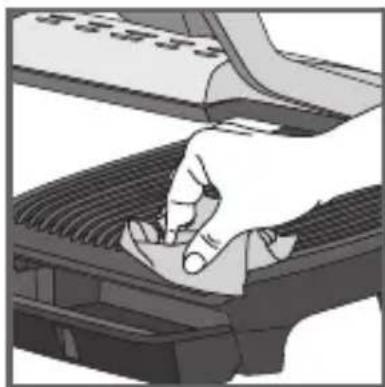
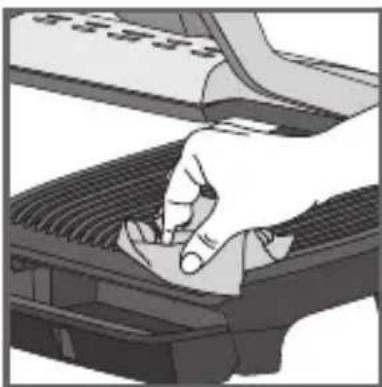
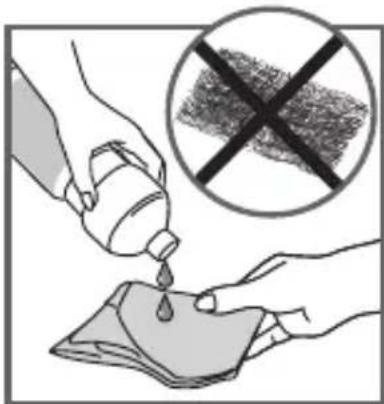
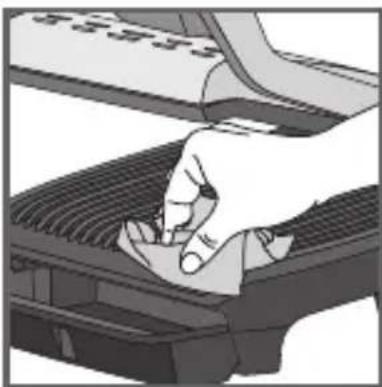
5If you wish, for best results and to improve the effectiveness of the non-stick surface, you can wipe the cooking plates with a paper towel dipped in a little cooking oil.
6 Remove any excess oil with a clean paper towel.
7 Make sure the top and bottom plates are correctly positioned in the appliance. Do not start preheating without the plates. Connect the appliance to the mains supply. (the cable must be completely unwound).
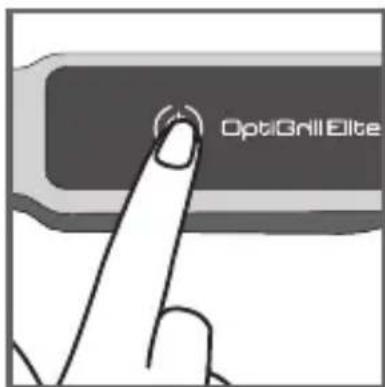
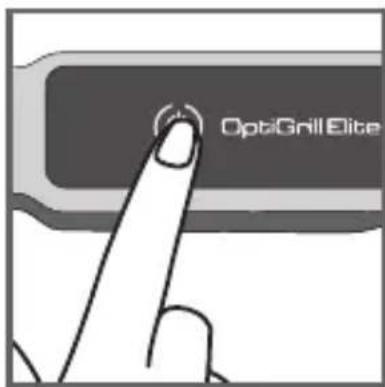
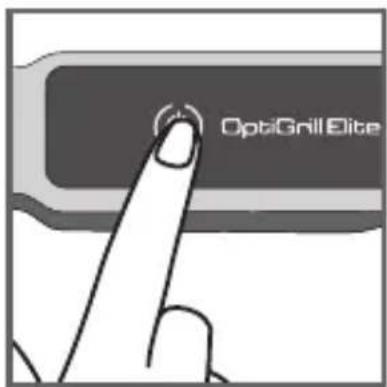
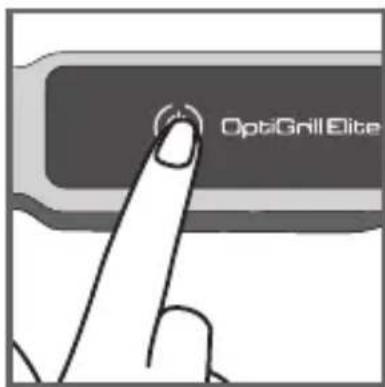
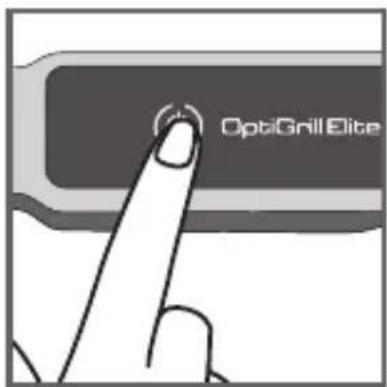
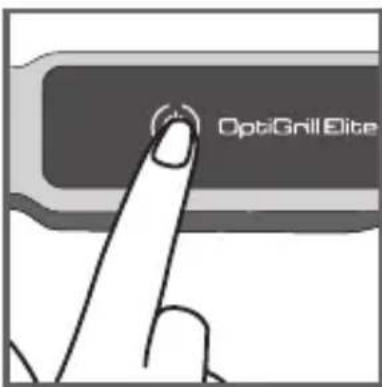
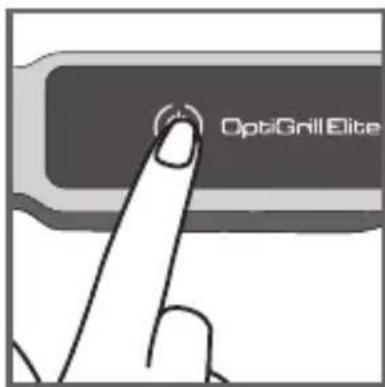
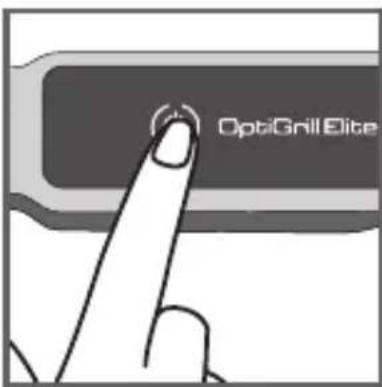
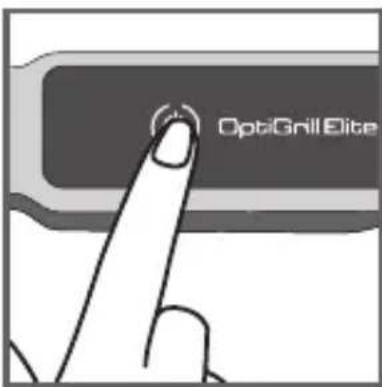
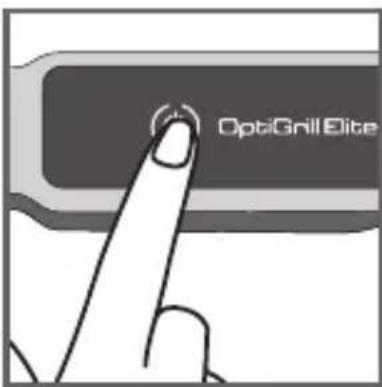
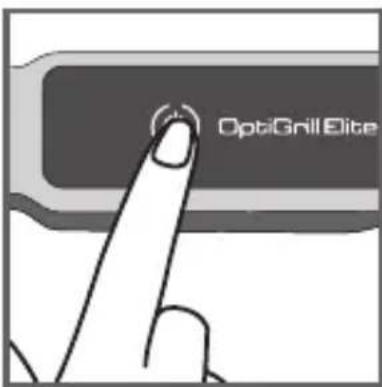
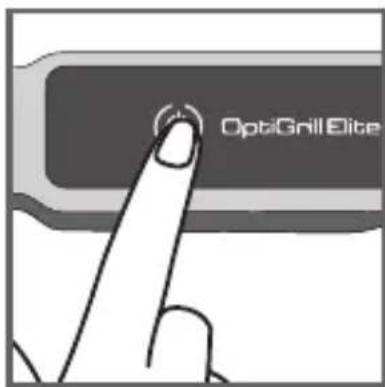
8 Press the On/Off button.
Caution: Ensure that there is no food between the plates.
2 Using for the first time
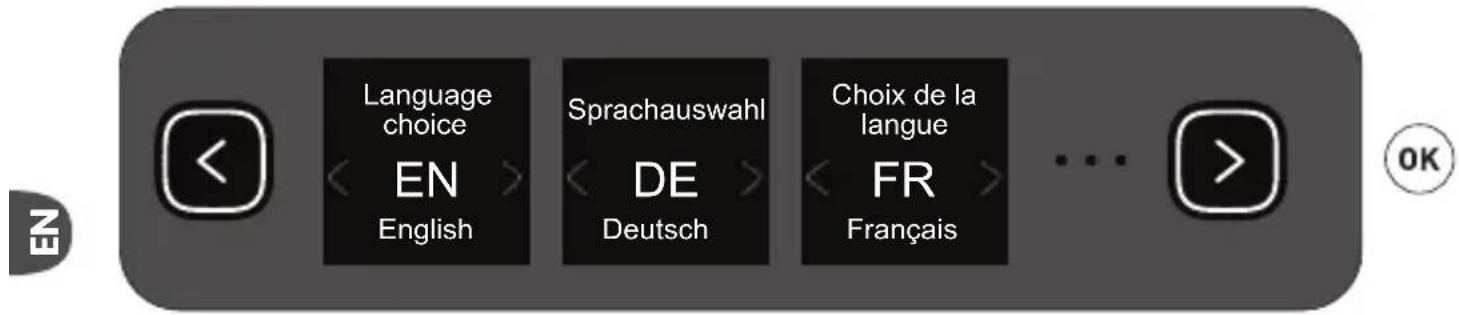
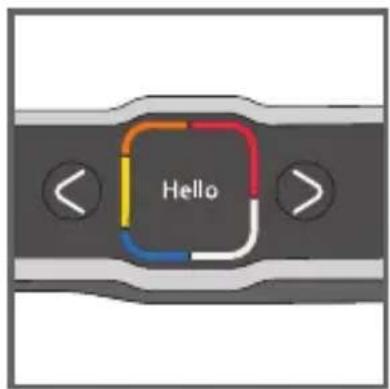
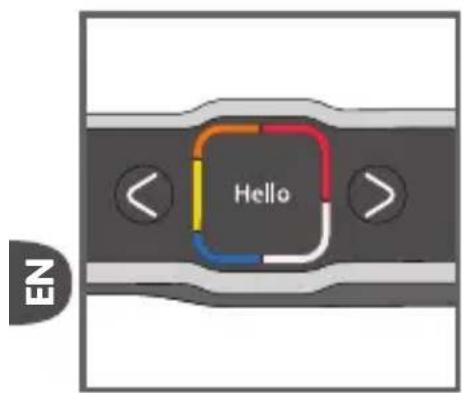
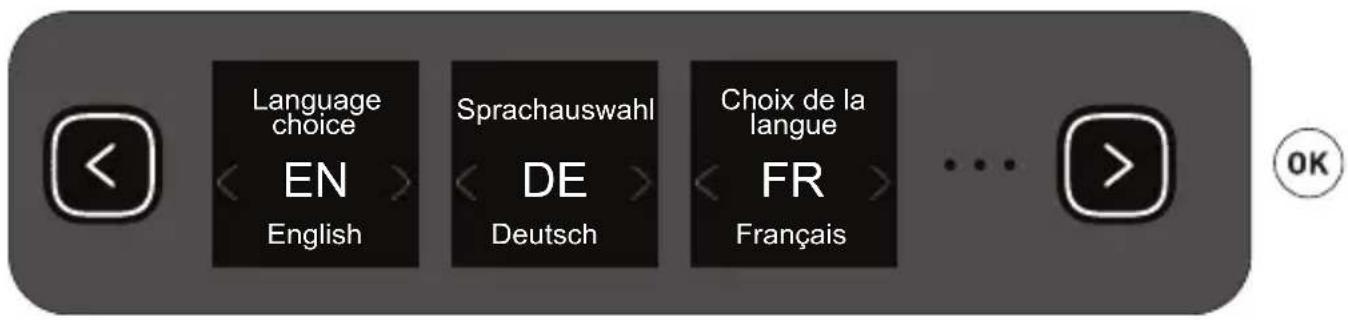
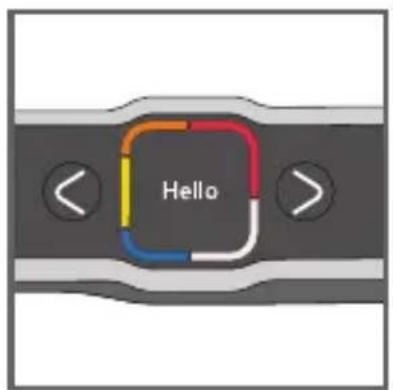
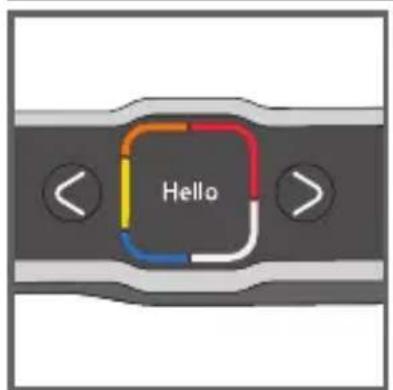
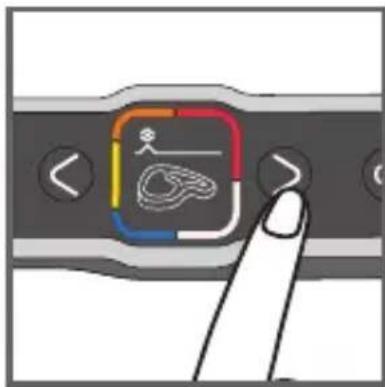
9 Select your language using the arrows then press ok.
9
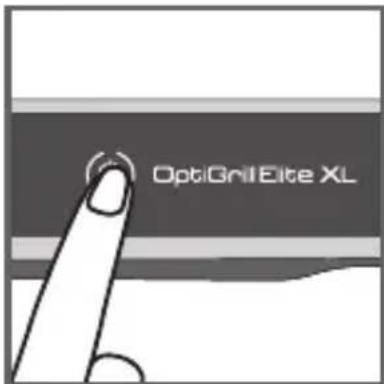
3 On/Off button
10 11
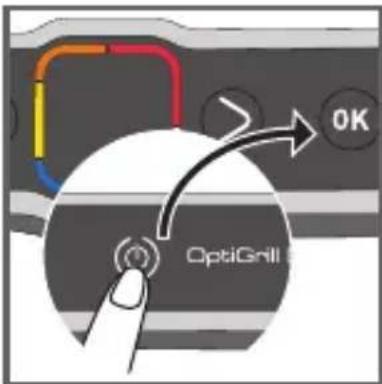
10 Switch on fig. 10.
11 To switch off the grill press once on the On/Off button and once on the OK button to switch off the appliance.
4 Frozen food function in automatic mode only
12 13
14 15
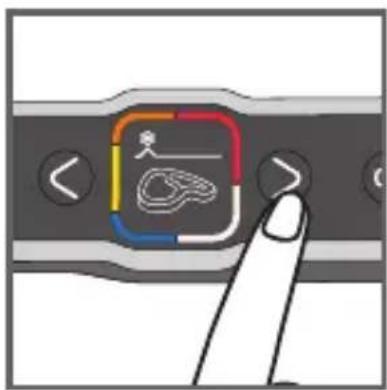
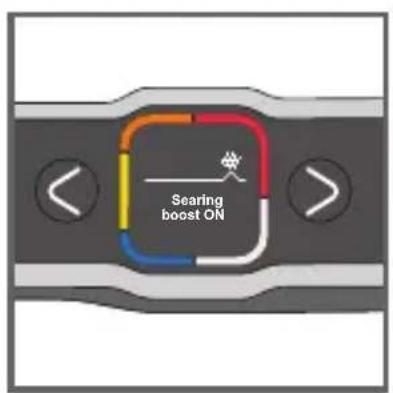
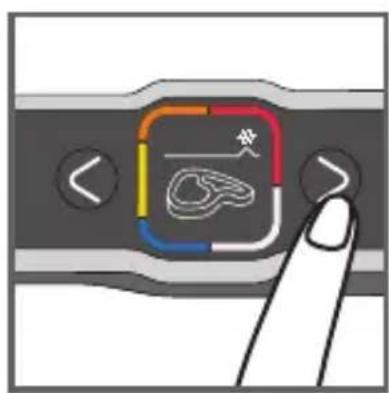
5 Searing function in automatic only
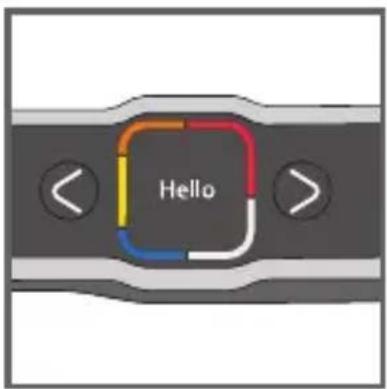
16 17
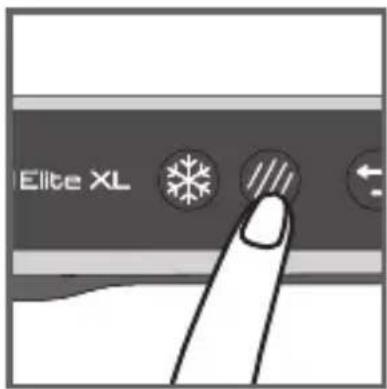
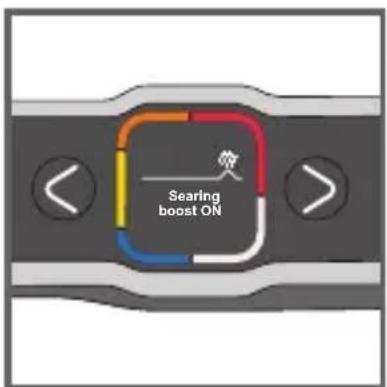
18 19
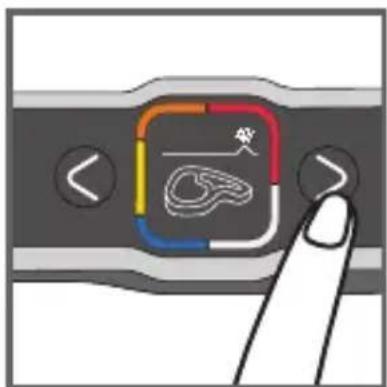
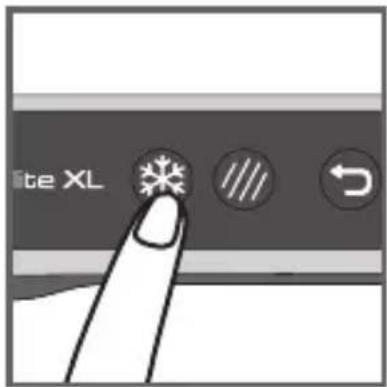
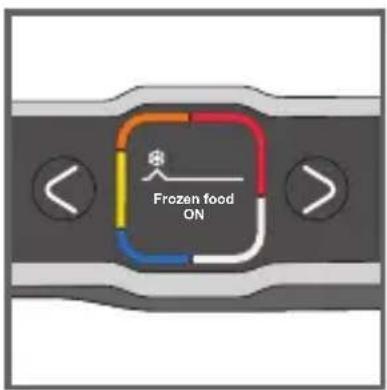
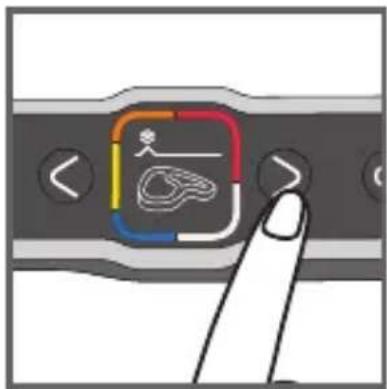
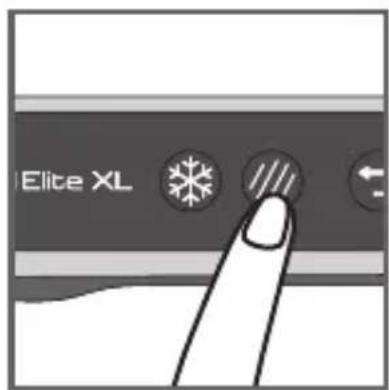
13-15 Frozen food function must be activated before starting preheating, if the food to be cooked is frozen/deep frozen.
If you forget to activate the option, use the "return" button and repeat the steps.
This function is only available in automatic mode, not in manual mode.
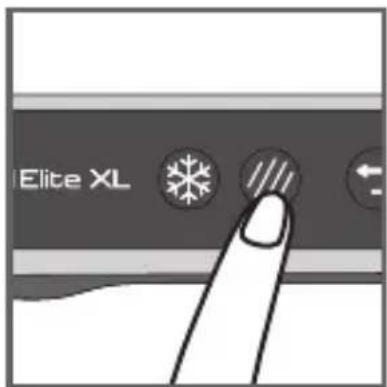
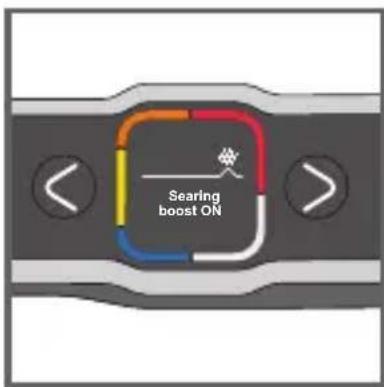
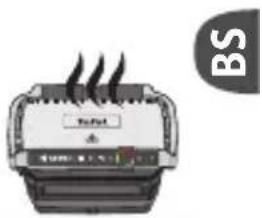
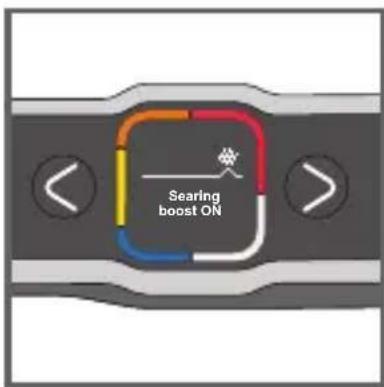
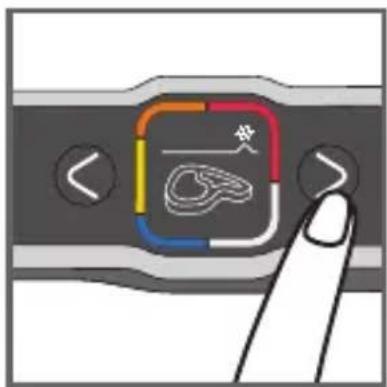
17-19 Searing function must be activated before starting preheating, if you want significant searing on the food to be cooked.
If you forget to activate the option, use the "return" button and repeat the steps.
This function is only available in automatic mode, not in manual mode.
6 Cooking in automatic mode
20 21
natural_image
Close-up of a finger pressing a button on a device interface (no text or symbols visible)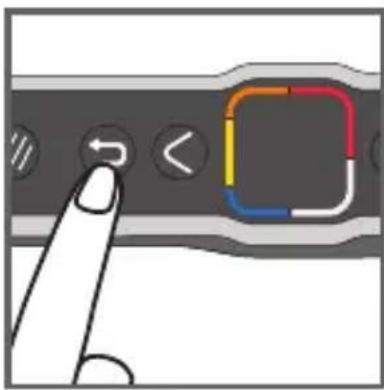
22
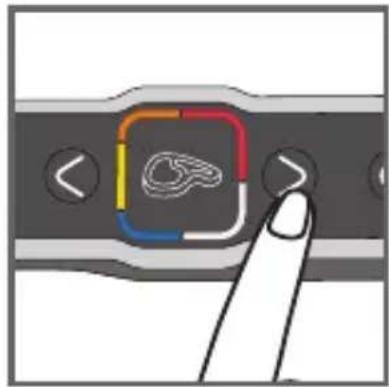
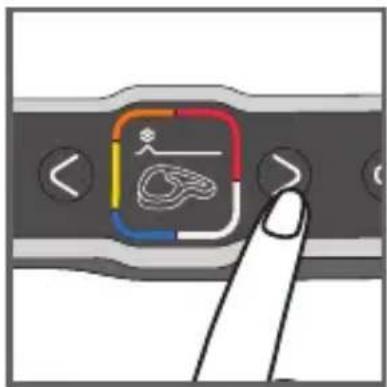
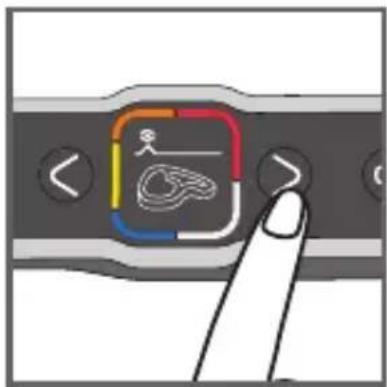
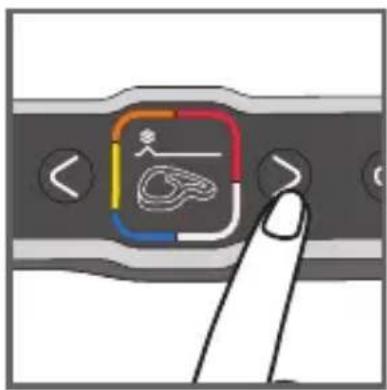
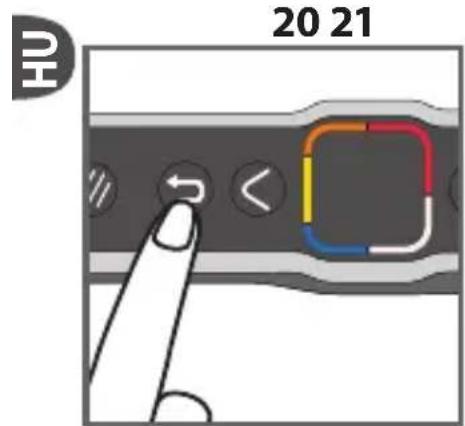
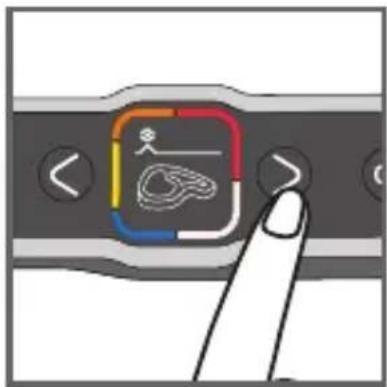
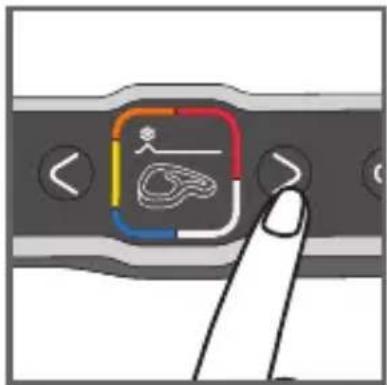
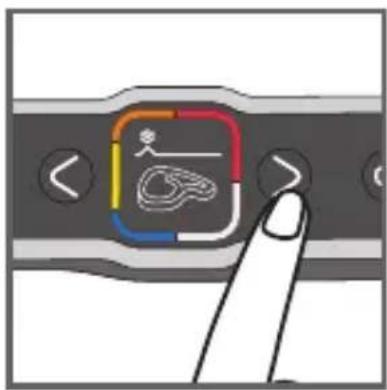
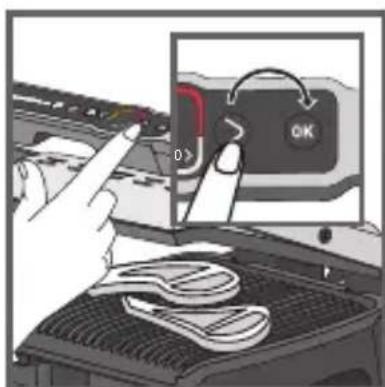
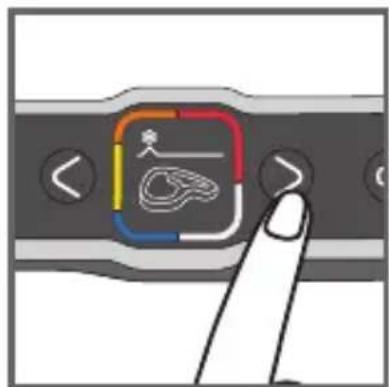
21 Select the appropriate cooking mode according to the type of food to be cooked.
Note about meat: the cooking results of the pre-defined programs may vary depending on the origin, the cut and the quality of the food to be cooked; the programs having been developed and tested with food of good quality.
Similarly, the thickness of the meat must be taken into account during cooking; you must not cook foods over 4 cm thick.
22 If you would like to change program, you can return to the main menu by pressing once on the return button.
If you are unsure of which cooking mode to use, please refer to the Cooking Guide, page 20.
23 24
25
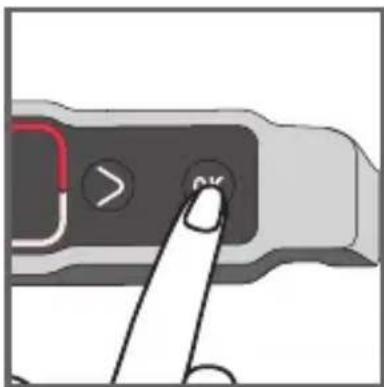
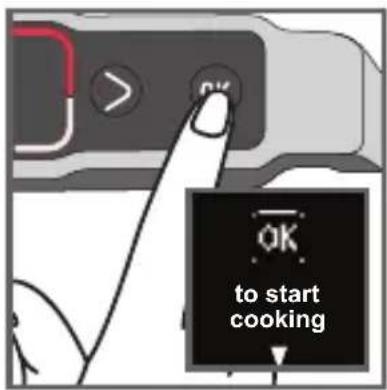
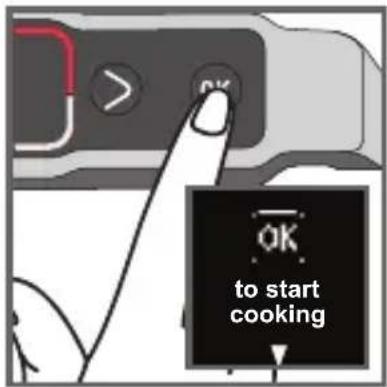
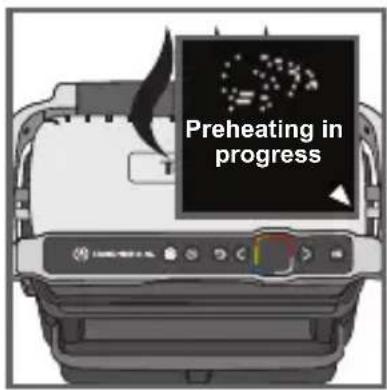
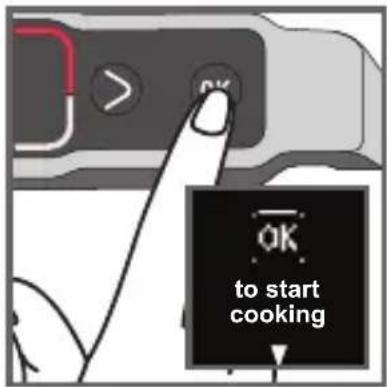
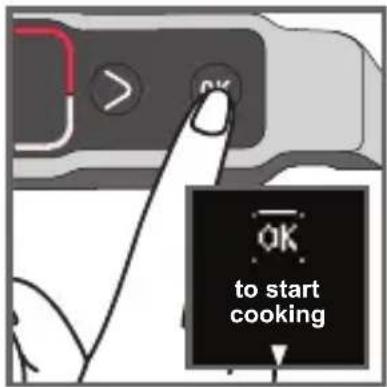
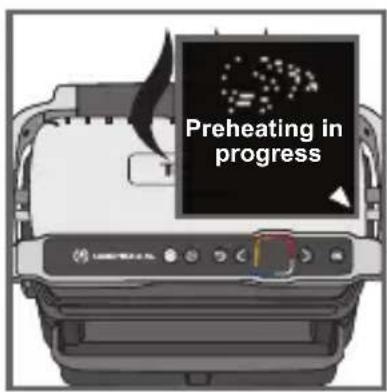
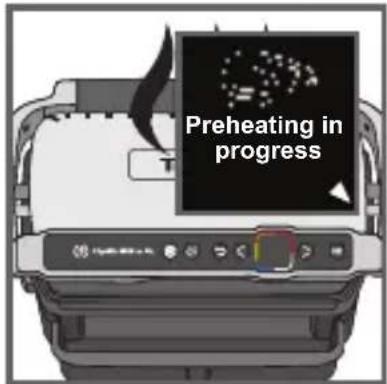
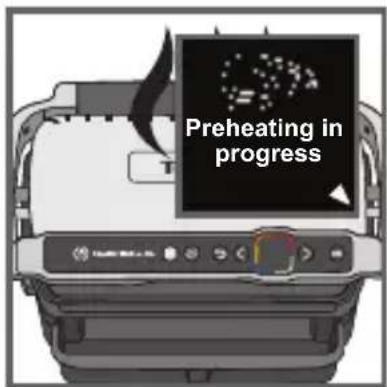
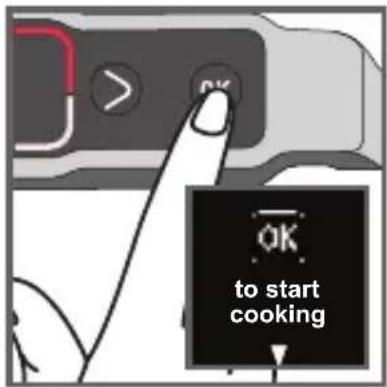
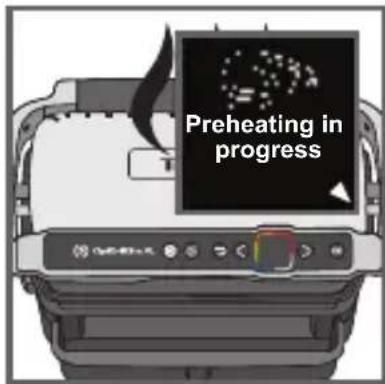
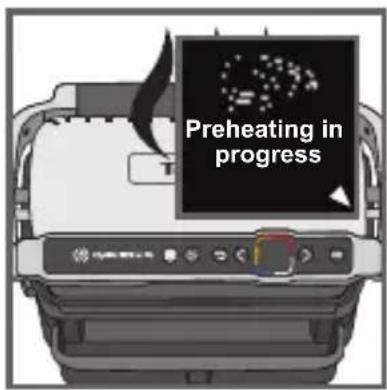
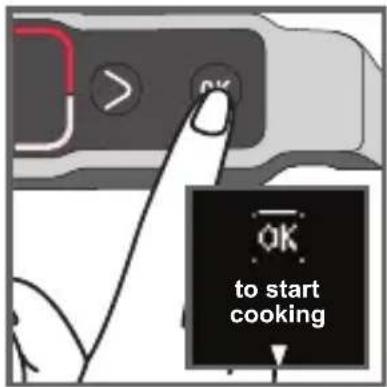
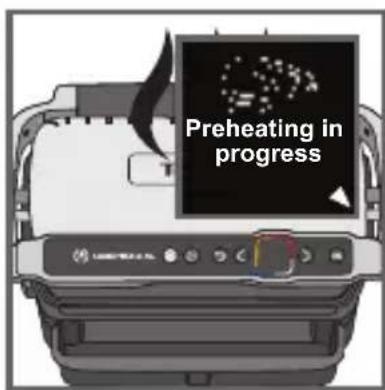
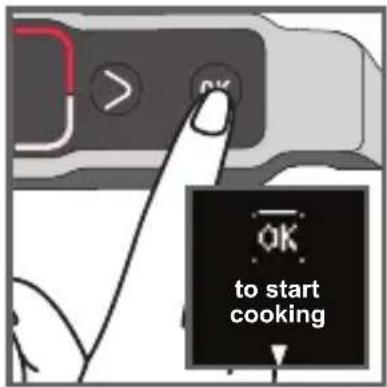
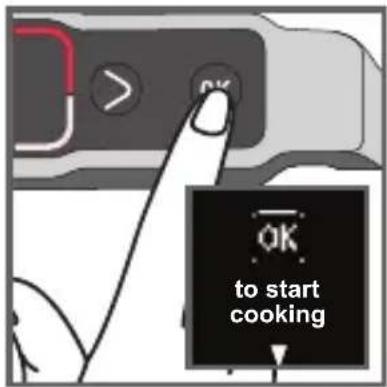
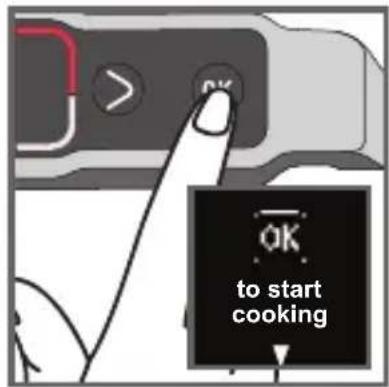
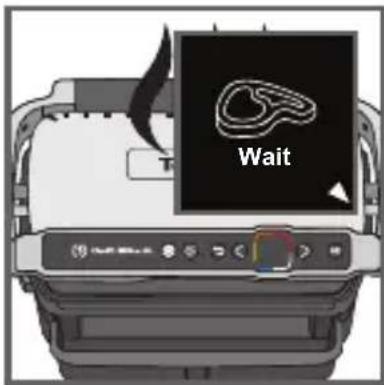
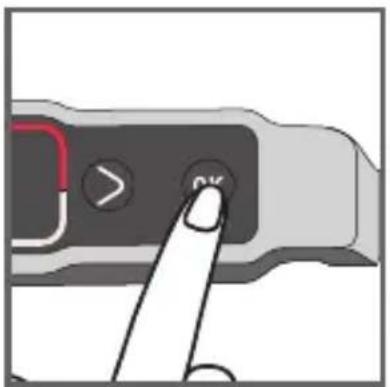
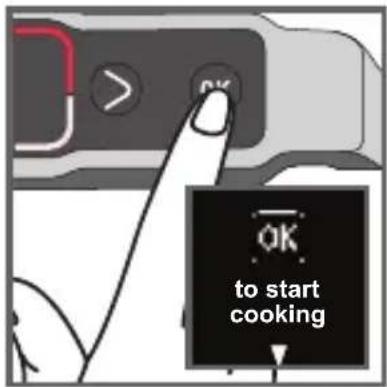
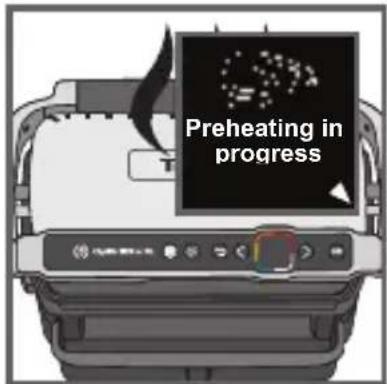
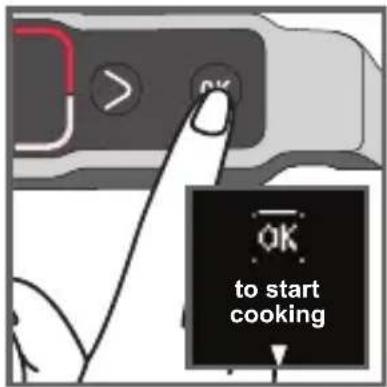
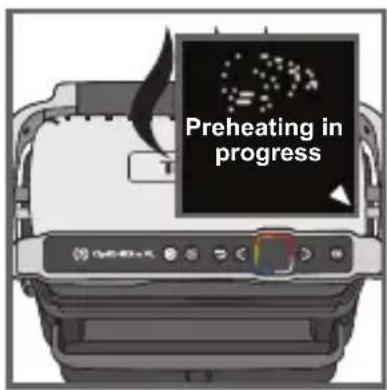
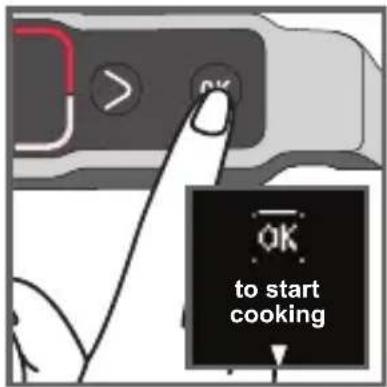
23PresstheOK button: the appliance starts to preheat.
Note: if you select the wrong program, use the "return" button.
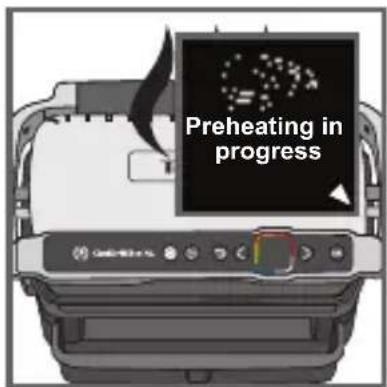
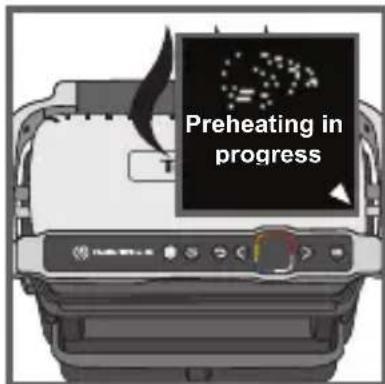
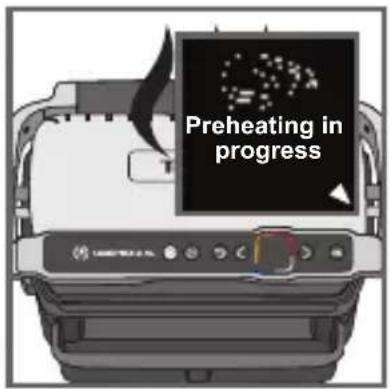
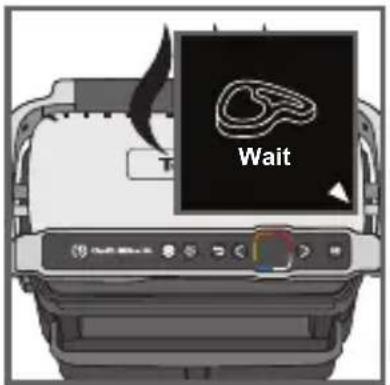
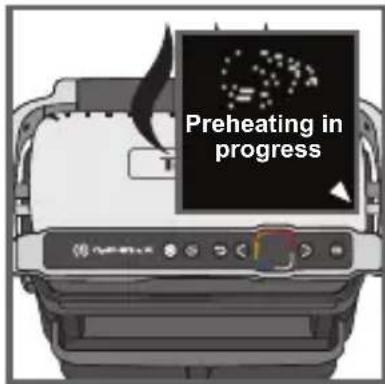
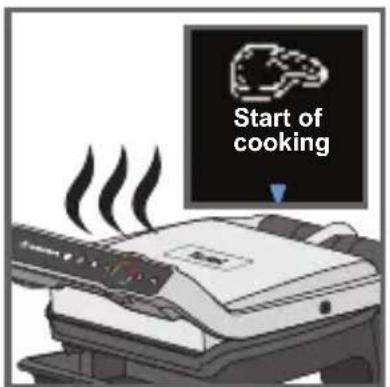
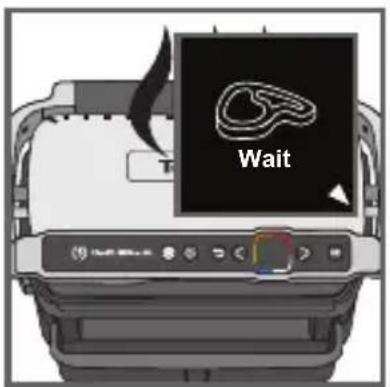
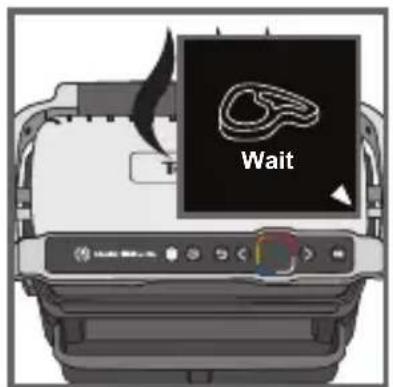
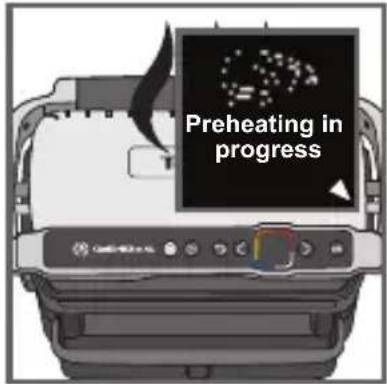
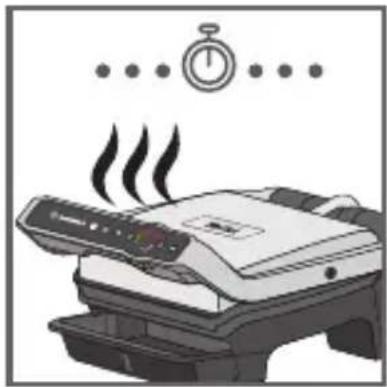
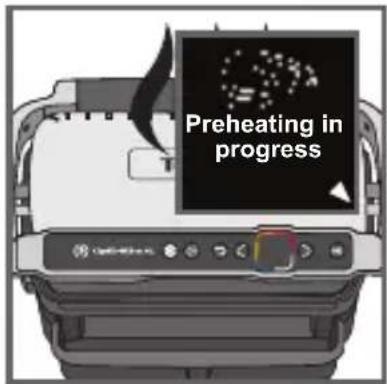
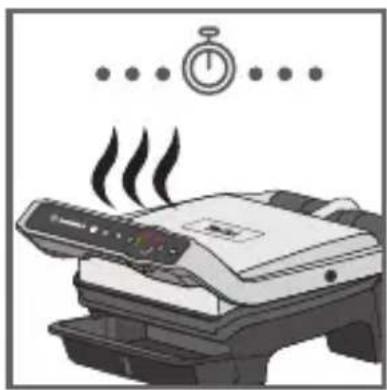
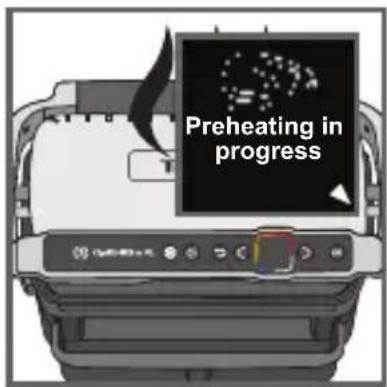
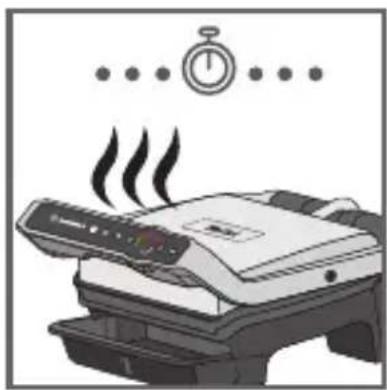
24 Wait 4 to 7 minutes. Once the appliance has started to preheat, if you wish to change the program, press the return button and then the OK button to confirm and return to the main menu. Press the return button again to cancel the function.
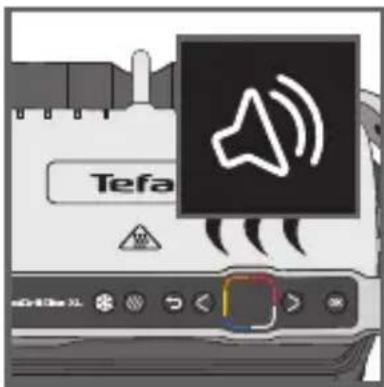
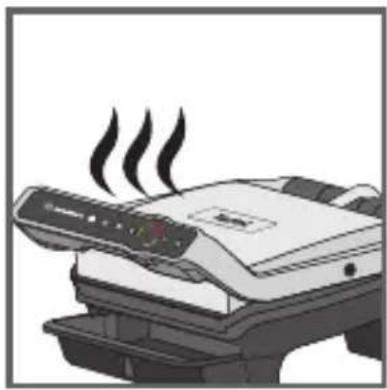
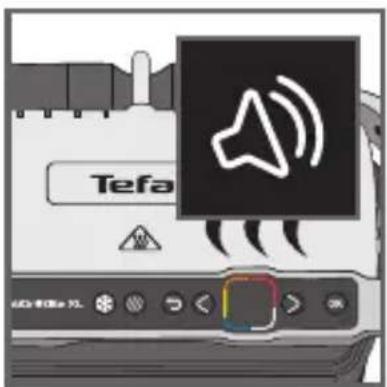
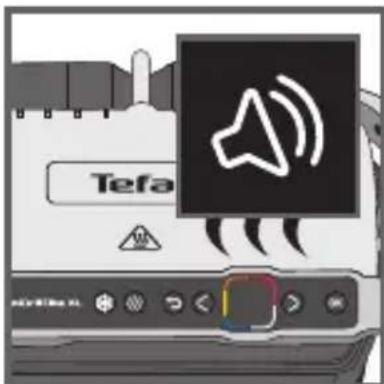
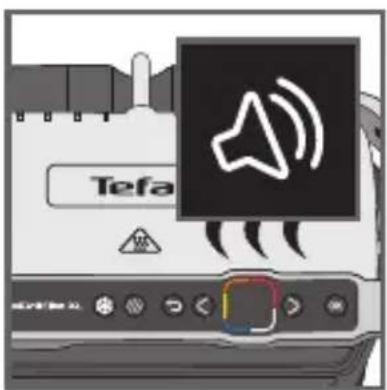
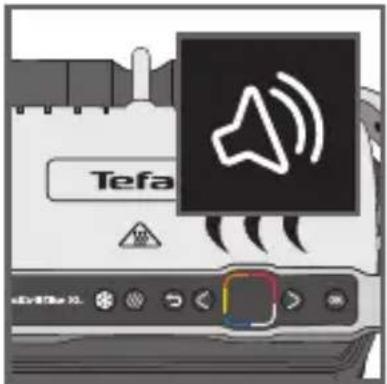
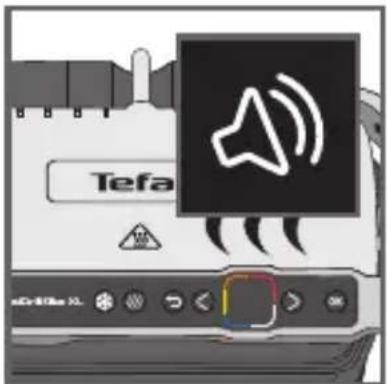
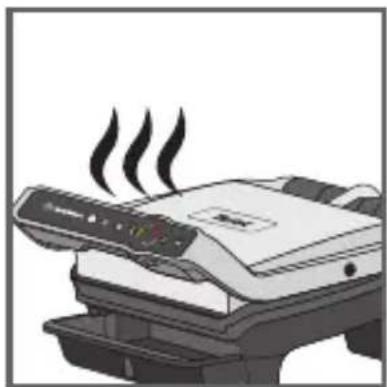
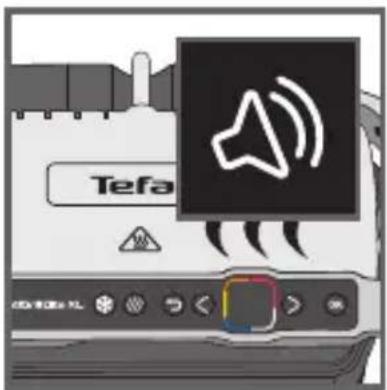
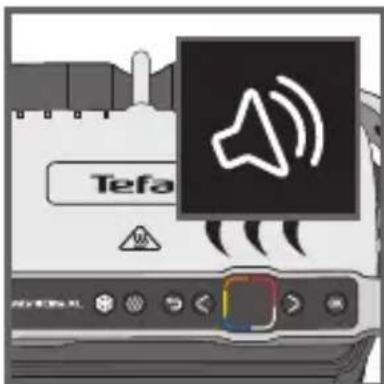
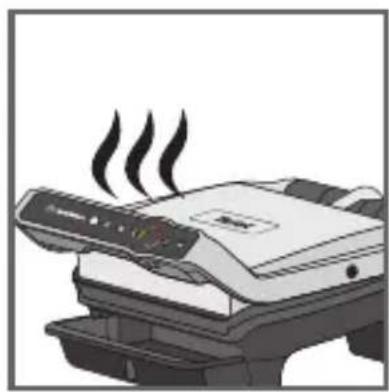
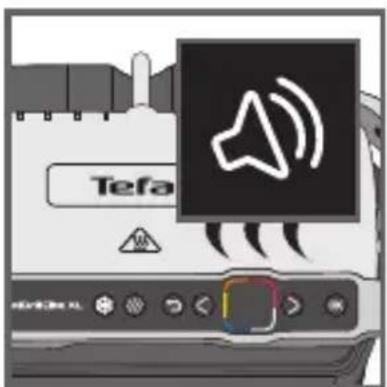
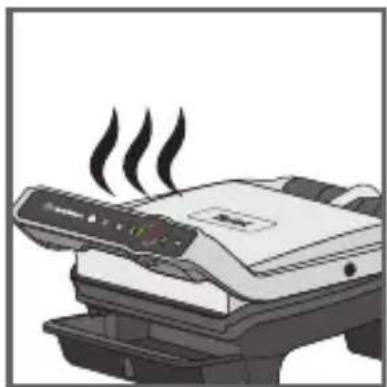
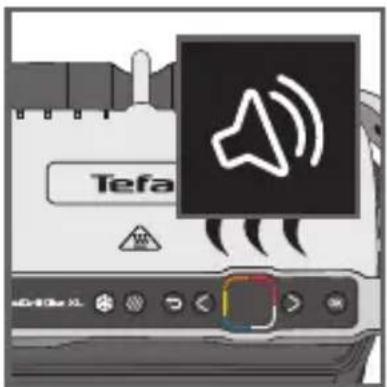
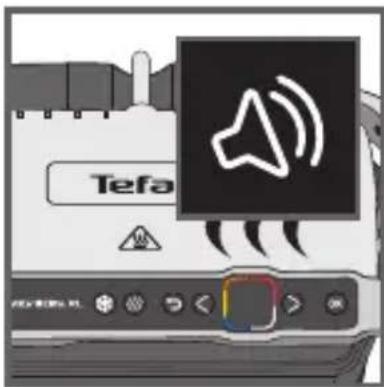
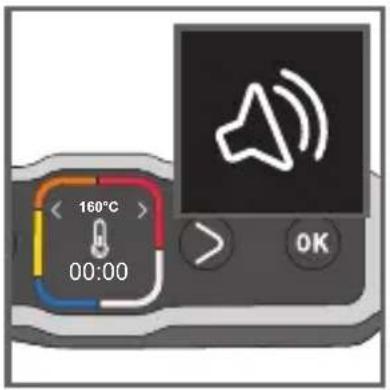
25 A beep sounds to signal that preheating is finished.
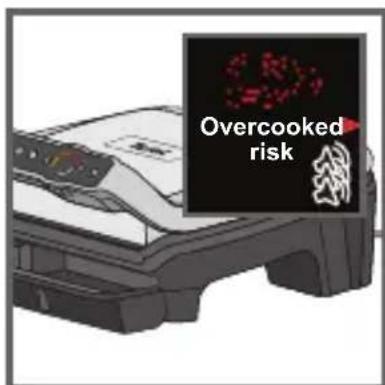
Caution: if the appliance remains closed for too long after preheating is finished, the safety system will turn off the appliance.
26 27
natural_image
Diagram of a printer's internal structure showing paper feeding into a tray (no text or symbols)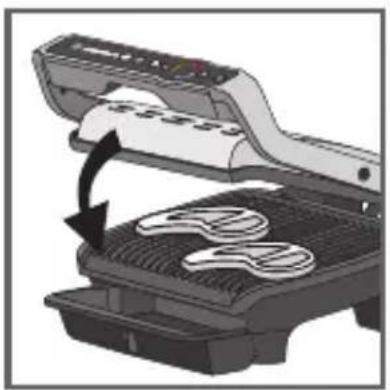
natural_image
Diagram of a grater with a curved arrow indicating process (no text or symbols present)28 29
30 31
natural_image
Illustration of a printer with steam rising from its cover (no text or symbols)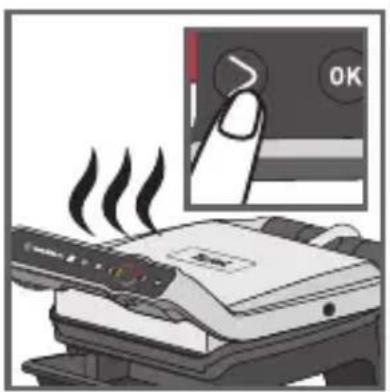
natural_image
Illustration of a printer emitting steam, with a hand pressing a button labeled 'OK' (no text or symbols on the printer itself)32 33
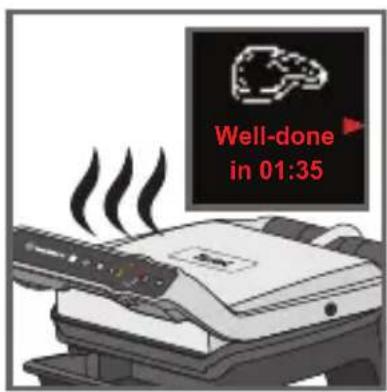
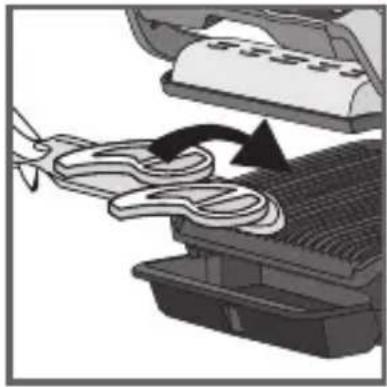
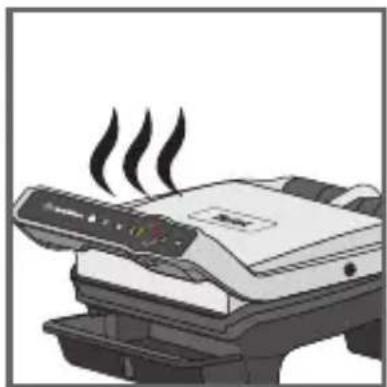
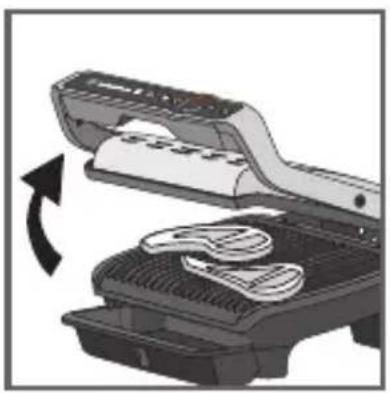
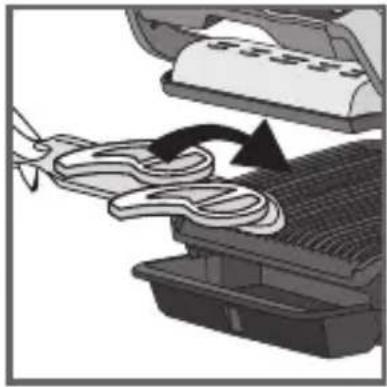
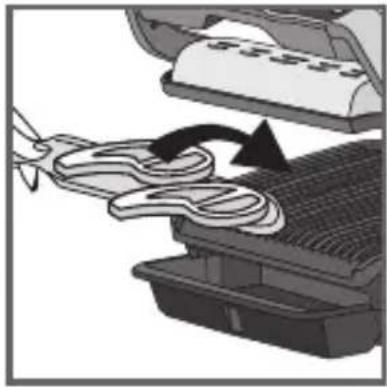
26-27
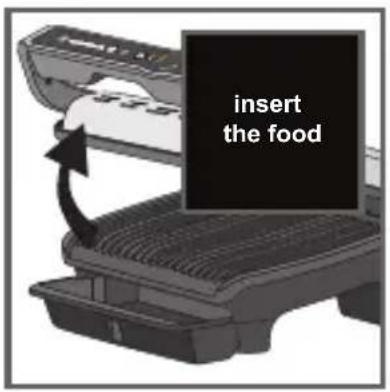
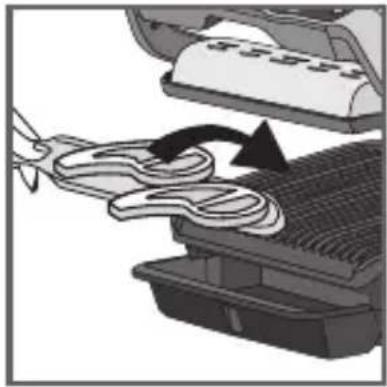
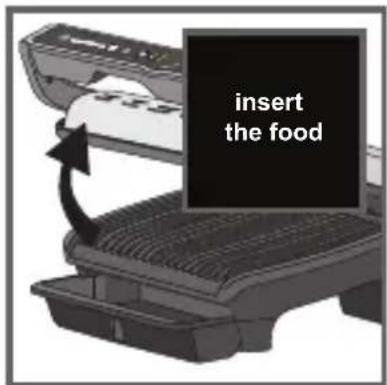
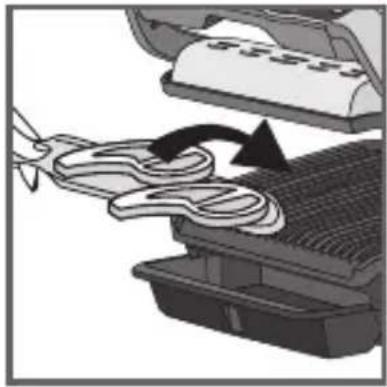
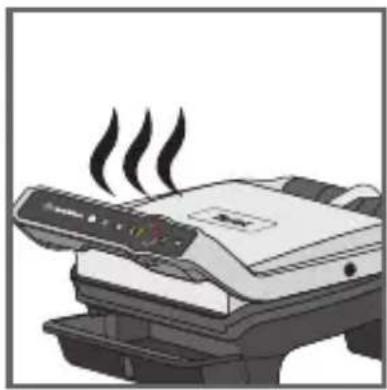
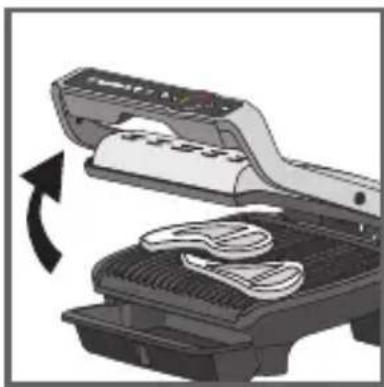
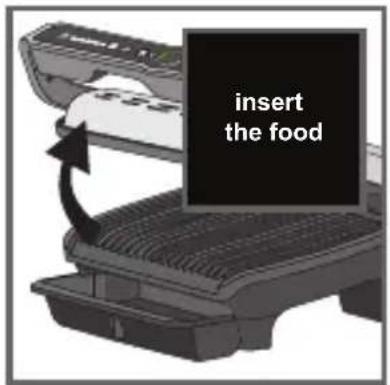
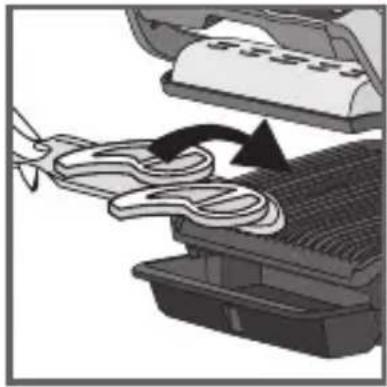
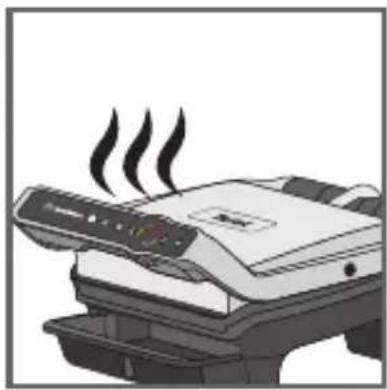
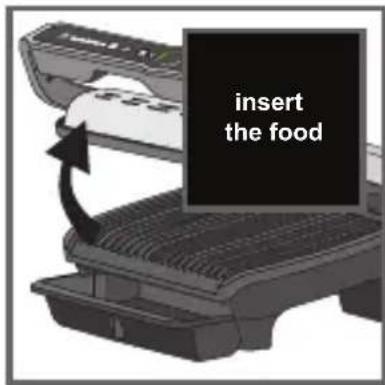
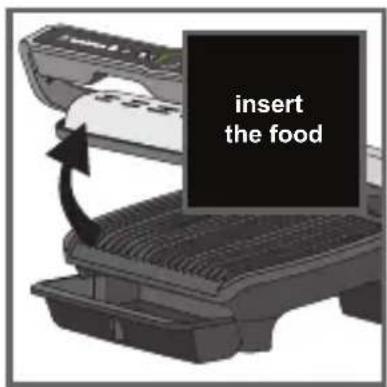
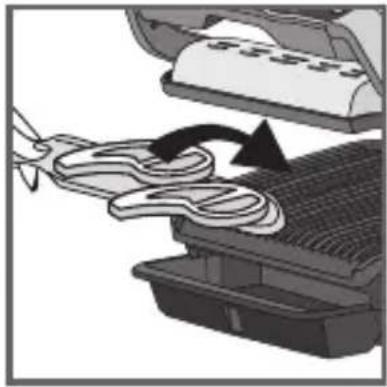
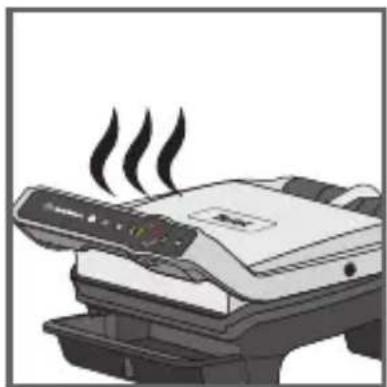
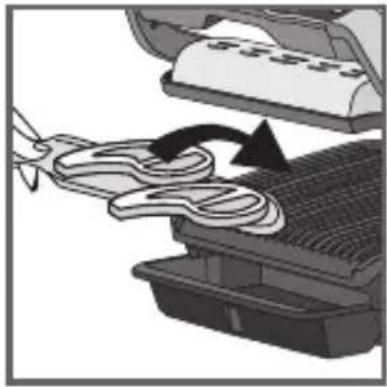
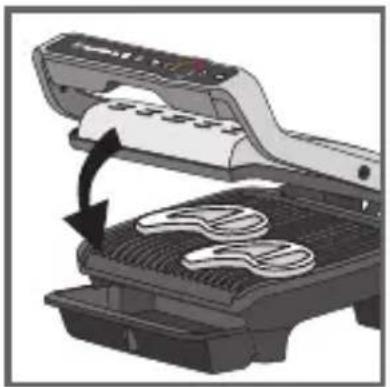
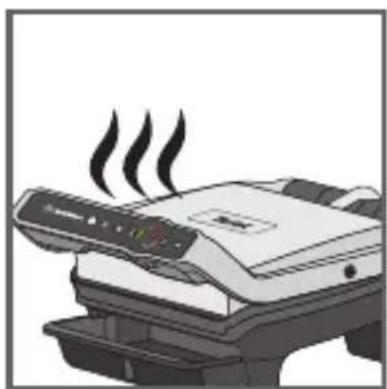
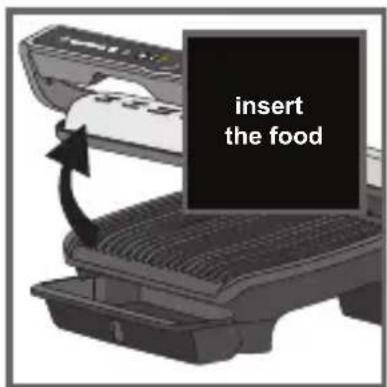
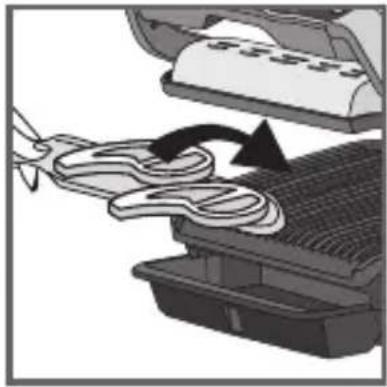
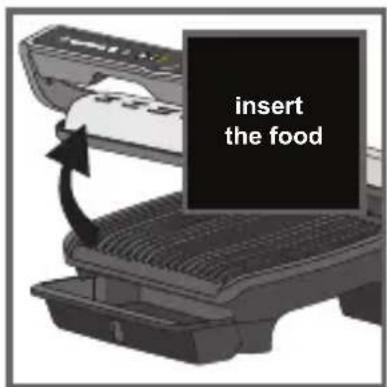
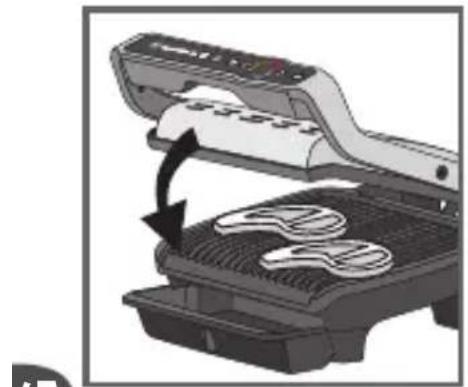
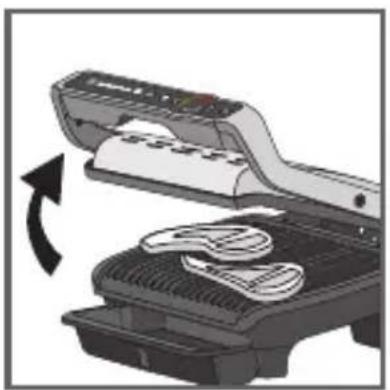
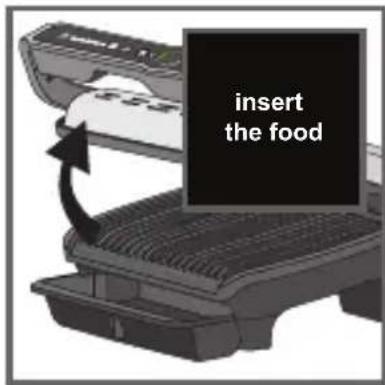
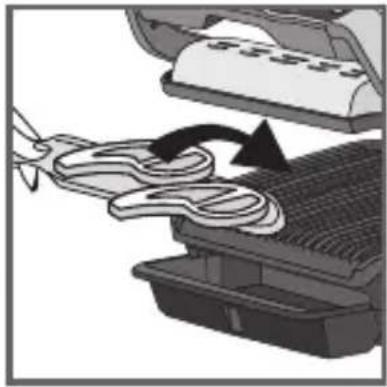
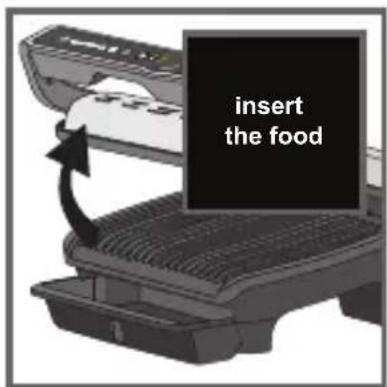
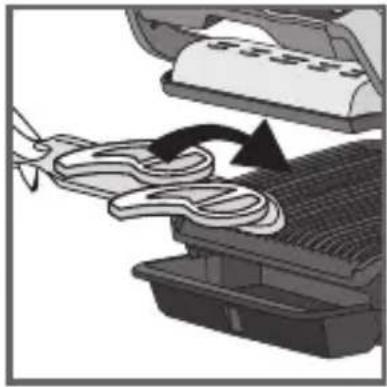
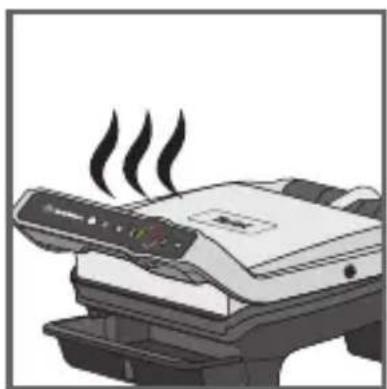
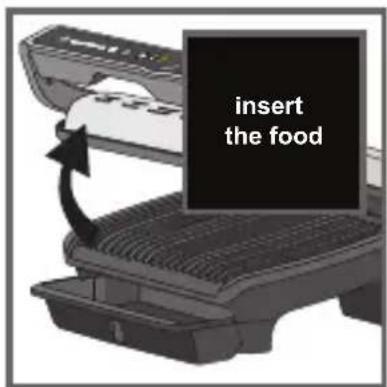
Once preheating has finished, you can insert your ingredients. Fully lift the grill lid and place the food on the grill.
Caution: if the appliance remains open for too long, the safety system will turn off the appliance.
Z
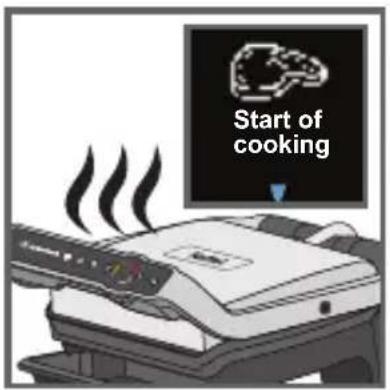
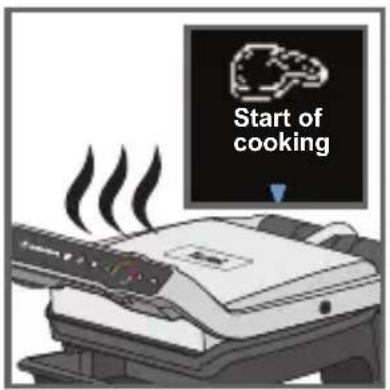
28-31
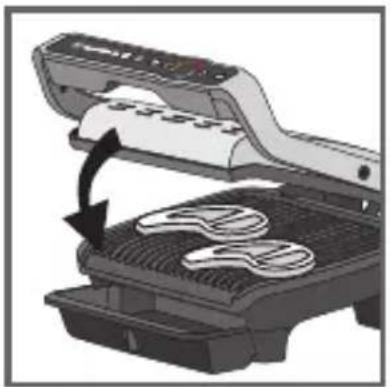
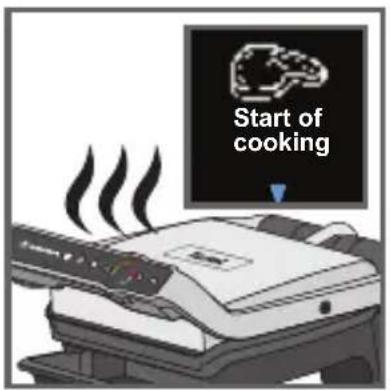
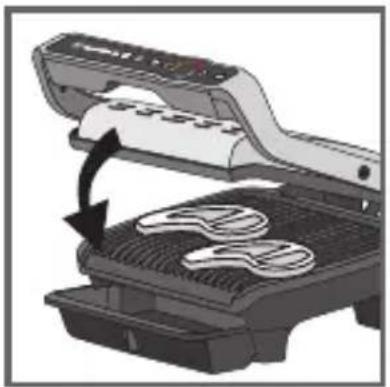
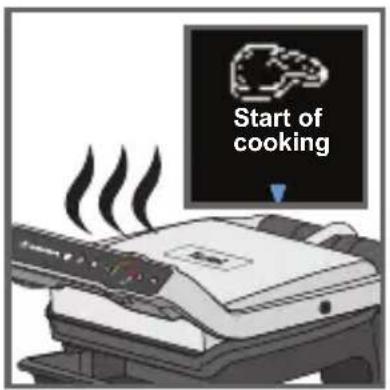
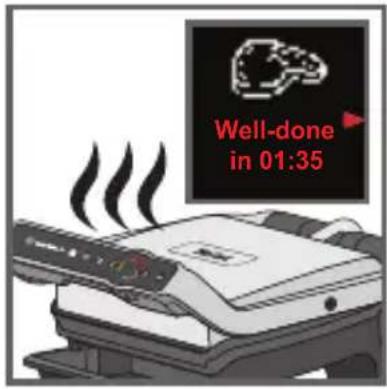
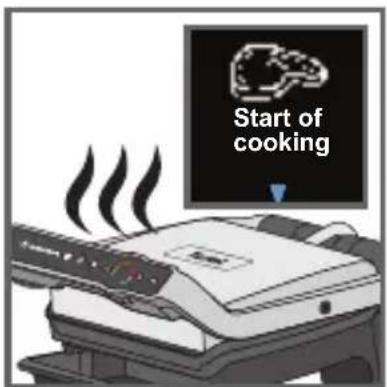
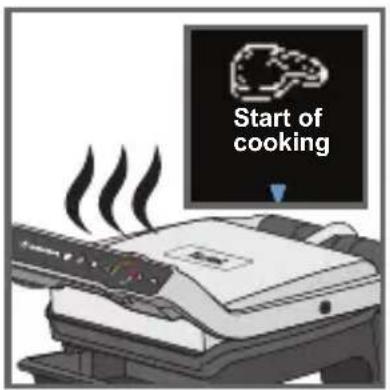
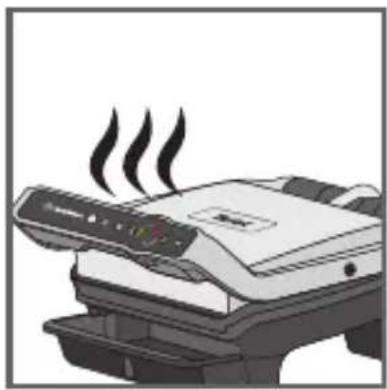
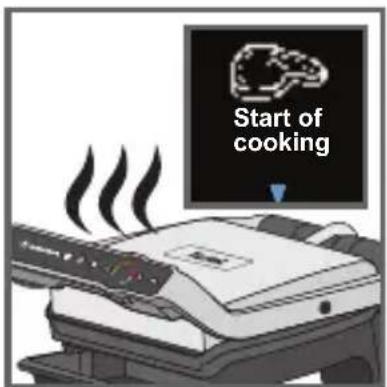
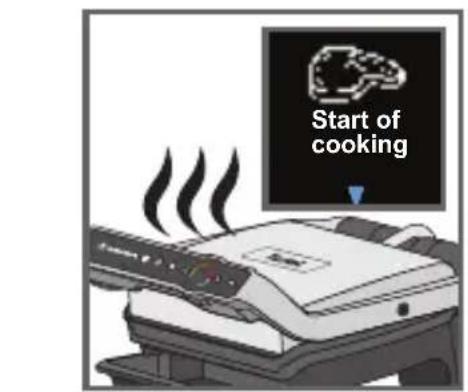
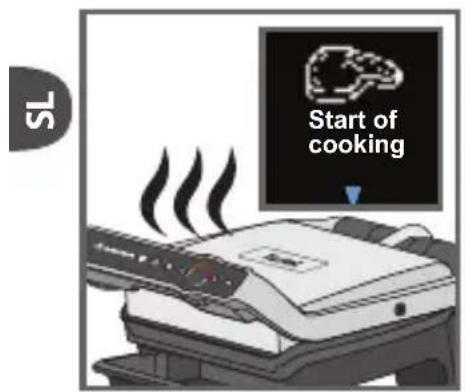
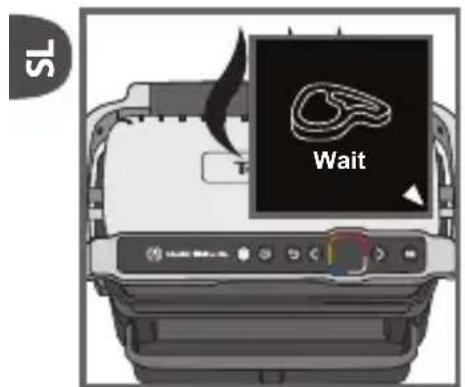
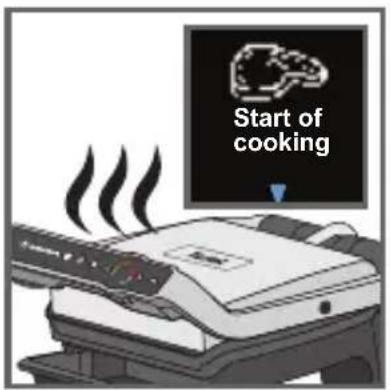
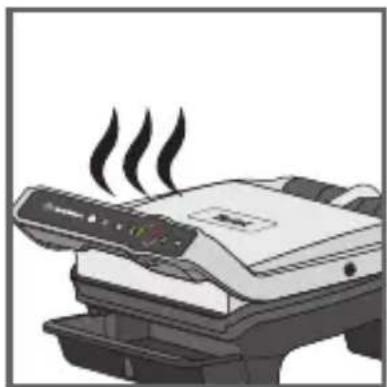
The appliance automatica calculates the cooking cycle (time and temperature) according to the quantity and thickness of the food.
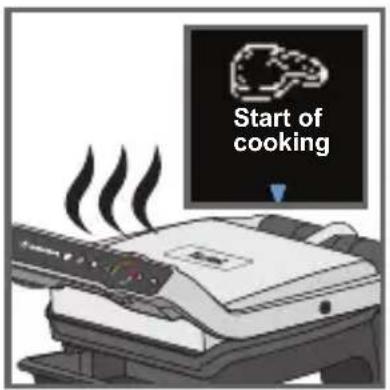
Close the appliance so that the cooking cycle can start.
Note for very thin foods, such as
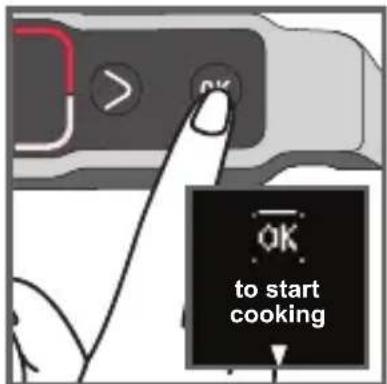
bacon: The "OK" button is on. Then press "OK" again to make sure that the appliance recognises the food and that the cooking cycle starts.
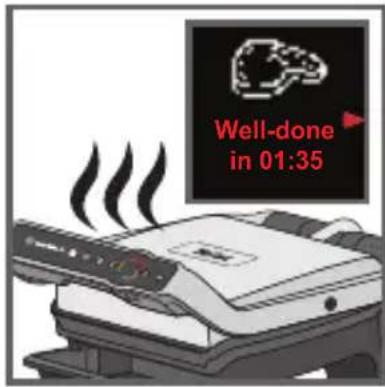
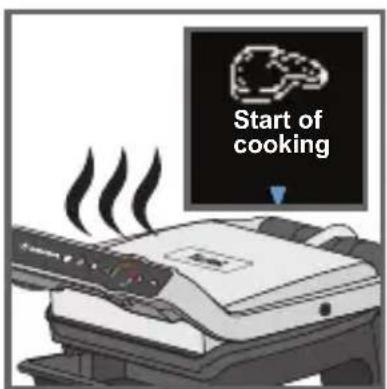
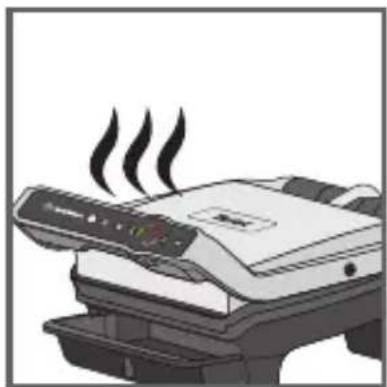
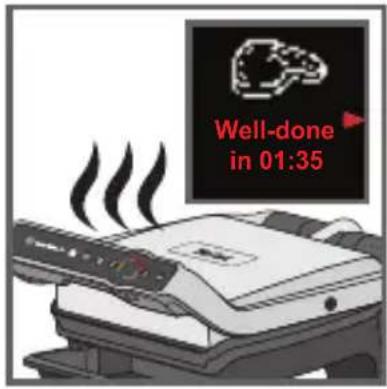
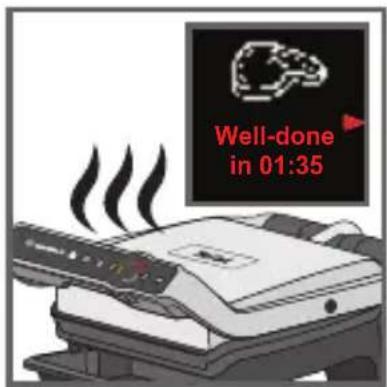
The arrow moves along the cooking level indicator and when it reaches a cooking level, the level is displayed and a beep sounds.
Note: the cooking levels are pre-programmed for each automatic mode.
During cooking, a beep will alert the user each time a cooking level is reached (e.g. rare/yellow).
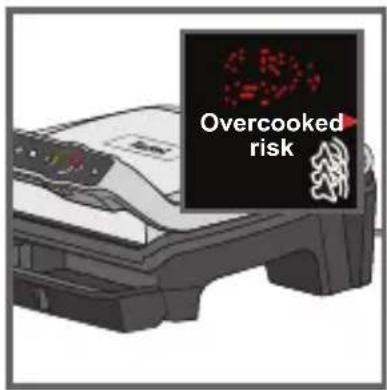
Depending on the degree of cooking, the indicator changes colour and the cooking progress arrow moves on the screen.
Note, especially for meat, that it is normal for the cooking results to vary according to the type, quality and origin of the food.
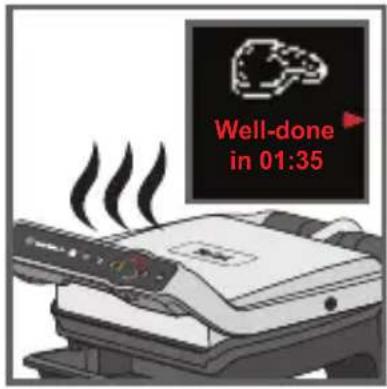
32-33
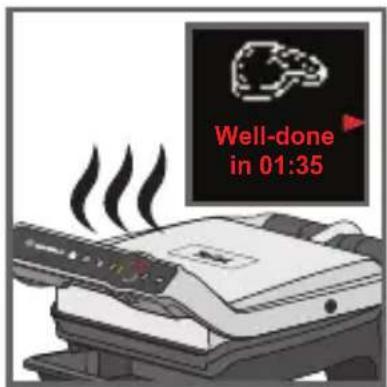
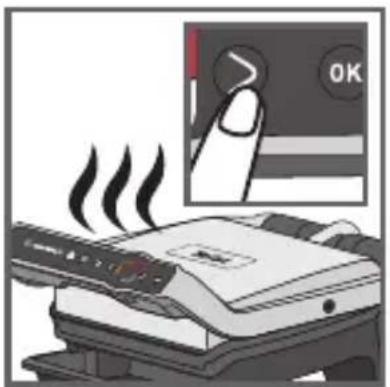
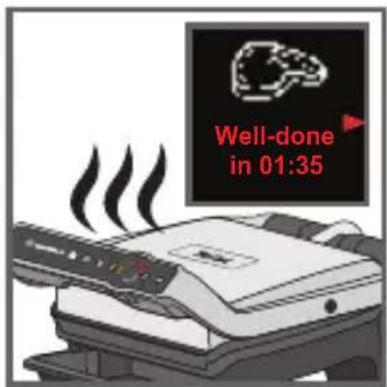
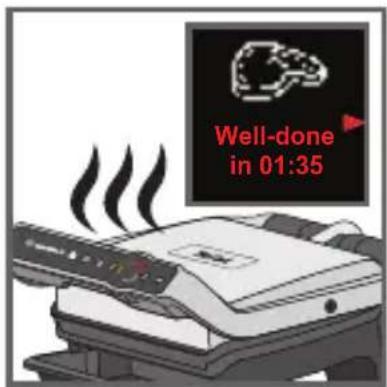
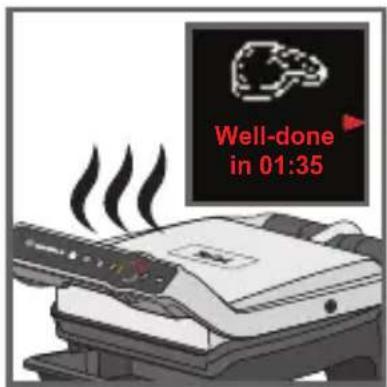
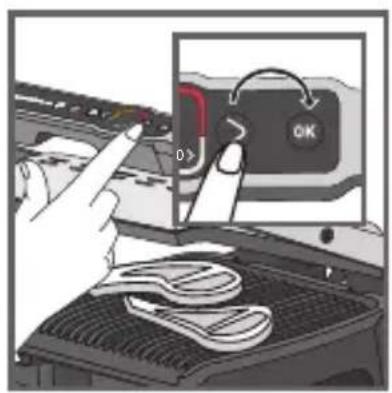
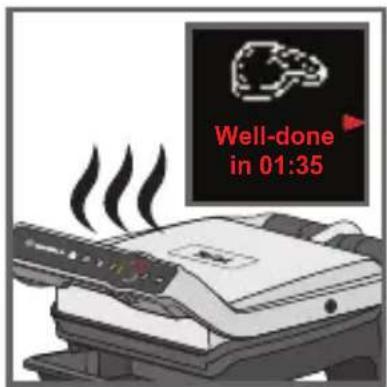
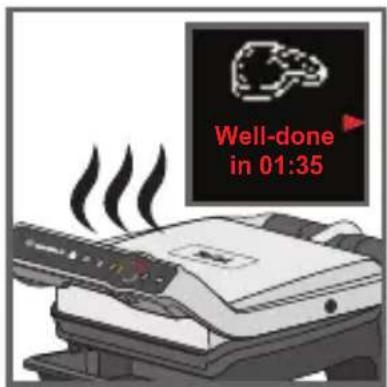
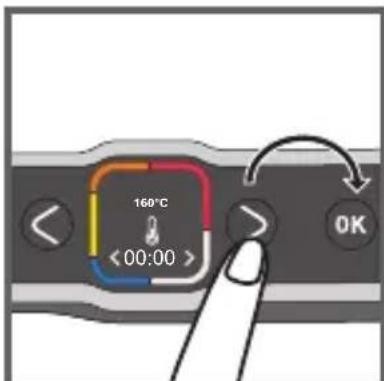
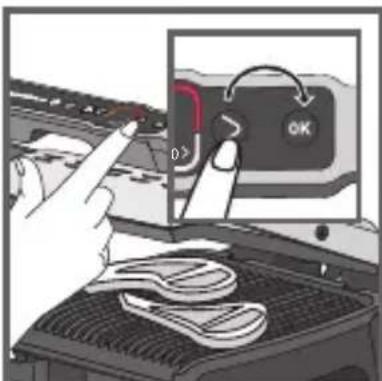
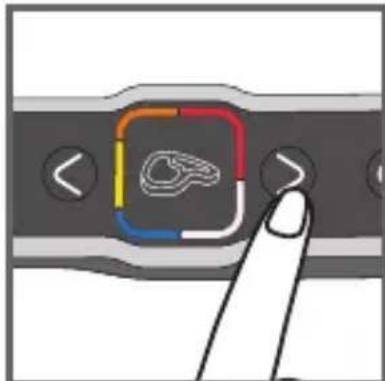
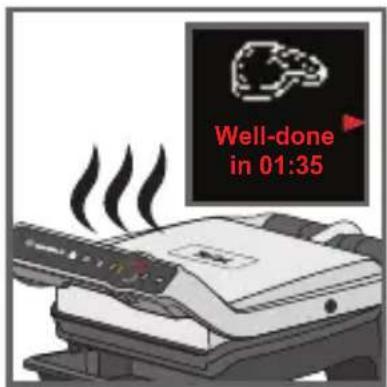
At any time, you can find out the time remaining to reach the different levels of cooking. Press the right arrow if you want to see in how long before the next cooking level is reached. Note that this does not select the cooking levels. The grill continues to cook to the last cooking level and a beep sounds at each level.
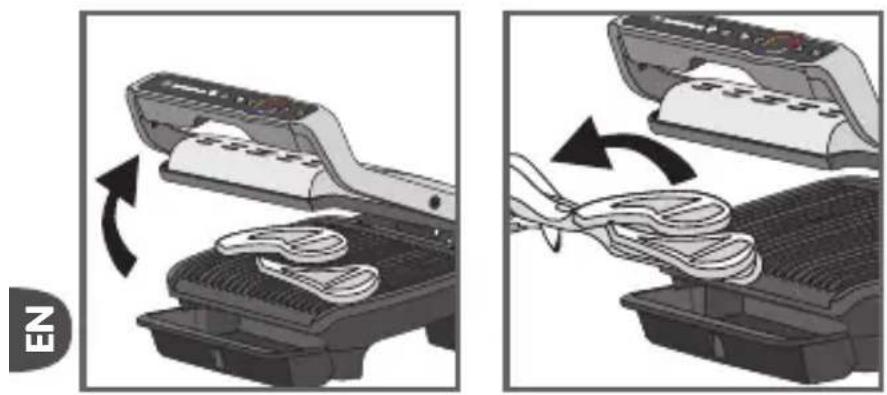
natural_image
Two-step diagram showing a device being folded into a rack, with arrows indicating the process (no text or symbols present)34 35
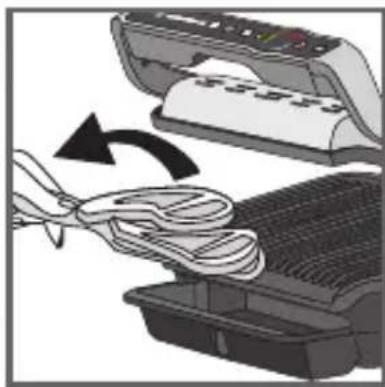
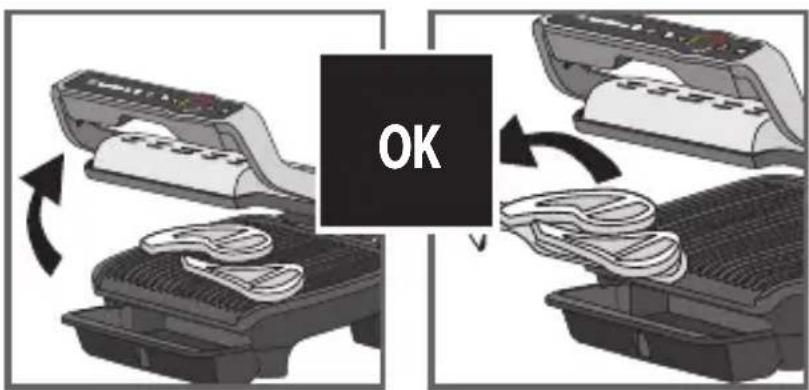
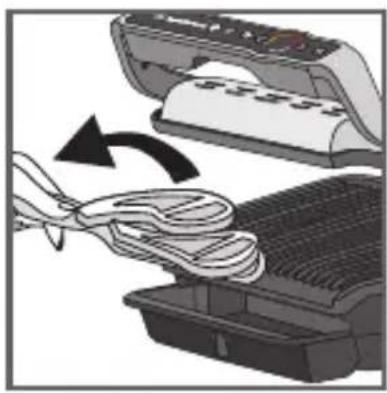
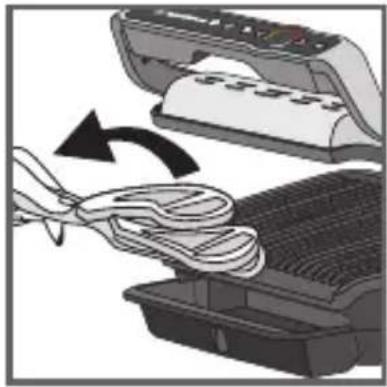
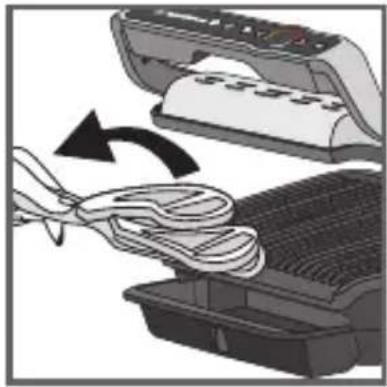
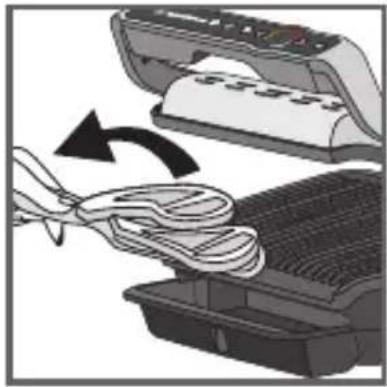
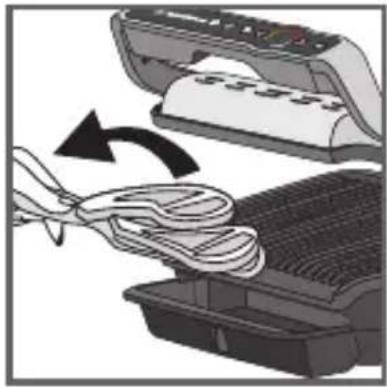
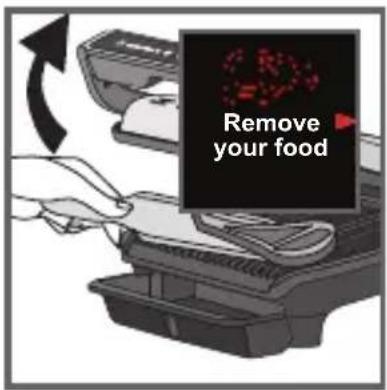
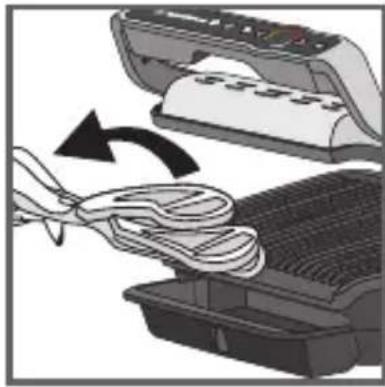
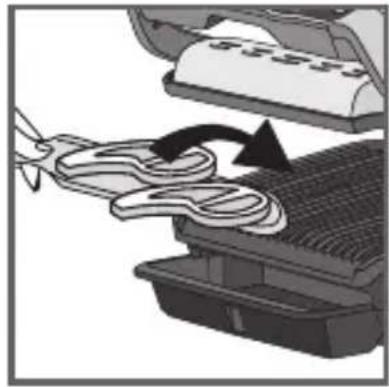
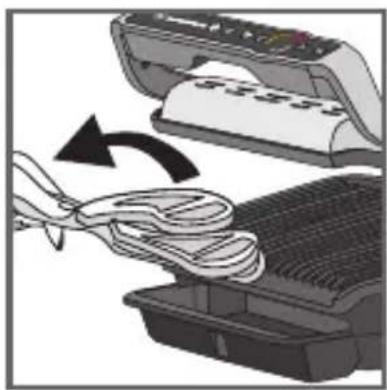
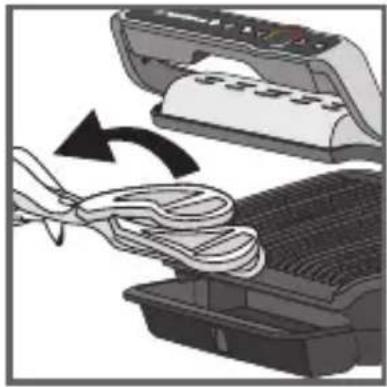
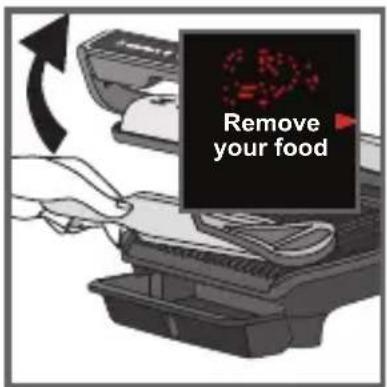
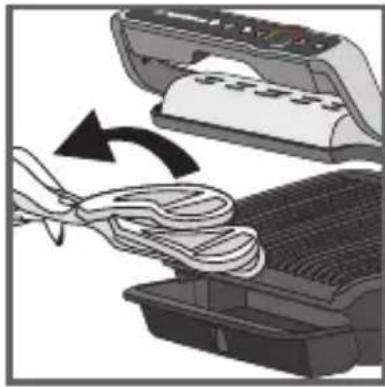
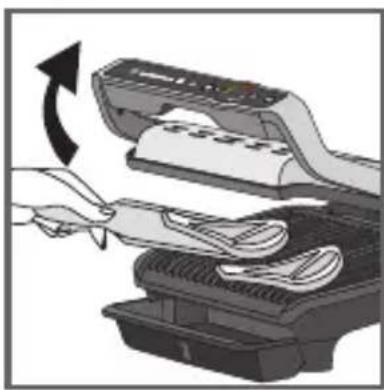
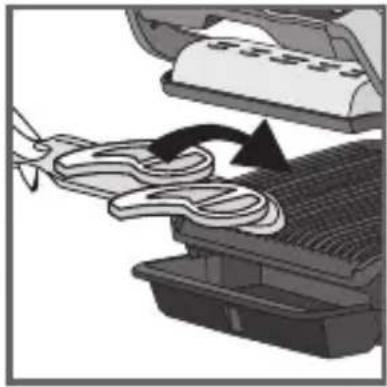
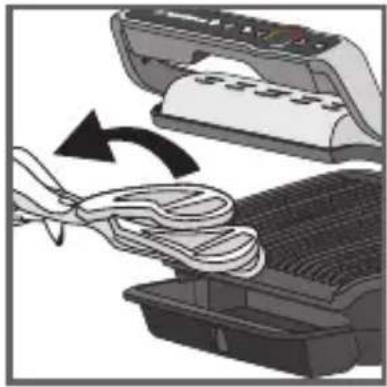
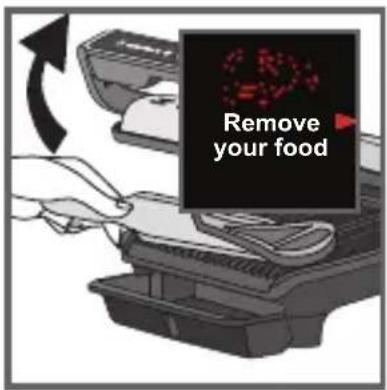
34-35 When the cooking level of your choice is reached and the beep sounds, open the appliance and remove your food.
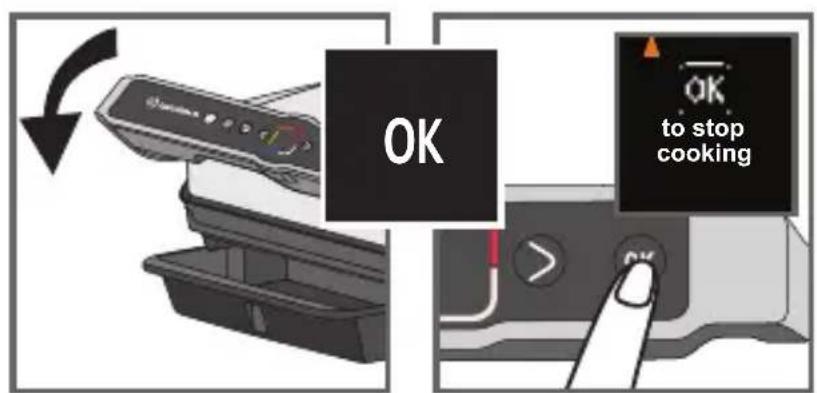
36
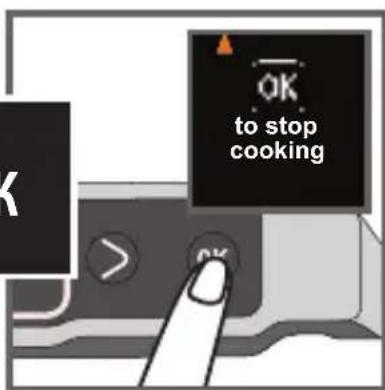
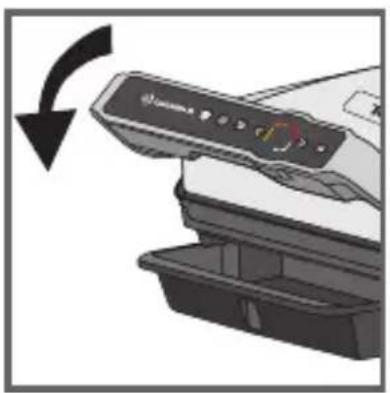
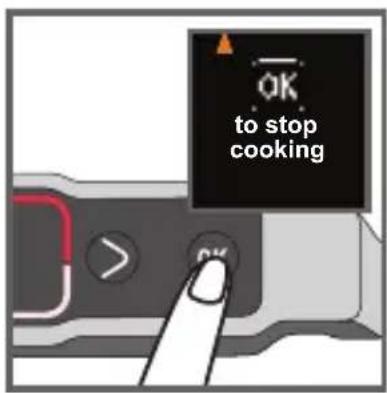
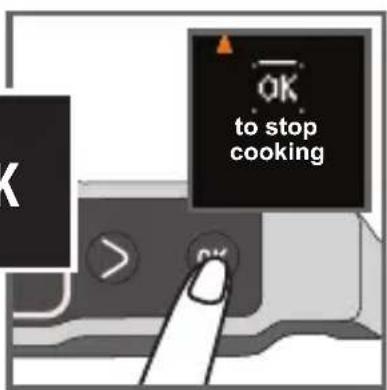
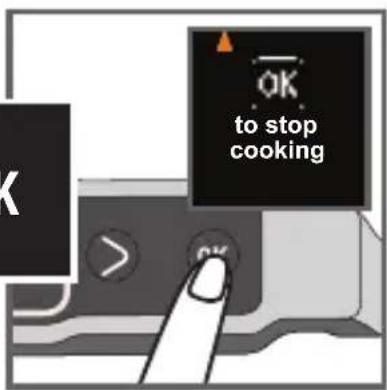
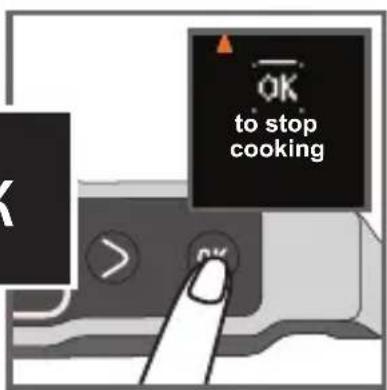
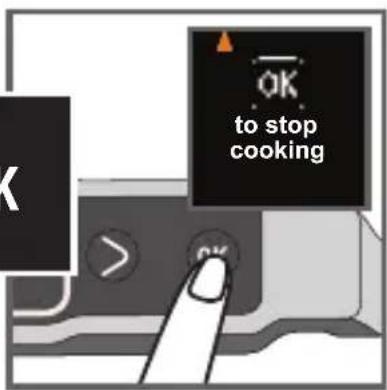
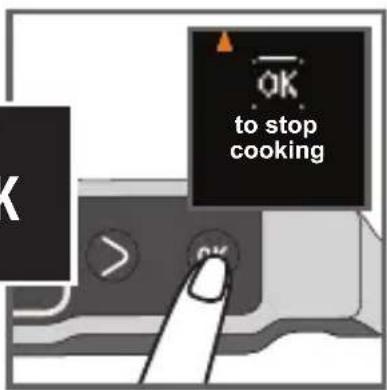
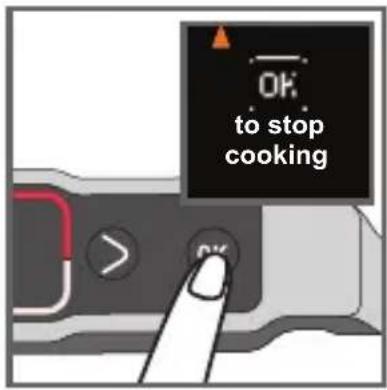
36-37 Close the lid. The screen asks for your confirmation to stop cooking. Confirm with OK if all foods have been removed, otherwise allow it to continue cooking.
If you wish to cook more food, refer to paragraph 7, page 13.
Note: the safety system will turn off the power automatically if no program is selected after a certain time.
7 How to cook a second batch
Second batch of the same type of food
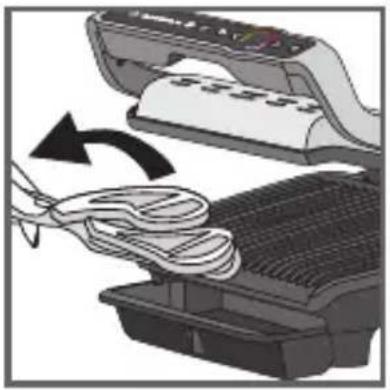
natural_image
Illustration of a printer being inserted into a rack with a coiled cable, showing mechanical components and motion direction (no text or symbols)38 39
40 41
42 43
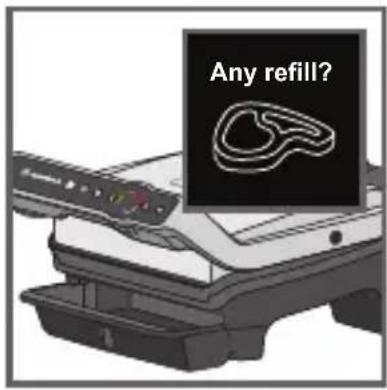
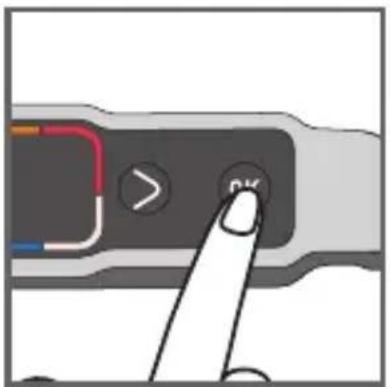
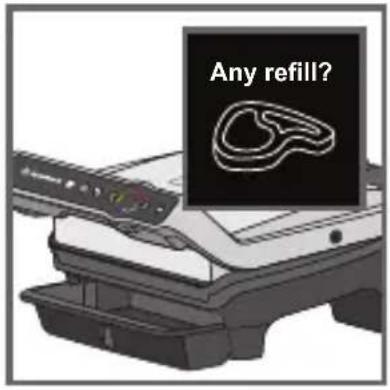
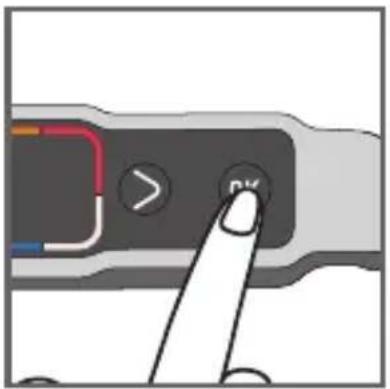
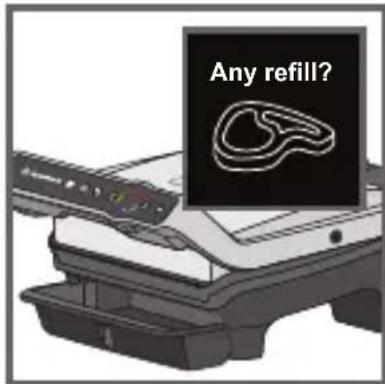
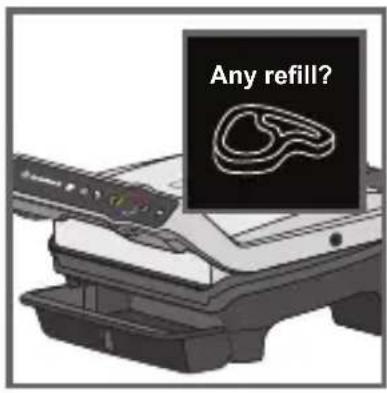
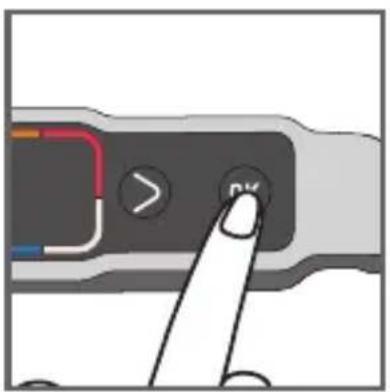
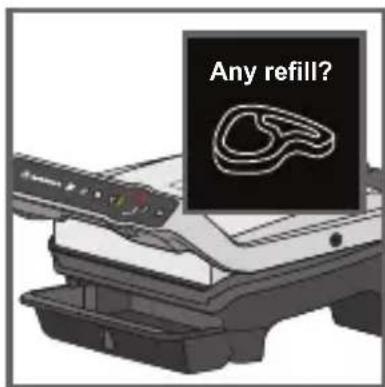
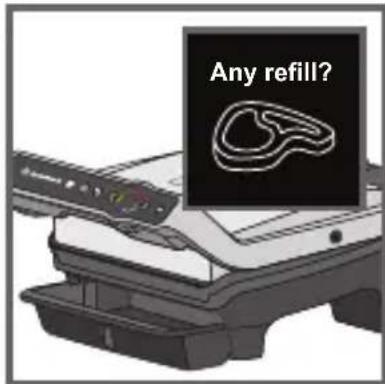
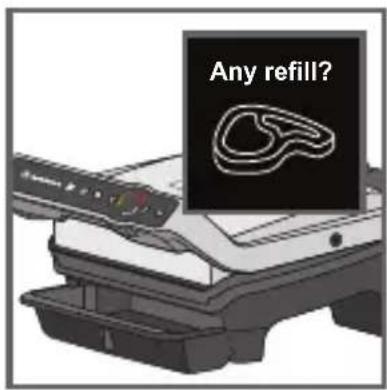
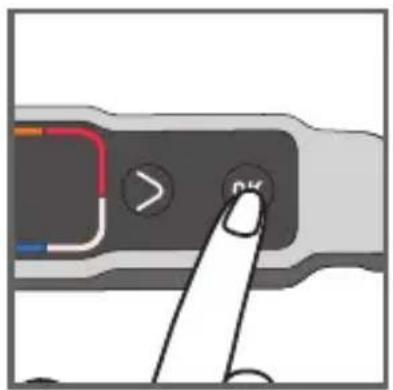
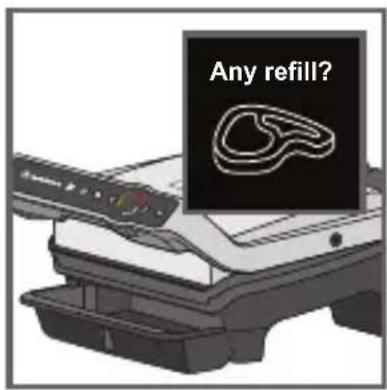
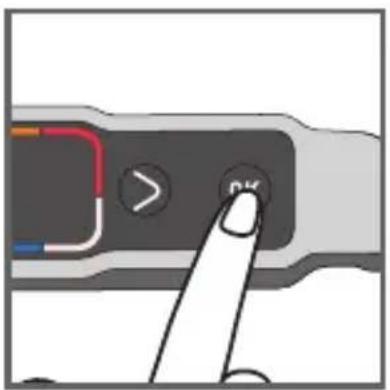
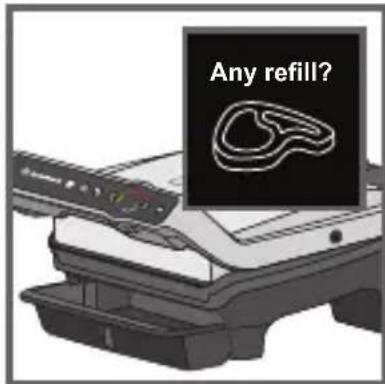
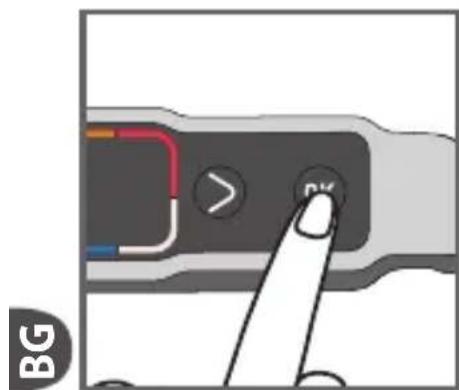
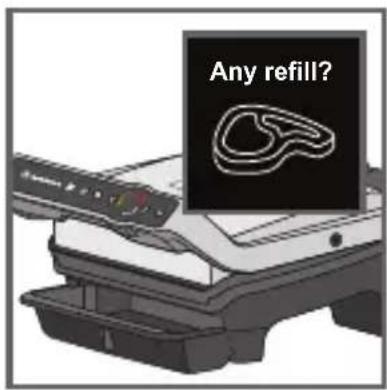
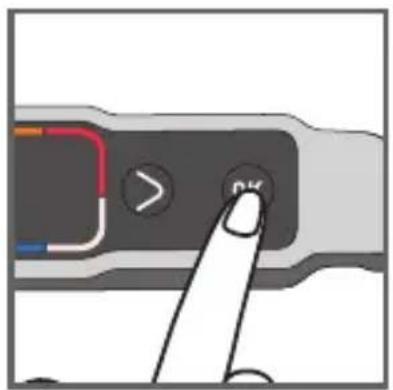
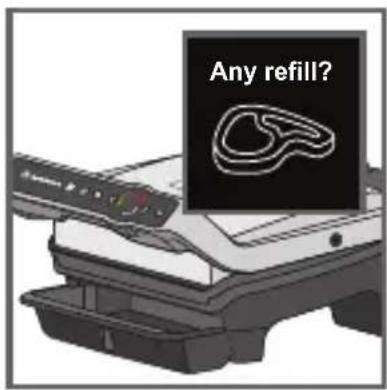
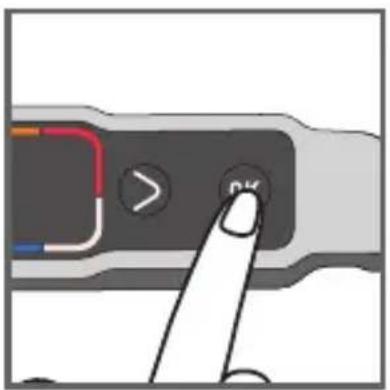
38-39 At the end of the first cook, an "any refill" screen appears. If you want to grill the same type of food, press OK.
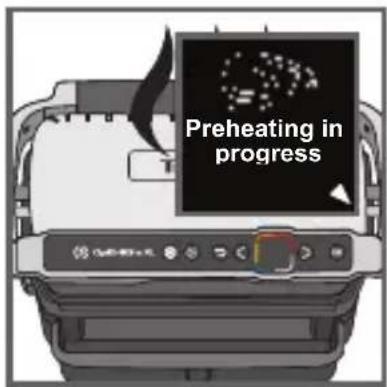
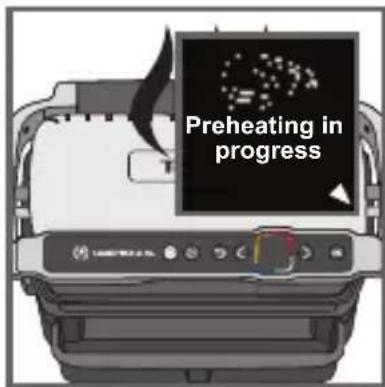
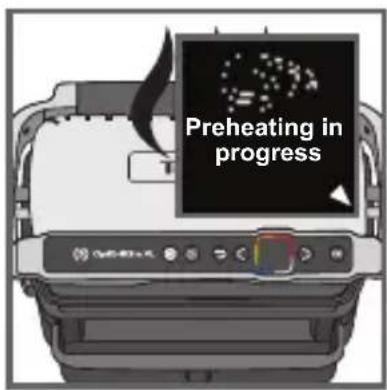
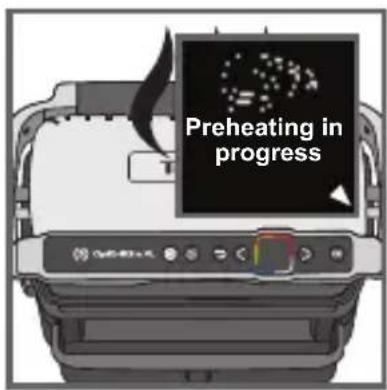
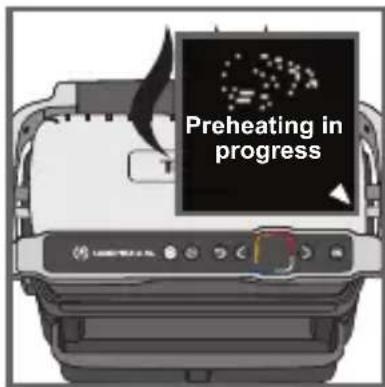
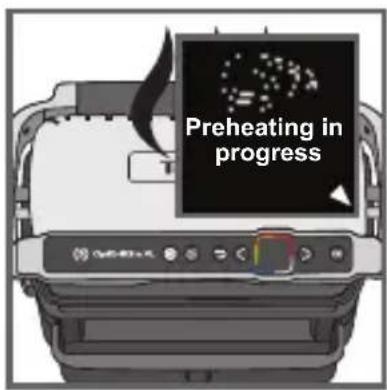
40 The appliance starts preheating.
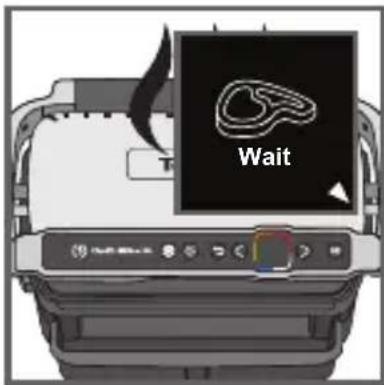
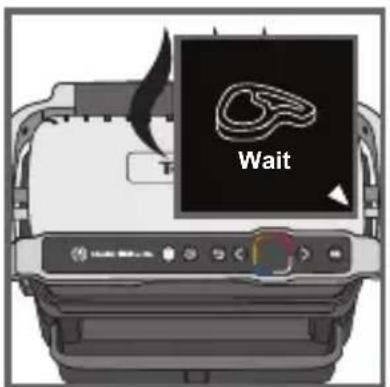
41 Wait until preheating has finished.
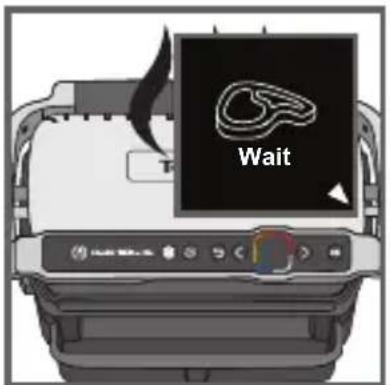
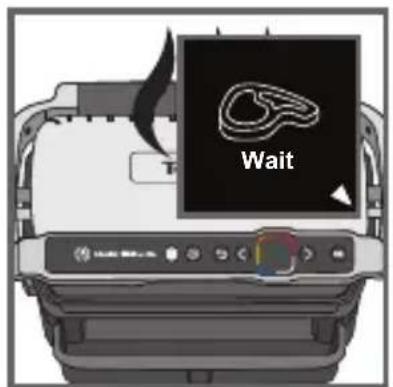
42 Put the food on the grill.
43 Then follow steps 26 to 36.
Second cooking with a different type of food
Once cooking your first ingredient has finished:
- Ensure that the appliance is closed and that there is no food inside.
- Select the appropriate cooking program or mode.
- Press the OK button to start preheating. During preheating, the preheating indicator is displayed on the screen.
- Once preheating has finished, a beep sounds and the preheating information is shown on the screen.
- The appliance is ready to use once preheating has finished. Lift the grill lid and place the food inside the grill. Then follow steps 26-36.

Important:
- Preheating is essential to cooking.
Reminder: before starting preheating, ensure that the appliance is closed and that there is no food inside.
- Wait until preheating is finished before opening the grill and putting food inside.
Note: if the new preheating cycle is started immediately after the end of the previous cycle, the preheating time will be shorter.

8 Cooking in manual mode
44 45
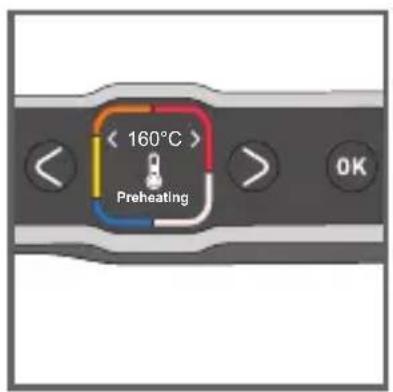
46 47
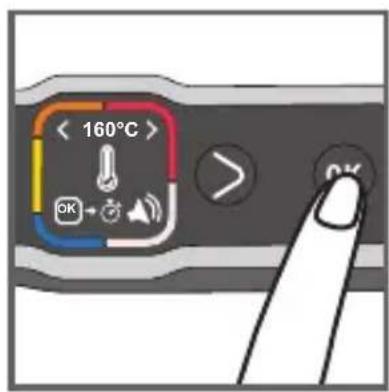
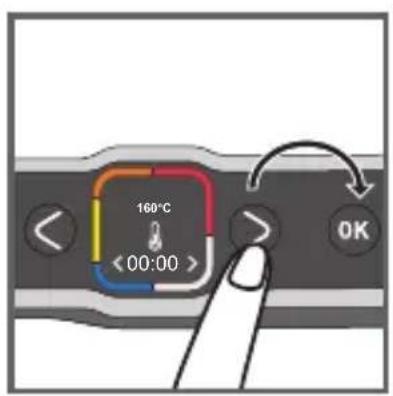
48 49
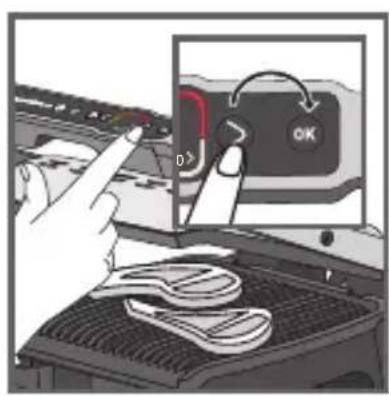
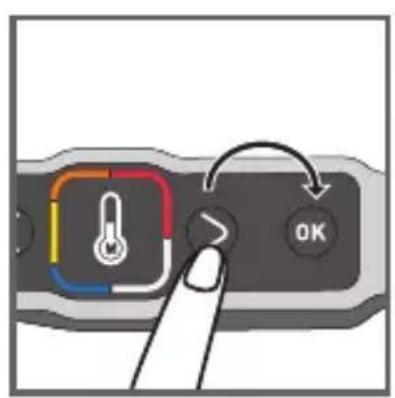
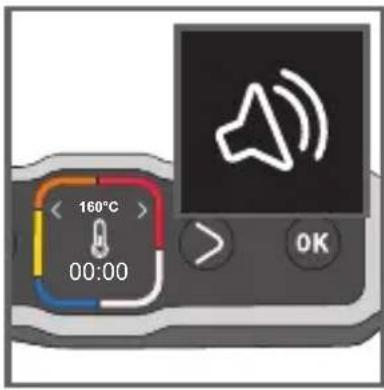
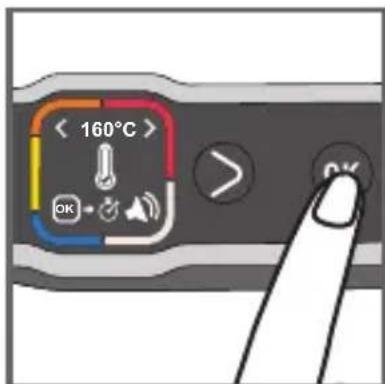
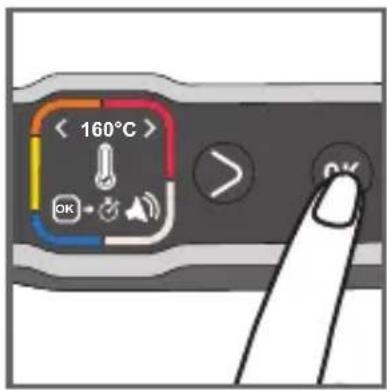
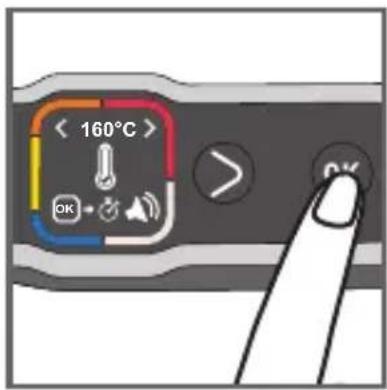
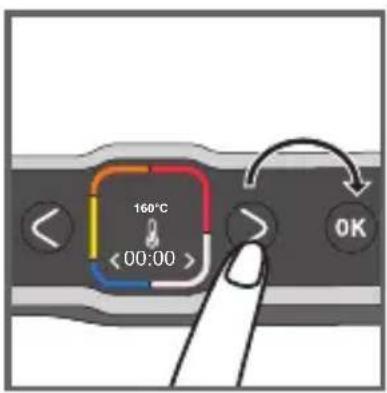
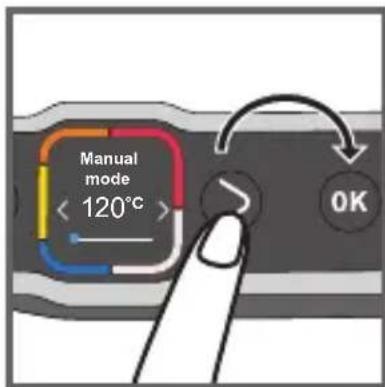
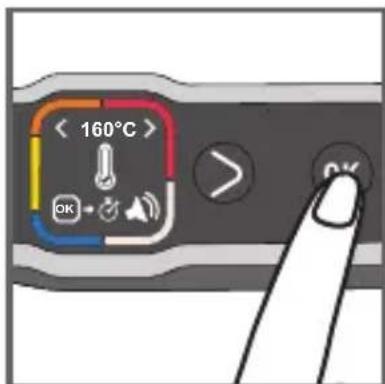
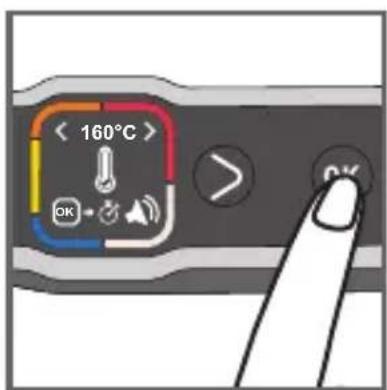
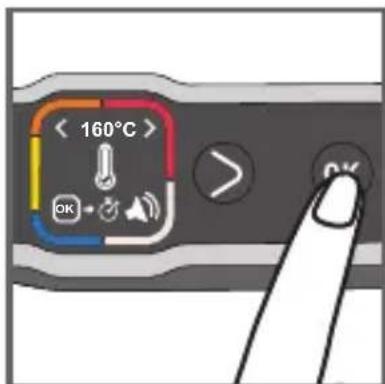
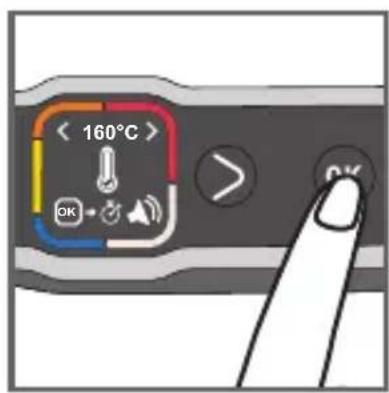
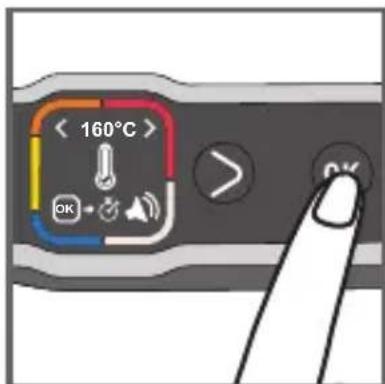
44 Select manual mode and press OK to confirm.
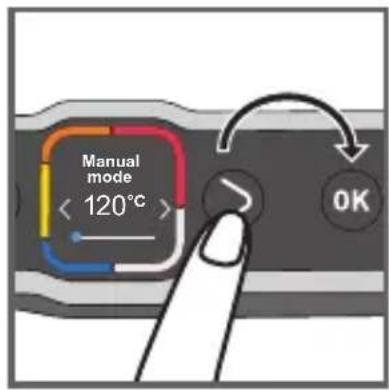
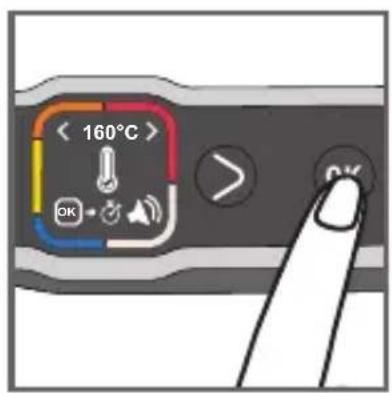
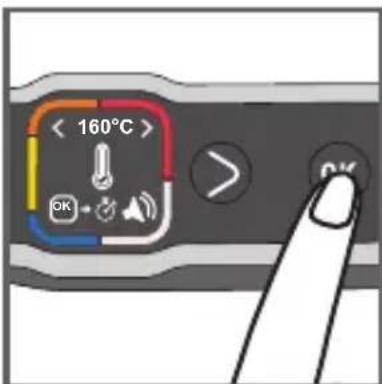
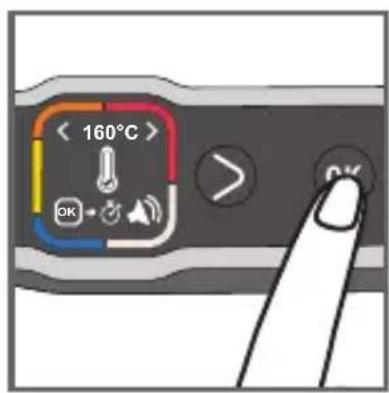
45 Select the desired temperature using the adjustment buttons. Please refer to manual cooking guide page 21.
Press OK to confirm the selected temperature.
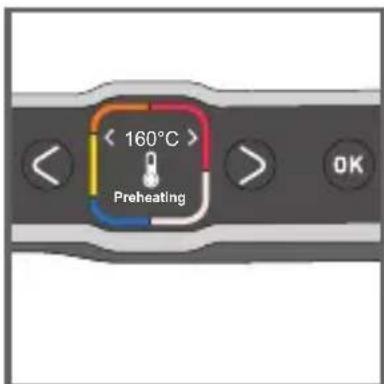
46 Wait until preheating has finished.
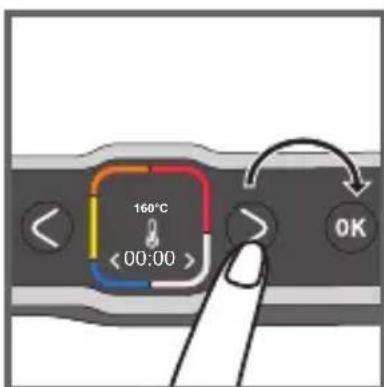
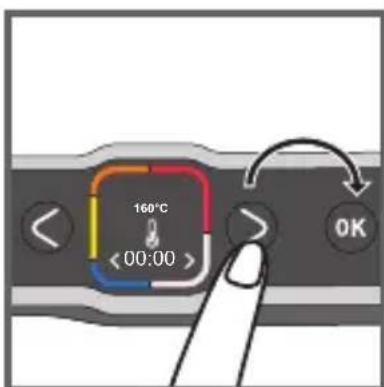
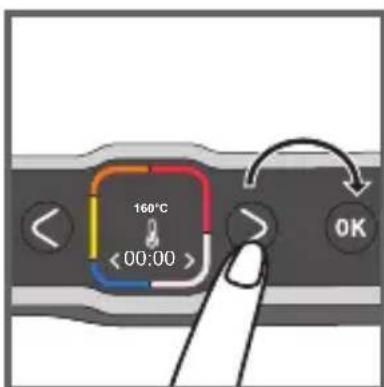
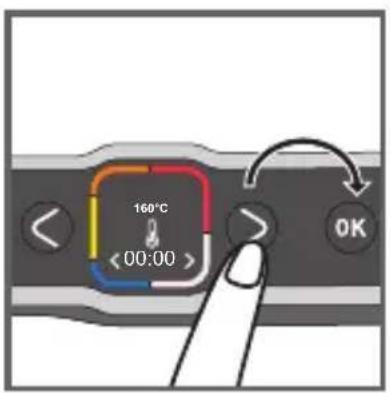
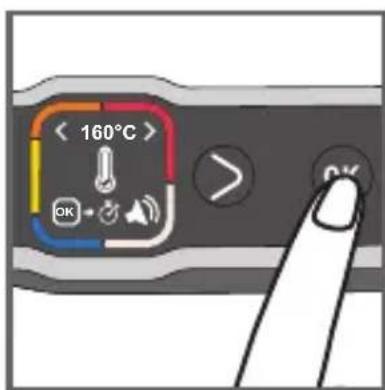
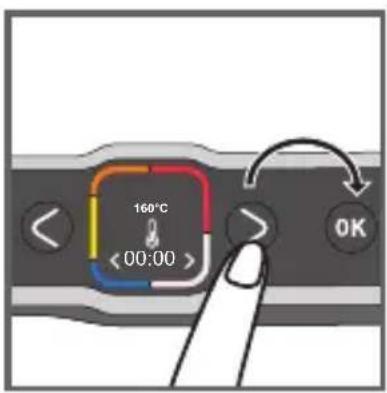
47 Once preheating has finished, press OK to start the timer.
Note: the cooking time can also be set from the start of preheating.
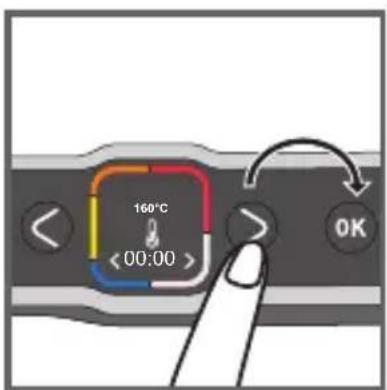
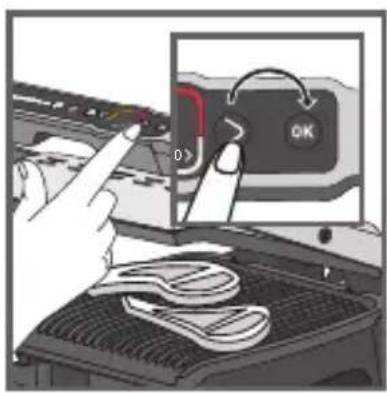
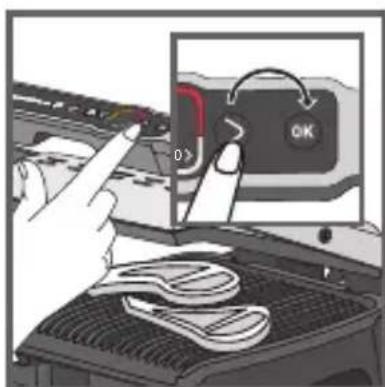
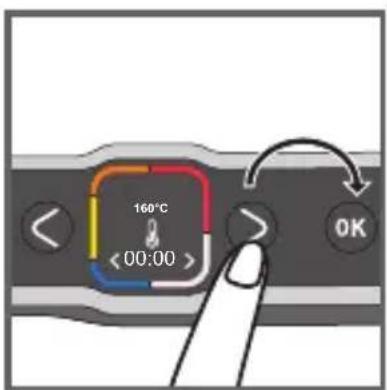
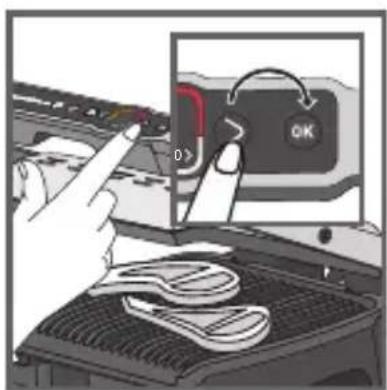
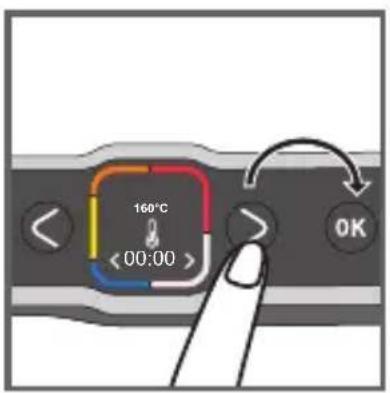
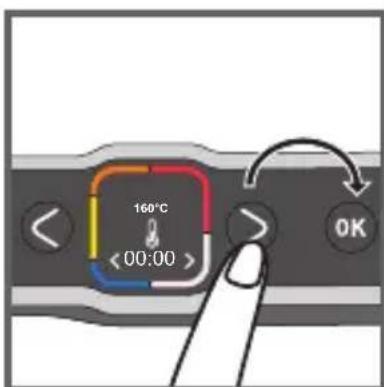
48 Press the adjustment buttons to select the desired cooking time.
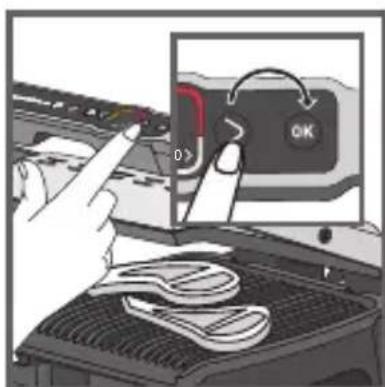
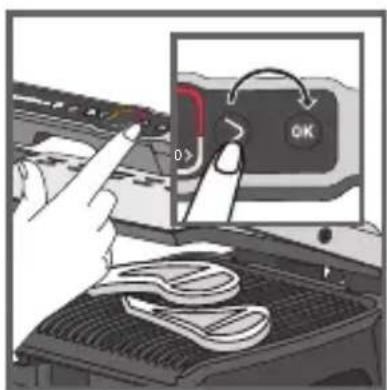
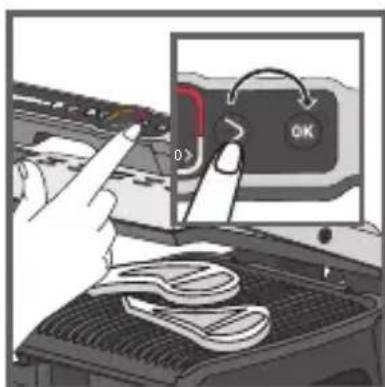
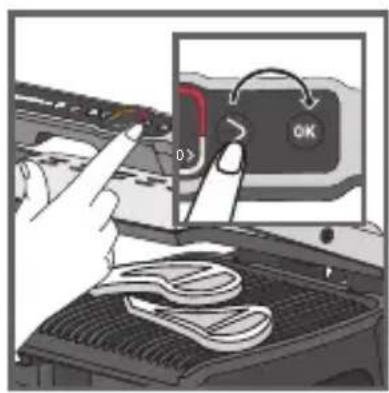
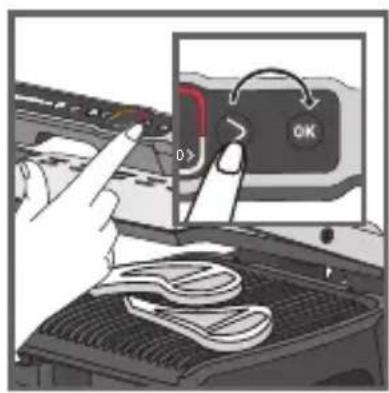
49 Insert your food and press OK to start cooking and begin the countdown.
Press OK to adjust the temperature and/or the clock at any time.
50 51
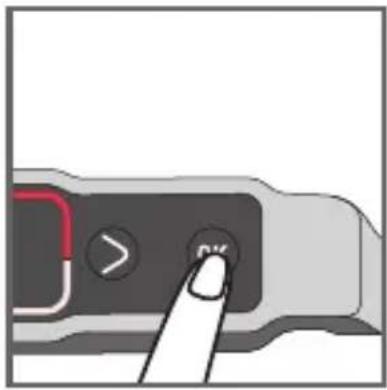
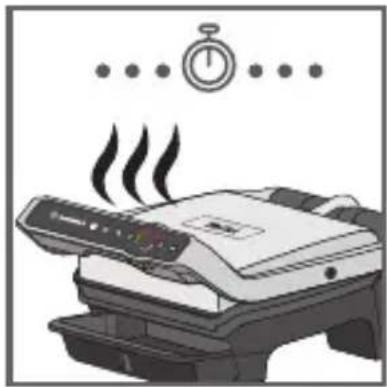
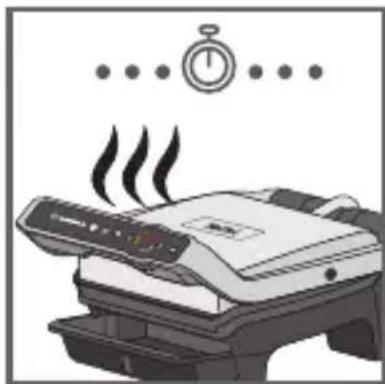
50-51 A beep sounds to indicate when the cooking time has finished. Remove your food.
Press OK to stop the beeping and remove your food.

9 Comments
natural_image
Illustration of a hand inserting a device into a printer (no text or symbols visible)52 53
natural_image
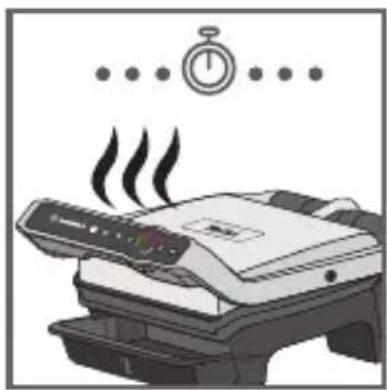
Illustration of a printer emitting steam, with a stopwatch above (no text or symbols)52-54
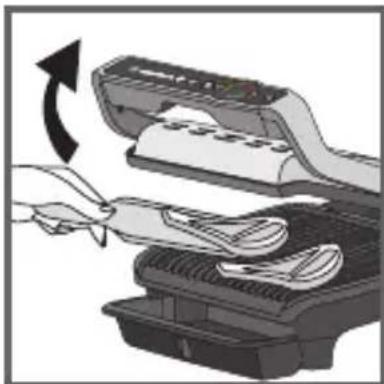
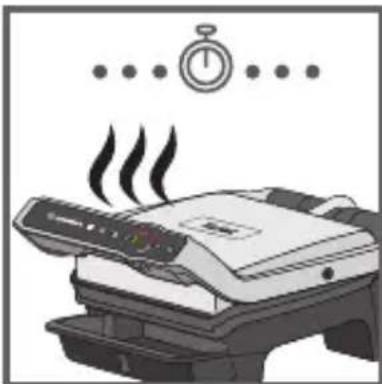
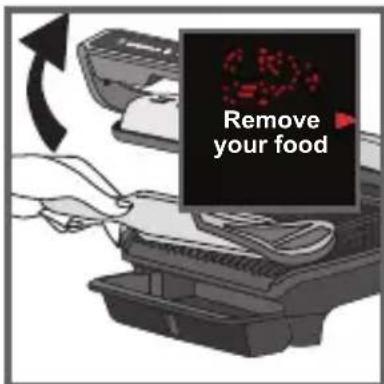
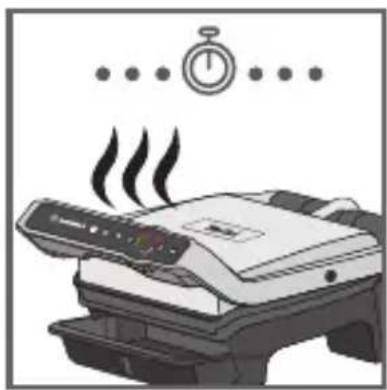
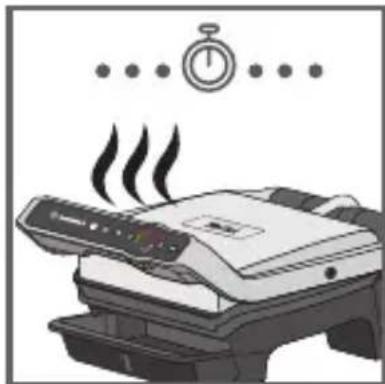
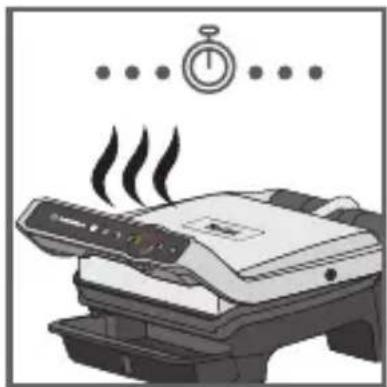
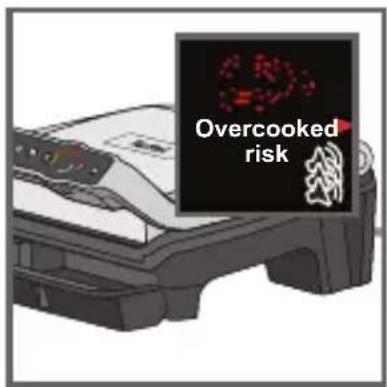
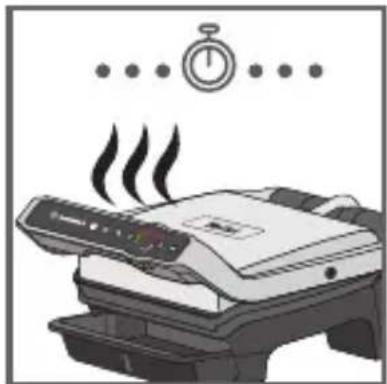
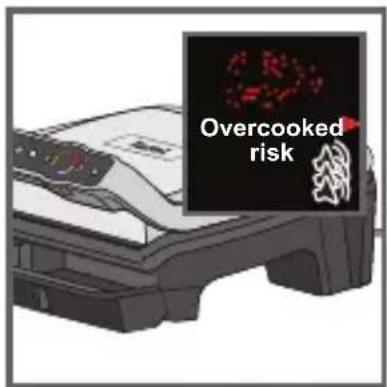
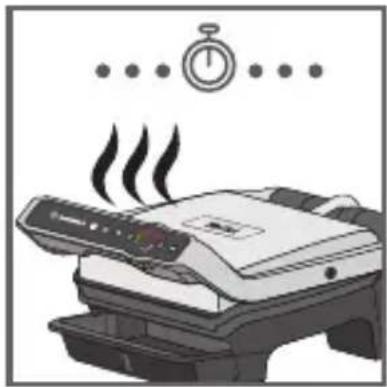
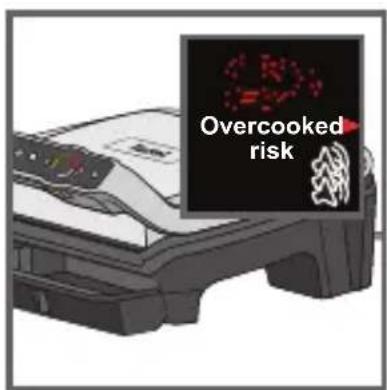
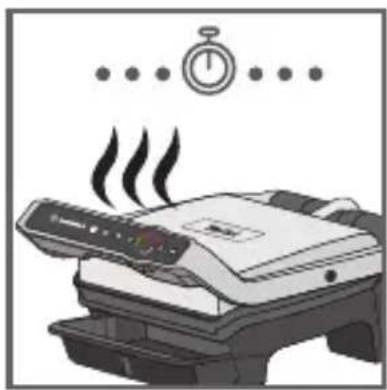
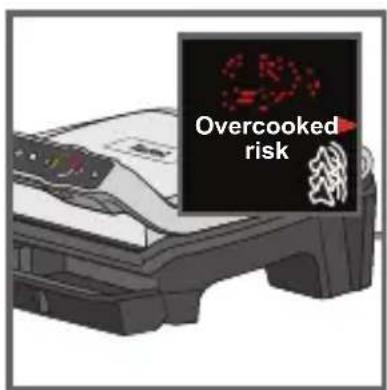
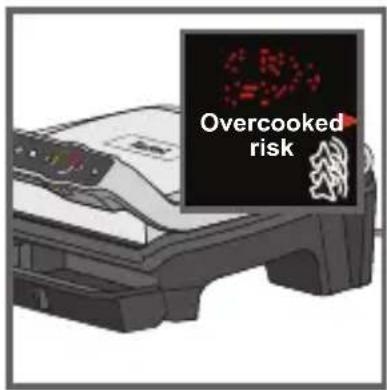
Depending on your personal preferences, open the grill and remove foods that have reached the desired cooking level, then close the grill to continue cooking other foods. The program will continue the cooking cycle until the last cooking level of the selected mode.
54 55
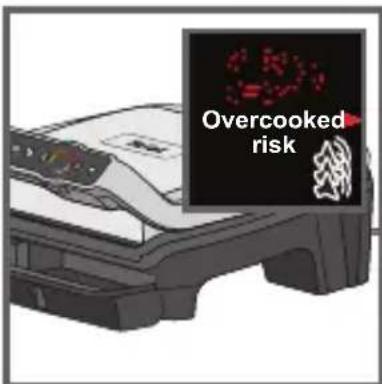
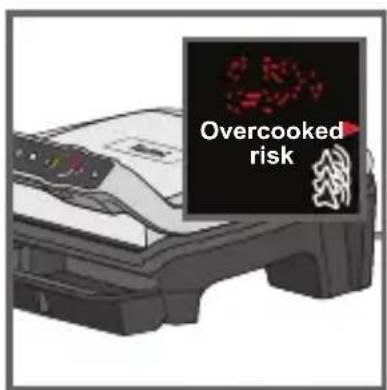
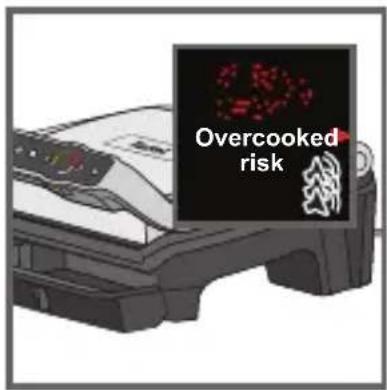
55Note: the safety system will turn off the power automatically after a certain time.
10 End of use
56 57
natural_image
Illustration of a hand placing an electrical socket into a wall, with arrows indicating direction (no text or symbols)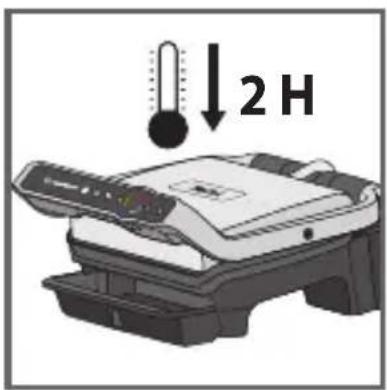
58
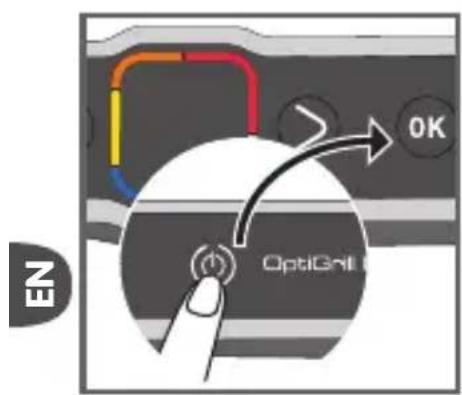
56 Press the On/Off button and confirm by pressing the OK button.
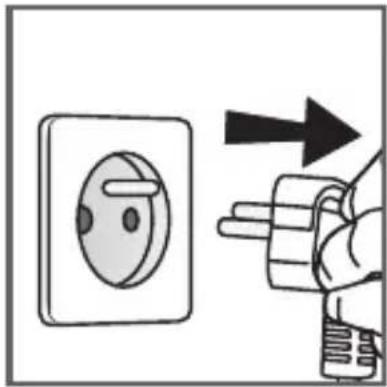
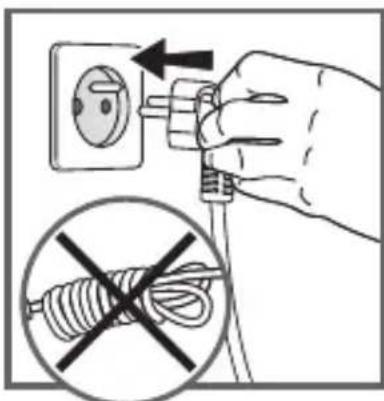
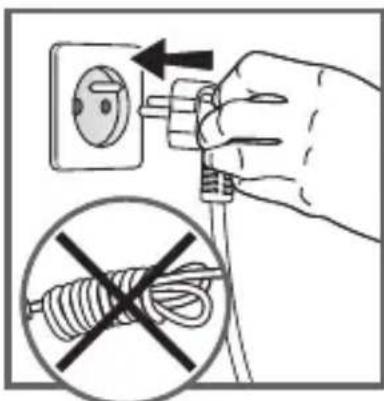
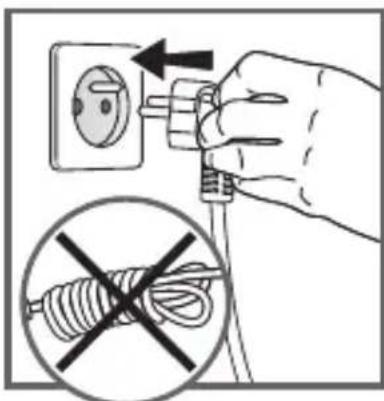
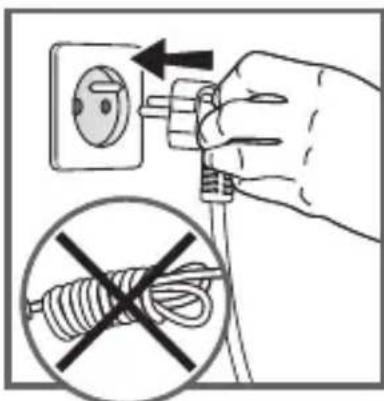
57 Unplug the appliance.
58 Let it cool for at least 2 hours. To prevent accidental burns, allow the grill to cool completely before cleaning.
natural_image
Close-up of a car intake manifold showing meshing and exhaust flow arrows (no text or symbols)59 60
natural_image
Diagram showing a container with contents being processed into three storage trays (no text or symbols present)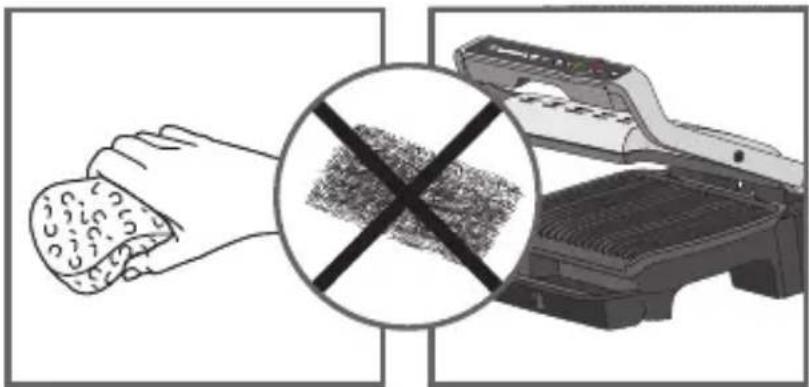
natural_image
Illustration showing a hand holding a textured object and a printer with a crossed-out grid pattern (no text or symbols)61 62
natural_image
Illustration of a hand using a portable printer to clean or store food (no text or symbols visible)63 64
natural_image
Cross-sectional diagram of a washing machine with a showerhead and water spray (no text or symbols)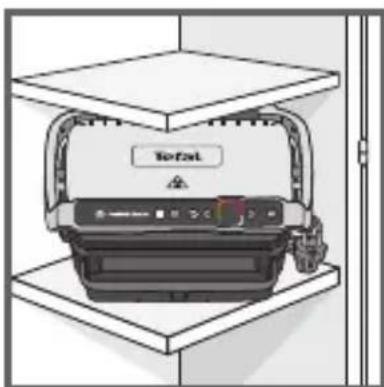
natural_image
Illustration of a printer with a label 'Total' on top, placed inside a stand (no other text or symbols)65
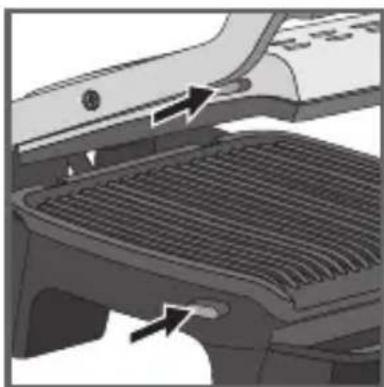
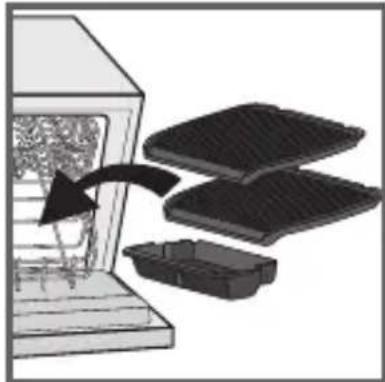
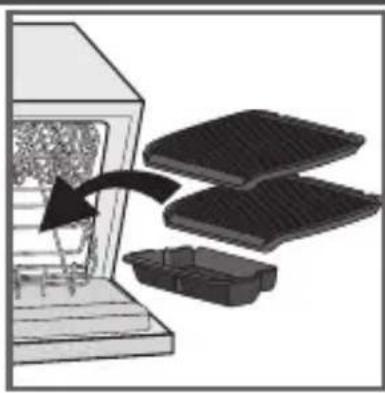
59 To unlock the plates, press the release tabs on the left hand side of the appliance. Before cleaning, unlock and remove the plates to prevent damage to the cooking plates.
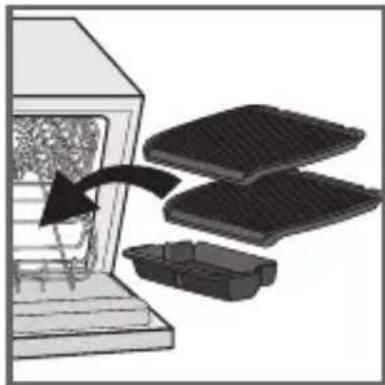
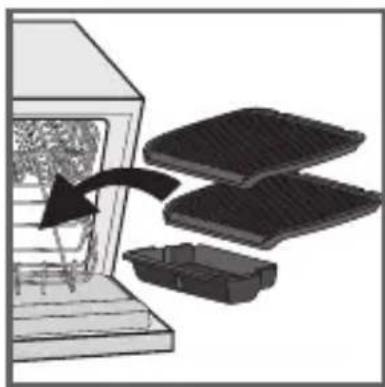
60 The drip tray and cooking plates are dishwasher safe. The appliance and its power cord must never be put in the dishwasher. If you wash the plates in a dishwasher, always wipe the plates over with a little cooking oil on next use in order to condition the coating and ensure the best performance from the non-stick. The heating elements should never be cleaned after the plates have been removed. If they are very dirty, wait until the appliance has cooled down completely and clean them with a dry cloth.
61-62
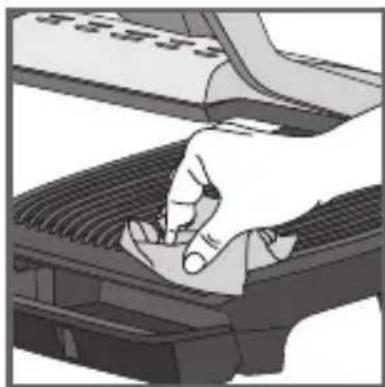
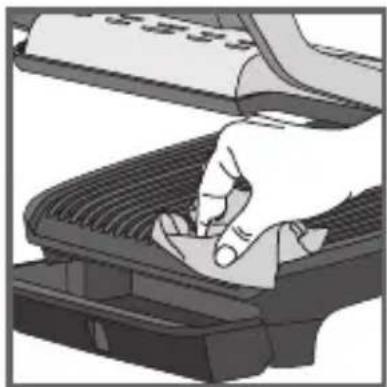
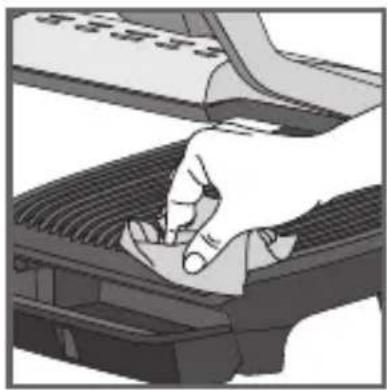
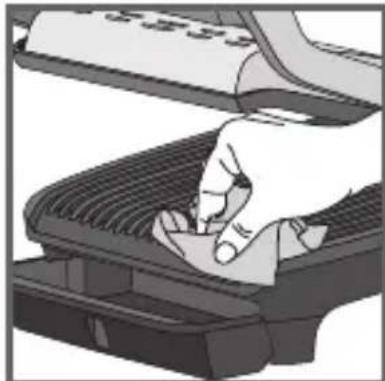
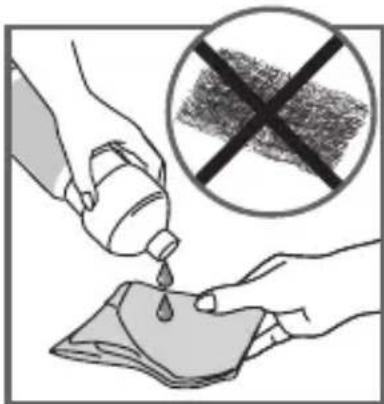
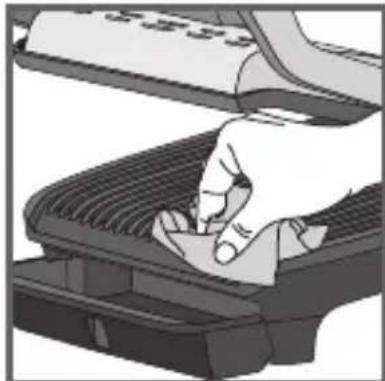
To make washing the plates easier, soak them for 1 hour in hot water and some washing-up liquid, then rinse thoroughly to remove all residue. Dry them gently with a paper towel.
Do not use metal scouring pads, steel wool or abrasive cleaners to clean any part of the grill or cooking plates, use only nylon or non-metallic cleaning pads suitable for non-stick surfaces.
Empty the drip tray and wash it in warm, slightly soapy water, then wipe it thoroughly with a paper towel.
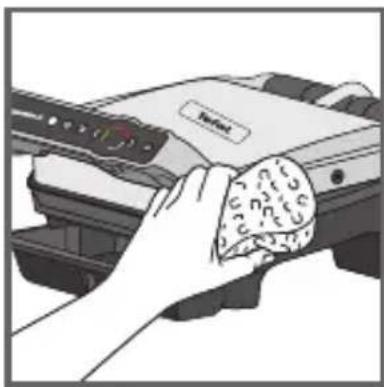
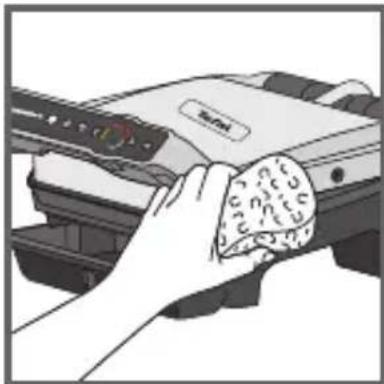
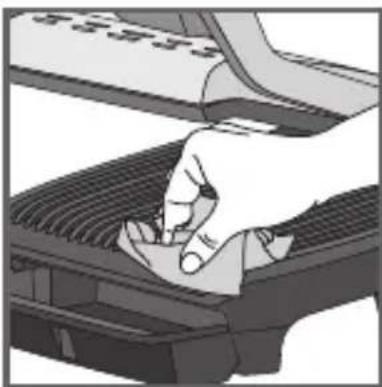
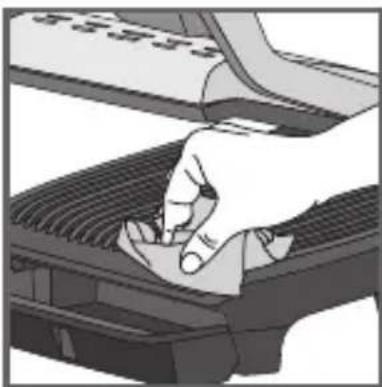
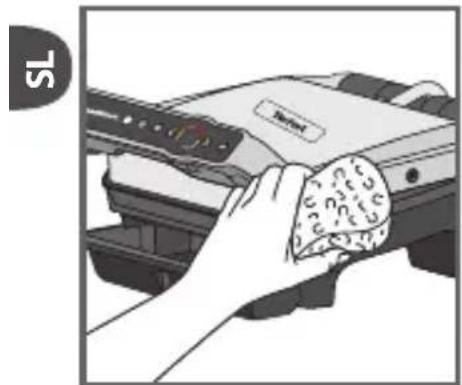
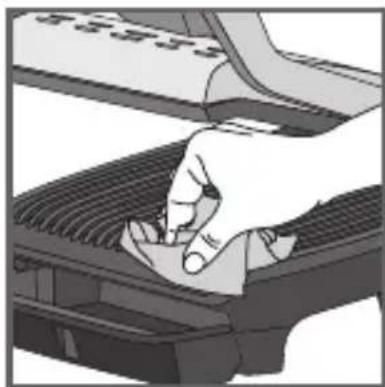
63 To clean the grill lid, wipe with a sponge moistened with warm water and dry with a soft, dry cloth. To clean the control panel, use only a soft, dry cloth.
64 The appliance must not be submerged in water or in any other liquid.
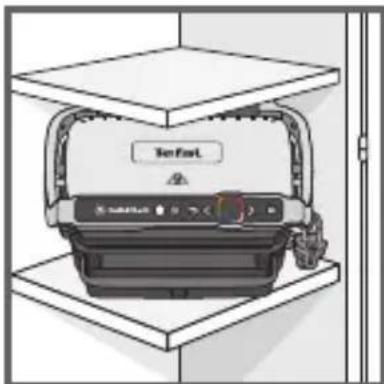
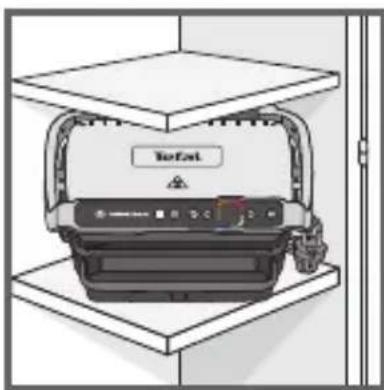
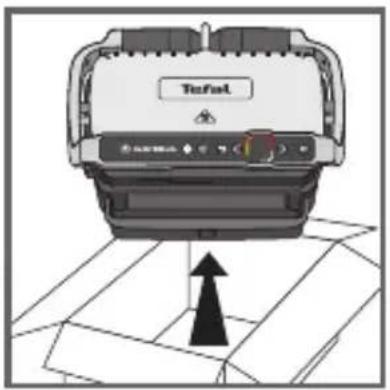
65 Always ensure that the appliance is clean, cold and dry prior to storage.
All repairs must be done by an authorised service centre.
Troubleshooting Guide

| OPTIGRILL ELITE TROUBLESHOOTING GUIDE | ||
| Problem Cause | Solution | |
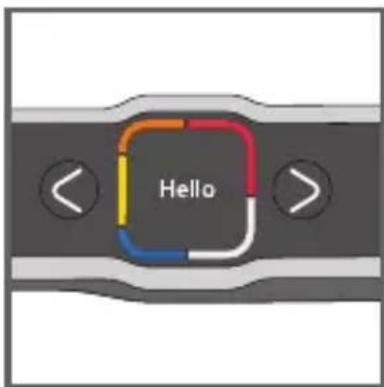
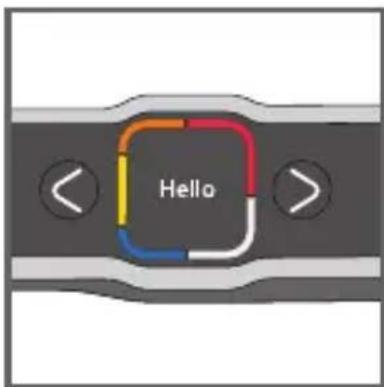
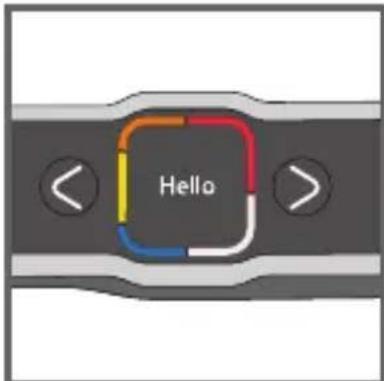
| A change of language S | witch on the grill, press ON, then | immediately on the Frozen button (while the screen displays "Hello") |
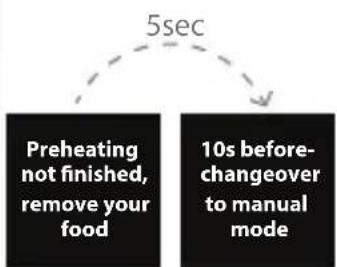 | The preheating time was not completely finished. The grill was opened and the food placed on the plate before the end of preheating. | It is possible to cook the food, but you have to check the cooking progress because the grill is in manual mode.The temperature can be adjusted.OrOpen the grill, remove the food, close the grill properly and wait until the end of preheating. |
| My appliance does not switch off | Missing a second press or too long a time between the 2 presses. | Press the On/Off button once then press OK |
| Err 1 to Err 8 The unit has been stored or used in a room that is too cold.Appliance overheating. | Unplug the appliance and wait a few minutes.Plug the grill in again and switch it on.If the problem persists, contact customer services. | |
| Err 9 to Err 13 Appliance failure. Unplug the appliance and contact customer services. | failure. Unplug the appliance and wait a few minutes. Then plug in your appliance again and turn it on. | |
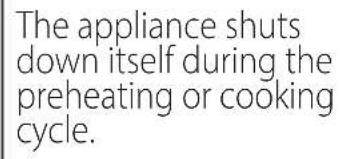 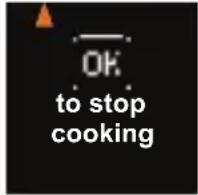 | The appliance remained open for too long during cooking.The unit has been idle for too long after preheating or preheating has finished.End of cooking confirmation request | Unplug the appliance and wait a few minutes. Then plug in your appliance again and turn it on.2 solutions:Press OK if all of the food has been removedOrDo not press OK and leave the food to cook a little longer |
 | Food not detected because it is too thin, for example bacon | Press OK to start cooking |
 | Food too thick, over 4 cm 2 solutions | Press OK to continue cooking in manual modeOrRemove the food and cut thinner to reduce the thickness, to allow cooking in automatic mode |
| I cannot set a time in manual mode | The screen is stuck on temperature setting | Press OK once to go to the time setting and then adjust it using the arrows. Press OK to confirm.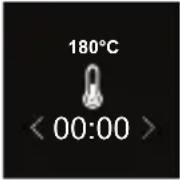 |
* For the UK only: do not cook chicken breast from frozen. Always thaw completely first.
** As bacon is a thin food, after closing the lid, press the "OK" button to make sure the appliance recognise the food and the cooking cycle starts.
*** For the UK only: For food safety reasons the Food Standards Agency do not advise serving rare or medium burgers. Only serve well done burgers.
Cooking levels for each automatic program

| 16 AUTOMATIC PROGRAMS | |||||
| AUTOMATIC PROGRAMS | COOKING LEVEL INDICATOR | ||||
| MENUS |  |  |  |  | |
 | Beef Very rare (Blue) | Rare Medium Well done | |||
 | Chicken breast* --- | Well done | |||
 | Sausage --- Well done | ||||
 | Bacon** --- Medium | Crispy | |||
 | Beef Burger*** --- | Well done | |||
 | Panini - | Lightly cooked | Toasted | Crispy | |
 | Fish | - Medium | Medium to well-done | Well done | |
 | Seafood - Medium | Medium to well-done | Well done | ||
 | Potato | --- | Soft | ||
 | Pepper | -- Crunchy | Soft | ||
 | Aubergine | --- Grilled | |||
 | Tomato | -- | Crunchy | Soft | |
 | Pork | - | Medium | Medium to well-done | Well done |
 | Pre-cooked sausages | --- | Soft | ||
 | Lamb | - | Medium | Medium to well-done | Well done |
 | Vegetarian Steak | --- | Soft | ||
| COOKING ADVICE FOR OTHER FOODS | ||
| PRODUCTS | COOKING PROGRAM | COOKING TIP |
| Pork tenderloin (boneless), pork belly |  | Well done* |
| Bratwurst (pre-cooked pork) | min 30 sec  | 220°C / 8 min 30 sec |
| Rindswurst (pre-cooked beef) 220°C / 8 | ||
| Nürnberger Wurst (pre-cooked pork) 220°C / 4 min 30 sec | ||
| MANUAL MODE | ||
| FRUIT OR VEGETABLES | ||
| From 180°C to 195°C | From 220°C to 235°C | From 225°C to 270°C |
| -- Courgette (slides) | ||
| -- Asparagus (whole) | ||
| -- Mushroom | ||
| - Onion - | ||
| Broccoli florets -- | ||
| Baby carrot -- | ||
| - Fennel - | ||
| Sweet potato (slices) | - | - |
| - Apple (slices) - | ||
| - Banana - | ||
| - Peach (Stoned and sliced) - | ||


| OPTIGRILL ELITE PREPARATION ADVICE | |
| For more significant searing, it is best to return the grilled food to the grill before serving it to your guests. | |
| PRODUCTS PREPARATION ADVICE | |
| POTATO | Cut lengthwaysCoat or brush the potato slices with oil for the best cooking results. |
| PEPPER• Cut in half lengthway and remove seeds | |
| AUBERGINE | Cut lengthwaysCoat or brush the aubergine slices with oil for the best cooking results. |
| TOMATO | Use round tomatoesUse tomatoes that are not too ripeCut in half widthwaysFor optimal cooking, place the rounded side of the halved tomato on the bottom plate of the grill. |
| PORK* Use the searing function if the thickness is more than 20 mm. | |
natural_image
Diagram of a printer with an open box and a paper feeding into it, showing no text or symbols.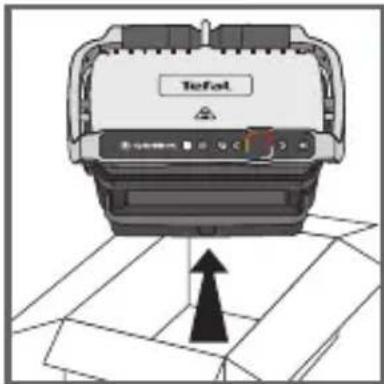
1
natural_image
Close-up of a hand pressing down on a mechanical component (no visible text or symbols)2
natural_image
Illustration of a printer with a paper feeding into a container (no text or symbols visible)3
natural_image
Illustration of a printer with a control panel and base tray, labeled 'OK' (no text or symbols on the diagram itself)4
5
natural_image
Illustration of a hand pressing down on a keyboard (no text or symbols visible)6
7
8
14 15
natural_image
Close-up of a finger pointing at a colorful icon on a dark surface, with no visible text or symbols.natural_image
Close-up of a finger pointing at a device interface with a highlighted icon (no text or symbols visible)
22
23 24
25
26
natural_image
Diagram showing a printer emitting a device into a container with a handle, no text or symbols present27
natural_image
Illustration of a grater being opened with a black arrow indicating the process (no text or symbols present)28
29
30
natural_image
Illustration of a printer emitting steam (no text or symbols visible)31
26-27
32 33
natural_image
Diagram of a device with a curved arrow indicating rotation or movement, showing internal components (no text or symbols)34 35
natural_image
Illustration of a printer being inserted into a rack with a cloth, showing the blade and paper (no text or symbols)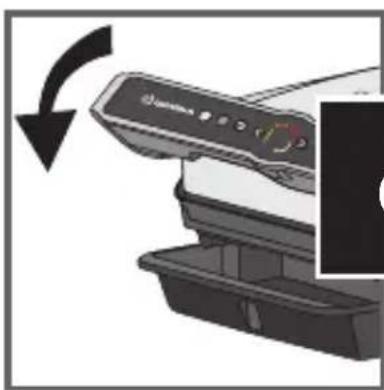
natural_image
Close-up of a printer's front panel with a black arrow indicating rotation (no text or symbols visible)36
37
natural_image
Diagram showing a printer being inserted into a rack with a coiled cable, no text or symbols present38 39
40 41
42 43
46 47
48 49
natural_image
Illustration of a hand inserting a card into a printer (no text or symbols visible)52 53
natural_image
Illustration of a printer emitting steam, with a stopwatch above (no text or symbols)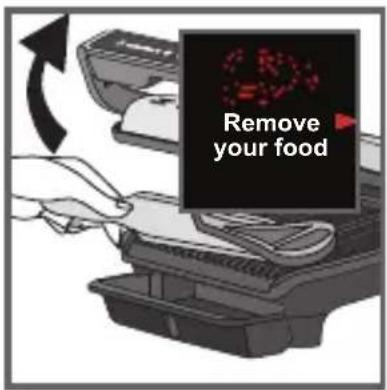
54 55
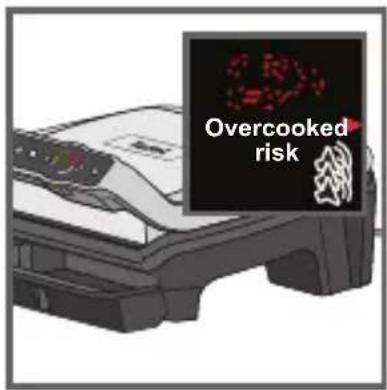
52-54
natural_image
Illustration of a hand inserting a plug into an electrical socket (no text or symbols)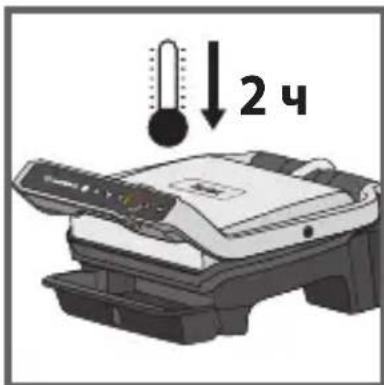
58
natural_image
Diagram showing a box being opened with a device, no text or symbols present
1
natural_image
Illustration of a hand pressing down on a mechanical component (no text or symbols visible)2
natural_image
Illustration of a printer with a paper feeding into a plastic tray (no text or symbols visible)3
natural_image
Illustration of a printer with a black cover and control panel, labeled 'OK' (no text or symbols on the device itself)4
5
natural_image
Illustration of a hand pressing down on a keyboard (no text or symbols visible)6
7
8
14 15
natural_image
Close-up of a finger pressing a button on a device interface (no text or symbols visible)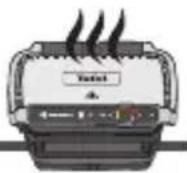
20 21
22
23 24
25
26
natural_image
Diagram showing a printer emitting a device into a container with a handle, no text or symbols present27
natural_image
Illustration of a grater being cut with a black arrow indicating the process (no text or symbols present)28
29
30
natural_image
Illustration of a printer emitting steam from its lid (no text or symbols visible)31
26-27
32 33
34 35
natural_image
Close-up of a printer's front panel with a black arrow indicating rotation (no text or symbols visible)36
37
natural_image
Illustration of a washing machine being cleaned with a tool, showing the blade being placed on a tray (no text or symbols present)38 39
38-39
40 41
40
Urządzenie
zacznie
wst
nagrzewanie.
41
Odczekaj,
až
nagrzewanie
si
42 43
46 47
48 49
natural_image
Illustration of a hand inserting a card into a printer device (no text or symbols visible)52 53
natural_image
Illustration of a printer emitting steam, with a stopwatch above it (no text or symbols)52-54
54 55
natural_image
Illustration of a hand placing an electrical plug into a wall socket, with arrows indicating direction (no text or symbols)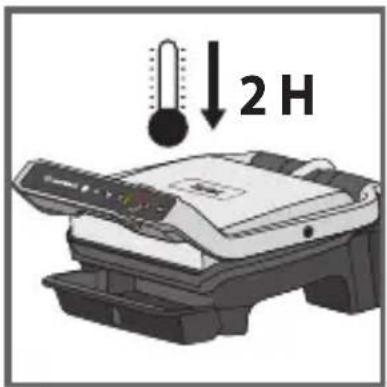
58
natural_image
Close-up of a car intake tray with heat sink and exhaust grating (no text or symbols visible)59 60
natural_image
Diagram showing a container with contents being processed into a multi-tiered storage unit (no text or symbols visible)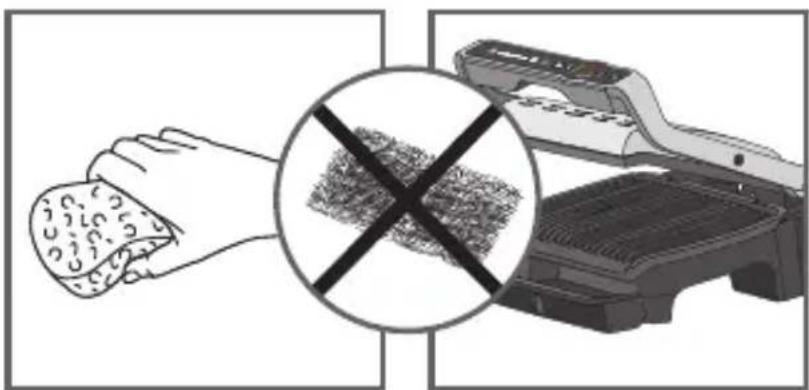
natural_image
Illustration showing a hand holding a textured object and a printer with a crossed-out grid pattern (no text or symbols)61 62
natural_image
Illustration of a hand using a portable printer to clean food items (no text or symbols visible)63 64
65
natural_image
Diagram showing a box being opened with a device, no text or symbols present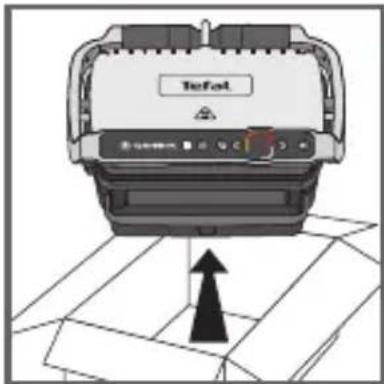
1
natural_image
Close-up of a hand pressing down on a mechanical component (no visible text or symbols)2
natural_image
Illustration of a printer with a paper feeding into a plastic container (no text or symbols visible)3
natural_image
Illustration of a printer with a control panel and base tray, labeled 'OK' (no text or symbols on the diagram itself)4
5
natural_image
Illustration of a hand pressing down on a keyboard (no text or symbols visible)6
7
8
14 15
natural_image
Close-up of a finger pressing a button on a device interface (no text or symbols visible)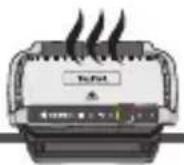
natural_image
Close-up of a finger pressing a button on a device interface (no text or symbols visible)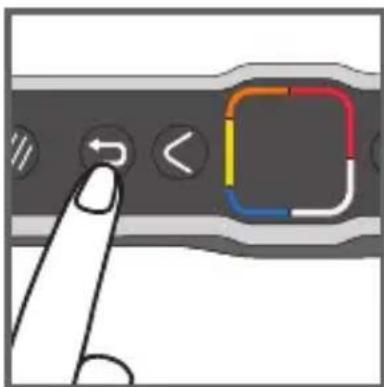
22
23 24
25
26 27
natural_image
Diagram showing a printer emitting a device to a tray with a curved arrow indicating motion (no text or symbols present)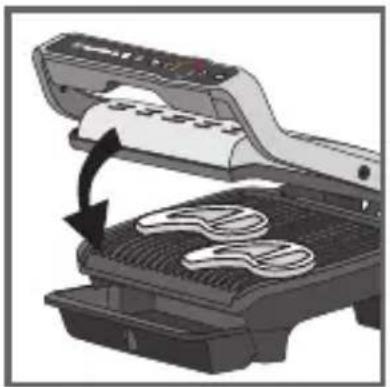
natural_image
Illustration of a microwave oven with a hand operating the lid and a black arrow indicating the process (no text or symbols present)28 29
30 31
natural_image
Illustration of a printer emitting steam (no text or symbols visible)26-27
32 33
natural_image
Mechanical device with open lid and internal components, showing a rotating arrow (no text or symbols)34 35
natural_image
Illustration of a printer being cleaned with paper, showing the process from paper to a mesh (no text or symbols present)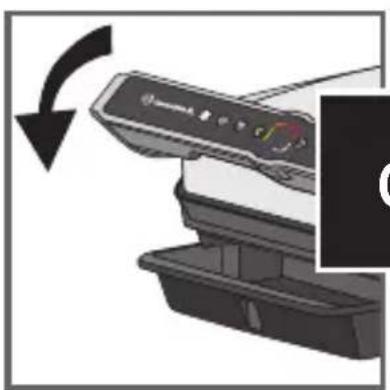
natural_image
Close-up of a printer's front panel with a black arrow indicating rotation (no text or symbols visible)36
37
natural_image
Illustration of a printer being inserted into a rack with a coiled cable (no text or symbols visible)38 39
40 41
42 43
46 47
48 49
natural_image
Illustration of a hand inserting a card into a printer (no text or symbols visible)52 53
natural_image
Illustration of a printer emitting steam, with a stopwatch above (no text or symbols)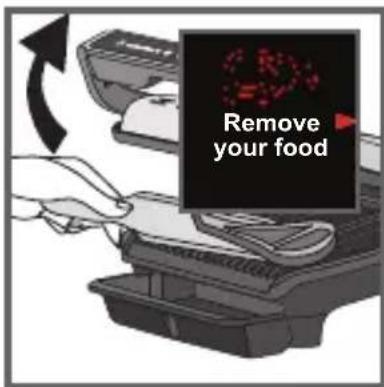
54 55
52-54
natural_image
Illustration of a hand holding a wall-mounted power socket next to a wall-mounted switch, with an arrow indicating direction (no text or symbols present)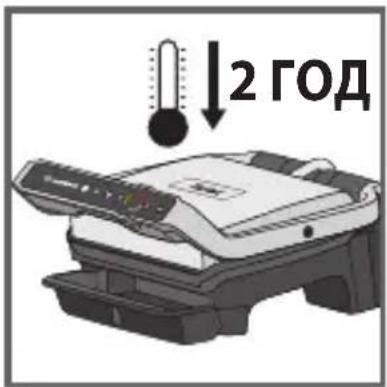
58
natural_image
Close-up of a car intake manifold showing grille and seat structure (no text or symbols)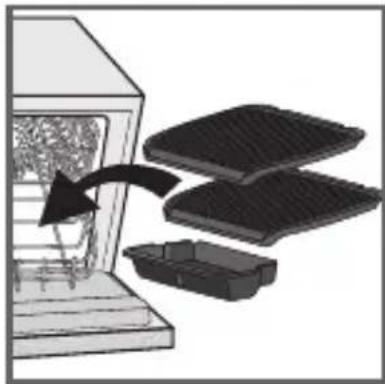
natural_image
Diagram showing a container with contents being processed into three stacked trays (no text or symbols visible)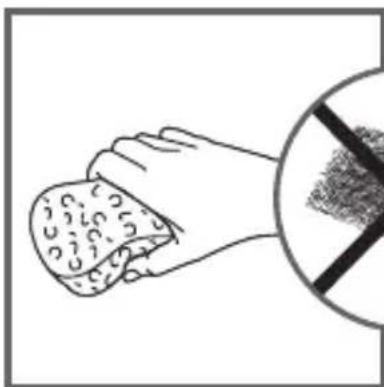
natural_image
Illustration of a hand holding a textured object with a diagonal line overlay (no text or symbols)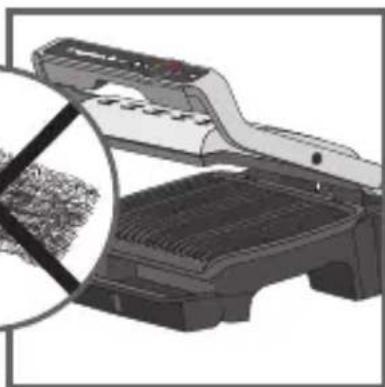
natural_image
3D rendering of a mechanical device with a close-up inset showing internal components (no text or symbols visible)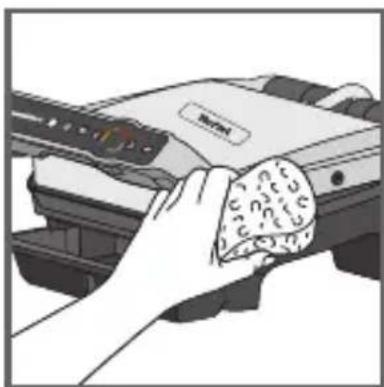
natural_image
Illustration of a hand holding a cloth next to a printer (no text or symbols visible)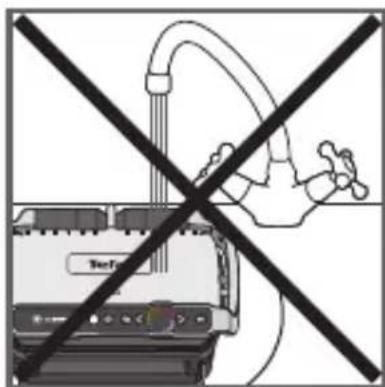
natural_image
Illustration of a device labeled 'Iofat' mounted on a base, with no visible text or symbols beyond the label.65
[Non-Text]
natural_image
Close-up of a car's roof grille and side panel (no visible text or symbols)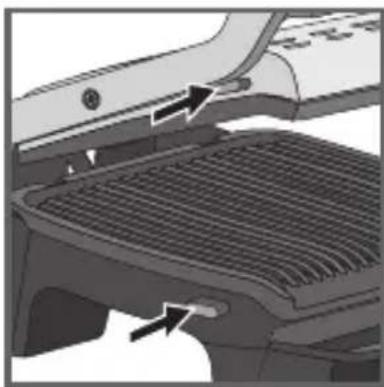
natural_image
Close-up of a car intake manifold showing grille and vent slots (no text or symbols)
natural_image
Illustration of a hand holding a textured object with a diagonal line overlay (no text or symbols)
natural_image
Illustration of a hand holding a cloth next to a printer (no text or symbols visible)
natural_image
Illustration of a device labeled 'Iofat' mounted on a base, with no visible text or symbols beyond the label.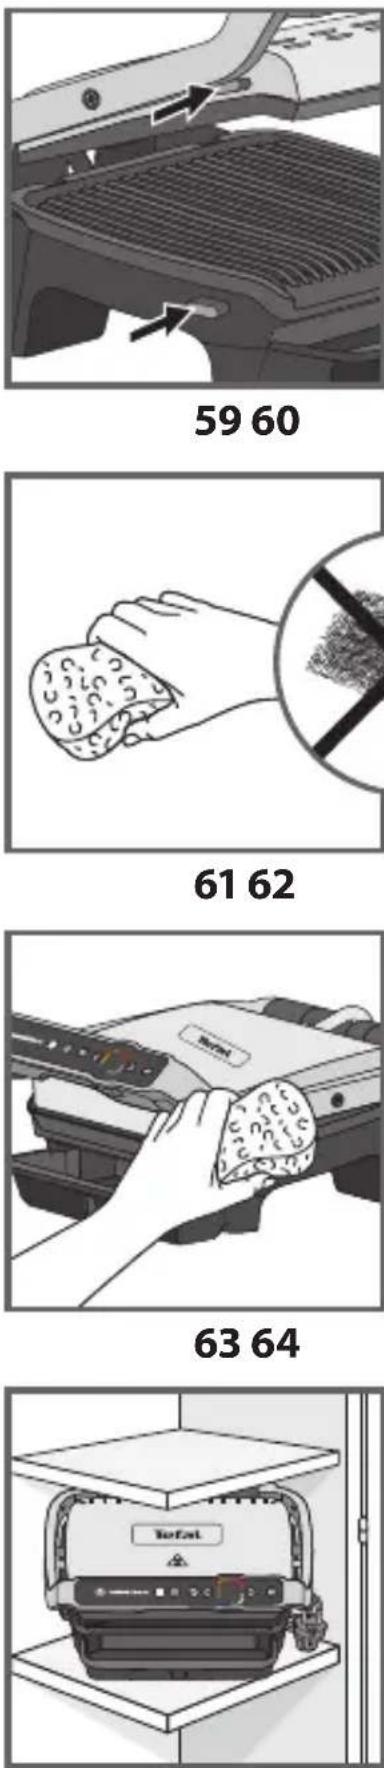
65
natural_image
Close-up of a car's roof grille and side panel (no visible text or symbols)natural_image
Diagram showing a printer with a paper box being inserted, no text or symbols present
1
natural_image
Close-up of a hand pressing down on a mechanical component (no visible text or symbols)2
natural_image
Illustration of a printer with a paper feeding into a plastic tray (no text or symbols visible)3
natural_image
Illustration of a printer with a control panel and base tray, labeled 'OK' (no text or symbols on the device itself)4
5
natural_image
Illustration of a hand pressing down on a keyboard (no text or symbols visible)6
7
8
22
23 24
25
26 27
natural_image
Diagram showing a printer emitting a device into a container with a handle, no text or symbols present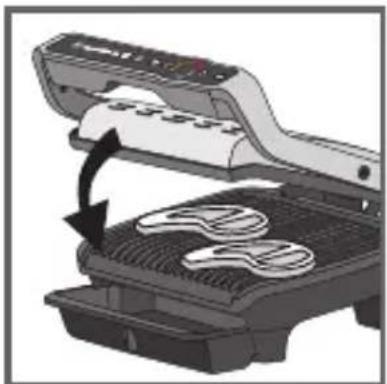
natural_image
Illustration of a grater being processed with a black arrow indicating the process (no text or symbols present)28 29
30 31
natural_image
Illustration of a printer emitting steam (no text or symbols visible)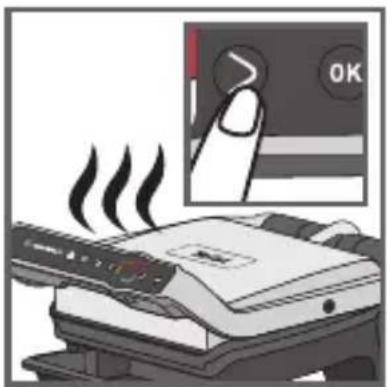
32 33
26-27
natural_image
Diagram of a mechanical device with a rotating arrow indicating rotation (no text or symbols present)34 35
natural_image
Illustration of a printer being inserted into a rack with a coiled cable (no text or symbols visible)34-35
36
37
natural_image
Illustration of a toaster with steam rising from the side (no text or symbols)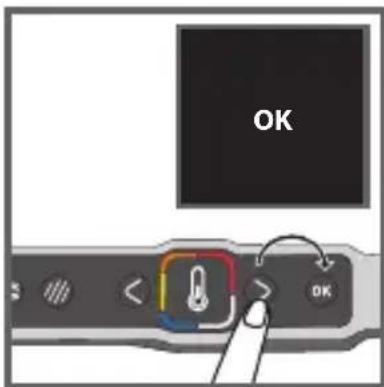
44 45
46 47
48 49
natural_image
Illustration of a hand inserting a device into a printer with an arrow indicating rotation (no text or symbols)52 53
natural_image
Illustration of a printer emitting steam, with a stopwatch above (no text or symbols)52-54
54 55
natural_image
Illustration of a hand inserting a plug into an electrical socket (no text or symbols)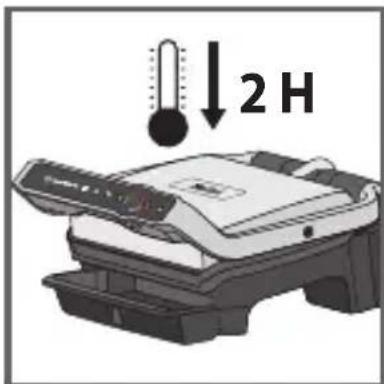
58
natural_image
Diagram showing a printer with a paper box being inserted, no text or symbols present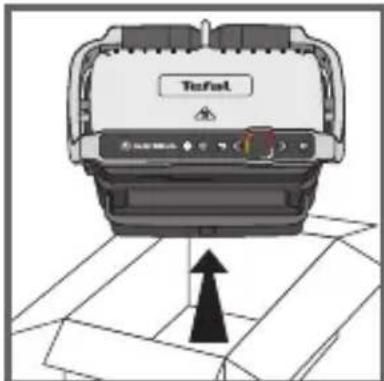
natural_image
Diagram of a 3D printer with a black arrow pointing to its front panel, no text or symbols present.1
natural_image
Close-up of a hand pressing down on a mechanical component (no visible text or symbols)2
natural_image
Illustration of a printer with a paper feeding into a plastic tray (no text or symbols visible)3
natural_image
Illustration of a printer with a control panel and base tray, labeled 'OK' (no text or symbols on the diagram itself)4
5
natural_image
Illustration of a hand pressing down on a keyboard (no text or symbols visible)6
7
8
14 15
22
23 24
25
26
natural_image
Diagram showing a printer emitting a device into a container with a handle, no text or symbols present27
natural_image
Illustration of a grater being opened with a black arrow indicating the process (no text or symbols present)28
29
30
natural_image
Illustration of a printer emitting steam (no text or symbols visible)31
32
33
26-27
natural_image
Diagram of a mechanical device with a rotating arrow indicating rotation (no text or symbols present)34 35
natural_image
Illustration of a printer being inserted into a rack with a coiled cable (no text or symbols visible)34-35
36
37
natural_image
Illustration of a printer being folded into a rack, showing fabric and cable attachment (no text or symbols)38 39
40 41
46 47
48 49
natural_image
Illustration of a hand inserting a card into a printer with an arrow indicating rotation (no text or symbols)52 53
natural_image
Illustration of a printer emitting steam, with a stopwatch above (no text or symbols)52-54
54 55
natural_image
Illustration of a hand inserting a plug into an electrical socket (no text or symbols)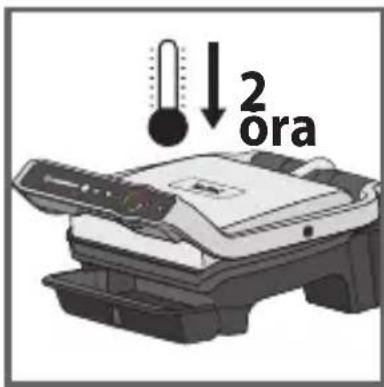
58
natural_image
Close-up of a car intake manifold showing meshing and exhaust flow arrows (no text or symbols)59 60
natural_image
Diagram showing a container being inserted into a rack with three stacked plates, one being inserted (no text or symbols present)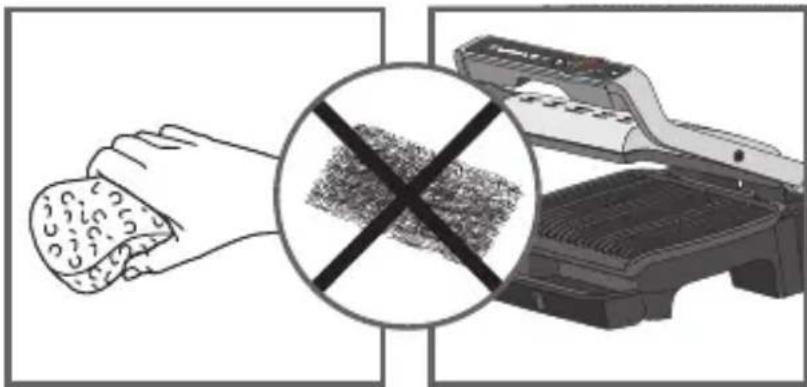
natural_image
Illustration showing a hand cleaning a textured surface with a crossed-out grid pattern, alongside an open receipt machine (no text or symbols)61 62
natural_image
Illustration of a hand cleaning a food item from a kitchen appliance (no text or symbols visible)63 64
natural_image
Illustration of a food processor with a tray and control panel (no text or symbols)65
natural_image
Diagram showing a printer with a paper box being inserted, no text or symbols present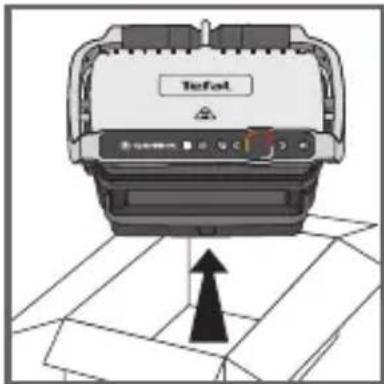
1
natural_image
Close-up of a hand pressing down on a mechanical component (no visible text or symbols)2
natural_image
Illustration of a printer with a paper feeding into a plastic container (no text or symbols visible)3
natural_image
Illustration of a printer with a control panel and open base, labeled 'OK' (no text or symbols on the diagram itself)4
5
natural_image
Illustration of a hand pressing down on a keyboard (no text or symbols visible)6
7
8
14 15
natural_image
Close-up of a finger pressing a button on a device interface (no text or symbols visible)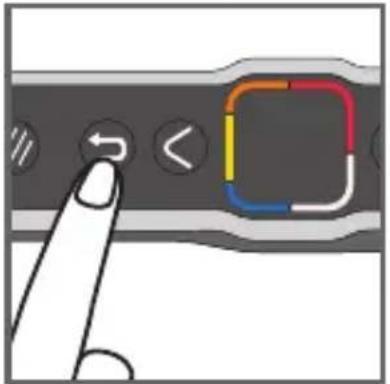
22
23 24
25
26 27
natural_image
Diagram showing a printer emitting a device into a container with a handle, no text or symbols present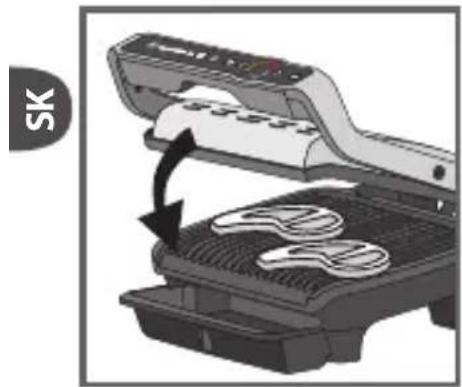
natural_image
Illustration of a microwave oven with a black arrow indicating the process (no text or symbols)28 29
30 31
natural_image
Illustration of a printer emitting steam (no text or symbols visible)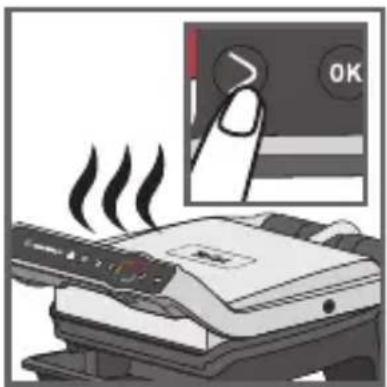
32 33
26-27
natural_image
Diagram of a mechanical device with a rotating arrow indicating rotation (no text or symbols present)34 35
natural_image
Illustration of a printer being inserted into a rack with a coiled cable (no text or symbols visible)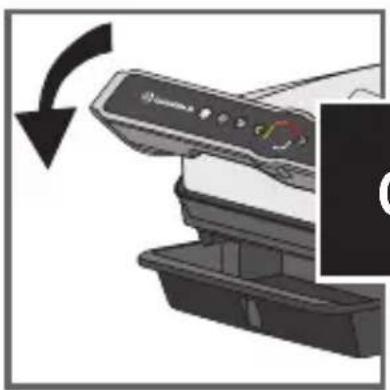
natural_image
Close-up of a printer's front panel with a black arrow indicating rotation (no text or symbols visible)36
37
34-35
natural_image
Illustration of a printer being cleaned into a rack, showing the blade being folded (no text or symbols present)38 39
40 41
42 Jedlo položte na gril.
46 47
48 49
natural_image
Illustration of a hand inserting a card into a printer's tray, showing the process (no text or symbols)52 53
natural_image
Illustration of a printer emitting steam, with a stopwatch above it (no text or symbols)52-54
54 55
natural_image
Illustration of a hand inserting a plug into an electrical socket (no text or symbols)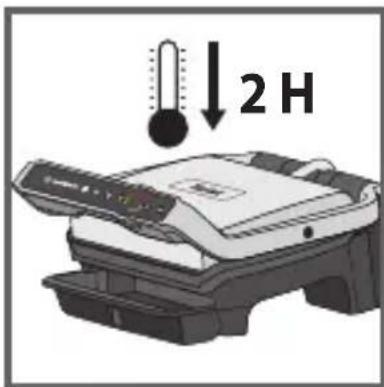
58
natural_image
Diagram of a car interior showing airflow or heat transfer between surfaces and roof (no text or symbols)59 60
natural_image
Diagram showing a container being processed with multiple trays, one being inserted (no text or symbols present)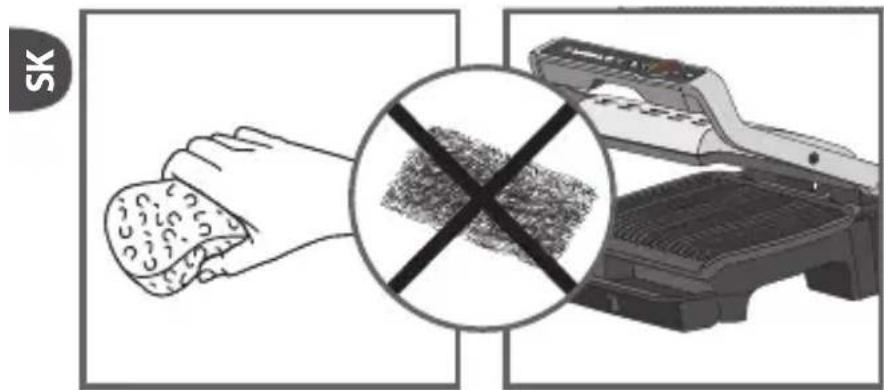
61 62
natural_image
Illustration of a hand holding a food item next to a printer (no text or symbols visible)63 64
natural_image
Illustration of a device labeled 'Tefel' with a warning symbol above it, no readable text or symbols present.65
natural_image
Diagram showing a printer with a paper box being inserted, no text or symbols present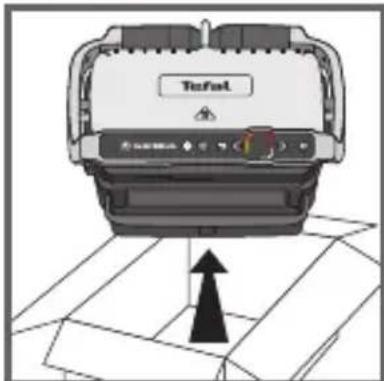
natural_image
Diagram of a 3D printer with a label 'Tufel' and an upward arrow pointing to its base, placed on a grid plane (no readable text or symbols beyond labels)1
natural_image
Close-up of a hand pressing down on a mechanical component (no visible text or symbols)2
1 Uklonite svu ambalažu, naljepnice i različite dodatke s unutrašnje i vanjske strane uređaja.
2 Prije prve uporabe, detaljno očistite ploče koristeći vruću vodu i pažljivo isperite pomoću tekućine za ispiranje pa posušite.
natural_image
Illustration of a printer with a paper feeding into a plastic tray (no text or symbols visible)3
natural_image
Illustration of a printer with a control panel and base tray, labeled 'OK' (no text or symbols on the diagram itself)4
5
natural_image
Illustration of a hand pressing down on a keyboard (no text or symbols visible)6
7
8
5Ako želite najbolje rezultate i poboljšanje učinkovitosti neprianjajuće površine, prebrišite ploče za kuhanje papirnatim ručnikom natopljenim s malom ulja za pripremu hrane.
6 Uklonite višak ulja koristeći čisti papirnati ručnik.
7 Gornju i donju ploču pravilno postavite u uređaj. Nemojte započeti predzagrijavanje bez ploča. Spojite uređaj u izvor napajanja (do kraja odmotajte kabel).
8 Pritisnite tipku za uključivanje/isključivanje.
Oprez: Pobrinite se da nema hrane između ploča.
2 Prva uporaba
9 Odaberite jezik koristeći strelice pa pritisnite OK.
9
14 15
5 Funkcija naglog pečenja u automatskom načinu rada
13-15 Funkcija za smrznutu hranu mora se aktivirati prije početka zagrijavanja, pri odabiru automatskog načina rada i ako je hrana koja se kuha smrznuta/ duboko zaleđena.
Ako ste zaboravili aktivirati opciju, uporabite tipku za povratak i ponovite korake.
Ova funkcija dostupna je samo u automatskom načinu rada, ne i u ručnom.

16 17
18 19
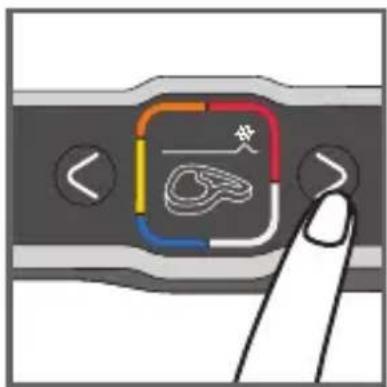
17-19 Funkcija naglog pečenja mora se aktivirati prije početka zagrijavanja, pri odabiru automatskog načina rada i ako želite jako ispeći površinski sloj hrane koju pripremate.
Ako ste zaboravili aktivirati opciju, uporabite tipku za povratak i ponovite korake.
Ova funkcija dostupna je samo u automatskom načinu rada, ne i u ručnom.
6 Priprema hrane u automatskom načinu rada
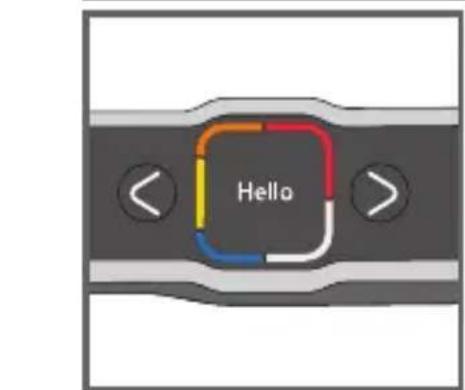
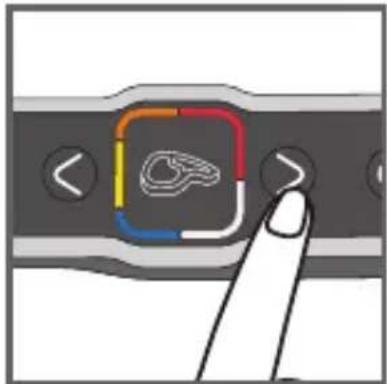
20 21
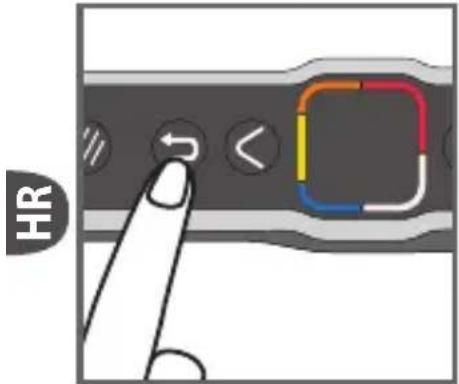
22
21 Odaberite odgovarajući način kuhanja sukladno vrsti hrane koju ćete pripremati.
Napomena u vezi mesa: rezultati kuhanja i unaprijed zadani programi mogu se razlikovati ovisno o porijeklu, načinu rezanja i kvaliteti hrane koja se priprema; programi su zadani i ispitani na hrani dobre kvalitete.
Slično tome, za kuhanja potrebno je uzeti u obzir i debljinu mesa; ne smijete pripremati hranu deblju od 4 cm.
23 24
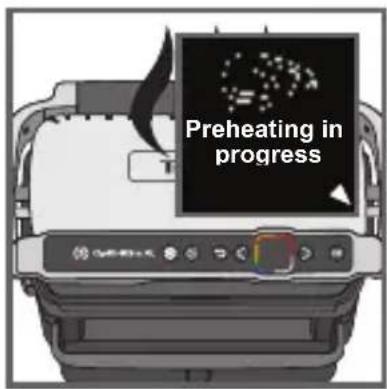
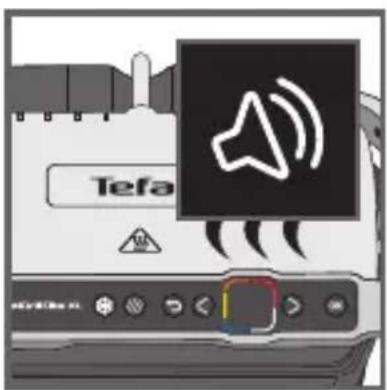
25
26 27
natural_image
Diagram showing a printer emitting a device into a container with a handle, no text or symbols present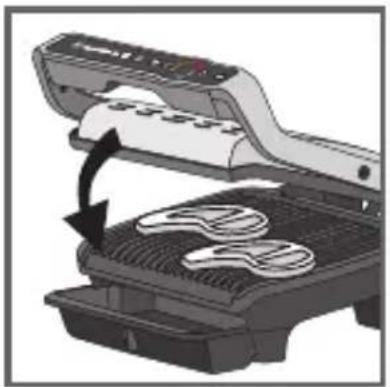
natural_image
Illustration of a grater being opened with a black arrow indicating the process (no text or symbols present)28 29
30 31
natural_image
Illustration of a steaming printer with visible smoke or vapor (no text or symbols)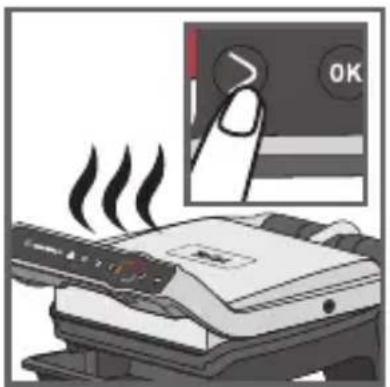
32 33
26-27
Po završetku zagrijavanja, možete dodati sastojke. Podignite poklopac roštilja i postavite hranu na roštilj.
natural_image
Diagram of a mechanical device with a rotating arrow indicating rotation (no text or symbols present)34 35
natural_image
Illustration of a printer being inserted into a rack with a coiled cable (no text or symbols visible)34-35
Kada je dosegnut stupanj pripremljenosti kojeg ste odabrali i oglasio se zvučni signal, otvorite uređaj i izvadite hranu.
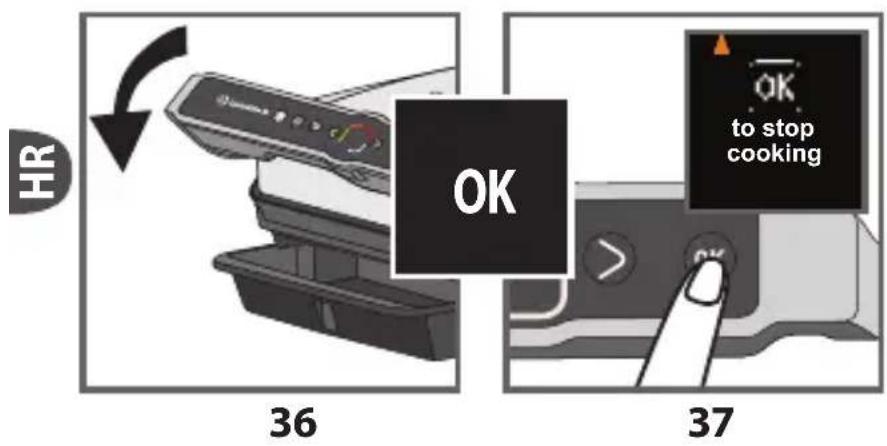
36-37 Zatvorite poklopac. Na zaslonu će se pojaviti potvrda za prestanak pripreme hrane. Potvrdite s OK ako je uklonjena sva hrana, u suprotnom omogućite nastavak pripreme.
Ako želite pripremiti još hrane, Refer to paragraph 7 page 13.
natural_image
Illustration of a hair dryer being folded into a rack, showing fabric and cord (no text or symbols)38 39
40 41
42 43
38-39 Na kraju prvog kuhanja prikazat će se zaslona „any refill” (želite li dopuniti). Ako želite pripremati istu vrstu hrane, pritisnite OK.
46 47
48 49
natural_image
Illustration of a hand inserting a device into a printer (no text or symbols visible)52 53
natural_image
Illustration of a printer emitting steam, with a stopwatch above (no text or symbols)52-54
Ovisno o željama, otvorite roštilj i uklonite hranu koja je dosegla željenu pripremljenost, zatim zatvorite roštilj i nastavite s pripremom druge hrane. Program će nastaviti ciklus pripreme hrane do posljednjeg stupnja pripremljenosti za odabrani način rada.
54 55
natural_image
Illustration of a hand inserting a plug into an electrical socket (no text or symbols)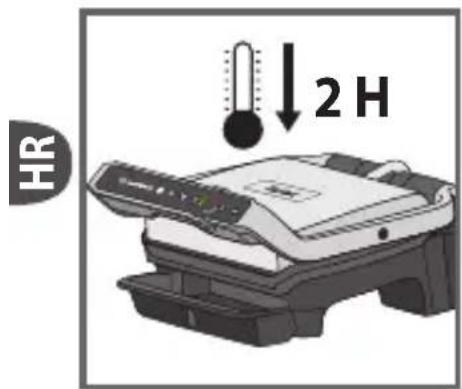
58
natural_image
Diagram showing a printer with a paper box being inserted, no text or symbols present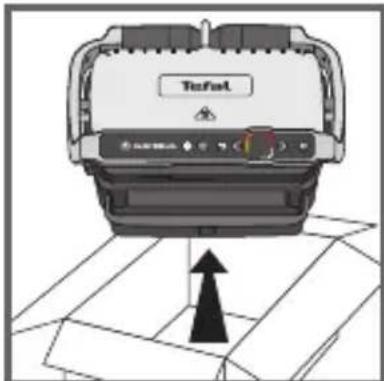
natural_image
Diagram of a device labeled 'Trafet' with an upward arrow pointing to a grid pattern (no text or symbols beyond label)1
natural_image
Close-up of a hand pressing down on a mechanical component (no visible text or symbols)2
natural_image
Illustration of a printer with a paper feeding into a plastic tray (no text or symbols visible)3
natural_image
Illustration of a printer with a 'OK' button, showing front panel and base tray (no readable text or symbols beyond the label)4

5
natural_image
Illustration of a hand pressing down on a keyboard (no text or symbols visible)6
7
8
14 15
natural_image
Close-up of a finger pressing a button on a device interface (no text or symbols visible)20 21
22
23 24
25
26 27
natural_image
Diagram showing a printer emitting a device into a container with a handle, no text or symbols present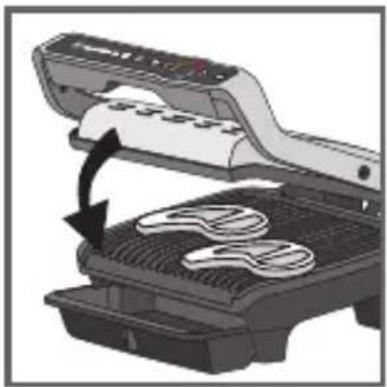
natural_image
Illustration of a grater being opened with a black arrow indicating the process (no text or symbols present)28 29
30 31
natural_image
Illustration of a printer emitting steam (no text or symbols visible)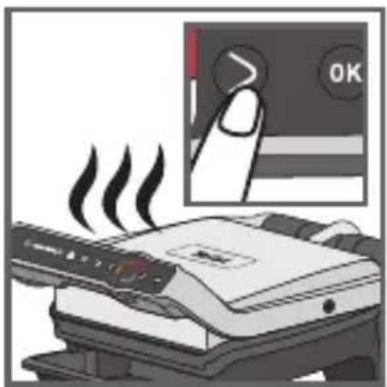
32 33
26-27
natural_image
Diagram of a printer or scanner with an open lid and internal components, showing a rotational arrow (no text or symbols present)34 35
natural_image
Illustration of a printer being inserted into a rack, showing rope routing (no text or symbols)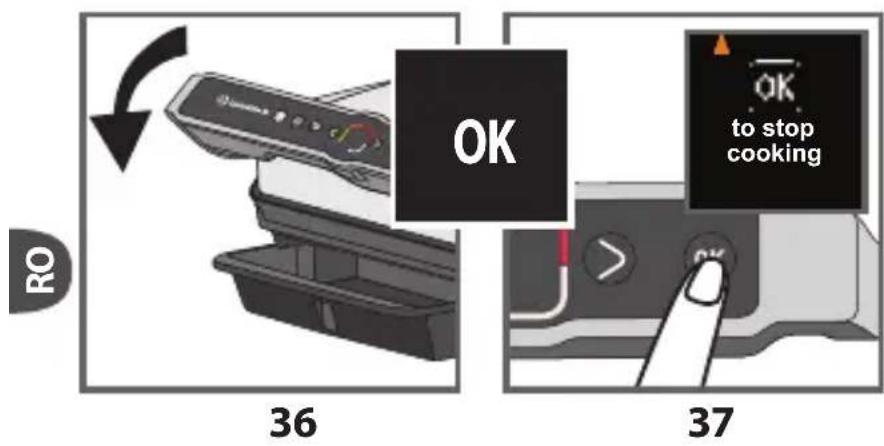
34-35
natural_image
Diagram showing a printer being wrapped around a cord, with an arrow indicating the process (no text or symbols present)38 39
40 41
42 43
46 47
48 49
natural_image
Illustration of a hand pressing down on a mechanical component with a switch labeled 'OK' (no text or symbols beyond the label)natural_image
Illustration of a hand inserting a card into a printer (no text or symbols visible)52 53
natural_image
Illustration of a printer emitting steam, with a stopwatch above (no text or symbols)52-54
54 55
natural_image
Illustration of a hand inserting a plug into an electrical socket (no text or symbols)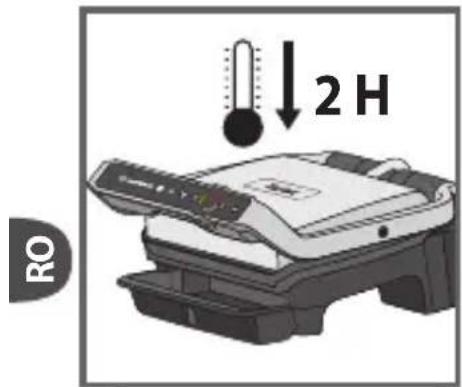
58
natural_image
Diagram showing a printer with a paper box being inserted, no text or symbols present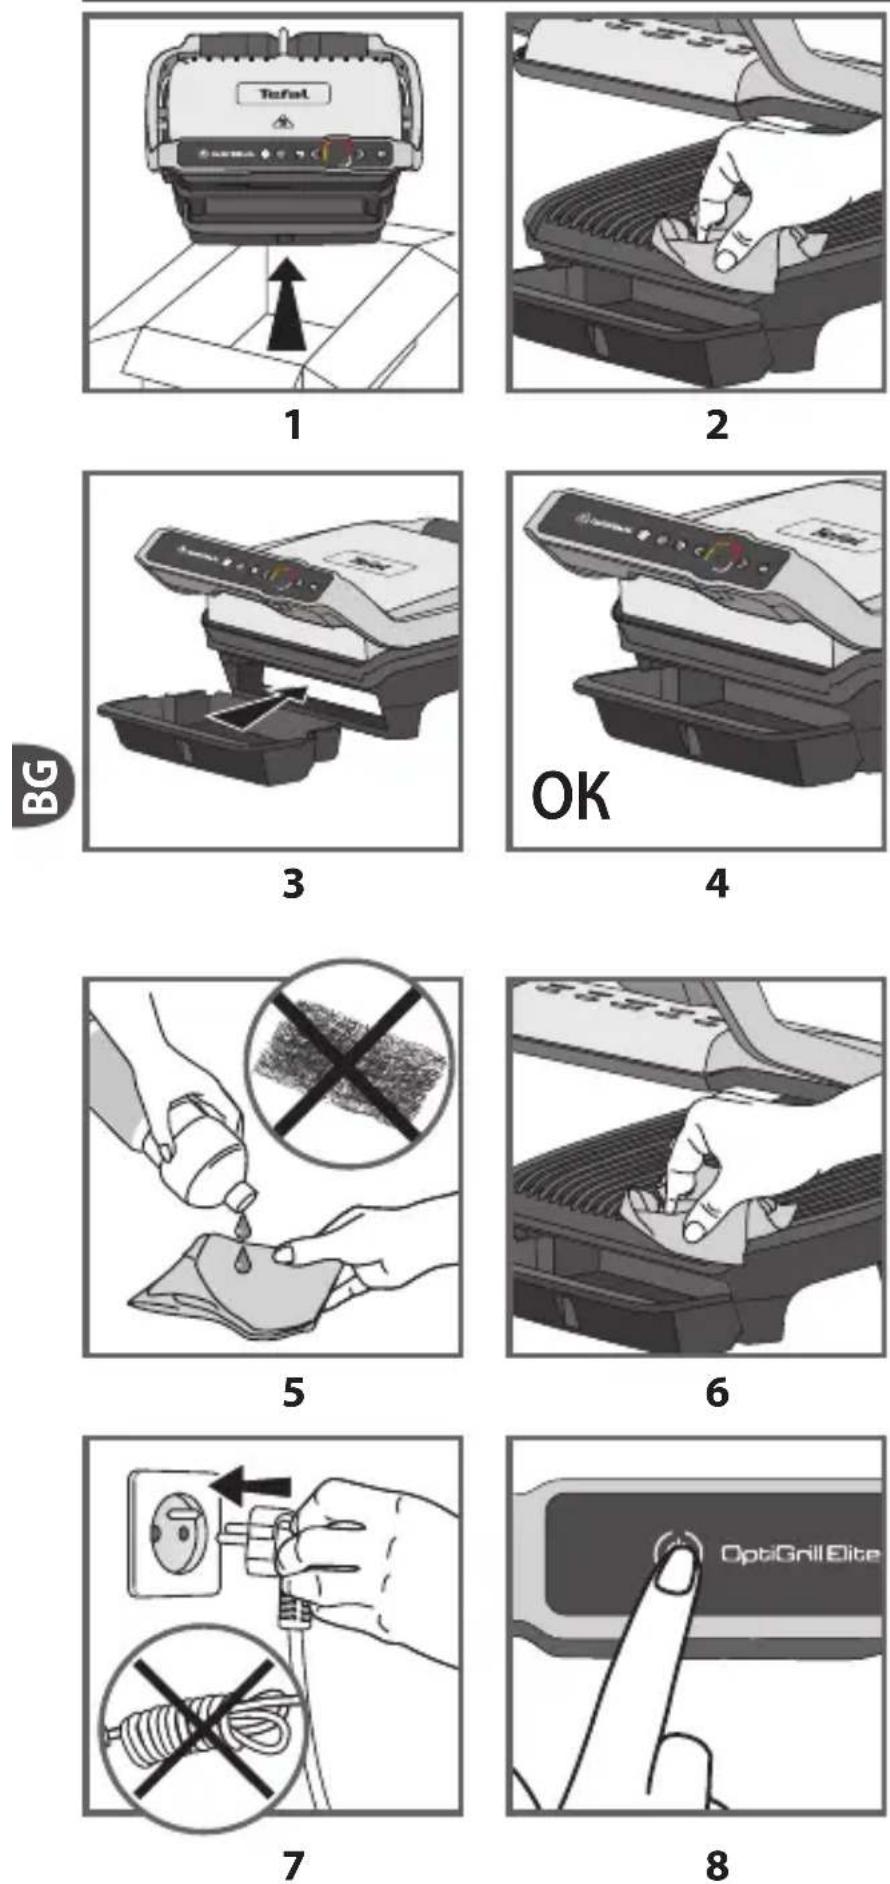
22
23 24
25
26
natural_image
Diagram showing a printer emitting a device to a tray with a bag, no text or symbols present27
natural_image
Illustration of a grater being cut with a black arrow indicating the process (no text or symbols present)28
29
30
natural_image
Illustration of a steaming printer with smoke rising (no text or symbols)31
26-27
32 33
natural_image
Diagram of a printer or scanner with an open lid and internal components, showing a circular arrow indicating rotation (no text or symbols present)34 35
natural_image
Illustration of a printer being cleaned into a rack, showing the blade and cloth (no text or symbols)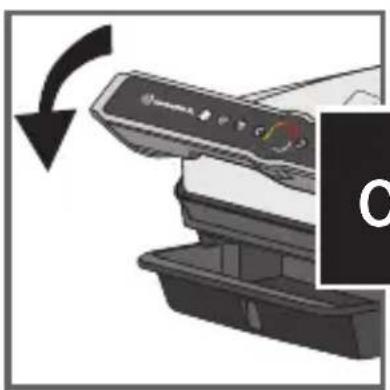
natural_image
Close-up of a printer's front panel with a black arrow indicating rotation (no text or symbols visible)36
37
natural_image
Illustration of a printer being cleaned into a rack, showing the blade being folded (no text or symbols present)38 39
40 41
42 43
46 47
48 49
natural_image
Illustration of a hand inserting a device into a printer (no text or symbols visible)52 53
natural_image
Illustration of a printer emitting steam, with a stopwatch above (no text or symbols)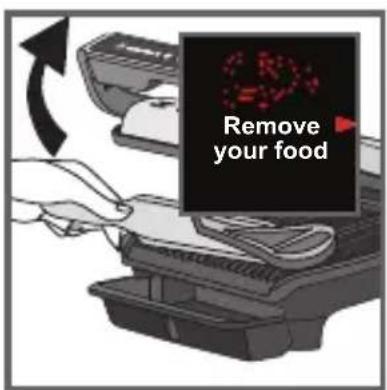
54 55
52-54
natural_image
Illustration of a hand inserting a plug into an electrical socket (no text or symbols)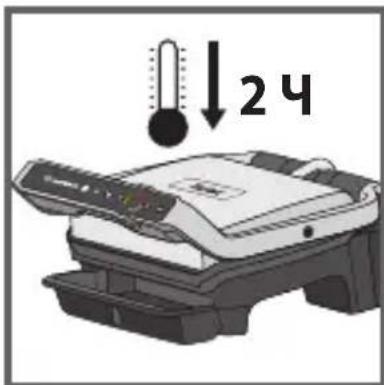
58
natural_image
Diagram of a printer with an open box and a black arrow indicating rotation (no text or symbols)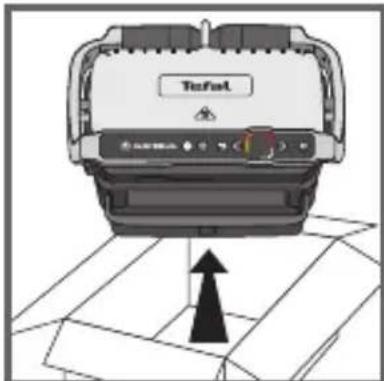
natural_image
Diagram of a device labeled 'Trafet' with an upward arrow pointing to a grid pattern (no text or symbols beyond the label)1
natural_image
Close-up of a hand pressing down on a mechanical component (no visible text or symbols)2
1 Uklonite svu ambalažu, naljepnice i razni pribor iz unutrašnjosti i s vanjske strane aparata.
2 Prije prve upotrebe temeljito očistite ploče toplom vodom i s malo tekućeg deterdženta za pranje posuđa, pažljivo ih isperite i posušite.
3 - 4 Postavite odvojivu posudu za sakupljanje masnoće ispred aparata.
natural_image
Illustration of a printer with a paper feeding into a plastic container (no text or symbols visible)3
natural_image
Illustration of a printer with a control panel and tray, labeled 'OK' (no text or symbols on the diagram itself)4

5
natural_image
Illustration of a hand pressing down on a keyboard (no text or symbols visible)6
7
8
14 15
5 Funkcija brzog pečenja u automatskom režimu rada
13 - 15
Funkciju za zamrznute namirnice potrebno je aktivirati prije pokretanja postupka zagrijavanja pri odabiru automatskog režima rada ako su namirnice koje se peku smrznute/zamrznute.
Ako zaboravite aktivirati opciju, koristite tipku "Nazad" i ponovite korake.
Ova funkcija dostupna je samo u automatskom režimu rada, ali ne i u ručnom režimu rada.
16 17
18 19
natural_image
Illustration of a printer with steam rising, no visible text or symbols17 - 19 Funkciju brzog pečenja potrebno je aktivirati prije pokretanja postupka zagrijavanja pri odabiru automatskog režima rada ako želite da se namirnice koje pečete intenzivnije ispeku.
Ako zaboravite aktivirati opciju, koristite tipku "Nazad" i ponovite korake.
Ova funkcija dostupna je samo u automatskom režimu rada, ali ne i u ručnom režimu rada.
6 Pečenje u automatskom režimu rada
20 21
natural_image
Close-up of a finger pressing a button on a device interface (no text or symbols visible)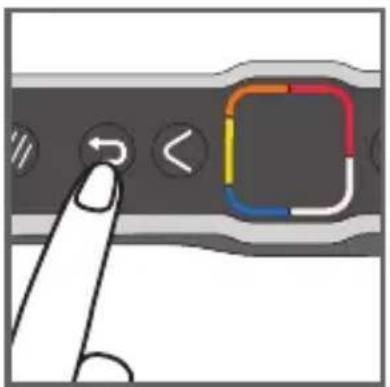
22
21 Odaberite odgovarajući režim pečenja u skladu s vrstom namirnica koje želite ispeći.
Napomena o mesu: rezultati pečenja u prethodno zadanim programima mogu se razlikovati zavisno od porijekla, rezanja i kvaliteta namirnica koje se peku; programi su zadani i ispitani s namirnicama dobrog kvaliteta.
Tokom postupka pečenja u obzir je potrebno uzeti i debljinu mesa; ne biste trebali peći namirnice deblje od 4 cm.
22 Ako želite promijeniti program možete se vratiti u glavní meni tako što ćete jednom pritisnuti tipku za vraćanje nazad.

Ako niste sigurni koji režim pečenja primijeniti, pogledajte Vodič za pečenje na stranici 232.
23 24
25
23PritisnitetipkuOK : aparat započinje postupak zagrijavanja.
Napomena: ako ste odabrali pogrešan program, koristite tipku "Nazad".
26 27
natural_image
Diagram showing a printer emitting a device into a container with a handle, no text or symbols present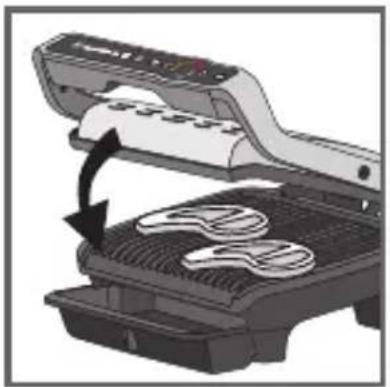
natural_image
Illustration of a grater being opened with a black arrow indicating the process (no text or symbols present)28 29
30 31
natural_image
Illustration of a printer emitting steam (no text or symbols)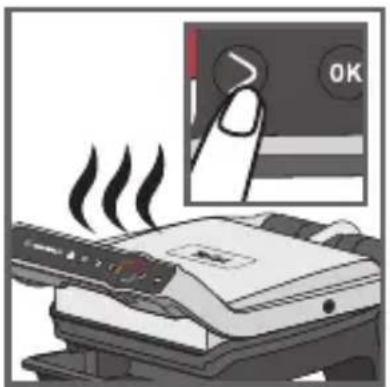
32 33
26 - 27
Po završetku postupka zagrijavanja možete staviti namirnice. Ōtvorite poklopac roštilja i stavite namirnice na roštilj.
Napomena! Ako aparat ostane predugo otvoren, sigurnosni sistem će ga isključiti.
28 - 31
Aparat automatski izračunava ciklus pečenja (vrijeme i temperaturu) u skladu s količinom i debljinom namirnica.
natural_image
Diagram of a mechanical device with a rotating arrow indicating rotation (no text or symbols present)34 35
natural_image
Diagram showing a printer being inserted into a rack with a coiled cable, no text or symbols present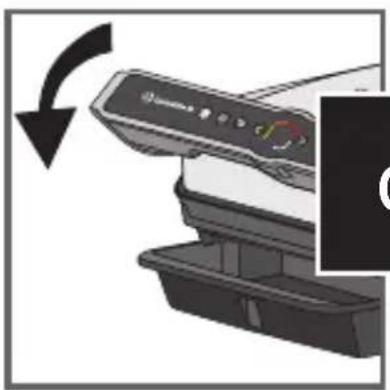
natural_image
Close-up of a printer's front panel with a black arrow indicating rotation (no text or symbols visible)36
37
34 - 35
Po dostizanju nivoa pečenja po vašem izboru i oglašavanja zvučnog signala otvorite aparat i izvadite namirnice.
natural_image
Diagram showing a printer being folded into a rack with a rope, indicating mechanical assembly (no text or symbols present)38 39
40 41
42 43
38 - 39 Po završetku prve serije pečenja, na displeju se prikazuje poruka "Ponovno punjenje". Ako želite peći istu vrstu namirnica, pritisnite tipku OK.
40 Aparat započinje postupak zagrijavanja.
46 47
48 Za odabir željenog vremer postupka pečenja pritisnite tipke za podešavanje.
50 - 51 Po isteku vremena postupka pečenja oglašava se zvučni signal. Izvadite namirnice.
natural_image
Illustration of a hand inserting a device into a printer (no text or symbols visible)52 53
natural_image
Illustration of a printer emitting steam, with a stopwatch above it (no text or symbols)52-54
Zavisno od vaših ličnih preferenci, otvorite roštilj i izvadite namirnice koje su dostigle željeni nivo pečenja, zatim zatvorite roštilj za nastavak pečenja drugih namirnica. Program će nastaviti ciklus pečenja do zadnjeg nivoa pečenja odabranog režima rada.

54 55
natural_image
Illustration of a hand inserting a plug into an electrical socket (no text or symbols)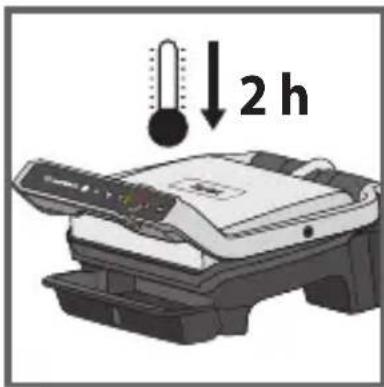
58
natural_image
Diagram showing a printer with a paper box being inserted, no text or symbols present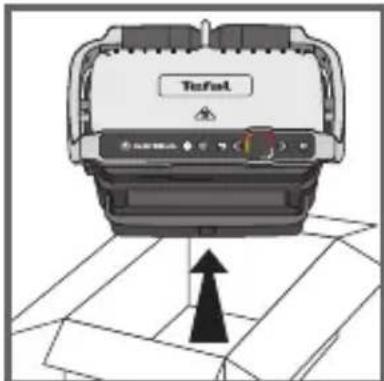
natural_image
Diagram of a device labeled 'Tufel' with an upward arrow pointing to a grid pattern (no text or symbols beyond label)1
natural_image
Close-up of a hand pressing down on a mechanical component (no visible text or symbols)2
1 Odstranite vso embalažo, nalepke in dodatke v notranjosti in na zunanji strani naprave.
2 Pred prvo uporabo plošči temeljito operite v topli vodi z malo detergenta za pomivanje posode, previdno sperite in osušite.
natural_image
Illustration of a printer with a paper feeding into a plastic tray (no text or symbols visible)3
natural_image
Illustration of a printer with a control panel and open base, labeled 'OK' (no text or symbols on the diagram itself)4
s
5
natural_image
Illustration of a hand pressing down on a keyboard (no text or symbols visible)6
7
8
14 15
17–19 Če želite hrano intenzivno zapeči v samodejnem načinu, morate pred predgretjem najprej vključiti način za intenzivno pečenje.
natural_image
Close-up of a finger pressing a button on a device interface (no text or symbols visible)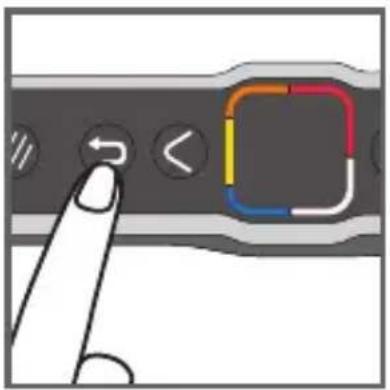
22
23 24
25
23 Pritisnite gumb „OK“ : naprava začne s predgretjem.

26 27
natural_image
Diagram showing a printer emitting a device into a container with a handle, no text or symbols present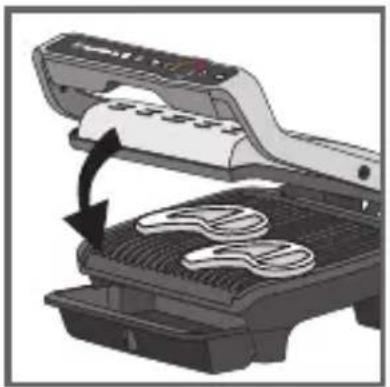
natural_image
Illustration of a grater being opened with a black arrow indicating the process (no text or symbols present)28 29
30 31
natural_image
Illustration of a printer emitting steam (no text or symbols visible)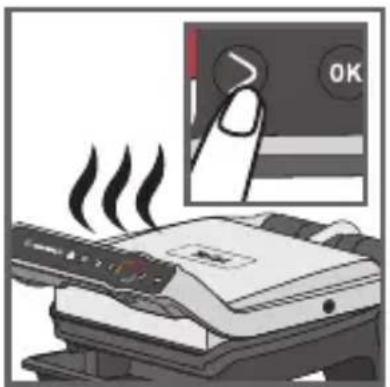
32 33
26-27
natural_image
Diagram of a printer or scanner with an open lid and internal components, showing a rotational arrow (no text or symbols present)34 35
natural_image
Illustration of a printer being inserted into a rack, showing rope routing (no text or symbols)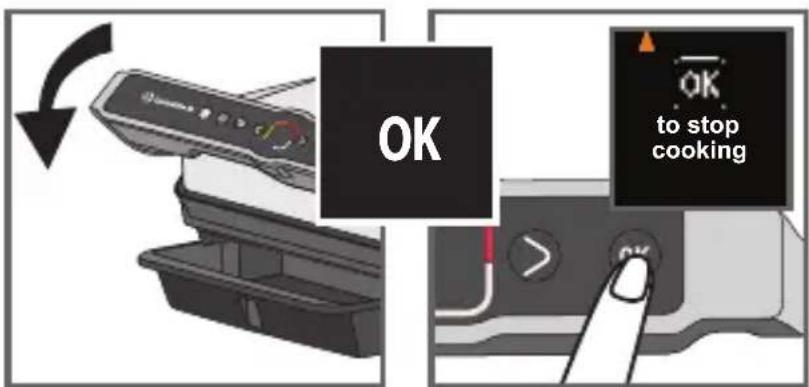
36
37
34-35
natural_image
Illustration of a hair dryer being folded into a rack, with a hand pulling the rope (no text or symbols visible)38 39
40 41
42 43
38–39 Po zaključku pečenja se na zaslonu pokaže „Ponovno pečenje?“. Če želite nadaljevati s pečenjem iste vrste hrane, pritisnite gumb „OK”.
46 47
48 49
natural_image
Illustration of a hand pressing down on a keyboard with a 'OK' button, next to a tray of food items (no text or symbols visible)50–51 Zvočni signal vas opozori na iztek časa za pečenje. Odstranite hrano. Pritisnite gumb OK, da prekinete piskanje, in odstranite hrano.
9 Opombe
natural_image
Illustration of a hand inserting a device into a printer (no text or symbols visible)52 53
natural_image
Illustration of a printer emitting steam, with a stopwatch above it (no text or symbols)52-54
54 55
natural_image
Illustration of a hand holding an electrical socket connected to a wall-mounted power plug (no text or symbols)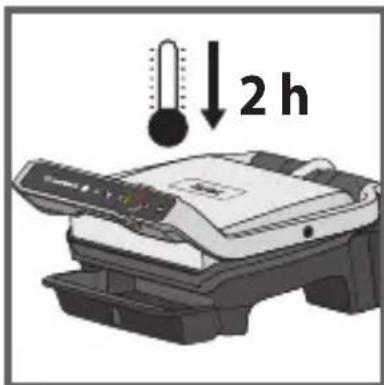
58
56 Če želite napravo izklopiti, dvakrat pritisnite gumb za vklop/izklop ali pritisnite gumb za vklop/izklop in potrdite s pritiskom na gumb „OK”.
57 Odklopite napravo.
natural_image
Close-up of a car grille with arrows indicating movement or force (no text or symbols visible)59 60
natural_image
Diagram showing a container being processed with a stack of material, no text or symbols present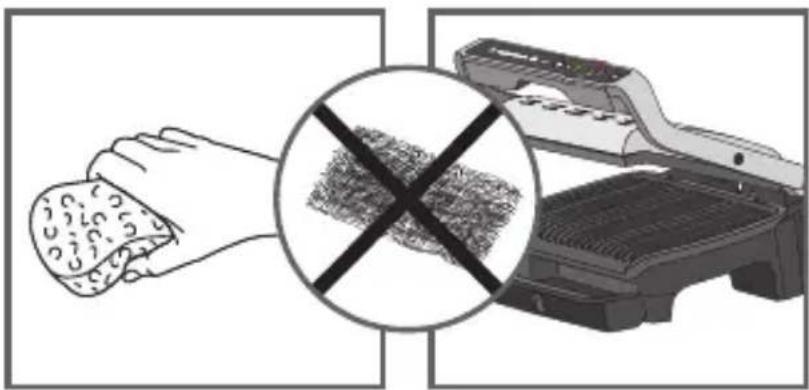
natural_image
Illustration showing a hand holding a textured object and a printer with a crossed-out grid pattern (no text or symbols)61 62
natural_image
Illustration of a hand cleaning a textured object from a machine (no text or symbols visible)63 64
natural_image
Illustration of a portable electronic device with a label 'tefai' on top, placed inside a storage cabinet (no readable text beyond label)65
flowchart
graph TD
    A["Seafood"] --> B["Beef"]
    A --> C["Fish/Cut Burger"]
    A --> D["Chicken/S�doughed Pork"]
    A --> E["Red Meat/Grilled Turkey"]
    F["Seafood"] --> G["Beef/Cut Burger"]
    F --> H["Fish/Cut Burger"]
    F --> I["Chicken/S�doughed Pork"]
    F --> J["Red Meat/Grilled Turkey"]
    K["Seafood"] --> L["Beef/Cut Burger"]
    K --> M["Fish/Cut Burger"]
    K --> N["Chicken/S�doughed Pork"]
    K --> O["Red Meat/Grilled Turkey"]
natural_image
Diagram showing a box being opened with an open lid and a printer labeled 'Tetrol' (no text or symbols on the device itself)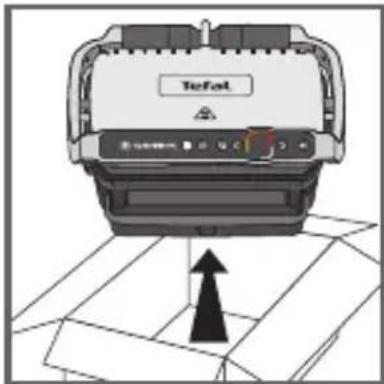
1
natural_image
Illustration of a hand pressing down on a mechanical component (no text or symbols visible)2
1 Uklonite svu ambalažu, nalepnice i razni pribor iz unutrašnjosti i sa spoljne strane aparata.
2 Pre prve upotrebe, dobro očistite ploče toplom vodom i sa malo tečnog deterdženta za pranje sudova, pažljivo ih isperite i osušite.
3 - 4 Stavite odvojivu posudu za kapanje masnoće ispred aparata.
natural_image
Illustration of a printer with a paper feeding into a plastic container (no text or symbols visible)3
natural_image
Illustration of a printer with a control panel and tray, labeled 'OK' (no text or symbols on the diagram itself)4
5
natural_image
Illustration of a hand pressing down on a keyboard (no text or symbols visible)6
7
8
5Ako želite, za najbolje rezultate i poboljšanje efikasnosti nelepljive površine, ploče za pečenje možete da obrišete papirnim ubrusima natopljenim u malo jestivog ulja.
6 Višak ulja uklonite čistim papirnim ubrusom.
7 Uverite se da su gornja i donja ploča pravilno postavljene u proizvod. Nemojte da pokrećete postupak predgrevanja bez ploča. Priključite aparat na strujno napajanje. (Kabl mora da bude potpuno odmotan.)
8 Pritisnite taster za uključivanje/isključivanje.
Oprez! Uverite se da između ploča nema namirnica.
2 Prva upotreba
14 15
natural_image
Close-up of a finger pointing at a colorful icon on a dark background, no text or symbols visible.13 - 15
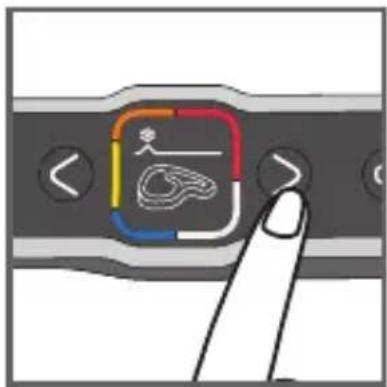
Funkciju za zamrznute namirnice je potrebno aktivirati pre pokretanja postupka predgrevanja prilikom izbora automatskog režima rada, ako su namirnice koje se peku smrznute/zamrznute.
Ako ste zaboravili da uključite opciju, koristite taster za povratak i ponovite korake.
Ova funkcija je dostupna samo u automatskom režimu rada, ali ne i u ručnom režimu rada.
5 Funkcija brzog pečenja u automatskom režimu rada
16 17
18 19
17 - 19
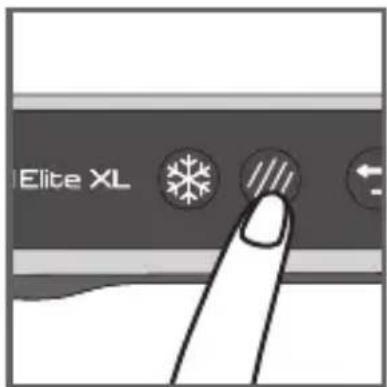
Funkciju brzog pečenja potrebno aktivirati pre pokretanja postupka predgrevanja prilikom izbora automatskog režima rada, ako želite da se namirnice koje pečete intenzivnije ispeku.
S
Ako ste zaboravili da uključite opciju, koristite taster za povratak i ponovite korake.
Ova funkcija je dostupna samo u automatskom režimu rada, ali ne i u ručnom režimu rada.
6 Pečenje u automatskom režimu rada
20 21
22
21 Izaberite odgovarajući režim pečenja u skladu sa vrstom namirnica koje želite da pečete.
Napomena o mesu: rezultati pečenja u prethodno postavljenim programima mogu da se razlikuju, zavisno od porekla, načina sečenja i kvaliteta namirnica koje treba da se ispeku; programi su postavljeni i provereni sa namirnicama dobrog kvaliteta.
Tokom postupka pečenja u obzir treba da se uzme i debljina mesa; ne bi trebalo da pečete namirnice koje su deblje od 4 cm.
25
23PritisnitetasterOK : aparat počinje sa postupkom predgrevanja.
Napomena: ako ste odabrali pogrešan program, koristite taster za povratak.
24 Sačekajte 4 do 7 minuta. Ako želite da promenite program nakon što je aparat počeo sa predgrevanjem, pritisnite taster za povratak, a zatim pritisnite taster OK za potvrdu i povratak u glavni meni. Ponovo pritisnite taster za povratak da biste otkazali funkciju.
25 Završetak postupka predgrevanja označava se zvučnim signalom.
26 27
natural_image
Diagram showing a printer emitting a device into a container with a handle, no text or symbols present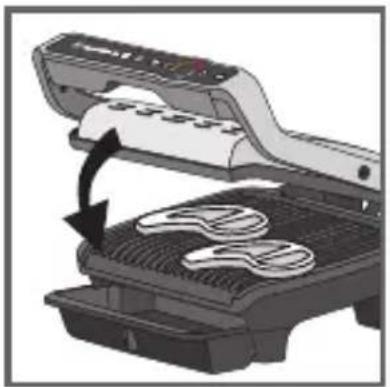
natural_image
Illustration of a grater being opened with a black arrow indicating the process (no text or symbols present)28 29
30 31
natural_image
Illustration of a printer with steam rising from its cover (no text or symbols)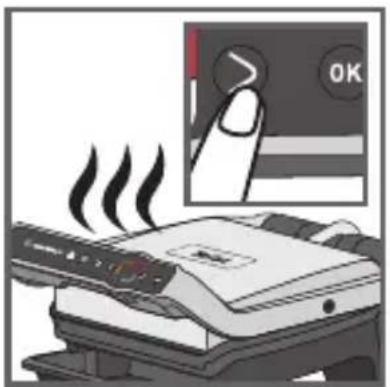
32 33
26 - 27
Posle završetka pos
predgrevanja možete da stavite namirnice. Otvorite poklopac roštilja i stavite namirnice na roštilj.
natural_image
Diagram of a mechanical device with a rotating arrow indicating rotation (no text or symbols present)34 35
natural_image
Illustration of a printer being inserted into a rack with a coiled cable (no text or symbols visible)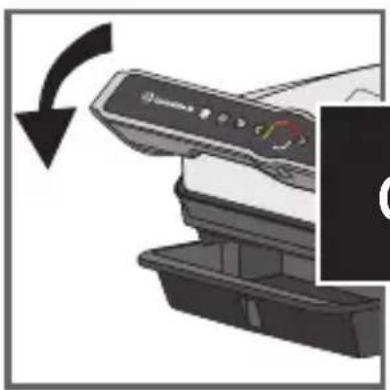
natural_image
Close-up of a printer's front panel with a black arrow indicating rotation (no text or symbols visible)36
37
34 - 35
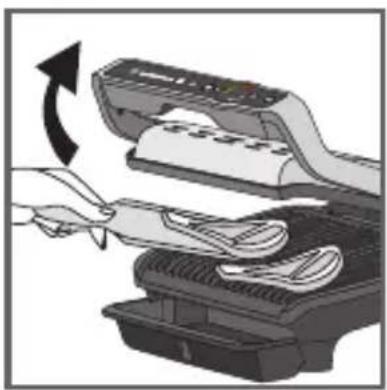
Kada aparat dostigne nivo pečenja koji ste izabrali i kada se oglasi zvučni signal, otvorite aparat i izvadite namirnice.
36 - 37 Zatvorite poklopac. Na ekranu se traži vaša potvrda za zaustavljanje ciklusa pečenja. Potvrdite pritiskom na taster OK ako ste izvadili sve namirnice, u suprotnom neka aparat nastavi ciklus pečenja.
Ako želite da pečete više namirnica, Refer to paragraph 7, page 13.
46 47
48 49
natural_image
Illustration of a hand pressing down on a car engine component with a close-up view showing a switch labeled 'OK' (no text or symbols present)44 Izaberite ručni režim rada i za potvrdu pritisnite taster OK.
45 Izaberite željenu tempera pomoću tastera za podešavanje.
Za potvrdu izabrane temperature pritisnite taster OK.
46 Sačekajte do završetka postupka predgrevanja.
47 Posle završetka predgrevanja pritisnite taster OK za pokretanje tajmera.
Napomena! Vreme postupka pečenja može da se podesi na početku postupka predgrevanja.
48 Za izbor željenog vremena pečenja pritisnite tastere za podešavanje.
49 Ubacite hranu i pritisnite OK da biste počeli sa kuvanjem i pokrenuli odbrojavanje.
Pritisnite OK da biste podesili temperaturu i/ili sat u bilo kom trenutku.
50 51
50 - 51 Posle isteka vremena postupka pečenja oglasava se zvučni signal. Izvadite namirnice.
Pritisnite OK da biste prekinuli zvučni signal i izvadili hranu.
9 Napomene!
natural_image
Illustration of a hand inserting a device into a printer (no text or symbols visible)52 53
natural_image
Illustration of a printer emitting steam, with a stopwatch above it (no text or symbols)52 - 54
Zavisno od vaši ličnih preferenci, otvorite roštilj i izvadite namirnice koje su dostigle željeni nivo pečenja, zatim zatvorite roštilj za nastavak pečenja drugih namirnica. Program će da nastavi ciklus pečenja do zadnjeg nivoa pečenja izabranog režima rada.
54 55
55Napomena!
Bezbednosni
natural_image
Illustration of a hand inserting a plug into an electrical socket (no text or symbols)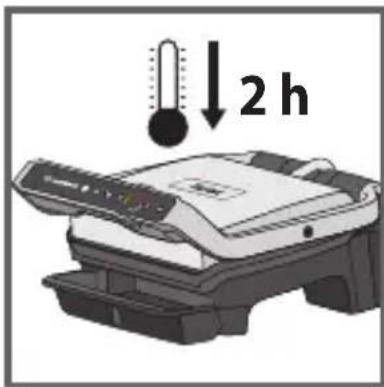
58
- SAFETY INSTRUCTIONS IMPORTANT SAFEGUARDS
- Do
- Do not
- Tips/information
- Environment
- Environment protection first!
- Description
- automatic cooking programs
- Two additional cooking options in automatic mode
- Manual mode
- A Return button
- Before first use
- Using for the first time
- On/Off button
- Frozen food function in automatic mode only
- Searing function in automatic only
- Cooking in automatic mode
- 26-27
- 28-31
- Note for very thin foods, such as
- 32-33
- How to cook a second batch
- Second batch of the same type of food
- Second cooking with a different type of food
- Important:
- Cooking in manual mode
- Comments
- 52-54
- End of use
- 61-62
- Troubleshooting Guide
- Cooking levels for each automatic program
- 38-39
- 40
- 41
- 34-35
- Prva uporaba
- Funkcija naglog pečenja u automatskom načinu rada
- Priprema hrane u automatskom načinu rada
- Funkcija brzog pečenja u automatskom režimu rada
- - 15
- Pečenje u automatskom režimu rada
- - 27
- - 31
- - 35
- Opombe
- Prva upotreba
- - 19
- Napomene!
- - 54
- 55Napomena!
Brand : TEFAL
Model : OptiGrill Elite XL GC760D
Category : Grill