LIWC18B1C17E - Wine cellar Logik - Free user manual and instructions
Find the device manual for free LIWC18B1C17E Logik in PDF.
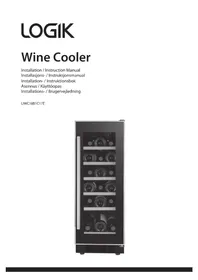


| Product Type | Wine Cooler / Cellar |
| Brand | Logik |
| Model | LIWC18B1C17E |
| Capacity | 18 bottles (0.75L each, 56L total) |
| Dimensions (H x W x D) | 820-870 mm (adjustable) x 295 mm x 570 mm |
| Weight | Not specified (estimate ~25 kg) |
| Power Supply | 220-240 V~ 50 Hz |
| Current | 0.4 A |
| Energy Consumption | 140 kWh/year |
| Energy Class | A |
| Refrigerant | R600a (20g) |
| Noise Level | 39 dB(A) re 1 pW |
| Climate Class | N, ST (ambient 16°C – 38°C) |
| Temperature Range | 5°C – 18°C |
| Defrost Type | Frost Free (automatic) |
| Installation Type | Freestanding or Built-in (requires 25mm sides, 50mm rear, 25mm top clearance) |
| Door Reversal | Yes, reversible door swing (left or right) |
| Interior Light | Yes, with on/off button |
| Control Type | Electronic touch (temperature adjustment +/-, power, light) |
| Shelves Included | 6 wire shelves |
| Humidity Range | 50% – 80% RH |
| Levelling Feet | 2 adjustable front feet |
| Safety Features | Child lock (key), anti-tip bracket, ventilation openings |
| Cleaning | Interior: damp cloth with bicarbonate soda; exterior: damp cloth; door: glass cleaner |
Frequently Asked Questions - LIWC18B1C17E Logik
User questions about LIWC18B1C17E Logik
0 question about this device. Answer the ones you know or ask your own.
Ask a new question about this device
Download the instructions for your Wine cellar in PDF format for free! Find your manual LIWC18B1C17E - Logik and take your electronic device back in hand. On this page are published all the documents necessary for the use of your device. LIWC18B1C17E by Logik.
USER MANUAL LIWC18B1C17E Logik
Safety Warnings....8
Unpacking 15
Installation....16
Location 16
Levelling the Unit 16
Free Space Requirements....16
Installing the Unit....16
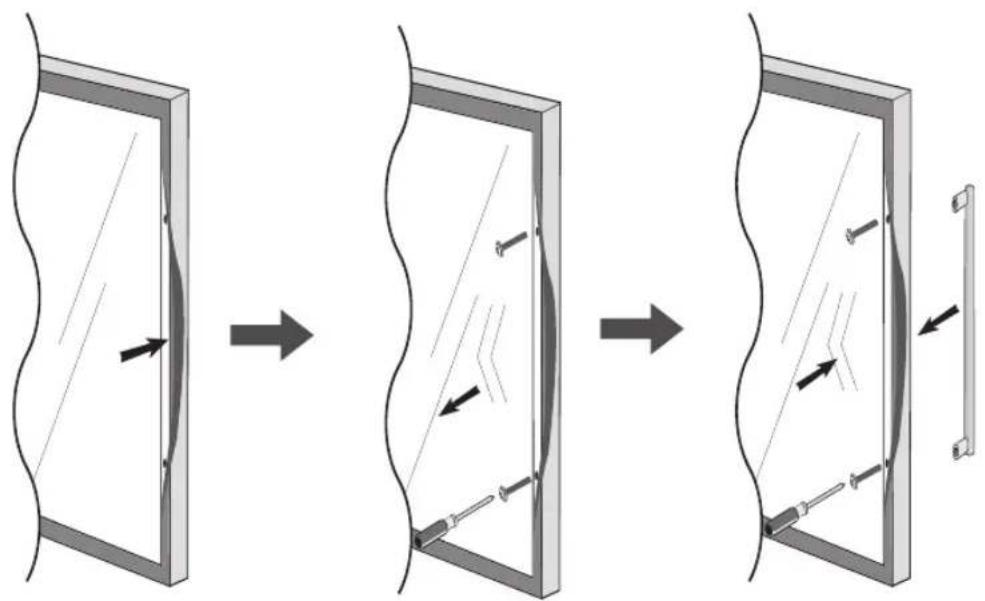
Installing the Door Handle....17
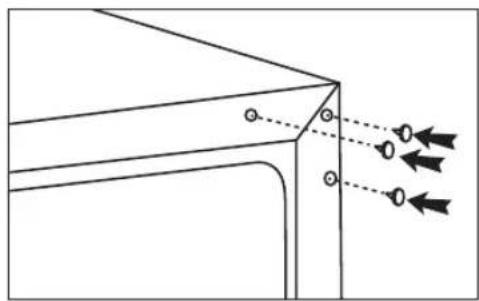
Reversing the Door Swing....18
Cleaning Before Use 20
Before Using Your Unit....20
Product Overview 21
Control Panel....21
Operation 22
Switching On or Off Your Wine Cooler 22
Adjusting the Temperature....22
Switching On or Off the Interior Light 22
Stacking the Wine Bottles 22
Storing Wine in Your Wine Cooler 23
Filling Your Wine Cooler 23
Keep the Door Closed....23
Cleaning 24
Cleaning the Inside of the Wine Cooler 24
Cleaning the Outside of the Wine Cooler 24
Maintenance 25
Changing the Interior Light 25
Care When Handling 25
Installation 25
Servicing....25
Switching Off for Long Periods of Time....25
Condensation 25
Disposal 25
Specifications....26
Product Fiche 26
For your continued safety and to reduce the risk of injury or electric shock, please follow all the safety precautions listed below.
- Read all instructions carefully before using the unit and keep them for future reference.
- Retain the manual. If you pass the unit onto a third party, make sure to include this manual.
• This appliance is intended for indoor household use and similar applications such as:
– staff kitchen areas in shops, offices and other working environments; – farm houses and by clients in hotels, motels and other residential type environments; – bed and breakfast type environments; – catering and similar non-retail applications.
- If the mains cable is damaged, it must be replaced by the manufacturer, its service agent or a qualified technician in order to avoid a hazard.
- Choose a location for your unit away from heat sources such as radiators or fires as refrigerant and vesicant are burnable.
• Children should be supervised to ensure that they do not play with the unit.
• The unit must be manoeuvred by a minimum of 2 persons.
- The wine cooler is intended to be used exclusively for the storage of wine. Do not store food in this wine cooler.
- This appliance can be used by children aged from 8 years and above and persons with reduced physical, sensory or mental capabilities or lack of experience and knowledge if they have been given supervision or instruction concerning use of the appliance in a safe way and understand the hazards involved. Children shall not play with the appliance. Cleaning and user maintenance shall not be made by children without supervision.
- If your unit is fitted with a lock to prevent children being trapped inside, keep the key out of reach and not in the vicinity of the unit.
- Keep the appliance and its mains cable out of the reach of children.
- Do not store explosive substances such as aerosol cans with a flammable propellant in this appliance.

- Keep ventilation openings in the unit enclosure or in the built-in structure clear of obstructions.
- Do not use electrical appliances inside the unit, unless they are of the type recommended by the manufacturer.
- Do not damage the refrigerant circuit (applicable only for appliances with refrigeration circuits which are accessible to the user. Take care when transporting or moving the unit to ensure that the refrigeration circuit is not damaged. In the event of damage avoid naked flames or ignition sources and ventilate the room in which the unit is placed for a few minutes).
- When positioning the appliance, ensure the supply cord is not trapped or damaged.
- Do not locate multiple portable socket-outlets or portable power supplies at the rear of the appliance.
WARNING
IT IS HAZARDOUS FOR ANYONE OTHER THAN AUTHORISED SERVICE PERSONNEL TO CARRY OUT SERVICING OF REPAIRS WHICH INVOLVE THE REMOVAL OF COVERS.
TO AVOID THE RISK OF AN ELECTRICAL SHOCK DO NOT ATTEMPT REPAIRS YOURSELF.
Safety warnings
NO
Thank you for purchasing your new Wine Cooler.
We recommend that you spend some time reading this instruction manual so that you fully understand all the operational features it offers. You will also find some hints and tips to help you resolve any issues.
Read all the safety instructions carefully before use and keep this instruction manual for future reference.
Unpacking
Remove all items from the packaging. Retain the packaging. If you dispose of it, please do so according to local regulations.
The following items are included:
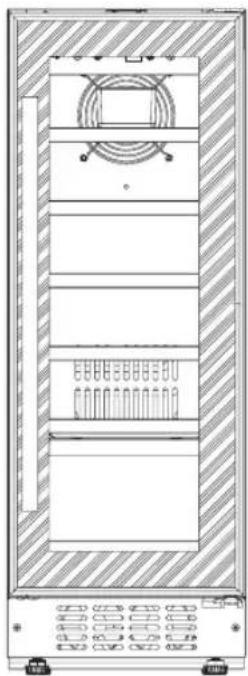
The Main Unit
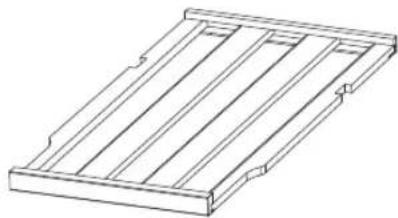
Shelf x 6
Left Top Hinge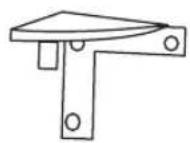
Door Handle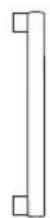
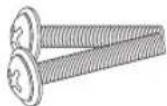
Door Screws x 2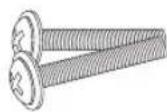
Instruction Manual
Upper Bracket Screw x 2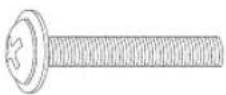
INSTALLATION
Location
When selecting a position for your unit, make sure the floor is flat and firm, and that the room is well ventilated with an average room temperature of between 16°C and 38°C. Avoid locating your unit near a heat source, e.g., a cooker, boiler, or radiator. Avoid direct sunlight. If you are placing your unit in an outbuilding such as a garage or annex, ensure that the unit is placed above the damp course; otherwise, condensation will occur on the cabinet. Never place the unit in a wall recess or into fitted cabinets or furniture.
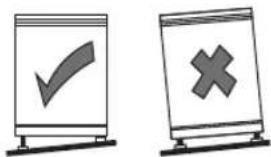
Levelling the Unit
To do this, adjust the two levelling feet at the front of the unit. If the unit is not level, the doors and magnetic seal alignments will not be covered properly.
Free Space Requirements
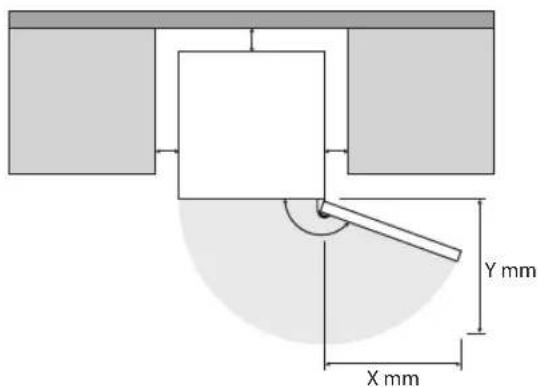
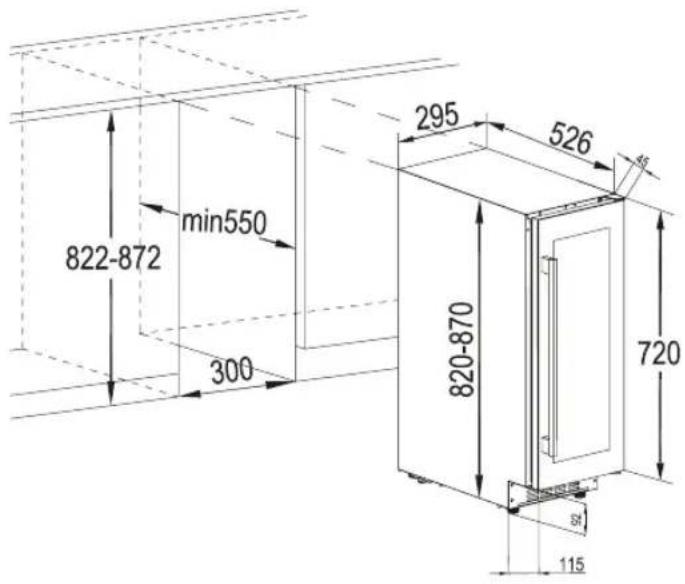
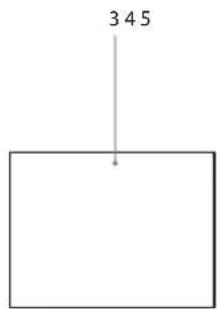
When installing the unit, ensure that 25 mm of free space is left at both sides, 50 mm at the rear of the unit, and 25 mm at the top of the unit. The door can be opened to the right or the left, depending on which best suits the location. Please ensure there is more than twice the width and depth distance space of the unit to fully open the door to a maximum angle.
Installing the Unit
Your wine cooler can be used as a freestanding or a built-in unit.
To use as a built-in unit:
- Follow the dimensions.
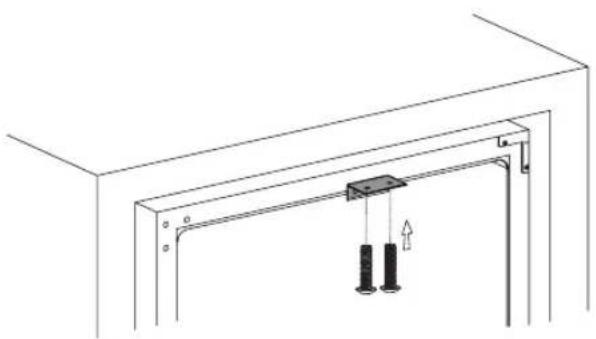
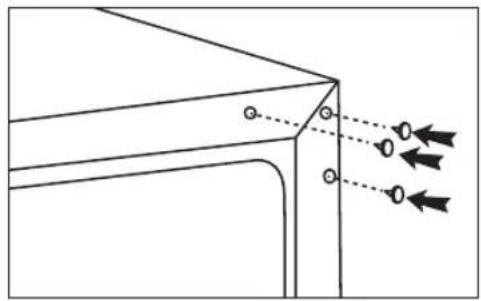
- Push the wine cooler into the cabinet. Open the door. Then screw the upper bracket on the cabinet.
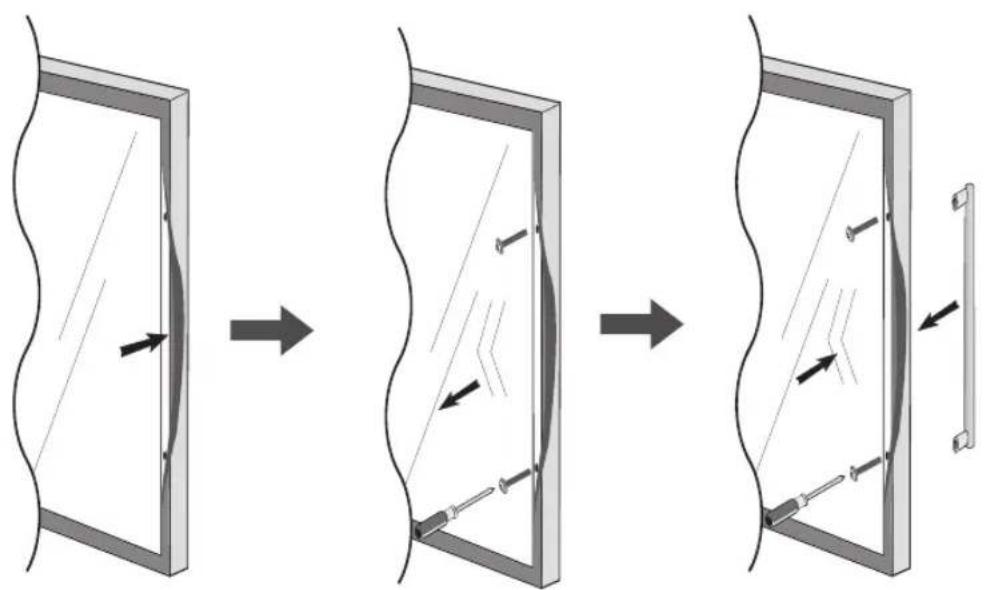
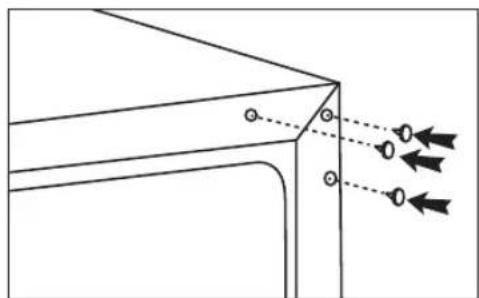
Installing the Door Handle
Reversing the Door Swing
Tools required: Philips style screwdriver / Flat bladed screwdriver / Hexagonal spanner.

• Ensure the unit is unplugged and empty. - Adjust the two levelling feet to their highest position. - To take the door off it is necessary to tilt the unit backwards. You should rest the unit on something solid, e.g. a chair just below the top panel. • All parts removed must be saved to do the reinstallation of the door. • Do not lay the unit flat as this may damage the coolant system. • We recommend that 2 people handle the unit during assembly.
- Remove the lower right hinge. Be careful to support the door with both hands to prevent it from dropping after removing the screws.
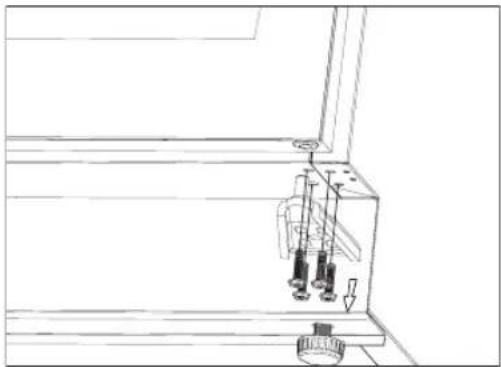
- Remove the door and place it on a padded surface to prevent from scratching.
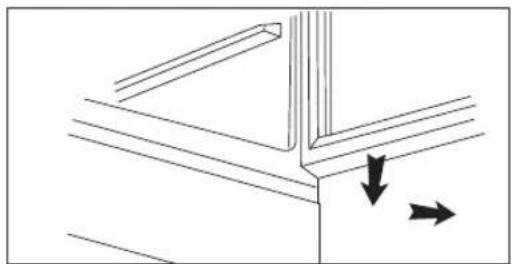
- Remove the upper right hinge.
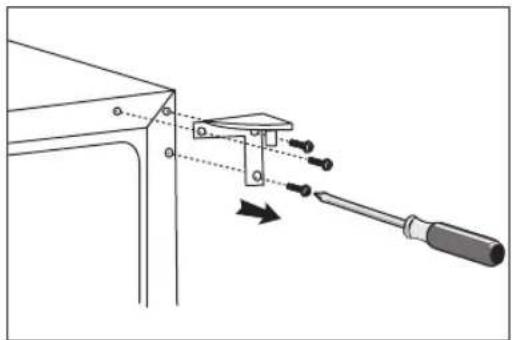
INSTALLATION
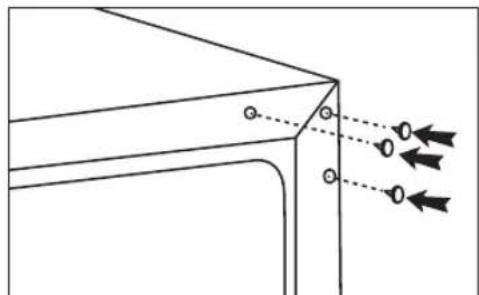
- Remove the screw hole covers from the left-hand side of the unit and move them to the right-hand side.
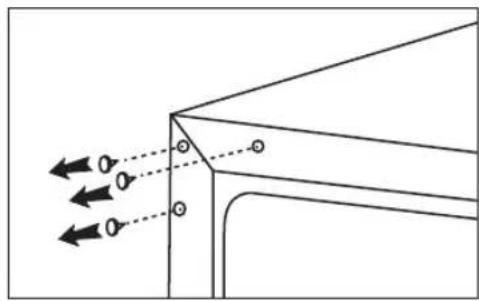
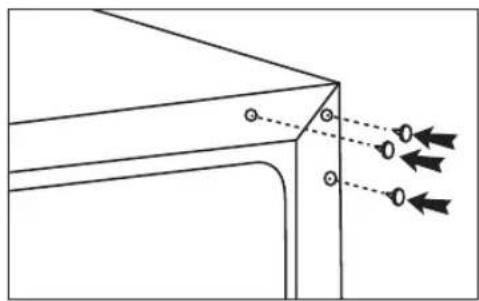
- Install the left top hinge on the unit.
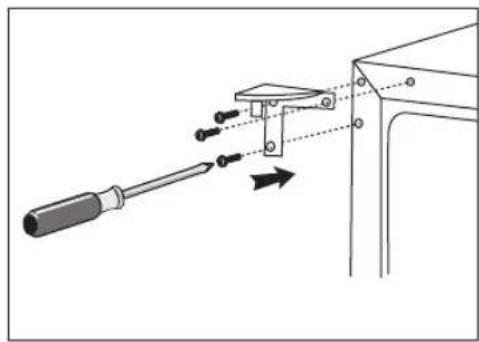
- Turn the door 180 degrees and re-install it to the unit. Check that the door is aligned horizontally and vertically and that the seals are closed on all sides before finally tightening the left bottom hinge.
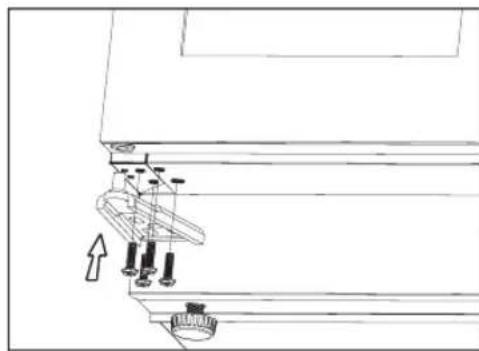
Cleaning Before Use
Wipe the inside of the unit with a weak solution of bicarbonate soda. Then rinse with warm water using a 'wrung-out' sponge or cloth. Wipe completely dry before replacing the shelves and bottle rack. Clean the exterior of the unit with a damp cloth.
If you require more information refer to the Cleaning section.

• Before Plugging in YOU MUST Check that you have a socket which is compatible with the plug supplied with the unit. • Before Turning On! Do not turn on until two hours after moving the unit. The coolant fluid needs time to settle.
Before Using Your Unit
Before placing any wine in the unit, turn it on and wait for 24 hours, to make sure it is working properly and to allow it time to fall to the correct temperature. Your unit should not be overfilled.
Product Overview
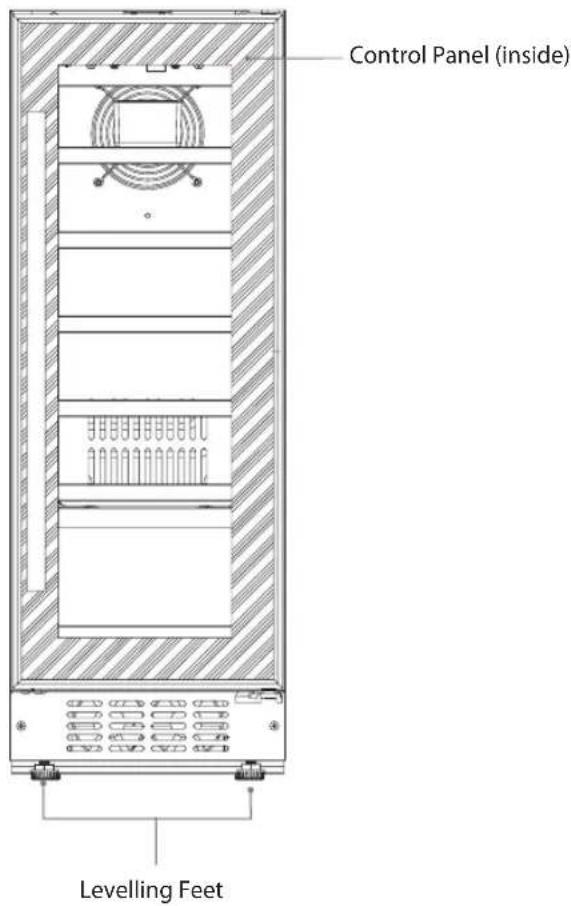
GB
Control Panel
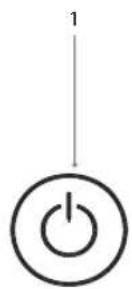
- Power button
- Light control button
- Display
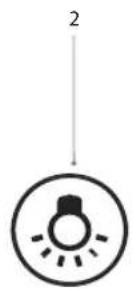
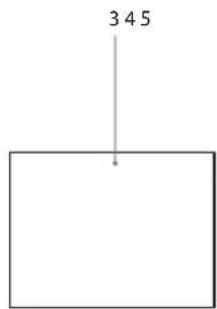
°C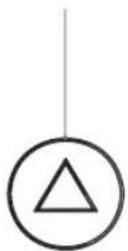
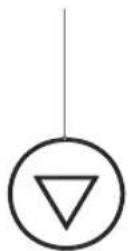
- Temperature increase button
- Temperature decrease button
Operation
Switching On or Off Your Wine Cooler
Press and hold Ⓞ to switch on or off the Wine Cooler.
Adjusting the Temperature
Press Ⓐ to adjust the temperature.
Switching On or Off the Interior Light
Press ☐ to switch on or off the interior light.

When you use the wine cooler for the first time or restart the wine cooler after having been shut off for a long time, there could be a few degrees variance between the temperature you select and the one indicated on the display. This is normal and is due to the length of the activation time. Once the wine cooler is running for a few hours everything will be back to normal.
If you are concerned that the temperature display of the wine cooler is not correct and wish to check the temperature, you will need a special fridge/freezer thermometer. You may also need a hygrometer to check the humidity of your wine cooler. These are available from most supermarkets and hardware shops.
Place the thermometer and hygrometer on the middle shelf of the wine cooler, where it can be read easily. Leave overnight, compare the temperature of the thermometer and the display in the wine cooler. The humidity in the wine cooler should be between 50%-80% RH depending on the type of wine.
Stacking the Wine Bottles
When placing the bottles into the wine cooler, make sure there is no contact with the back inner surface.

Max Capacity: 18 bottles
Storing Wine in Your Wine Cooler
One benefit of your new wine cooler is that you can simulate the conditions of a wine cellar.
By using a wine cooler thermometer you can ensure a constant temperature of around 5°C - 18°C, which is ideal for storing wine. Make sure that the bottles are lying on their sides. This ensures that the wine inside is in contact with the cork, which stops the cork from drying out, shrinking, letting air in and spoiling the wine. After a bottle has been opened, the wine comes into contact with air which will start to oxidise the wine. This generally occurs on the wine's contact surface, leaving the remaining wine in good condition. By leaving your bottle standing, you minimise the surface area of the wine which is in contact with air.
If you're serving white, rosé or sparkling wine, chill it lightly for at least 2 hours in the wine cooler before serving. Most reds should be served at room temperature, or in the case of lighter reds like Beaujolais, very slightly chilled.
Opened wine will remain in good condition for up to 2 days (for delicate whites), or 3 days (for rich reds), as long as the bottle is resealed and stored in your wine cooler. Special stoppers that keep sparkling wine and champagne bubbling for 1 or 2 days after opening can be bought at most good wine shops. When storing leftover wine, attempt to minimise the oxidation process of the wine. You can use a 'vacuum' which pumps out the air from the bottle leaving it semi-vacuum. The wine should last for about two weeks.
However, if it is a good quality wine and you intend to finish it within one week, all you'll need to do is to replace the cork and leave it standing in your wine cooler.
Different wines are best kept at different temperatures.
| Serving Temperatures |
| Wine Type °F °C |
| Rose Wine 48-54 9-12 |
| White Wine 48-58 9-14 |
| Sherry (Light) 48-58 9-14 |
| Red Wine 57-64 13-18 |
| Fortified Wine 57-64 13-18 |
| Sherry (Dark) 57-64 13-18 |
Filling Your Wine Cooler
When filling your wine cooler the greater the amount of cans and bottles placed inside the wine cooler from room temperature, the longer it will take to cool them to the desired temperature. You may wish to temporarily adjust the temperature to a lower setting to speed up the cooling process. If you do this remember to return it to the previous setting once the drinks have reached the required temperature in order to conserve energy.
Keep the Door Closed
To prevent cold air from escaping, limit the number of times you open the door.
Cleaning
Cleaning the Inside of the Wine Cooler
There is usually no need to defrost the wine cooler as any ice that is deposited on the back wall will defrost automatically.
- Before cleaning the wine cooler always disconnect the mains supply.
- Remove all the shelves and detachable accessories and wash in warm soapy water, rinse and dry thoroughly.
- You should clean the interior of the wine cooler with a damp cloth.
- Check that the drain outlet at the rear wall of the wine cooler compartment is clear of debris as this will affect the automatic defrosting.
- Empty the water collection tray at the back of the unit. Rinse and dry thoroughly before replacing.
- Do not let liquid get into the controls or the light.
- It may be necessary to periodically wipe the bottom part of the storage area.
- Never clean the appliance parts with flammable fluids. The fumes can create a fire hazard or explosion.
- Do not store or use gasoline or any other flammable vapours and liquids in the vicinity of this or any other appliance. The fumes can create a fire or explosion.
Cleaning the Outside of the Wine Cooler
Use a damp cloth to clean the wine cooler exterior and a glass cleaner to clean the door. Make sure that the door is closed, to prevent cleaners from getting on the magnetic door seal or inside.
Maintenance
Changing the Interior Light
This is not a user-serviceable part. Please contact a qualified engineer to replace the light for you.
Care When Handling
Ensure the unit is empty and all loose items are secured before moving it. Hold the wine cooler around its sides or base when moving it. Under no circumstances should it be lifted by holding the edges of the top surface.
Installation
Don't cover or block the sides of your wine cooler. - Keep out of direct sunlight and away from heat sources.
Servicing
This wine cooler should be serviced by a qualified service agent and only genuine spare parts should be used. Under no circumstances should you attempt to repair the wine cooler yourself. Repairs carried out by inexperienced persons may cause injury or serious malfunctioning.
Switching Off for Long Periods of Time
When the wine cooler is not in use for a long period of time, disconnect it from the mains supply, empty all wine and clean the wine cooler. Leave the door ajar to prevent unpleasant smells.
Condensation
Condensation may appear on the outside of the wine cooler. This maybe due to a change in room temperature. Wipe off any moisture residue. If the problem continues, please contact a qualified service agent for assistance.
Disposal
Old units still have some residual value. An environmentally friendly method of disposal will ensure that valuable raw materials can be recovered and used again.
Up to date information concerning options of disposing of your old unit and packaging from the new one can be obtained from your local council office.
If your unit is fitted with a lock, to prevent children from being trapped inside, keep the key out of reach and not in the vicinity of the unit.
When disposing of an old unit break off any old locks or latches and remove the door as a safeguard.
Specifications
| Rated Voltage 220-240V~ 50Hz | |
| Rated Current 0.4 A | |
| Wine Storage Capacity 18 bottles x 0.75L (56L) | |
| Storage Humidity 50 - 80% | |
| Refrigerant R600a (20g) | |
| Overall Dimension (H x W x D) 820-870 mm (H) x 295 mm (W) x 570 mm (D) |
Features and specifications are subject to change without prior notice.
Product Fiche
Brand: Logik
Model: LIWC18B1C17E
Household Appliances Category: Category 2 (wine storage appliances)
Energy Grading: A
Energy Consumption 140 kWh/year, based on standard test results for 24 hours. Actual energy consumption will depend on how the appliance is used and where it is located.
Storage Temperature: 5°C – 18°C
Defrosting Type: Frost Free
Temperature Rise Time: N/A
Freezing Capacity: N/A
Climate Class: N, ST. This appliance is intended to be used at an ambient temperature between 16°C and 38°C.
Airborne Acoustical Noise: 39 dB(A) re 1 pW
This appliance is intended to be used exclusively for the storage of wine.
Main unit
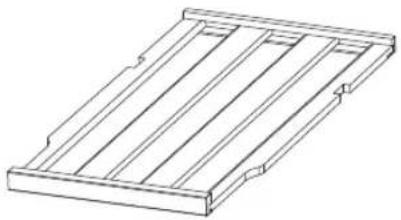
Shelf x 6
Left top hinge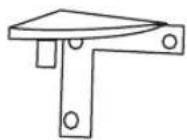
Door handle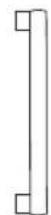
Screws x 2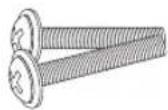
Instruction manual
Upper bracket screws x 2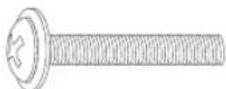
Location
Mounting the unit
INSTALLATION
Main unit
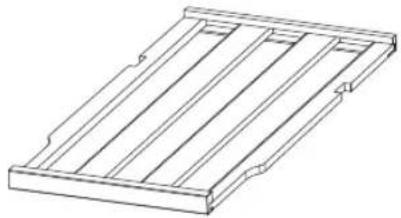
Shelf x 6
Mounting the door handle
INSTALLATION
°C
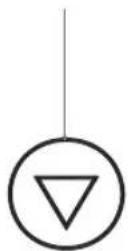
- Temperature increase button
- Temperature decrease button
Usage
Devices
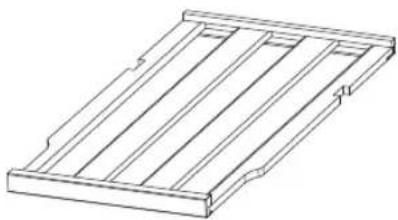
Shelf x 6
Left upper hinge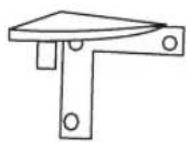
Door handle screws x 2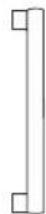
User manual
Installing the door handle
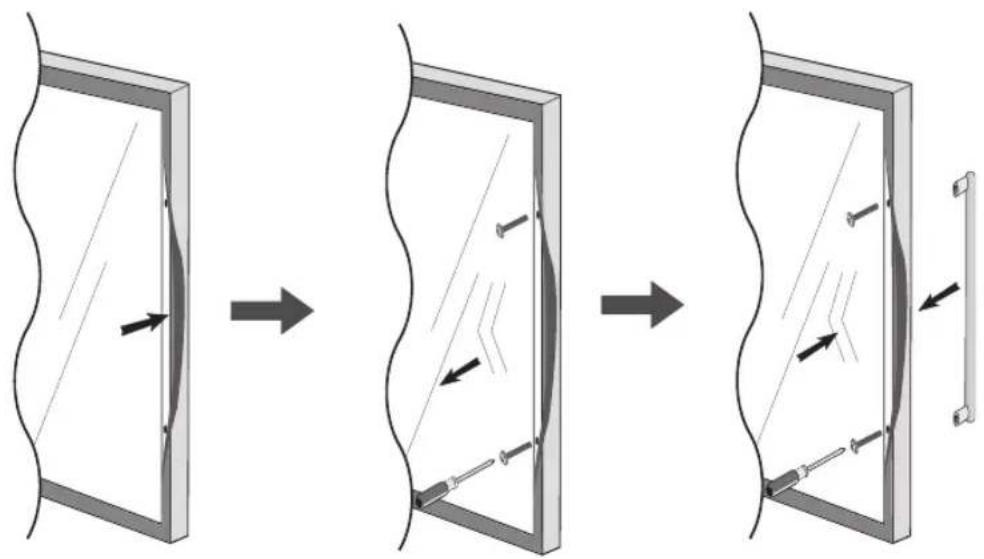
INSTALLATION
°C
Wine cabinet
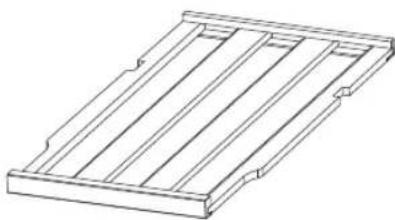
Shelf x 6
Space requirements
INSTALLATION
Clean before use
°C
The symbol on the product or its packaging indicates that this product must not be disposed of with your other household waste. Instead, it is your responsibility to dispose of your waste equipment by handing it over to a designated collection point for the recycling of waste electrical and electronic equipment. The separate collection and recycling of your waste equipment at the time of disposal will help conserve natural resources and ensure that it is recycled in a manner that protects human health and the environment.
For more information about where you can drop off your waste for recycling, please contact your local authority, or where you purchased your product.
NO
- WARNING
- SAFETY WARNINGS
- THANK YOU FOR PURCHASING YOUR NEW WINE COOLER
- UNPACKING
- INSTALLATION
- LOCATION
- LEVELLING THE UNIT
- FREE SPACE REQUIREMENTS
- INSTALLING THE UNIT
- TO USE AS A BUILT-IN UNIT
- INSTALLING THE DOOR HANDLE
- REVERSING THE DOOR SWING
- CLEANING BEFORE USE
- BEFORE USING YOUR UNIT
- PRODUCT OVERVIEW
- CONTROL PANEL
- OPERATION
- SWITCHING ON OR OFF YOUR WINE COOLER
- ADJUSTING THE TEMPERATURE
- SWITCHING ON OR OFF THE INTERIOR LIGHT
- STACKING THE WINE BOTTLES
- STORING WINE IN YOUR WINE COOLER
- FILLING YOUR WINE COOLER
- KEEP THE DOOR CLOSED
- CLEANING
- CLEANING THE INSIDE OF THE WINE COOLER
- CLEANING THE OUTSIDE OF THE WINE COOLER
- MAINTENANCE
- CHANGING THE INTERIOR LIGHT
- CARE WHEN HANDLING
- SERVICING
- SWITCHING OFF FOR LONG PERIODS OF TIME
- CONDENSATION
- DISPOSAL
- SPECIFICATIONS
- PRODUCT FICHE
- MOUNTING THE UNIT
- MOUNTING THE DOOR HANDLE
- USAGE
- SPACE REQUIREMENTS
- CLEAN BEFORE USE
- NO
Brand : Logik
Model : LIWC18B1C17E
Category : Wine cellar