
AC-10W - Air conditioner WILFA - Free user manual and instructions
Find the device manual for free AC-10W WILFA in PDF.


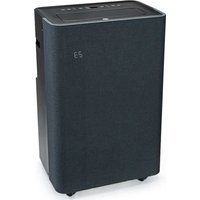
| Type | Portable Air Conditioner |
| Model | AC-10W |
| Brand | Wilfa |
| Cooling Capacity | 10,000 BTU/h |
| EER (Energy Efficiency Ratio) | 2.7 |
| Power Supply | 220-240V ~ 50Hz |
| Power Consumption (Cooling) | 1100W |
| Airflow | 300 m³/h |
| Dehumidification Capacity | 1.5 L/h |
| Noise Level | 52 dB(A) |
| Thermostat | Digital, 16-30°C |
| Timer | 24-hour on/off |
| Remote Control | Yes (included) |
| Refrigerant | R290 |
| Dimensions (W x D x H) | 430 x 340 x 700 mm |
| Weight | 28 kg |
| Exhaust Hose Diameter | 150 mm |
| Window Kit Included | Yes |
| Castors | 4 swivel castors |
| Filter Type | Washable foam filter |
| Water Drainage | Continuous drainage option |
| Auto Swing | Yes (horizontal louvres) |
| Sleep Mode | Yes |
| Energy Class | A |
Frequently Asked Questions - AC-10W WILFA
User questions about AC-10W WILFA
0 question about this device. Answer the ones you know or ask your own.
Ask a new question about this device
Download the instructions for your Air conditioner in PDF format for free! Find your manual AC-10W - WILFA and take your electronic device back in hand. On this page are published all the documents necessary for the use of your device. AC-10W by WILFA.
USER MANUAL AC-10W WILFA
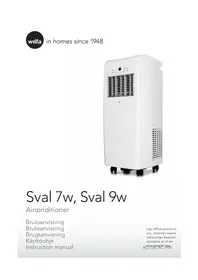
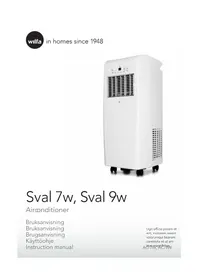
Sval 10W
Air Conditioner
Instruction Manual
Instruction Manual
Instruction Manual
Instruction Manual
Instruction Manual
2. Setting the timer
Rubber plug Drain switch
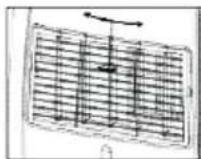
Adjust the left-right direction of the out flowing air by turning the roller on the front of the air outlet grill.
Adjust the air flow up and down by turning the outlet grill around at its horizontal axis.
Important:
Use a soft, damp cloth to wipe the body clean. Never use strong chemicals, oil-based products, detergents, chemically treated cloths or other cleaning solutions. These could possibly damage the housing.
Filter
• The unit is designed for indoor operation. • Rating: This unit must be connected to a 220-240 V / 50 Hz earthed outlet. • The installation must be in accordance with regulations of the country where the unit is used.
If you are in any doubt about the electrical installation, have it checked and if necessary modified by a qualified electrician.
- This appliance is not intended for use by persons (including children) with reduced physical, sensory or mental capabilities, or lack of experience and knowledge, unless they have been given supervision or instruction concerning the use of the appliance by a person responsible for their safety. Children should be supervised to ensure that they do not play with the appliance. The air conditioner is safe. However, as with other electrical appliances, use it with care.
- Keep out of the reach of children.
- Do not clean the unit by spraying it or immersing it in water.
- Do not insert any object into the openings of the unit.
- Disconnect it from the mains before cleaning the unit or any of its components.
- Never connect the unit to an electrical outlet using an extension cord. If an outlet is not available, one should be installed by a licensed electrician.
- Never operate this appliance if it has a damaged cord or plug. Do not lead the cord over sharp edges.
- A damaged supply cord should be replaced by the manufacturer, its service agent or a qualified person in order to avoid a hazard.
- Any service other than regular cleaning or filter replacement should be performed by an authorized service representative. Failure to do so could result in a loss of warranty.
Do not use your air conditioner:
If the power cable wires are frayed
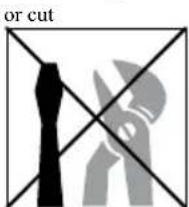
This product is not made for DIY
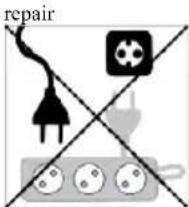
If an extension lead may become overloaded
When small children may be left unattended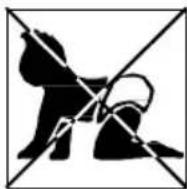
If there is a risk of liquid falling on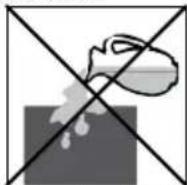
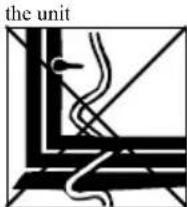
Where the power cable may be damaged
On a slope or uneven surface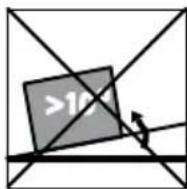
Inside unit exposed to the weather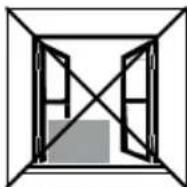
Where it may be damaged by chemicals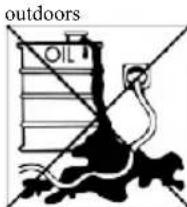
Close to a heat source
In a permanent very humid environment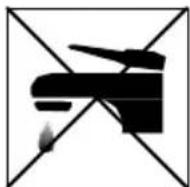
Where there is a risk of interference by foreign objects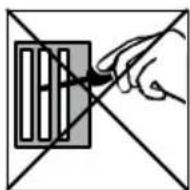
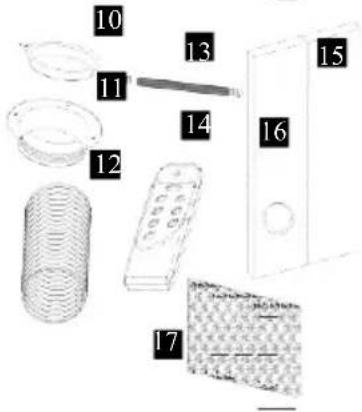
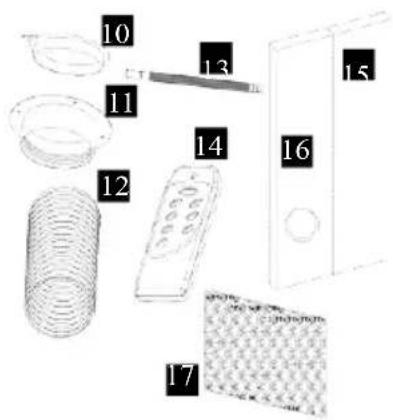
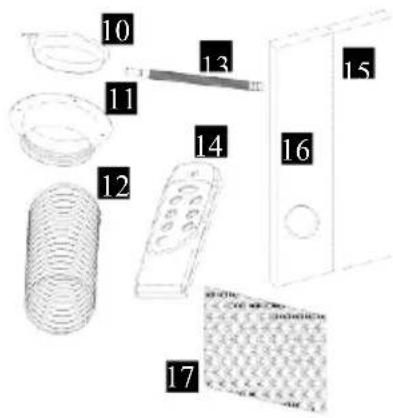
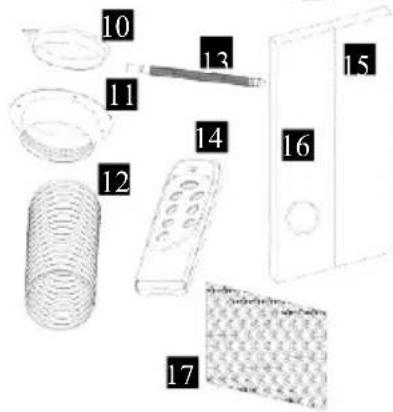
parts
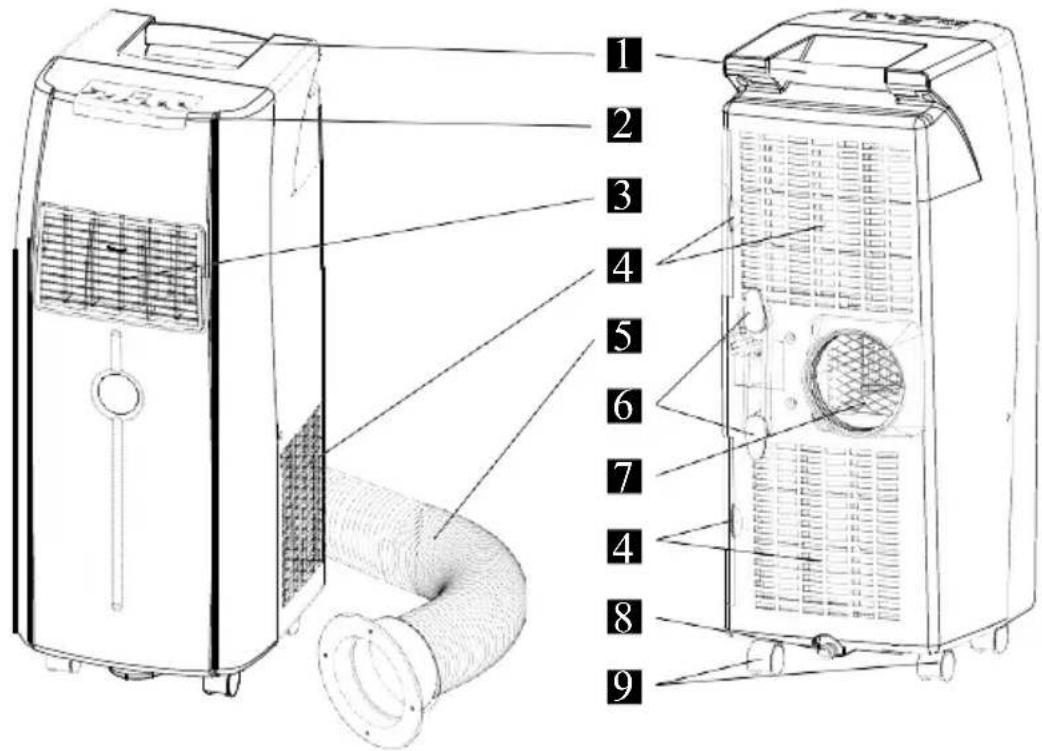
- Handle
- Control panel
- Air outlet
- Air inlet with filter
- Exhaust hose with adapter
- Power cord hanger
- Exhaust air outlet
- Water stopper (plug inside)
- Casters
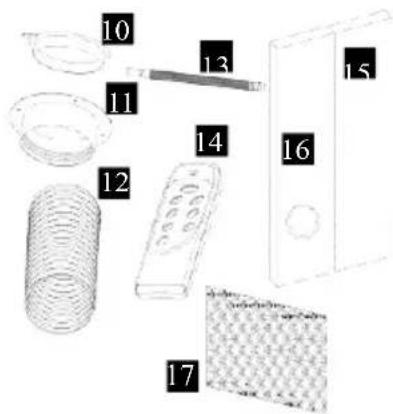
- Cap-hole cover
- Wall adapter
- Exhaust hose
- Drainage hose
- Remote control
- Foam (extension)
- Foam with hole for exhaust hose
- Filter
Positioning
This unit can easily be moved from one room to another. In doing so, keep this in mind:
• The air conditioner must stand upright on an even surface. - Do not position near bath, douche or other permanent wet or damp area. - Keep for free air circulation at least 50 cm free from any obstacle or curtains.
Installation of Carbon Filter(s)
It is recommended to replace an active carbon filter every 3 to 6 months.
- Remove the filter frames from the unit by pulling them out.
- Separate the fixer from the filter frame.
- Remove the active carbon filter from its plastic bag.
- Insert the active carbon filter into the filter frame. Fix the filter by reassembling the fixer onto the filter frame. Re-fit the filter frames inside the unit.
![graph TD A["Air Source"] --> B["Grid Layout"] B --> C["Fan Unit"] C --> D["Receiving Air"] style A fill:#f9f,stroke:#333 style D fill:#bbf,stroke:#333](/content/2026/05/859047/images/b1f4a098e7be9cb571db3b64c0442f2f8ce7deb46a43f1c4b2adaf3275c2deec.jpg)
Window foam fitting
If necessary, cut the foam to the height or width of the window.
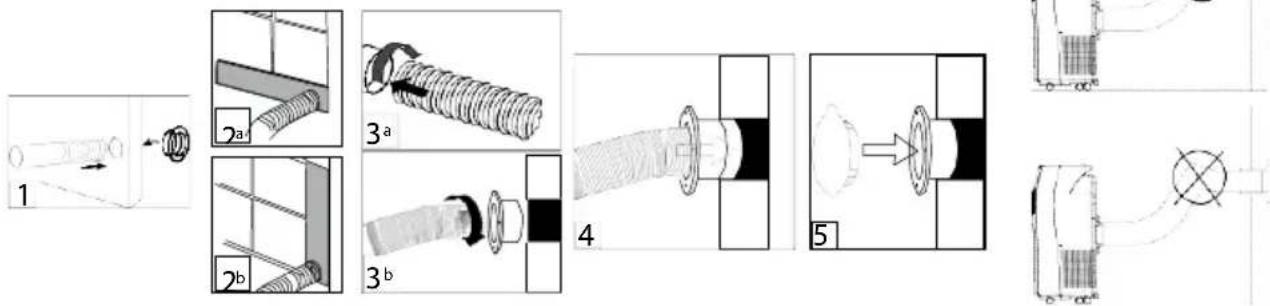
Pass the adapter (11) through the opening in the foam (16) and put the exhaust hose (12) into the hose adapter (11) (fig. 1). Place the foam with the hole (16) – if needed together with the foam extension (15) – in the window and close this as far as possible to refrain the warm air from re-entering the room. Depending on how the window opens, vertically (fig. 2a) or horizontally (fig. 2b). Connect the exhaust hose to the air conditioner (fig. 3a).
Permanent wall fitting
Make sure that no pipes or wires run through the chosen spot.
Drill a hole to fit the outer diameter of the adapter (11). Connect the exhaust hose (12) to the air conditioner (fig. 3a). Connect the exhaust hose to the adapter (fig. 3b). Place the adapter with hose in the hole (fig. 4) and fix with plugs and screws.
Use the cap (10) to close the hole when the air conditioner is not placed (fig. 5).
Important
The flexible exhaust hose can be extended from 300 to 1500 mm for mounting. This length has been designed especially according to the specifications of the air conditioner. Do not use an extension or exchange for a different hose as that may lead to malfunctioning.
The exhaust air must flow freely, any blockage can lead to overheating of the air conditioner. Take care to prevent any kink or bend in the exhaust hose.
operation
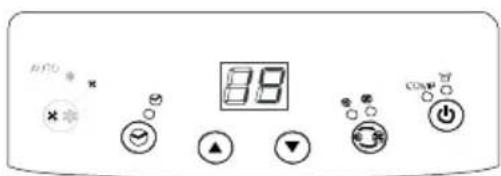
AC-9W display
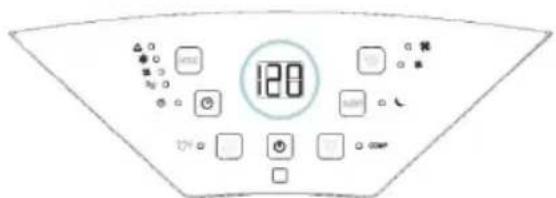
AC-10W display
1. on/off
Press the on/off button to switch the unit on or off.
2. Setting the timer
Press the Ⓧ button to set the operating hours (1 to 12 hours, 1 hour each press). When set, the LED ⭕ will light up.
When the set hours have elapsed, the unit will turn off automatically. The display will show the hour(s) remaining when you press the ⏻ button.
By pressing the ⚙ button but without turning the unit on, you can pre-set in how many hour(s) the unit will switch on automatically.
3. Setting the operating mode ☒*
Select the required operating mode: cooling *, fan or auto. The corresponding LED will light. In auto mode the unit will select cooling or fan depending on the ambient temperature.
4. Fan speed
Select the fan speed, the corresponding LED will light: - low or - high.
5. Temperature setting, increase ▲ (up) or decrease ▼ (down)
When the unit is ON the display 68 shows the ambient temperature, and any LED of operating mode, fan speed, timer is on.
Press button ▲ or ▼ to see the set temperature and adjust if necessary – in the range from 18 °C to 32
°C – with the ▲ and ▼ buttons (1 °C each press). After a few seconds the room temperature will be displayed.
Warning lights and compressor
When the water container is full, the unit automatically stops, the warning light will flash to signal that the container must be emptied.
When the unit is cooling, the compressor light comp will be on. If this light is off further
cooling is not needed at this time, or the compressor may be de-icing its coils. The fan can still be on.
Remote control
The air conditioner responds to all signals that are sent by the remote control. Two
AAA-batteries are required to use the remote control. Point the remote control hand set towards the control panel of the unit and press the relevant button, the red led on the hand set will flash whenever a button is pressed.
Note: the air flow direction cannot be adjusted with the remote control.
Air flow
Adjust the left-right direction of the out flowing air by turning the roller on the front of the air outlet grill.
Adjust the air flow up and down by turning the outlet grill around at its horizontal axis.
Important:
- The compressor will start approximately 3 minutes after the unit is turned on (this will help prolong the life of the compressor). After switching the unit off, please wait at least 3 minutes before turning the unit back on.
- The cooling will switch off when the room temperature is lower than the set one. Ventilation will however continue to work at the set level. When the ambient temperature rises above the chosen value, the cooling will resume.
During the process of cooling, some water will be extracted from the air into the unit. Most of this water is used to cool the unit and make it run more efficiently. This is a
feature not found in most portable air conditioners.
If the unit is operated in VERY HUMID air, water will collect in the container inside the unit. If the water container is full, the compressor will stop, but the fan will continue to circulate the air. The warning light will flash to inform you to empty the internal container. To make the cooling function work again, empty this container—must be emptied.
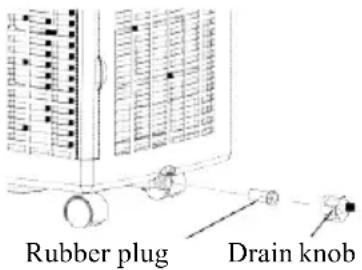
Switch off the unit and remove the plug from the mains.
- Position a flat container or dish on the floor under the drain hole. Do not allow the water to drip continuously into the container as it might easily overflow.
- Remove the drain knob.
- Remove the rubber plug, the water will flow in the container. When this is nearly full, replace the plug to stop the water flow and empty it. Repeat this process until all water has been removed.
- Replace the rubber plug into the drain hole firmly, the warning light should not flash any longer.
- Replace the drain knob.
Permanent Drainage
Permanent drainage eliminates the need to empty the water container.
Switch off the unit and remove the plug from the mains.
• Empty the water container as usual. - Keep the rubber plug and drain knob in a safe place. - Insert the drainage hose over the sprout. - Lead the other end of the drainage hose to a normal water outlet. Make sure the hose has no sharp bends and slopes down all the way to let the water flow freely. - Connect to the mains and start using the unit again.
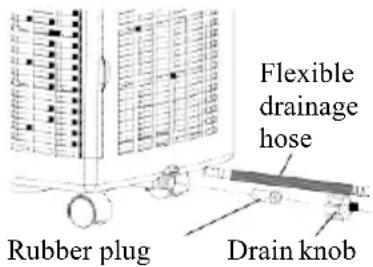
When the unit is relocated or permanent drainage is not wanted any more, simply disconnect the unit from the mains, remove the drainage hose and replace the rubber plug and drain knob.
Cleaning
Always unplug the unit from the power supply (wall outlet) before beginning the cleaning.
Housing
Use a soft, damp cloth to wipe the body clean. Never use strong chemicals, oil-based products, detergents, chemically treated cloths or other cleaning solutions. These could possibly damage the housing.
Filter
The active carbon filter must not be rinsed.
Use a vacuum cleaner or tap the filter lightly to remove loose dust and dirt from the filters and then rinse only the dust filter thoroughly under running water (not warmer than 40 °C). Dry thoroughly before replacing.
Notice! Never operate the air conditioner without the filters.
Storage
See the instructions "Emptying the water container".
- Drain the condensed water completely. • Clean or change the filter.
- Put the unit on a warm day in fan mode for a couple of hours to ensure that the inside can dry out completely.
- Store the power cable as shown, protect the unit against dust (put back into its original carton) and store in a dry place not accessible for children.
- Do not stock heavy objects on top of the unit.
Trouble shooting
| Never try to repair or dismantle the air condition yourself. Incompetent repairs result in loss of warranty and can endanger the user and the property. | ||
| problem | possible cause | solution |
| The air conditioner does not function. | No power supply. | Connect to a functioning outlet and switch on. |
| Is the power light flashing? | Empty the drain pan. | |
| Timer function is active. | Deactivate the TIMER function. | |
| The air conditioner does not seem to perform. | The unit is in direct sunlight. | Close curtains. |
| Windows or doors open, many people or a heat source in the room. | Close doors and windows, place an extra air conditioner. | |
| The filter is dirty. | Clean or replace the filter. | |
| Air inlet or air outlet blocked. | Remove the blockage. | |
| Room temperature lower than the selected value. | Change temperature selection. Set at the lowest possible setting: 18 °C. | |
| The unit is noisy. | Unit stands uneven. | Place on an even, solid surface (less vibrations). |
| The compressor does not work. | The overheat protection is probably activated. | Wait 3 minutes until the temperature has decreased, then turn on the unit again. |
| The remote control does not function. | Distance too great. | Make sure the remote control is correctly aimed at the control panel. |
| Remote control signal not detected by the control panel. | ||
| The batteries are drained. | Replace the batteries. | |
| To correct problems that have not been described in the table and/or if the recommended solutions fail to solve the problem, contact an authorized service centre. | ||
TECHNICAL DATA
| Model | AC-10W | AC-9W | |
| Cooling capacityMeasured conform EN 14511 | BTU/h | 10000 | 9400 |
| kW | 2,9 | 2,75 | |
| Mains | 220-240V/50Hz/1 Ph | ||
| Power consumption | W | 1070 | 1050 |
| Dehumidification | L/24h | 30 | 24 |
| Refrigerant! | R410A | ||
| Compressor | Rotary | ||
| Fan speeds | 2 | 2 | |
| Thermostat | °C | 18-32 | |
| Timer | h | 1-12 | |
| Dimensions(width x height x depth) | mm | 305x750x380 | |
| Net weight | kg | 25 | 25 |
| Subject to modifications without prior notice. Please refer to the rating label for greater precision. | |||
According to the Waste Electrical and Electronic Equipment (WEEE) Directive, this type of waste must be collected and treated separately. If it becomes necessary to dispose of this product at some point, kindly make sure that it is not discarded with your everyday household refuse. Instead, bring the product to your closest WEEE collection centre.


- SVAL 10W
- SETTING THE TIMER
- IMPORTANT
- FILTER
- PARTS
- POSITIONING
- INSTALLATION OF CARBON FILTER(S)
- WINDOW FOAM FITTING
- PERMANENT WALL FITTING
- OPERATION
- ON/OFF
- SETTING THE OPERATING MODE ☒
- FAN SPEED
- TEMPERATURE SETTING, INCREASE ▲ (UP) OR DECREASE ▼ (DOWN)
- WARNING LIGHTS AND COMPRESSOR
- REMOTE CONTROL
- AIR FLOW
- PERMANENT DRAINAGE
- SWITCH OFF THE UNIT AND REMOVE THE PLUG FROM THE MAINS
- CLEANING
- HOUSING
- STORAGE
- TECHNICAL DATA
Brand : WILFA
Model : AC-10W
Category : Air conditioner