
LTV 2010 S2 - TV Trevi - Free user manual and instructions
Find the device manual for free LTV 2010 S2 Trevi in PDF.


| Product Type | LED TV |
| Screen Size | 20 inches (50.8 cm) |
| Resolution | HD Ready (1366 x 768 pixels) |
| Dimensions (W x H x D) without stand | 480 x 320 x 80 mm |
| Weight without stand | 3.0 kg |
| Power Supply | AC 100-240V, 50/60Hz |
| Power Consumption (typical) | 30 W |
| Standby Power Consumption | < 0.5 W |
| Main Functions | DVB-T/T2 digital tuner, USB media player, HDMI input, VGA input, AV input, headphone jack |
| Remote Control | Included (batteries not included) |
| Accessories | Remote control, user manual, power cord, stand base |
| Cleaning and Maintenance | Wipe with a soft dry cloth; do not use harsh chemicals or water directly on screen |
| Safety Warnings | Do not open the device; keep away from moisture; unplug during lightning storms |
| Spare Parts Availability | Remote control, power cord, stand base available from authorized service centers |
| Repairability | Designed for repairability; contact a qualified technician for any repairs |
| General Information | Brand: Trevi; Model: LTV 2010 S2; Manufactured in China |
Frequently Asked Questions - LTV 2010 S2 Trevi
User questions about LTV 2010 S2 Trevi
0 question about this device. Answer the ones you know or ask your own.
Ask a new question about this device
Download the instructions for your TV in PDF format for free! Find your manual LTV 2010 S2 - Trevi and take your electronic device back in hand. On this page are published all the documents necessary for the use of your device. LTV 2010 S2 by Trevi.
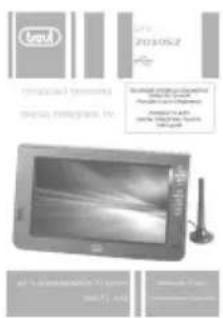
USER MANUAL LTV 2010 S2 Trevi
TV DIGITALE TERRESTRE
DIGITAL TERRESTRIAL TV
DIGITALES TERRESTRISCHES FERNSEHEN
TELEVISORE PORTATILE CON DIGITALE TERRESTRE T2+HEVC
Manuale d'uso e collegamento
PORTABLE TV WITH
DIGITAL TERRESTRIAL T2+HEVC
User's guide
natural_image
Black-and-white photo of a retro television device with a speaker and antenna, no visible text or symbols on the device itself.10" TV COLOR/MONITOR TFT LED HD
DVB-T2 - USB
Manuale D'uso Instruction manual Benutzerhandbuch Manuale de usuario
1 PREFAZIONE
natural_image
Line drawing of a blank electronic device with control buttons and display screen (no text or symbols)TV Telecomando Manuale d'uso
natural_image
Front view of a gray remote control with standard buttons and navigation icons (no text or symbols visible)Cavo AV
广力云
natural_image
Pure electrical circuit lines without any symbols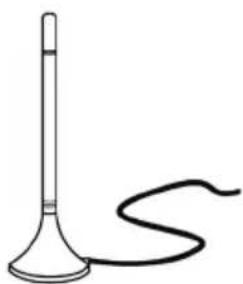
natural_image
Simple line drawing of a laboratory flask with a coiled tube (no text or symbols)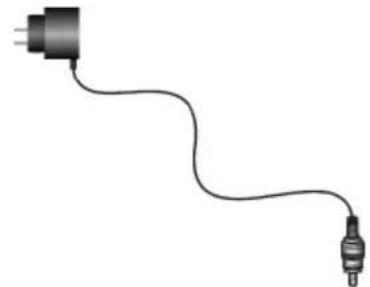
natural_image
Simple line drawing of a plug and connector (no text or symbols)110-240V \~
natural_image
Pure electrical connector diagram without any text or symbols50/60Hz=12V
Adattatore auto
Antenna DVB-T
5 COMANDI E CONNESSIONI TELEVISORE
9 TELEVISIONE DIGITALE TERRESTRE (DTV) E ANALOGICA (ATV)
16 INDICE
1 PREFAZIONE pag. 2
9 TELEVISIONE DIGITALE TERRESTRE (DTV) E ANALOGICA (ATV)
This product shall be kept far away from too high or too low temperatures. This product shall be stored at -20^-60^ and its working temperature shall be -5^-40^ .
Do not use this product in wet environment, such as in a bathtub, wash basin, kitchen, sink or basement, swimming pool, etc.
Do not place TV in an environment with high humidity, dust or full of mist.
Do not drop or throw this product.
- Avoid strong vibration of the machine to avoid the strong collision with other objects.
Do not squeeze or scratch the product with sharp objects.
The rear recess of the product and the opening in the shell are used for ventilation, at the same time, they are used to ensure the reliability of components and components and avoid overheating. Do not place the TV and power adapter in bed, on sofa, carpet or other similar surface to avoid blocking the radiator opening. Do not place the television and the power adapter near or on heater or heat sources unless it is equipped with a complete ventilation device; The television and power adapter are prohibited from being placed in an insert-type installation device.
When in use, make sure the TV is at least 3 inches (76 mm) away from walls or other objects.
Please use the specified type of power on the TV label. If you have questions about the type of power source that shall be used, please consult your dealer or local power supply department.
Make sure that the power plug and wire you are using can withstand the sum of t he rated current of all the powered products.
Do not place the TV in a place where users can easily touch it.
All the notes and instructions in the guide shall be observed.
Do not overload the power plug or extend the power cord, otherwise it may cause fire or electric shock.
Do not fix the TV without authorization, because the cabinet is subject to high voltage or other hazards. Qualified service personnel shall be required to repair the TV.
Please unplug the power adapter from the socket and ask qualified service personnel for repair i f:
1.2 Maintenance
Before cleaning, first, disconnect all the cables of this device.
Wipe the case, screen and keys with a soft cloth soaked with a small amount of mild detergent.
When cleaning the TV, do not use polishing cloths, disinfectants or any kind of fuel or chemical cleaners such as alcohol and gasoline, etc.
Attention !
To ensure your own safety and the safety of the people around you, do not watch TV or turn on the TV receiver.
It's dangerous to watch a TV program or use a TV receiver when driving a car.
Special Instruction
Bright spots and dark spots may appear on the screen. This is normal and related to active matrix screens and is not a symptom of failure. Do not try to conduct technology maintenance yourself. If anything goes wrong, turn the TV receiver off and contact us or your dealer. The device contains a large number of small electronic components. Disassembly or modification may cause damage or breakdown to the device.
2.Accessories
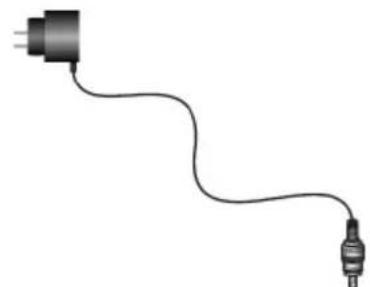
| 1.User Guide | 2. DC / AC Power Adapter |
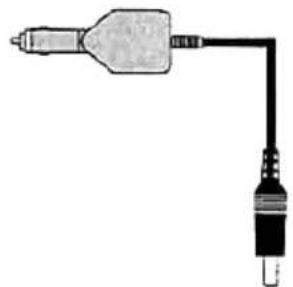
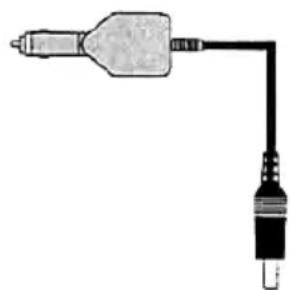
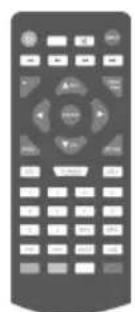
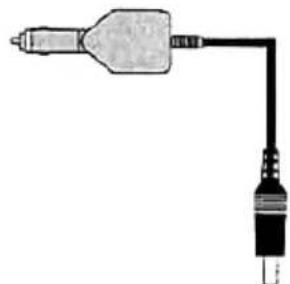
| 3.12V Automotive Adapter | 4. Remote Control |
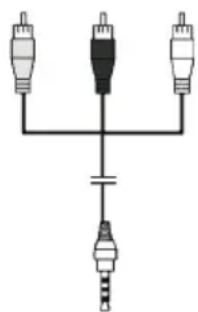
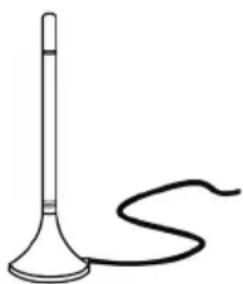
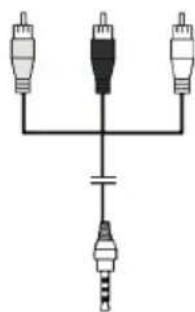
| 5. Audio and Video Combination Cable | 6. Antenna |
| 7. Mounting Bracket | 8. Battery |
Open the package and check if all the accessories are complete.
3. Instruction for Keys and Interfaces
3.1 Side Panel
- 12V DC Power Input Port
- Micro SD Memory Card Slot
- Headphone Port
- Audio-video Input Port
- Power Switch
- USB Port
- HDMI
- External Antenna Port

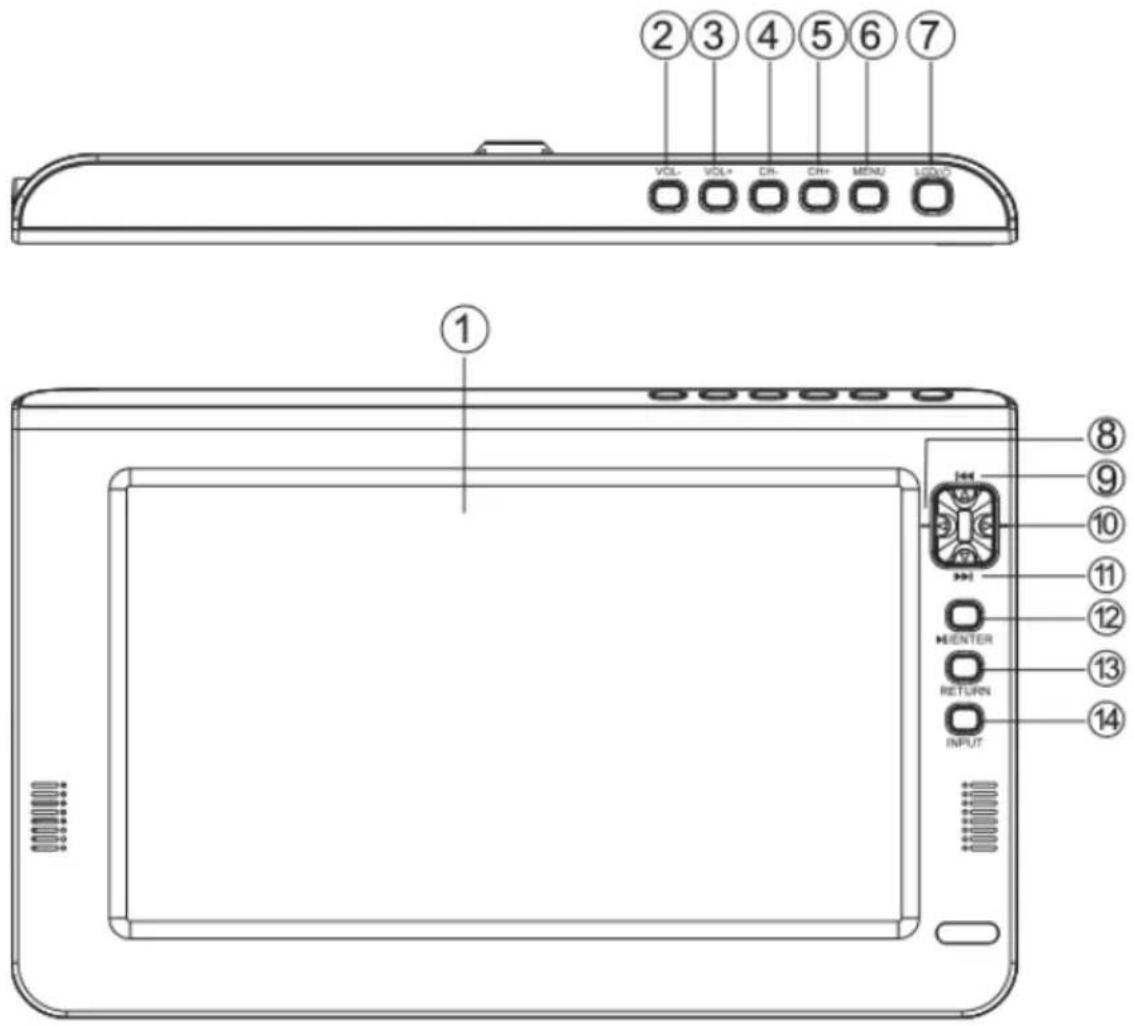
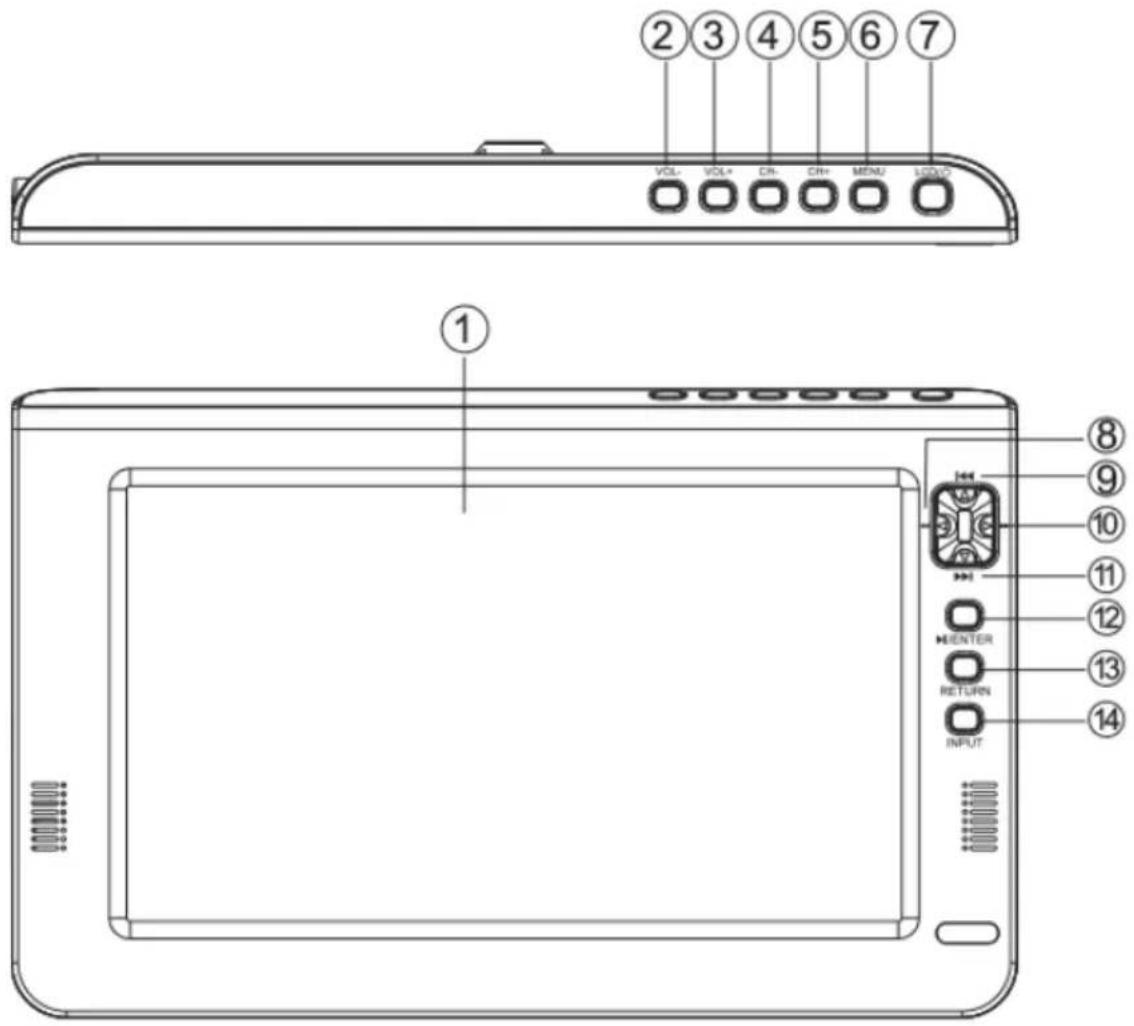
3.2 Control Keys on the Control Panel
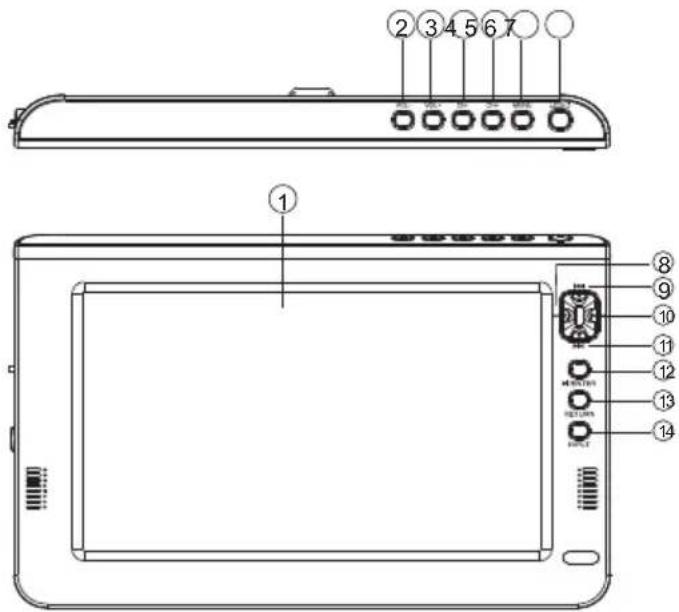
1.LCD
2. VOL- : volume down button.
3. VOL+: volume up
4. CH- : Previous Channel
5. CH+: NEXT Channel
6. MENU: Turn on/off the menu
7. LCD/○: LCD on/Ooff
8.: Backward
9. : Previous
10. ▶: Forward
11. ▶: Next track
12. ENTER: Confirm/ Menu
13. RETURN: Return menu
14. INPUT: Input source
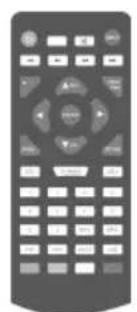
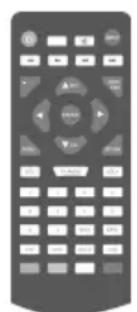
4. Instruction for Function Keys on Remote Control (Some machines are different, prevail in kind)
The remote control has the best performance within 5 meters and with angel below60°.
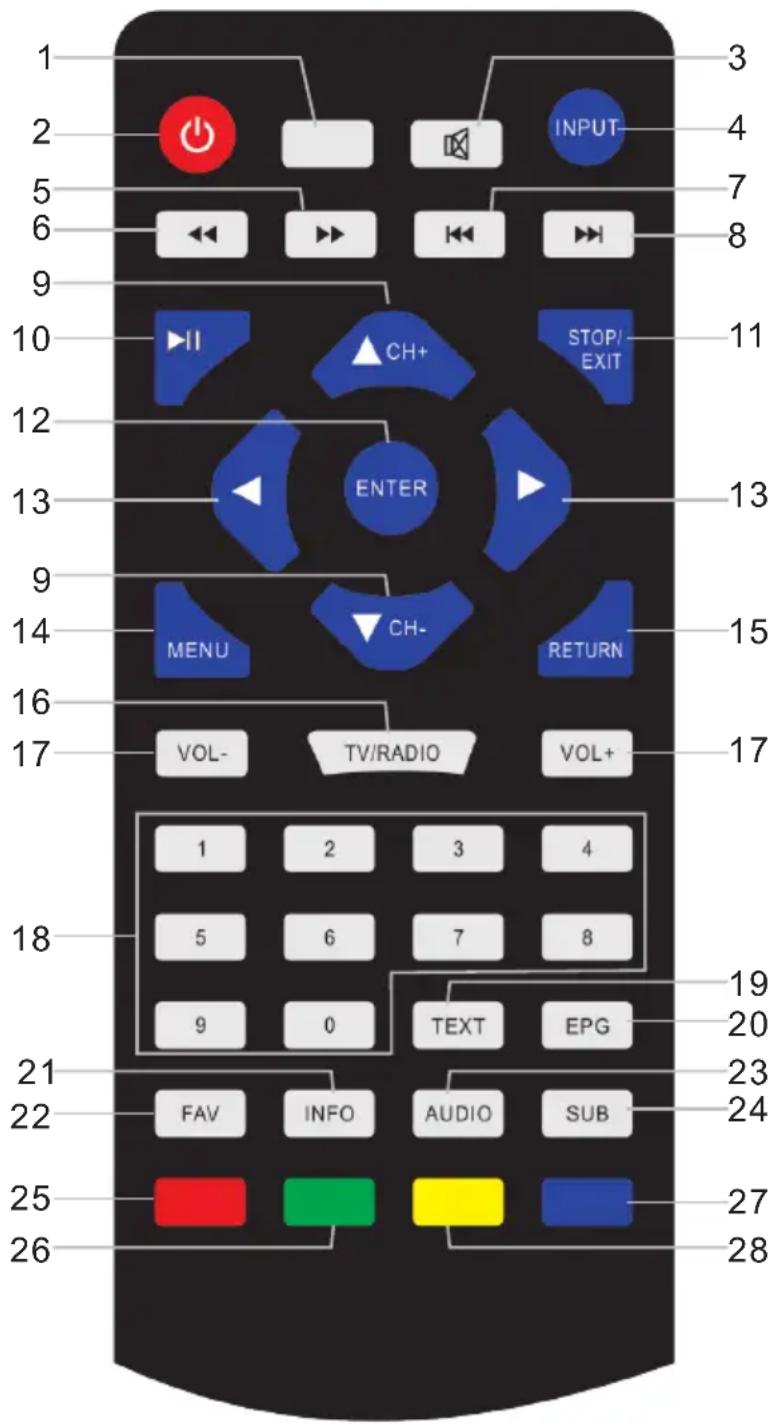
①.Blank Key
No function available
②. ⏻ Key
Turn on working mode/standby mode
③.MUTE Key
Turn on/off the sound output
④. INPUT Key
System working mode selector key : press the key each time, the system operating mode is cycled in the following order : DTV/ATV/AV/HDMI/USB/CARD。
⑤.▶▶ Key
Fast forward Key。
⑥.◀Key
Fast backward Key。
⑦.Key
Previous
⑧. Key
Next
⑨. CH+▲ /CH-▼ Key
CH+▲: Choose up channel
CH-▼ : Choose down channel Switch
Channel。
⑩. Key
Play/pause Key
⑪.STOP/EXIT Key
Stop watching/recording
TV programs from Menu
⑫.OK Key
Confirm the selected function in the "Settings" menu.
⑬Direction Key
◀: Left Key, ▶: Right Key。
⑭.MENU Key
Turn on/off the menu
⑮.RETURN Key
Under TV mode, press this key to return to the recent channel you have watched.
⑯.A : TV/RADIO Key
Switch between TV and Radio mode
⑰.VOL+/- Key
Volume up/down key
⑱. Digital Key 0\~9
Digital Key 0-9 is used for inputting channel number and editing all parameters
⑲.A : TEXT Key
Open the text
22.FAV Key
Turn on/set the favorite channel
23.AUDIO Key
24.A : SUBTITLE Key
Turn on/off subtitles.
⑳.A : EPG Key
Enter the interactive menu
21 .INFO Key
Look through the information about the current channel
Switch to audio mode or available sound track
25-28

Operation key under TV TEXT MODE ; Control Key under Editing Mode
RED Key
Operating according to the information on screen
A : GREEN Key
Operating according to the information on screen
A : BLUE Key
Operating according to the information on screen
A : YELLOW Key
Operating according to the information on screen
5.Connection with External Devices
● Audio - Video input signal
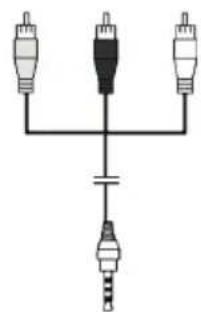
Audio-Video Cable Access: Plug the audio-video plug into the audio-video input port and press the INPUT Key. At this point, the input of audio-video signal is complete and the AV symbol is displayed on the screen.
Connecting Headphones
To use headphones to listen to music, first volume down, and then insert the headset, adjust to the right volume. When using headphones, the volume shall not be too large, so as not to hurt the hearing.
● Connecting to AC Power Supply
Plug the AC adapter's AC plug into the power supply (100-240 V, 50-60 Hz AC) socket and the AC adapter's DC plug into the e 12 V DC input port.
(12 Volt Car Charger can be used for this device).
- USB/ Micro SD CARD Play
Insert a USB / Micro SD card into the device and select USB / SD format as the format of the image / audio / video card included in the card (memory capacity shall be 32G or less).
6.Description of the Operating Menu
6.1 Select the Input Signal Source
A. Press "INPUT" key, the input signal source details appear
B. Press “▲ / ▼” key, select the signal source, press ENTER Key to confirm the choice
C. TV would switch to the mode that you choose
6.2 System Menu Setup
A. Press the Menu Key, to enter system setting menu for system setup.
B. Press direction Key, to choose sections.
C. Press ▶/ ENTER Key to enter the submenu and choose the option in the menu
D. Choose the option and press the Enter Key to confirm and finish the system setup
E. Press MENU, return to the main menu
F. Press STOP/ EXIT Key, to exit the system setup mode.
Attention: If the option is gray, it means the item cannot be set in this mode, please select the options available.
6.2.1 PICTURE
- Press MENU Key, the main menu appears, then press key to choose Picture Menu
- Picture Menu: Personalized /Dynamic/Standard/Mild.
• Color Temperature: Personal/cold/Normal/Warm. - Aspect Ratio: Auto/I6:9/4:3
- Noise Reduction: Low/ Middle /High/Off.
- Screen: Adjust PC picture position
6.2.2 SOUND MENU
- Press MENU Key, the main menu appears, then press key to choose Sound Menu
• Sound Mode: Standard/Music/Movie/Sports/Personal.
• Balance: Adjust the volume of the left and right loudspeaker - Auto Volume: under this mode, the fast adjustment would switch to smooth adjustment
- Surround Sound : SURROUND /OFF.
6.2.3TIME MENU
- Press MENU Key, the main menu appears, then press Key to choose Time Menu
- Clock: Adjust the time part : Day Month/ Year/ Hour/ Minute.
- Off Time: Setting 60s before off
- On Time: Setting to turn off after some minutes (enter the sleeping mode)
- Sleep timer:240/180/120/90/60/30/20/10
- Choose Time zone
6.2.4 OPTION MENU
- Press MENU Key, the main menu appears, then press Key to choose Option Menu.
- OSD Language: select display OSD Language
• Audio Language: setting the audio language - Subtitle Language: setting up the subtitle language
- Restore Default : restore all default settings
6.2.5 LOCK MENU
- Press MENU Key, the main menu appears, and then press ▲ / ▼ Key to select Lock Menu.
- Before entering settings, please enter the default password (0000) to enter the set value.
- Lock System: Enter the password to lock up the critical system settings, such as program searches. Before restoring defaults, you shall enter the password and then make the system settings.
- Cancel LOCK: Unlock.
- Set Password.
- Block Channel: Indicates the channel you want to lock.
- Parental Guidance: Set the age level of the television program (Age 4-18).
6.2.6 CHANNEL
Search for TV Programs :
1) Select DTV / ATV mode.
2) Press MENU Key, select Auto search / ATV Manual Search mode to find the TV program.
3) Select Auto Search and select Search Type: DTV + ATV / DTV / ATV. Then select your country, press Enter to start auto search.
4) Press CH + / CH- Key after Auto Scan is completed to select the desired program.
- Channel Edit: Set DTV / ATV and channel information.
• Signal Information: Check information about the television signal.
7. USB Function Operating Instruction
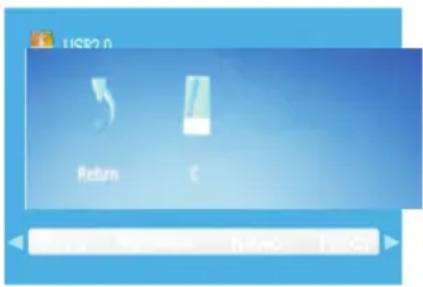
USB Mode (Multimedia).
- Press "INPUT or USB" Key to display the input source list, then press Key to select the source, press ENTER Key to confirm and display the multimedia mode. The color of the icon indicates if there is a TV USB DRIVER. Yellow: Yes; Gray: No.
- Press ◀▶ Key to select the type of media (Photo/Music /Movie/Text) you want to play. Press ENTER to confirm, and press Key to move to the directory and select what you want to play.
- Select C and press "ENTER" Key to enter the submenu.
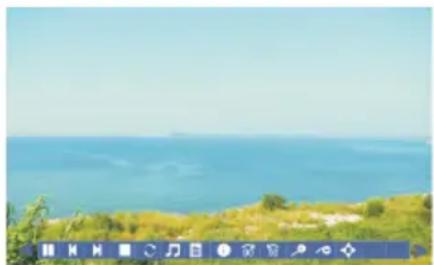
7.1PHOTO PLAY
- Insert the USB DRIVER into the USB slot.
- Press “◀ / ▶” Key, select the picture and press “ENTER” Key to enter the submenu.
- Select C and press "ENTER" Key to enter the submenu.
- Select a picture, press Key to display the picture, press Key to display the last image played, and press Key to display the next image to be played.
- Press "STOP / EXIT" Key to exit.
7.2 MUSIC PLAY
- Insert the USB DRIVER into the USB slot.
- Press “◀ / ▶” Key, select MUSIC and press “ENTER” Key to enter the submenu.
- Select C and press "ENTER" Key to enter the submenu.
- Select music, press Key to display, press Key to display the last song played, and press Key to show the next song to be played.
- Press "STOP / EXIT" Key to exit.
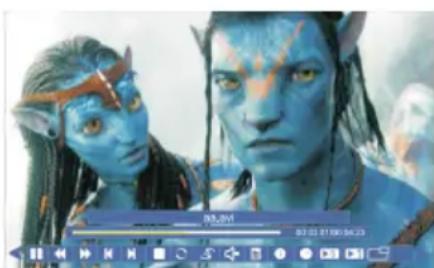
7.3MOVIE PLAY
- Insert the USB DRIVER into the USB slot.
- Press “◀ / ▶” Key, select Movie and press “ENTER” Key to enter the submenu.
- Select C and press "ENTER" Key to enter the submenu.
- Select movie, press Key to display, press Key to display the last section played, and press Key to show the next section to be played.
- Press "STOP / EXIT" Key to exit.
natural_image
Coastal landscape with blue sea and green hillside, no visible text or symbols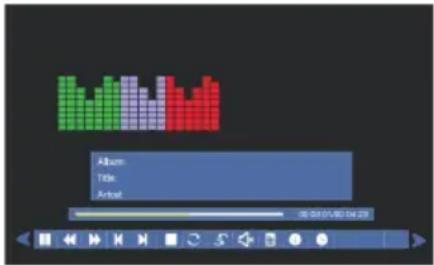
natural_image
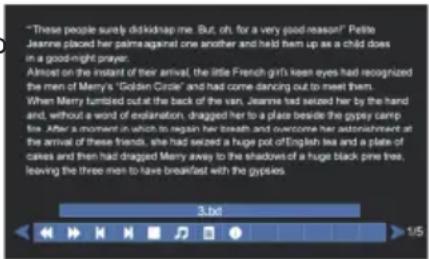
Two blue-tinted characters in dynamic poses, one with horns and face, the other with a skull (no visible text or symbols)7.4 TEXT PLAY
- Insert the USB DRIVER into the USB slot.
- Press “◀ / ▶” Key, select TEXT and press “ENTER” Key to enter the submenu.
- Select C and press "ENTER" Key to enter the submenu.
- Select TEXT, press Key to display, press Key to display the last page played, and press Key to show the next page to be played.
- Press "STOP / EXIT" Key to exit.
8. Common Troubleshooting
The following phenomenon does not mean that the display has problem. Please check the following items before asking for help from the maintenance department.
| Phenomenon | Ttroubleshooting |
| No image or sound | 1. Unauthorized power supply is in use.2. The power switch, monitor or remote control is off. |
| No image on TV | 1. Check if the right channel has been chosen.2. Still under the multimedia mode, please change to TV mode. |
| No sound | 1. Sound is off or the sound system is not properly set. |
| Blurry or unstable image | 1. Check is the antenna is correctly connected; 2. Ground signaling is too weak. |
| Ghosting | 1. Nearby buildings or top places reflects signals. |
| Snowflake | 1.Car or train electromagnetic radiation;2. High-voltage lines or neon lighting radiation. |
| No color | 1. Check if the color setting is correct.2. Check if the color system setting is correct |
| Unable to play USB Memorizer | 1.Make sure the USB has been correctly open 2.Check USB DRIVER format |
| No sound when connected to other devices | 1. Check if the connection with other devices is correc2. Check the input status of the corresponding devicest |
| Remote control does not work | 1. Check if there is battery inserted;2. Check the battery status; |
Information sheet:
9. Technical Specifications
Full support for analogue / digital TV system DVB-T.
- Analog TV band range: 48.25-863.25 MHz (for all TV channels).
- Input Frequency: UHF 177.5 MHz-226.5 MHz, UHF 474 MHz-866 MHz. Modulation: QPSK / 16-QAM / 64-QAM / 256 QAM.
- Decoding Standard: The decoding standard for HL is MPEG1,2MP, the decoding standard for L5HD is MPEG-4 SP & ASP, Divx13.11; 4.x; 6.x.
• Image Format: JPEG, BMP, PNG.
• Audio format: MP3, WMA.
• Video Format: MKV, AVI, DIVX, XVID, MOV, VOB, FLV, 3GP, DAT, MPEG, MPG, MP4, TS, TRP.
Basic Specifications
• Display: color TFT LCD
• Screen Size: 10.1 Inches
- Aspect Ratio: 16: 9.
• Resolution: 1024 (Horizontal) X S (RGB) X 600 (Vertical)
- Speaker: 2 x 2 Watts
- Power: 12 V DC
• Battery: 2500 mAh, 18650;
- Socket: Input Socket for External Antenna; Stereo Headphone Connecting Port; Audio / video input port (AV); USB port
• AC Power - AC Adapter
• Power Consumption : About 30W
- Working Temperature : -5°C to 40°C
- Storage Temperature : -20°C to 60°C
Notice:
- This manual is for reference only. The information in this manual is subject to change without notice. The right to clarify any unknown conditions, errors or omissions is reserved by our company.
- No part in this device can be repaired by user. It is forbidden to attempt to open the device housing to remodel the television receiver. Internal components at high voltage can be hazardous to health. Equipment maintenance and adjustment shall be carried out by specialists.
- To avoid personal injury, the product shall be securely fastened to the floor / wall according to the installation instructions.
- Do not drip or splash water on this device. Do not place any objects containing liquids such as vases on this device.
- Do not place sources of ignition such as lighted candles on the device.
- Do not expose this device to extreme heat, such as direct sunlight, flames, etc.
1 VORWORT
natural_image
Front view of a blank digital tablet device with control buttons (no text or symbols visible)Fernseher
natural_image
Simple line drawing of a plug and connector (no text or symbols)110-240V \~
50/60Hz=12V
natural_image
Front view of a gray remote control with various function keys and buttons (no readable text or symbols)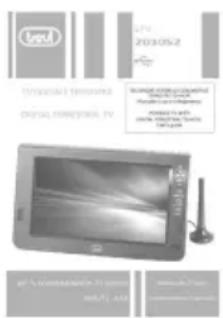
natural_image
Pure electrical circuit lines without any symbolsAV-Kabel
natural_image
Pure electrical circuit lines without any symbols1A
Autoadapter
natural_image
Simple line drawing of a laboratory flask with a coiled tube (no text or symbols)DVB-T
9 TELEVISIONE DIGITALE TERRESTRE (DTV) E ANALOGICA (ATV)
Prefacio
natural_image
Line drawing of a flat-screen digital device with control panel and buttons (no text or symbols)TV
natural_image
Simple line drawing of a plug and plug with a cord, no text or symbols present110-240V ∼ 50/60Hz / 12V = 1A
natural_image
Front view of a gray remote control with various function buttons (no readable text or symbols)Control remoto
Manual de usuario
natural_image
Pure electrical circuit lines without any symbolsCable AV
natural_image
Pure electrical circuit lines without any symbolsnatural_image
Simple line drawing of a laboratory flask with a coiled tube (no text or symbols)Antena DVB-T
5 CONTROLES Y CONEXIONES DEL TELEVISOR
■ Precautions for correct disposal of the product.
The symbol shown on the equipment indicates that waste must be disposed of in “separate collection” and so the product must not be disposed of together with urban waste.
The user must take the product to special “separate waste collection centres” provided by local government, or deliver it to the retailer against the purchase of a new product.
Separate collection of waste and subsequent treatment, recycling and disposal operations promotes the production of equipment with recycled materials and limits negative effects on the environment and on health caused by improper handling of waste.
Illegal disposal of the product leads to the enforcement of administrative penalties.

SIMPLIFIED EU DECLARATION OF CONFORMITY
Hereby TREVI Spa declares that the radio equipment type LTV 2010 S2 is in compliance with directive 2014 / 53 / EU.
The full text of the EU declaration of conformity is available at the following internet address https://www.trevi.it/dms/zidi/TREVI/DOCLTV2010S2.pdf




- TV DIGITALE TERRESTRE
- DIGITAL TERRESTRIAL TV
- DIGITALES TERRESTRISCHES FERNSEHEN
- TELEVISORE PORTATILE CON DIGITALE TERRESTRE T2+HEVC
- PREFAZIONE
- COMANDI E CONNESSIONI TELEVISORE
- TELEVISIONE DIGITALE TERRESTRE (DTV) E ANALOGICA (ATV)
- INDICE
- Maintenance
- Attention !
- Special Instruction
- 2.Accessories
- Instruction for Keys and Interfaces
- Side Panel
- Control Keys on the Control Panel
- Instruction for Function Keys on Remote Control (Some machines are different, prevail in kind)
- 25-28
- RED Key
- 5.Connection with External Devices
- Connecting Headphones
- 6.Description of the Operating Menu
- Select the Input Signal Source
- System Menu Setup
- PICTURE
- SOUND MENU
- 6.2.3TIME MENU
- OPTION MENU
- LOCK MENU
- CHANNEL
- USB Function Operating Instruction
- 7.1PHOTO PLAY
- MUSIC PLAY
- 7.3MOVIE PLAY
- TEXT PLAY
- Common Troubleshooting
- Technical Specifications
- Basic Specifications
- Notice:
- VORWORT
- Prefacio
- CONTROLES Y CONEXIONES DEL TELEVISOR
- SIMPLIFIED EU DECLARATION OF CONFORMITY
Brand : Trevi
Model : LTV 2010 S2
Category : TV