
Moreno - Juicer Klarstein - Free user manual and instructions
Find the device manual for free Moreno Klarstein in PDF.


| Product Type | Juicer |
| Brand | Klarstein |
| Model | Moreno |
| Motor Power | 500 W |
| Voltage | 220-240 V, 50/60 Hz |
| Speed Settings | 2 speeds |
| Juicing Method | Centrifugal |
| Pulp Container Capacity | 1.5 L |
| Juice Jug Capacity | 1 L |
| Feeding Chute Diameter | 65 mm |
| Material | Stainless steel filter, plastic body |
| Safety Features | Safety lock arm, non-slip feet |
| Dishwasher Safe Parts | Yes (removable parts) |
| Cleaning Brush Included | Yes |
| Dimensions (W x D x H) | 25 x 20 x 40 cm |
| Weight | 3.5 kg |
| Noise Level | < 80 dB |
| Cable Length | 1 m |
| Accessories Included | Juice jug, pulp container, cleaning brush |
| Warranty | 2 years |
| Repairability | Spare parts available online |
| Certifications | CE, RoHS |
Frequently Asked Questions - Moreno Klarstein
User questions about Moreno Klarstein
0 question about this device. Answer the ones you know or ask your own.
Ask a new question about this device
Download the instructions for your Juicer in PDF format for free! Find your manual Moreno - Klarstein and take your electronic device back in hand. On this page are published all the documents necessary for the use of your device. Moreno by Klarstein.
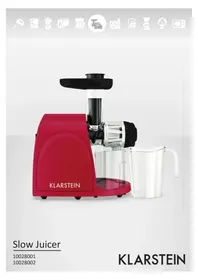
USER MANUAL Moreno Klarstein
natural_image
Row of white icons representing kitchen appliances and household appliances (no text or symbols)Slow Juicer
10021712
10021713
KLARSTEIN
WARNUNG
Gerät
REPARATUREN
natural_image
Technical line drawing of a mechanical device with no visible text or symbols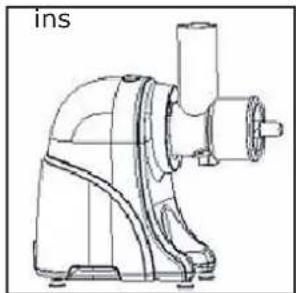
natural_image
Line drawing of a manual pump or motor with no visible text or symbols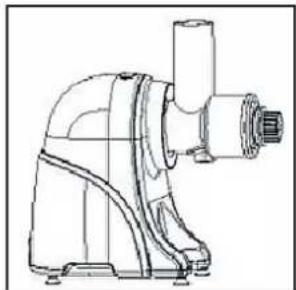
natural_image
Technical line drawing of a mechanical device with no visible text or symbolsnatural_image
Technical line drawing of a mechanical device with no visible text or symbolsnatural_image
Line drawing of a juice maker with three cups and a tiered top (no text or symbols)natural_image
Technical line drawings of a mechanical device with two views (top and side), no visible text or symbolsnatural_image
Technical line drawing of a mechanical device with no visible text or symbolsnatural_image
Line drawings of various kitchen utensils and fixtures (no text or labels)PROBLEMBEHEBUNG
natural_image
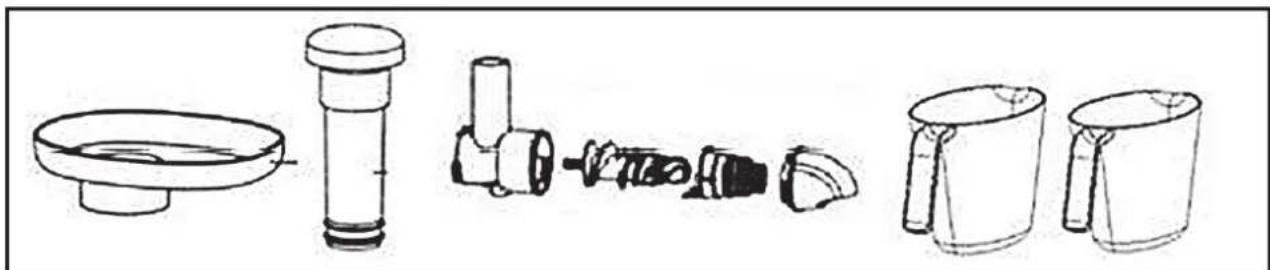
Simple line drawing of a trash bin with a 'X' symbol crossed out, no text or labels present.A Container
B Out Let
C Strainer
D Juicing Screw
E Food Processing Unit
F Hopper
G Pusher
H Power Switch
I Base
J Cleaning Brush
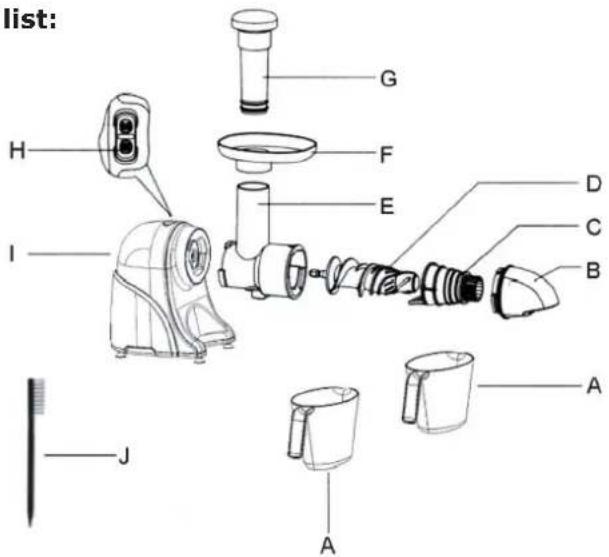
Note: Do not pre-operate before inputting materials or do not operate with an empty food processing unit.
B. Assembly Instructions:
- Assemble the food processing unit on the base
A. Make sure the food processing unit is all the way into the shaft of the base.
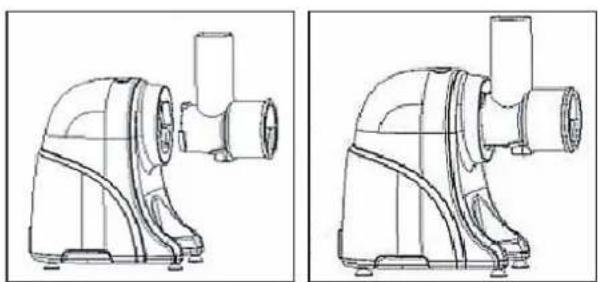
natural_image
Technical line drawings of two mechanical components (no text or symbols)- Place the juicing screw into the center of the food processing unit.
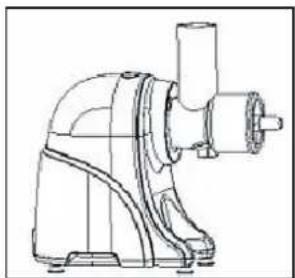
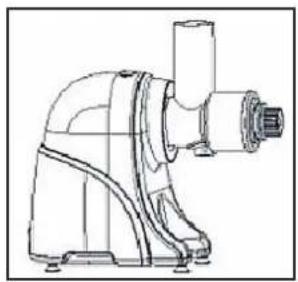
natural_image
Technical line drawing of a mechanical pump or motor assembly (no text or symbols)- Place the strainer into the center of the food processing unit.
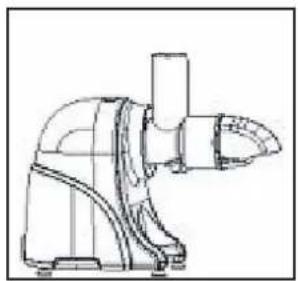
natural_image
Technical line drawing of a mechanical device with no visible text or symbols- Place the out let into the center of the food processing unit.
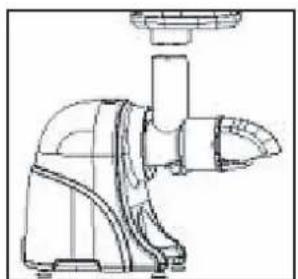
natural_image
Technical line drawing of a mechanical device with no visible text or symbols- Place the hopper into position.
natural_image
Technical line drawing of a mechanical device with no visible text or symbols- Place the provided juice cup and pulp cup into position.
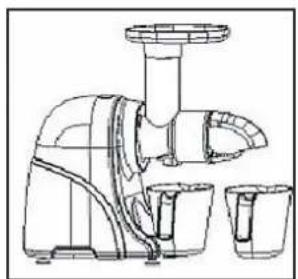
natural_image
Line drawing of a hand mixer with two cups, no text or symbols presentC. Operating Instructions:
Important:
. Do not operate the juicer with wet hands as it may cause an electric shock.
. Do not operate the juicer prior to imputing juicing materials.
. Do not operate for more than 15 minutes at one time.
-
Plug in the juicer.
-
Place a container below the juicer outlet and a container below the pulp outlet.
-
The juicer power button (located at the top of the machine) has 3 positions.
A. ON-This starts the motor and juicing process
B. O-Is the central position of the button. It switches off the appliance.
C. R-Is reverse. Only use this function when something is stuck in the juicer and it needs to be unclogged.
- Insert the material you wish to juicer into the hopper
. Ensure pieces are not larger than 4cm for optimal juicer extraction.
. Remove any large pips or seeds
. Always pre-wash food before juicing.
Do not overstuff the hopper or force food in. Insert food slowly to allow juicer time to work. The pusher is only be used if food becomes stuck. (See pic).
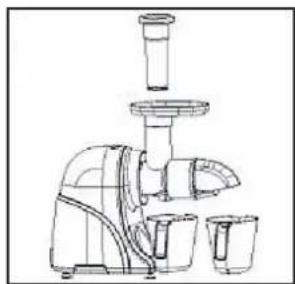
natural_image
Line drawing of a juice maker with three cups and a top handle (no text or symbols)- Switch the power button to "ON".
. Insert food slowly to allow juicer time to work.
. Do not overstuff the hopper or force food in. The pusher is only to be used if food becomes stuck.
6. When you are finished switch the power button to 'OFF'.
D. If the machine becomes clogged and inoperable.
1. Turn the machine off and press the reverse button for a few seconds then try operating again.
Note: The reverse button works with a 'pulse' motion.
2. If the reverse button does not work turn off the machine and switch off at the power point. Disassemble the unit to dislodge any material then reassemble as per the instructions and try again.
E. How to disassemble and clean the unit:
1. Switch off the unit.
2. Remove the pusher and hopper.
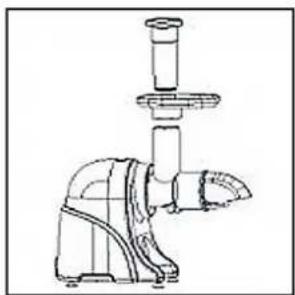
natural_image
Technical line drawing of a mechanical device with no visible text or symbols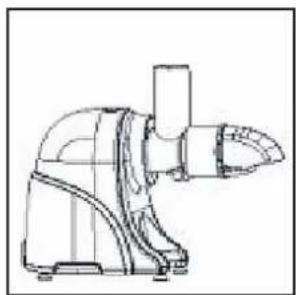
natural_image
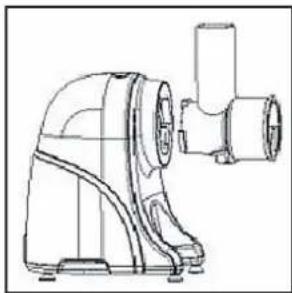
Technical line drawing of a mechanical device with no visible text or symbols- Remove the food processing unit from the base.
A. Press the button beside the food processing unit, then turn food processing unit to open.
natural_image
Technical line drawing of a mechanical pump or motor assembly (no text or symbols)- Disassemble the out let, strainer and juicing screw.
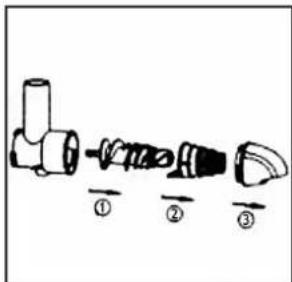
- Immediately after each use, wash the disassembled parts under running water.
A. Use the brush to clean all of these parts thoroughly in warm soapy water then dry thoroughly..
natural_image
Line drawings of various kitchen utensils and fixtures (no text or labels)- Use a damp cloth to wipe down the base of the unit.
CLEAN TIPS:
Periodically remove the silicone brushes from the spinning brush and clean thoroughly before reassembling.
Thoroughly clean immediately after each use to minimize staining.
Do not use harsh abrasives or chemicals to clean the juicer.
Do not clean in the dish washer.
TECHNICAL DATA
Input voltage: 220-240V\~
Frequency: 50Hz
Power: 150W
Speed: 80rpm
Max. Operation time: 30 minutes
TROUBLE SHOOTING
| Problem Possible Causes | What To Do | |
| No power to juicer Juice | not plugged in Check the juicer is plugged in | |
| Incorrect assembly Reassemble the juicer according to the instructions | ||
| Motor has stopped | Bowl has been overfilled with material | Press the reverse power button to try and clear the clog. May need to be try this a few times |
| Overuse has caused the motor to shut down as a precaution to overheating | Switch off and let the motor cool before using aging | |
| Leaking from beneath the bowl. | Rubber plug on base of bowl not correctly inserted | Rubber plug on base of bowl not correctly inserted |
| Stain on the bowl, Strainer, Spinning brush. | Natural color from juicing materials | This is perfectly normal. To reduce discoloration ensure you rinse and clean the appliance immediately after use |
| Squeaking noise during operation. | Juicing noise from squeezing screw This is perfectly normal. Ensure you do not overload the juicer | |
| Damage to the strainer. | Frozen foods, ice, pips, seeds, unknown substance or too much material in the bowl. | Ensure you read the instructions carefully on the correct use of the juicer. Do not overfill the juicer |
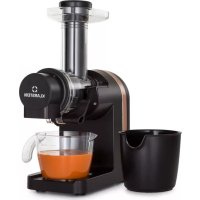
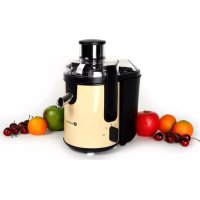
Brand : Klarstein
Model : Moreno
Category : Juicer