
DPF 7010 B - Digital photo frame ECG - Free user manual and instructions
Find the device manual for free DPF 7010 B ECG in PDF.


| Product Type | Digital Photo Frame |
| Brand | ECG |
| Model | DPF 7010 B |
| Display | 7 inch TFT LCD (RGB), 480 x 234 pixels |
| Power Supply | Input: 100-240 V~; Output: 5 V, 1 A |
| Internal Memory | 8 MB NOR-Flash (partially used for operating system) |
| Supported Media | SD card, MMC, USB flash drive |
| Menu Languages | English, French, Italian, German, Spanish, Portuguese, Swedish, Dutch |
| Slide Show Effects | Random, Split Horizontal In, Split Horizontal Out, Blinds, Split Vertical In, Split Vertical Out, Radiation, Surround |
| Adjustable Settings | Brightness, Contrast, Color, Hue, Slide Show Interval (0s to 1 min) |
| Photo Playback | Auto-play, manual, slide show, zoom, rotate, save to internal memory |
| Calendar | Displays date and time; allows browsing other months/years |
| Formatting | Format internal memory or delete files |
| Reset | Reset settings to default |
| Accessories Included | Power supply, operating manual |
| Operating Temperature | 0 °C to 60 °C |
| Storage Temperature | -10 °C to 70 °C |
| Cleaning | Use soft cloth; do not apply liquid directly to screen |
| Safety | Indoor use only; do not expose to rain or humidity; unplug during storms |
Frequently Asked Questions - DPF 7010 B ECG
User questions about DPF 7010 B ECG
0 question about this device. Answer the ones you know or ask your own.
Ask a new question about this device
Download the instructions for your Digital photo frame in PDF format for free! Find your manual DPF 7010 B - ECG and take your electronic device back in hand. On this page are published all the documents necessary for the use of your device. DPF 7010 B by ECG.
USER MANUAL DPF 7010 B ECG
natural_image
Black-and-white photo of three children wearing swim caps and goggles, lying on a sandy beach under a clear blue sky.DPF 7010 B
DIGITÁLNÍ FOTORÁMEČEK
NÁVOD K OBSLUZE
DIGITÁLNY FOTORÁMČEK
NÁVOD NA OBSLUHU
CYFROWA RAMKA FOTOGRAFICZNA
INSTRUKCJA OBSŁUGI
DIGITÁLIS KÉPKERET
HASZNÁLATI ÚTMUTATÓ
DIGITAL PHOTO FRAME
OPERATING MANUAL
CZ
SK
PL
HU
EN
DIGITÁLNÍ FOTORÁMEČEK
Obsah
Úvod....4
natural_image
Simple line drawing of a door with a vertical post and rectangular panel (no text or symbols)
ZAČÍNÁME

(Obr. 3)
NASTAVENÍ
CZ
Ovládání:
V jakékoli nabídce:
Volba mezi 8 jazyky nabídky: English, French, Italian, German, Spanish, Portuguese, Swedish, Dutch.
Jas
DÔLEŽITÉ BEZPEČNOSTNÉ POKYNY
natural_image
Simple line drawing of a door with a vertical post and rectangular panel (no text or symbols)ZAČÍNAME
(Obr. 3)
NASTAVENIE
Ovládanie:
V akejkolvek ponuke:
- Tlačidlom Nastavenie sa vrátite do ponuky Nastavenie (Obr. 4).
- Stlačením tlačidla vyberte položku.
• Tlačidlom ENTER zmeňte nastavenie.
Vol'ba medzi 8 jazykmi ponuky: English, French, Italian, German, Spanish, Portuguese, Swedish, Dutch.
Jas
Umožňuje nastavenie jasu LCD obrazovky.
Kontrast
(Rys. 3)
USTAWIENIA
Sterowanie:
natural_image
Simple line drawing of a door with a vertical post and rectangular panel (no text or symbols)HU
HASZNÁLAT
important safety instructions....40
content sources 41
let's start 42
memory card selections 42
play photos....43
setup 44
calendar......46
troubleshooting guide....46
technical specifications....47
INTRODUCTION
Warning and maintenance
- Only for indoor use
- Do not expose the product to rain or humidity, there is danger of fire or electric shock.
- Do not cover the ventilation openings in the back, prevent overheating.
- Do not expose the photo frame to direct sunlight. Direct sunlight can cause damage.
- Use always the appropriate buttons to remove the memory card.
- Do not dismantle the photo frame. It does not contain any parts repairable by a user and exposes you to risk of electric shock.
- Dismantling the photo frame voids warranty.
- Do not use the photo frame in situations resulting in moisture condensation inside the device and other dangers.
LCD screen cleaning
- Handle the device gently. The screen of the photo frame is made of glass and is easily scratched or broken.
- We recommend to wipe the fingerprints and dust from the LCD screen with a soft cloth, like a camera cloth.
- If you use the cleaning kit for LCD screens, do not apply the cleaning liquid directly to the screen. Put it on the cloth and then use this cloth to wipe the screen.
WARNING:
Switch the photo frame OFF before inserting or removing a memory card or a USB drive. The memory device or the photo frame might be damaged. Do not expose the product to rain or humidity, there is danger of fire or electric shock.
IMPORTANT SAFETY INSTRUCTIONS
- Read all the instructions.
- Keep the manual for future use.
- Pay attention to all warnings.
- Follow all instructions.
- Do not use the device close to water.
- Clean only with dry cloth.
- Do not cover ventilation openings. Install according to manufacturer's instructions.
- Do not install close to any heat sources, such as radiators, heat exchangers, heaters and other appliances (including amplifiers), which produce heat.
- Do not interfere with the safety function of the plug with the protective power cord conductor. The polarized plug has one prong wider that the other. The plug with the grounding prong has two working prongs and a third, protective prong. This prong is for your safety. If you cannot insert the plug into the outlet, ask an electrician to change the obsolete outlet.
- Do not step on the power cord and protect it from damage, especially close to the plug and at the power jack of the device.
- Use only accessories recommended by the manufacturer.
- Unplug the device during a storm or if you do not plan to use for a longer period of time.
- All servicing should be done by a qualified service technician. Servicing is required always whenever there is damage to the device, especially if the power cord and plug are damaged. Also, have it checked after a liquid spill, after a fall or in case when it does not work properly.
- The device should not be exposed to dripping or splashing water and objects containing liquids should not be placed upon it, for example vases.
CONTENT SOURCES
Inserting the memory card
The photo frame is compatible with these media:
- Secure Digital Card (SD)
• Multimedia Card (MMC) - USB drives
Insert the cards facing you. Do not force the cards into the slots.
If you cannot insert the card easily, you are inserting it the wrong way.
Note
DPF = Digital Photo Frame

natural_image
Simple line drawing of a door with a vertical post and rectangular panel (no text or symbols)
LET'S START
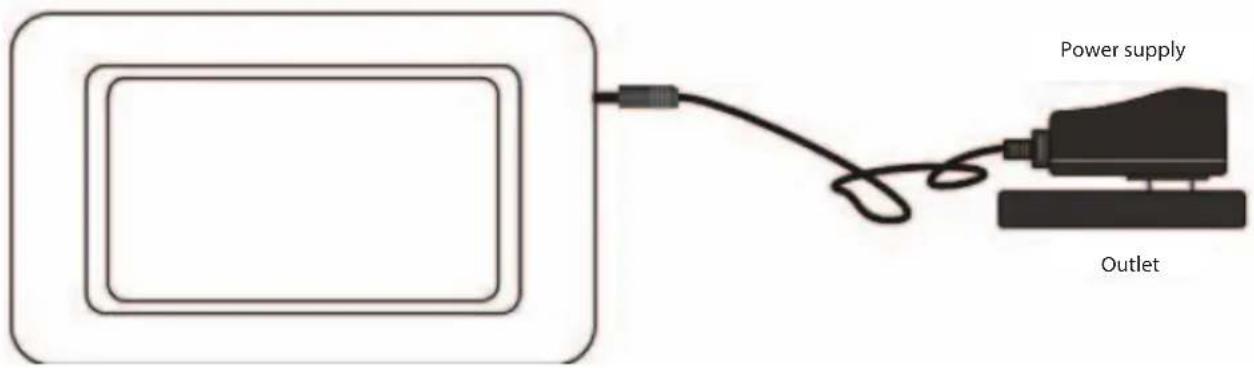
Assemble the stand and set up the photo frame, connect the power cord to the photo frame and then to the power outlet.
The photo frame will start playing the content: (auto – play of saved photos), after inserting a memory card, it starts playing its content.
MEMORY CARD SELECTIONS
The photo frame starts to auto – play the photos from an inserted memory card after it is turned on; otherwise it will play photos from the internal memory.
Press Exit to return to Photo menu (Pic. 1).
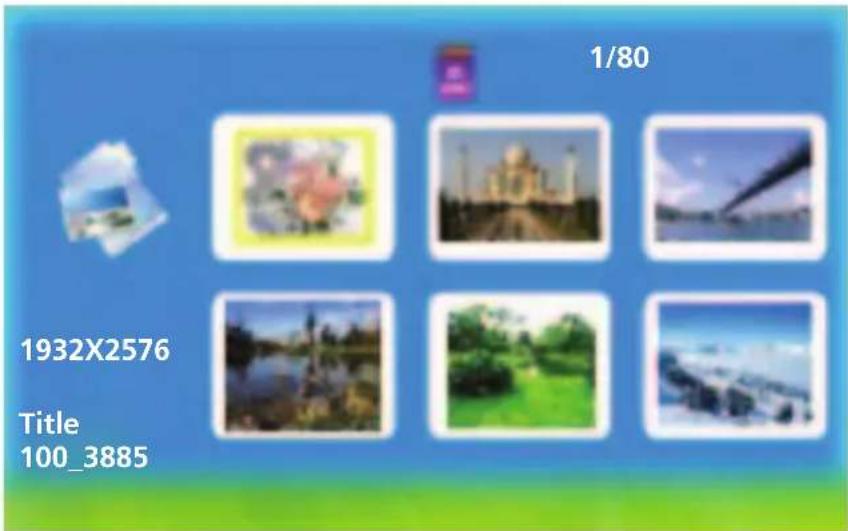
(Pic. 1)
EN
If there is no medium inserted into the photo frame and the memory is empty, it returns to Photo menu. After inserting the memory card, the device will open the card selection mode (Pic. 2).
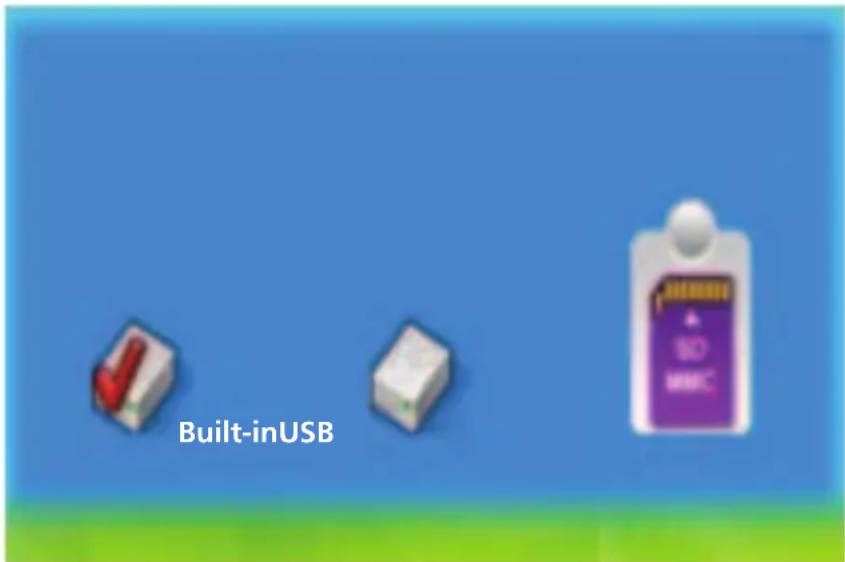
(Pic. 2)
PLAY PHOTOS
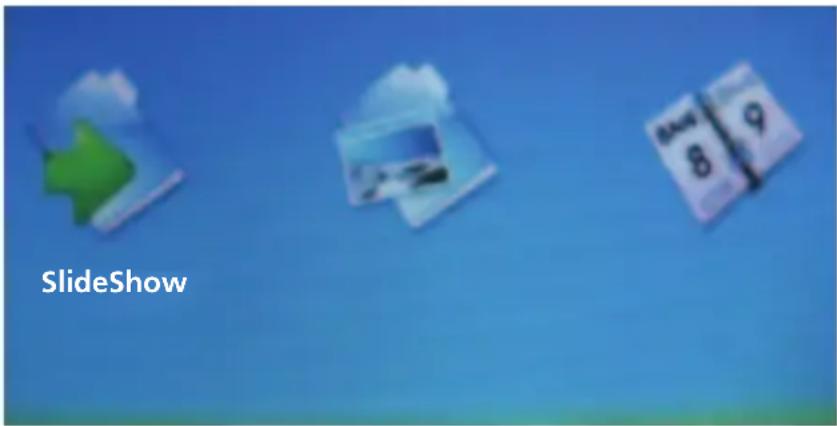
After inserting the memory card, the device will open the card selection mode.
Control:
You can select various media in the card selection menu ◀ or ▶. Press ENTER after you select a card and then you can play photos in Slide show or Photo mode (Pic. 3). Press Exit to exit play.
(Pic. 3)

SETUP
Control:
In any menu:
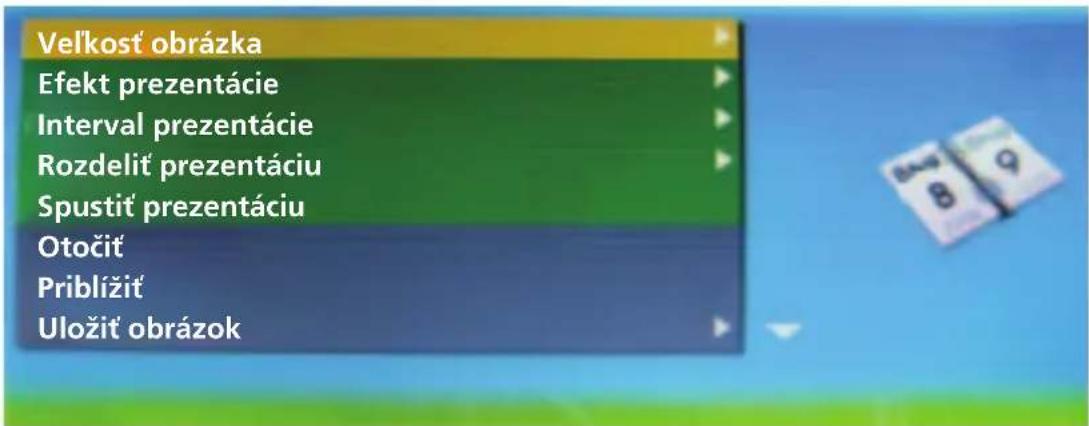
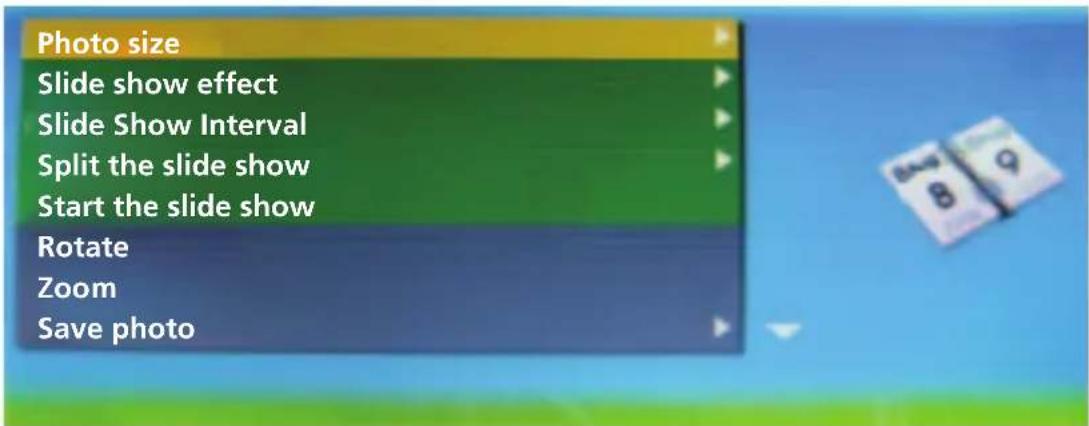
- Press Setup to return to the Setup menu (Pic. 4).
- Press button to select an item.
- Press ENTER to change setup.
(Pic. 4)
Photo size
Allows the user to change the manner of the display in the photo frame. Choose between Auto adjustment and Optimal.
Slide show effect
Allows selection of various transition effects between photos in slide show. You can choose from 8 options: Random, Split Horizontal in, Split Horizontal out, Blinds, Split Vertical in, Split Vertical out, Radiation, Surround.
Slide Show Interval
Allows to set the speed of the slide show. The interval between photos can be changed from 0 seconds to 1 minute. Press button to change the setup.
Split the slide show
Allows to turn the Split Slide Show on or off.
Start the slide show
Allows to set the start of the slide show.
EN
Rotate
Rotate the photo 90° to the right. (Works when the photo fills the entire screen)
Zoom
Allows to zoom in and out of the photo. (Works when the photo fills the entire screen)
Save photo
Saving photos from the memory card to internal memory. (Works when the photo fills the entire screen)
Delete file
Delete photos from internal memory. (it works in the Photo menu, press Zoom to select more files from the Photo menu).
Formatting memory
It will delete all the data from the memory.
Reset settings
Returns settings to default.
Language
Choice among 8 languages of the menu: English, French, Italian, German, Spanish, Portuguese, Swedish, Dutch.
Brightness
Allows to set brightness of the LCD screen.
Contrast
Allows to set contrast of the LCD screen.
Colour
Allows to adjust colours of the LCD screen.
Hue
Allows to set hue of the LCD screen.
Time
Allows to use the system time.
CALENDAR
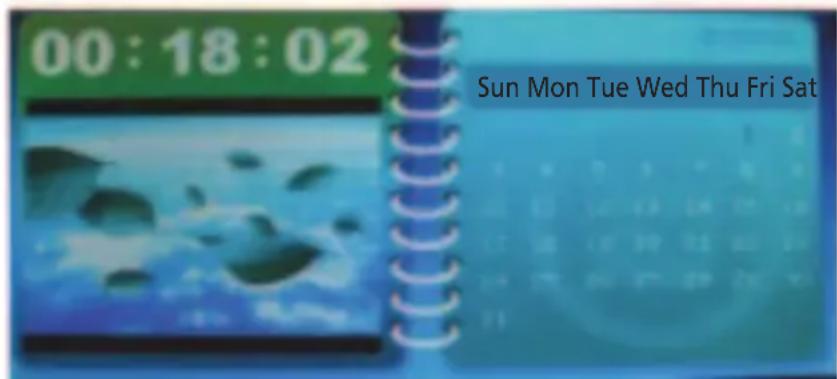
Fig. 5
Setting system date and time (Pic. 5).
Use
Using ◀or ▶ select Calendar in the menu mode. Press ENTER to enter the calendar menu. Besides the current date, you can use the navigation buttons to display calendar of other years, months and days.
TROUBLESHOOTING GUIDE
If you encounter problems when using the DPF, use this guide. If you need further assistance, contact technical support.
| No power Check if there is power | in the outlet and if the power cord is connected to the photo frame. |
| The display is too bright or too dark. | Set brightness and contrast in the menu. |
| Cannot read the card. Check if the card contains pictures. | |
| Cannot play files. Check if the device can play the used format. | |
| Picture has no colour or little colour. | Set colours. |
TECHNICAL SPECIFICATIONS
Display: 7 inch TFT LCD (RGB) 480×234
Power: Power; input 100–240 V\~; output 5 V, 1 A
Internal memory: 8 MB NOR-Flash (you cannot use the full capacity for saving
pictures, contains also operating software)
Operating ranges of the environment
Operating temperature: 0\~60 °C
Storage temperature: -10\~70 °C
Accessories:
Power supply
Operating manual
The appearance, specifications and instructions are subject to change without prior notice.
USE AND DISPOSAL OF WASTE
Wrapping paper and corrugated paperboard – deliver to scrapyard. Packing foil, PE bags, plastic elements – throw into plastic recycling containers.
DISPOSAL OF PRODUCTS AT THE END OF LIFETIME
Disposal of electric and electronic equipment (valid in EU member countries and other European countries with an implemented recycling system)
The represented symbol on the product or package means the product shall not be treated as domestic waste. Hand over the product to the specified location for recycling electric and electronic equipment. Prevent negative impacts on human health and the environment by properly recycling your product.
Recycling contributes to preserving natural resources. For more information on the recycling of this product, refer to your local authority, domestic waste processing organization or store, where you purchased the product.

08/05

www.ecg.cz
- DPF 7010 B
- DIGITÁLNÍ FOTORÁMEČEK
- DIGITÁLNY FOTORÁMČEK
- CYFROWA RAMKA FOTOGRAFICZNA
- DIGITÁLIS KÉPKERET
- DIGITAL PHOTO FRAME
- Obsah
- ZAČÍNÁME
- NASTAVENÍ
- CZ
- Ovládání:
- Jas
- DÔLEŽITÉ BEZPEČNOSTNÉ POKYNY
- ZAČÍNAME
- NASTAVENIE
- Ovládanie:
- Kontrast
- USTAWIENIA
- Sterowanie:
- HASZNÁLAT
- INTRODUCTION
- Warning and maintenance
- LCD screen cleaning
- WARNING:
- IMPORTANT SAFETY INSTRUCTIONS
- CONTENT SOURCES
- Inserting the memory card
- Note
- LET'S START
- MEMORY CARD SELECTIONS
- PLAY PHOTOS
- Control:
- SETUP
- Photo size
- Slide show effect
- Slide Show Interval
- Split the slide show
- Start the slide show
- EN
- Rotate
- Zoom
- Save photo
- Delete file
- Formatting memory
- Reset settings
- Language
- Brightness
- Contrast
- Colour
- Hue
- Time
- Use
- TROUBLESHOOTING GUIDE
- TECHNICAL SPECIFICATIONS
- Accessories:
- USE AND DISPOSAL OF WASTE
- DISPOSAL OF PRODUCTS AT THE END OF LIFETIME
- www.ecg.cz
Brand : ECG
Model : DPF 7010 B
Category : Digital photo frame