
HT 891 - Thermostat Cocraft - Free user manual and instructions
Find the device manual for free HT 891 Cocraft in PDF.


| Product Type | Thermal Imaging Camera |
| Brand | Cocraft |
| Model | HT 891 |
| Measuring Range | -20 to 380 °C (-4 to 716 °F) |
| Accuracy | ±2% or ±2 °C |
| IR Resolution | 33 × 33 pixels |
| Camera Resolution | 480 × 640 pixels |
| Display Resolution | 240 × 320 pixels |
| Field of View | 32° × 32° |
| Frame Rate | 9 Hz |
| Minimum Focus Distance | 0.5 m |
| Image File Format | Bitmap (BMP) 240 × 320 pixels |
| Power Supply | 4 × AA/LR6 batteries or Micro-USB (5 V) |
| Memory Card | MicroSD (8 GB supports ~50,000 photos) |
| Display | Colour screen with adjustable brightness and colour palette |
| Emissivity Settings | Presets: 0.95, 0.80, 0.60, 0.30; Custom: 0.10 to 1.00 |
| Additional Features | LED light, Max/Min temperature display, image blend (0-100%), auto-off timer |
| Operating Temperature | -5 to 40 °C, >80% RH |
| Storage Temperature | -20 to 55 °C, 10-80% RH |
| Care and Maintenance | Wipe with dry cloth; remove batteries for long-term storage |
| Safety | Do not use near explosive gases; keep away from children; do not disassemble |
Frequently Asked Questions - HT 891 Cocraft
User questions about HT 891 Cocraft
0 question about this device. Answer the ones you know or ask your own.
Ask a new question about this device
Download the instructions for your Thermostat in PDF format for free! Find your manual HT 891 - Cocraft and take your electronic device back in hand. On this page are published all the documents necessary for the use of your device. HT 891 by Cocraft.
USER MANUAL HT 891 Cocraft
EASILY DETECT THERMAL BRIDGES, BADLY INSULATED AREAS, ETC.
COLOUR SCREEN DISPLAY
SAVE TO A MEMORY CARD
Read the entire instruction manual carefully and make sure that you fully understand it before you use the equipment. Keep the manual for future reference.
Viktig information:
Original instructions
Bruksanvisning i original
Originalbruksanvisning
Please read the entire instruction manual before using the product and then save it for future reference. We reserve the right for any errors in text or images and any necessary changes made to technical data. In the event of technical problems or other queries, please contact our Customer Services (see address details on the back).
Safety
- Do not use the product where explosive gases or liquids are used or stored. Do not use the product in very humid or dusty environments.
- Never let children play with the product.
- Treat the product with care and do not subject it to shocks or impacts.
- Never try to open the housing, repair or modify the product in any way.
- All repairs must be carried out by qualified service technicians using genuine spare parts.
Product description
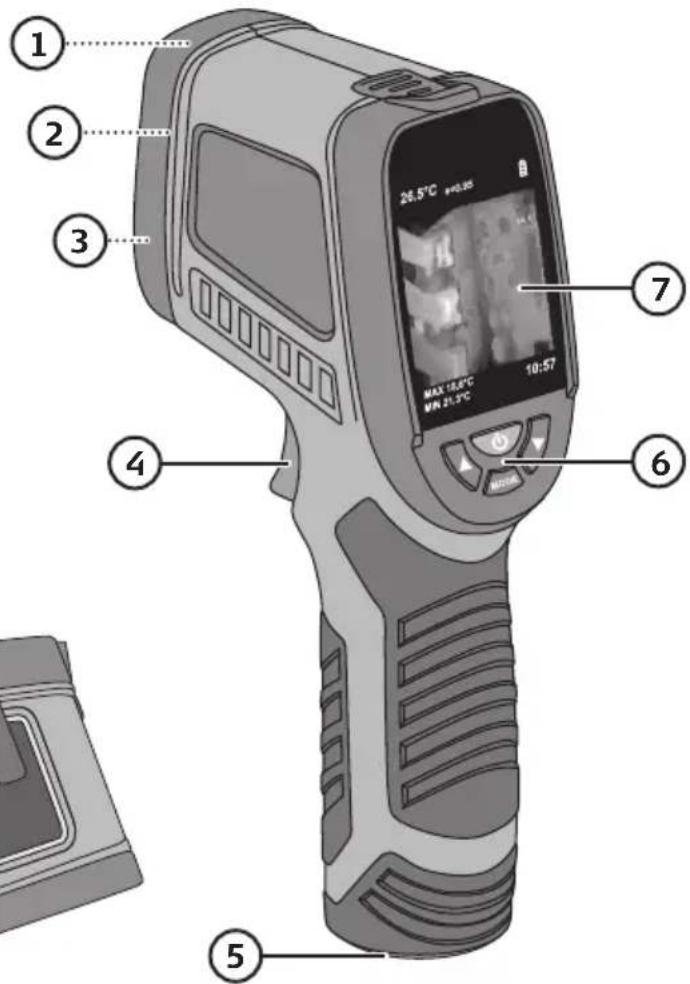
- IR camera
- Camera
- LED light
- Trigger for still image photographs
- Battery cover
- Controls
- Display
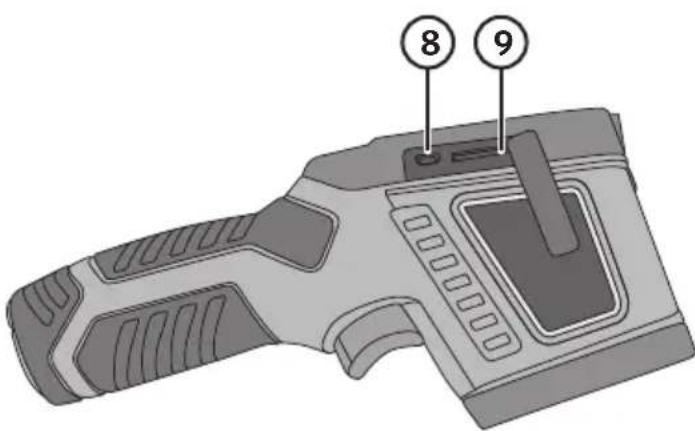
- Micro-USB port
- MicroSD card slot
Batteries
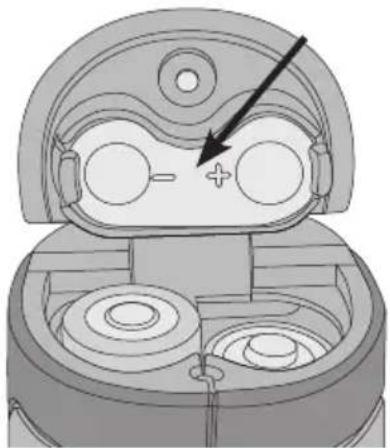
- Remove the screw from the battery cover and open the battery compartment.
- Insert 4 × AA/LR6 batteries (sold separately). Follow the markings inside the battery compartment to ensure the correct polarity.
- Close the cover and refit the screw.
Note: The camera can also be powered using the Micro-USB port. Remove the batteries from the camera and connect a USB charger or power bank (max 5 V) to the Micro-USB port on the camera (8).
natural_image
Diagram of a mechanical device interior showing internal components and a directional arrow (no text or symbols)Buttons and functions
- [ A long press of the on/off button will turn the camera on or off, a short press will return to the previous position in the menu.
- [MODE] A single short press will open and enter menu selections. A second short press will confirm your selection/settings.
- [▲] Move up in the menu. In measuring mode, this button switches the LED light on and off.
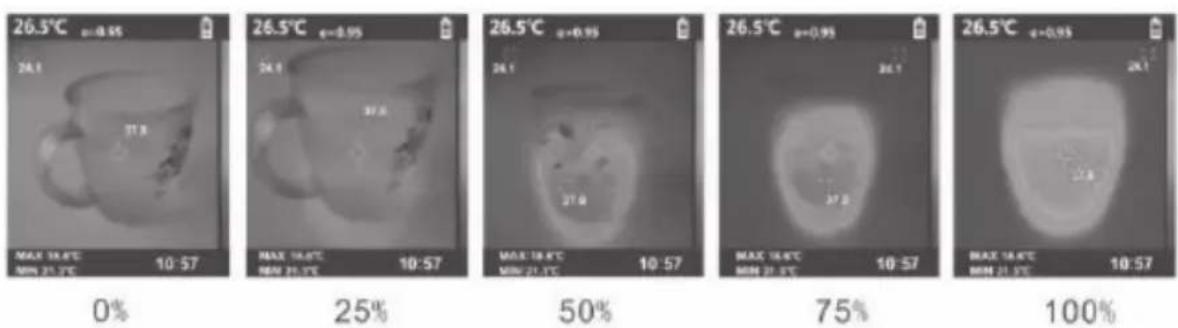
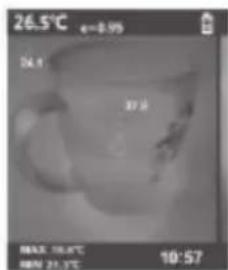
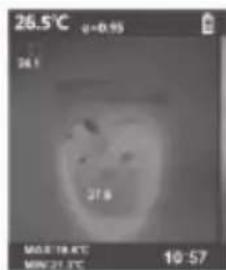
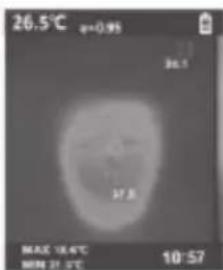
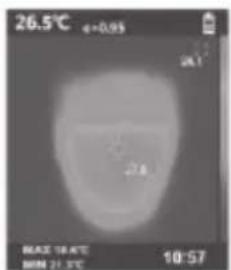
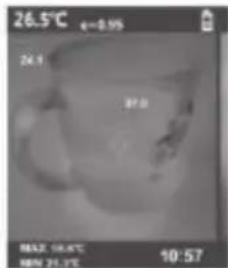
- [▼] Move down in the menu. Each short press of the button will increase the amount of the infrared heat map images blended with the visual images by 25%.
Taking photographs
Information: In order for the camera to be able to take photos and store them, it needs to be fitted with a MicroSD memory card (with a 8 GB MicroSD card you can take 50,000 photos).
- Pull the trigger (4) to take a screenshot of the temperature readings on the display.
- The image and the words "YES" and "NO" will appear on the display.
- Press [▲] to save the image on the memory card.
- Press [▼] to delete the image.

Information
- If the SD card is damaged or missing, "SD Card Error" and "Please Check" will appear on the display.
- If the memory card is full, "FULL" will be displayed.
Transferring images to a computer
Connect a Micro-USB cable to the port on the camera (8) and to a computer. The MicroSD card appears on the computer as an external storage device. Follow the instructions displayed on the computer screen.
Menu
Navigate and change settings by following the instructions in the Buttons and functions section.
 | Date and time. |
 | The number of images on the memory card. View saved images and delete selected images. |
 | Display brightness setting. |
 | Select the unit of temperature, °C or °F. |
 | Setting for how long the camera is to be left on before it automatically shuts off: 3, 5, 10 min. If you select “OFF”, the camera stays on until it is switched off manually. |
 | Shows how much capacity is left on the memory card. |
 | Display colour palette selection. |
 | Emission factor setting. Refer to the Instructions for use section. |
Switch the max/min temperature display on/off. On:
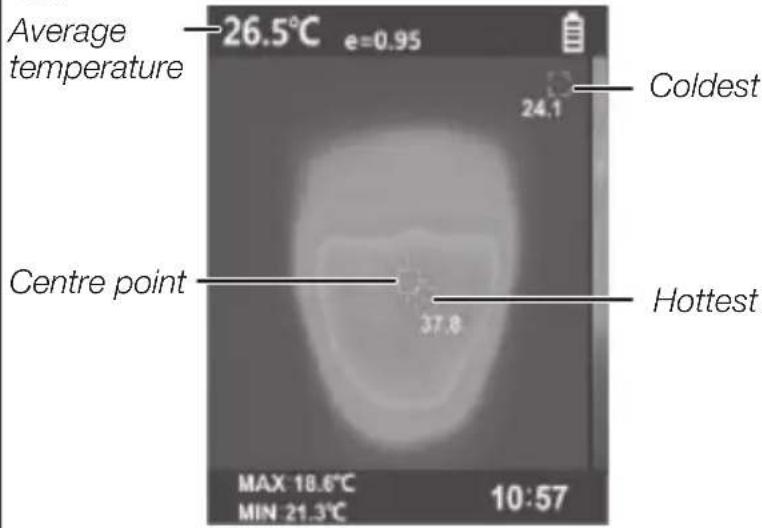
Instructions for use
Things to consider when measuring temperature with the thermal imaging camera
- The most common application for a thermal imaging camera is to use it to see the hot and cold areas and temperature differences around a window, in a wall cavity or radiator for example. The colours on the display show hot (red) and cold (blue) areas (if the colour palette of the camera has been set to red/blue). The different colours make it easier to see the areas on the camera display having different temperatures and this is usually more important than the actual temperatures.
- The colours on the image only show which part of area is cold and which part is hot. The blue area in one heat map image need not necessarily have the same temperature as a blue area in another heat map image. The blue colour only shows which part of the image is colder compared to the rest of the image.
If you would like to measure the temperature, there are some things you need to consider:
- In simple terms, you could say that the thermal imaging camera registers the infrared (IR) radiation an object emits.
- Temperature measurement depends on the emission factor of the object. The emission factor is a measure of the capacity of a material (object) to emit infrared radiation.
- The emission factor differs between materials and is influenced by surface colour and texture.
- In order to achieve more accurate temperature measurements, it is therefore necessary to set the emission factor of the camera to suit the material and surface texture of the object being measured.
- The camera menu has a function for setting the emission factor. The camera has 4 set values: 0.95, 0.80, 0.60, 0.30 and a menu where you can select your own emission factor from 0.10 to 1.00.
The table below shows the approximate emission factor of some materials.
| Material | |
| Aluminium, non-oxidised 0.02 | |
| Concrete 0.93 | |
| Iron, emery abraded 0.24 | |
| Iron with rolling skin 0.77 | |
| Wood 0.94 | |
| Radiator, black anodised 0.98 | |
| Plastic: PE, PP, PVC 0.94 | |
| Masonry 0.93 | |
| Paper 0.97 | |
| Porcelain 0.92 | |
| Bricks, mortar, plaster 0.93 |
As can be seen from the table, 0.95 is a good average emission factor for most materials.
- The emission factor of a material is also influenced by surface colour and texture.
- It can be difficult to achieve a reliable reading on wet surfaces or surfaces covered in snow or frost.
- It is also difficult to get an accurate reading on dirty and contaminated surfaces. Air pockets can create misleading measurement results.
- Dark, matt surfaces will emit more thermal radiation than bright, smooth surfaces.
- Take into consideration any possible sources of radiation, especially when measuring smooth surfaces (e.g. sunshine, radiators).
Care and maintenance
- Clean the product by wiping it with a dry cloth.
- Whenever the camera is not to be used for an extended period, the batteries should be removed and it should be stored in a dry, dust-free environment.
Responsible disposal
This symbol indicates that the product should not be disposed of with general household waste. This applies throughout the entire EU. In order to prevent any harm to the environment or health hazards caused by incorrect waste disposal, the product must be handed in for recycling so that the material can be disposed of in a responsible manner. When recycling your product, take it to your local collection facility or contact the place of purchase. They will ensure that the product is disposed of in an environmentally sound manner.
natural_image
Symbol of a trash bin with crossed lines indicating no waste or restriction, and a solid rectangle below (no text or labels)Specifications
Measuring range -20 to 380 °C (-4 to 716 °F)
Batteries 4 × AA/LR6
Memory card MicroSD
Camera resolution 480 × 640 pixels
Display resolution 240 × 320 pixles
Image file format Bitmap (BMP) image 240 × 320 pixels
Operating temperature -5 to 40 °C, >80% RH
Storage temperature -20 to 55 °C, 10\~80% RH
Accuracy ±2 % or ±2 °C
Field of view 32^ × 32^
Frame rate 9 Hz
Minimum focus distance 0.5 m
IR resolution 33 × 33 pixels
Värmekamera
Art.nr 41-1732 Modell IR-891
natural_image
Top-down diagram of a mechanical device showing internal components with no visible text or symbolsnatural_image
Grayscale image of a mug with engraved temperature and temperature settings (no readable text or symbols)0%
25%
50%
75%
100%
Fotografering
natural_image
Symbol of a trash bin crossed with no text or numbers, accompanied by a solid black rectangle below (no text or symbols present)Specifikationer
Mätintervall -20 till 380 °C (-4 till 716 °F)
Batterier 4 × AA/LR6
Minneskort MicroSD
natural_image
Diagram of a mechanical device interior showing internal components and a directional arrow (no text or symbols)natural_image
Symbol of a trash bin with crossed lines indicating no waste or restriction, and a solid black rectangle below (no text or labels)Spesifikasjoner
Måleintervall -20 til 380 °C (-4 til 716 °F)
Batterier 4 × AA/LR6
Minnekort MicroSD
Kamera-oppløsning 480 × 640 pixler
Display-oppløsning 240 × 320 pixler
Bildefilformat Bitmap-bilde (BMP) 240 × 320 pixler
natural_image
Diagram of a device interior showing internal components with no visible text or symbolsnatural_image
Grayscale image of a mug with temperature and date display (no readable text or symbols)0%
25%
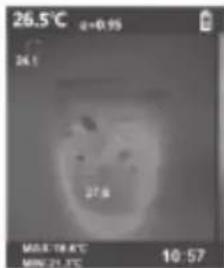
50%
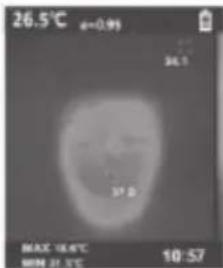
75%
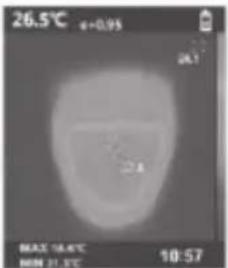
100%
Kuvien ottaminen
natural_image
Symbol of a trash bin with crossed lines indicating no waste or restriction, and a solid black rectangle below (no text or labels)Tekniset tiedot
natural_image
Diagram of a mechanical device interior showing internal components and a directional arrow (no text or symbols)natural_image
Symbol of a trash bin with crossed-out lines and a solid black rectangle below (no text or labels)Technische Daten
Postal 10 - 13 Market Place
Kingston upon Thames
Surrey
KT1 1JZ
Deutschland
Kundenservice Hotline: 040 2999 78111
E-Mail: kundenservice@clasohlson.de
Homepage
www.clasohlson.de
- Viktig information:
- Safety
- Product description
- Batteries
- Buttons and functions
- Taking photographs
- Information
- Transferring images to a computer
- Menu
- Instructions for use
- Care and maintenance
- Responsible disposal
- Specifications
- Värmekamera
- Fotografering
- Specifikationer
- Spesifikasjoner
- Kuvien ottaminen
- Tekniset tiedot
- Technische Daten
- Deutschland
Brand : Cocraft
Model : HT 891
Category : Thermostat