
BROOM 9659973-01 - Garden broom HUSQVARNA - Free user manual and instructions
Find the device manual for free BROOM 9659973-01 HUSQVARNA in PDF.

| Product type | Garden broom (sweeping unit) |
| Brand | HUSQVARNA |
| Model | BROOM 9659973-01 |
| Use | Cleaning of outdoor surfaces (driveways, parking lots) |
| Drive | Hydraulic (by tractor) |
| Lateral adjustment | Yes, by lever |
| Height adjustment | Via bracket and drive shaft |
| Chain tension | Adjustable via tensioner and gear displacement |
| Lubrication | Viscous oil and ball bearing grease |
| Safety | Chain guard, minimum distance of 10 meters, stop engine before maintenance |
| Assembly | On tractor (PT 26D) |
| Maintenance | Daily check of lubrication |
| Spare parts | Cylindrical brushes, chains, bearings |
| Control type | Lateral displacement lever |
| Compatibility | Tractors with hydraulic coupling |
Frequently Asked Questions - BROOM 9659973-01 HUSQVARNA
User questions about BROOM 9659973-01 HUSQVARNA
0 question about this device. Answer the ones you know or ask your own.
Ask a new question about this device
Download the instructions for your Garden broom in PDF format for free! Find your manual BROOM 9659973-01 - HUSQVARNA and take your electronic device back in hand. On this page are published all the documents necessary for the use of your device. BROOM 9659973-01 by HUSQVARNA.
USER MANUAL BROOM 9659973-01 HUSQVARNA
Owner's manual, p. 22-31
Read through the owner's manual carefully before you begin using the product.
Study and understand the owner's manual before use.
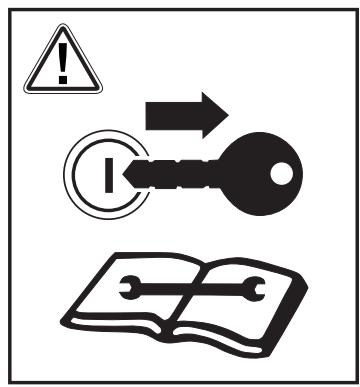
Turn off the engine and remove the key before maintenance, cleaning or repair.
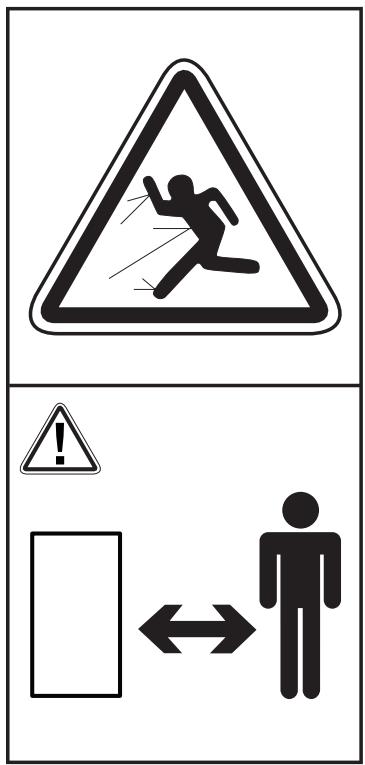
Do not remain within the broom unit's operating range, which is equivalent to a radius of 10 metres.
Do not use the brush unit in the vicinity of onlookers, animals and children.
Keep hands and feet away from moving parts.
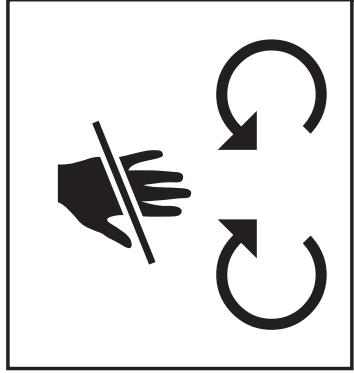
Never use a rotating brush with a defective chain guard.
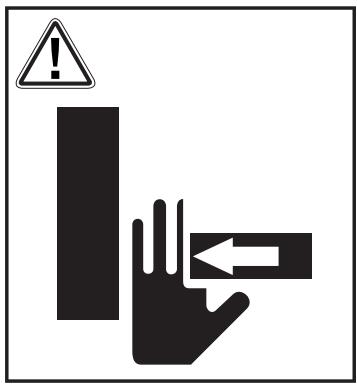
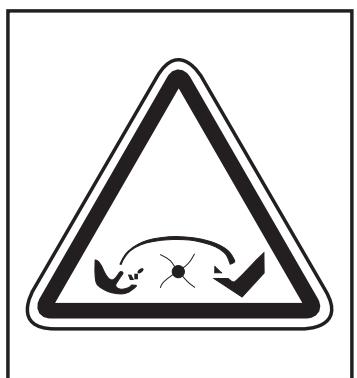
Risk of crush injuries! Keep hands and feet away from moving parts when the broom unit is in operation.
Fit the bracket and the propeller shaft. Place a support under the propeller shaft so that it is horizontal.
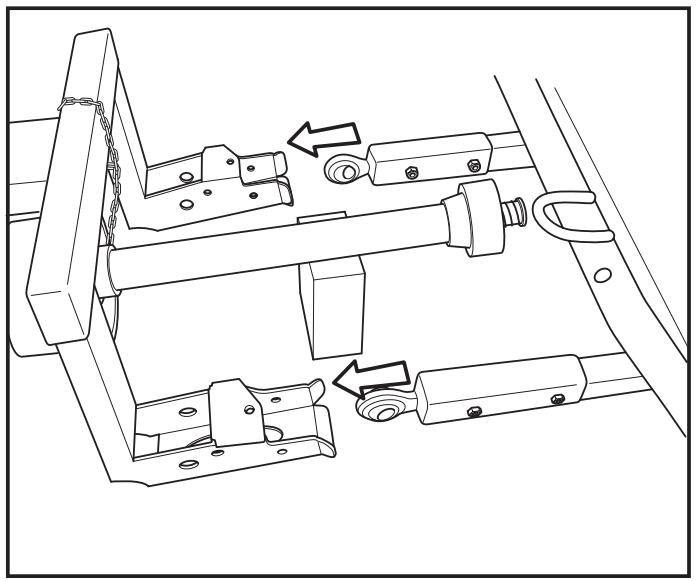
If necessary adjust the broom unit so that it operates in the horizontal position, by pulling the lever forward or backward.
Make sure all the sprinters are securely locked when the broom unit is mounted to the PT 26D.
The protective covers for both the chains must be mounted carefully.
Hydraulic hoses and propeller shaft are connected under the hatch in the footplate.
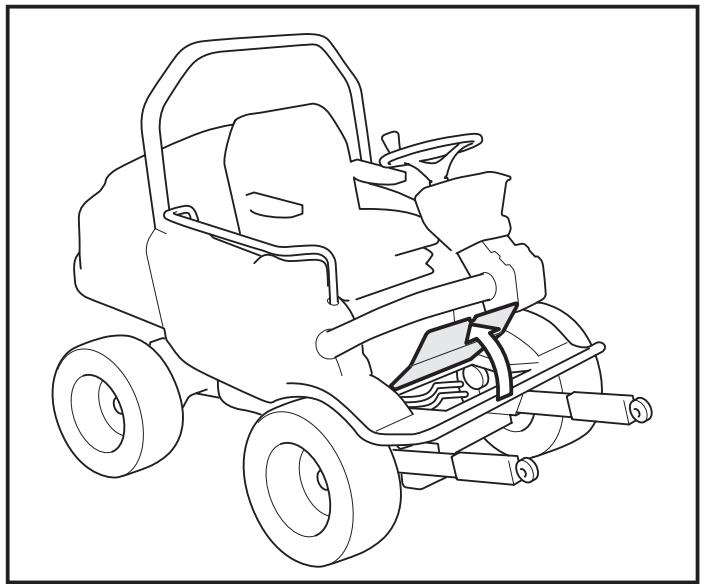
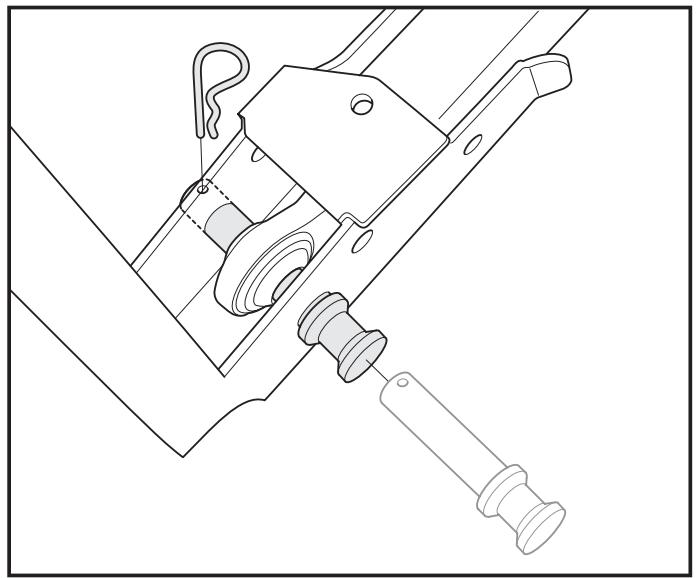
Connect hoses and engage the propeller shaft. Secure the chain to avoid rotation.
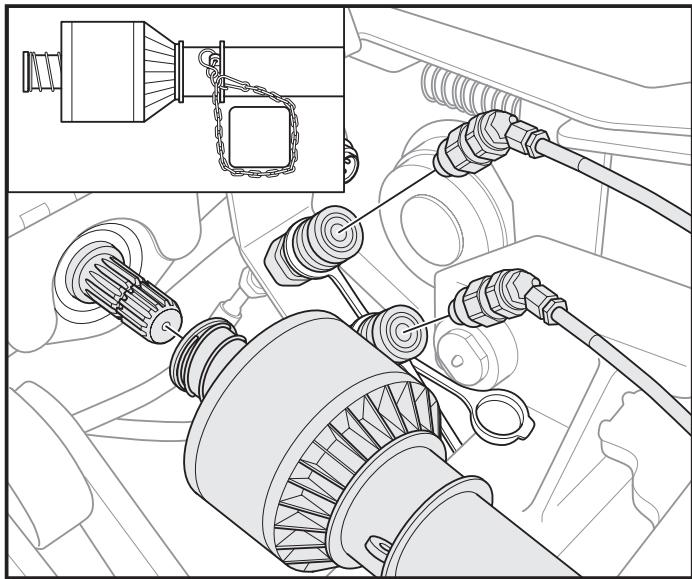
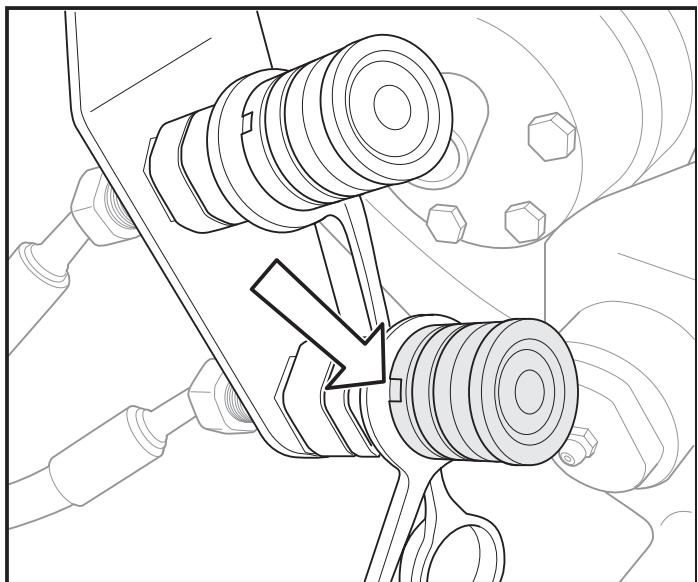
To facilitate engagement and disengagement the notch must be in this position.
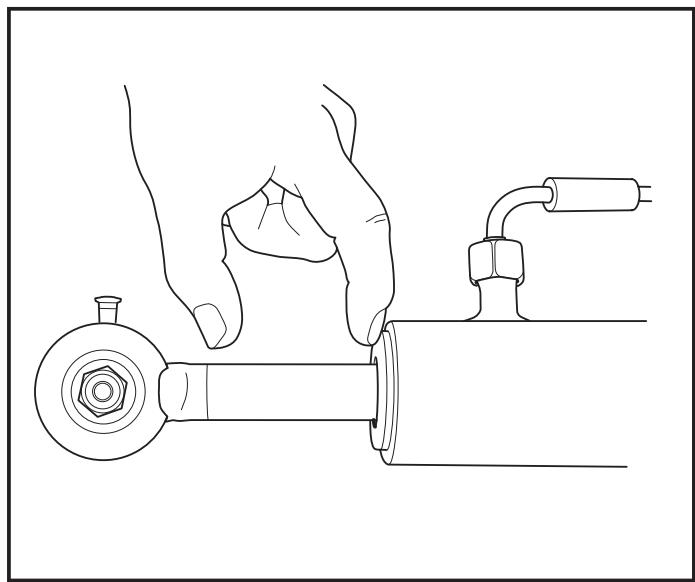
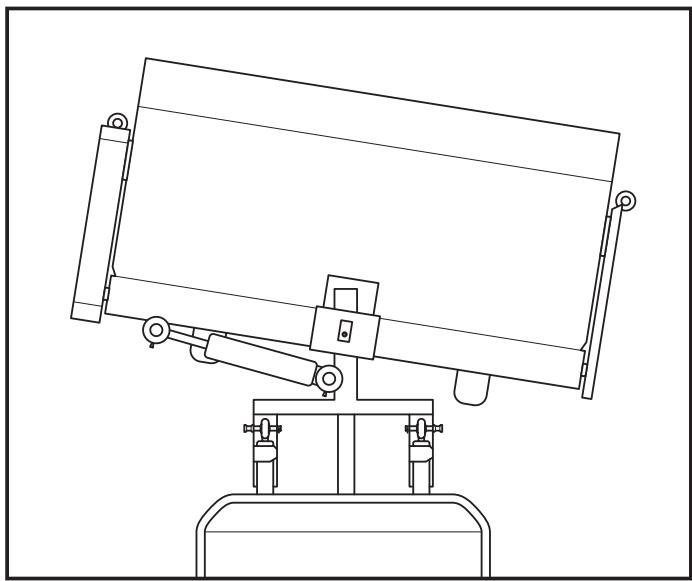
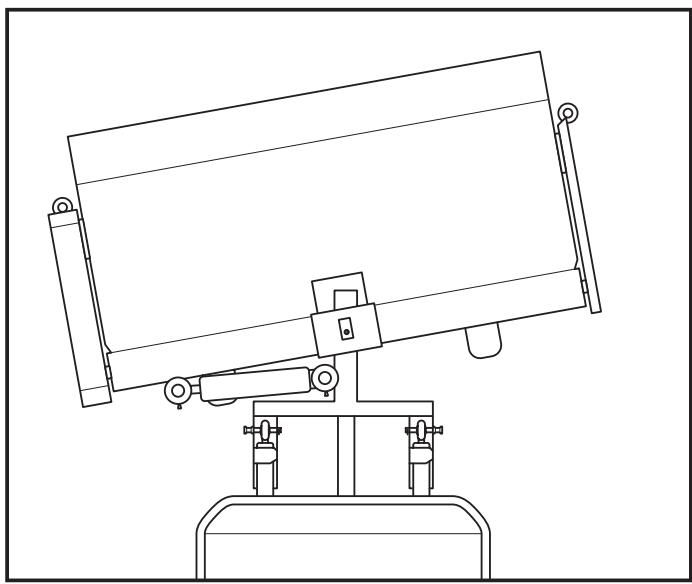
Position of the cylinder
The cylinder should always be extended at least 50~mm .
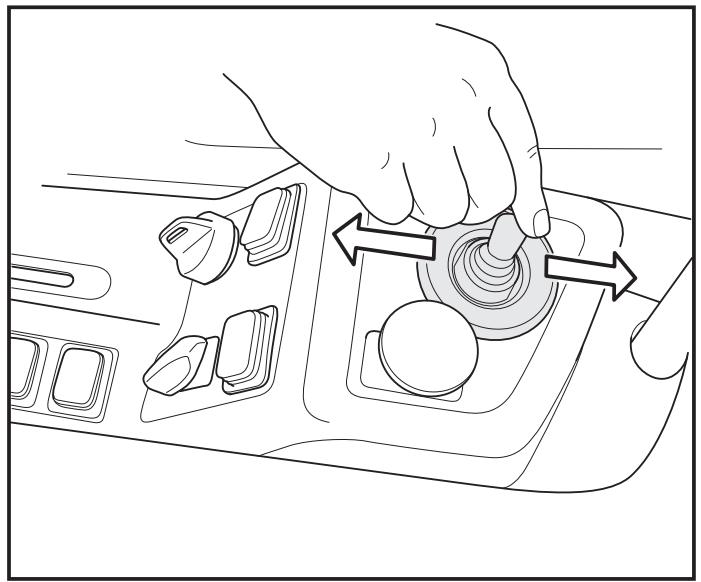
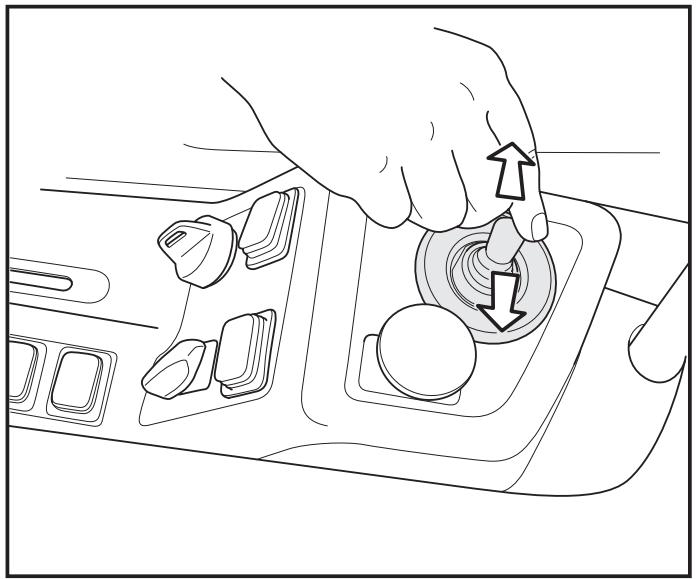
Reducing pressure
Turn the key to ON for a few seconds and simultaneously pull the lever to the right and left a few times to reduce the pressure in the broom unit's cylinder.
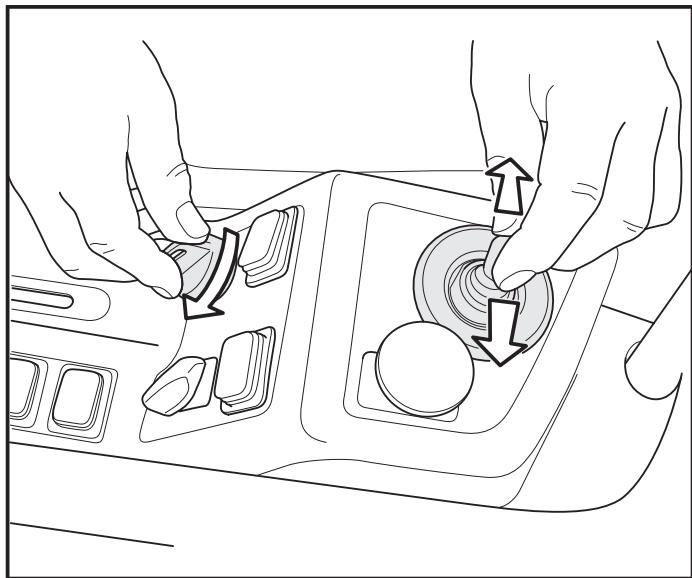
Pull the lever to the right or left to adjust the broom unit laterally.
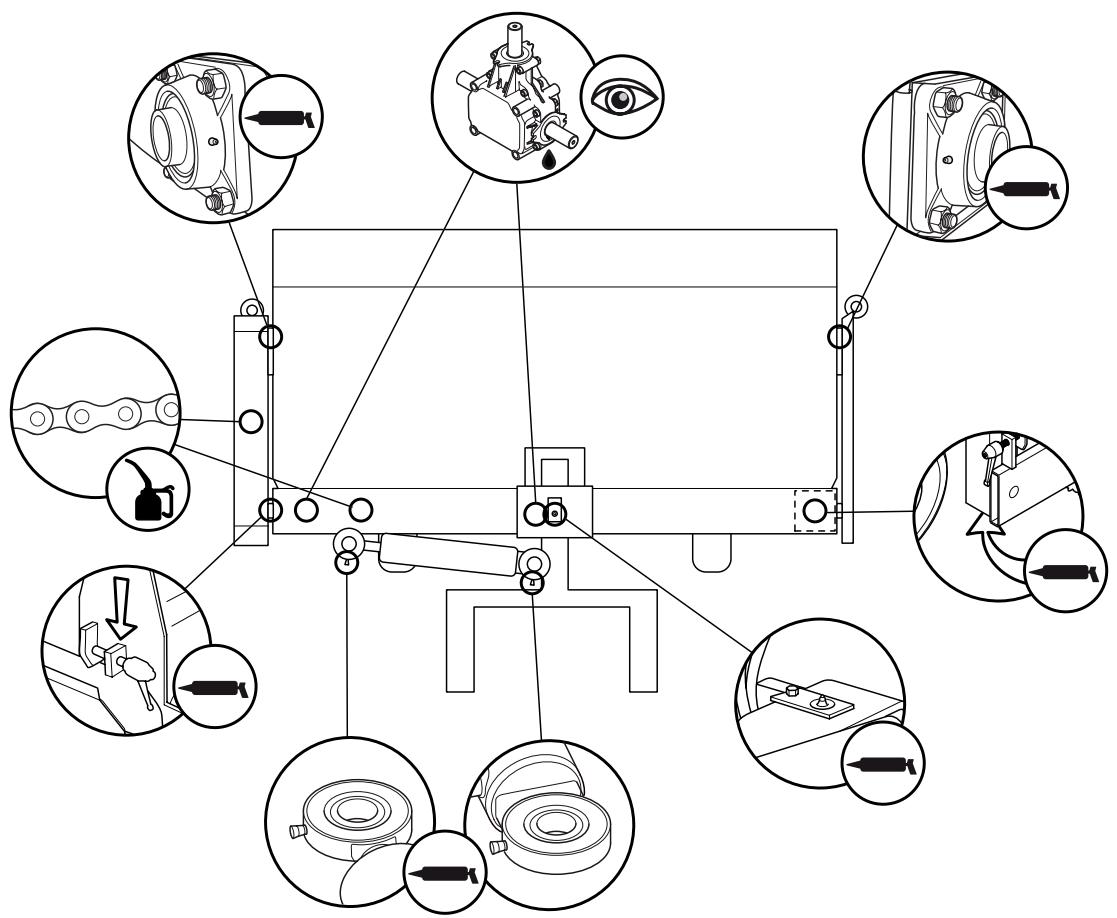

Lubricate with viscous oil.

Lubricate with ball bearing grease.

To be checked. Contact service workshop if there are oil leaks.
The unit's lubrication points are joints, grease nipples and chains. Check the lubrication points before each day of use. Lubricate when necessary. The unit has been lubricated on delivery.
Dismantling:
Loosen and remove the bearing cage on the broom's right side.
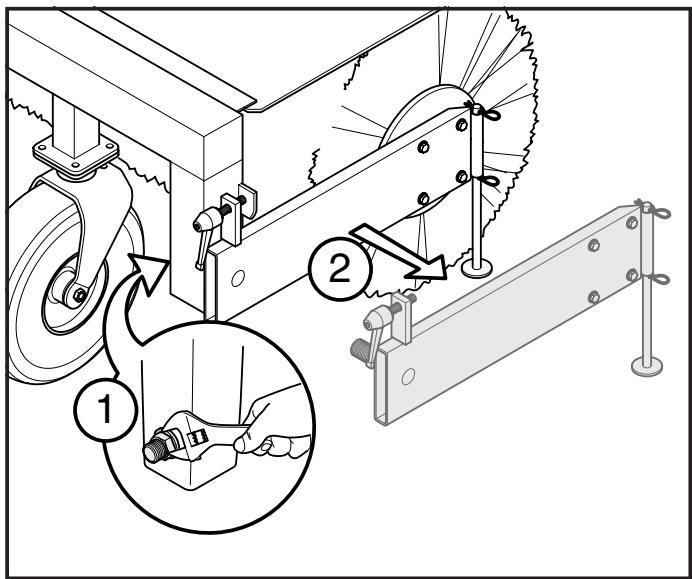
Dismantle the bearing journal on the core's outer end.
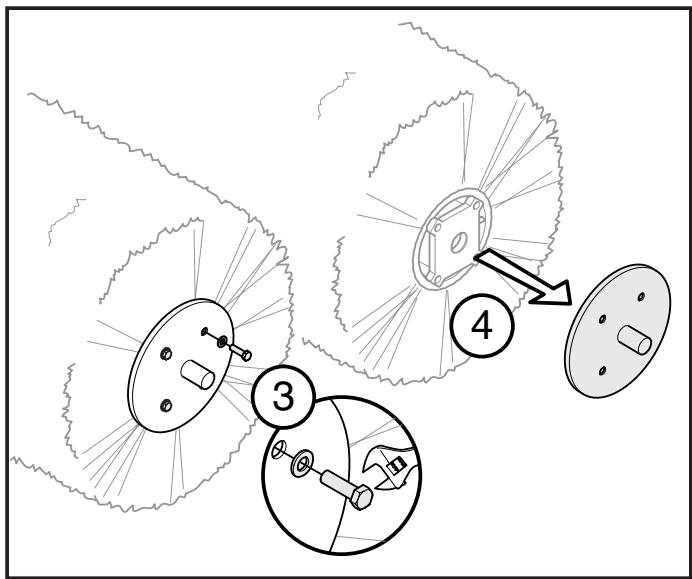
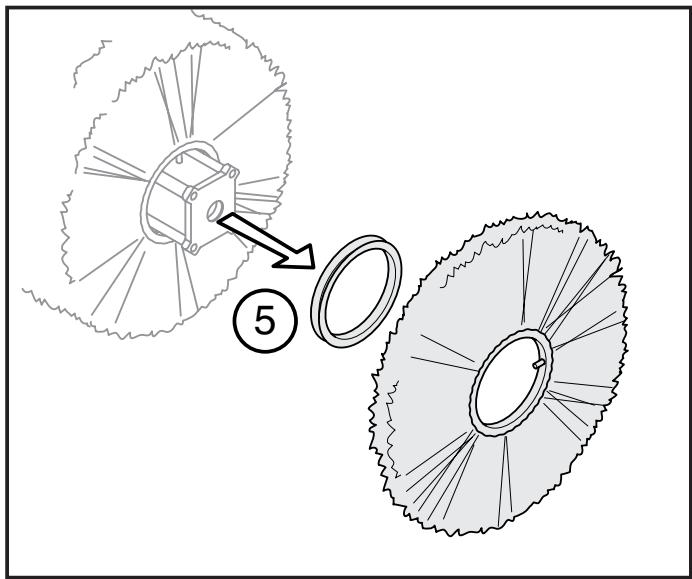
Assembly:
Fit new brush rings and spacers. Ensure that the guides on the brush rings do not face in the same direction on the core.
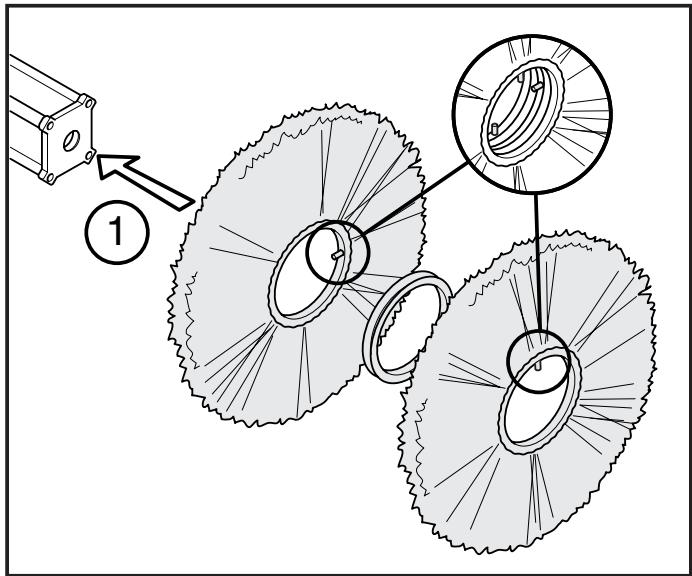
Fit the bearing journal and tighten the screws.
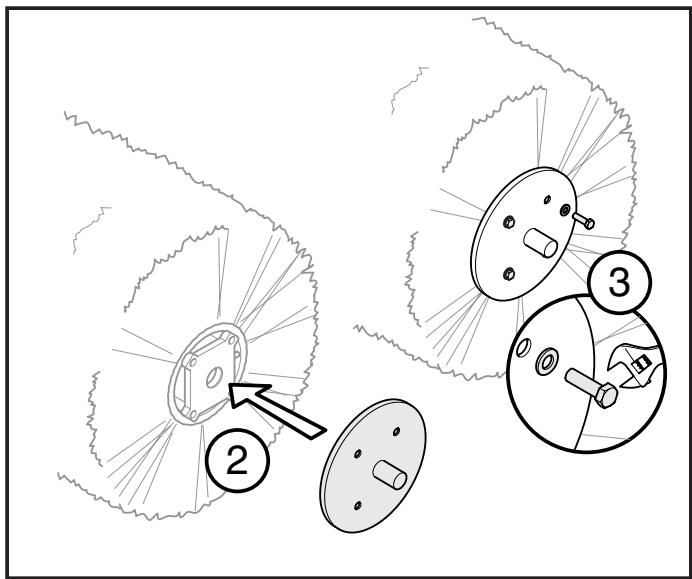
Fit the bearing cage and tighten the remaining screws.

The chain between the gears
First turn the chain tensioner to tension the chain.
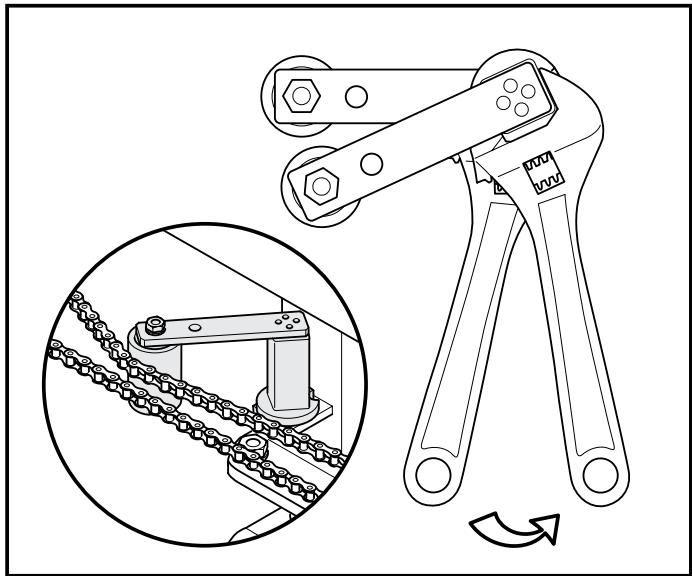
When the chain tensioner is fully utilized the outer gear can be moved laterally to tension the chain and the chain tensioner again.
NOTE!
Broom units with serial numbers up to 0016348 have a 1 / 2" chain.
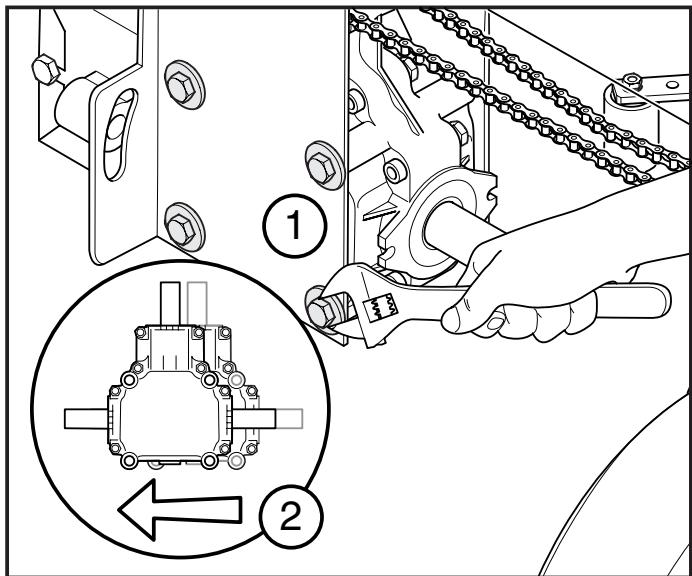
The chain between gear and brush roller
- Remove the cover for the chain guard.
- Loosen the four bolts that hold the bearing, 0.5 - 1 turn.
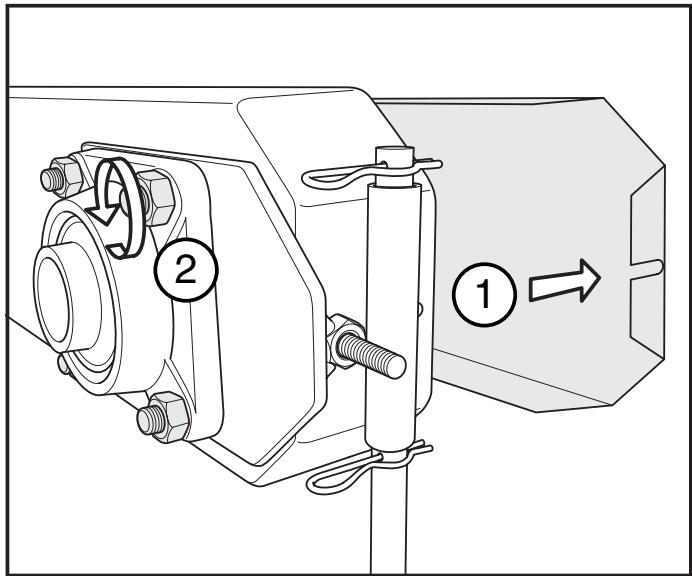
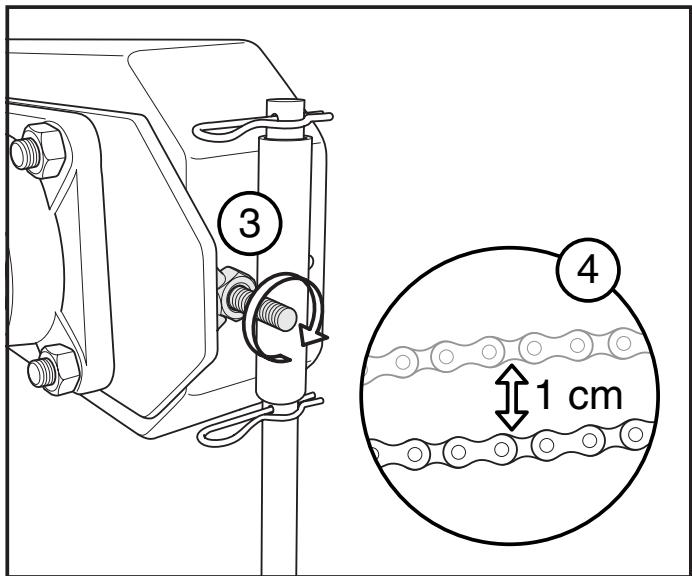
- Adjust the socket head cap screw on the short end.
- The chain is sufficiently tensioned when it is possible to move it approx. one cm vertically.
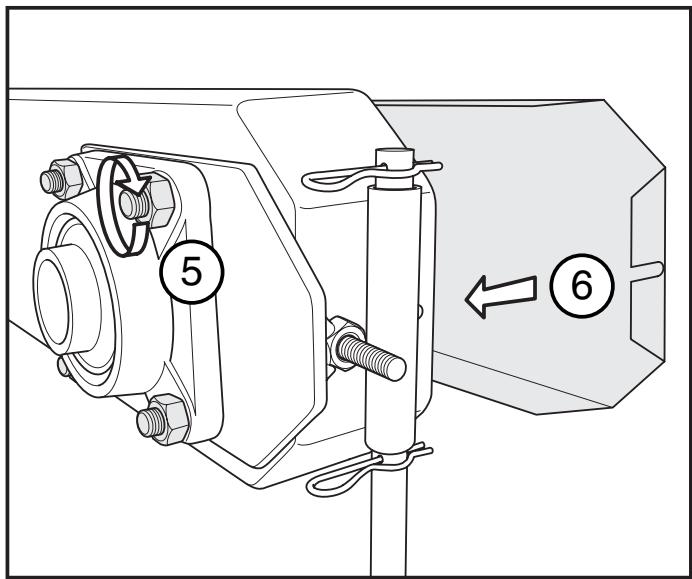
- Tighten the bolts for the bearing.
- Fit the cover for the chain guard.

Mobile: +46(0)70-567 00 11
Fax: +46(0)44-340350