Quigo 3 - Laser level BOSCH - Free user manual and instructions
Find the device manual for free Quigo 3 BOSCH in PDF.

User questions about Quigo 3 BOSCH
0 question about this device. Answer the ones you know or ask your own.
Ask a new question about this device
Download the instructions for your Laser level in PDF format for free! Find your manual Quigo 3 - BOSCH and take your electronic device back in hand. On this page are published all the documents necessary for the use of your device. Quigo 3 by BOSCH.
USER MANUAL Quigo 3 BOSCH
OBJ BUCH-2562-003.book Page 1 Thursday, June 23, 2016 12:23 PM
WEU WEU
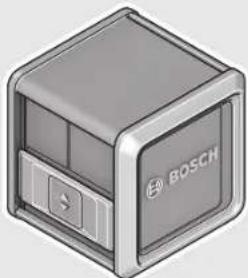
natural_image
Illustration of a Bosch industrial control unit (no text or symbols on the device body)Robert Bosch Power Tools GmbH
70538 Stuttgart
GERMANY
www.bosch-pt.com
1 609 92A 2ZS (2016.01) T / 166

1609 92A 2ZS
Quigo

BOSCH
de Originalbetriebsanleitung
en Original instructions
fr Notice originale
es Manual original
pt Manual original
it Istruzioni originali
nl Oorspronkelijke gebruiksaanwijzing
da Original brugsanvisning
sv Bruksanvisning i original
no Original driftsinstruks
fl Alkuperäiset ohjeet
el Prωτότιπο αδηγιών χρήσης
tr Orijinal işletme talimatı
ar تعليمات التشفيل الأصلية


OBJ_BUCH-2562-003.book Page 2 Thursday, June 23, 2016 12:34 PM

2
English ...... Page 20


8 | Deutsch
Deutsch
Sicherheitshinweise

OBJ_BUCH-2562-003.book Page 18 Thursday, June 23, 2016 12:34 PM


18 | Deutsch
Deutschland
Robert Bosch Power Tools GmbH
OBJ_BUCH-2562-003.book Page 19 Thursday, June 23, 2016 12:34 PM


Deutsch | 19
Entsorgung
All instructions must be read and observed in order to work safely with the measuring tool. The integrated protections in the measuring tool may be compromised if the measuring tool is not used in accordance with the instructions provided. Never make warning signs on the measuring tool unrecognisable. STORE THESE INSTRUCTIONS IN A SAFE PLACE AND INCLUDE THEM WITH THE MEASURING TOOL WHEN GIVING IT TO A THIRD PARTY.
- Caution – The use of other operating or adjusting equipment or the application of other processing methods than those mentioned here can lead to dangerous radiation exposure.
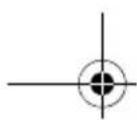
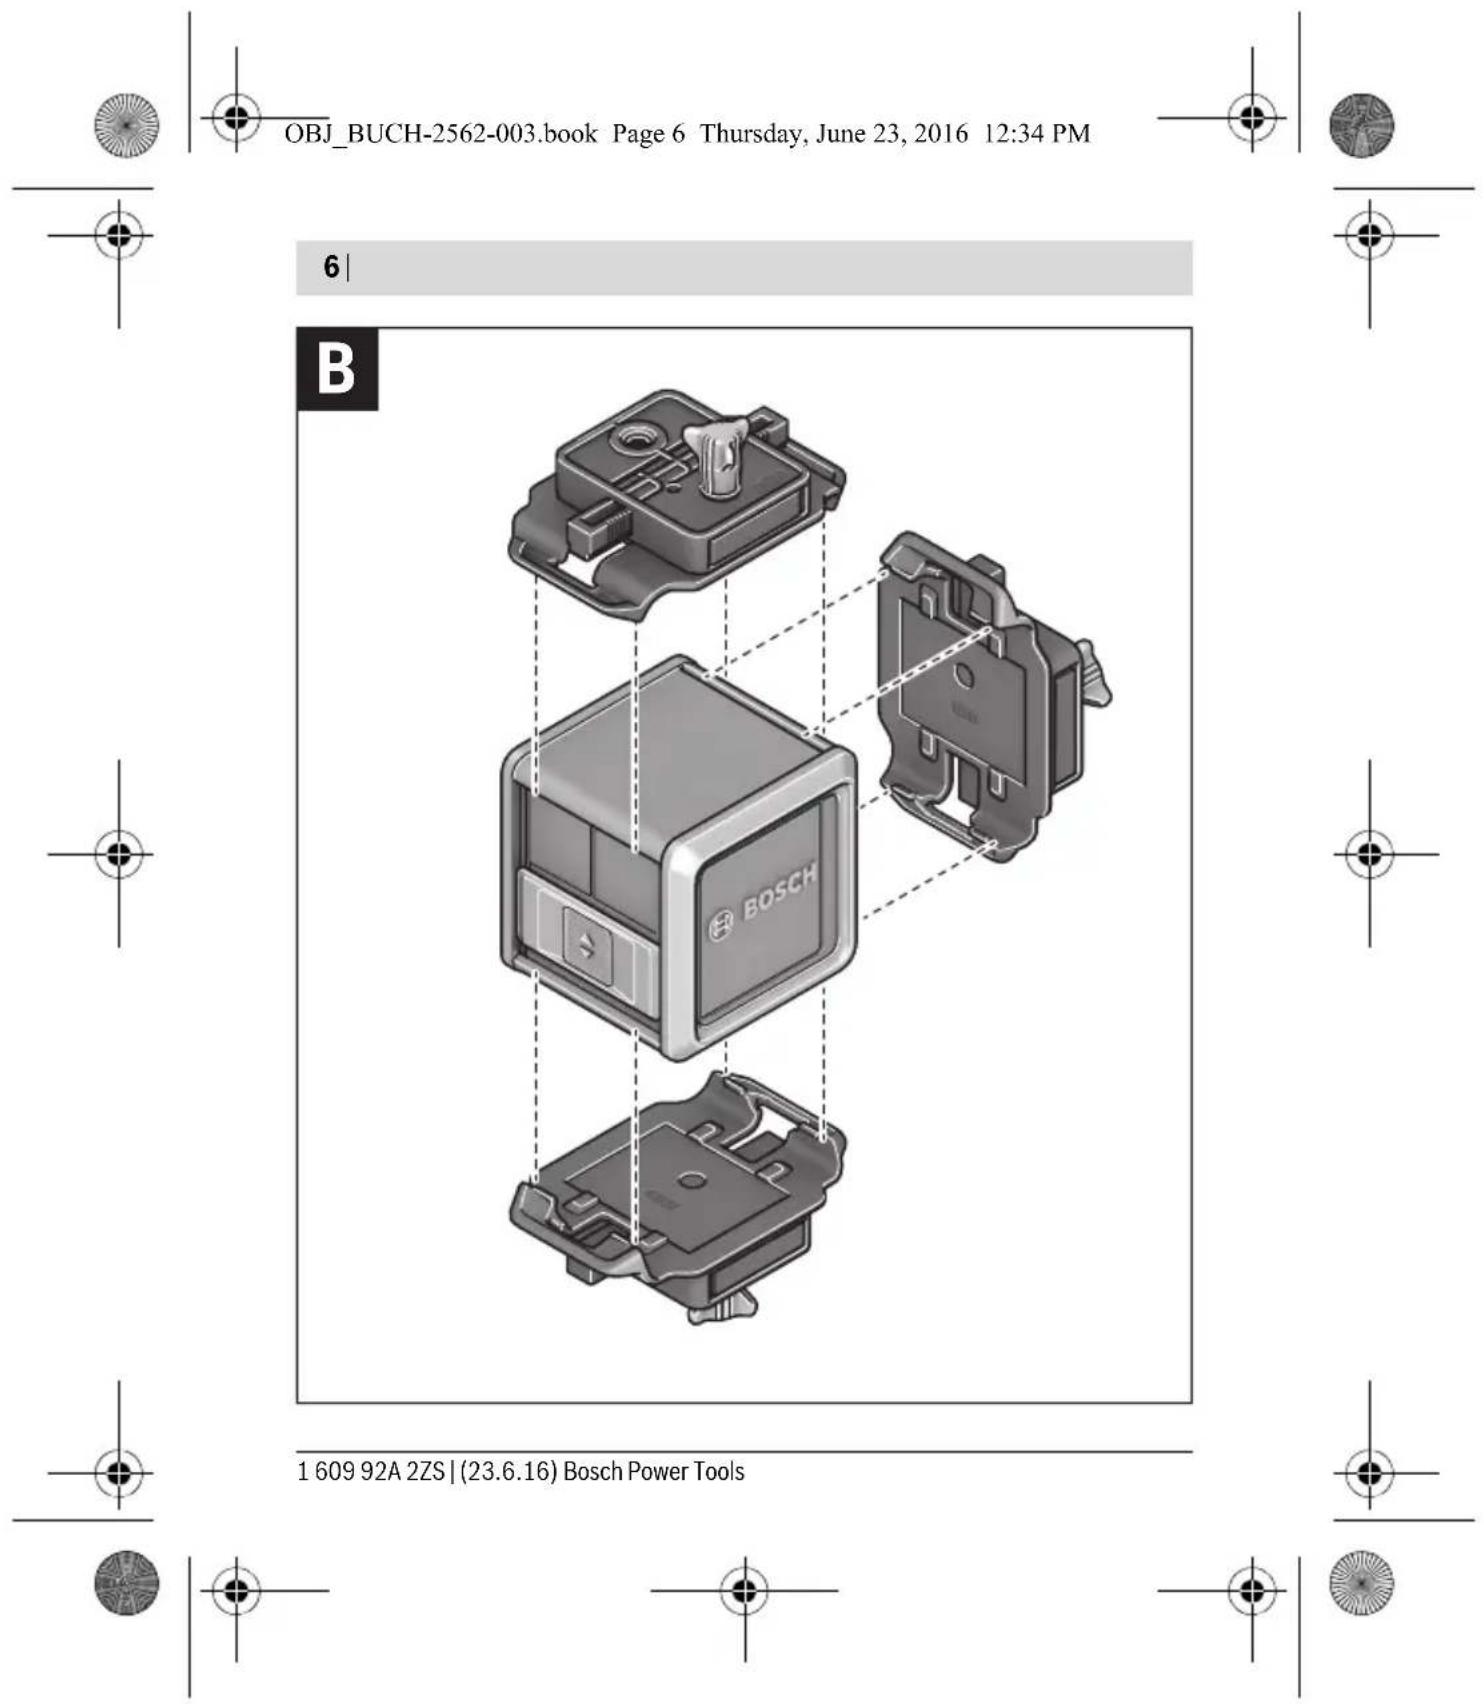
The measuring tool is provided with a warning label (marked with number 8 in the representation of the measuring tool on the graphics page).
▶ If the text of the warning label is not in your national language, stick the provided warning label in your national language over it before operating for the first time.
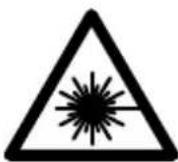
Do not direct the laser beam at persons or animals and do not stare into the direct or reflected laser beam yourself, not even from a distance. You could blind somebody, cause accidents or damage your eyes.
1 609 92A 2ZS | (23.6.16) Bosch Power Tools
English | 21
▶ If laser radiation strikes your eye, you must deliberately close your eyes and immediately turn your head away from the beam.
▶ Do not make any modifications to the laser equipment.
▶ Do not use the laser viewing glasses as safety goggles. The laser viewing glasses are used for improved visualisation of the laser beam, but they do not protect against laser radiation.
▶ Do not use the laser viewing glasses as sun glasses or in traffic. The laser viewing glasses do not afford complete UV protection and reduce colour perception.
▶ Have the measuring tool repaired only through qualified specialists using original spare parts. This ensures that the safety of the measuring tool is maintained.
▶ Do not allow children to use the laser measuring tool without supervision. They could unintentionally blind other persons or themselves.
▶ Do not operate the measuring tool in explosive environments, such as in the presence of flammable liquids, gases or dusts. Sparks can be created in the measuring tool which may ignite the dust or fumes.

Keep the measuring tool away from cardiac pacemakers. The magnet inside the measuring tool generates a field that can impair the function of cardiac pacemakers.
- Keep the measuring tool away from magnetic data media and magnetically-sensitive equipment. The effect of the magnet can lead to irreversible data loss.

Bosch Power Tools 1 609 92A 2ZS | (23.6.16)


OBJ_BUCH-2562-003.book Page 22 Thursday, June 23, 2016 12:34 PM


22 | English
Product Description and Specifications
Intended Use
The measuring tool is intended for determining and checking horizontal and vertical lines.
The measuring tool is suitable exclusively for operation in enclosed working sites.
Product Features
The numbering of the product features shown refers to the illustration of the measuring tool on the graphic page.
1 1/4" mount of the adapter plate
2 Fine adjustment screw of the adapter plate
3 Adapter plate
4 On/Off switch
5 Exit opening for laser beam
6 Tripod mount 1/4"
7 Battery lid
8 Laser warning label
9 Serial number
10 Latch of battery lid
11 Tripod*
12 Laser viewing glasses*
13 1/4" screw of the universal holder
14 Locking screw for holder
15 Fastening screw of holder
16 Holder
* The accessories illustrated or described are not included as standard delivery.
1 609 92A 2ZS | (23.6.16) Bosch Power Tools


English | 23
Technical Data
| Cross-line Laser Quigo | |
| Article number | 3 603 F63 5.. |
| Working range, min.1) | 10 m |
| Levelling Accuracy | ±0.8 mm/m |
| Self-levelling range, typically | ±4° |
| Levelling duration, typically | 6 s |
| Operating temperature | +5 °C...+40 °C |
| Storage temperature | -20 °C...+70 °C |
| Relative air humidity, max. | 90 % |
| Laser class | 2 |
| Laser type | 635 nm, <1 mW |
| C_6 | 1 |
| Divergence-Laser line | 0,5 mrad (full angle) |
| Tripod mount | 1/4" |
| Batteries | 2 x 1.5 VLR3 (AAA) |
1) The working range can be decreased by unfavourable environmental conditions (e.g. direct sun irradiation).
The measuring tool can be clearly identified with the serial number 9 on the type plate.
24 | English
| Cross-line Laser Quigo | |
| Operating time, approx. | >5h |
| Weight according to EPTA-Procedure 01:2014 | |
| - Cross - line Laser | 0.27 kg |
| - Holder | 0.20 kg |
| Dimensions (length x width x height) | 65x65x65mm |
| 1) The working range can be decreased by unfavourable environmental conditions (e.g. direct sun irradiation).The measuring tool can be clearly identified with the serial number 9 on the type plate. | |
Assembly
Inserting/Replacing the Batteries
Alkali-manganese batteries are recommended for the measuring tool.
To open the battery lid 7, press the latch 10 in the direction of the arrow and remove the battery lid. Insert the batteries provided. Pay attention to the correct polarity of the batteries according to the representation in the battery compartment.
If the batteries become weak, the laser lines will flash quickly for a few seconds.
Always replace all batteries at the same time. Only use batteries from one brand and with the identical capacity.
▶ Remove the batteries from the measuring tool when not using it for extended periods. When storing for extended periods, the batteries can corrode and self-discharge.


English | 25
Operation
Initial Operation
▶ Protect the measuring tool against moisture and direct sun light.
▶ Do not subject the measuring tool to extreme temperatures or variations in temperature. As an example, do not leave it in vehicles for a long time. In case of large variations in temperature, allow the measuring tool to adjust to the ambient temperature before putting it into operation. In case of extreme temperatures or variations in temperature, the accuracy of the measuring tool can be impaired.
▶ Avoid heavy impact to or falling down of the measuring tool. Damage to the measuring tool can impair its accuracy. After heavy impact or shock, compare the laser line with a known horizontal or vertical reference line.
▶ Switch the measuring tool off during transport. When switching off, the levelling unit, which can be damaged in case of intense movement, is locked.
Switching On and Off
To switch on the measuring tool, push the On/Off switch 4 upward. Immediately after switching on, the measuring tool sends two laser beams out of the exit opening 5.
▶ Do not point the laser beam at persons or animals and do not look into the laser beam yourself, not even from a large distance.
To switch off the measuring tool, push the On/Off switch 4 downward over the laser beam exit opening 5. When switching off, the levelling unit is locked.
▶ Do not leave the switched-on measuring tool unattended and switch the measuring tool off after use. Other persons could be blinded by the laser beam.
To save energy, only switch the measuring tool on when you are using it.


Bosch Power Tools 1 609 92A 2ZS | (23.6.16)


26 | English
Automatic Levelling
To work with automatic levelling, position the measuring tool on a level and firm support, attach it to the holder 16 or to the tripod 11.
After switching on, the automatic levelling function automatically compensates irregularities within the self-levelling range of ±4^ . The levelling is finished as soon as the laser lines do not flash anymore.
If automatic levelling is not possible, e.g. because the underside of the measuring tool deviates by more than 4^ from the horizontal plane or the measuring tool is held freely in the hand, the laser lines will continuously flash slowly and the measuring tool will work without automatic levelling. The laser lines remain switched on, but the two crossed lines will no longer necessarily be at a right angle to each other. To make sure that the two laser lines are still at a right angle to one another, position the measuring tool orthogonal to the wall.
To work with automatic levelling again, position the measuring tool so that the underside is aligned horizontally and wait for the self-levelling to be performed. As soon as the measuring tool is within the self-levelling range of ±4^ and is levelled in, the laser lines will light up continuously again.
In case of ground vibrations or position changes during operation, the measuring tool is automatically levelled again. Upon re-levelling, check the position of the horizontal or vertical laser line with regard to the reference points on the wall to avoid errors.
Working Advice
▶ Always use the centre of the laser line for marking. The width of the laser line changes with the distance.
Attaching with the Holder (see figure A)
With the holder 16, you can fasten the measuring tool to different objects ranging in thickness between 10 and 60 mm, such as vertical or horizontal boards or pipes.


English | 27
Loosen the fastening screw 15 of the holder, mount the holder to the desired location and tighten the fastening screw again.
Place the measuring tool via the tripod mount 6 onto the 1/4" male thread 13 of the holder and screw it on applying moderate force. Do not overtighten the measuring tool, otherwise it can become damaged.
Adjust the holder roughly before switching on the measuring tool. For this, loosen the locking screw 14 for the holder and move the measuring tool until horizontally positioned at the desired height. Retighten the locking screw.
You can also mount the measuring tool on the holder using the adapter plate 3.
Working with the Tripod (Accessory)
A tripod offers a stable, height-adjustable measuring support. Place the measuring tool via the tripod mount 6 onto the 1/4" male thread of the tripod and screw the locking screw of the tripod tight.
Adjust the tripod roughly before switching on the measuring tool.
You can also mount the measuring tool on the tripod using the adapter plate 3.
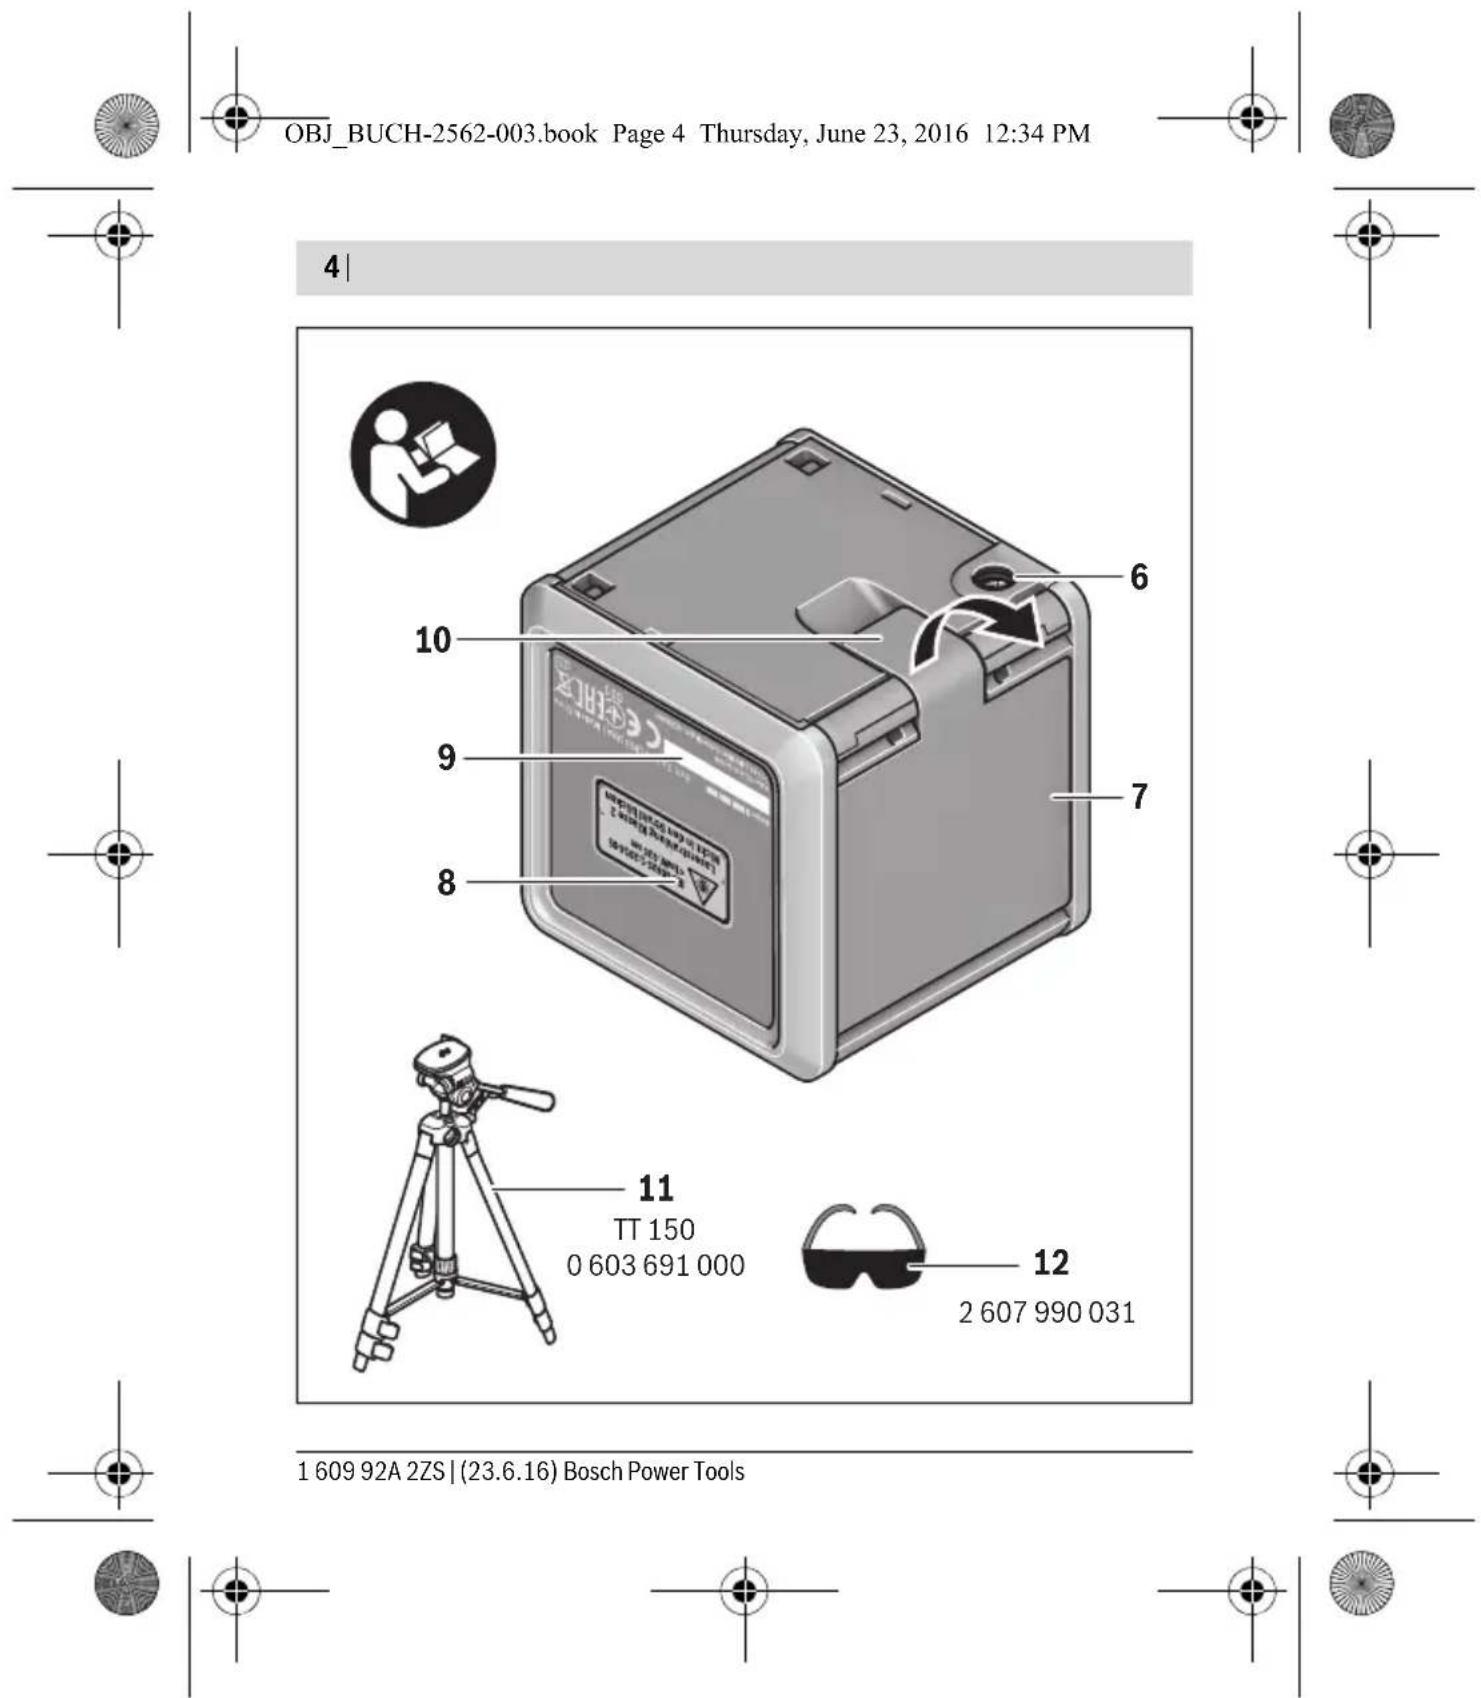
Working with the Adapter Plate (see figure B-C)
The adapter plate 3 makes it easier to precisely align the measuring tool with a reference point and enables you to quickly attach and detach the measuring tool.
The adapter plate 3 can be mounted on the holder 16 or tripod 11.
- Holder: Place the adapter plate with the 1/4" mount 1 on the screw 13 of the holder and tighten it to the holder applying moderate force.
Note: Loosen the locking screw 14 of the holder if you want to change the position of the measuring tool. If the adapter plate is turned without loosening the locking screw, the adapter plate can become loose and the measuring tool can fall off.
- Tripod: Tighten the locking screw of the tripod in the 1/4" mount 1 of the adapter plate.


28 | English
Press the measuring tool into the adapter plate 3 so that the locks of the adapter plate engage in the holes on two sides of the measuring tool. The adapter plate can be fastened to the bottom, back and top side of the measuring tool. Check the tight seating of the measuring tool.
When the adapter plate is mounted on the back, the height of the measuring tool can be aligned. When it is mounted on the top or bottom, the measuring tool can be aligned sideways. Turn the fine adjustment screw 2 of the adapter plate to align the laser line with a reference point.
Laser Viewing Glasses (Accessory)
The laser viewing glasses filter out the ambient light. This makes the red light of the laser appear brighter for the eyes.
▶ Do not use the laser viewing glasses as safety goggles. The laser viewing glasses are used for improved visualisation of the laser beam, but they do not protect against laser radiation.
▶ Do not use the laser viewing glasses as sun glasses or in traffic. The laser viewing glasses do not afford complete UV protection and reduce colour perception.
Maintenance and Service
Maintenance and Cleaning
Keep the measuring tool clean at all times.
Do not immerse the measuring tool in water or other fluids.
Wipe off debris using a moist and soft cloth. Do not use any cleaning agents or solvents.
Regularly clean the surfaces at the exit opening of the laser in particular, and pay attention to any fluff or fibres.

1 609 92A 2ZS | (23.6.16) Bosch Power Tools


English | 29
After-sales Service and Application Service
Our after-sales service responds to your questions concerning maintenance and repair of your product as well as spare parts. Exploded views and information on spare parts can also be found under:
www.bosch-pt.com
Bosch's application service team will gladly answer questions concerning our products and their accessories.
In all correspondence and spare parts orders, please always include the 10-digit article number given on the nameplate of the product.
Great Britain
Robert Bosch Ltd. (B.S.C.)
P.O. Box 98
Broadwater Park
North Orbital Road
Denham
Uxbridge
UB 9 5HJ
At www.bosch-pt.co.uk you can order spare parts or arrange the collection of a product in need of servicing or repair.
Tel. Service: (0344) 7360109
E-Mail: boschservicecentre@bosch.com
Ireland
Origo Ltd.
Unit 23 Magna Drive
Magna Business Park
City West
Dublin 24
Tel. Service: (01) 4666700
Fax: (01) 4666888


Bosch Power Tools 1 609 92A 2ZS | (23.6.16)


OBJ_BUCH-2562-003.book Page 31 Thursday, June 23, 2016 12:34 PM


English | 31
KZN - BSC Service Centre
Unit E, Almar Centre
143 Crompton Street
Pinetown
Tel.: (031) 7012120
Fax: (031) 7012446
E-Mail: bsc.dur@za.bosch.com
Western Cape - BSC Service Centre
Democracy Way, Prosperity Park
Milnerton
Tel.: (021) 5512577
Fax: (021) 5513223
E-Mail: bsc@zsd.co.za

Bosch Headquarters
Midrand, Gauteng
Tel.: (011) 6519600
Fax: (011) 6519880
E-Mail: rbsa-hq.pts@za.bosch.com

Bosch Power Tools 1 609 92A 2ZS | (23.6.16)


OBJ_BUCH-2562-003.book Page 32 Thursday, June 23, 2016 12:34 PM


32 | English
Disposal
Measuring tools, accessories and packaging should be sorted for environmental-friendly recycling.
Do not dispose of measuring tools and batteries/rechargeable batteries into household waste!
Only for EC countries:
According to the European Guideline 2012/19/EU, measuring tools that are no longer usable, and according to the European Guideline 2006/66/EC, defective or used battery packs/batteries, must be collected separately and disposed of in an environmentally correct manner.
Batteries no longer suitable for use can be directly returned at:
Great Britain
Robert Bosch Ltd. (B.S.C.)
P.O. Box 98
Broadwater Park
North Orbital Road
Denham
Uxbridge
UB 9 5HJ
At www.bosch-pt.co.uk you can order spare parts or arrange the collection of a product in need of servicing or repair.
Tel. Service: (0344) 7360109
E-Mail: boschservicecentre@bosch.com
Subject to change without notice.

1 609 92A 2ZS | (23.6.16) Bosch Power Tools


Français | 33
Français
Robert Bosch (France) S.A.S.
OBJ_BUCH-2562-003.book Page 44 Thursday, June 23, 2016 12:34 PM


44 | Français
OBJ_BUCH-2562-003.book Page 55 Thursday, June 23, 2016 12:34 PM


Español | 55
OBJ_BUCH-2562-003.book Page 56 Thursday, June 23, 2016 12:34 PM


56 | Español
Argentina
Robert Bosch Argentina S.A.
Av. Córdoba 5160
OBJ_BUCH-2562-003.book Page 60 Thursday, June 23, 2016 12:34 PM


60 | Português
OBJ_BUCH-2562-003.book Page 68 Thursday, June 23, 2016 12:34 PM


68 | Português
Portugal
Robert Bosch LDA
OBJ_BUCH-2562-003.book Page 80 Thursday, June 23, 2016 12:34 PM


80 | Italiano
Smaltimento
OBJ_BUCH-2562-003.book Page 100 Thursday, June 23, 2016 12:34 PM


100 | Dansk
Bosch Service Center
Telegrafvej 3
2750 Ballerup
På www.bosch-pt.dk kan der online bestilles reservedele eller oprettes en reparations ordre.
Tlf. Service Center: 44898855
Fax: 44898755
E-Mail: vaerktoej@dk.bosch.com
Bortskaffelse
OBJ_BUCH-2562-003.book Page 110 Thursday, June 23, 2016 12:34 PM


110 | Svenska
Svenska
Bosch Service Center
Telegrafvej 3
2750 Ballerup
Danmark
Tel.: (08) 7501820 (inom Sverige)
Fax: (011) 187691
Avfallshantering
OBJ_BUCH-2562-003.book Page 113 Thursday, June 23, 2016 12:34 PM


Norsk | 113
Illustrerte komponenter
OBJ_BUCH-2562-003.book Page 120 Thursday, June 23, 2016 12:34 PM


120|Suomi
Norsk
Robert Bosch AS
Postboks 350
1402 Ski
Tel.: 64 87 89 50
Faks: 64 87 89 55
Deponering
OBJ_BUCH-2562-003.book Page 129 Thursday, June 23, 2016 12:34 PM


Suomi | 129
Hoito ja huolto
Huolto ja puhdistus
OBJ_BUCH-2562-003.book Page 130 Thursday, June 23, 2016 12:34 PM


130 | Ελληνικά
Hävitys
OBJ_BUCH-2562-003.book Page 133 Thursday, June 23, 2016 12:34 PM


Ελληνικά | 133
OBJ_BUCH-2562-003.book Page 141 Thursday, June 23, 2016 12:34 PM


Ελληνικά | 141
Ελλάδα
Robert Bosch A.E.
Ερχείας 37
OBJ_BUCH-2562-003.book Page 152 Thursday, June 23, 2016 12:34 PM


152 | Türkçe
Faz Makine Bobinaj
Sanayi Sit. 663 Sok. No: 18
Antalya
Tel.: 0242 3465876
Tel.: 0242 3462885
Örsel Bobinaj
- San. Sit. 161. Sok. No: 21
Denizli
Tel.: 0258 2620666
Bulut Elektrik
OBJ_BUCH-2562-003.book Page 153 Thursday, June 23, 2016 12:34 PM


Türkçe | 153
Onarım Bobinaj
Raifpaşa Cad. No: 67 İskenderun
Hatay
Tel.: 0326 6137546
Günşah Otomotiv
Beylikdüzü Sanayi Sit. No: 210 Beylikdüzü
Istanbul
Tel.: 0212 8720066
Aygem
10021 Sok. No: 11 AOSB Çiğli
Izmir
Tel.: 0232 3768074
Sezmen Bobinaj
OBJ_BUCH-2562-003.book Page 154 Thursday, June 23, 2016 12:34 PM