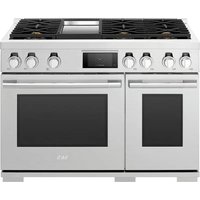
GR480GS - Cooker SKS - Free user manual and instructions
Find the device manual for free GR480GS SKS in PDF.


| Product Type | Range |
| Brand | SKS |
| Model | GR480GS |
| Power Supply | Gas and electric |
| Number of Burners | 4 (estimate) |
| Integrated Oven | Yes |
| Minimum Clearances | 1/8 in (3 mm) to walls, 6 in (152 mm) to combustible surfaces |
| Safety Instructions | Disconnect before installation, shut off gas, do not handle hot |
| Parts Supplied | Backsplash, replacement screws, installation guide |
| Accessories Included | Vent trim |
| Cleaning | Soft cloth, do not disassemble |
| Control Type | Manual (rotary knobs) |
| Cooking Surface | Gas |
| Material | Stainless steel (estimate) |
Frequently Asked Questions - GR480GS SKS
User questions about GR480GS SKS
0 question about this device. Answer the ones you know or ask your own.
Ask a new question about this device
Download the instructions for your Cooker in PDF format for free! Find your manual GR480GS - SKS and take your electronic device back in hand. On this page are published all the documents necessary for the use of your device. GR480GS by SKS.
USER MANUAL GR480GS SKS
Please read these instructions thoroughly before installing and operating the appliance.
SKSGR360GS
SKSGR480GS

MFL71481101_01
Back Guard Installation Instructions
Parts included
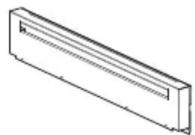
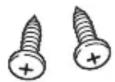
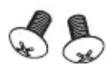
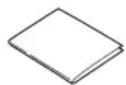
Back guard (1 ea) Spare screw for front (2 ea) Spare screw for rear (2 ea) Installation guide (1 ea)
Back Guard Installation
1 Disconnect the range power supply and turn the gas OFF at the gas supply valve.
2 Remove the burner grates.
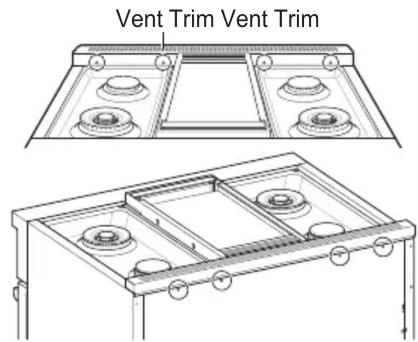
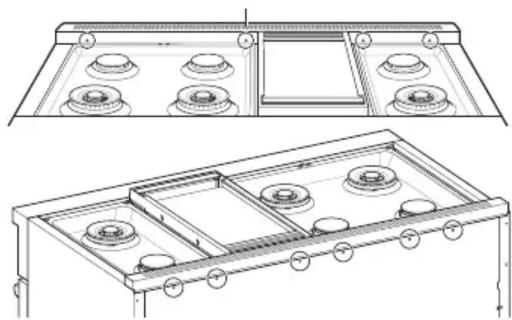
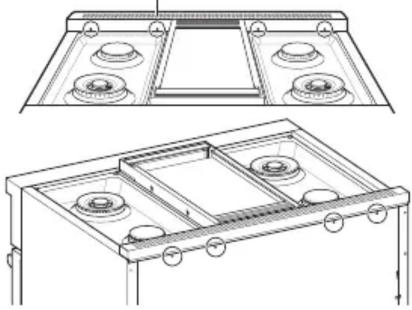
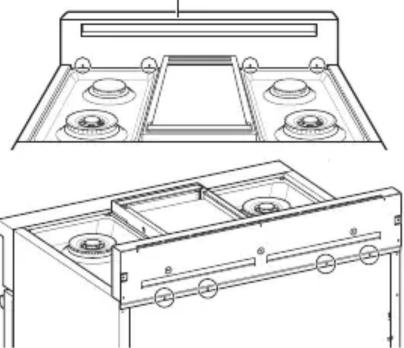
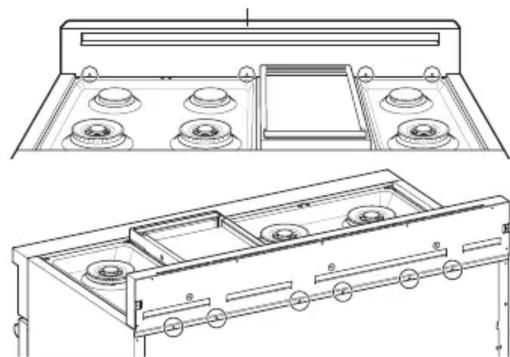
3 Remove the 4 screws from the vent trim and the 4 or 6 screws (depending on model) from the rear panel. Lift the trim to remove it.
NOTE: Before installing the back guard, level the range, using the rear leg extension rods to adjust the rear legs, if needed.
4 Set the back guard in place on the rear of the range and use the original screws removed in step 3 to attach it. (Spare screws are provided in case of loss.)
5 Install the burner grates.
6 Connect the power supply, and turn the gas supply valve ON.
SKSGR360GS SKSGR480GS
natural_image
Technical line drawing of a mechanical assembly with multiple circular components and mounting holes (no text or symbols)

natural_image
Technical line drawing of a multi-compartment electrical enclosure with circular components and a top-down view (no text or symbols)WARNING
- Before installation, turn the power OFF at the circuit breaker or fuse box, and turn the gas supply valve off.
- Do not disassemble or handle the range unless it is cool.
- Make sure the back guard's front face is outside the flange which faces the front of the range.
Installation Clearance
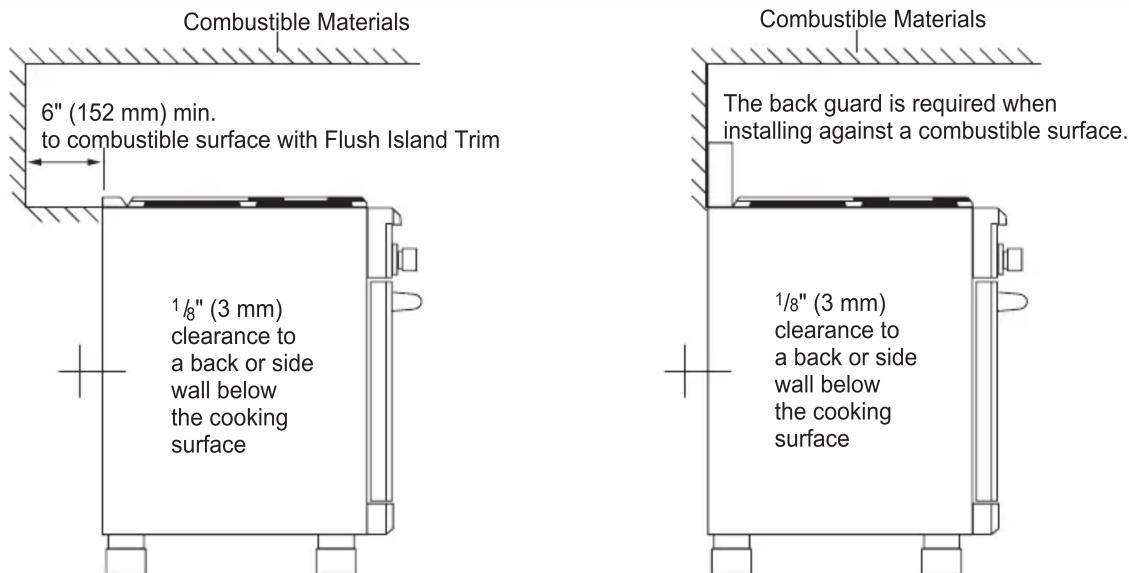
Install Clearance with Vent Trim Install Clearance with Back Guard
SKSGR360GS SKSGR480GS
Carril delantero Carril delantero
natural_image
Technical line drawing of a portable stove or heating unit with four fans and control panels (no text or symbols)
natural_image
Technical line drawing of a multi-panel electrical enclosure with mounting holes and internal compartments (no text or symbols)Protector trasero Protector trasero
natural_image
Technical line drawing of a gas stove with top and side views (no text or symbols)
natural_image
Technical line drawing of a portable stove or rack unit with multiple circular components and a front panel (no text or symbols)ADVERTENCIA
SKSGR360GS SKSGR480GS
natural_image
Technical line drawings of a gas stove or heating unit with four fans and internal compartments (no text or symbols)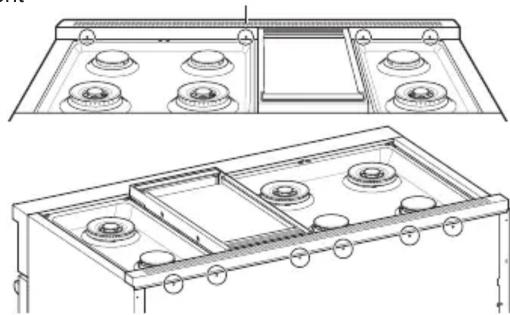
natural_image
Technical line drawing of a multi-compartment electrical enclosure with multiple circular components and mounting brackets (no text or symbols)
natural_image
Technical line drawing of a multi-compartment appliance with circular components and a side view (no text or symbols)
AVERTISSEMENT


Brand : SKS
Model : GR480GS
Category : Cooker