
Speedrocker XL SET - Uncategorized SKS - Free user manual and instructions
Find the device manual for free Speedrocker XL SET SKS in PDF.


| Product Type | Bicycle Mudguard Set |
| Model | Speedrocker XL SET |
| Brand | SKS |
| Compatible Wheel Size | 27.5" and 29" |
| Max Tire Width | 2.6 inches (66 mm) |
| Material | Polypropylene |
| Mounting Type | Quick-release, adjustable stays |
| Weight | Approximately 300 g (set) |
| Color | Black |
| Includes | Front and rear mudguards, mounting hardware, rubber straps |
| Installation | No drilling required, attaches to frame and fork |
| Maintenance | Clean with mild soap and water; avoid abrasive cleaners |
| Cleaning | Wipe with damp cloth; dry before storage |
| Safety Features | Reflectors integrated into mudguards |
| Spare Parts Availability | Spare stays, rubber straps, and hardware available from SKS |
| Repairability | Modular design allows replacement of individual components |
| Warranty | 2 years against manufacturing defects |
| Intended Use | Mountain biking, gravel riding, commuting |
| Country of Origin | Germany |
Frequently Asked Questions - Speedrocker XL SET SKS
User questions about Speedrocker XL SET SKS
0 question about this device. Answer the ones you know or ask your own.
Ask a new question about this device
Download the instructions for your Uncategorized in PDF format for free! Find your manual Speedrocker XL SET - SKS and take your electronic device back in hand. On this page are published all the documents necessary for the use of your device. Speedrocker XL SET by SKS.
USER MANUAL Speedrocker XL SET SKS
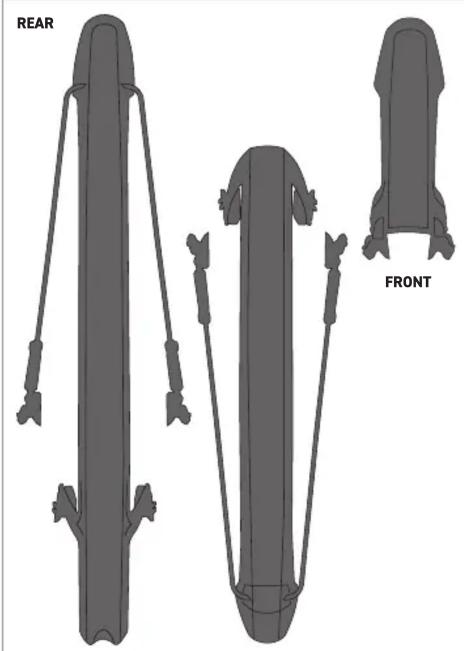
EN. Scope of delivery EN. Fender-assembling front
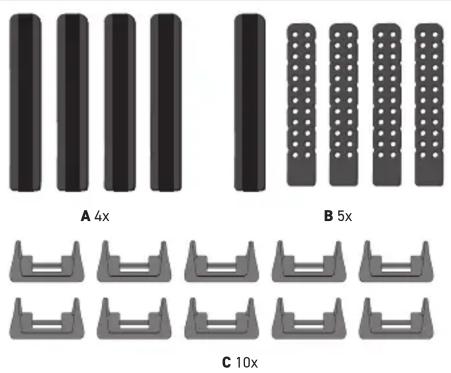
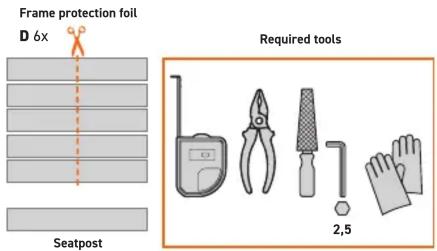
natural_image
Diagram of a three-view mechanical component with labeled views: rear, front, and side (no text or symbols on the diagram itself)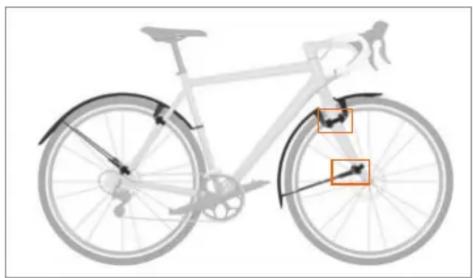
natural_image
Side view of a bicycle with front wheel and rear wheel, showing lane markings (no text or symbols)EN. Mounting rubber inlay & Fastening with velcro

EN
Place the SPEEDROCKER on the
bicycle frame and roughly align it.
Then remove the SPEEDROCKER
once again and stick the supplied protective film D onto the frame at
protective film D of the support points
Note. The surface must be clean and
free of grease

EN
Position the SPEEDROCKER mount-
ing adapter on the protective film.
Thread the velcro strap A with the
Rubberized side facing the frame and pull tight.
Note. Before each ride
check for tight fit and clean
contact surfaces.
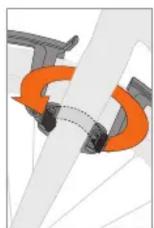
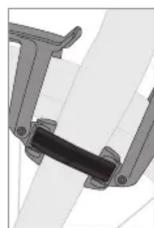

EN
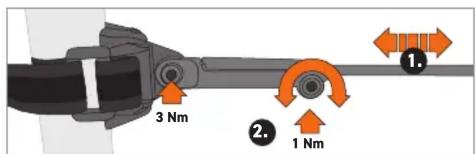
Also attach the mounting adapters to
the bicycle fork with the protective
toils. Move the strut to the correct position depending on the frame
position depending on the frame size (1) and then tighter on the
size (1) and adapter (2).
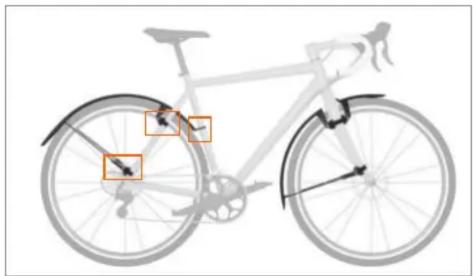
EN. Fender-assembling rear
natural_image
Side view of a bicycle with orange measurement annotations on the front wheel (no text or symbols present)EN. Mounting rubber inlays &
Fastening with velcro and rubber straps

1
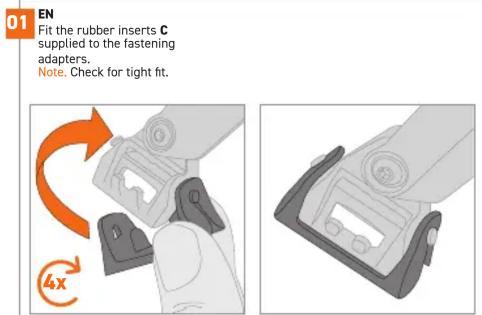
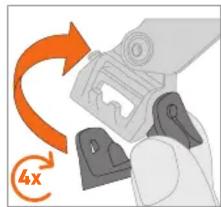
Fit the rubber inserts C supplied
to the fastening adapters.
Note. Check for tight fit.
natural_image
Illustration of a hand holding a mechanical component with an orange arrow indicating rotation (no text or symbols present)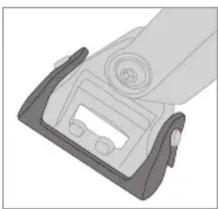
natural_image
Illustration of a hand holding a device with a circular dial and rectangular buttons (no text or symbols)
EN
Place the SPEEDROCKER on the bicycle frame and roughly align it. Then remove the SPEEDROCKER once again and stick the supplied protective film D onto the frame at the support points. Note. The surface must be clean and free of grease.

EN
Bring the SPEEDROCKER into position and attach it to the seat tube in the first step. To do this, thread the Velcro strap B with the rubberized side facing the seat tube over the protective film and tighten. If necessary, slide the extendable extension profile into the correct position.
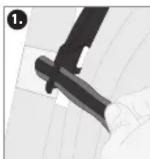
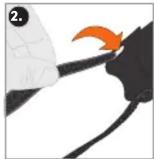
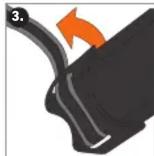
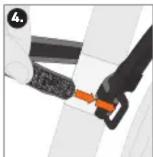
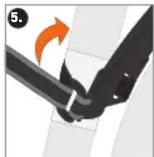
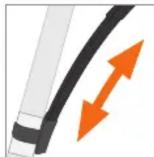

EN Position the SPEEDROCKER
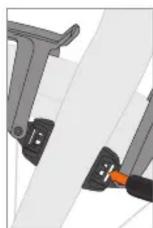
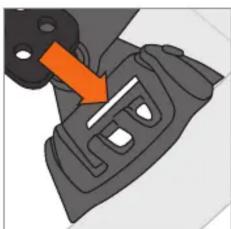
mounting adapter on the protective foil. Then thread the enclosed rubber straps B through the opening on the adapter and pull them forward. Then fasten them there via the eyelets.
natural_image
Close-up of a mechanical component with an orange arrow pointing to a slot (no text or symbols visible)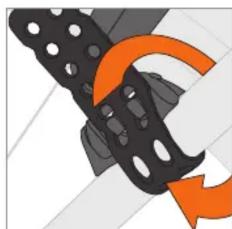
natural_image
Close-up of a mechanical component with orange and black parts, no visible text or symbolsEN. Individual adaptations

EN
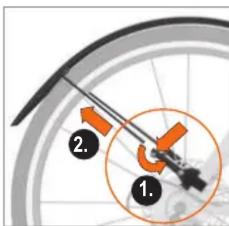
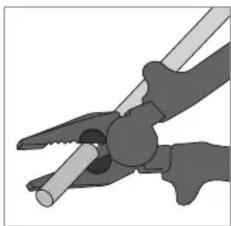
Depending on the requirements, the struts can be easily shortened with suitable tools.
natural_image
Illustration of a pair of pliers gripping a cylindrical object (no text or symbols)
EN
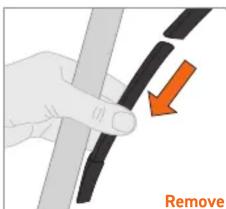
If your bike has a cable on the seat tube, the extension profile must be removed. Otherwise, the attachment may cause damage to the cable.
natural_image
Close-up of a hand holding a black strip with an orange arrow indicating removal (no text or symbols)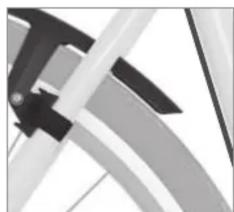
natural_image
Close-up of a bicycle wheel rim and suspension bracket (no text or symbols visible)
EN
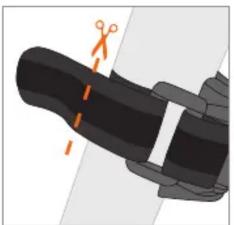
The Velcro and rubber straps B can be shortened after attachment. Note. Mount/shorten the velcro and rubber straps so that they cannot get caught in the wheel while riding.
natural_image
Illustration of a mechanical component with scissors cutting through it (no text or symbols)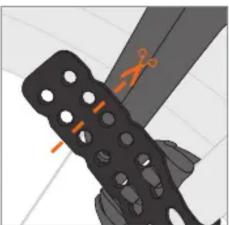
natural_image
Close-up of a black mechanical component with orange cutting tool, no visible text or symbols
CAUTION!
Not suitable for suspension forks!
EN. Safety instructions
Carefully read the entire safety instructions and follow the instructions.
Warning levels.
Take note of and adhere to the warnings. Non-compliance can lead to injuries or damage to property!

Caution! Indicates hazards that can lead to injuries or damage to property.
Safety instructions.
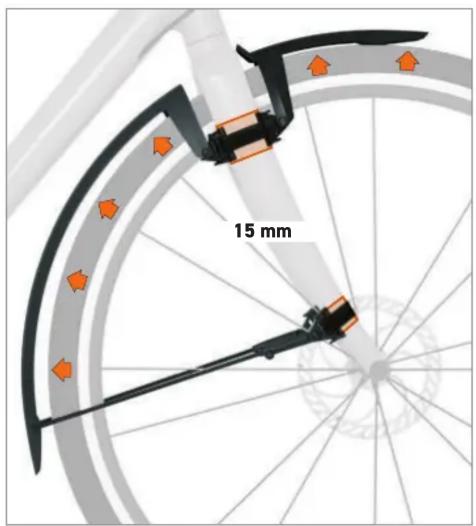
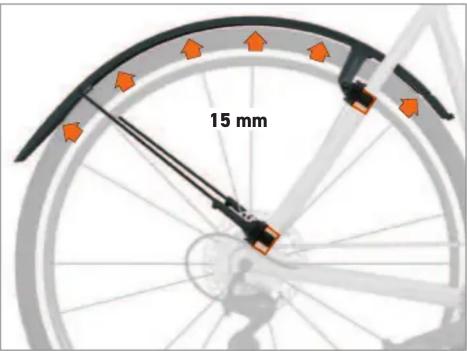
Injury hazard. The product contains small parts that could be swallowed. Keep the product or individual components away from children. Always mount SPEEDROCKER wheel guards using the mounting material supplied. Not suitable for mounting on suspensions forks. Check and retighten ail Velcro fasteners & rubber straps regularly. Keep a minimum distance of 15 mm between tread and tyre.
Intended use.
Use only for the intended use as a wheel guard. Any other use and/or structural alteration is considered to be not in accordance with the intended use and results in the expiry of the legal and contractual warranty for material defects and product liability.
Disposal

Dispose of packaging material in accordance with the applicable national and regional regulations. When disposing of the product, follow the national and regional disposal regulations.

Attention! Regulatory remove the mudgurads and clean the contact surfaces to the bicycle underneath!




Brand : SKS
Model : Speedrocker XL SET
Category : Uncategorized