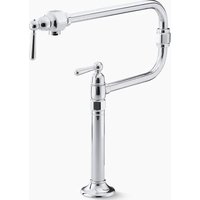
HiRise K-7323 - Faucet KOHLER - Free user manual and instructions
Find the device manual for free HiRise K-7323 KOHLER in PDF.


User questions about HiRise K-7323 KOHLER
0 question about this device. Answer the ones you know or ask your own.
Ask a new question about this device
Download the instructions for your Faucet in PDF format for free! Find your manual HiRise K-7323 - KOHLER and take your electronic device back in hand. On this page are published all the documents necessary for the use of your device. HiRise K-7323 by KOHLER.
USER MANUAL HiRise K-7323 KOHLER
Deck-Mount Pot Filler
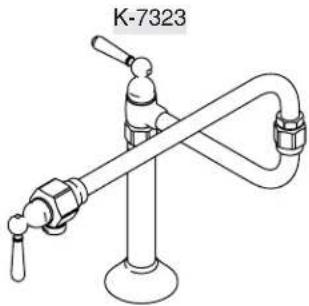
natural_image
Line drawing of a laboratory apparatus with a central rod and flanged ends, labeled K-7323 (no text or symbols on the diagram itself)Mproduct numbers are for Mexico (i.e. K-12345M)
Thank You For Choosing Kohler Company
We appreciate your commitment to Kohler quality. Please take a few minutes to review this manual before you start installation. If you encounter any installation or performance problems, please don't hesitate to contact us. Our phone numbers and website are listed on the back cover. Thanks again for choosing Kohler Company.
Tools and Materials
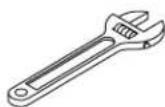
Adjustable Wrench
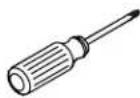
Phillips
Screwdriver
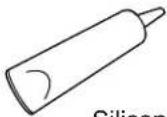
Silicone Sealant (Optional)
Plus:
• Supply Hose (Not Provided)
Before You Begin
□ Observe all local plumbing and building codes.
□ Shut off the water supplies.
Before installation, unpack the new faucet and inspect it for damage. Return the faucet to the carton until you are ready to install it.
□ Carefully inspect the supply tubing for any sign of damage and replace if necessary.
☐ Do not use petroleum based products in this faucet.
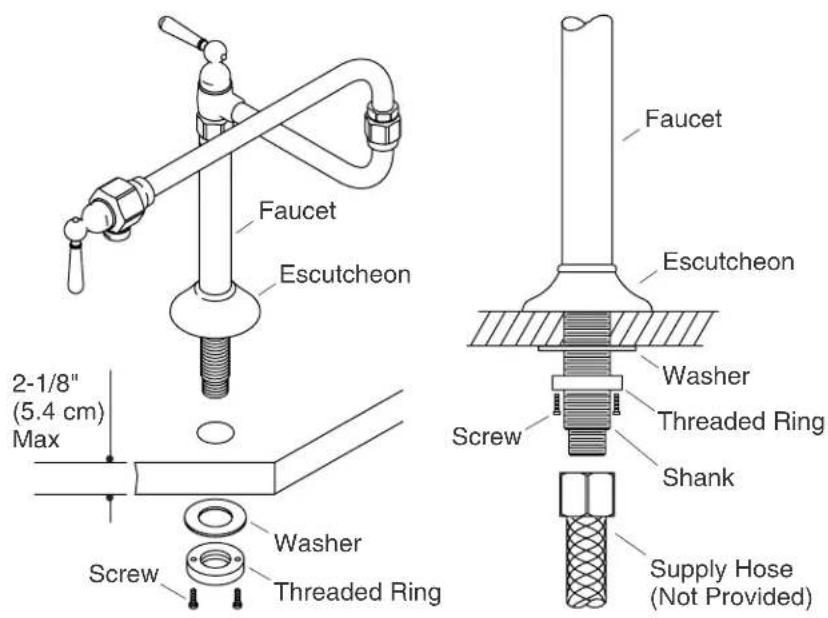
☐ This faucet is designed for installation to a countertop thickness of no more than 2-1/8"(5.4 cm).
☐ Kohler Co. reserves the right to make revisions in the design of faucets without notice, as specified in the Price Book.
text_image
Faucet Escutcheon 2-1/8" (5.4 cm) Max Screw Washer Threaded Ring Faucet Escutcheon Washer Threaded Ring Screw Shank Supply Hose (Not Provided)1. Faucet Installation
☐ Mark the position of the mounting hole at the intended faucet installation location.
□ Verify adequate reach of the faucet for your intended use.
☐ Drill a 1-1/8"(2.9 cm) to 1-3/8"(3.5 cm) hole at the marked location.
□ Verify the O-ring is installed in the underside of the escutcheon.
☐ If desired, sealant may be applied to the underside of the escutcheon.
□ Slide the escutcheon onto the faucet.
☐ Insert the shank through the mounting hole.
☐ Partially thread two screws into the threaded ring until the screws barely protrude from the back side of the threaded ring.
☐ Slide a metal washer onto the threaded shank from underneath the mounting surface.
Faucet Installation (cont.)
☐ Thread the threaded ring onto the shank until the threaded ring is about 1/4"(6 mm) away from the underside of the mounting surface.
☐ Turn the threaded ring so the screws are to the front and the back.
□ Orient the faucet as desired.
□ Use a Phillips screwdriver to tighten the screws securely and evenly.
□ Connect the cold water supply to the shank.
text_image
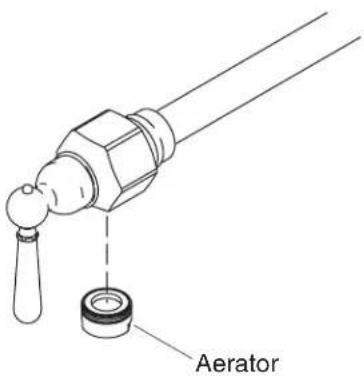
Aerator2. Installation Checkout
☐ Turn both handles full clockwise to the off position to close the valves.
□ Verify that all connections are tight.
□ Twist the aerator counterclockwise to remove it from the spout.
□ Position a bucket, or other suitable container, beneath the spout.
□ Turn on the main water supply.
□ Check all connections for leaks; repair as needed.
□ Open both faucet valves to run water through the faucet.
□ Check all connections for leaks; make any adjustments as needed.
☐ Allow water to run through the spout to remove any debris.
☐ Turn off the faucet by closing both valves.
□ Remove any debris from the aerator and reinstall.




