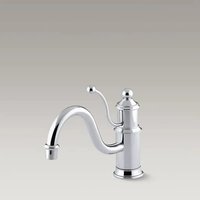
Antique K-168 - Faucet KOHLER - Free user manual and instructions
Find the device manual for free Antique K-168 KOHLER in PDF.


User questions about Antique K-168 KOHLER
0 question about this device. Answer the ones you know or ask your own.
Ask a new question about this device
Download the instructions for your Faucet in PDF format for free! Find your manual Antique K-168 - KOHLER and take your electronic device back in hand. On this page are published all the documents necessary for the use of your device. Antique K-168 by KOHLER.
USER MANUAL Antique K-168 KOHLER
natural_image
Line drawing of a faucet with handle and base (no text or symbols)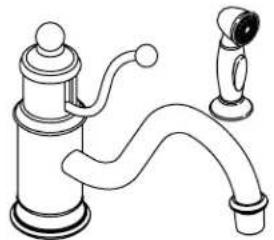
natural_image
Line drawing of a vintage kitchen sink with handle and faucet (no text or symbols)Mproduct numbers are for Mexico (i.e. K-12345M)
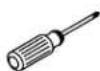
Assorted
Screwdrivers

Thread Sealant

Pliers
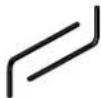
Assorted Hex Wrenches
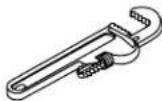
Pipe Wrench

Tube Cutter
Before You Begin
□ Observe all local plumbing and building codes.
□ Shut off the water supplies.
□ Carefully inspect waste and supply tubing for any sign of damage and replace if necessary.
☐ For new installations, assemble the faucet to the sink before installing the sink.
☐ Kohler Co. reserves the right to make revisions in the design of faucets without notice, as specified in the Price Book.
text_image
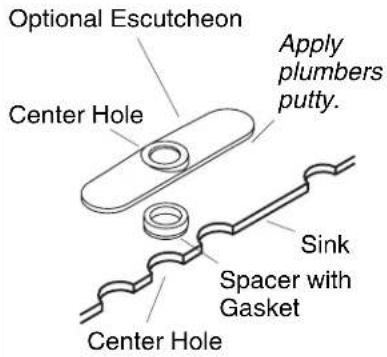
Optional Escutcheon Center Hole Apply plumbers putty. Sink Spacer with Gasket Center Hole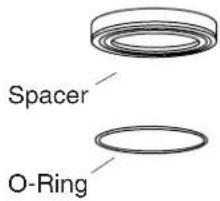
text_image
Spacer O-Ring1. Install the Escutcheon (Optional)
For 1-hole Installations
□ Use the appropriate washer (provided).
For 3-hole Installations
NOTE: When installing in marble countertops, use the gaskets provided. Remove the adhesive backing and apply the gaskets over the unused sink holes with the adhesive side down.
□ Apply a bead of plumbers putty or other sealant to the underside of the escutcheon according to the manufacturer's instructions.
☐ Insert the O-ring into the groove of the spacer.
☐ Set the spacer with gasket under the center hole of the escutcheon with the gasket in position to make contact with the countertop.
□ Align the center hole of the escutcheon with the center hole of the sink.
text_image
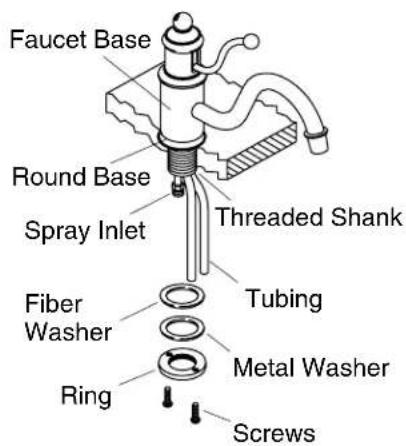
Faucet Base Round Base Spray Inlet Threaded Shank Fiber Washer Ring Tubing Metal Washer Screws2. Install the Faucet
NOTE:A rubber washer is located in the depression in the round base.
☐ Slip the round base over the tubing and to the faucet base.
□ Fit the faucet through the sink hole.
☐ Position the faucet so the spray inlet is toward the back.
☐ Partially thread the screws into the ring until they barely protrude from the backside of the ring.
□ Slide the fiber washer and metal washer on the threaded shank.
☐ Thread the ring to the threaded shank until it is about 1/4 turn from touching the sink bottom.
□ Turn the ring so the screws are to the front and back of the faucet.
□ Tighten the screws using a Phillips screwdriver.
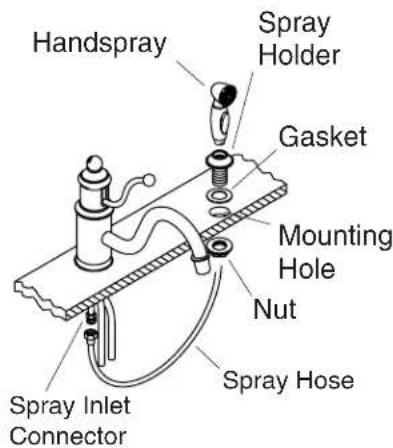
text_image
Handspray Spray Holder Gasket Mounting Hole Nut Spray Inlet Connector Spray Hose3. Install the Handspray
□ Slide the gasket (provided) onto the spray holder.
☐ Slide the spray holder through the mounting hole from above.
□ Hand tighten the nut from under the sink.
☐ Insert the spray hose through the spray holder.
□ Attach the spray hose to the spray inlet connector using thread sealant.
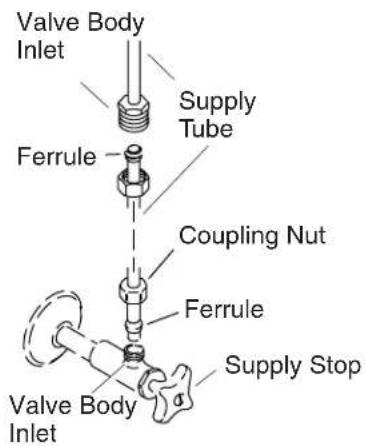
text_image
Valve Body Inlet Supply Tube Ferrule Coupling Nut Ferrule Supply Stop Valve Body Inlet4. Install the Supplies
NOTE: If the sink is not installed, install it at this time. Be sure to follow all instructions packed with the sink.
☐ Slide the coupling nuts and ferrules onto the supply tubes.
□ Secure the supply tubes and valve body inlets with coupling nuts.
□ Carefully insert the supply tubes into the valve body inlets and shut-off valve outlets (if used).
☐ Position the round end of the supply tube squarely to the valve body inlet and supply stop.
□ Tighten all coupling nuts.
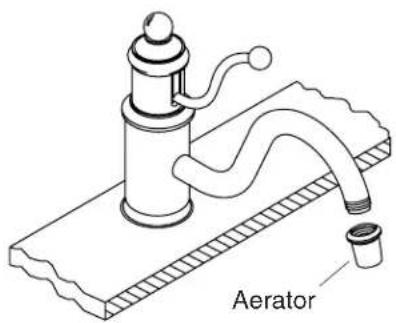
natural_image
Isometric line drawing of a kitchen sink with a curved drain and labeled component (no text or symbols beyond label)5. Installation Checkout
□ Remove the aerator from the end of the spout by turning it counterclockwise.
□ Turn on the main water supply.
□ Open the faucet handle to the ON position.
☐ Flush hot then cold water through the faucet for about one minute.
□ Push the faucet handle down to the OFF position.
☐ Reattach the aerator by turning it clockwise.




