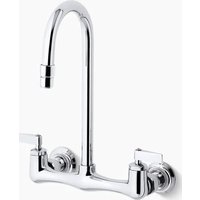
Triton K-7320-4 - Faucet KOHLER - Free user manual and instructions
Find the device manual for free Triton K-7320-4 KOHLER in PDF.


User questions about Triton K-7320-4 KOHLER
0 question about this device. Answer the ones you know or ask your own.
Ask a new question about this device
Download the instructions for your Faucet in PDF format for free! Find your manual Triton K-7320-4 - KOHLER and take your electronic device back in hand. On this page are published all the documents necessary for the use of your device. Triton K-7320-4 by KOHLER.
USER MANUAL Triton K-7320-4 KOHLER
Wall Mount Kitchen Faucets
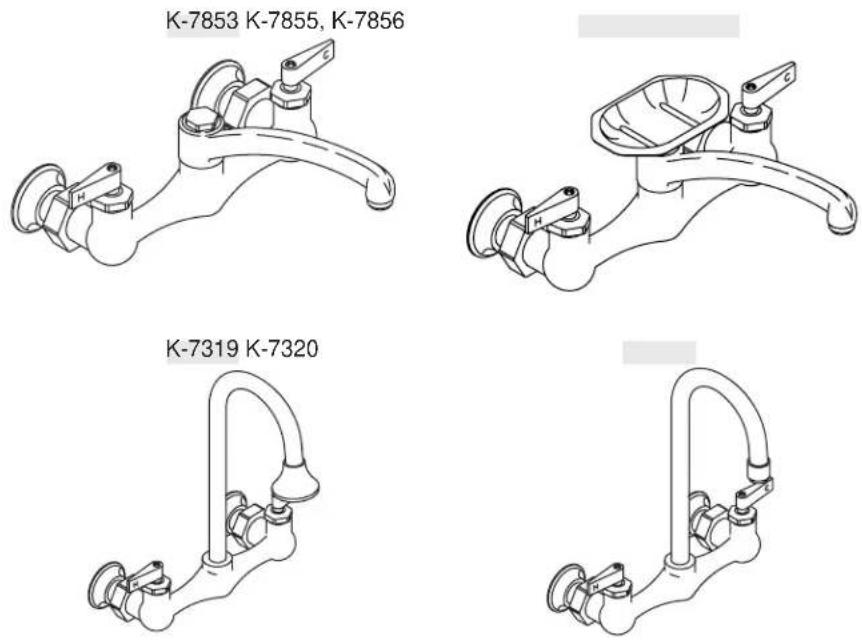
M product numbers are for Mexico (i.e. K-12345M)
Thank You For Choosing Kohler Company
We appreciate your commitment to Kohler quality. Please take a few minutes to review this manual before you start installation. If you encounter any installation or performance problems, please don't hesitate to contact us. Our phone numbers and website are listed on the back cover. Thanks again for choosing Kohler Company.
Tools and Materials
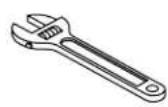
Adjustable Wrench
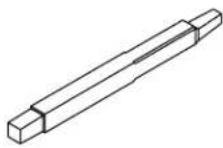
7/16" Seat Wrench
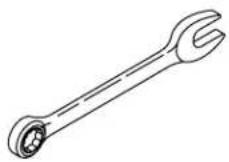
Open End Wrench
Before You Begin
NOTE: Use two-hole straps or drop-ear ells and screws to secure the water supplies within the wall.
□ Observe all local plumbing and building codes.
□ Shut off the main water supply.
□ Carefully inspect waste and supply tubing for any sign of damage.
□ Replace waste or supply tubing if necessary.
☐ Kohler Co. reserves the right to make revisions in the design of faucets without notice, as specified within the Price Book.
text_image
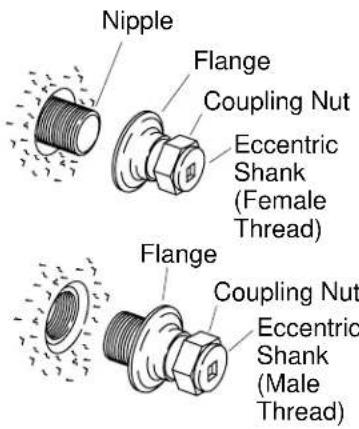
Nipple Flange Coupling Nut Eccentric Shank (Female Thread) Flange Coupling Nut Eccentric Shank (Male Thread)1. Install the Eccentric Shank
☐ Slide one coupling nut and one flange onto each cold and hot eccentric shank.
☐ Measure and install the nipple. If the eccentric shank has female threads, the nipples should extend 3/8" (1 cm) to 1/2" (1.3 cm) from the front of the wall. If the eccentric shank has male threads, the nipple should be flush with the front of the wall.
☐ Thread one eccentric shank assembly onto each cold and hot nipple. Ensure that each flange is snug against the finished wall.
text_image
Coupling Nut Washer Faucet Body
text_image
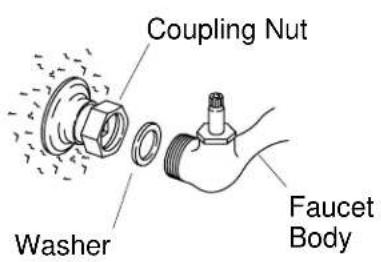
Eccentric Shank Seat Wrench2. Install the Faucet Assembly
NOTE: The cold and hot faucet shanks are eccentric to allow adjustment.
☐ Insert one washer into each cold and hot coupling nut.
□ Align and then insert the faucet assembly into each cold and hot faucet shank.
☐ Partially thread each cold and hot coupling nut onto the faucet assembly threads until tight.
□ Check to see that the faucet assembly is level.
☐ If the faucet assembly is not level, turn each cold and hot eccentric shank with a 7/16" seat wrench.
□ After adjustment, securely tighten each cold and hot coupling nut.
text_image
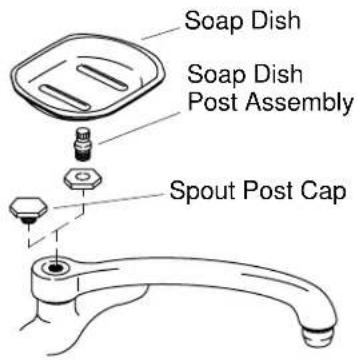
Soap Dish Soap Dish Post Assembly Spout Post Cap3. Install the Soap Dish
Foraninstallationwithasopdish:
☐ Slide a nut onto the soap dish post assembly.
□ From the top of the faucet, insert the soap dish post assembly into the hole at the base of the spout. Tighten until secure.
□ Place the soap dish on the top of the soap dish post assembly.
For an installation without a soap dish:
□ Install the spout post cap into the hole at the base of the spout. Tighten until secure.
4. Installation Checkout
□ Ensure that all connections are tight.
□ Open the drain.
□ Turn on the main water supply.
□ Twist the aerator counterclockwise until it is removed from the spout.
□ Open both hot and cold valves.
□ Run water through the spout for approximately one minute to remove debris. Check for leaks.
□ Remove any debris from the aerator and reinstall.




