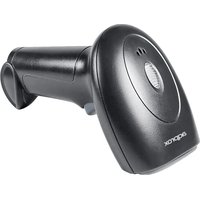
appLS21 - Barcode scanners Aqprox - Free user manual and instructions
Find the device manual for free appLS21 Aqprox in PDF.


| Product type | 1D/2D barcode scanner |
| Brand | Aqprox |
| Model | appLS21 |
| Dimensions (approx.) | 17 × 7 × 8 cm |
| Weight (approx.) | 150 g |
| Power supply | Via USB port (cable included) |
| Interface | USB |
| Supported symbologies | 1D and 2D barcodes, including QR Code |
| Scan mode | Manual (default) or automatic |
| Indicator light | Operation LED |
| Sound signal | With or without sound (configurable) |
| Auto standby | After 30 minutes of inactivity |
| Stand included | Yes, for hands-free scanning |
| Maintenance and cleaning | Clean the window with a soft cloth (like a lens cloth). Use a brush for debris. Do not spray liquid directly. |
| Safety | Do not open the device (risk of electric shock). Avoid water, objects and liquids. Use the recommended voltage. |
| Recycling | Compliant with WEEE directive (2002/96/EC). Dispose of separately at end of life. |
Frequently Asked Questions - appLS21 Aqprox
User questions about appLS21 Aqprox
0 question about this device. Answer the ones you know or ask your own.
Ask a new question about this device
Download the instructions for your Barcode scanners in PDF format for free! Find your manual appLS21 - Aqprox and take your electronic device back in hand. On this page are published all the documents necessary for the use of your device. appLS21 by Aqprox.
USER MANUAL appLS21 Aqprox
User Guide
1. Introducción
Please carefully read all the contents of the manual before using the products described in this manual to ensure that the product is safely and effectively preserved for future use. Do not disassemble the terminal or tear off the seal on the terminal. Otherwise, we will not be responsible for the warranty or replacement of the terminal.
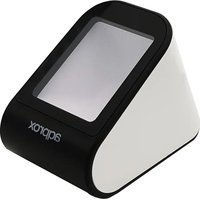
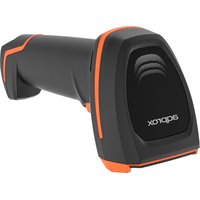
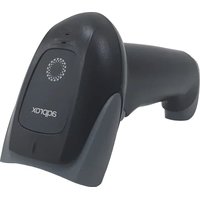
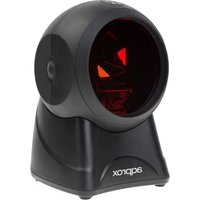
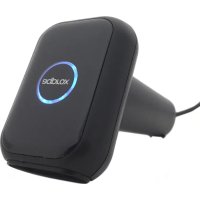
appLS21 is a high performance barcode reader. It can quickly decode any 1D and 2D barcode symbology, including QR codes, from paper or directly from the screen of any device, perfect for customer-facing applications. Includes a holder for easy hands-free reading.
1.1. Product display
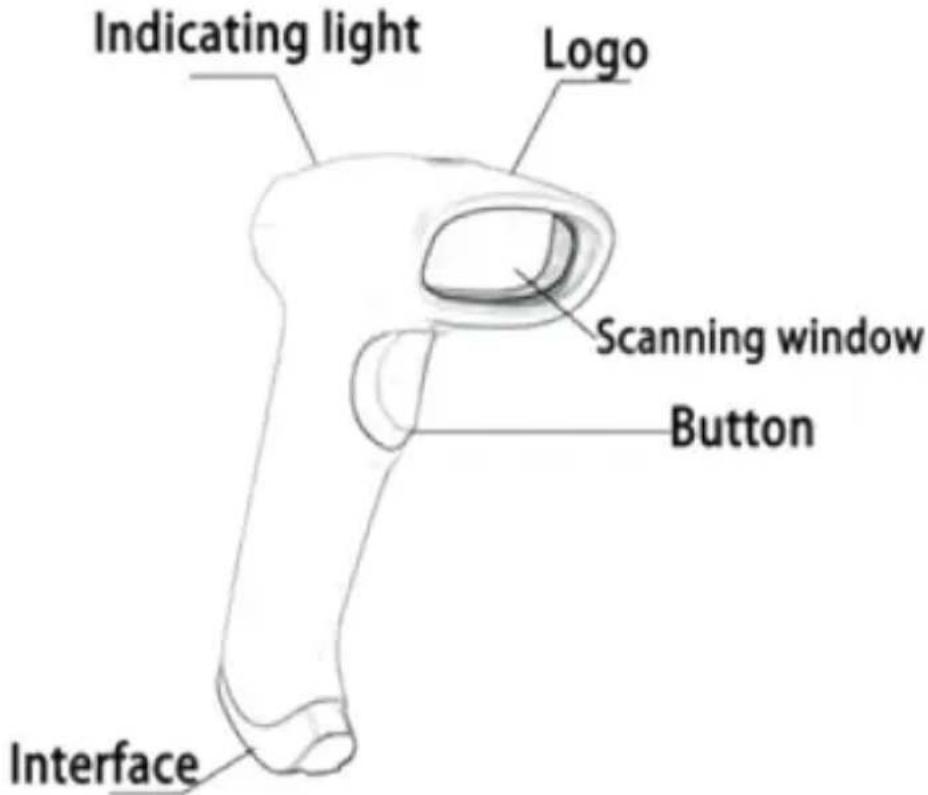
1.2. Start-up, shutdown, standby and restart
Start-up: Connect host computer with scanner, which will automatically start-up and in working state.
Shutdown: Remove the USB which is connected with host computer.
Standby: Scanner with automatic sleep standby function, if 30 minutes without work it will be in standby mode, but it will automatically start-up when barcode approach.
Restart: If the scanner crashes or doesn't respond, please switch it off and restart.
1.3. Maintenance
- The window must be kept clean, the supplier do not bear the guarantee responsibility due to the improper maintenance.
- Avoid the window being wear and tear or scratched by hard object
- Use the hairbrush to remove the stain on the window
- Clean the window with a soft cloth, such as lens cleaning cloth
- Spraying liquid onto the window is prohibited.
- Prohibit any cleaning solvents, except for the cleaning water.
2. Barcode menu
This user manual includes Symbologies settings, function settings (lighting, keyboard layout, factory default, etc.) and interface settings. If you need to change the function you need, scan the configuration according to the configuration code below.
Recall default Read the version number
2.2. Interface mode
Identify as USB keyboard type, scan "USB keyboard" barcode.
USB can be identified as USB com type and USB com type when the application software needs serial port, which requires the user to install the driver.

USB keyboard USB Mac

Serial port
USB
C(
3. Basic settings
In this chapter, you can configure the function mode of the device, including the working mode (such as image whitening), aimer setting, lighting configuration, LED indicator setting and speaker setting. You only need to scan the corresponding configuration code according to the requirements.
3.1. Scan mode

Manual trigger mode (default) Auto scan mode
3.2. Enable/Disable symbologies

Enable all symbologies Disable all symbologies

Enable all 1D symbologies Disable all 1D symbologies

Enable all 2D symbologies Disable all 2D symbologies
3.3. Inverse barcode

Decode regular code only (default) Decode inverse code only

Decode both regular and inverse code
3.4. Beeper

4. Output setting
In this chapter, you can configure the output of the device, including carriage return / line feed, add prefix / suffix, set the length of barcode, remove the number of digits of barcode (start / end removal) and switch settings of multi-national keyboard. You only need to scan the corresponding configuration code according to the requirements.
4.1. CR/LF setting
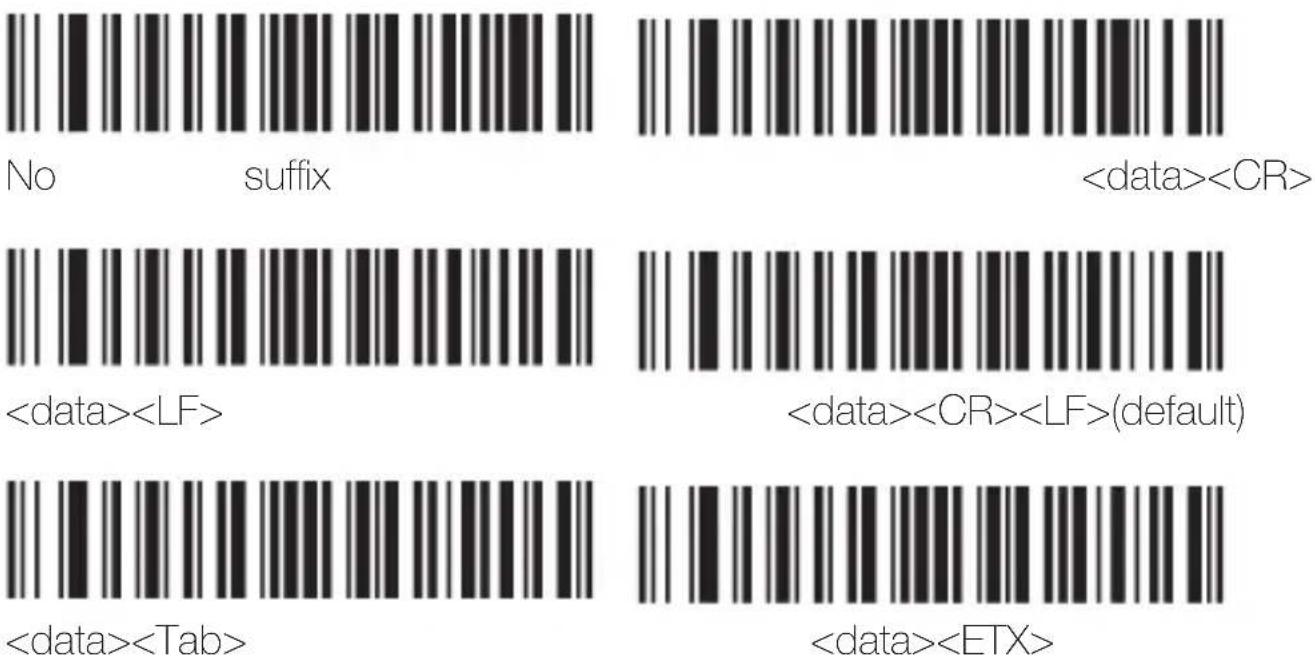
4.2. CTRL + X

Enable CTRL + X mode Disable CTRL + X mode (default)
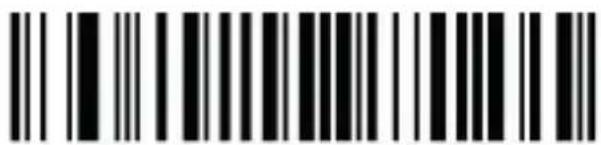
Transmit non-visible character
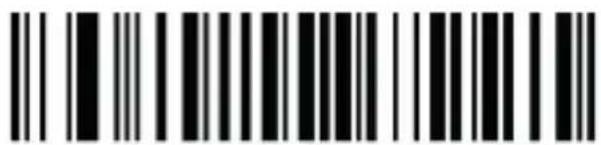
Don't transmit non-visible character
4.3. Extra code setting
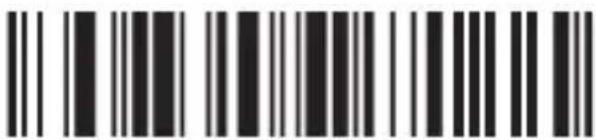
Enable 2 extra code
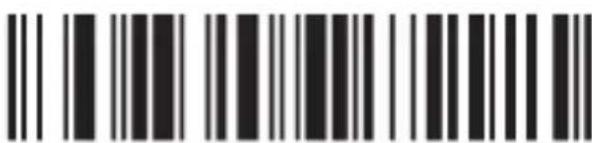
Disable 2 extra code (default)
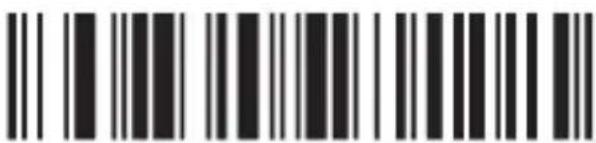
Enable 5 extra code
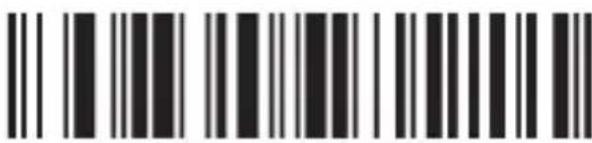
Disable 5 extra code (default)
4.4. Language settings
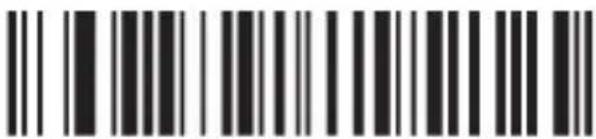
Belgium
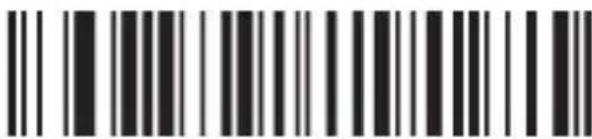
English
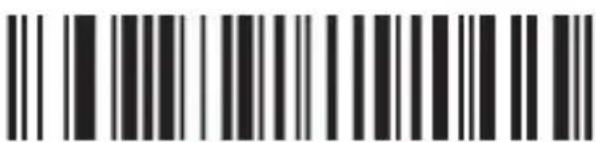
French
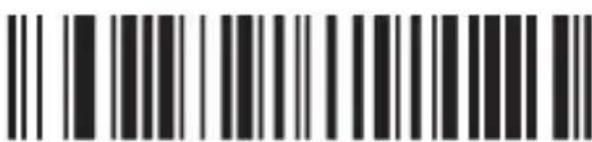
German
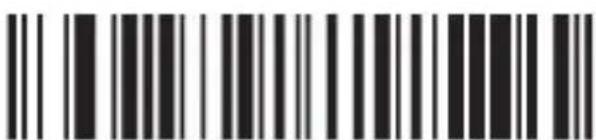
Italian
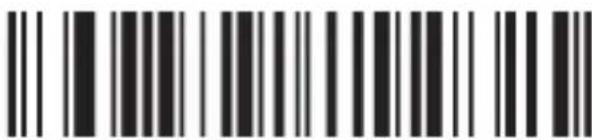
Spanish
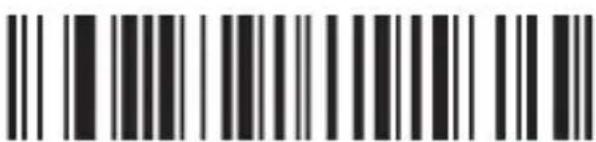
America
Singapore
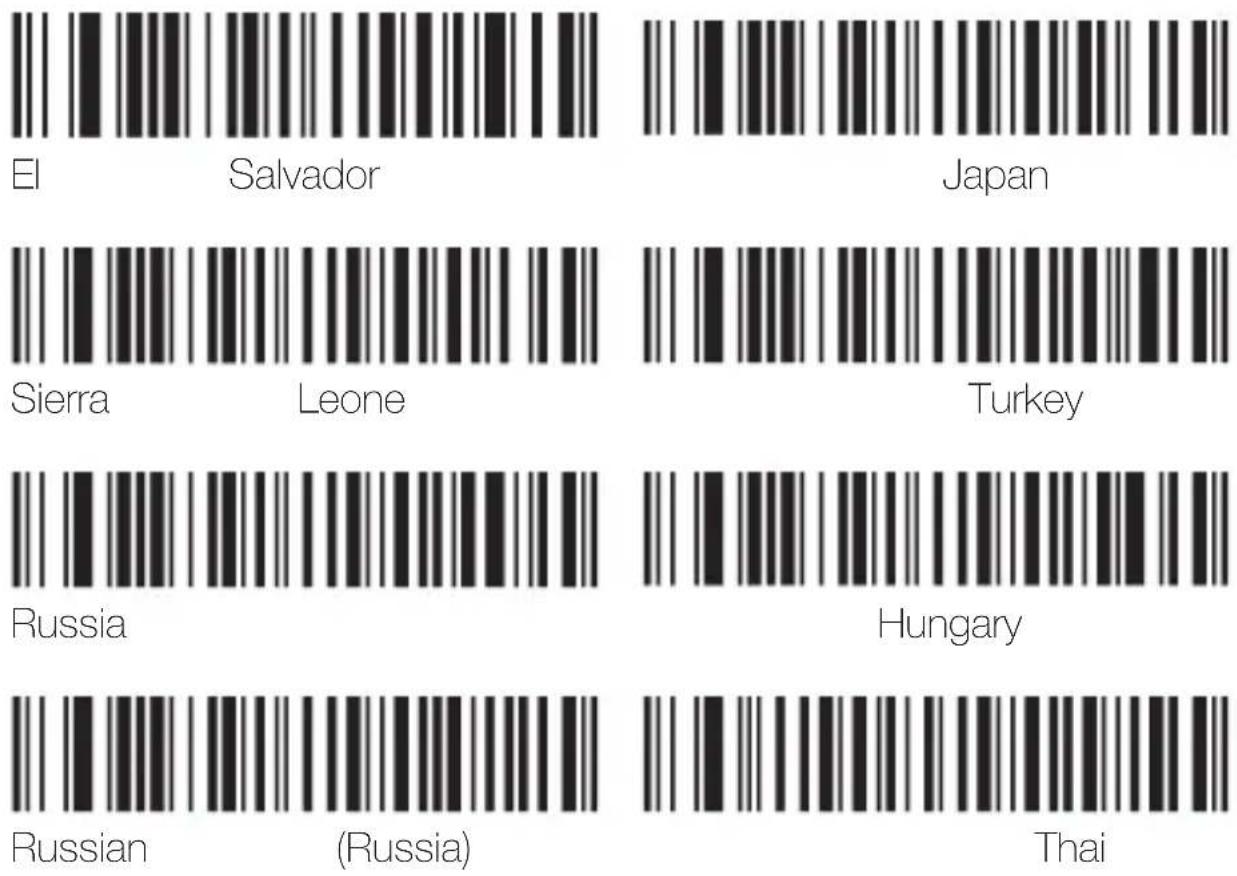
4.5. Data matrix code
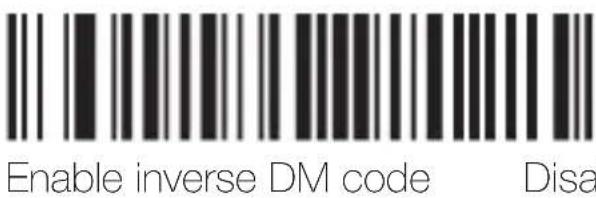
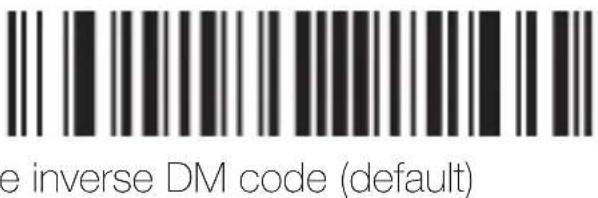
4.6. EAN/UPC
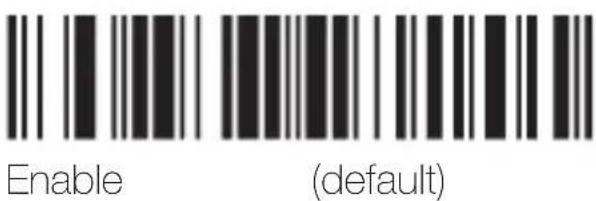
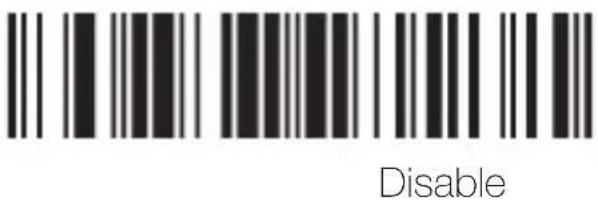

Normal barcode Normal and inverse
4.7. Micro QR code


5. Special function configuration
5.1. Prefix

5.2. Suffix

5.3. Programming mode
Bar code length locking configuration (support up to 6 bar code type length locking).
Add a single bar code type length lock configuration process:
Example 1: The length of code 128 is 10, and the byte value of code 128 is 083 by looking up the barcode type table.
-
Scan "enter / exit programming mode" to put the device into programming mode.
-
Scan "configure barcode type 1 length".
- Scan bytecode values "0", "1", "0" in turn.
- Scan "configure barcode type 1 byte value".
- Scan byte code values "0", "8" and "3" in turn.
- Scan "enter / exit programming mode".
Add length lock for multiple barcode types:
Example 2
- Scan "enter / exit programming mode" to put the device into programming mode.
- Scan "configure barcode type 1 length".
- Scan bytecode values in turn.
- Scan "configure barcode type 1 byte value".
- Scan bytecode value in turn.
- Scan "configure barcode type 2 length".
- Scan bytecode values in turn.
- Scan "configure barcode type 2 byte value".
- Scan bytecode values in turn.
- Scan enter / exit programming mode.
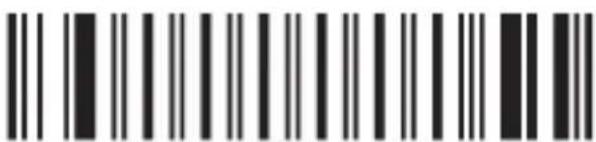
Enter / exit programming mode
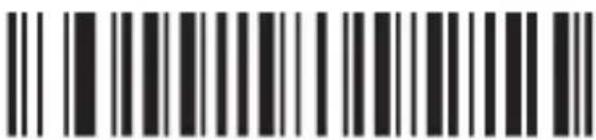
Configure barcode type 1 length
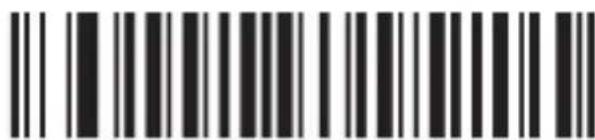
Configure barcode type 1 byte value
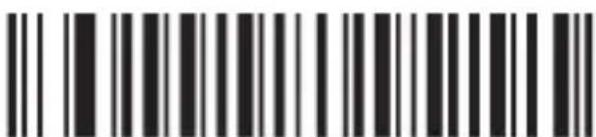
Configure barcode type 2 length
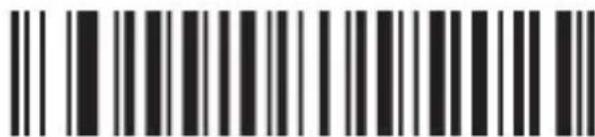
Configure barcode type 2 byte value
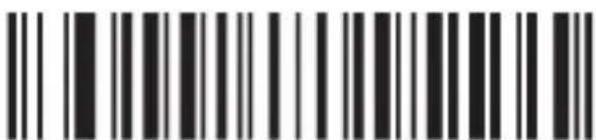
Configure barcode type 3 length
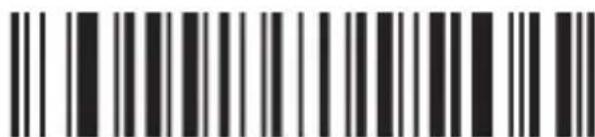
Configure barcode type 3 byte value
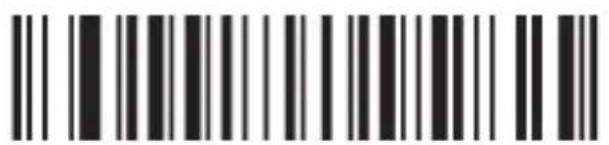
Configure barcode type 4 length
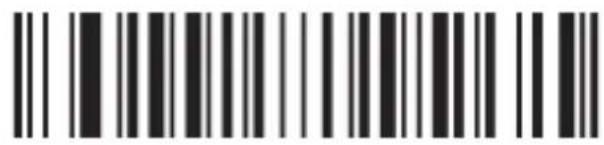
Configure barcode type 4 byte value
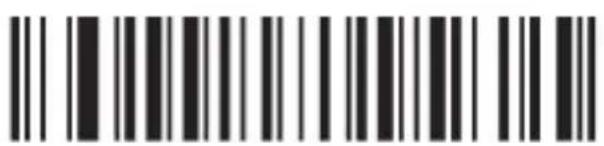
Configure barcode type 5 length
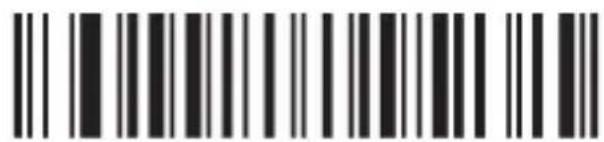
Configure barcode type 5 byte value
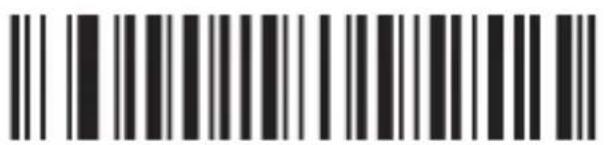
Configure barcode type 6 length
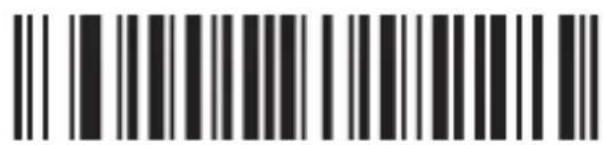
Configure barcode type 6 byte value
Bytecode value (decimal)
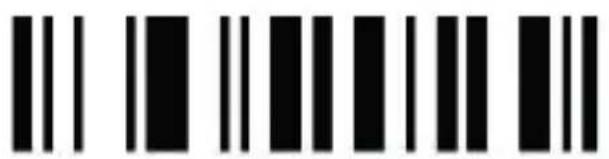
O
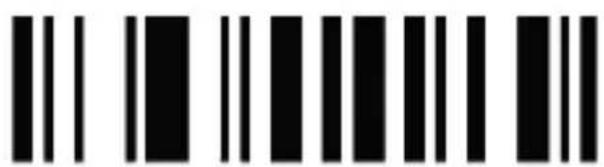
1
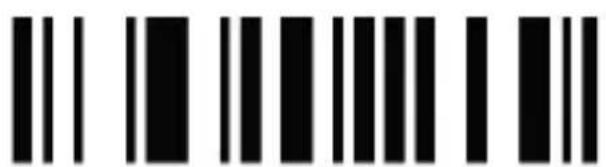
2
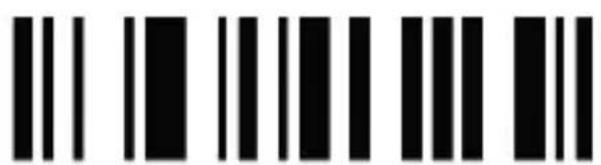
3
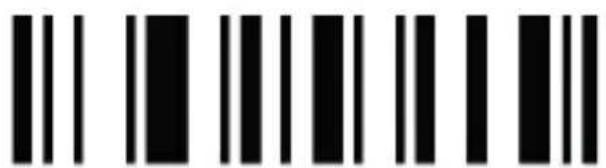
4
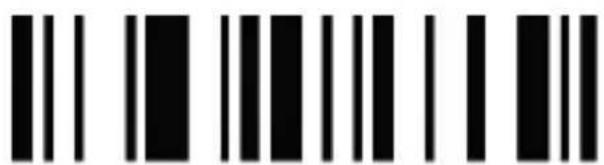
5
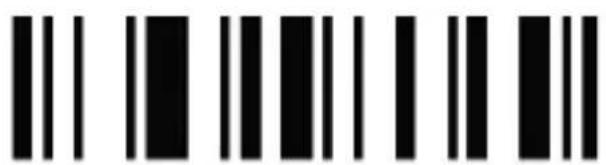
6
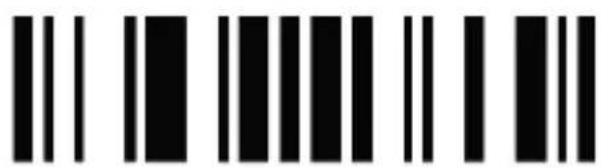
7
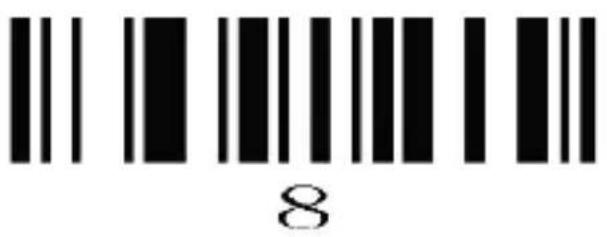
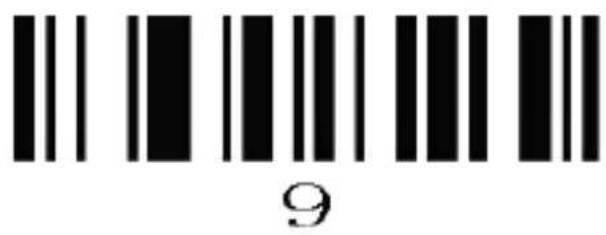
5.4. Bar code type table
| Barcode byte value | Barcode Type |
| 002 | UPC-E |
| 003 | EAN-8 |
| 004 | UPC-A |
| 005 | EAN-13 |
| 080 | CODE 39 |
| 081 | CODABAR |
| 082 | INTERLEAVED 2 OF 5 |
| 083 | CODE 128 |
| 084 | CODE 93 |
| 091 | MSI |
| 092 | CODE 11 |
| 093 | AIRLINE 2 OF 5 |
| 094 | MATRIX 2 OF 5 |
| 095 | TELEPEN |
| 096 | UK PLESSEY |
| 097 | AIRLINE(13 DIGITS) |
| 098 | STANDARD 2 OF 5 |
| 099 | TRIOPTIC |
| 101 | RSS14 |
| 102 | RSS LIMIT |
| 103 | RSS EXT |
| 104 | PDF417 |
| 105 | MICRO PDF417 |
| 106 | DATA MATRIX |
| 107 | AZTEC |
| 108 | QR |
| 109 | MAXICODE |
Add Prefix / Suffix (up to 10 characters can be added respectively)
Add prefix process:
Example 1: add a byte prefix, the character is "", and the corresponding ASCII decimal number is 040.
- Scan "enter / exit programming mode" barcode.
- Scan "configuration the 1st prefix" barcode.
- Scan digital barcodes "0", "4", "0"
- Scan "enter / exit programming mode" barcode.
Add suffix process:
Example 2: add a suffix of byte, the character is “)”, and the corresponding ASCII decimal number is 041.
- Scan "enter / exit programming mode" to put the device into programming mode.
- Scan "configuration suffix 1st byte".
- Scan bytecode values "0", "4", "1" in turn.
- Scan "enter / exit programming mode".
Add multiple byte prefix:
Example 3, add multiple byte prefixes
- Scan "enter / exit programming mode" to put the device into programming mode.
- Scan "configuration prefix 1st byte".
- Scan the first byte code value in turn.
- Scan "configuration prefix 2nd byte".
- Scan the second byte code value in turn.
- Repeat steps 4 and 5
- Scan "enter / exit programming mode".
Add multiple byte suffix:
Similar to adding multiple prefixes.
Clear all prefixes:
Scan the clear all prefixes barcode.
Clear all suffixes:
Scan the clear all prefixes barcode.

Enter / exit programming mode Configuration 1st prefix

Configuration 2nd prefix Configuration 3rd prefix

Configuration 4th prefix Configuration 5th prefix

Configuration 6th prefix Configuration 7th prefix

Configuration 8th prefix Configuration 9th prefix

Configuration 10th prefix Clean all prefix

Configuration 1st suffix Configuration 2nd suffix
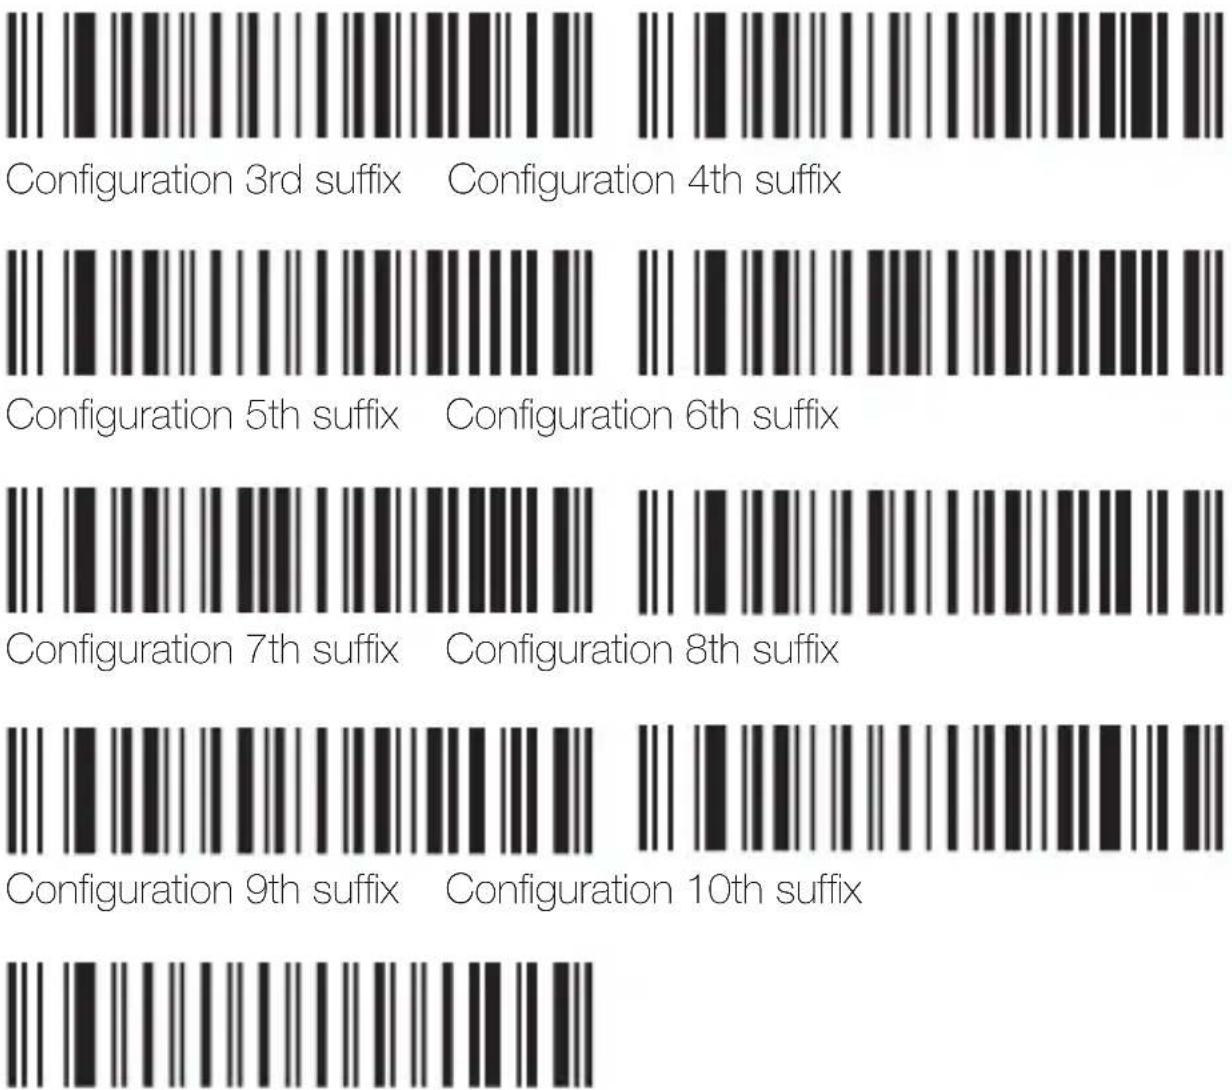
Clear all suffix
5.5. Attached: ASCII code table
| Decimal | Character | Decimal | Character | Decimal | Character | Decimal | Character |
| 000 | NUL | 032 | SP | 064 | @ | 096 | ' |
| 001 | SOH | 033 | ! | 065 | A | 097 | a |
| 002 | STX | 034 | " | 066 | B | 098 | b |
| 003 | ETX | 035 | # | 067 | C | 099 | c |
| 004 | EOT | 036 | $ | 068 | D | 100 | d |
| 005 | ENQ | 037 | % | 069 | E | 101 | e |
| 006 | ACK | 038 | & | 070 | F | 102 | f |
| 007 | BEL | 039 | ` | 071 | G | 103 | g |
| 008 | BS | 040 | ( | 072 | H | 104 | h |
| 009 | HT | 041 | ) | 073 | I | 105 | i |
| 010 | LF | 042 | * | 074 | J | 106 | j |
| 011 | VT | 043 | + | 075 | K | 107 | k |
| 012 | FF | 044 | , | 076 | L | 108 | l |
| 013 | CR | 045 | - | 077 | M | 109 | m |
| 014 | SOH | 046 | . | 078 | N | 110 | n |
| 015 | SI | 047 | / | 079 | O | 111 | o |
| 016 | DLE | 048 | 0 | 080 | P | 112 | p |
| 017 | DC1 | 049 | 1 | 081 | Q | 113 | q |
| 018 | DC2 | 050 | 2 | 082 | R | 114 | r |
| 019 | DC3 | 051 | 3 | 083 | S | 115 | s |
| 020 | DC4 | 052 | 4 | 084 | T | 116 | t |
| 021 | NAK | 053 | 5 | 085 | U | 117 | u |
| 022 | SYN | 054 | 6 | 086 | V | 118 | v |
| 023 | ETB | 055 | 7 | 087 | W | 119 | w |
| 024 | CAN | 056 | 8 | 088 | X | 120 | x |
| 025 | EM | 057 | 9 | 089 | Y | 121 | y |
| 026 | SUB | 058 | : | 090 | Z | 122 | z |
| 027 | ESC | 059 | ; | 091 | [ | 123 | { |
| 028 | FS | 060 | < | 092 | \ | 124 | | |
| 029 | GS | 061 | = | 093 | ] | 125 | } |
| 030 | RS | 062 | > | 094 | ^ | 126 | ~ |
| 031 | US | 063 | ? | 095 | _ | 127 | DEL |
6. Safety, maintenance and recycling instructions
- Caution: Never open the device, the internal parts are danger, electrical shock.
- Do not install this unit near water, for example, in a wet basement, in an unprotected outdoor installation or in any area classified as a wet.
- Do not insert objects of any kind into this unit through openings as they may touch voltage points and short out parts that could result in fire or electric shock.
- Do not spill any liquid on the unit. Danger of explosion!
- Do not crush power cables, danger of short circuit!
- Always connect to the manufacturer's recommended tension.
- Clean the product with a soft and dry cloth.
- Follow local regulations for disposing of the product.
7. Recycled
AEEREI-RAE 558 - In this manual, the container (bien) symbol indicates that the product is subject to the European directive 2002/96/EC, electrical and electronic products, batteries, and other accessories must necessarily be subject to a selective collection.
At the end of the life of the devise, make use of the recycling bins.
This gesture will help reduce the health risks and preserve the environment. Municipalities and distributor, will provide essential details on recycling your old device. If this device carries an internal battery, it must be removed and deposited separately for proper management.
1. Introdução
The content of this guide is subject to typographical errors
www.approxtpv.es
- User Guide
- Introducción
- Product display
- Start-up, shutdown, standby and restart
- Maintenance
- Barcode menu
- Interface mode
- Basic settings
- Scan mode
- Enable/Disable symbologies
- Inverse barcode
- Beeper
- Output setting
- CR/LF setting
- CTRL + X
- Extra code setting
- Language settings
- Special function configuration
- Programming mode
- Example 2
- Add Prefix / Suffix (up to 10 characters can be added respectively)
- Add prefix process:
- Add suffix process:
- Add multiple byte prefix:
- Add multiple byte suffix:
- Clear all prefixes:
- Attached: ASCII code table
- Safety, maintenance and recycling instructions
- Recycled
- Introdução
Brand : Aqprox
Model : appLS21
Category : Barcode scanners