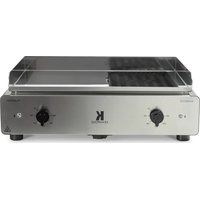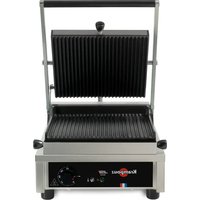
GECID3AO - Croque monsieur clip KRAMPOUZ - Free user manual and instructions
Find the device manual for free GECID3AO KRAMPOUZ in PDF.


User questions about GECID3AO KRAMPOUZ
0 question about this device. Answer the ones you know or ask your own.
Ask a new question about this device
Download the instructions for your Croque monsieur clip in PDF format for free! Find your manual GECID3AO - KRAMPOUZ and take your electronic device back in hand. On this page are published all the documents necessary for the use of your device. GECID3AO by KRAMPOUZ.
USER MANUAL GECID3AO KRAMPOUZ
EN Professional electric Contact Grills Panini
Instructions for use 13
DE Professionnelles Elektro - Panini-kontaktgrills
natural_image
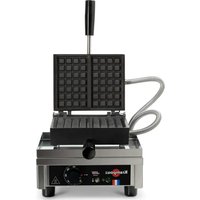
Exterior view of a Krampouz grating machine (no visible text or symbols on the device body)GECID3AO
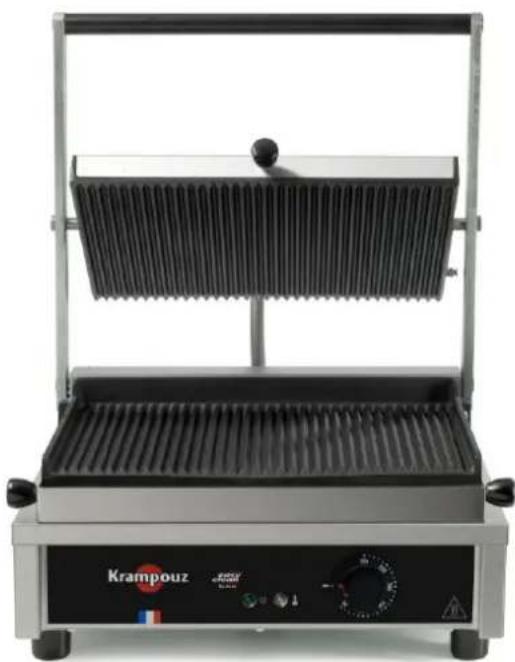
natural_image
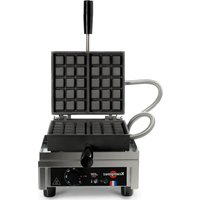
Exterior view of a Krampouz grating machine (no signage or text visible on the device itself)GECID4AO
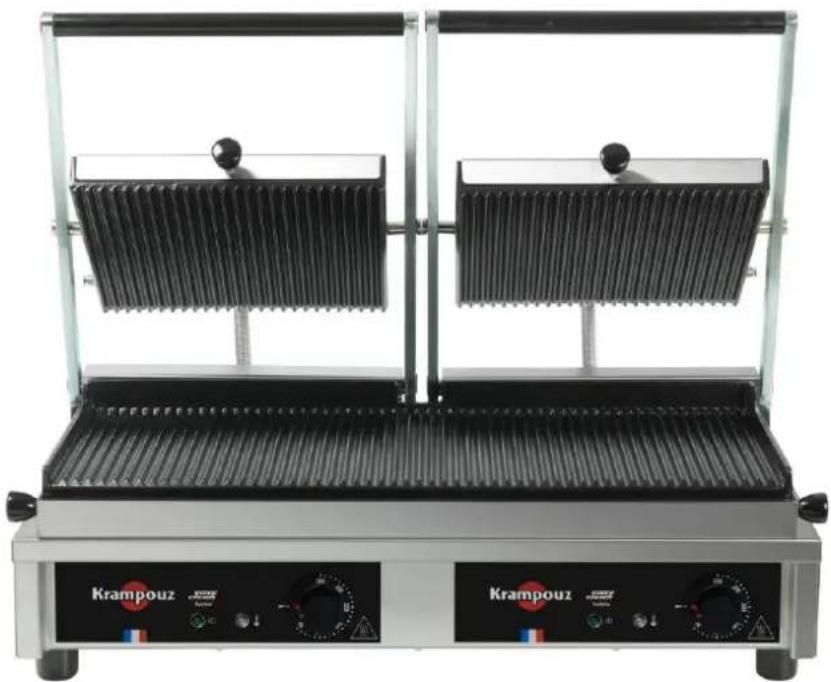
natural_image
Exterior view of a Krampouz grating machine (no signage or text visible on the device itself)GECID5AO
natural_image
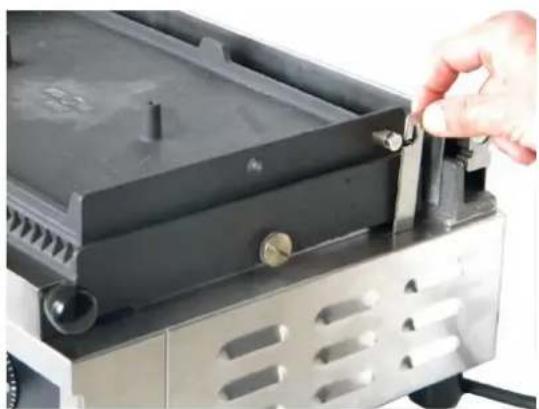
Close-up of a hand holding a metal hook attached to a black plastic tray (no text or symbols visible)natural_image
Close-up of a metallic tool securing a cylindrical object on a surface (no visible text or symbols)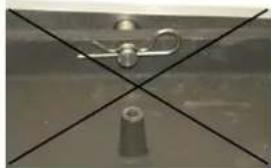
natural_image
Close-up of a metallic showerhead with a conical base, intersected by two diagonal lines (no text or symbols visible)natural_image
Close-up of a hand holding a small mechanical component, with an arrow indicating upward motion (no text or symbols visible)5
natural_image
Close-up of a hand inserting a small component into a black metal device (no visible text or symbols)Dismantling of the plates
Panini Contact Grill easy clean Small, Medium and Large
CAUTION: allow the plates to cool before dismantling
Z
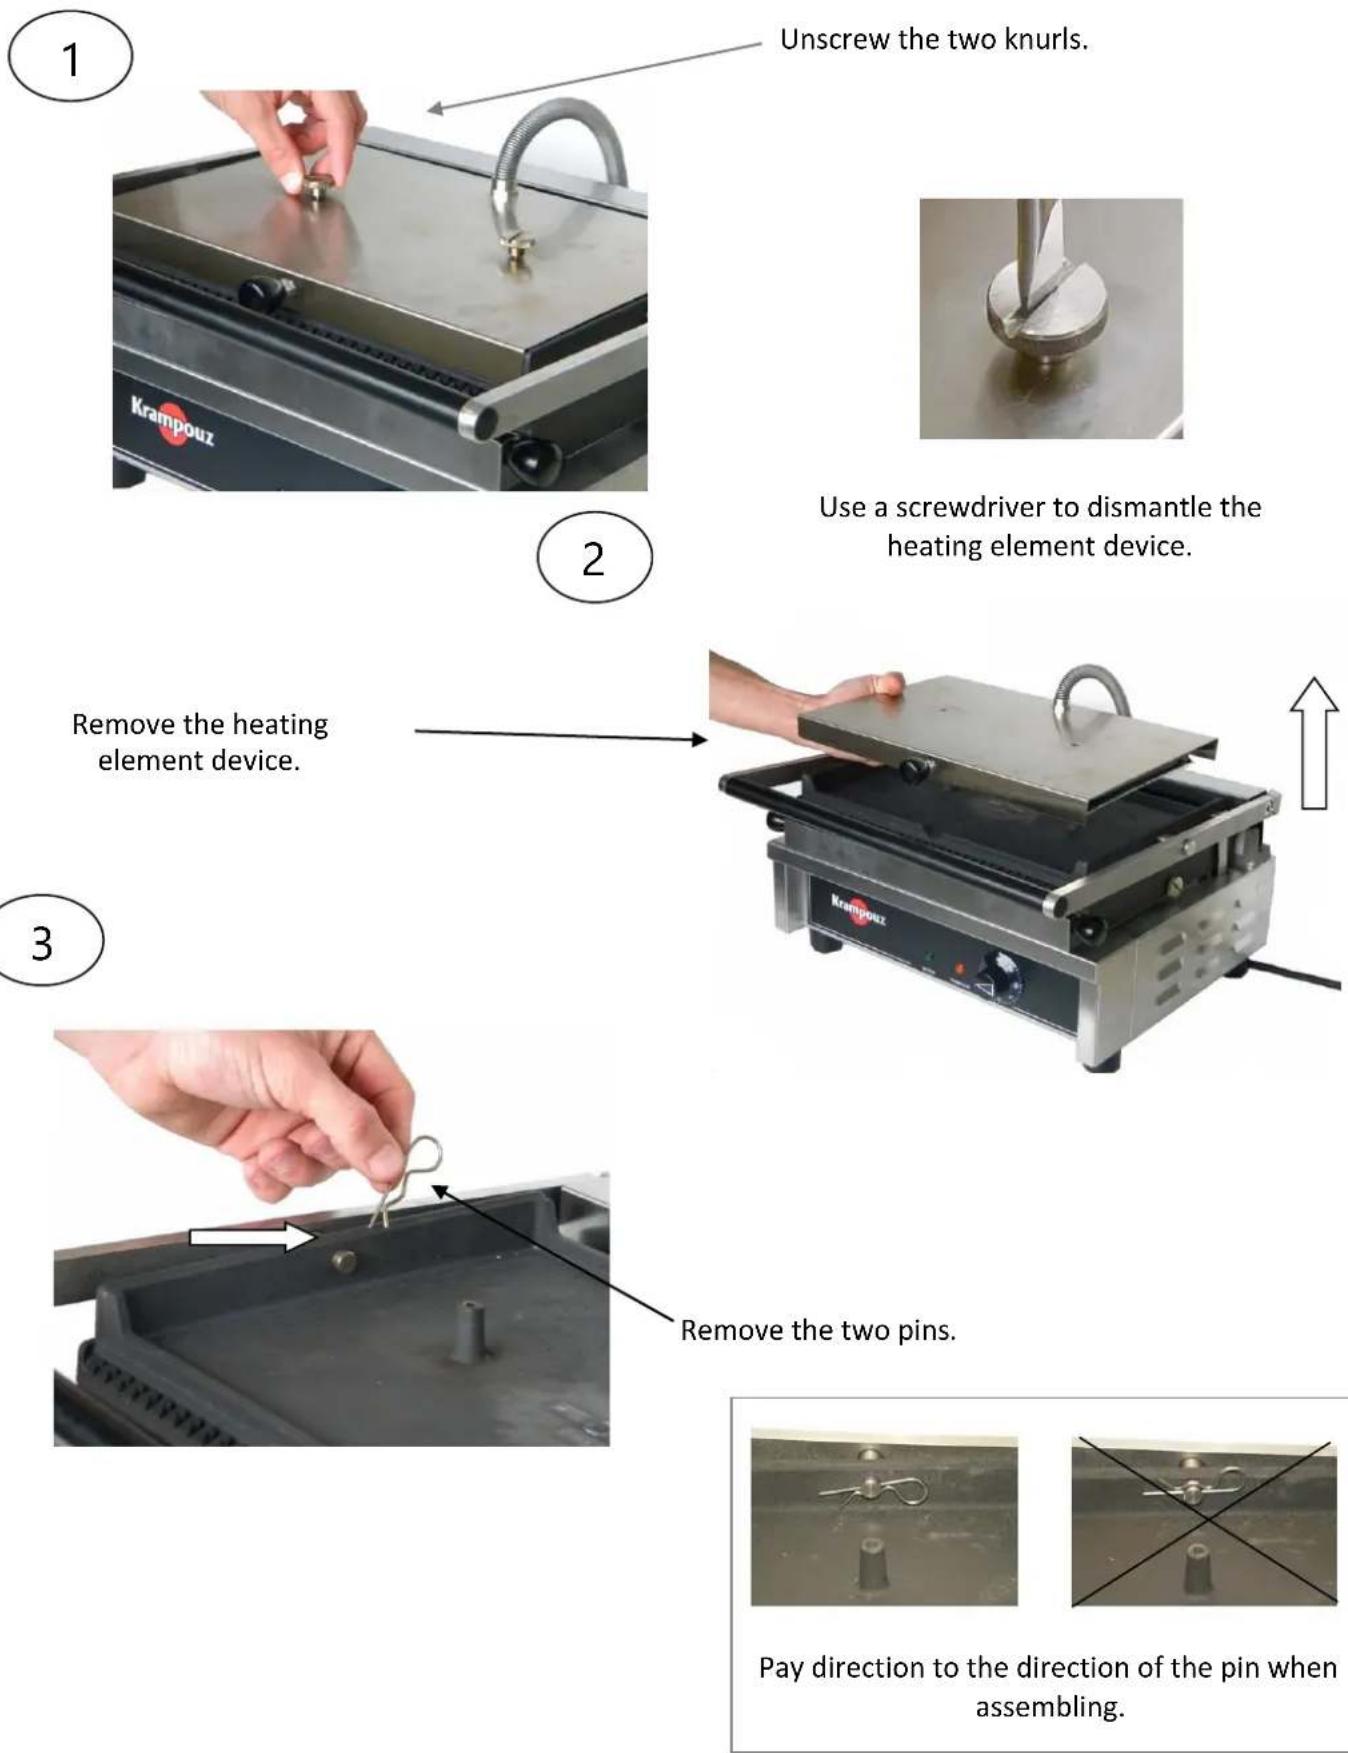
2
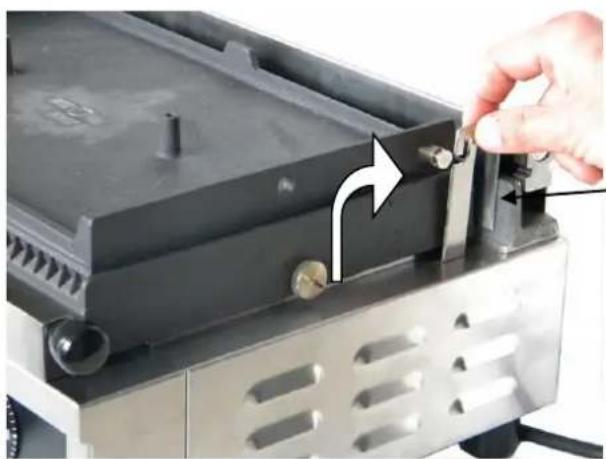
Remove the heating element device.
3
Dismantling of the plates
4
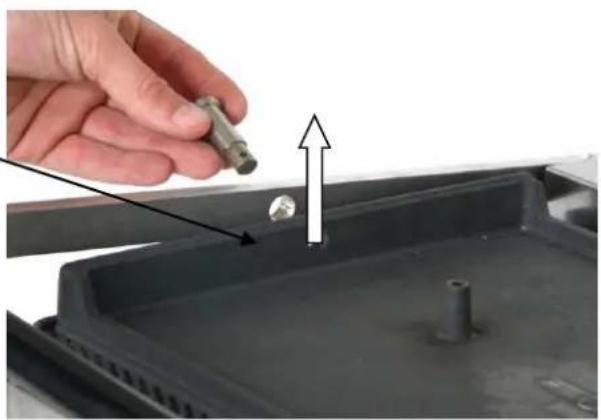
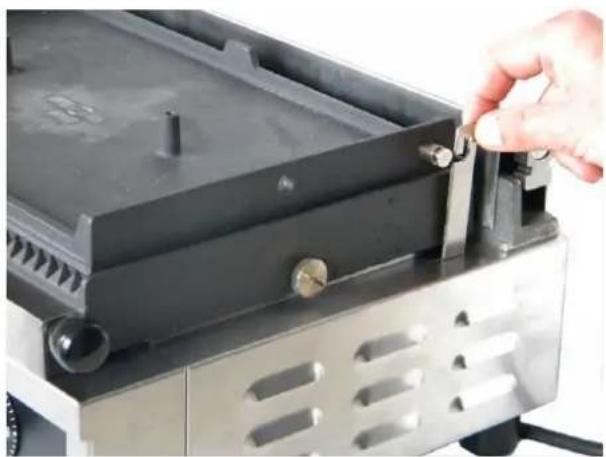
Remove the two axis.
natural_image
Close-up of a hand holding a small mechanical component, with an arrow indicating upward motion (no text or symbols visible)5
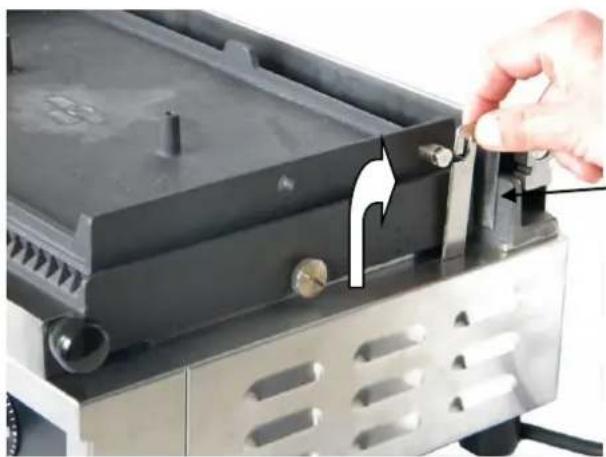
natural_image
Close-up of a hand inserting a small component into a black metal appliance (no text or symbols visible)Take off the swing device.
Remove the upper plate.
6
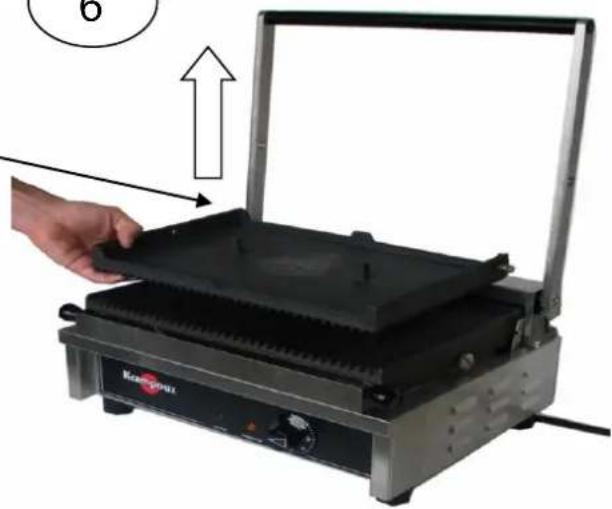
natural_image
Hand placing a black grating on a stainless steel grater, with an upward arrow indicating the process (no text or symbols visible)
Dismantling of the plates

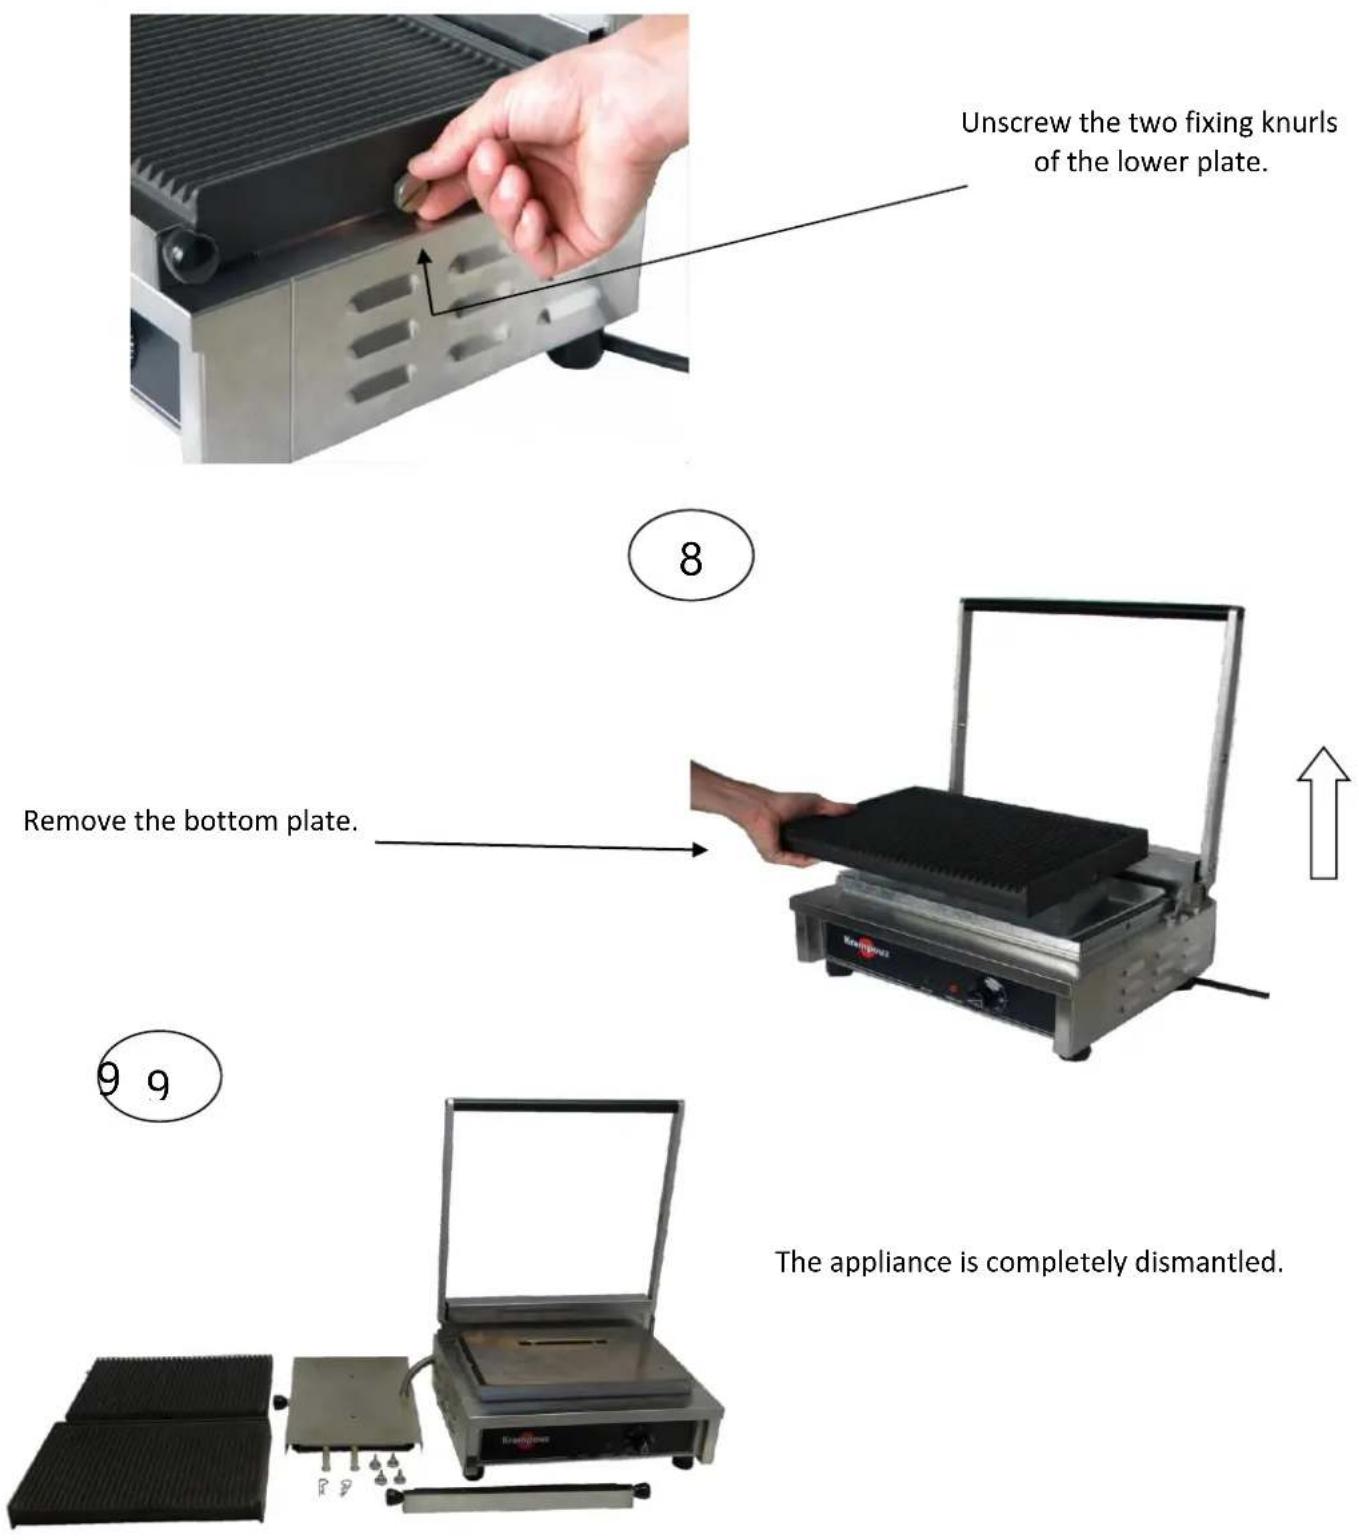
text_image
Unscrew the two fixing knurls of the lower plate. Remove the bottom plate. The appliance is completely dismantled.NB: To reassemble the appliance, follow the steps above from 9 to 1.
Dear Customer,
Thank you for choosing one of our appliances. It is very easy to use, but we do strongly recommend that you carefully read these instructions which include advice on how to use and install your appliance in order to obtain optimum results.
Reception and unpacking
Any damage due to transport must be reported to the carrier by registered letter with acknowledgement of receipt, within 24 hours of receiving your appliance. You must also note your reserves on the carrier's delivery note, describing in detail the damage noted on delivery.
General rules applicable to electrical equipment
When using electrical appliances, safety precautions must always be taken:
Read all the instructions carefully.
These appliances are meant to be used for collective use, for example in restaurant's kitchens, in canteens, hospitals and craft enterprises, such as bakeries, etc.. But not for mass production of food.
■ The symbol means "Caution: Hot surface".
- Close supervision is necessary when an appliance is used by children, or in their presence.
■ The appliance must never be left without supervision during use.
- Do not use the appliance for anything other than the purpose which is described.
■ There is a risk of accidents if accessories are used that are not recommended by the manufacturer of the appliance.
■ The protective film protects the steel from scratches. It is imperative to remove them before the first warming.
■ The appliance must be earthed.
■ The appliance must be connected to the mains by means of a residual (differential) current device with a rated residual operating current of 30mA maximum.
■ It is recommended to examine the power supply cable regularly in order to detect any signs of deterioration.
- Do not connect nor use any appliance with a damaged plug or cable. If the power supply cord is damaged, it must be replaced by the manufacturer, its after-sales service or a similar qualified person to avoid any danger.
- In case of failure, the examination and repair should be performed by a qualified technician.
- All maintenance must be performed by a qualified technician.
■ The appliance is not designed to be switched on by an external timer or separate remote control system.
■ If you need to use an extension lead, take care to unwind the whole length in order to avoid the cable overheating.
- Always connect or disconnect the cable to the power socket with the setting knob set at a minimum and 'off' position.
- In order to avoid electric shocks, do not immerse the cable, socket or body of the appliance in water or any other liquid. Do not handle with wet hands either.
- Do not let the cord hang over the edge of a table or counter.
■ The symbol shown is the equipotential bonding terminal fixed under the product.
- Do not put the appliance nor its cable on or near a hot surface (electric hotplate, hot gas burner, heated oven etc).
■ Disconnect the plug when the appliance is not in use or before cleaning.
■ The appliance must not be cleaned with a high or low pressure jet.
■ Do not handle the appliance while hot.
■ Do not touch the hot surfaces. - Leave the appliance to cool prior to handling or cleaning it.
■ This device is prohibited outside. - Place the appliance on a dry and stable surface, and slightly back from the edge and at least 20 cm from any wall or element liable to be affected by heat.
■ Take care: Do not insert a sheet of tin foil or any other material or object (risk of damage) between the plate and the frame (ventilation area). - Do not block the ventilation holes of the plastic base, under the frame.
■ Do not block the ventilation area.
■ Caution: Do not use this device with wood or coal to other energy source than that for which it provides (electrical energy).
■ We recommend you keep the original packaging in order to store the appliance.
KEEP THESE INSTRUCTIONS
Technical description
The electric Panini Contact Grills ‘Easy Clean’ are easy and comfortable to use thanks to their thermostat adjustable to temperatures up to 300^ C. They are fitted with cast iron plates. These contain shielded heating elements which spread the heat evenly so that perfectly cooking can be reached.
■ Stainless steel frame
- Plates made of cast iron certified for use with foodstuffs
■ Removable collecting vat
■ Thermostat with knob adjustable from 50 to 300°C
■ Heating indicator
- On/Off switch
■ Indicator light
■ Single phase 240 Volt power supply
■ Power cable for 16 amp socket
Installation
Work surface
Choose an easy-to-clean work surface on which to install the appliance. The appliance must be at least 20 cm from any vertical surfaces that are not heat-resistant in order to prevent damage by heat radiating from the plates. To ensure maximum ease of use, the top of the plates should be between 85 and 95 cm from the ground. If this appliance must be placed in close proximity to a wall, partition, kitchen furniture, decorative borders, etc., they should be of non-flammable material. If not, they should be covered by appropriate heat insulating, non-combustible material, with particular attention paid to fire prevention regulations.
Electrical connection
The appliance must be connected to the single phase 230V to 240 V network using a 16 A two-pin plug with earth pin. They are delivered with a power cable, type HO7RNF 3 conductors (phase + neutral + earth), cross-section 1.5 mm ^4 .
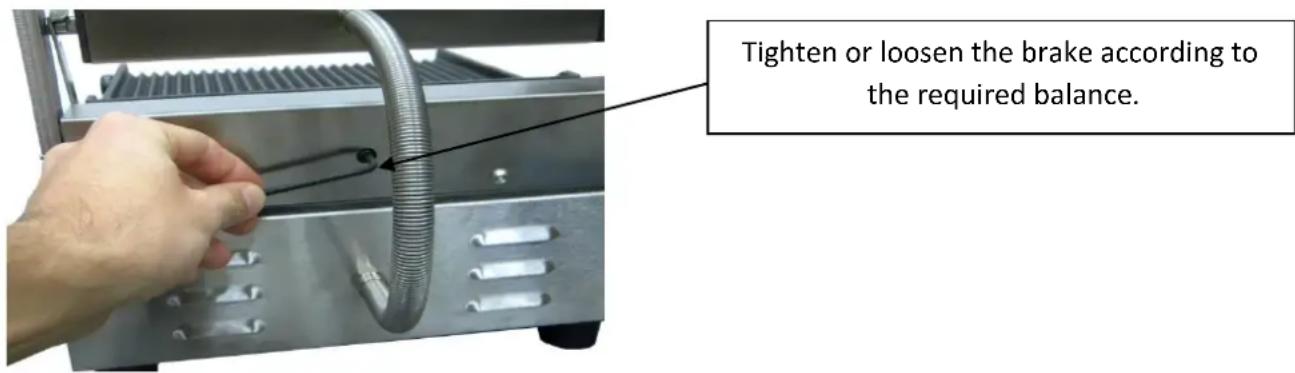
Balancing of the upper plate
text_image
Tighten or loosen the brake according to the required balance.Allow the appliance to cool before adjusting to prevent from burning.
Using
Before using, remember to put the removable vat in place.
Set the cooking temperature thanks to the graduated knob. Leave the appliance to heat for 15-20 minutes. It is now ready to use.
We recommend the following accessories for successful cooking:
- The set Multi Contact Grill by Krampouz (ref. ASC1) including a silicon brush, a spatula and a s/steel wire brush.
■ A little cooking oil for greasing the plates.
Cooking tips
| GRILL* | 100 – 150 °C | 150 – 200 °C | 200 – 250 °C | 250 – 300 °C |
| Paninis | 2,30 min | |||
| Burgers | 2,30 min | |||
| Meat | 2 min | |||
| Fish | 1,30 min |
| SNACK* | 100 – 150 °C | 150 – 200 °C | 200 – 250 °C | 250 - 300 °C |
| Eggs | 2 min | |||
| Shrimps | 3 min | |||
| Vegetables | 4 min |
* Temperature and cooking time may vary depending on the required cooking and the thickness of food.
The frame
Before cleaning your appliance, unplug it and let the plates cool down.
Clean the frame with a sponge soaked in warm water and liquid detergent.
Stubborn marks can be removed by using a specific commercially available product.
Never use abrasive products or metal brushes.
Never clean the appliance by immersing in water or using a water jet.
Do not bleach.
The plates
Cleaning with water and regular brushing will help to prevent clogging of the plates.
Also remember to clean the axis so that grease does not build up on it.
It is also possible to use the dishwasher
Note: never suddenly cool the plates hotter than 100^ C (by immersing them in water, for example).
Guarantee and After Sales Service
This appliance is guaranteed for one year.
We pay great attention to ensuring that each of our appliances reaches the user in perfect operating condition. If you do find a problem when unpacking your appliance, please report it to the shop within 48 hours.
If you are confronted with faulty operation during the guarantee period, please contact your dealer.
No damage due to incorrect use or failure to comply with the instructions is covered by the guarantee.
Please do not hesitate to let us have your suggestions.
The symbol representing a waste-bin crossed out and shown on the product or its packaging indicates that this product must not be treated as ordinary household waste. It must be taken to the appropriate collection centre for recycling of electrical and electronic equipment:
■ to a point of sale if an equivalent item of equipment is purchased,
■ to a collection point made available in your neighbourhood (waste collection centre, selective waste collection, etc).
By making sure that this product is disposed off in appropriate fashion you will help prevent any potentially negative consequences for the environment and human health. Recycling of the materials will help preserve natural resources. For any further information concerning recycling of this product, you can contact your local authorities, waste collection centre or the shop where you purchased the product.
natural_image
Close-up of a metallic mechanical component with a pointed tip, no visible text or symbolsnatural_image
Close-up of a hand holding a metal hook attached to a black plastic tray (no text or symbols visible)natural_image
Close-up of a metallic tool with a cylindrical component attached to a surface (no visible text or symbols)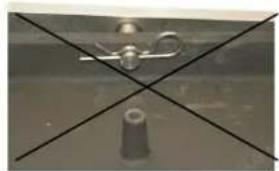
natural_image
Close-up of a metallic mechanical component with intersecting diagonals (no text or symbols visible)natural_image
Close-up of a hand holding a small mechanical component, with an arrow indicating upward motion (no text or symbols visible)5
natural_image
Close-up of a hand inserting a small component into a black metal tank (no text or symbols visible)natural_image
Hand placing a black grating on a stainless steel grater, with an arrow indicating upward motion (no text or symbols visible)7

natural_image
Close-up of a metallic mechanical component with a pointed tip and a small hole, no visible text or symbolsnatural_image
Close-up of a hand holding a metal hook attached to a dark plastic container with a screw and bolt (no text or symbols visible)natural_image
Close-up of a metallic tool securing a cylindrical component against a dark surface (no text or symbols visible)
natural_image
Close-up of a metallic tool with a circular handle and central hole, intersected by four diagonal lines (no text or symbols visible)natural_image
Close-up of a hand holding a small metallic component, with an arrow indicating upward motion (no text or symbols visible)5
natural_image
Close-up of a hand inserting a small component into a black box, with an arrow indicating rotation (no text or symbols visible)natural_image
Hand placing a black grating on a Kremypex grater, with an arrow indicating upward motion (no text or symbols on the grater itself)natural_image
Close-up of a hand inserting a flexible hose into a stainless steel industrial machine (no text or symbols visible)www.krampouz-pro.com
contact@krampouz.com
Notice originale
Original instructions
Origina an eitung
Manua original