
8503-120 - Slicer Vevor - Free user manual and instructions
Find the device manual for free 8503-120 Vevor in PDF.
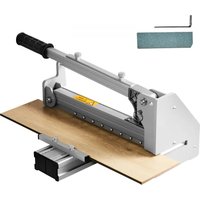


| Brand | Vevor |
| Model | 8503-120 |
| Product type | Manual tile cutter (floor cutter) |
| Dimensions (L x W x H) | 480 x 190 x 240 mm |
| Net weight | 12.5 kg |
| Maximum cutting thickness | 12 mm |
| Maximum cutting width | 300 mm |
| Cutting types | Straight lengthwise cut, straight diagonal cut, crosscut |
| Compatible materials | Tiles, floors, approved materials |
| Included accessories | Frame, shelf, pressure bar, square tube, hand screw, dial screw, grinding wheel, hex key |
| Power source | Manual (motorless) |
| Blade type | Sharp blade for precise cutting |
| Mounting | On solid support (preferably floor) |
| Safety | Safety glasses (ANSI Z87.1), sturdy work gloves |
| Maintenance | Regular blade sharpening, cleaning after use |
| Spare parts | Replacement blade, grinding wheel, screws |
| Warranty | Technical support and electronic warranty certificate at www.vevor.com/support |
Frequently Asked Questions - 8503-120 Vevor
User questions about 8503-120 Vevor
0 question about this device. Answer the ones you know or ask your own.
Ask a new question about this device
Download the instructions for your Slicer in PDF format for free! Find your manual 8503-120 - Vevor and take your electronic device back in hand. On this page are published all the documents necessary for the use of your device. 8503-120 by Vevor.
USER MANUAL 8503-120 Vevor
Technical Support and E-Warranty Certificate
www.vevor.com/support
FLOOR CUTTER
MODEL: 8503-120
We continue to be committed to provide you tools with competitive price. "Save Half", "Half Price" or any other similar expressions used by us only represent savings you might benefit from buying certain tools with us compared to top brands and does not necessarily mean to cover all categories of tools offered. We kindly remind you to verify carefully when placing an order with us that you are actually saving half in comparison with the top major brands.
MODEL: 8503-120
NEED HELP? CONTACT US!
Have product questions? Need technical support? Please feel free to contact us:
Technical Support and E-Warranty Certificate www.vevor.com/support
This is the original instruction. Please read all manual instructions carefully before operating. VEVOR reserves a clear interpretation of the user manual. The appearance of the product shall be subject to the product you received. Please forgive us that we won't inform you of any technology or software updates on our product.

Warning - To reduce the risk of injury, user must read the instruction manual carefully.
TECHNICAL PARAMETERS
| Model | 8503-120 |
| maximum cutting thickness | 12 |
| Cutting type | Length straight cut/oblique straight cut/corr straight cut/width cut |
| Product size (mm) | 480*190*240 |
| Net weight (kg) | 12.5 |

| number | name | quantity | picture |
| 1 | framework | 1 | 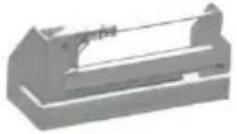 |
| 2 | shelf | 1 | 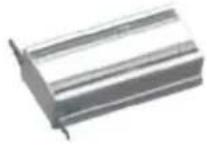 |
| 3 | pressure bar | 1 | 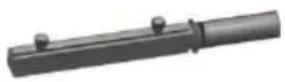 |
| 4 | square pipe | 1 | 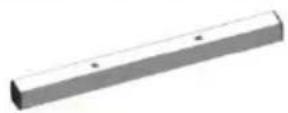 |
| 5 | Hand screw | 2 | 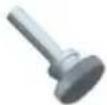 |
| 6 | Cross-type dial screws | 2 | 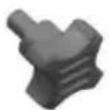 |
| 7 | millstone | 1 | 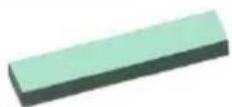 |
| 8 | inner hexagon spanner | 1 | 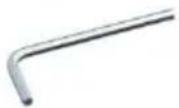 |
SAFETY INSTRUCTIONS

WARNING: FAILURE TO FOLLOW THESE RULES MAY RESULT
IN SERIOUS INJURY! USING THIS MACHINE WITH RESPECT AND CAUTION
WILL CONSIDERABLY LESSEN THE POSSIBILITY OF PERSONAL INJURY.
SAFETY RULES FOR THE FLOORING CUTTER
READ AND UNDERSTAND THIS INSTRUCTION MANUAL BEFORE OPERATING THE MULTI-FLOORING CUTTERS.
- Stay alert. Do not operate under the influence of drugs, alcohol, or medication.
- Always wear safety approved eye protection with side shields (ANSI Z87.1).
- Keep the work area free of debris.
- Keep children and unauthorized persons away from the Multi-flooring Cutter work area.
- Make sure the tool is secure. Operate only on a firm substrate or solid surface.
- Use the right tool. Do not force the Multi-flooring Cutter or use it for a job it was not designed for; use only on approved materials.
- Keep the blade sharp. A dull blade will not perform properly.
- Always keep hands away from the blade while operating or carrying the cutter.
- Do not alter or misuse this tool. The Multi-flooring Cutter is precision built; modifications not specified in this manual may result in a dangerous and unsafe environment.
- Maintain the Multi-flooring Cutter with care. Keep the blade sharp and clean. Follow instructions for changing accessories.
- Use only recommended accessories. The use of improper accessories may be hazardous and cause injuries.
- Never leave the Multi-flooring Cutter unattended. Secure the handle with the lock chain when not in use.
- Warning - To reduce the risk of injury, wear ANSI-approved safety goggles and heavy-duty work gloves during use.

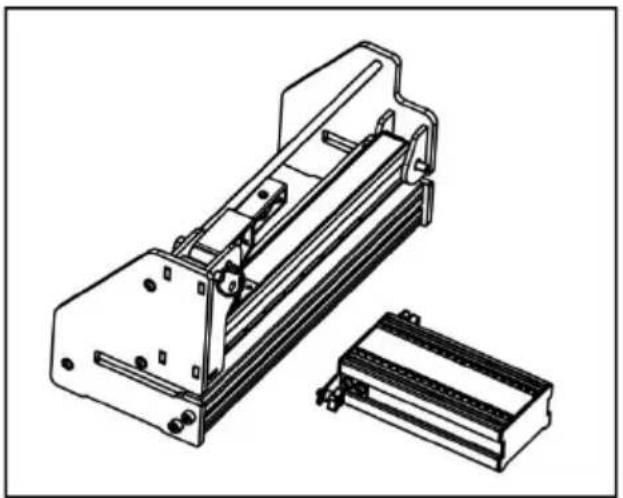
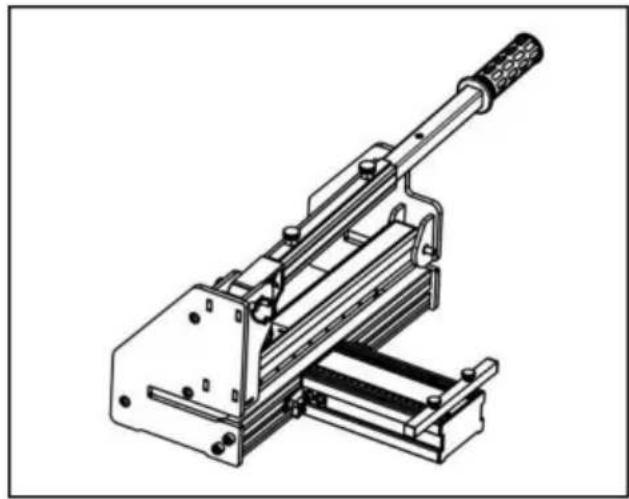
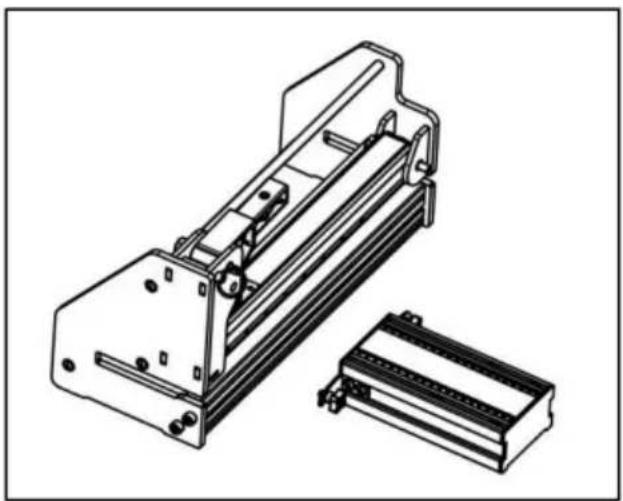
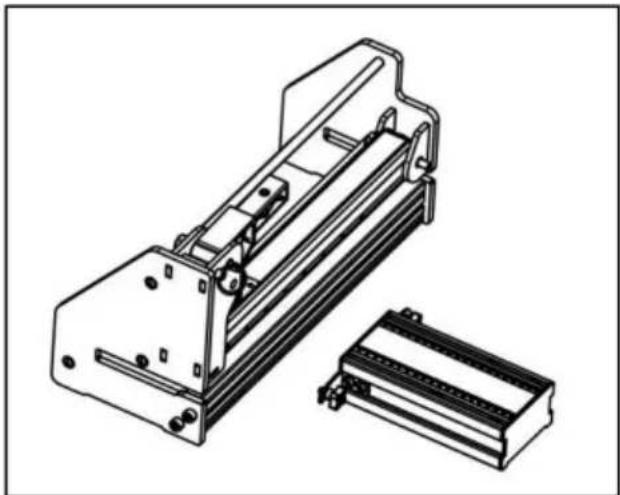
Installation of the support plate
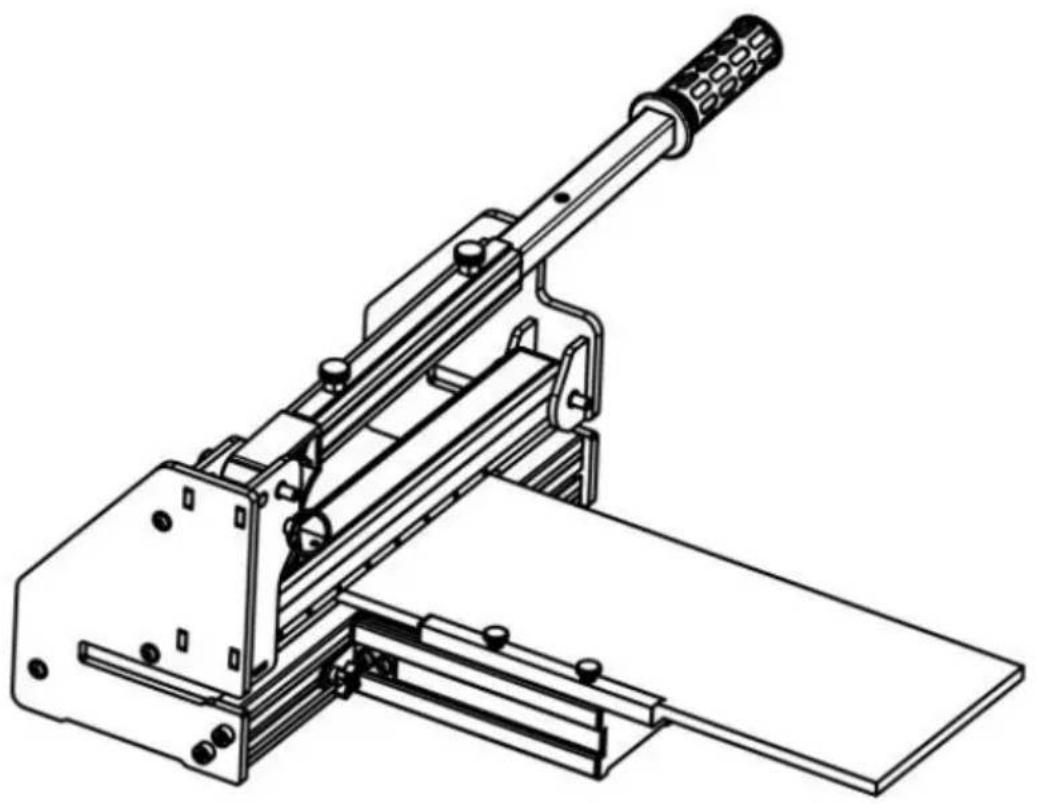
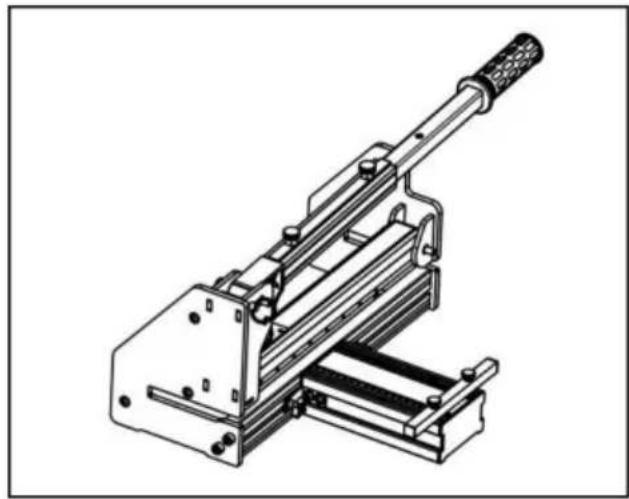
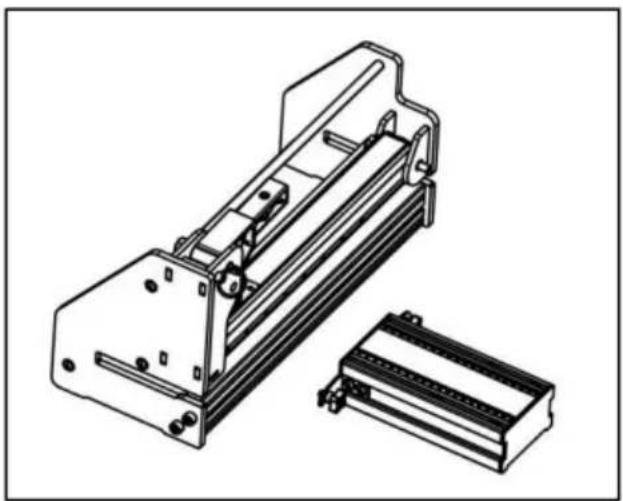
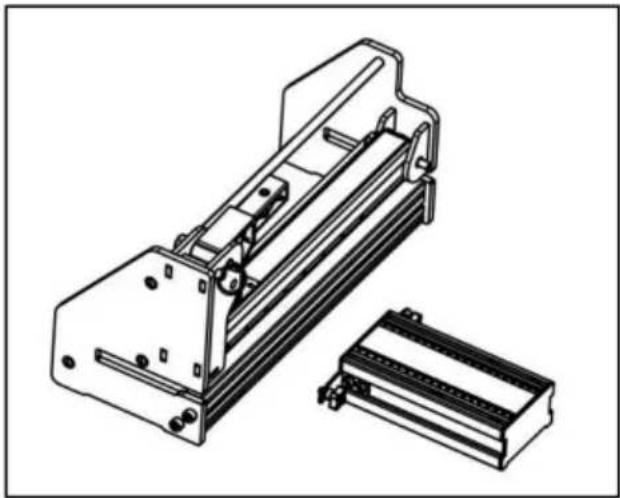
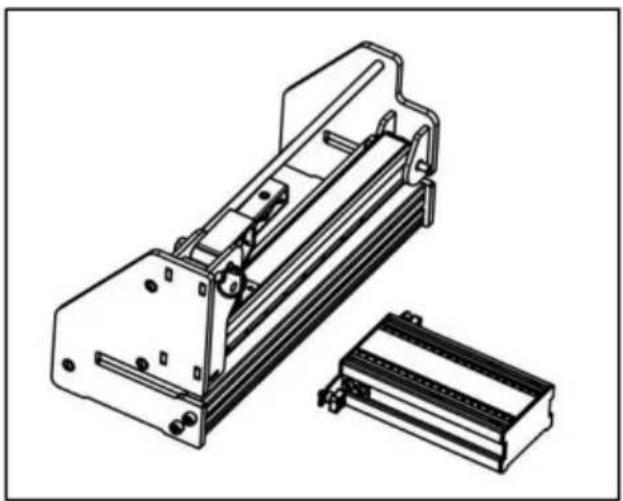
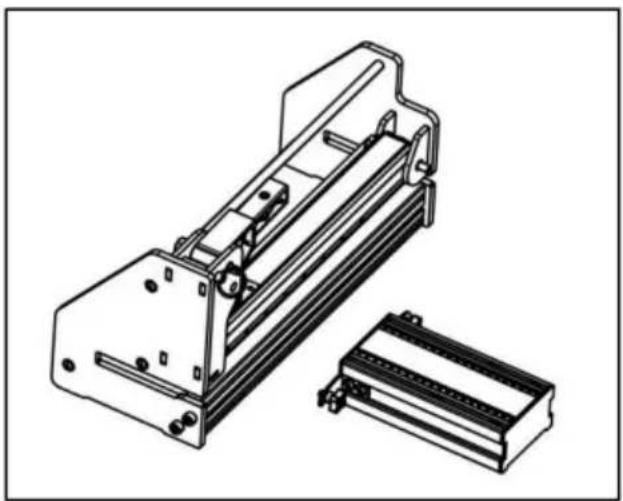
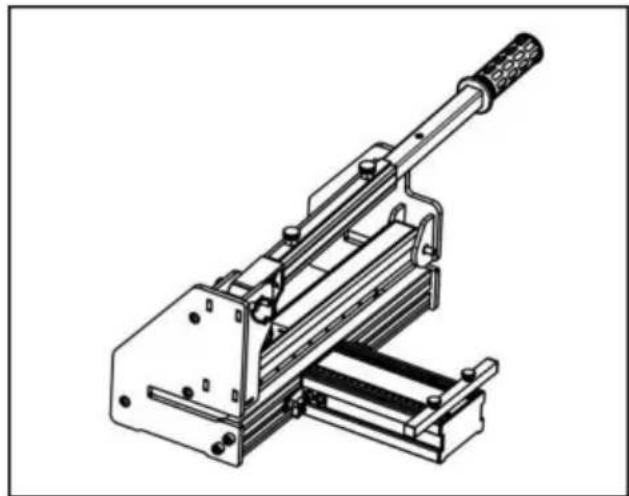
Connect the support plate to the cutter as shown.
Warning: Do not put your fingers against the sharp edge of the blade at any time.
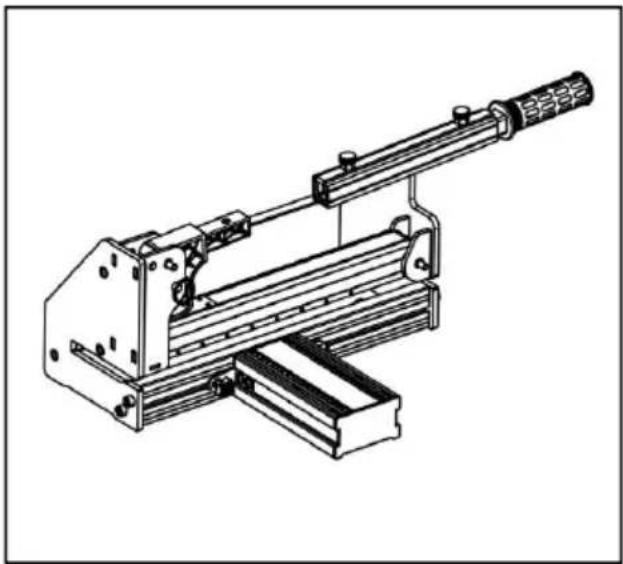
Installation of the handle
Pull up the lock pin on the aluminum handle as shown and insert the handle base into the handle as shown. Push down the handle to the spring pin from the lower hole and insert it into the upper hole. Screw the square pipe on the auxiliary plate for use.
Warning: Do not put your fingers against the sharp edge of the blade at any time.
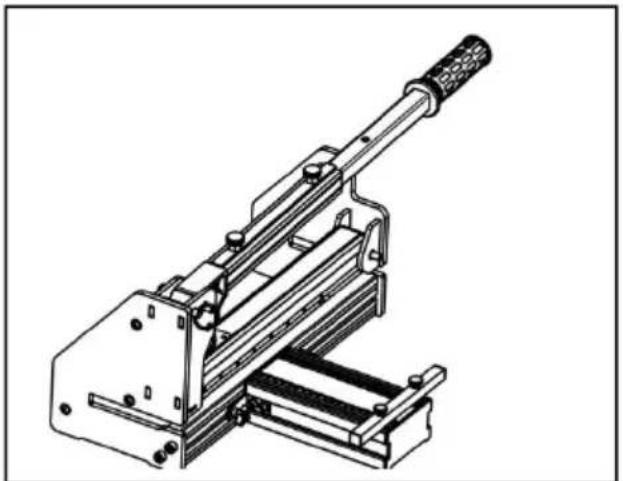
Cutting Preparation
* Adjust the angle attachment to desired angle as needed.
*The angle attachment can be used on the left side of the table as shown. Warning: Do not put your fingers against the blade's sharp edge at any time.
CUTTING

Straight Cutting
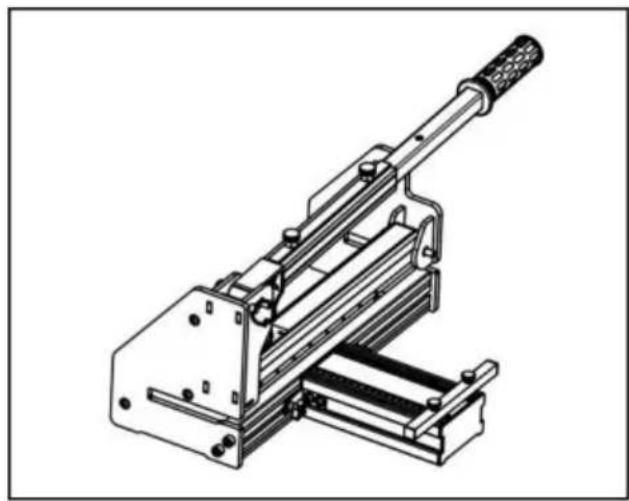
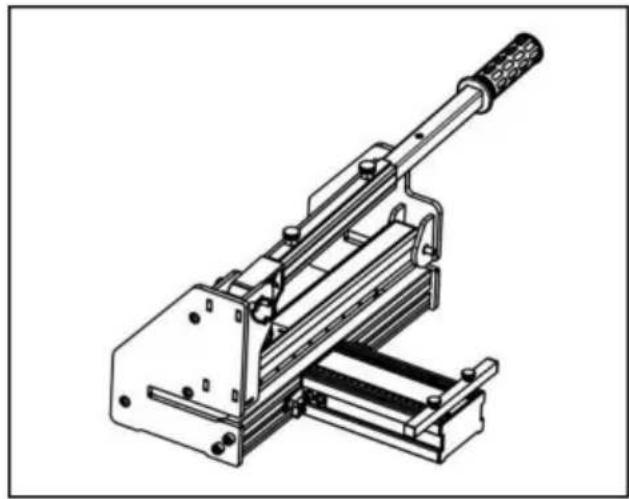
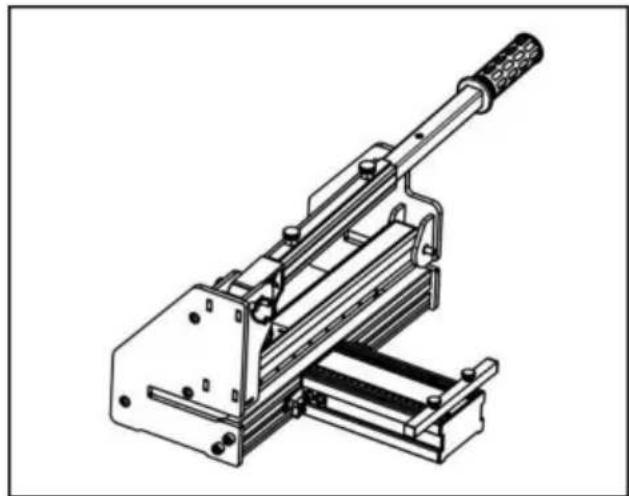
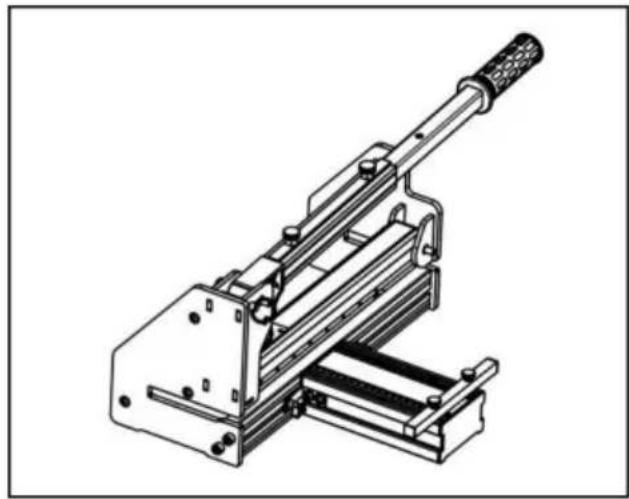
Insert material between the cutting blade and the base, flush with the angle attachment as shown and the material with foot then push handle down to complete a cut.
*Blade cutting maximum width: 300mm *Blade cutting maximum depth: 12mm
Warning: Maintain control of the handle. Do not allow handle to spring back after making a cut.
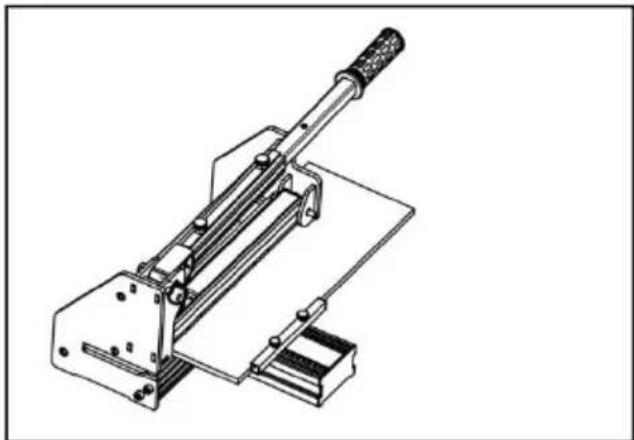
Lengthwise Cutting
Insert material between the cutting blade and the base, flush with the angle attachment as shown, and then push the handle down to complete the cut.
Warning: Maintain control of the handle. Do not allow the handle to slide back after cutting.
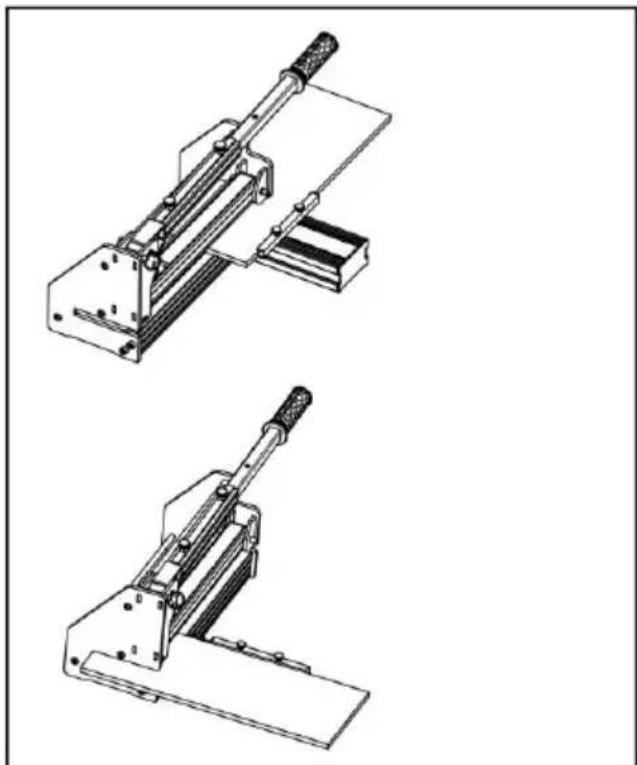
"L" Cutting
1st cut
Insert material between the cutting blade and the base at the end of the machine, flush with the angle attachment as shown, and then push the handle down to complete a cut.
2nd cut
Insert material between the cutting blade and the base at the machine's front end, flush with the angle attachment as shown, and then push the handle down to complete a cut.
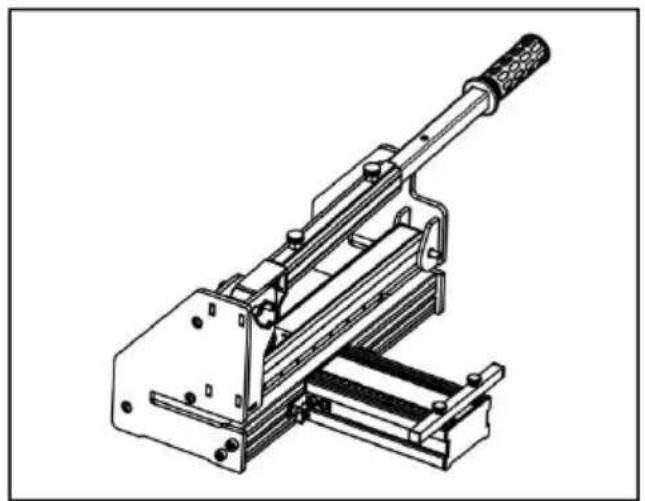
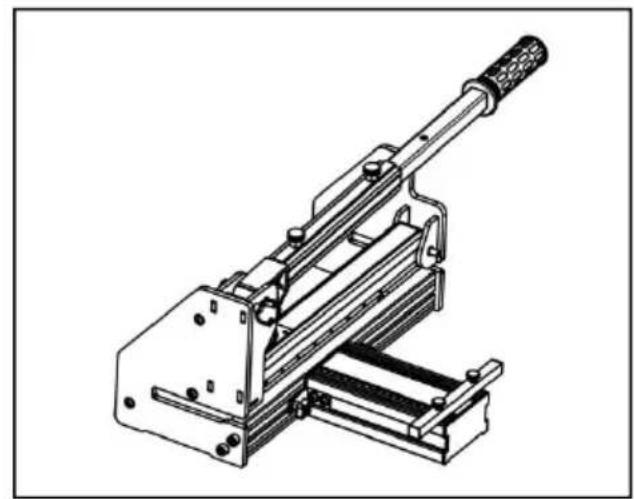
Note: It is recommended to use on a flat ground surface. When using, press the floor material and machine with your hands or feet for more accurate cutting. It is not recommended to use on a table or countertop.
CHANGING THE BLADE
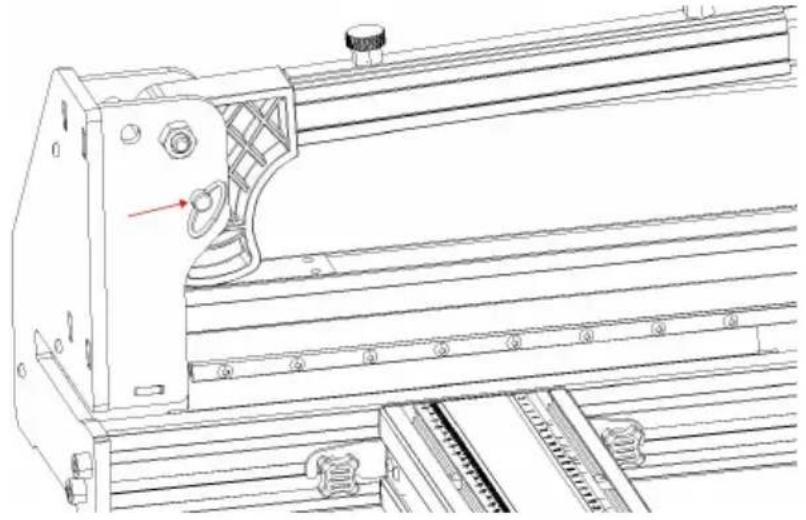
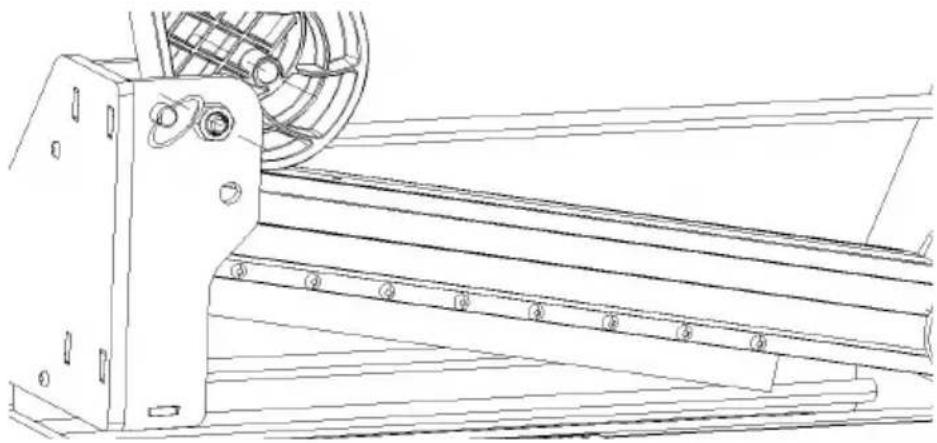
Warning: Do not put your fingers against the sharp edge of the blade. Step 1: Press the pressure rod down to the bottom, and replace the insurance pin from the top to the bottom.
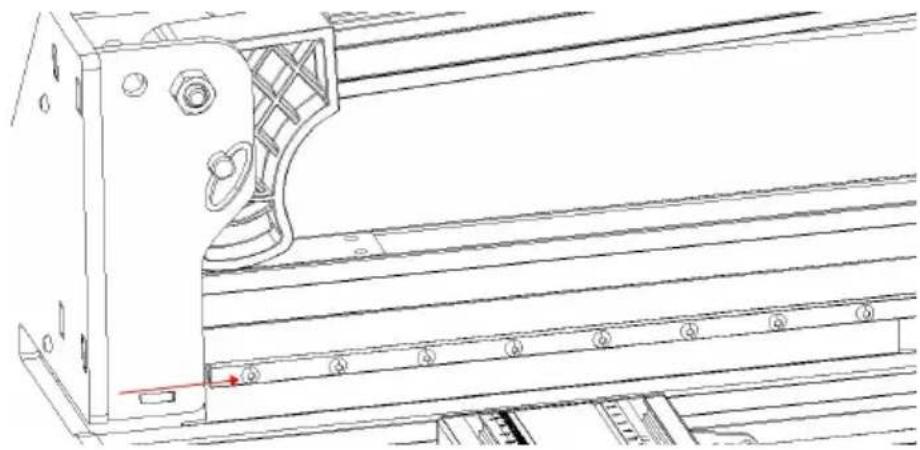
Step 2: Turn the screw to fix the blade counterclockwise.
Step 3: Pull out the safety plug; the blade falls off after lifting the pressure rod.
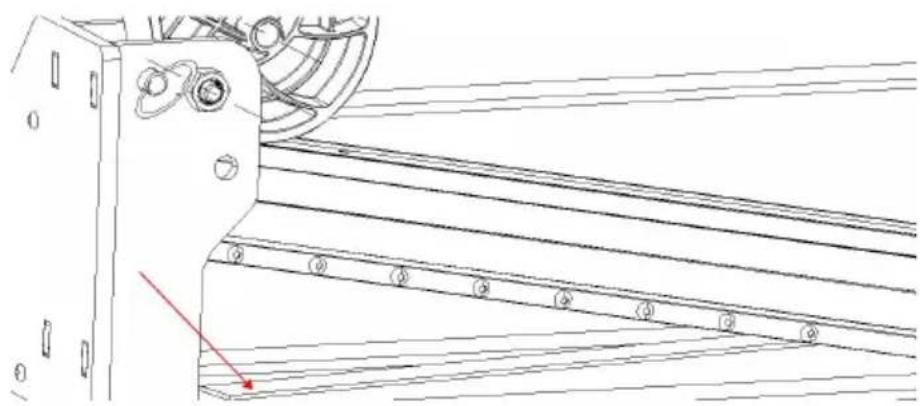
Step 4: Put the new blade plane toward the connecting rod into the slot and the fixing screw.
Made In China
VEVOR®
TOUGH TOOLS, HALF PRICE
Technical Support and E-Warranty Certificate www.vevor.com/support
VEVOR®
TOUGH TOOLS, HALF PRICE
NEED HELP? CONTACT US!
WARNING
VERY SHARP BLADE
ATTENTION: FAILURE TO FOLLOW THESE RULES MAY RESULT IN
SERIOUS INJURY! USE THIS MACHINE WITH RESPECT AND CAUTION
WILL SIGNIFICANTLY REDUCE THE POSSIBILITY OF PERSONAL INJURY.
SAFETY RULES FOR THE FLOOR CUTTER
READ AND UNDERSTAND THIS INSTRUCTION MANUAL BEFORE
OPERATING MULTI-FLOOR CUTTERS.
« L » Cut
1st
Made in China
VEVOR®
TOUGH TOOLS, HALF PRICE
WARNING
VERY SHARP BLADE
SETUP
Cutting preparation
Straight cutting.
"L" cutting
1.
WARNING
VERY SHARP BLADE
ATTENTION: FAILURE TO FOLLOW THESE RULES COULD RESULT IN
SERIOUS INJURY! USE THIS MACHINE WITH RESPECT AND CAUTION
SIGNIFICANTLY REDUCES THE POSSIBILITY OF PERSONAL INJURY.
SAFETY REGULATIONS FOR THE FLOOR SAW
READ AND UNDERSTAND THIS INSTRUCTION MANUAL BEFORE USING THE MULTI-PLANE CUTTERS.
SET
"L" CUT
1ST CUT
Made in China
VEVOR®
TOUGH TOOLS, HALF PRICE
WARNING
VERY SHARP BLADE
Longitudinal cut Insert
"L" cut
1st
Made in China
VEVOR®
TOUGH TOOLS, HALF PRICE
NEED HELP? CONTACT US!
WARNING
VERY SHARP BLADE
Straight cut: Insert
"L" cut
First
VEVOR®
TOUGH TOOLS, HALF PRICE
NEED HELP? CONTACT US!
WARNING
VERY SHARP BLADE
WARNING: FAILURE TO FOLLOW THESE RULES MAY LEAD TO:
SERIOUS INJURY! USE THIS MACHINE WITH RESPECT AND CAUTION.
SIGNIFICANTLY REDUCES THE RISK OF PERSONAL INJURY.
SAFETY RULES FOR THE FLOORING CUTTER
READ AND UNDERSTAND THIS USER MANUAL BEFORE OPERATING THE MULTI-FLOORING CUTTERS.
SETUP
Straight cutting Place
"L" cutting 1st
cut
Made in China
VEVOR®
TOUGH TOOLS, HALF PRICE
Technical support and e-warranty certificate www.vevor.com/support
VEVOR®
TOUGH TOOLS, HALF PRICE
NEED HELP? CONTACT US!
WARNING
VERY SHARP BLADE
WARNING: IF THESE RULES ARE NOT FOLLOWED, THE RESULT
CAN BE SERIOUS INJURY! USE THIS MACHINE WITH RESPECT AND CAUTION
WILL REDUCE THE POSSIBILITY OF INTENTIONAL PERSONAL INJURY.
SAFETY REGULATIONS FOR THE FLOOR CUTTER
READ AND UNDERSTAND THIS MANUAL BEFORE USING MULTIPLE FLOOR CUTTERS.
SET UP
"L" CUT
1st
Made in China
VEVOR®
TOUGH TOOLS, HALF PRICE



- FLOOR CUTTER
- MODEL
- NEED HELP? CONTACT US
- SAFETY INSTRUCTIONS
- SAFETY RULES FOR THE FLOORING CUTTER
- READ AND UNDERSTAND THIS INSTRUCTION MANUAL BEFORE OPERATING THE MULTI-FLOORING CUTTERS
- INSTALLATION OF THE SUPPORT PLATE
- INSTALLATION OF THE HANDLE
- CUTTING PREPARATION
- CUTTING
- STRAIGHT CUTTING
- LENGTHWISE CUTTING
- L" CUTTING
- CHANGING THE BLADE
- VEVOR®
- TOUGH TOOLS, HALF PRICE
- WARNING
- VERY SHARP BLADE
- SAFETY RULES FOR THE FLOOR CUTTER
- SETUP
- SAFETY REGULATIONS FOR THE FLOOR SAW
- READ AND UNDERSTAND THIS INSTRUCTION MANUAL BEFORE USING THE MULTI-PLANE CUTTERS
- SET
- L" CUT
- READ AND UNDERSTAND THIS USER MANUAL BEFORE OPERATING THE MULTI-FLOORING CUTTERS
- STRAIGHT CUTTING PLACE
- L" CUTTING 1ST
- SAFETY REGULATIONS FOR THE FLOOR CUTTER
- READ AND UNDERSTAND THIS MANUAL BEFORE USING MULTIPLE FLOOR CUTTERS
- SET UP
Brand : Vevor
Model : 8503-120
Category : Slicer