
K2017 - Hand dryer Vevor - Free user manual and instructions
Find the device manual for free K2017 Vevor in PDF.
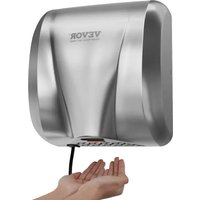


| Product Type | Automatic Hand Dryer |
| Brand | Vevor |
| Model | K2017 |
| Rated Voltage | 220-240 V~, 50-60 Hz |
| Rated Power | 1800 W |
| Ambient Temperature | 0-40 °C |
| Air Speed | 85 m/s |
| Dimensions (L × W × H) | 325 × 295 × 180 mm |
| Weight | Approximately 5.5 kg (estimate) |
| Induction System | Automatic Infrared |
| Motor Type | High-speed Uniflow Motor |
| Motor Speed | 23,000 rpm |
| Drying Time | 7 to 12 seconds |
| Electrical Protection | Overcurrent Protection |
| Mounting | Wall-mounted with anchors and screws |
| Filter Cleaning | Clean 1 to 2 times per month, without water |
| Shell Maintenance | Natural detergent, avoid water and abrasives |
| Warranty | 1 year |
| Recommended Use | Hospitals, schools, airports, offices, hotels |
| Country of Origin | China |
Frequently Asked Questions - K2017 Vevor
User questions about K2017 Vevor
0 question about this device. Answer the ones you know or ask your own.
Ask a new question about this device
Download the instructions for your Hand dryer in PDF format for free! Find your manual K2017 - Vevor and take your electronic device back in hand. On this page are published all the documents necessary for the use of your device. K2017 by Vevor.
USER MANUAL K2017 Vevor
Technical Support and E-Warranty Certificate www.vevor.com/support
HAND DRYER
MODEL: K2017
We continue to be committed to providing you with tools at competitive prices. "Save Half", "Half Price", or any other similar expressions used by us only represent an estimate of savings you might benefit from buying certain tools with us compared to top brands and does not necessarily mean to cover all categories of tools offered. We kindly remind you to verify carefully when placing an order with us to ensure you are actually saving half in comparison with the top major brands.
MODEL: K2017
NEED HELP? CONTACT US!
Have product questions? Need technical support? Please feel free to contact us:
Technical Support and E-Warranty Certificate www.vevor.com/support
This is the original instruction. Please read all manual instructions carefully before operating. VEVOR reserves a clear interpretation of the user manual. The appearance of the product shall be subject to the product you received. Please forgive us that we won't inform you of any technology or software updates on our product.
 | Warning-To reduce the risk of injury, user must read in manual carefully. |
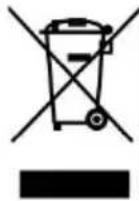 | CORRECT DISPOSALThis product is subject to the provision of European Di 2012/19/EC. The symbol showing a wheelie bin crossed through indicates that the product requires separate refus collection in the European Union. This applies to the pr and all accessories marked with this symbol. Products r as such may not be discarded with normal domestic w must be taken to a collection point for recycling electric electronic devices. |
 | Alternating current |
NOTE BEFORE INSTALLATION

Warning
- Warning: Do not use this appliance near water. Do not use this appliance near bathtubs, showers, basins, or other vessels containing water.
- This appliance is not intended for use by persons (including children) with reduced physical, sensory, or mental capabilities, or lack of experience and knowledge, unless they have been given supervision or instruction concerning use of the appliance by a person responsible for their safety.
- Children should be supervised to ensure that they do not play with the appliance. This appliance is intended to be used in household only. 4. You must commission a professional electrician to install power lines, otherwise there is an electric shock hazard.
- You must cut off power before operation and ensure the protection
power.
- Requests to install leakage circuit breakers or protection against fire hazards.
- Do not decompose, repair or any alteration of this machine without authorization, otherwise there is a risk of electric shock, fire and other accidents.
- Friendly Note: Stop using if there is any unusual noise. Please check there are any abnormalities in the unit or if it has reached the end lifespan.
⚠ Attention
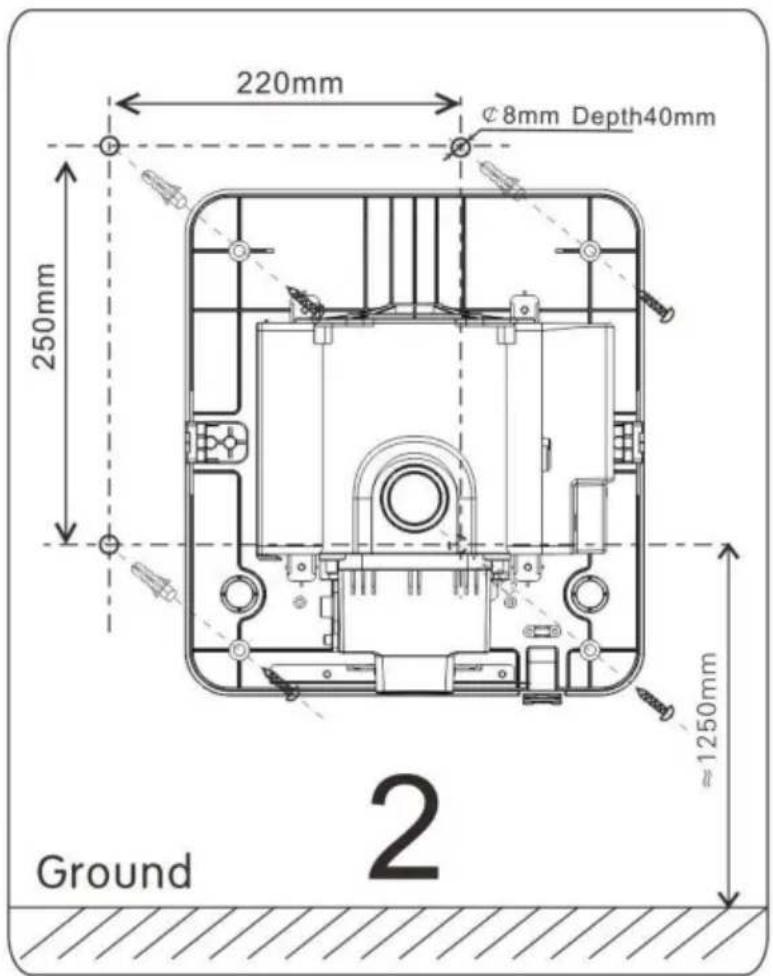
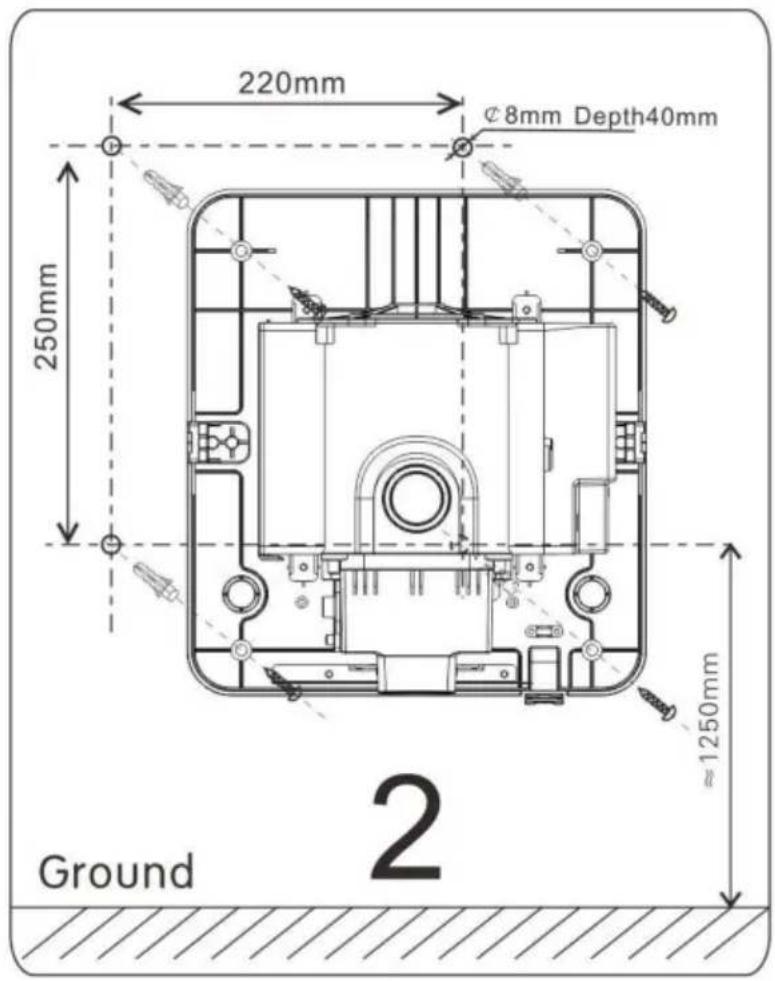
- To ensure that no other things in the outlet around 400mm. Meanwhile, do not install it above the stainless steel or artificial marble such as surface location, otherwise prone to misoperation.
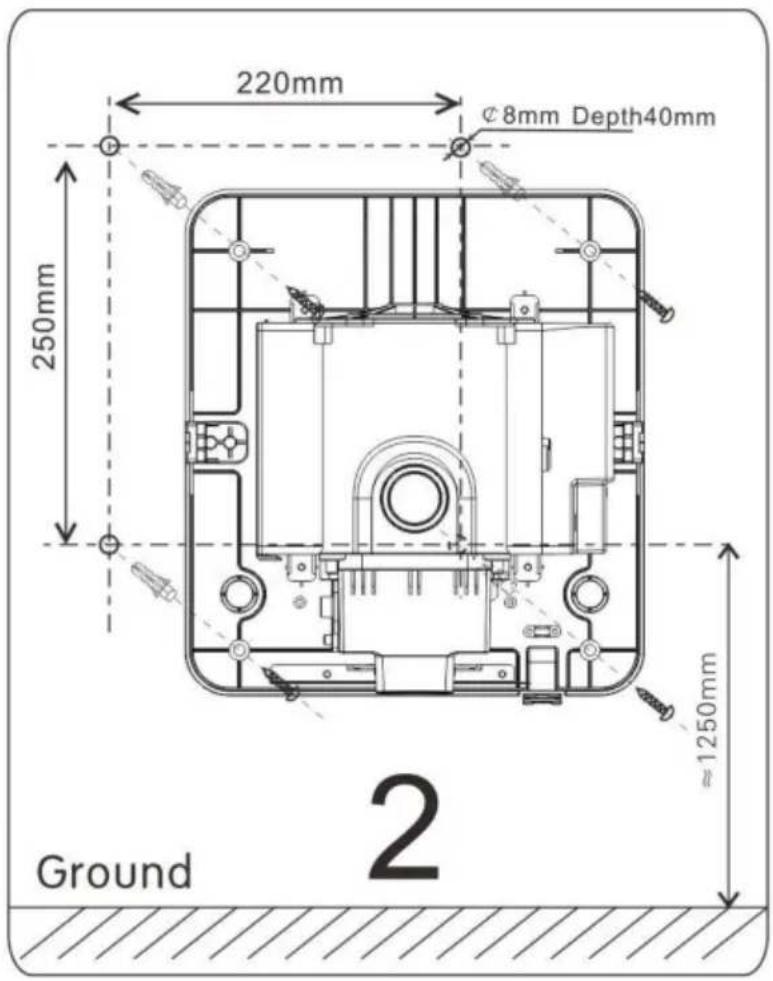
- The body should be firmly fixed to the smooth wall to avoid injuries caused by the decline of product or product damage.
- Do not install the products in such place with corrosive or flammable gases or objects, it may cause fire or product failure and malfunction
- Do not install the products in such environment with multi dust or high temperature, it may cause product damage.
SAVE THESE INSTRUCTIONS
PACKING LIST
| NO | PICTURE | NAME | QTY | NO | PICTURE | NAME | QTY |
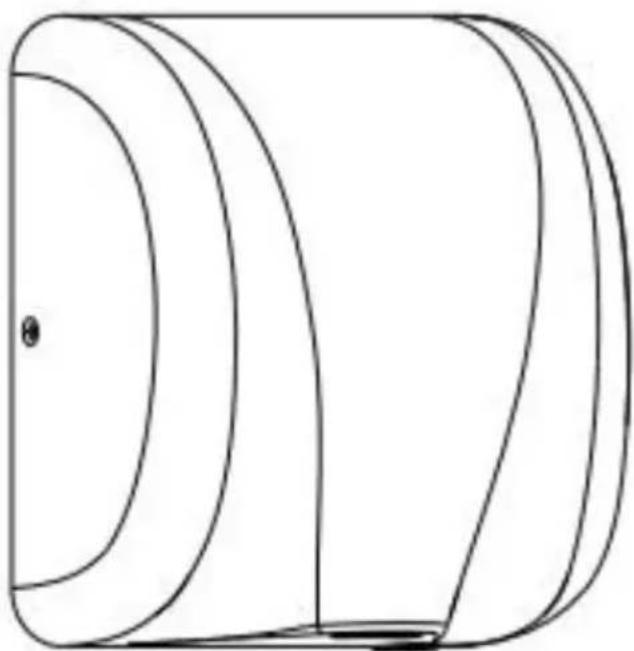
| A |  | Main part | 1 | C |  | Hex Wrench | 1 |
| B | 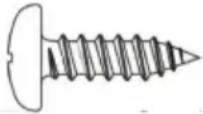 | Install screw | 4 | D | 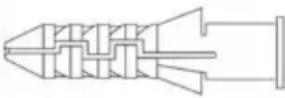 | Expansion pipe | 4 |
TECHNICAL PARAMETERS
| Rated Voltage | 220-240V AC |
| Rated Frequency | 50-60Hz |
| Rated Power | 1800W |
| Ambient Temperature | 0-40°C |
| Wind Speed | 85m/s |
| Overall size | 325*295*180mm |
FEATURES
- It is equipped with automatic infrared ray induction system, very easy use, reducing waste, and no touching clean hands which effectively to avoid pathogen cross infection and re-contamination.
- It has outstanding performance with most advantage chip control technology and infrared sensor.
- It has a unified high-speed motor with an RPM of 23000, drying hands in 7-12 seconds.
- This series of products is all equipped with overcurrent protection, which effectively eliminates accidents.
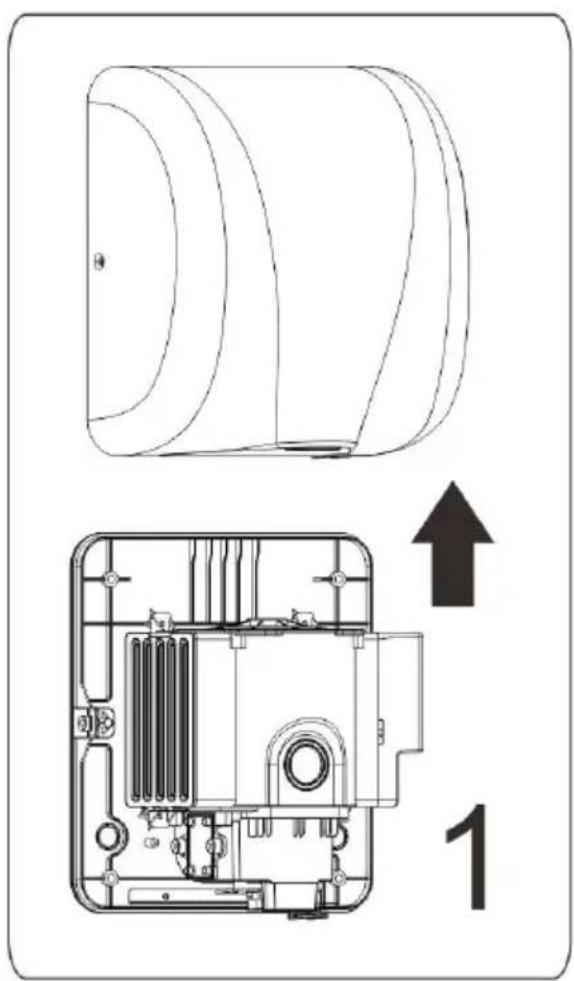
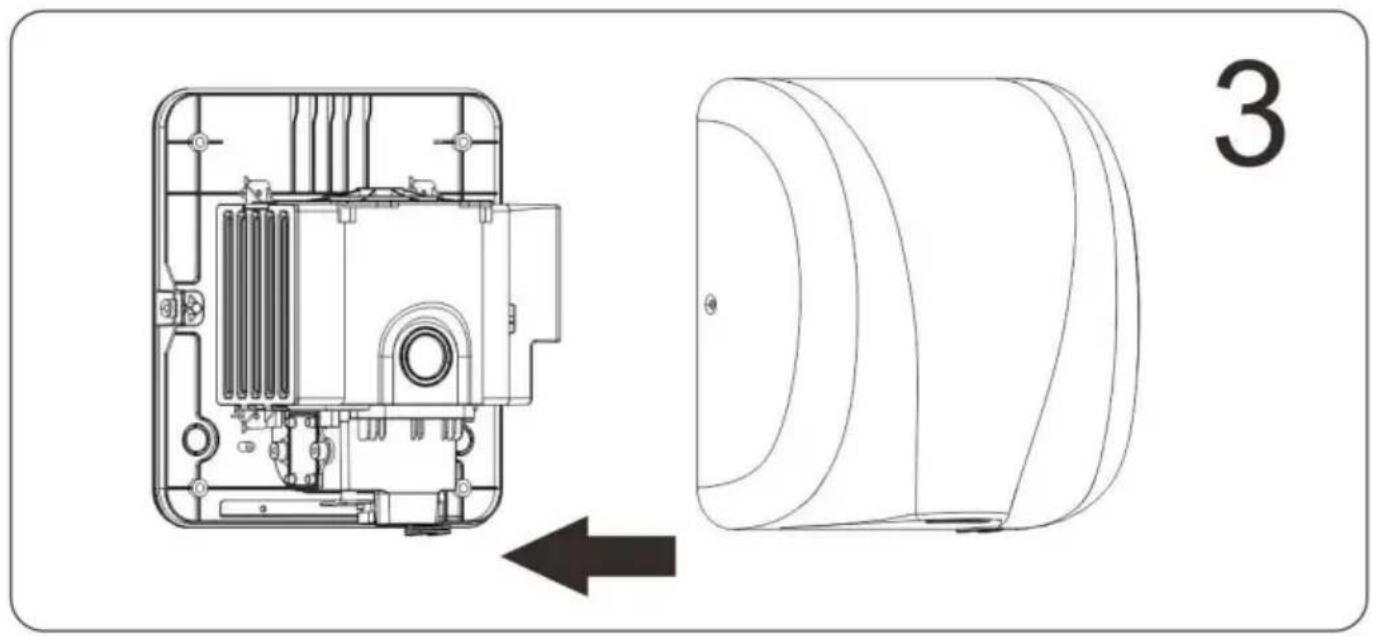
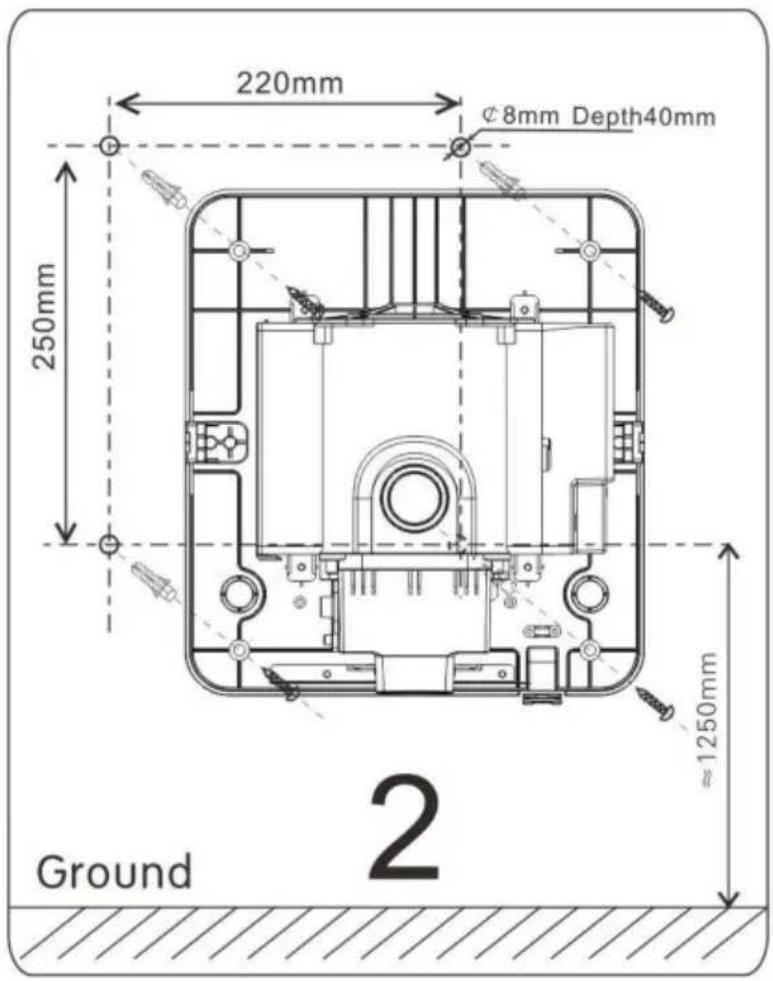
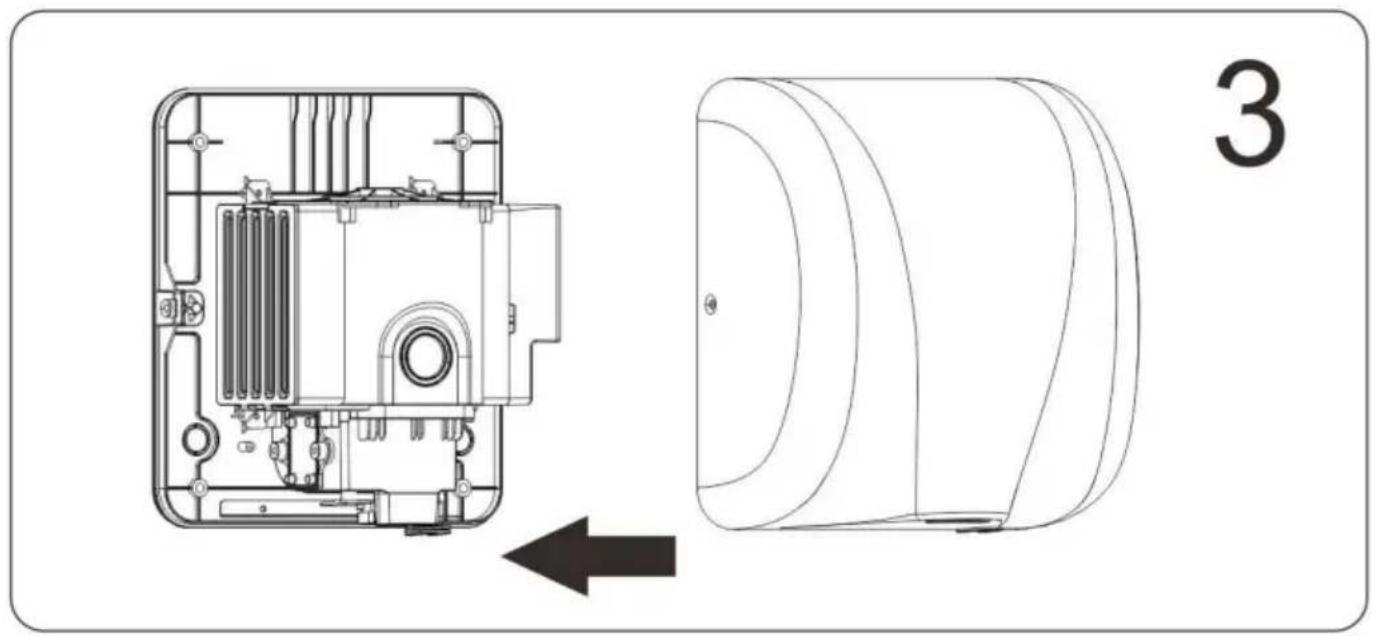
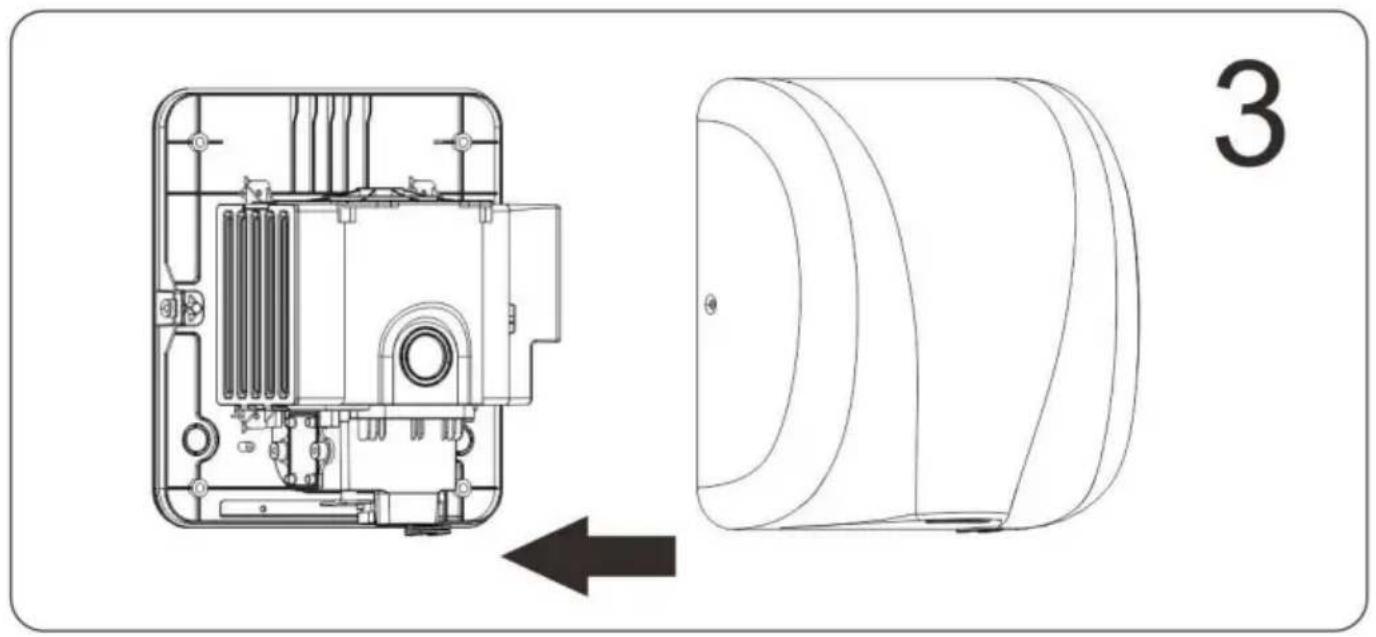
- Installation only requires an expansion pipe and screw hook; hang the machine and cut off the power when performing maintenance. It is suitable for departments in hospitals, schools, food and pharmaceutical manufacturers, airports, office buildings, hotels, government agencies, research institutions, and other places.
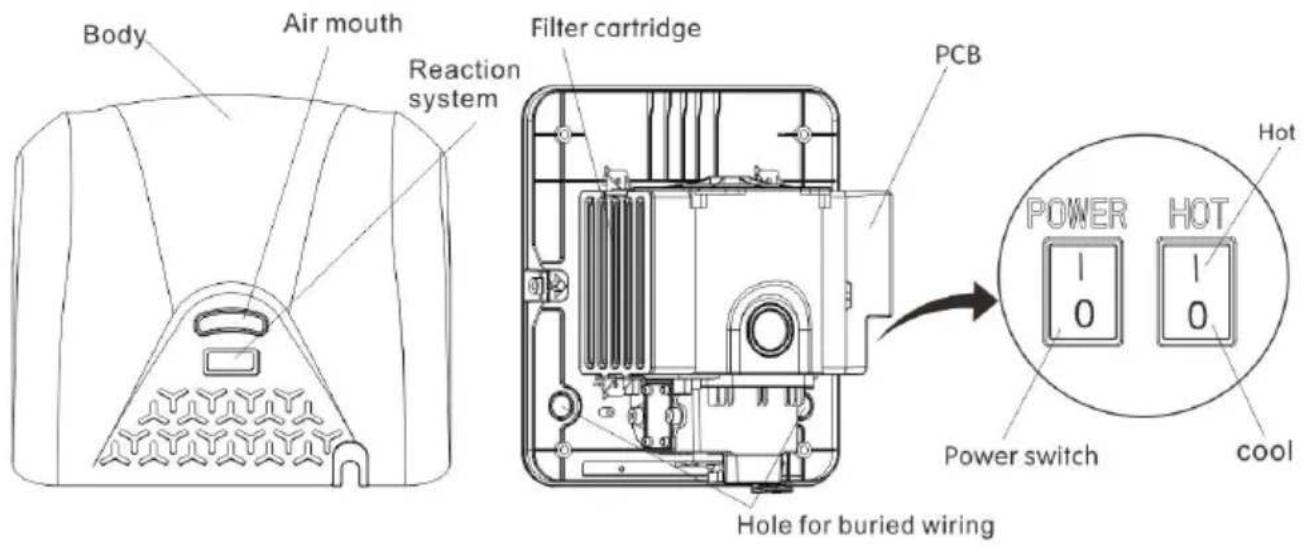
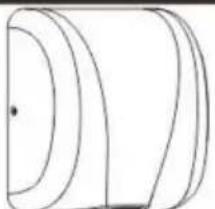
COMPONENTS NAME
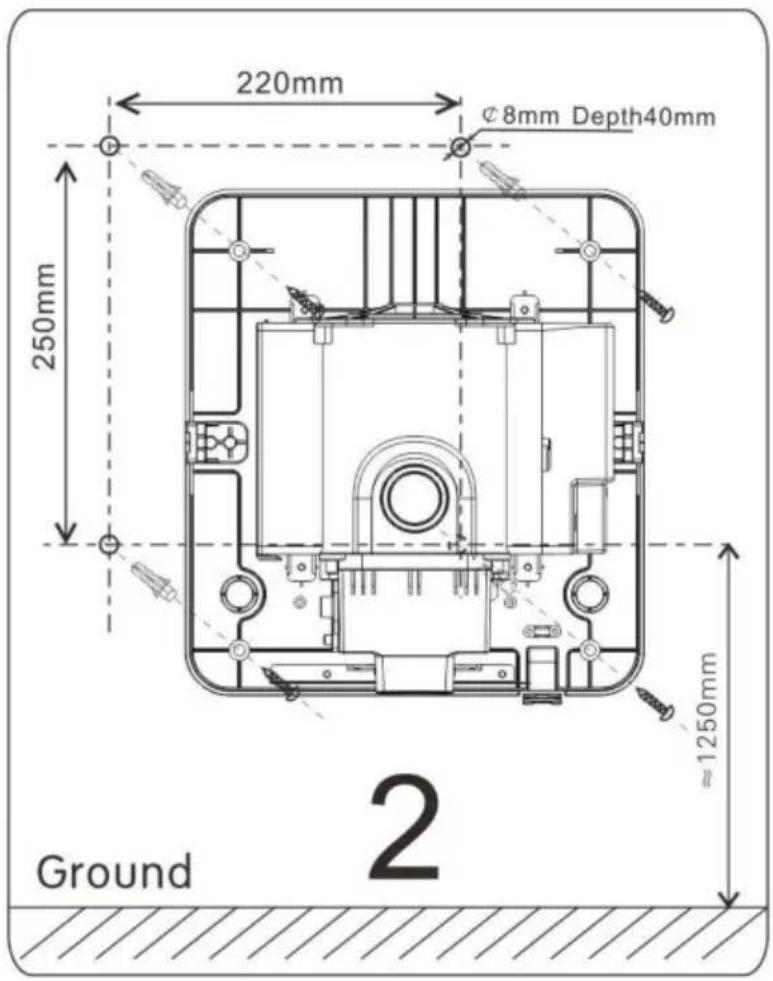
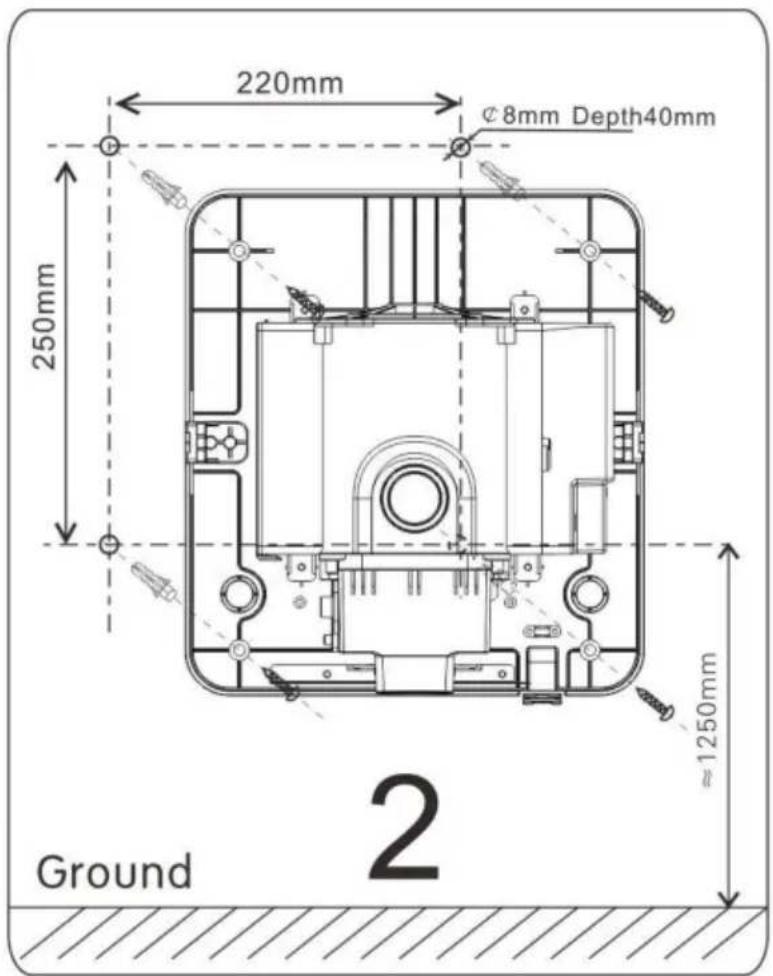
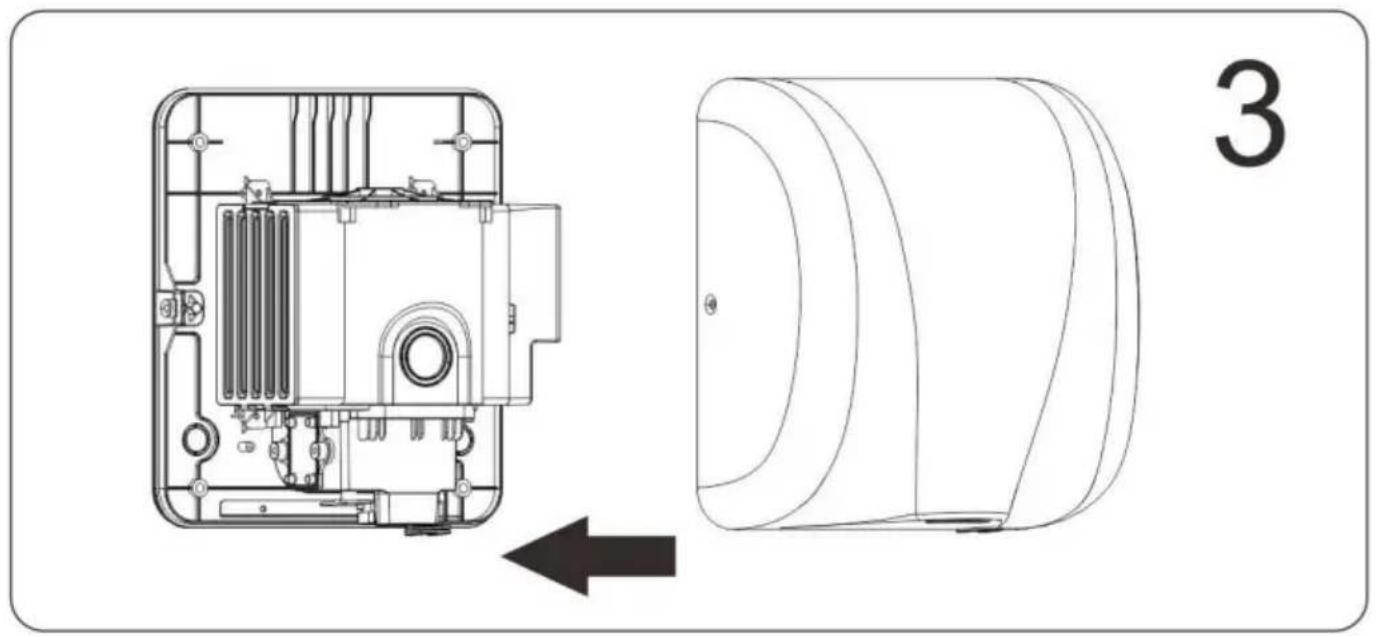
METHOD OF INSTALLATION
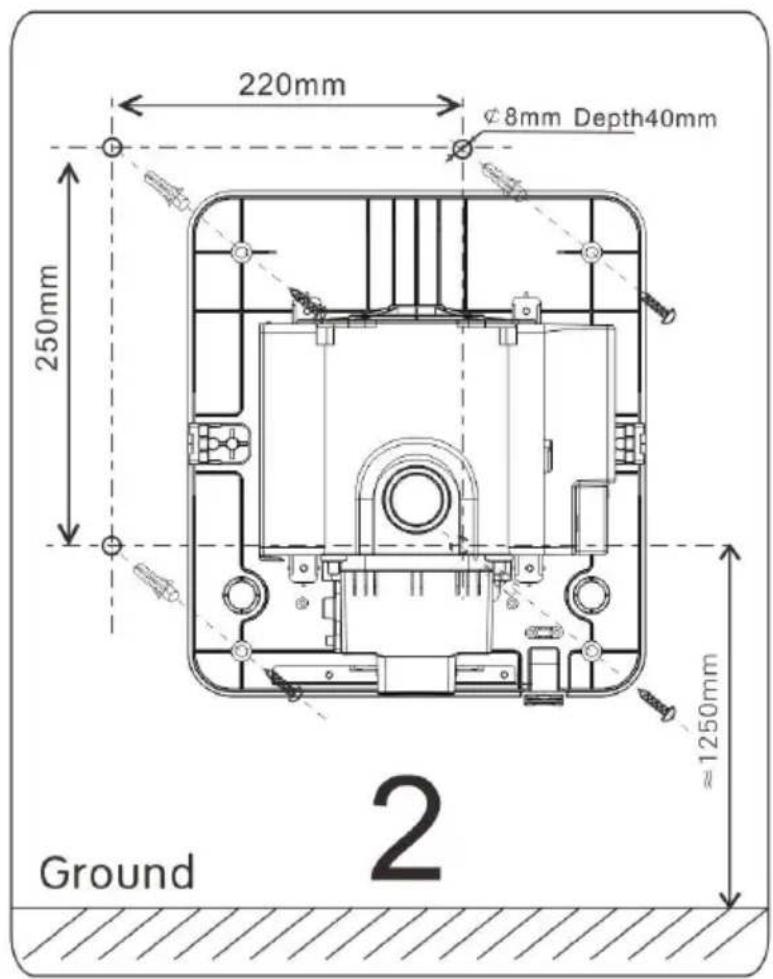
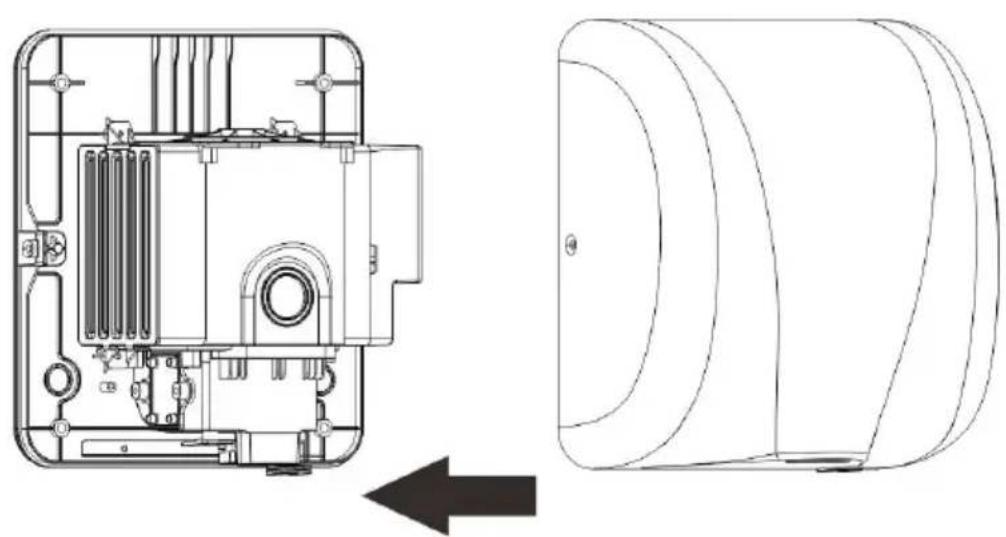
3
USAGE
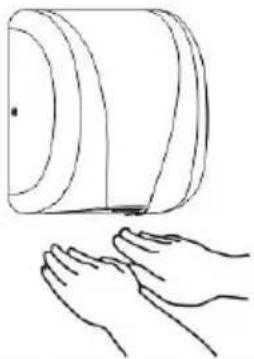
1
Back up, fingers straight out into the outlet, slowly move back and forth.
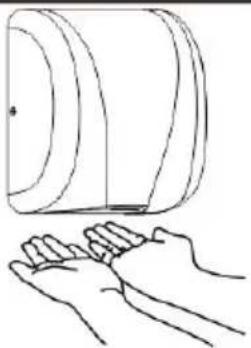
2
Then turn the hands palm upward and slowly move back and forth.
3
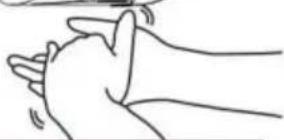
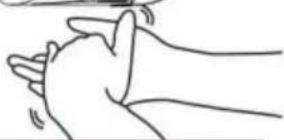
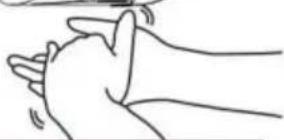
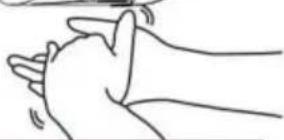
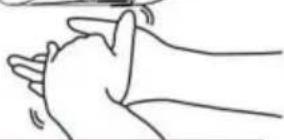
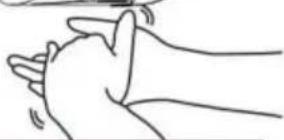
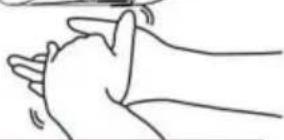
Finally, rub the hands.

CLEANING OF FILTER CARTRIDGE

Attention: If the wind becomes weaker, please clean the filter screen in time. Generally, it needs to be cleaned once or twice. Water is not allowed.
1
Hold the bulge in the middle of the filter screen, then pull it out.
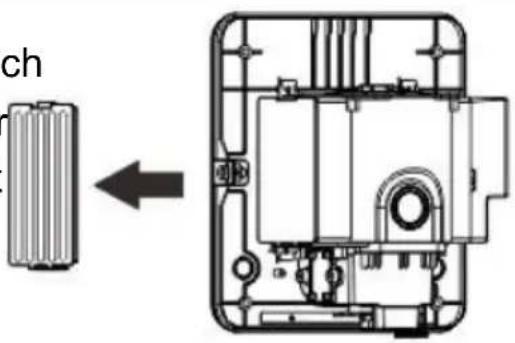
2
Remove the filter screen from the filter cartridge.
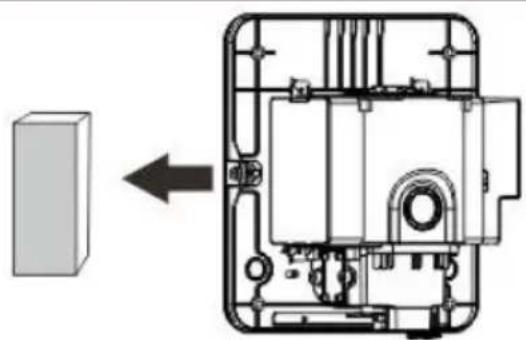
3
Clean the dust off the filter screen; do not wash it. If there is too much dust, replace it.
4
Place the filter screen correctly in the filter cartridge, and insert the filter cartridge into the body.
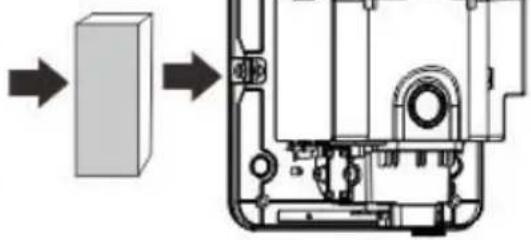
©
If the fault is caused by the product itself, the customer can go to the place of purchase for free maintenance or replacement, provided they have the original invoice and a completed warranty card stamped by the dealer.
- The following are not covered by the free maintenance service:
◆Faults caused by improper use, or by disassembly, modification, or repair by unauthorized personnel. ◆Faults caused by fires, earthquakes, lightning, or other natural disasters, or by abnormal voltage. ◆Faults caused by using a non-matching power supply. ◆Faults caused by prolonged operation under poor working conditions. ◆Missing warranty card, or the card is illegible or incomplete.
- Beyond the warranty period, or for products not covered by free maintenance, the company remains committed to providing service.
Made In China
VEVOR®
TOUGH TOOLS, HALF PRICE
Technical Support and E-Warranty Certificate
www.vevor.com/support
VEVOR®
TOUGH TOOLS, HALF PRICE
NEED HELP? CONTACT US!
INSTALLATION METHOD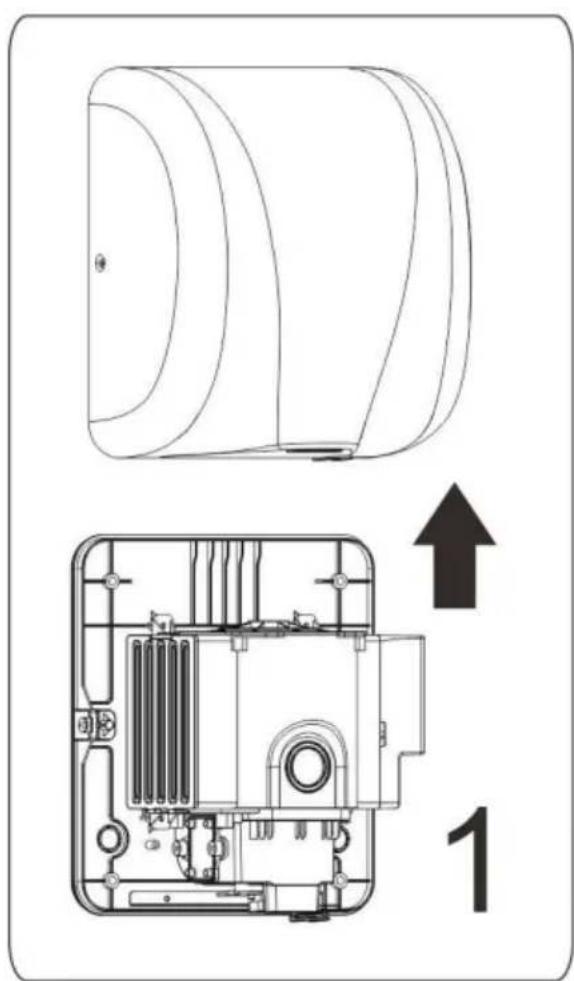
USAGE
1
Step back, fingers extended

2

3
CLEANING THE FILTER CARTRIDGE

MAINTENANCE
WARRANTY CONDITIONS
INSTALLATION METHOD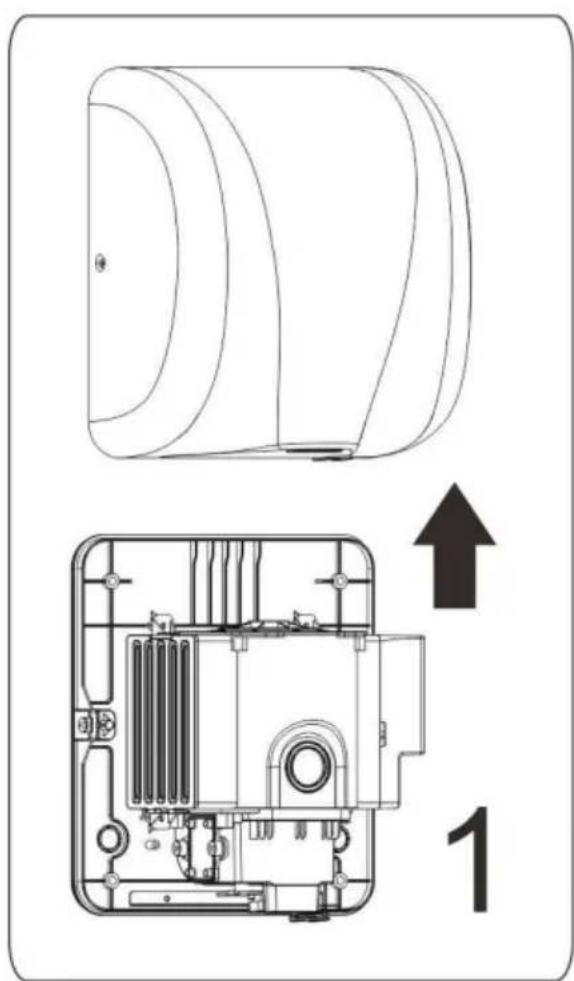
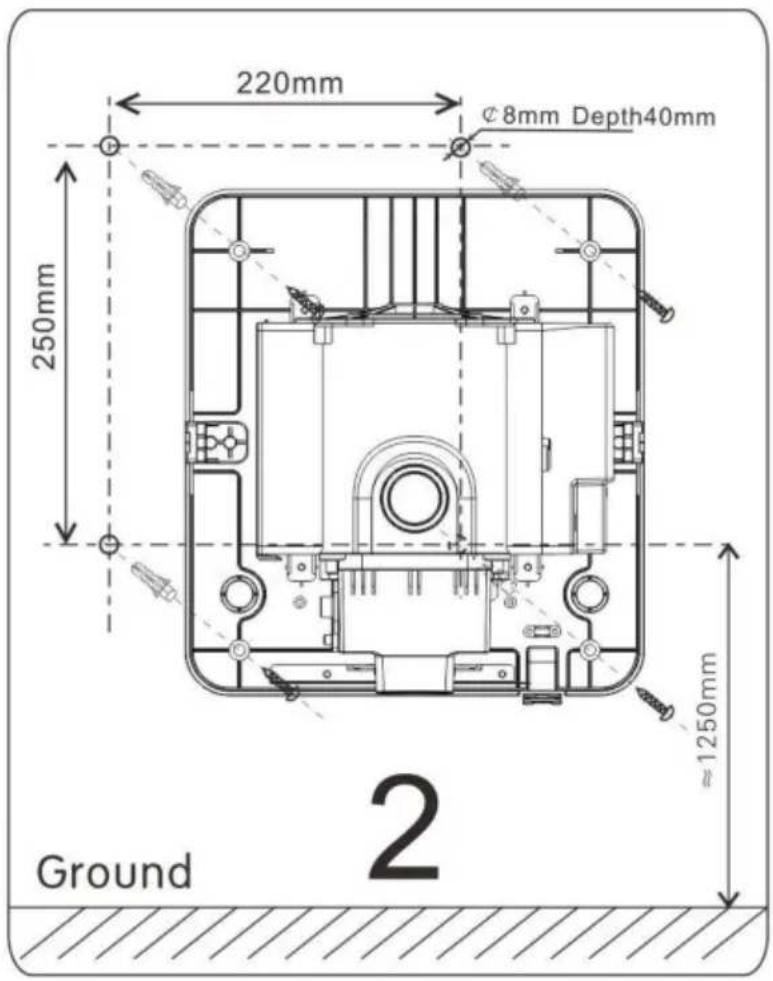
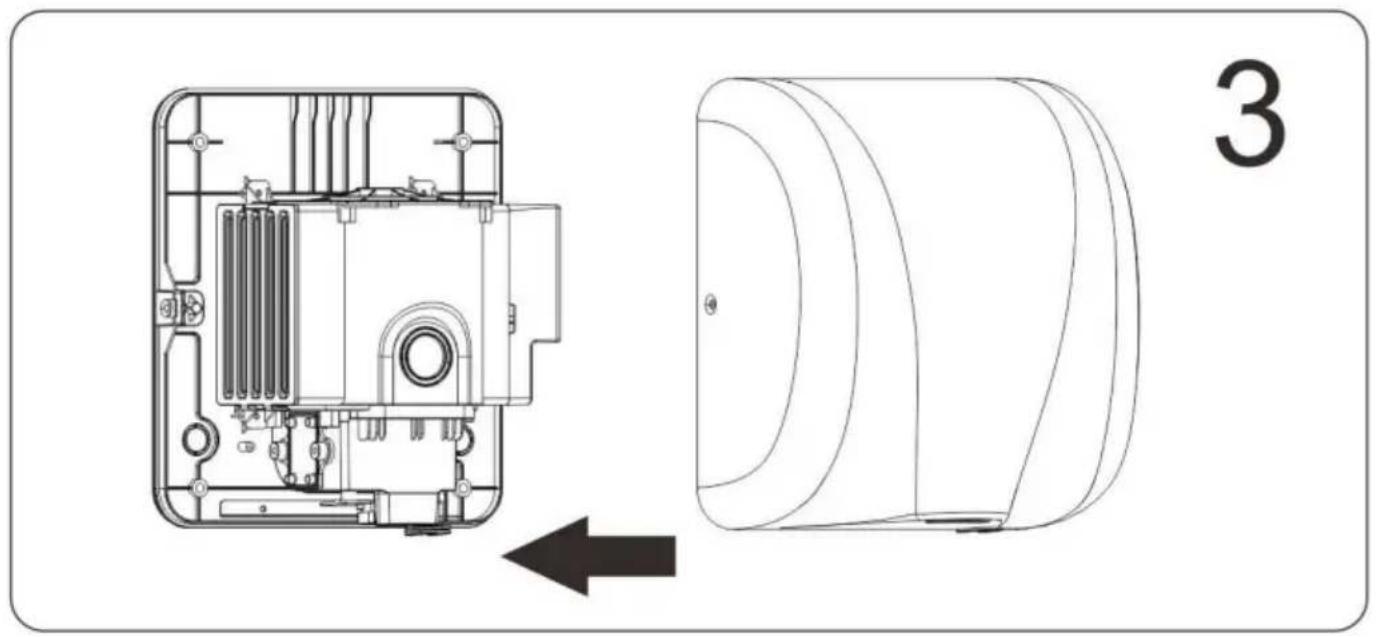
USE
1

2

3
CLEANING THE FILTER CARTRIDGE

2
3
www.vevor.com/support
VEVOR®
TOUGH TOOLS, HALF PRICE

USE
1
Back, fingers straight

2

3
Finally, rub your hands.
CLEANING THE FILTER CARTRIDGE

2
3
MAINTENANCE
USE
1

2

3
CLEANING THE FILTER CARTRIDGE

NEED HELP? CONTACT US!
INSTALLATION METHOD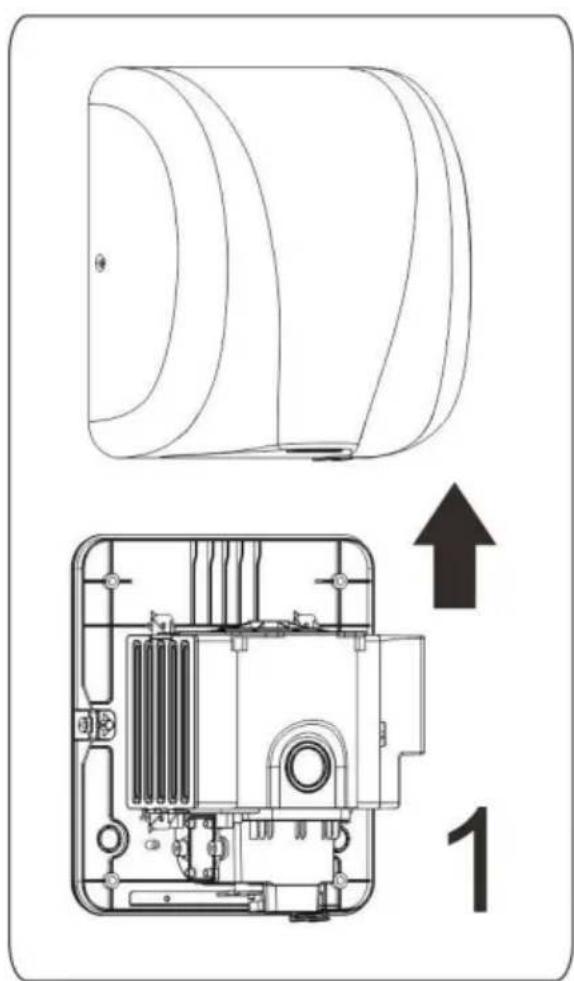

APPLICATION
1

2

3
CLEANING THE FILTER CARTRIDGE

2
3
NEED HELP? CONTACT US!
INSTALLATION METHOD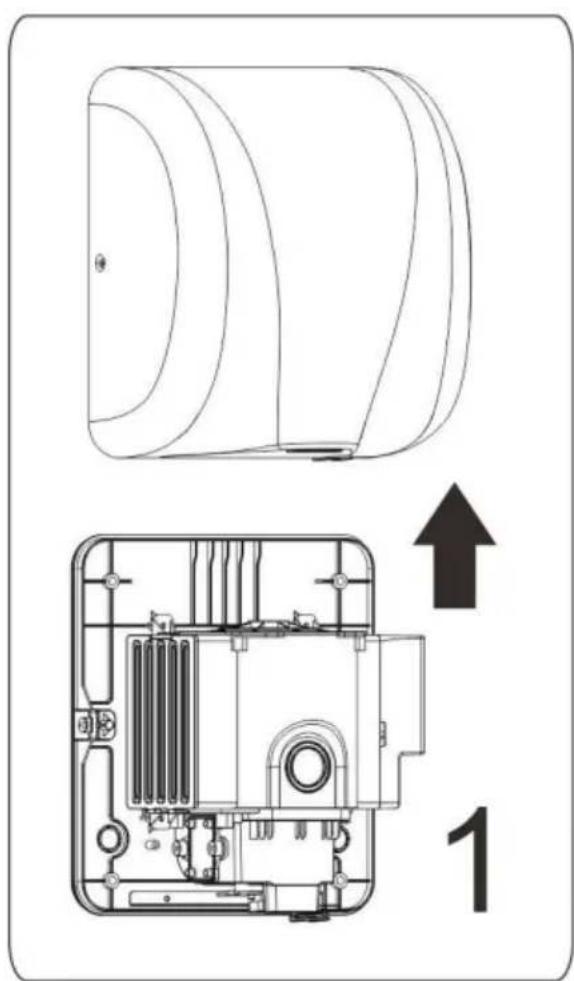
USE
1

2

3
CLEANING THE FILTER CARTRIDGE

2
3
NEED HELP? CONTACT US!
OBS INNAN INSTALLATION

Warning
1.

INSTALLATIONSMETOD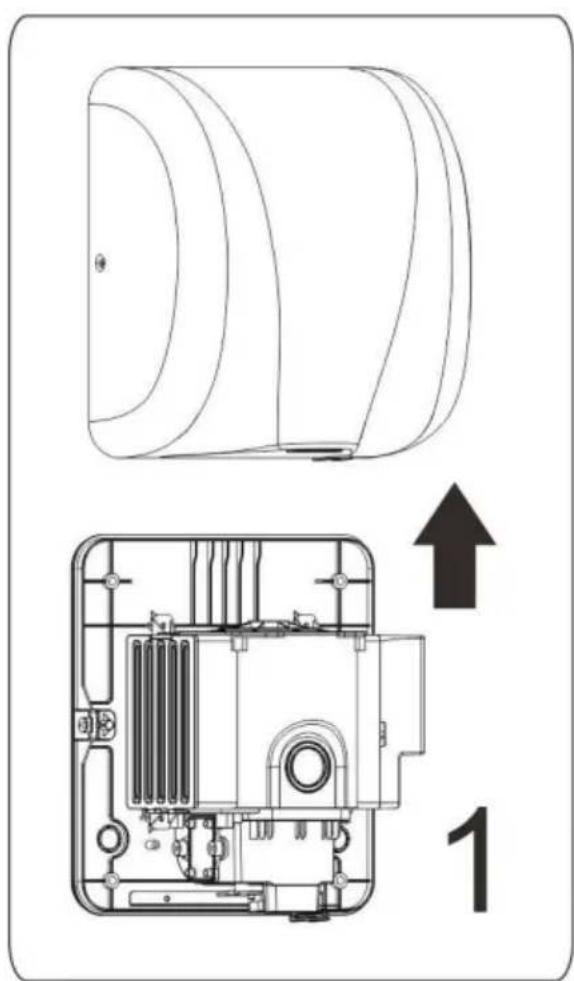
ANVÄNDANDE
1

2

3
RENGÖRING AV FILTERPATRON

2
3
www.vevor.com/support
- HAND DRYER
- NEED HELP? CONTACT US
- NOTE BEFORE INSTALLATION
- WARNING
- ⚠ ATTENTION
- SAVE THESE INSTRUCTIONS
- FEATURES
- COMPONENTS NAME
- METHOD OF INSTALLATION
- USAGE
- CLEANING OF FILTER CARTRIDGE
- MADE IN CHINA
- VEVOR®
- TOUGH TOOLS, HALF PRICE
- CLEANING THE FILTER CARTRIDGE
- MAINTENANCE
- WARRANTY CONDITIONS
- USE
- APPLICATION
- OBS INNAN INSTALLATION
- ANVÄNDANDE
- RENGÖRING AV FILTERPATRON
Brand : Vevor
Model : K2017
Category : Hand dryer