
K1E01020 - Grooming set Vevor - Free user manual and instructions
Find the device manual for free K1E01020 Vevor in PDF.
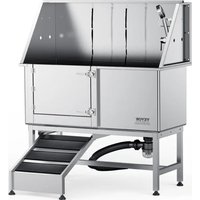


| Product Type | Dog Grooming Bathtub |
| Brand | Vevor |
| Model | K1E01020 |
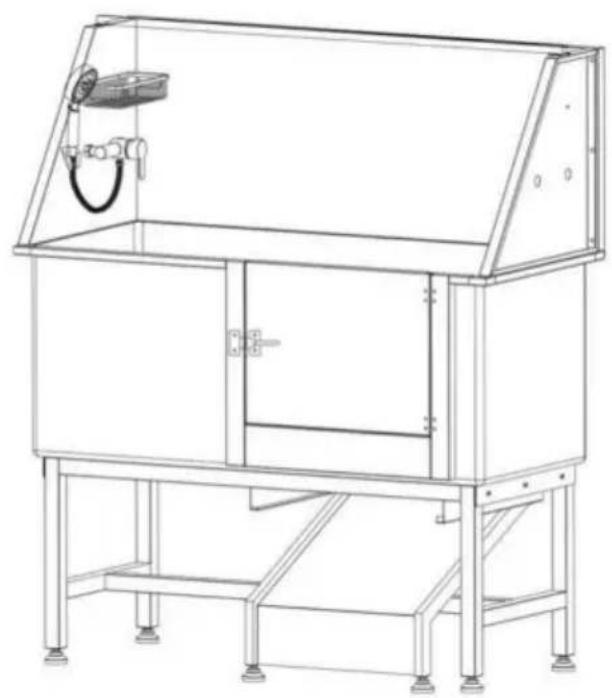
| Dimensions (L × W × H) | approx 1219 × 635 × 1016 mm |
| Maximum Load Capacity | 150 kg (330 lb) |
| Interior Volume | 0.64 m³ |
| Main Material | Stainless Steel |
| Water Supply | Hot and cold water connection |
| Faucet Type | Mixer with built-in switch |
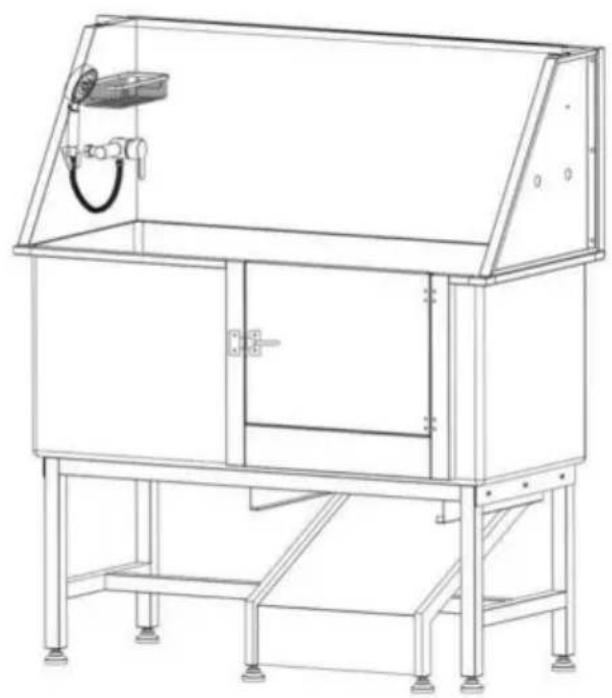
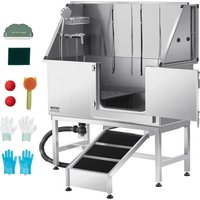
| Included Accessories | Shower head, shower hose, inlet hose, storage basket, ramp, sling, shower holder, comb, gloves, crossbar, wrench, sealing tape |
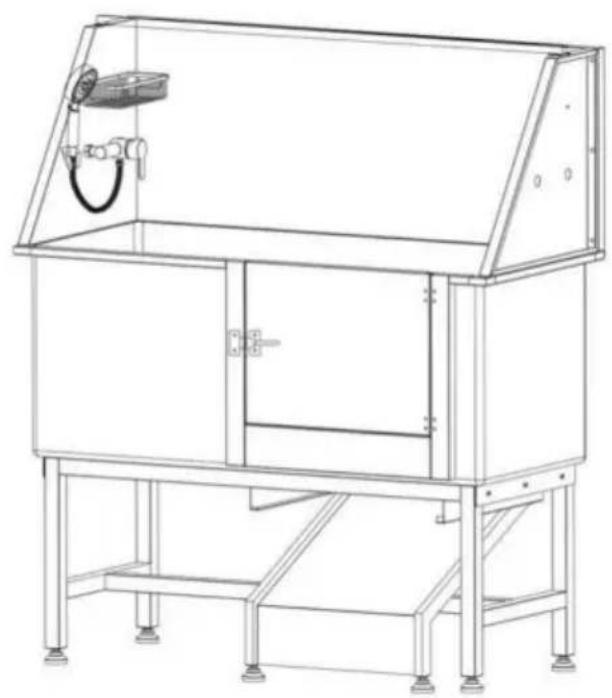
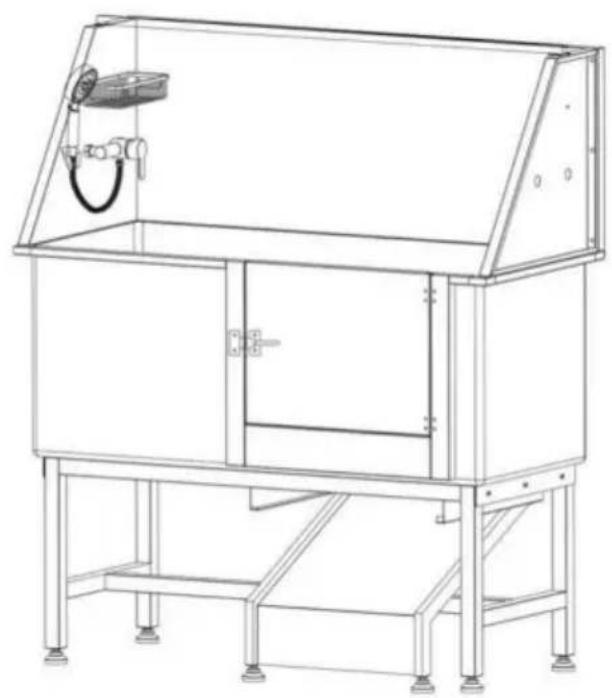
| Main Functions | Hand shower, hot/cold water adjustment, side door, access ramp, filtration system, built-in storage |
| Adjustable Feet | Yes, for leveling and optimal drainage |
| Safety | Lockable door, rounded edges, sealing gaskets, assembly instructions |
| Care and Cleaning | Clean with mild detergent and cloth; clean filter and drain regularly |
| Spare Parts Available | Yes, via Vevor support (www.vevor.com/support) |
| Repairability | Modular design, standardized parts |
| Warranty | Electronic warranty certificate available online |
Frequently Asked Questions - K1E01020 Vevor
You can also use the supplied sealing tape to reinforce the connections.
User questions about K1E01020 Vevor
0 question about this device. Answer the ones you know or ask your own.
Ask a new question about this device
Download the instructions for your Grooming set in PDF format for free! Find your manual K1E01020 - Vevor and take your electronic device back in hand. On this page are published all the documents necessary for the use of your device. K1E01020 by Vevor.
USER MANUAL K1E01020 Vevor
Technical Support and E-Warranty Certificate www.vevor.com/support
DOG GROOMING TUB
MODEL: K1E01019/K1E01020
We continue to be committed to providing you with tools at competitive prices. "Save Half", "Half Price", or any other similar expressions used by us only represent an estimate of savings you might benefit from buying certain tools with us compared to top brands, and does not necessarily mean to cover all categories of tools offered. We kindly remind you to verify carefully when placing an order with us that you are actually saving half in comparison with the top major brands.
VEVOR®
TOUGH TOOLS, HALF PRICE
DOG GROOMING TUB
MODEL: K1E01019/K1E01020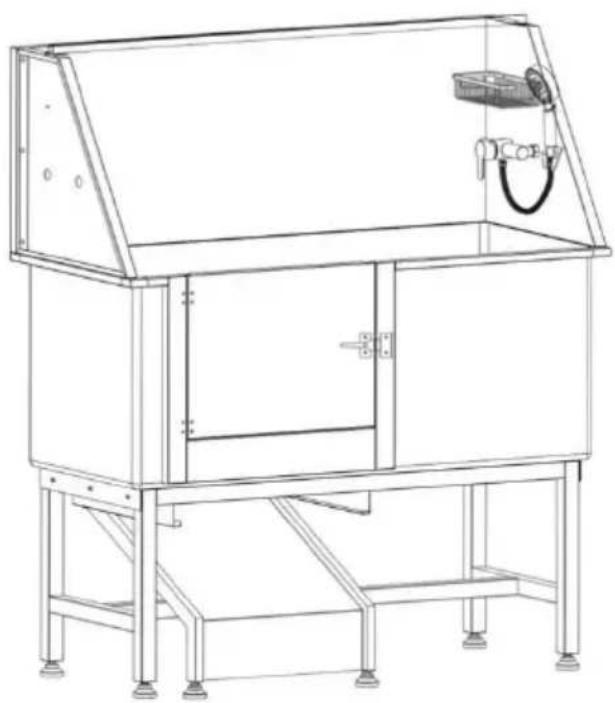
NEED HELP? CONTACT US!
Have product questions? Need technical support? Please feel free to contact us:
Technical Support and E-Warranty Certificate www.vevor.com/support
This is the original instruction. Please read all manual instructions carefully before operating. VEVOR reserves a clear interpretation of the user manual. The appearance of the product shall be subject to the product you received. Please forgive us that we won't inform you if there are any technology or software updates on our product.
IMPORTANT SAFEGUARDS

WARNING: Read and understand this entire manual before operating or servicing this product. Failure to follow these warnings and instructions can cause personal injury or damage to valuable property.
- Avoid children using the grooming tub. This product is not a toy. Do not allow children to play with it.
- Keep away from sharp points, blades and other items.
- Assembly precautions
- Assemble only according to these instructions. Improper assembly can create hazards.
- Wear ANSI-approved safety goggles and heavy-duty work gloves during assembly.
- Keep assembly area clean and well-lit.
- Keep bystanders out of the area during assembly.
- Do not assemble when tired or when under the influence of alcohol, drugs, or medication.
- Product capabilities apply to properly and completely assembled products only.
- For additional information regarding the parts listed in the following pages, please refer to the Assembly Diagram of this manual. Unwrap and separate all parts in a clean work area. Please keep small spare parts out of children's reach.
SAVE THESE INSTRUCTIONS
PREPARATIONS BEFORE INSTALLATION
- Recommended Tools:
Phillips screwdriver, M4 wrench, Spirit level,
- Necessary safety equipment:
Gloves, goggles.
Caution: Before installing the product, wear gloves and goggles to avoid possible physical damage during installation.
INSTRUCTIONS
Thank you very much for choosing this pet bathtub. Please read all instructions before using it. The information will help you achieve the possible results.
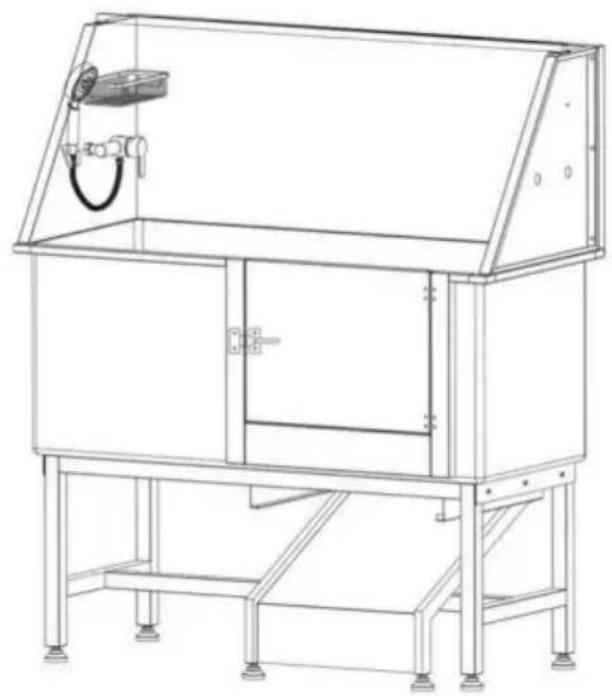
Parts List:
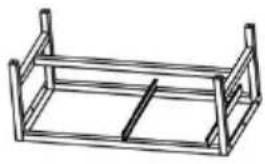 | 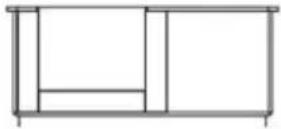 | 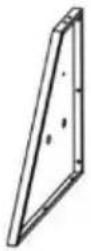 | 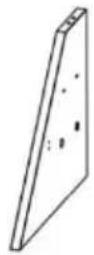 |
| A*2 | B*1 | C*1 | D*1 |
| Bottom bracket | Tub | Right side panel | Left side panel |
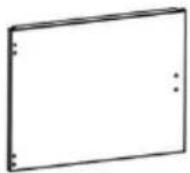 |  | 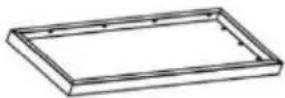 |  |
| E*1 | F*1 | G*1 | H*1 |
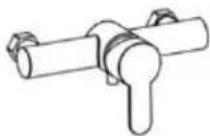
| Door | Water filter plate | Back panel | Faucet switch |
 |  |  |  |
| J*1 | K*1 | L*1 | M*2 (600mm) |
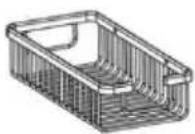
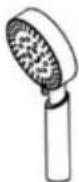
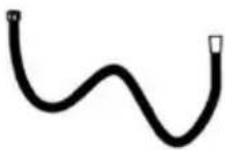
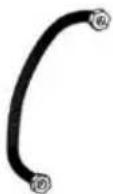
| Storage basket | Shower head | Shower hose | Inlet pipe |
 |  |  | 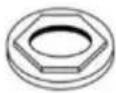 |
| N*1 | P*4 (M4*15mm) | Q*4 (M4) | R*2 |
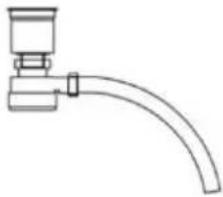
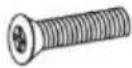
| Strainer | Screw | Hex flange nut | Nut |
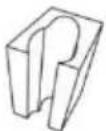 | 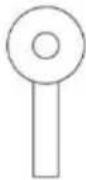 | 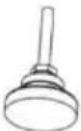 | 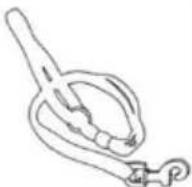 |
| S*1 | T*1 | U*6 | V*2 |
| Shower bracket | Comb | Adjustable foot | Sling |
 | 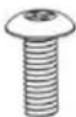 | 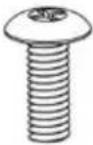 |  |
| W*2 | Y*20 (M6*15mm) | Z*6 (M8*16mm) | AA*1 |
| Play ball | Screw | Screw | Gloves |
 | [ZA4] |  | |
| AB*1 | AC*2 | AD*2 | |
| Crossbar | Washer | Nut | |
 |  | [WAKT] | 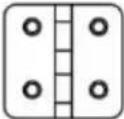 |
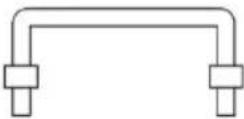
| AE*1 | AF*1 | AG*1 | AH*3 |
| Sealing tape | Handle | Wrench | Hinge |
 |  | ||
| AJ*1 | AK*1 | ||
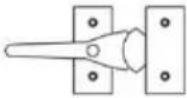
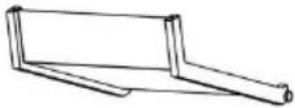
| Latch | Ramp | ||
Installation steps
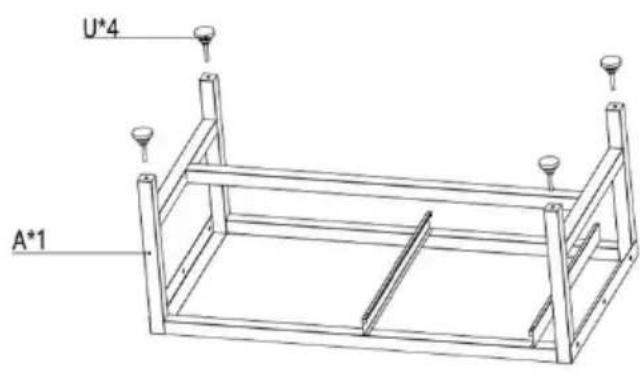
① Install the adjustable feet to the H rack (A).
Caution: Ensure that the depth of the adjustable feet is not less than 12mm, and try to make the four adjustable feet screw in to the same depth. Please tighten the spare nut during installation and adjust it later.
Left Door Bracket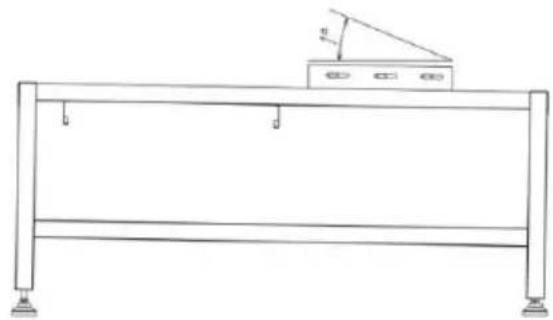
Right Door Bracket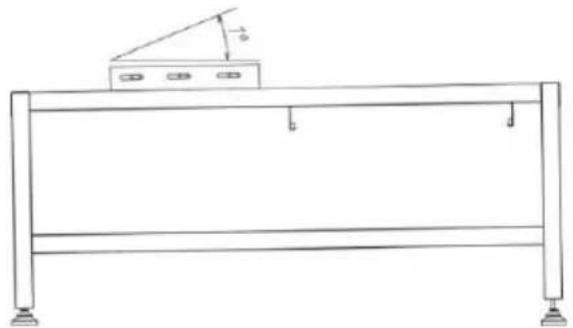
② Flip the bottom bracket, adjust the height of the feet so that the height of the water outlet side is 1-2 degrees lower than the other side (use a spirit level to show).
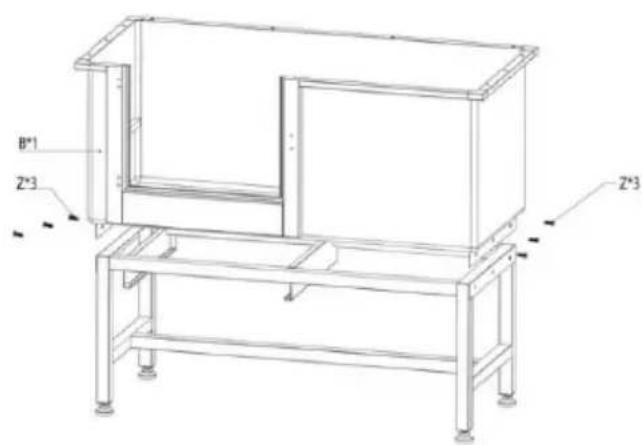
③ Use screw (Z) to fix the bottom bracket and tub (B).
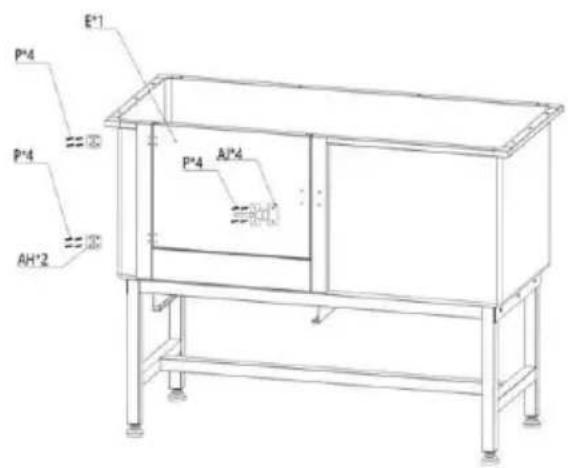
④ Use screw (P) and hinge (AH) to fix door (E) to the tub (B), and install the latch (AJ) with screw (
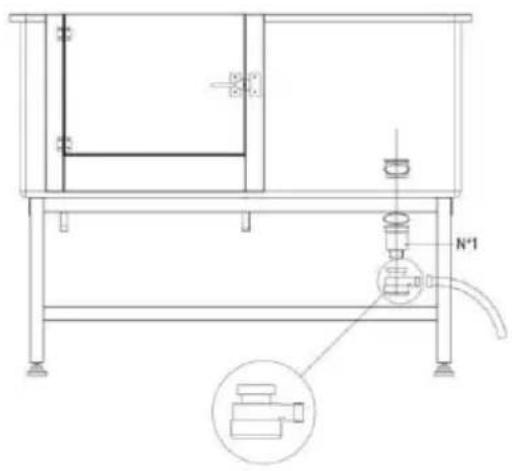
⑤ Install the strainer (N). Ensure that the sealing ring is free of dislocation and wrinkles.
Caution: When installing, please pay attention to whether the sealing ring is placed correctly, to avoid water leakage due to incorrect seal installation.
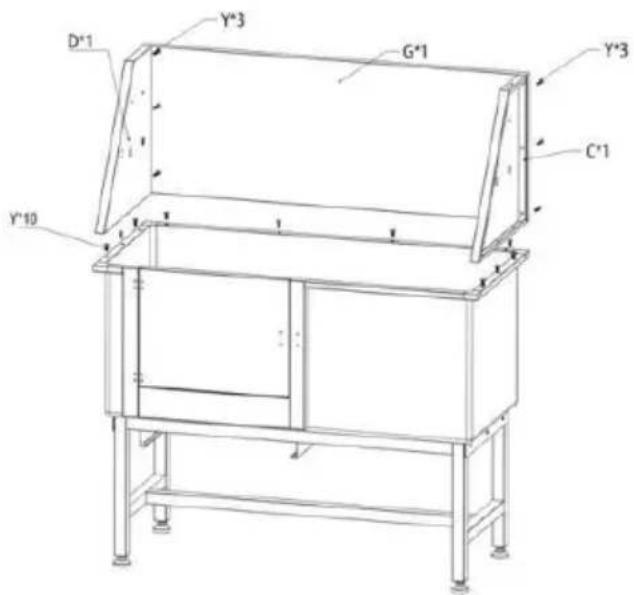
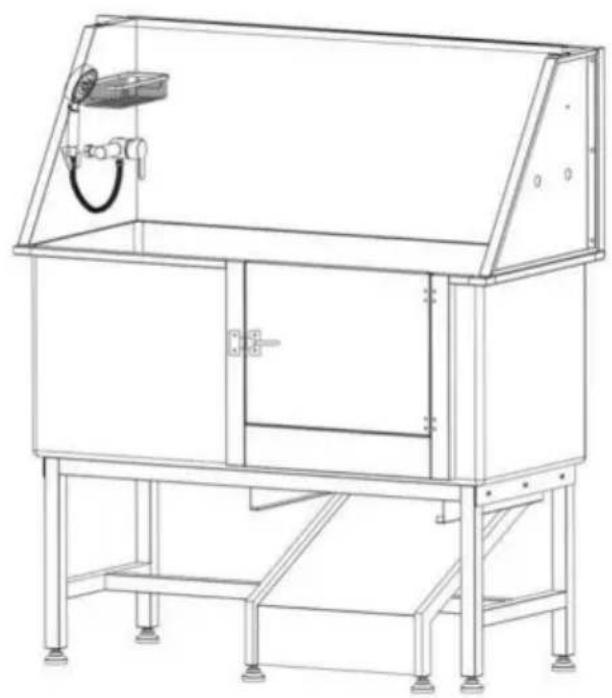
⑥ Use screw (Y) to fix the left and right side boards (D & C), then use screw (Y) to fix the back panel, and finally use screw (Y) to fix the side boards (D & C) and back board (G).
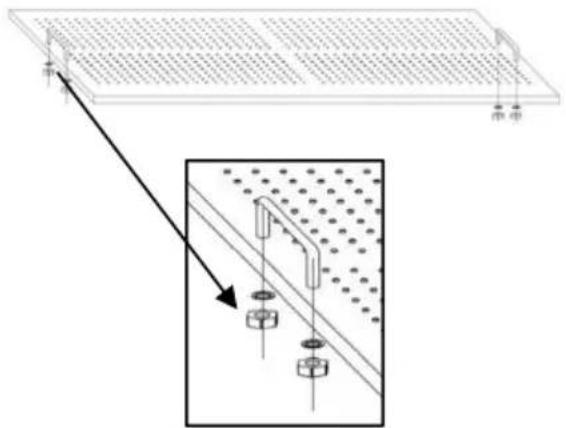 | 7 Install the handle(AF) to th water filter plate(F) |
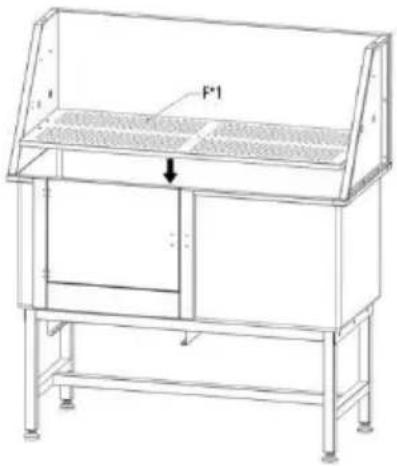 | 8 Put the water filter plate(F) the tub(B) |
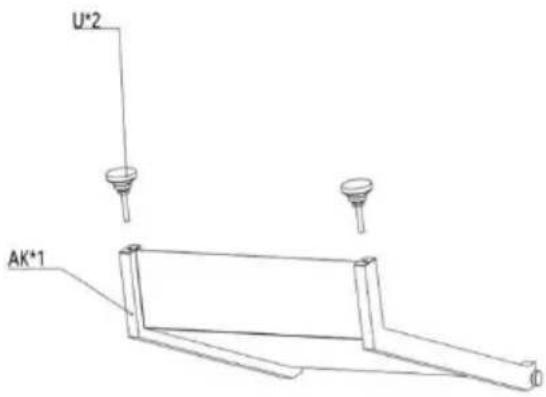 | 9 Install the adjustable feet(U) the bottom of the ramp(AK).Caution:Ensure that the depth adjustable feet is not less than 12mm, and try to make the tv adjustable feet screw in the sa depth. and tighten the spare n during the installation. |
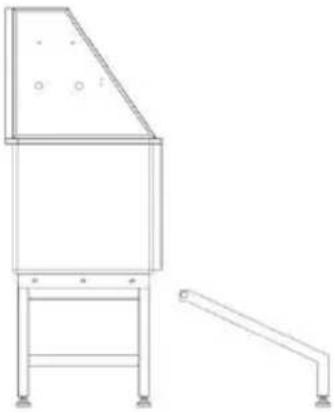 | 10 Install the ramp into the cha rails |
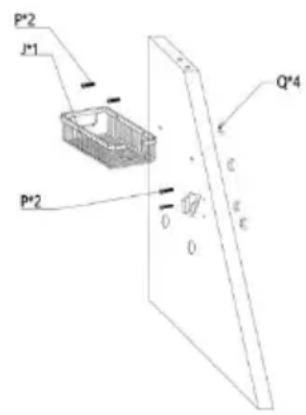
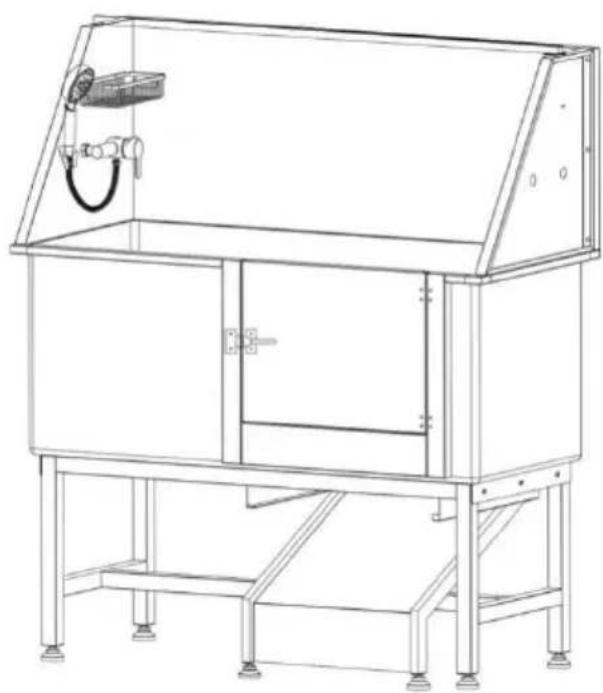
⑪ Use screw (P) and hex flange nut (Q) to install the storage basket and shower bracket (S) to the right side panel (C).
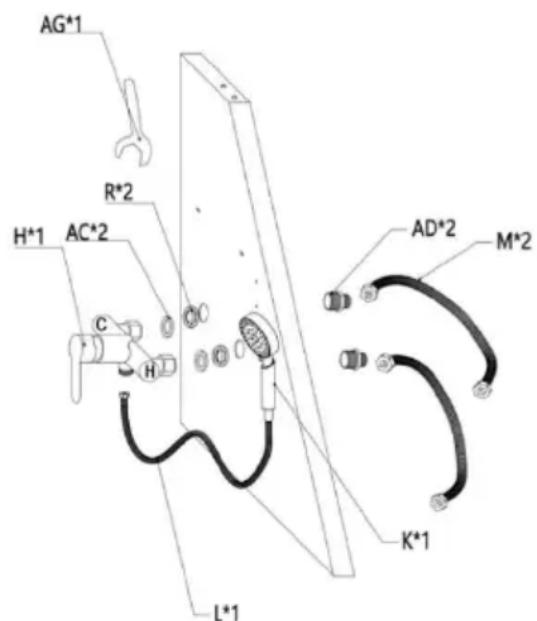
⑫ Install hot and cold shower switch and water inlet.
Caution: Before doing this, make sure that your water source is on the left or right side of the bathtub, and select the direction of installation of the tap switch.
Step 1: Pass the straight all-copper connector (AD) through the side panel (1/2" end facing outside), screw the nut into the other end of the connector, and use wrench (AG) to screw it down.
Step 2: Align the faucet switch (H) with the connector (AD), then tighten the two nuts on the switch (H), and note that the sealing ring nut is intact.
Step 3: Connect the hose (M) at the water inlet end and the shower hose (L) at the faucet outlet. Also, when tightening the nut, pay attention to whether the sealing ring inside the nut is intact.
Step 4: Connect the other end of the hose (M) to the water source. Pay attention to the hot and cold water mark on the faucet: 'H' represents hot water, and connect the hose on this side to the hot source, while the other side is connected to the cold. Also, pay attention to whether the seal ring inside the hose end nut is intact.
Caution: The inlet hose is only 600mm long. If you need a longer one, please purchase it separately (Caliber: 20mm).
Caution: Optionally, use sealing tape (AE) when installing the nut to make the installation more sealed and help prevent water leakage at the joint.
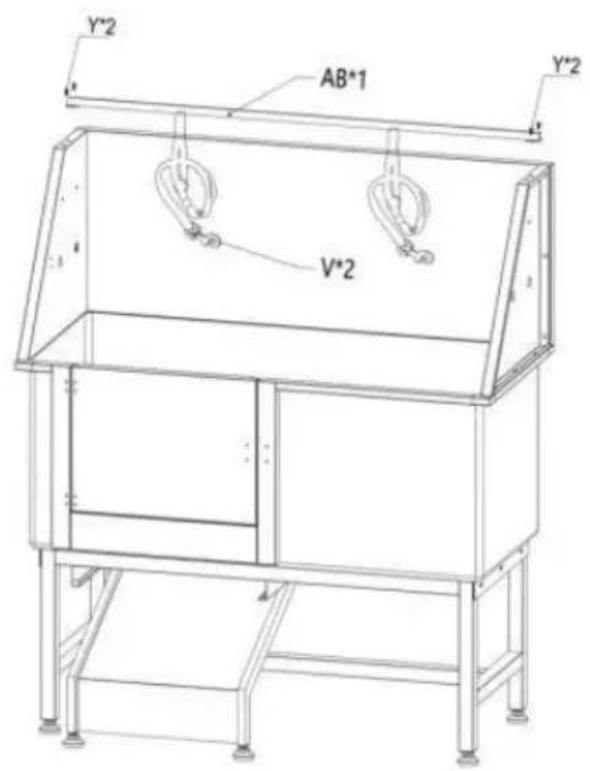
⑬ Use screw (Y) to fix the crossbar (AB) to the left and right side panels, then install the sling (V).
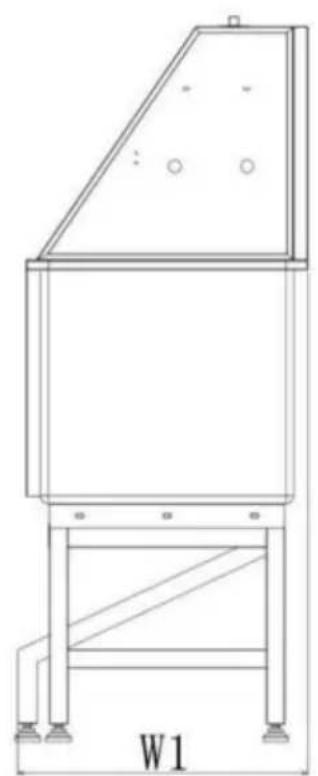
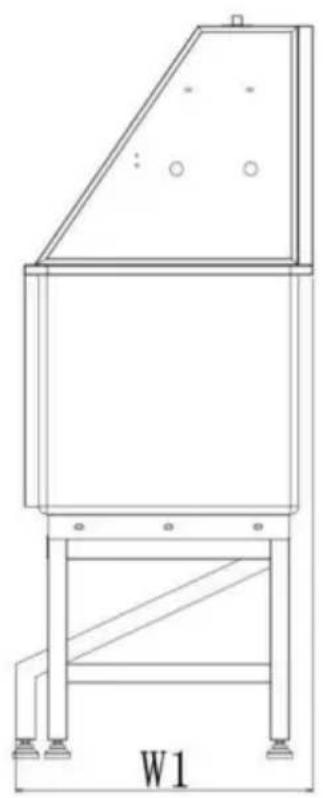
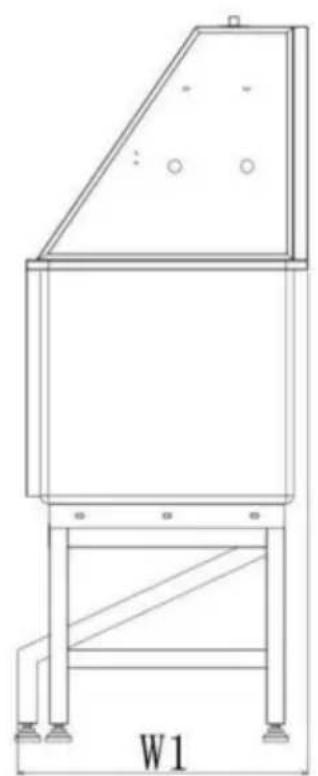
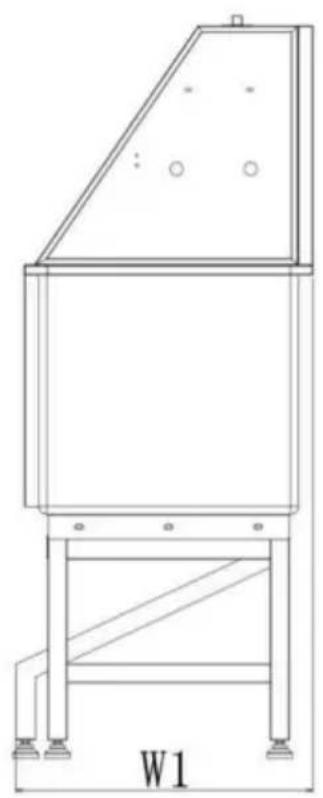
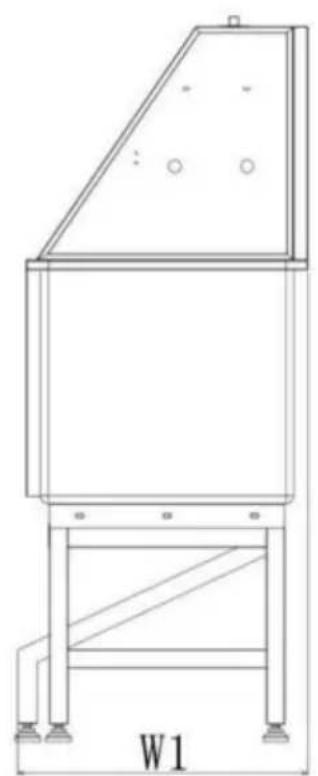
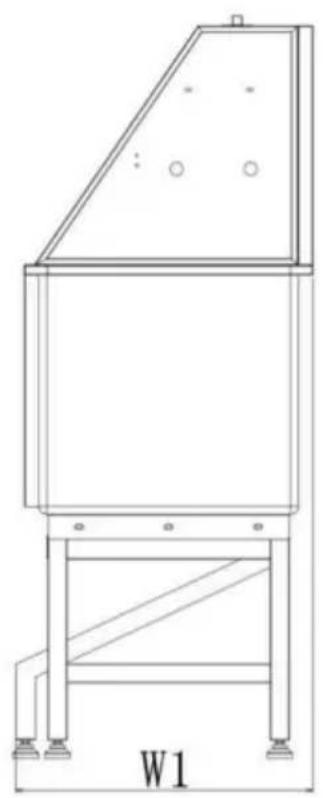
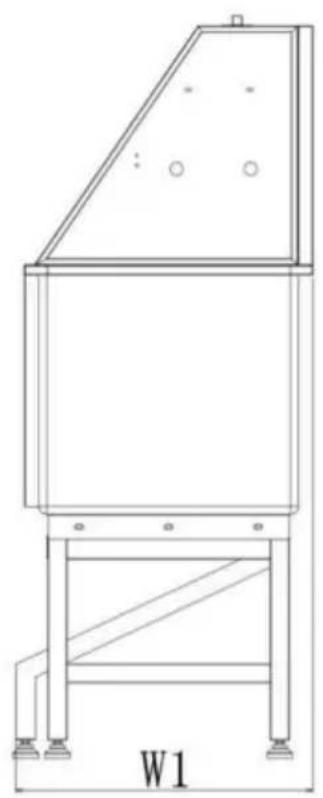
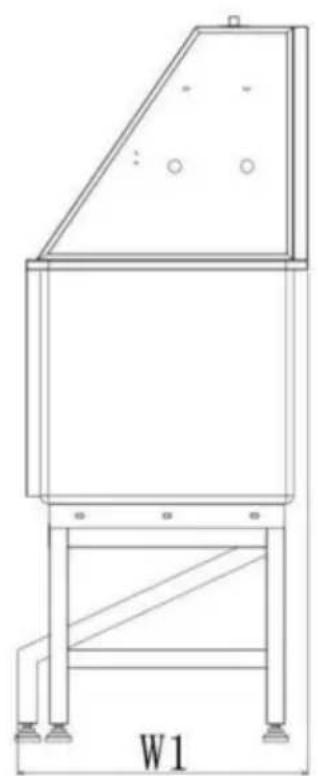
DIMENSIONS AND PARAMETERS
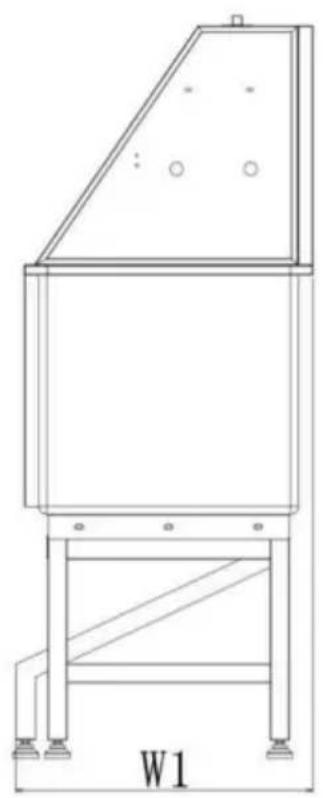
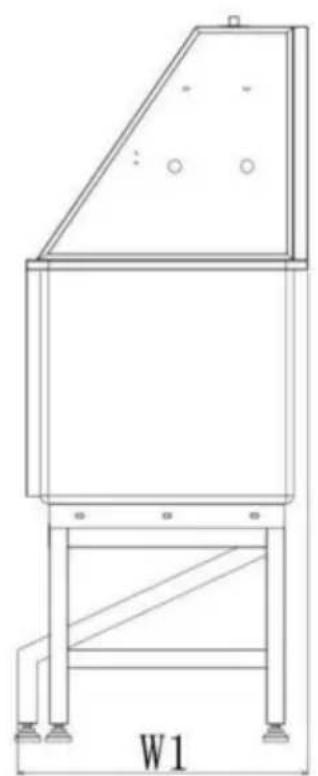
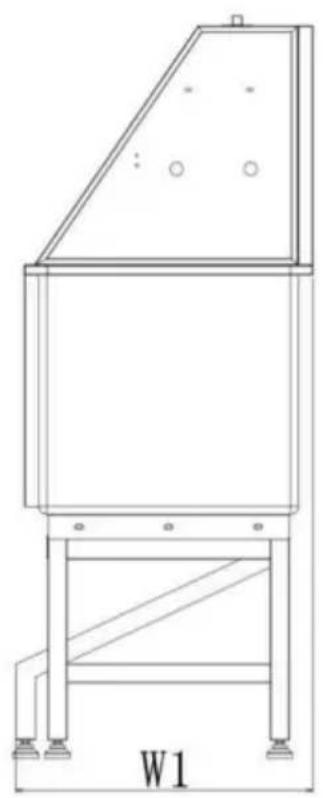
Left Door
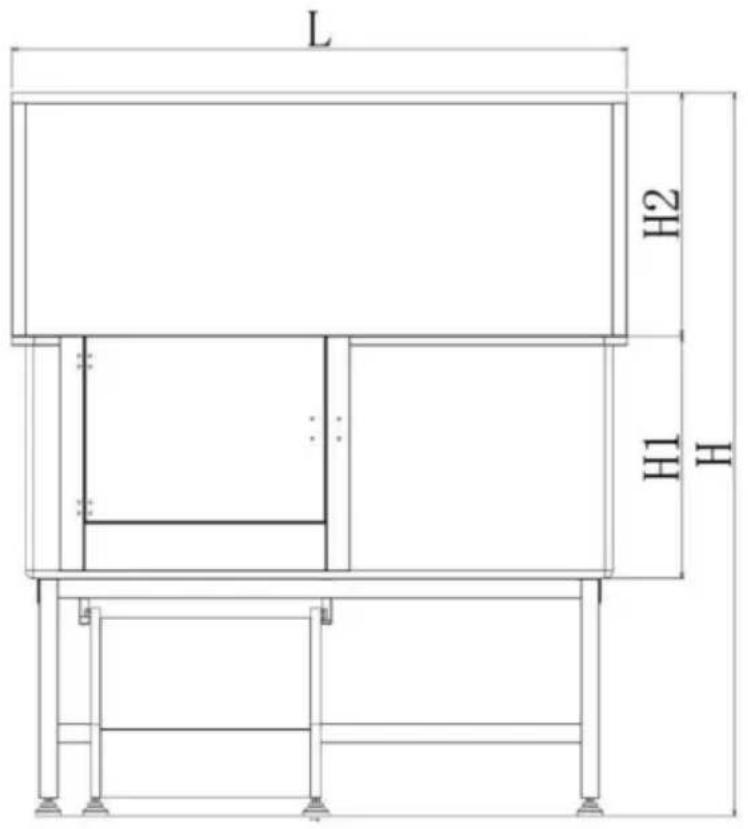
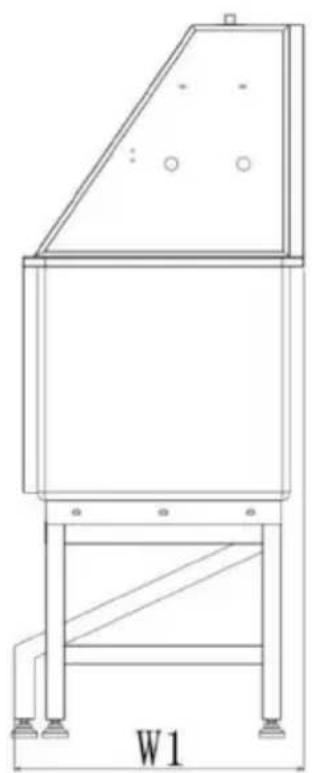
Right Door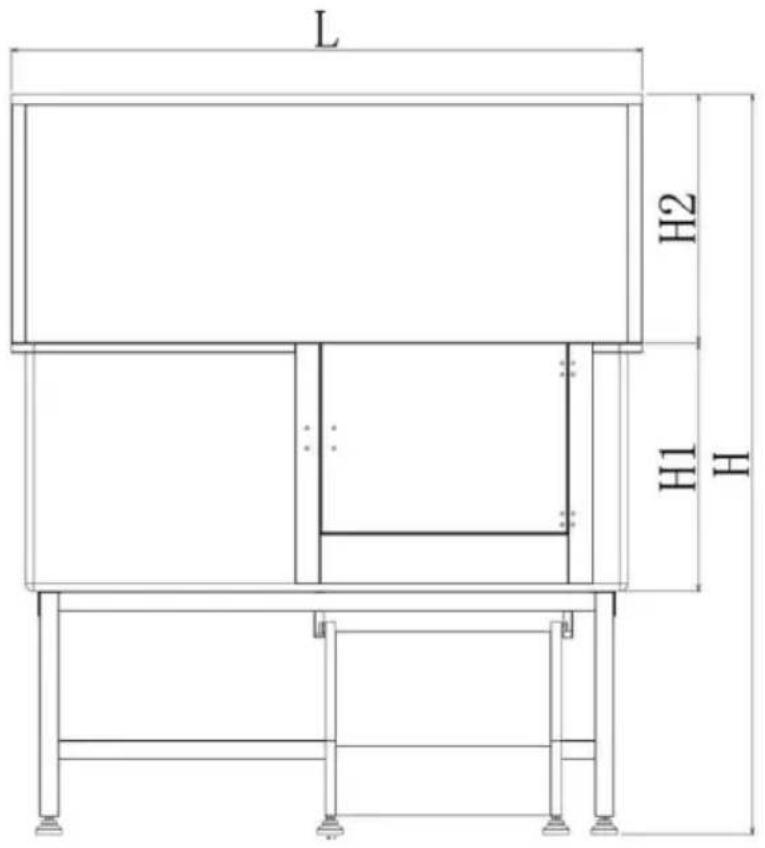
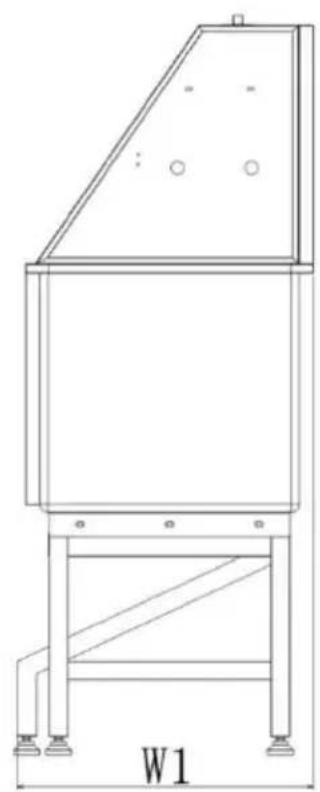
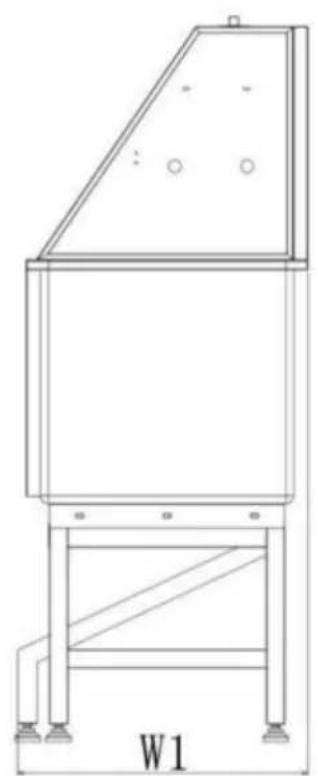
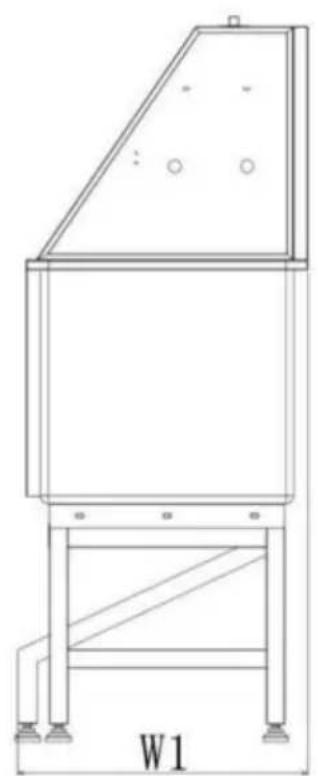
| Model# | L(mm) | H(mm) | H1(mm) | H2(mm) | W(mm) | N.W. (kg) |
| K1E01021 | 1270 | 1491 | 500 | 480 | 597.5 | 50.6 |
| K1E01022 | 1270 | 1491 | 500 | 480 | 597.5 | 50.6 |
| Model# | Volume (CBM) | Loading Capacity (lbs) | Recommended pet (in) |
| K1E01021 | 0.64 | 330 | L×W×H:48×25×40 |
| K1E01022 | 0.64 | 330 | L×W×H:48×25×40 |
OPERATION
- Make sure the water pipe connection is complete and the water is flowing normally. (Connect the hot and cold water pipes according to the water flow)
the hot and cold water signs of the faucet switch).
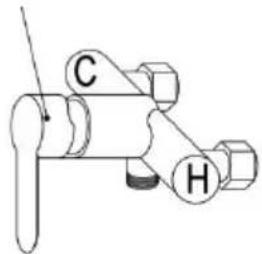
"C": Cold water; "H": Hot water
- Pull out the stairs and open the door, let the pet walk into the tub itself or hold the pet inside the tub by yourself, then close the door.
- Start to bath.
- After the bath, let the water out of the tub and take the animal out.
- Clean the tub with a cloth.
MAINTENANCE
- In between use, the tub should be cleaned with a soft cloth or sponge using a mild cleaning agent.
- Pay attention to regularly clean the hair of the drain to avoid clogging.
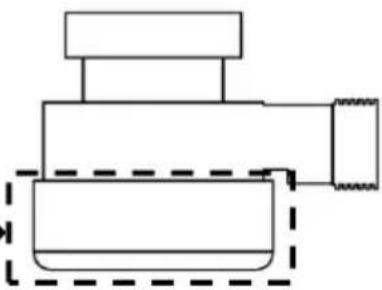
- Please clean the transparent cover of the drain regularly. After disassembly like a nut, it can be easily cleaned, and be careful not to leave the seal ring when installing it back.
CARE INSTRUCTIONS
Don't put the bathtub on an uneven surface.
Don't drop or mistreat the bathtub.
Don't overload the scale. This will permanently damage it!
COMMON MALFUNCTIONS
If the faucet leaks, please check whether the waterproof rubber plug is installed. If it is damaged, it needs to be replaced in time.
Manufacturer: Shanghai Muxin Muye Youxiangongsi
Address: Shuangcheng Road 803 Nong 11 Hao 1602A-1609 Shi, Baoshan District, Shanghai 200000 CN.
Imported to AUS: SIHAO PTY LTD. 1 ROKEVA STREET EASTWOOD NSW 2122 Australia
Imported to USA: Sanven Technology Ltd. Suite 250, 9166 Anaheim Place, Rancho Cucamonga, CA 91730
| UK | REP |
YH CONSULTING LIMITED. C/O YH Consulting
Limited Office 147, Centurion House, London
Road, Staines-upon-Thames, Surrey, TW18 4AX
| EC | REP |
E-CrossStu GmbH
Mainzer Landstr. 69,
60329 Frankfurt am Main.
VEVOR®
TOUGH TOOLS, HALF PRICE
Technical Support and E-Warranty Certificate
www.vevor.com/support
VEVOR®
TOUGH TOOLS, HALF PRICE
NEED HELP? CONTACT US!
Right door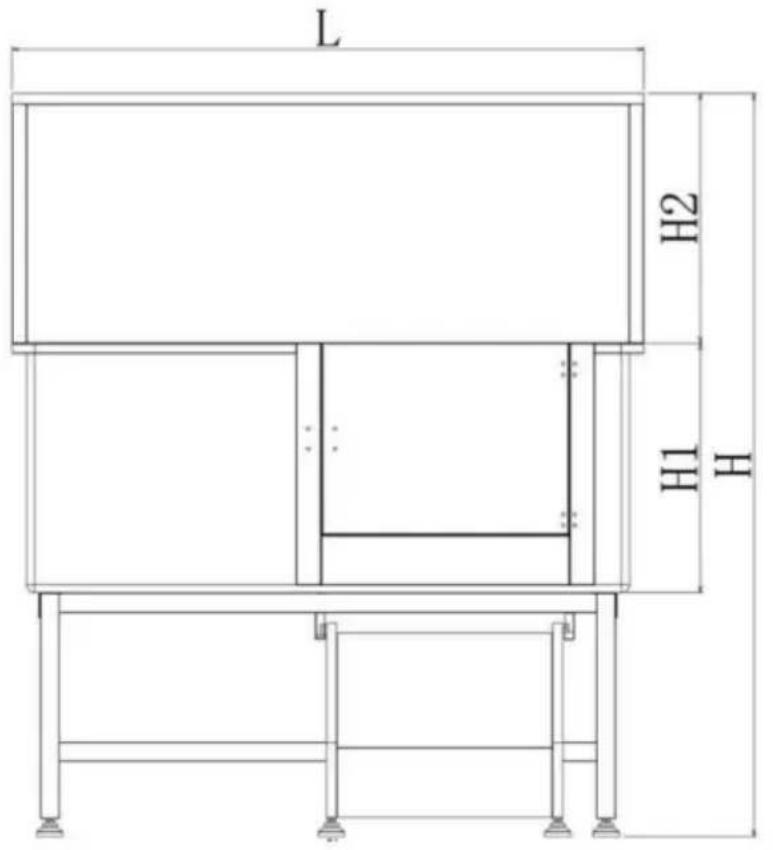
| Modèle# | L(mm) H(mm) H1(mm) | H2(mm) L(mm) | Nord-Ouest(kg) | |||
| 1270 | 1491K1E0102500 | 480 | 597,5 | 50,6 | ||
| K1E01022 | 1270 | 1491 | 500 | 480 | 597,5 | 50,6 |
MAINTENANCE INSTRUCTIONS
YH CONSULTING LIMITED. C/O YH Consulting
Limited Bureau 147, Centurion House, London
Road, Staines-upon-Thames, Surrey, TW18 4AX
E-CrossStu GmbH
Mainzer Landstr.69,
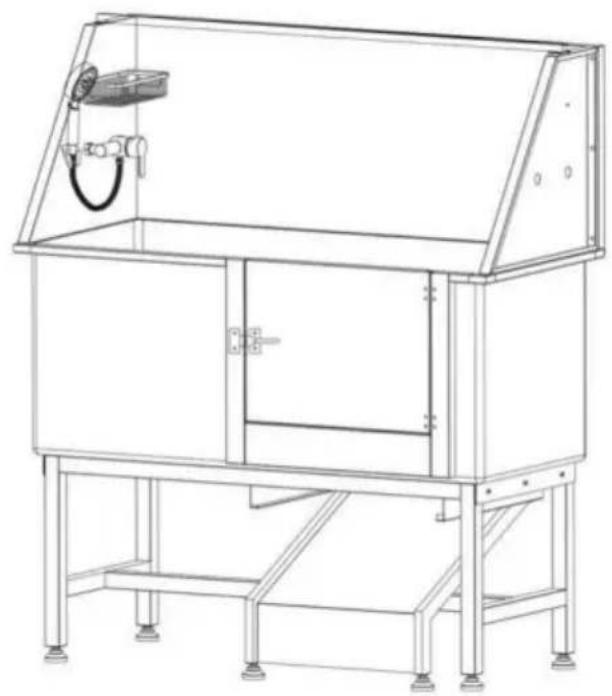
Right door bracket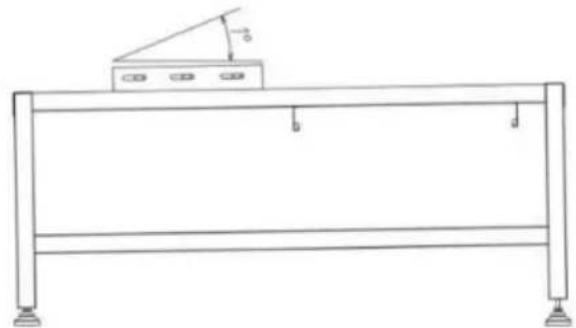
Right door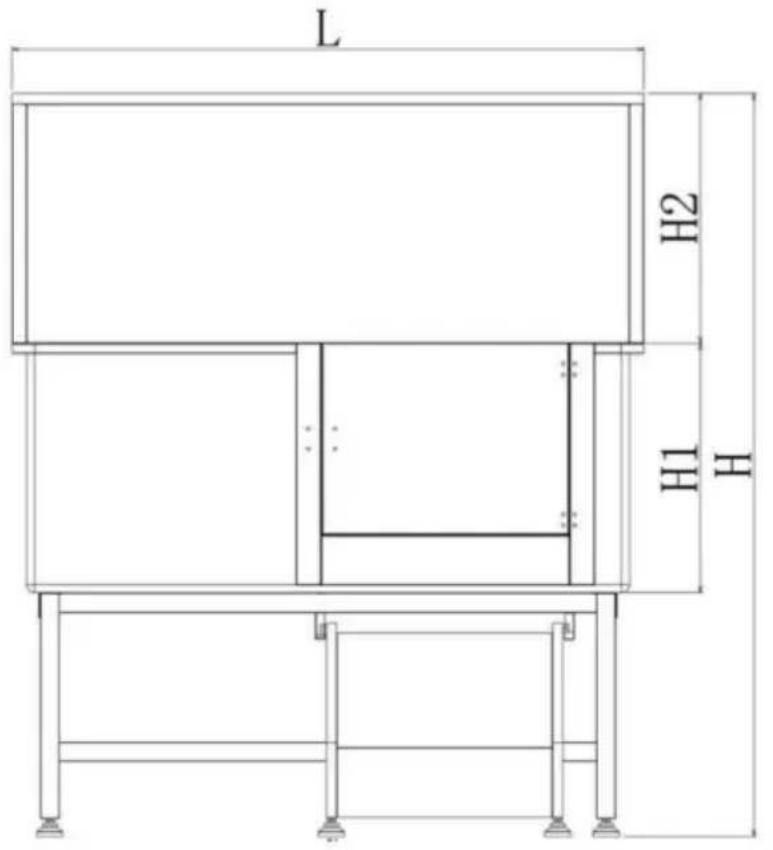
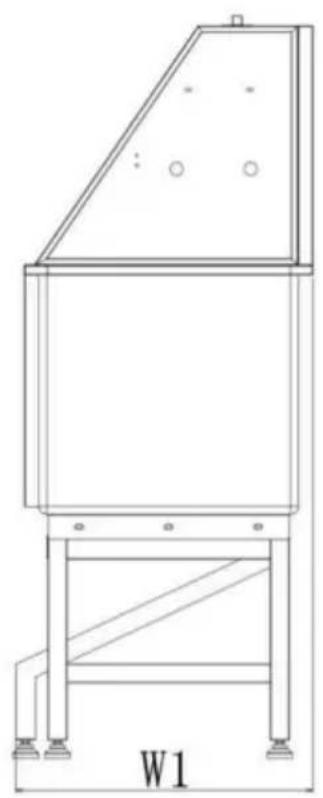
| Modell# | L (mm) H | (mm) H1 (mm) | H2 (mm) | B (mm) | NW(kg) | |
| K1E01021 | 1270 | 1491 | 500 | 480 | 597,5 | 50,6 |
| K1E01022 | 1270 | 1491 | 500 | 480 | 597,5 | 50,6 |
CARE INSTRUCTIONS
YH CONSULTING LIMITED. C/O YH Consulting
Limited Office 147, Centurion House, London
Road, Staines-upon-Thames, Surrey, TW18 4AX
E-CrossStu GmbH
Mainzer Landstr.69,
60329 Frankfurt am Main.
VEVOR®
TOUGH TOOLS, HALF PRICE
www.vevor.com/support
VEVOR®
TOUGH TOOLS, HALF PRICE
Right door bracket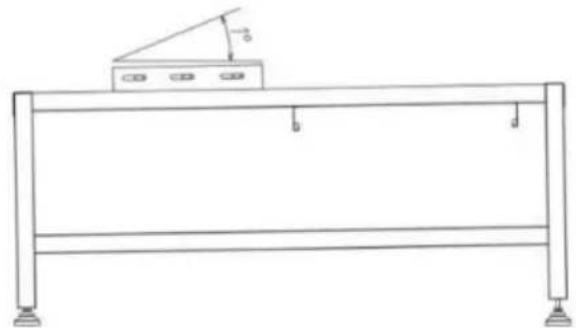
Right door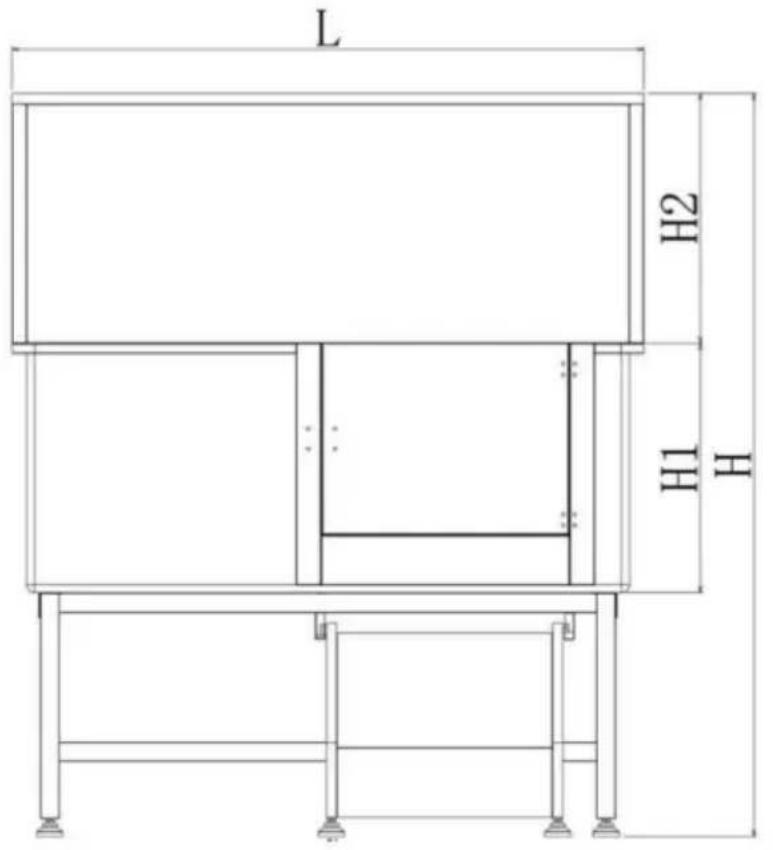
| Modello# | L(mm) A(mm) A1(mm) A2(mm) Larg(mm) | Nord-Ovest(kg) | ||||
| 1270 | 1491K1E0 | 102500 | 480 | 597.5 | 50.6 | |
| K1E01022 | 1270 | 500 | 480 | 597.5 | 50.61491 | |
CARE INSTRUCTIONS
Imported into AUS: SIHAO PTY LTD. 1 ROKEVA STREET EASTWOOD NSW 2122 Australia
Imported into USA: Sanven Technology Ltd. Suite 250, 9166 Anaheim Place, Rancho Cucamonga, CA 91730
YH CONSULTING LIMITED. C/O YH Consulting
Limited Office 147, Centurion House, London
Road, Staines-upon-Thames, Surrey, TW18 4AX
electronics www.vevor.com/support
VEVOR®
TOUGH TOOLS, HALF PRICE
Right door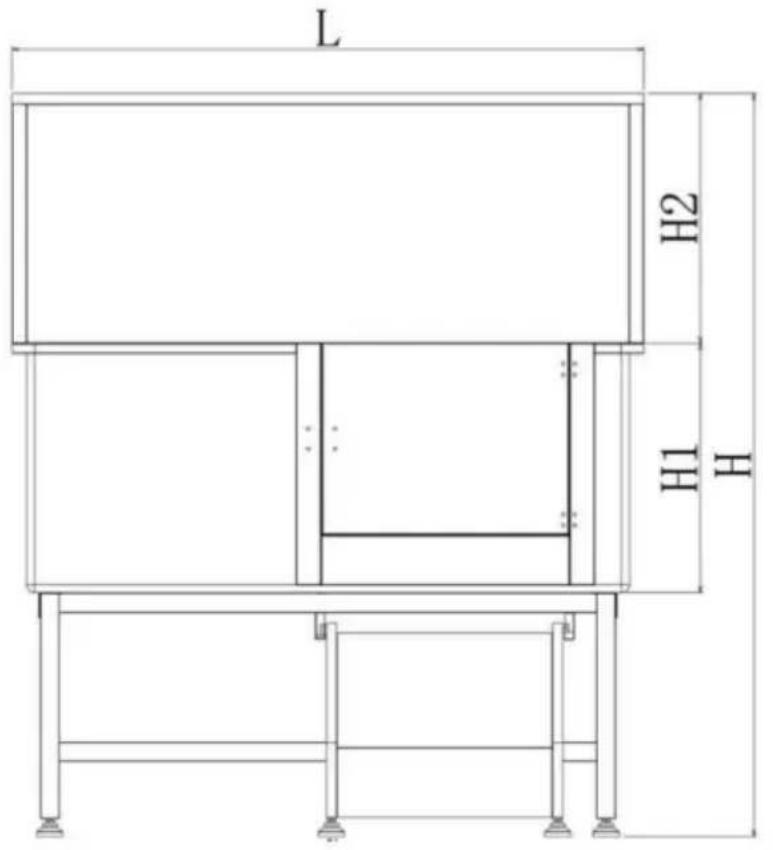
| Modelo# | Largo (mm) | Alto (mm) Alto | 1 (mm) Alto | 2 (mm) Ancho | (mm) | noroeste(kilogramo) |
| 1270 | 1491K1E01 | 021 500 | 480 | 597,5 | 50.6 | |
| K1E01022 | 1270 | 1491 | 500 | 480 | 597,5 | 50.6 |
| Modelo# | Volumen(Pro###ur # 1000 & 2000) | Capacidad de carga (libras) | Mascota recomendada(en) |
| K1E01021 | 0,64 | 330 | Largo × Ancho × Alto: 48 × 25 × 40 |
| K1E01022 | 330 | Largo × Ancho × Alto: 48 × 25 × 400,64 |
OPERATION
Road, Staines-upon-Thames, Surrey, TW18 4AX
E-CrossStu GmbH
NEED HELP? CONTACT US!
Right door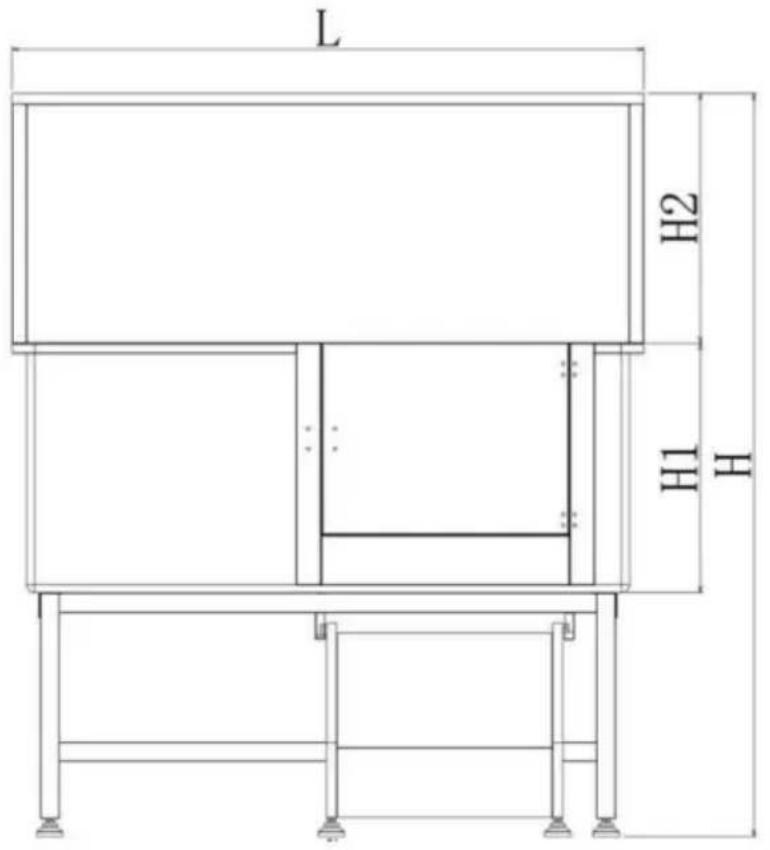
| Model# | Dł. (mm) | Wys. (mm) | Wys. 1 (mm) | Wys. 2 (mm) | Szer. (mm) | Północry Zachód(kg) |
| 1270 | 1491K1E0102500 | 480 | 597,5 | 50,6 | ||
| K1E01022 | 1270 | 500 | 480 | 597,5 | 50,61491 | |
YH CONSULTING LIMITED. C/O YH Consulting Limited
Office 147, Centurion House, London Road, Staines-upon-Thames, Surrey, TW18 4AX
E-CrossStu GmbH
Mainzer Landstr.69,
60329 Frankfurt am Main.
VEVOR®
TOUGH TOOLS, HALF PRICE
NEED HELP? CONTACT US!
Right door hinge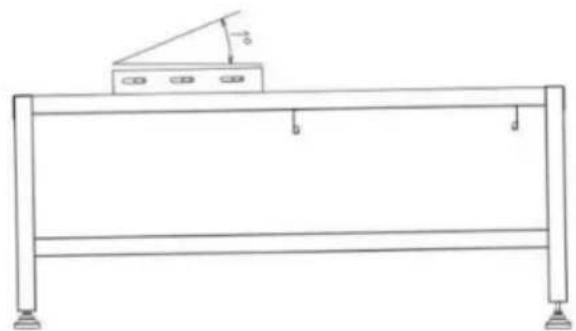
Right door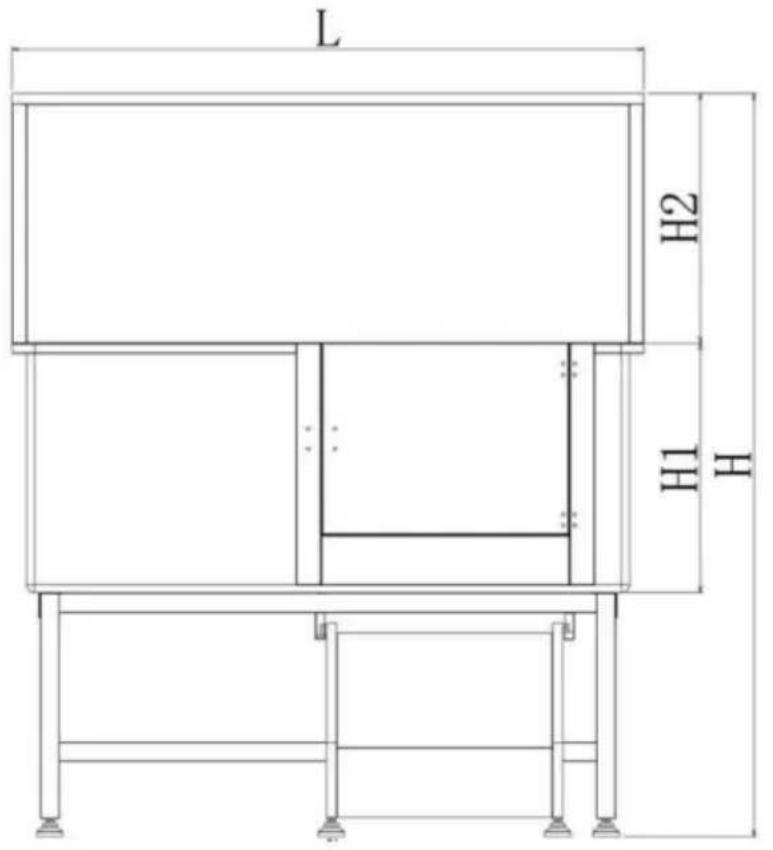
| Model# | Lengte (mm) | Hoogte (mm) | H1 (mm) | H2 (mm) | Breedte (mm) | NW(kg) |
| 1270 | 1491K1E0 | 102500 | 480 | 597.5 | 50.6 | |
| K1E01022 | 1270 | 1491 | 500 | 480 | 597.5 | 50.6 |
| Model# | Volume (CBM) | Laadvermogen (pond) | Aanbevolen huisdier (in) |
| 0,64 | 330 | L×B×H:48×25×40K1E01021 | |
| K1E01022 0,64 | 330 | L×B×H:48×25×40 |
OPERATION
"C": Cold water; "H": Hot water
MAINTENANCE INSTRUCTIONS
YH CONSULTING LIMITED. C/O YH Consulting
Limited Kantoor 147, Centurion House, London
Road, Staines-upon-Thames, Surrey, TW18 4AX

E-CrossStu GmbH
Mainzer Landstr.69,
warranty certificate www.vevor.com/support
VEVOR®
TOUGH TOOLS, HALF PRICE
NEED HELP? CONTACT US!
PREPARATIONS BEFORE INSTALLATION
Right door hinge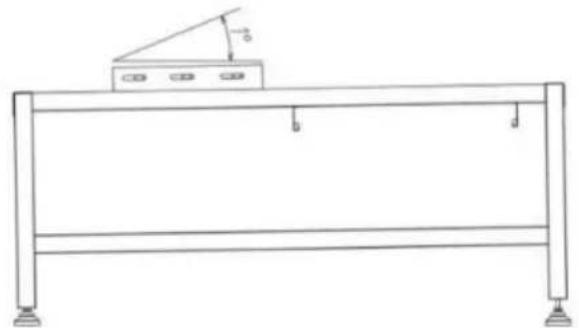
Right door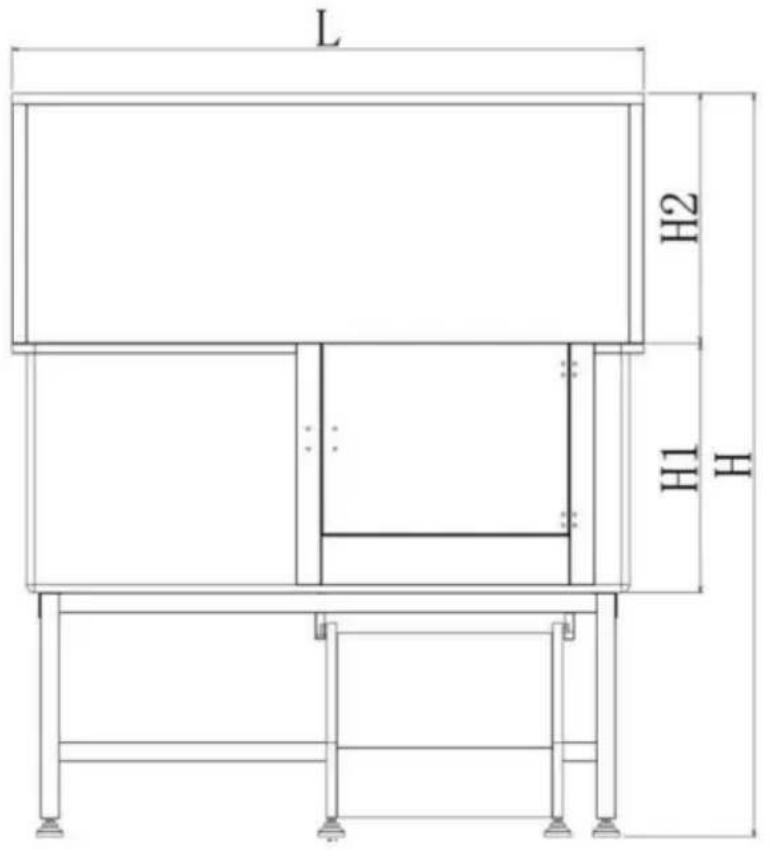
| Modell# | L(mm) H(mm) H1(mm) H2(mm) B(mm) | NW(kg) | ||||
| 1270 | 1491K1E0 | 10215697,5 | 480 | 50,6 | ||
| K1E01022 | 1270 | 1491 | 500 | 480 | 50,6597,5 | |
| Modell# | Volym(CBM) | Lastkapacitet(lbs) | Rekommenderat husdjur(i) |
| K1E01021 | 0,64 | 330 | L×B×H:48×25×40 |
| K1E01022 | 0,64 | 330 | L×B×H:48×25×40 |
OPERATION
MAINTENANCE INSTRUCTIONS
YH CONSULTING LIMITED. C/O YH Consulting
Limited Office 147, Centurion House, London
Road, Staines-upon-Thames, Surrey, TW18 4AX
| EC | REP |
E-CrossStu GmbH
Mainzer Landstr.69,
60329 Frankfurt am Main.
VEVOR®
TOUGH TOOLS, HALF PRICE
www.vevor.com/support

Brand : Vevor
Model : K1E01020
Category : Grooming set