
HLXCQJ-C02 - Power tool accessory Vevor - Free user manual and instructions
Find the device manual for free HLXCQJ-C02 Vevor in PDF.
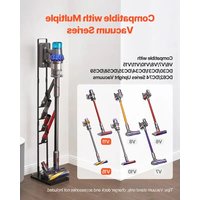


| Product Type | Vacuum holder (holder for vacuum cleaner or power tool) |
| Brand | Vevor |
| Model | HLXCQJ-C02 |
| Dimensions (L x W x H) | 220 x 310 x 1270 mm |
| Number of hooks | 4 pieces |
| Casters | Yes, integrated for mobility |
| Main material | Steel and plastic (wheel components, 3M pads) |
| Estimated weight | Approximately 2 kg |
| Load capacity | Not specified, designed for light tool support |
| Recommended use | Wall mount for power tool charger or vacuum cleaner holder |
| Safety instructions | Installation by adult, keep out of reach of children and animals, wear gloves, tighten screws regularly |
| Cleaning | Damp cloth, avoid harsh solvents |
| Warranty | Electronic warranty certificate available at www.vevor.com/support |
| Supplied parts | Base, lower/center/upper brackets, wheels, pads, screws, nuts, keys |
| Assembly required | Yes, with provided hex key and M8 wrench |
| Country of import | Imported by Sanven Technology Ltd. (USA) and UK representative |
| Repairability | Standard fixing parts, wheel replacement possible |
| Compatibility | Designed for wall charger (not included) |
Frequently Asked Questions - HLXCQJ-C02 Vevor
User questions about HLXCQJ-C02 Vevor
0 question about this device. Answer the ones you know or ask your own.
Ask a new question about this device
Download the instructions for your Power tool accessory in PDF format for free! Find your manual HLXCQJ-C02 - Vevor and take your electronic device back in hand. On this page are published all the documents necessary for the use of your device. HLXCQJ-C02 by Vevor.
USER MANUAL HLXCQJ-C02 Vevor
Technical Support and E-Warranty Certificate www.vevor.com/support
VACUUM STAND
MODEL: HLXCQJ-C02
We continue to be committed to providing you with tools at competitive prices. "Save Half", "Half Price", or any other similar expressions used by us only represent an estimate of savings you might benefit from buying certain tools with us compared to the major top brands, and do not necessarily mean to cover all categories of tools offered by us. You are kindly reminded to verify carefully when placing an order with us if you are actually saving half in comparison with the top major brands.
Model: HLXCQJ-C02
NEED HELP? CONTACT US!
Have product questions? Need technical support? Please feel free to contact us:
Technical Support and E-Warranty Certificate www.vevor.com/support
This is the original instruction. Please read all manual instructions carefully before operating. VEVOR reserves a clear interpretation of the user manual. The appearance of the product shall be subject to the product you received. Please forgive us that we won't inform you if there are any technology or software updates on our product.
SAFETY INSTRUCTIONS
- Products shall be installed by adults;
- Products are installed away from children and pets;
- Please wear gloves to install the product to avoid hand injury;
- Install the product as per this instruction to avoid personnel injury or product damage.
- Please re-tighten the screws of each part regularly to avoid the screw loosening due to the long-term use of the product.
Parts list
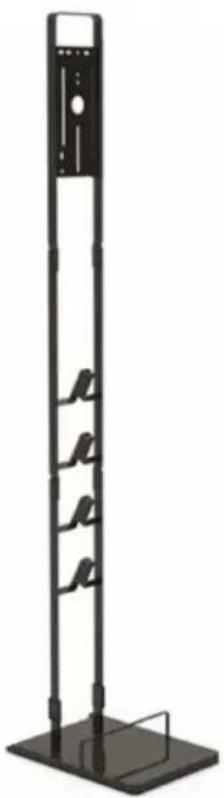
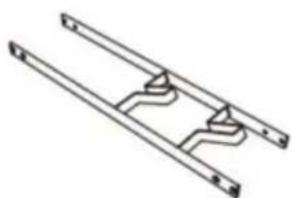
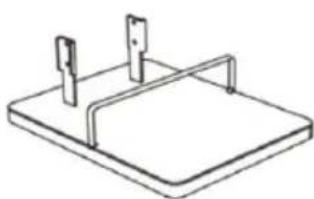 A:Base×1pc A:Base×1pc | 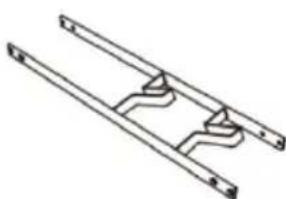 B: lower bracket × 1p B: lower bracket × 1p | 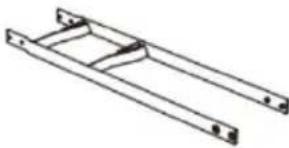 C: middle bracket×1pc C: middle bracket×1pc |
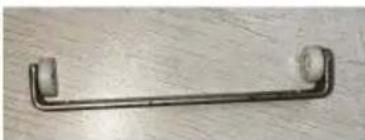
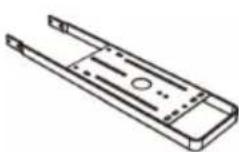 D:upper bracket×1pc D:upper bracket×1pc | 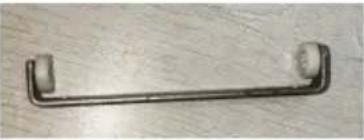 E:Wheel components×1pc E:Wheel components×1pc | 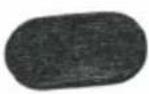 F:3M pad*4pcs F:3M pad*4pcs |
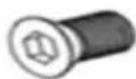 G: M5*8 Screw×14pcs G: M5*8 Screw×14pcs | 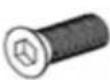 H:M5*8 Screw ×2pcs H:M5*8 Screw ×2pcs | 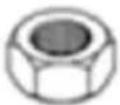 I:Nut for LongScrew×2pcs I:Nut for LongScrew×2pcs |
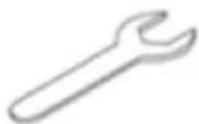 J: M8-Wrench×1pc J: M8-Wrench×1pc | 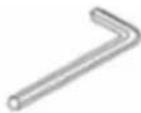 K: hexwrench ×1pc K: hexwrench ×1pc |
After assembly, place the product on flat ground to avoid tilting; keep away from children and pets.
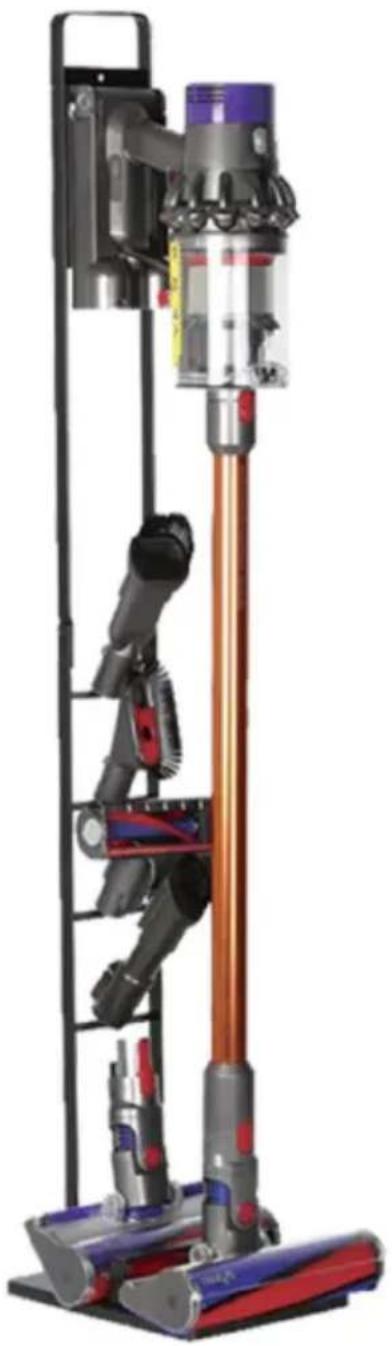
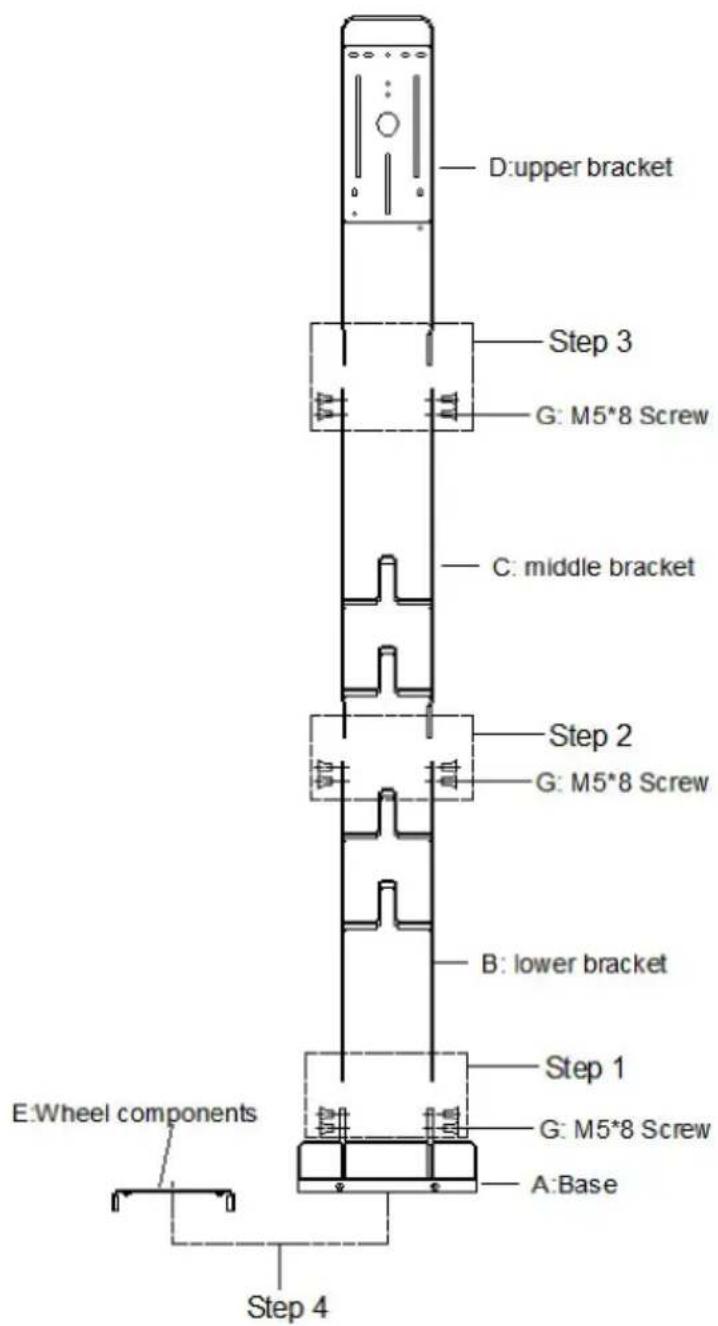
PARAMETER LIST
| Model | HLXCQJ-C02 |
| product size | L*W*H:220×310*1270mm |
| Total number of hooks | 4pcs |
| Rolling wheel | Yes |
Installation Guide
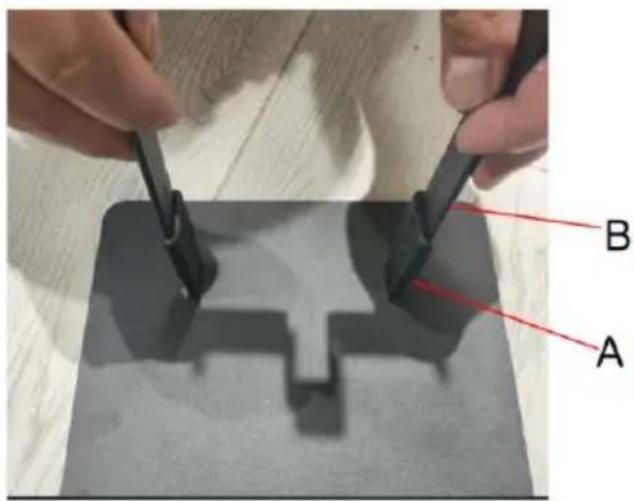
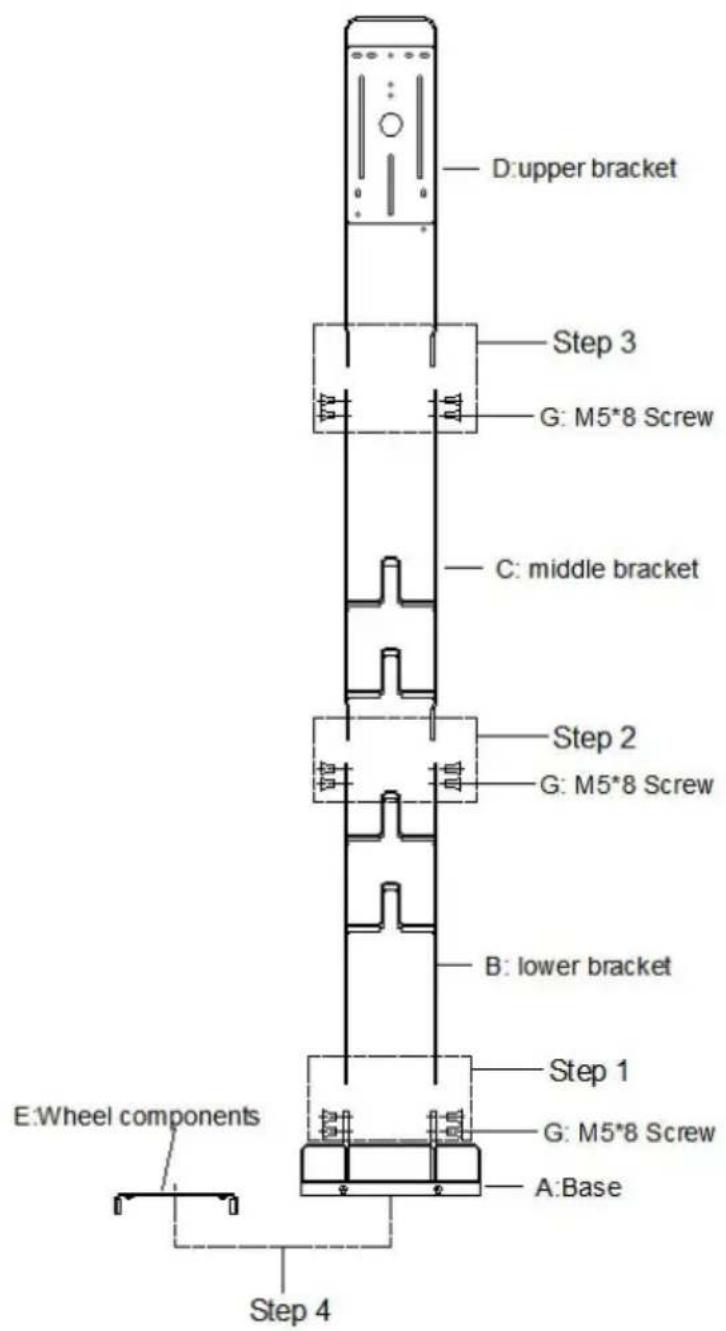
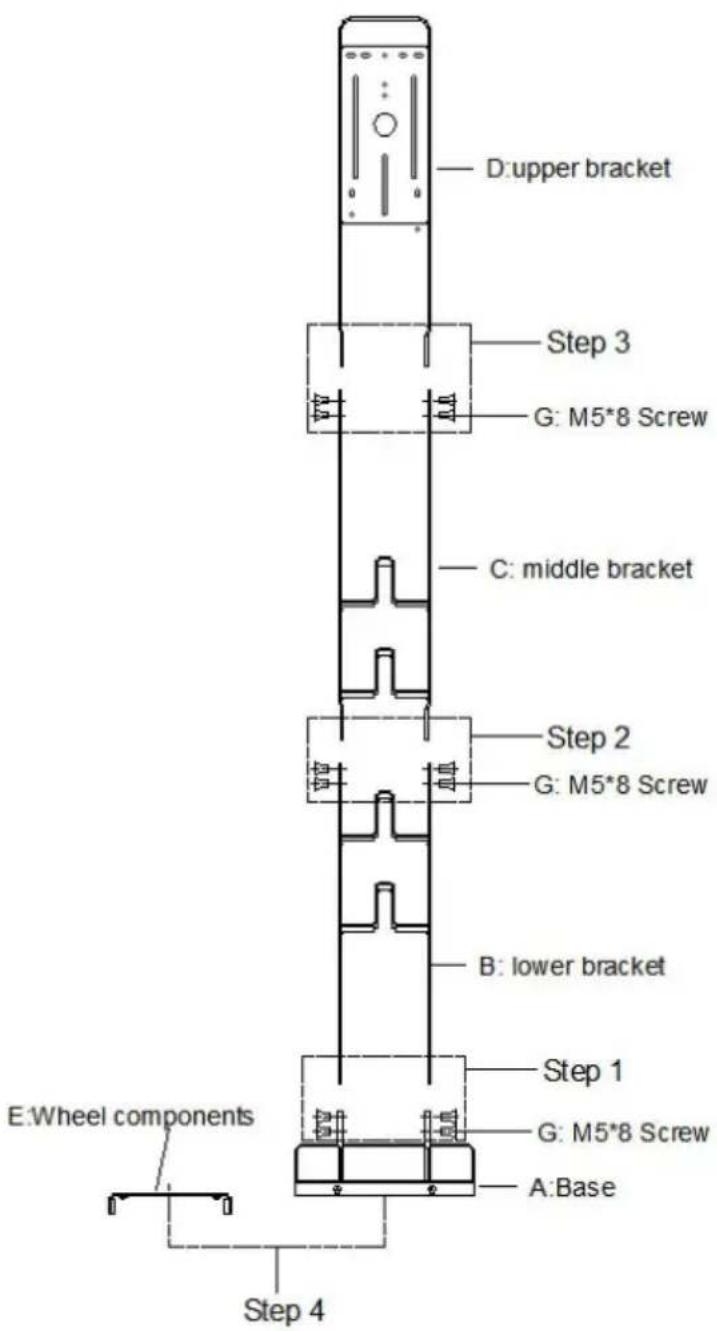
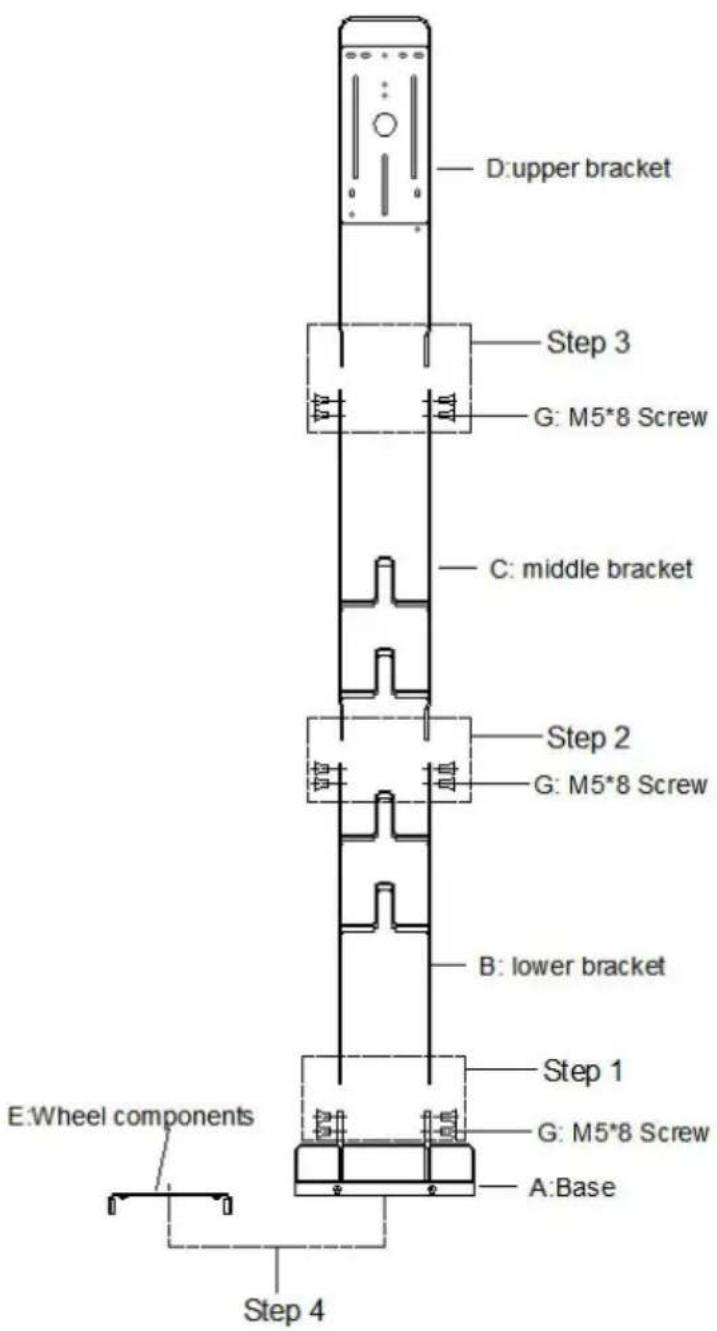
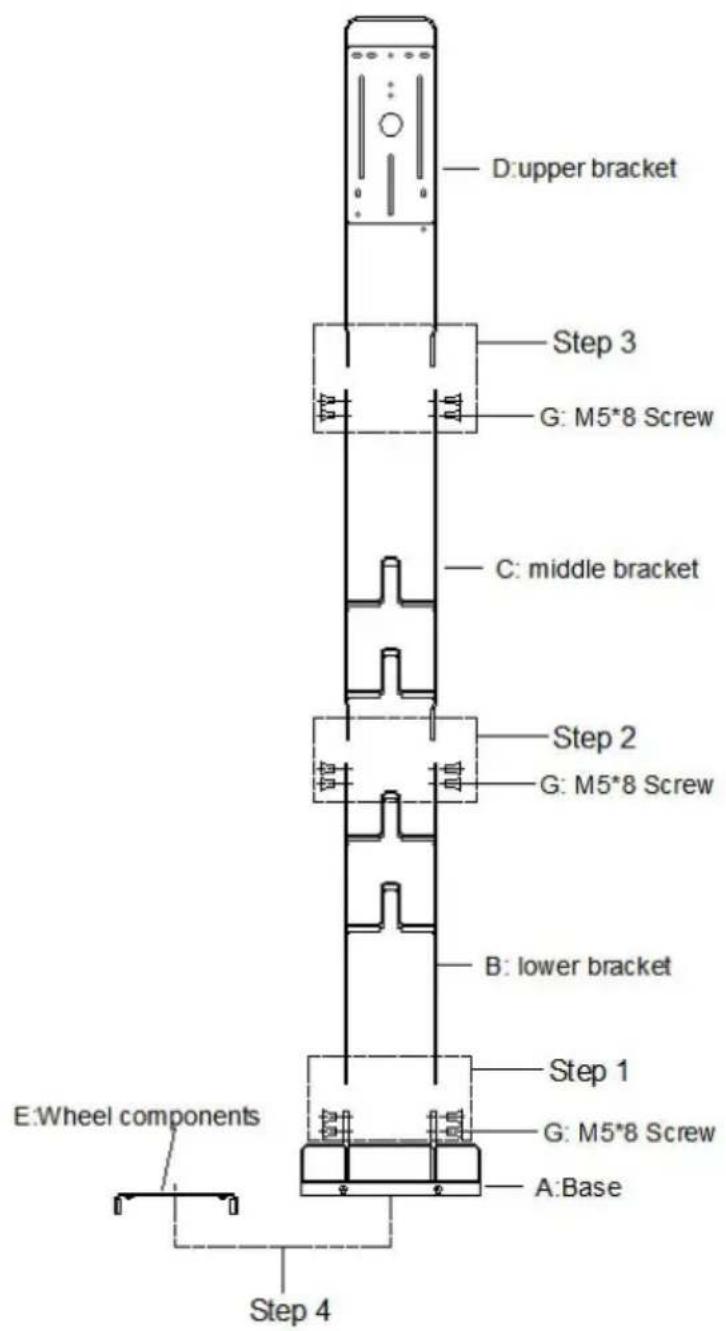
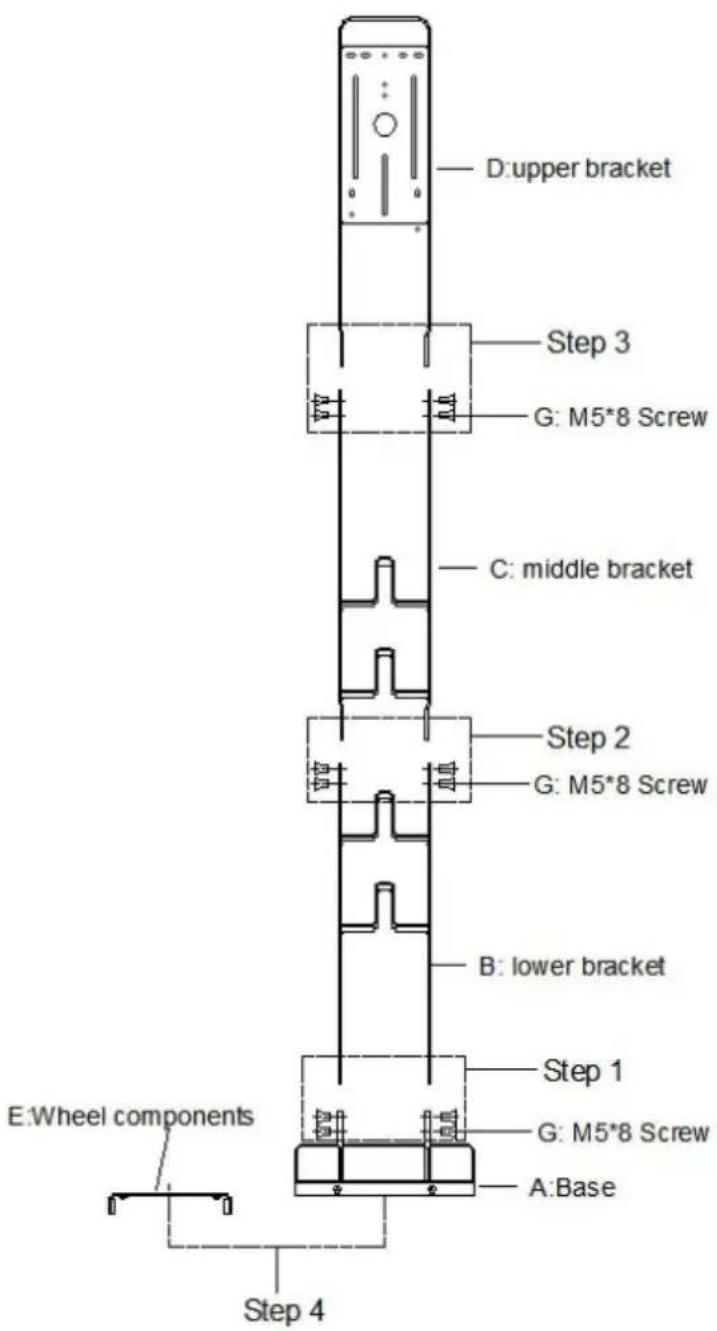
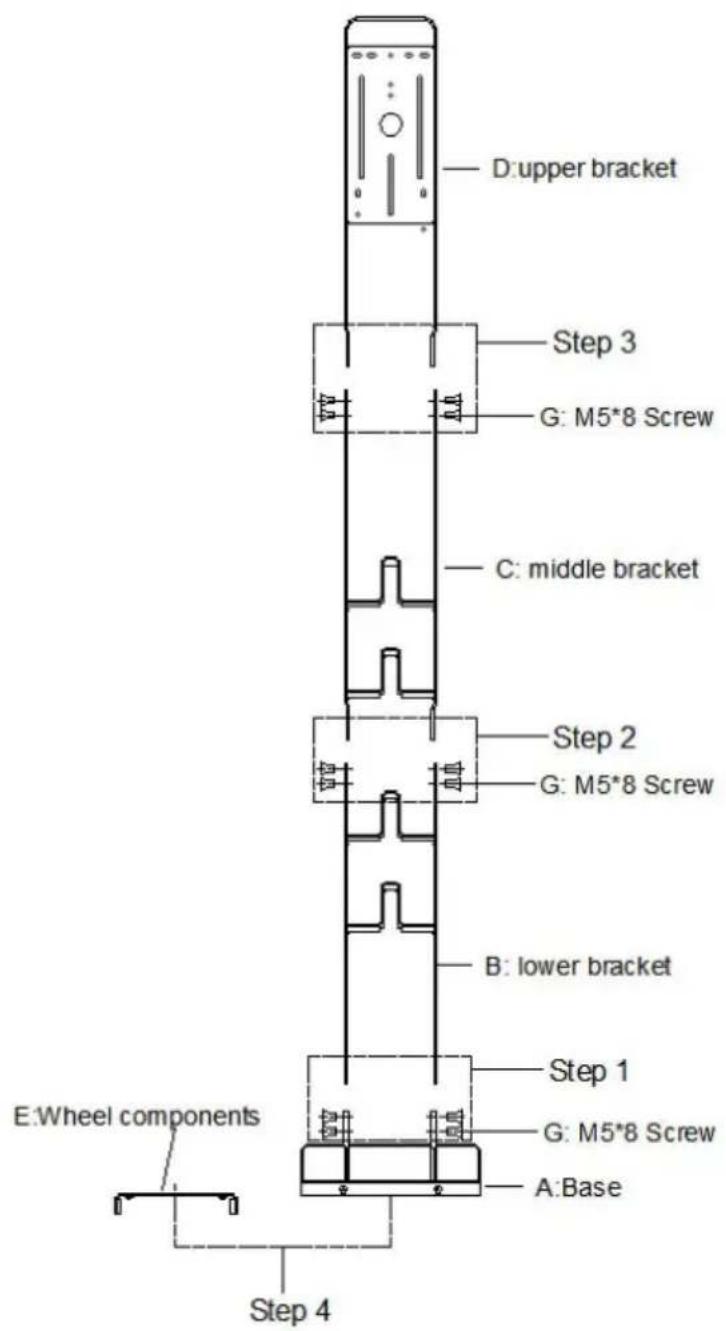
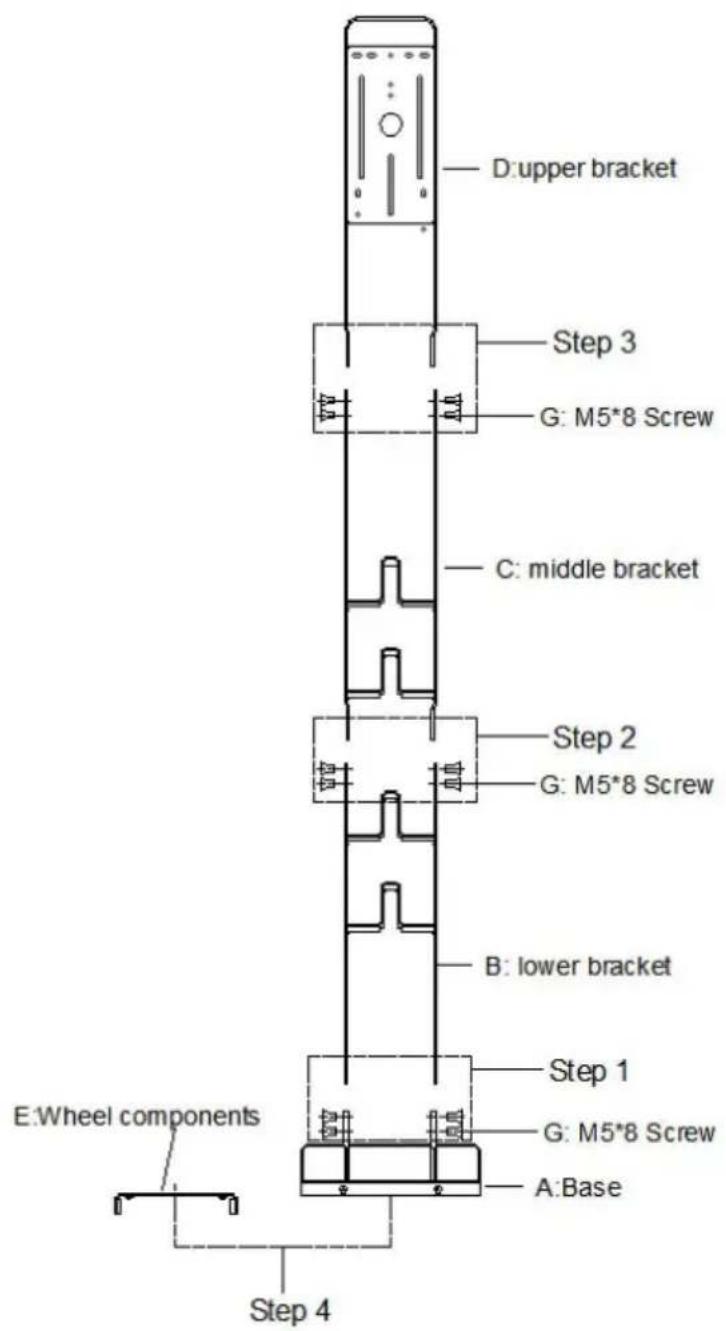
1. Install lower bracket B on base A
Note: The hook of the lower bracket B should be facing up and directly into the base.
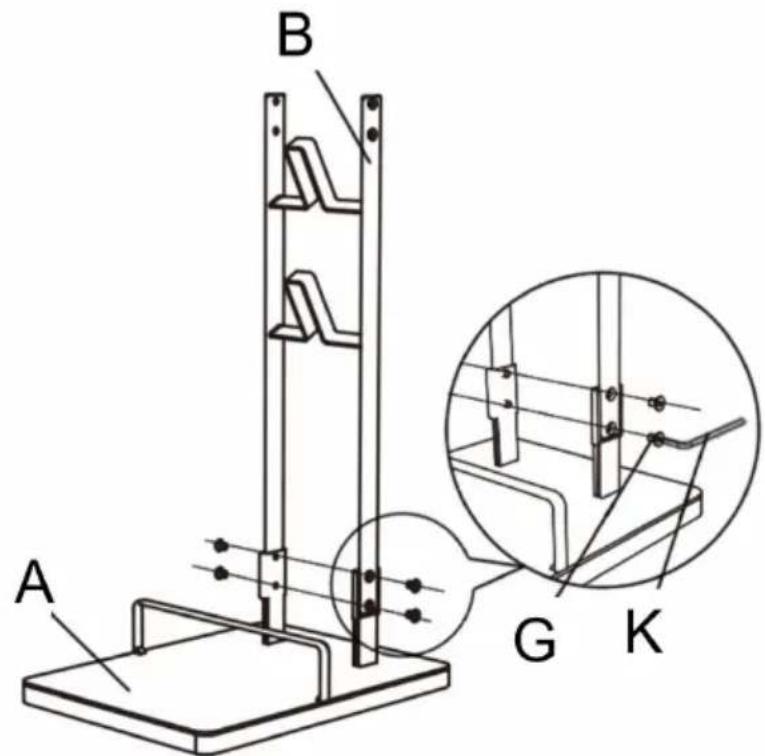
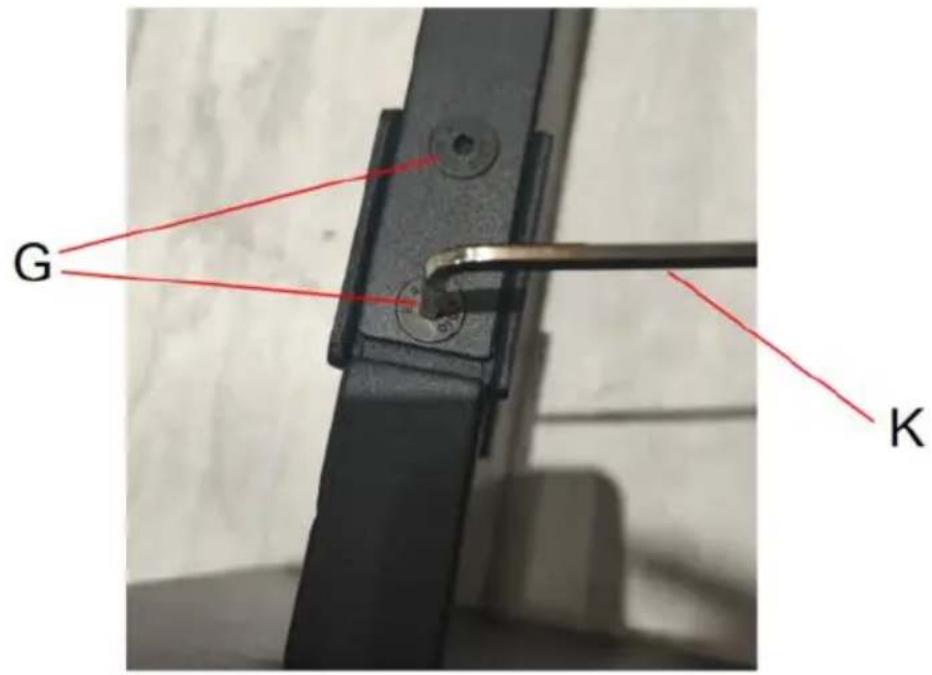
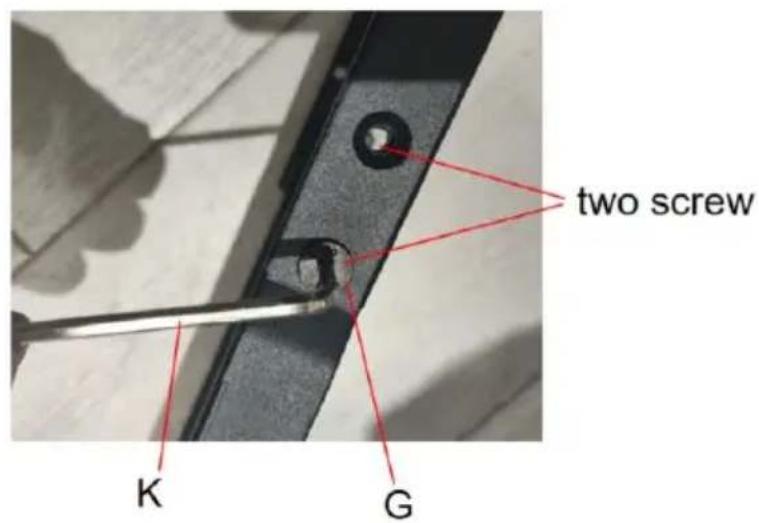
1.1. When bracket B is inserted into base A, the side wall of the base is on the outside, and the screw holes on the left and right sides are aligned. Tighten screw G using hex wrench K.
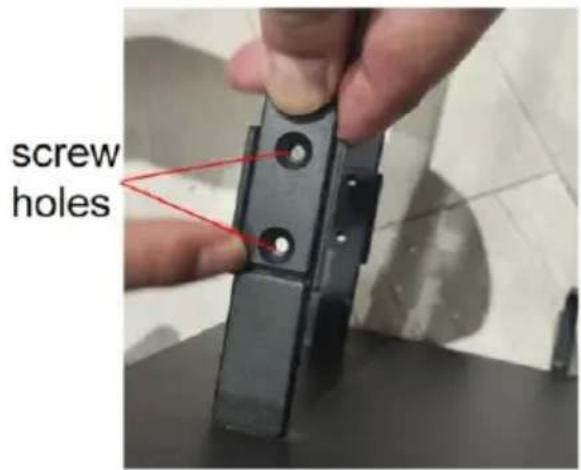
1.2. Tighten screw G with hex wrench K; two screws on each side. Note: We recommend tightening the screws in two stages. For the first stage, you do not need to fully tighten the screws; after installing the screws on both sides, fully erect the lower support, and then completely tighten the screws on both sides.
- Install middle bracket C on lower bracket B.
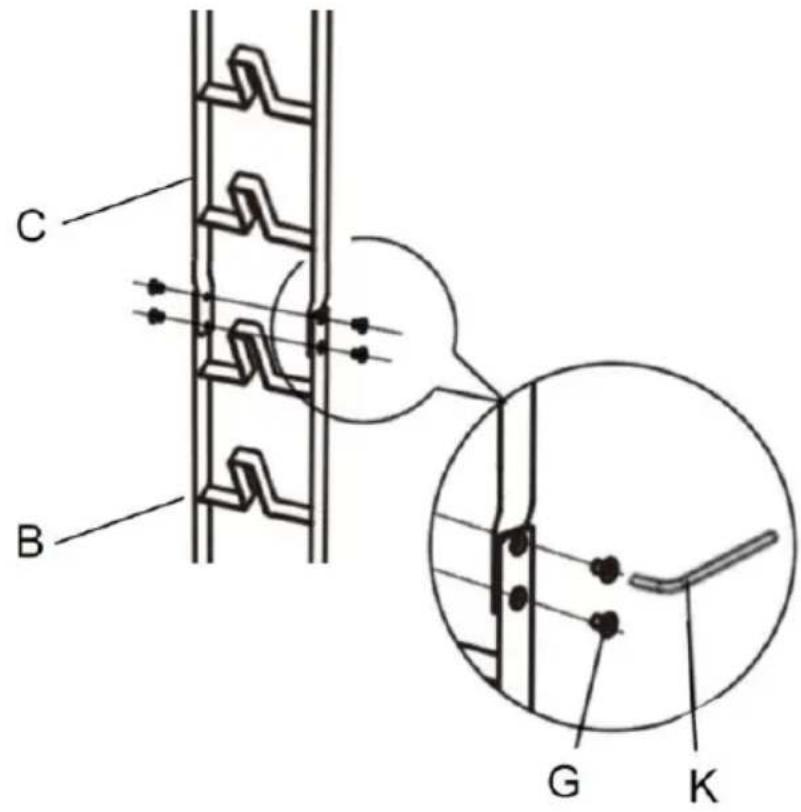
2.1. When middle bracket C is installed on lower bracket B, the side of lower bracket B needs to be installed on the outside.
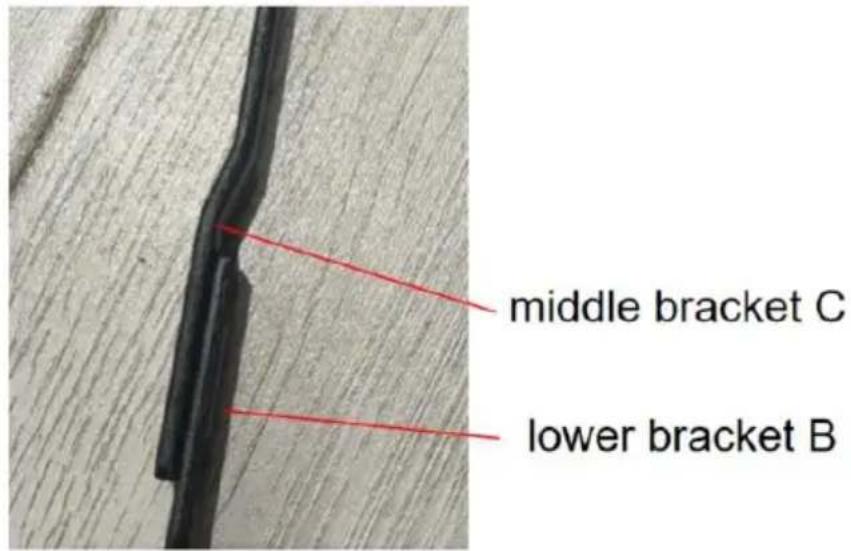
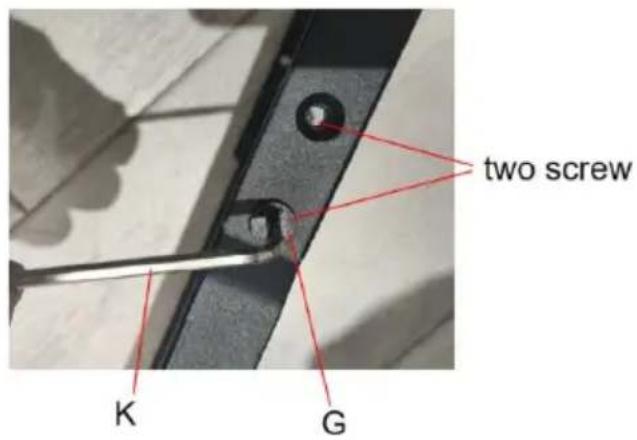
2.2. After aligning the screw holes on both sides, tighten screw G using hex wrench K. Two screws on each side.
Note: We recommend tightening the screws in two stages. For the first stage, you do not need to fully tighten the screws; after installing the screws on both sides, fully erect the lower support, and then completely
tighten the screws on both sides.
- Install upper bracket D on middle bracket C.
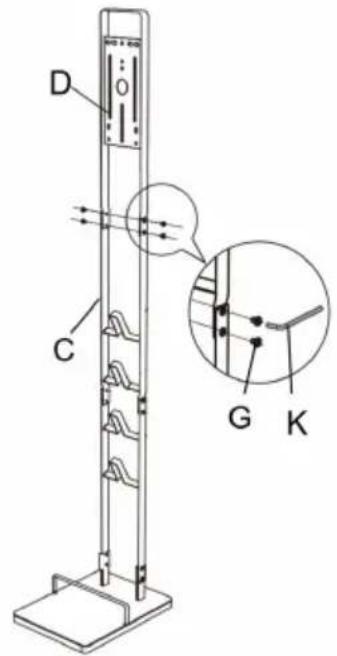
3.1. When upper bracket D is installed on middle bracket C, the side of middle bracket C needs to be installed on the outside.
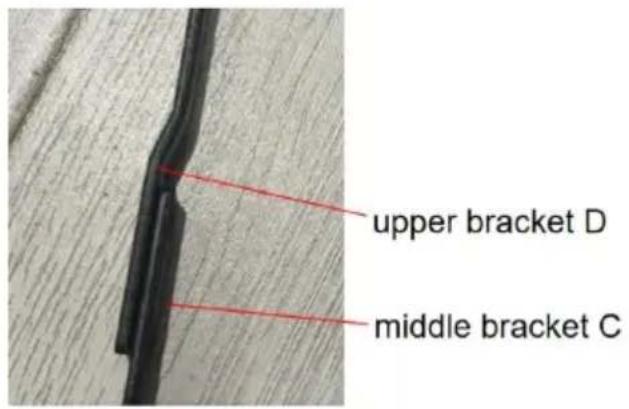
3.2. After aligning the screw holes on both sides, tighten screw G using hex wrench K. Two screws on each side.
Note: We recommend tightening the screws in two stages. For now, you do not need to fully tighten the screws; after installing the so on both sides, completely erect the lower support, and then completely tighten the screws on both sides.
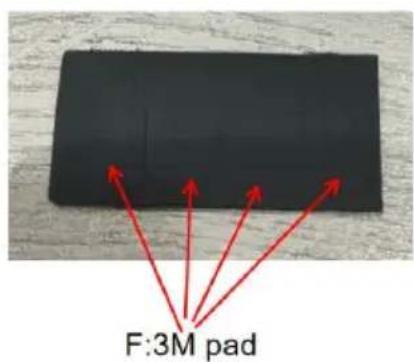
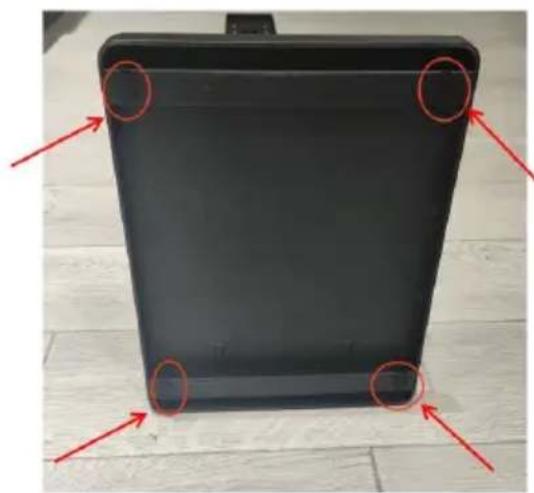
- Remove 4 pads F and attach them to the beam on the bottom of the
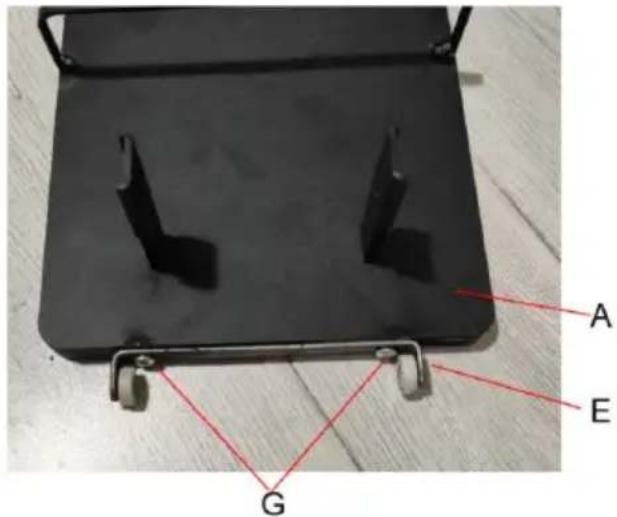
- Install wheel components.
Align the screw holes of wheel components E to the two screw holes at the rear of base A and secure the screws G using the hex wrench K.
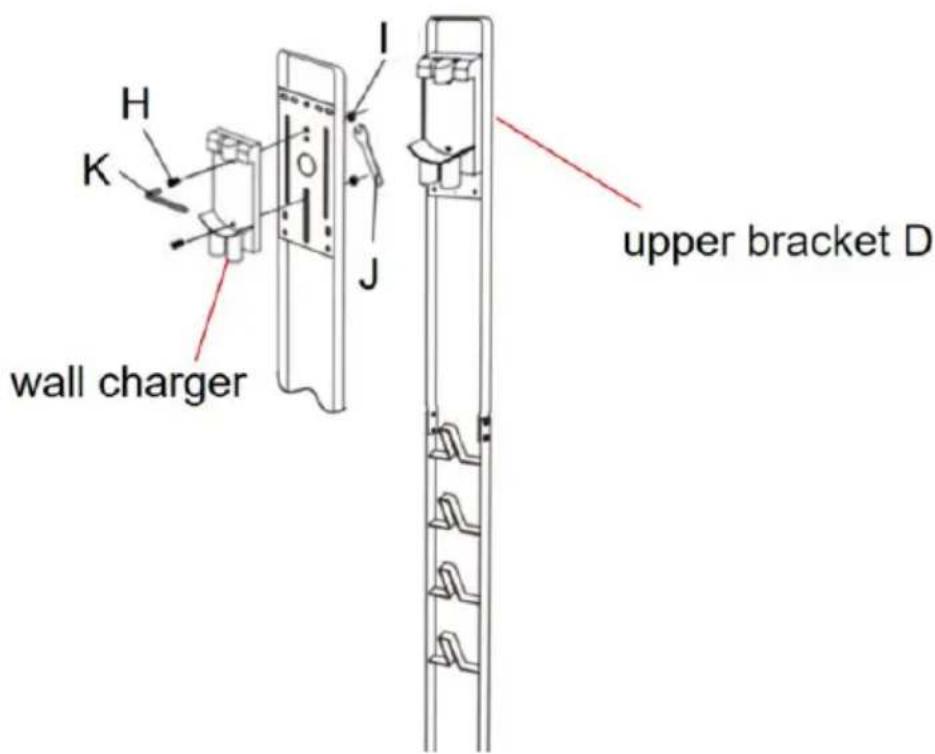
- The wall charger is mounted on the upper bracket D through screw H and nut I; use the hex wrench K to fix the screw H, and then the nut I with the wrench J to complete the installation; each wall charger requires two screws and nuts.
Note: wall charger is not included in the package, and wall charger requires an additional purchase.
Manufacturer: Shanghaimuxinmuyeyouxiangongsi
Address: Shuangchenglu 803nong11hao1602A-1609shi, baoshanqu, shanghai 200000 CN.
Imported to AUS: SIHAO PTY LTD. 1 ROKEVA STREETEASTWOOD NSW 2122 Australia
Imported to USA: Sanven Technology Ltd. Suite 250, 9166 Anaheim Place, Rancho Cucamonga, CA 91730
| UK | REP |
YH CONSULTING LIMITED. C/O YH Consultin Limited Office 147, Centurion House, London Road, Staines-upon-Thames, Surrey, TW18 4A>
| EC | REP |
Technical Support and E-Warranty Certificate www.vevor.com/support
VEVOR®
TOUGH TOOLS, HALF PRICE
NEED HELP? CONTACT US!
PARAMETER LIST
Manufacturer: Shanghaimuxinmuyeyouxiangongsi Address:
Shuangchenglu 803nong11hao1602A-1609shi, baoshanqu, Shanghai 200000 CN.
Imported into Australia: SIHAO PTY LTD. 1 ROKEVA STREET, ASTWOOD NSW 2122, Australia
YH CONSULTING LIMITED. C/O YH Consulting Limited Office 147, Centurion House, London Road, Staines-upon-Thames, Surrey, TW18 4AX
| REPRÉSENTANT CE |
E-CrossStu GmbH
Mainzer Landstr.69,
NEED HELP? CONTACT US!
PARAMETER LIST
Manufacturer: Shanghaimuxinmuyeyouxiangongsi Address:
Shuangchenglu 803nong11hao1602A-1609shi, baoshanqu, Shanghai 200000 CN.
YH CONSULTING LIMITED. C/O YH Consulting Limited Office 147, Centurion House, London Road, Staines-upon-Thames, Surrey, TW18 4AX
A: Base x 1 pc
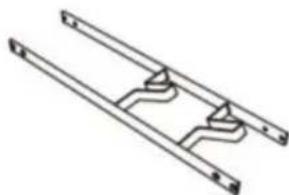
B: Lower bracket x 1 pc
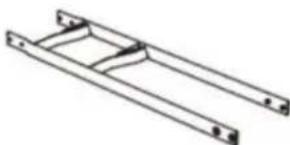
C: central bracket × 1 pc
D: top bracket × 1 pc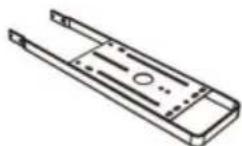
PARAMETER LIST
Imported to Australia: SIHAO PTY LTD. 1 ROKEVA STREET EASTWOOD NSW 2122 Australia
Limited Office 147, Centurion House, London Road,
Staines-upon-Thames, Surrey, TW18 4AX
| REP.CE |
E-CrossStu GmbH
Mainzer Landstr.69,
PARAMETER LIST
YH CONSULTING LIMITED. C/O YH Consulting Limited Office 147, Centurion House, London Road, Staines-upon-Thames, Surrey, TW18 4AX
E-CrossStu GmbH
Mainzer Landstr.69,
NEED HELP? CONTACT US!
PARAMETER LIST
Manufacturer: Shanghai Muxin Wood Industry Co., Ltd. Address:
Shuangchenglu 803nong11hao1602A-1609shi, baoshanqu, Shanghai 200000 CN.
Imported into AUS: SIHAO PTY LTD. 1 ROKEVA STREETEASTWOOD NSW 2122 Australia
Imported into USA: Sanven Technology Ltd. Suite 250, 9166 Anaheim Place, Rancho Cucamonga, CA 91730
| REP WIELKIEJ BRYTANII |
YH CONSULTING LIMITED. C/O YH Consulting Limited Office 147, Centurion House, London Road, Staines-upon-Thames, Surrey, TW18 4AX
| Przedstawiciel UE |
E-CrossStu GmbH
Mainzer Landstr.69,
60329 Frankfurt am Main.
VEVOR®
TOUGH TOOLS, HALF PRICE
NEED HELP? CONTACT US!
A: Base × 1 pc
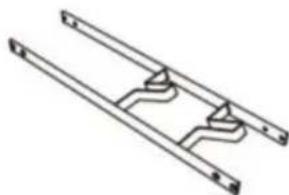
B: Lower bracket × 1 pc
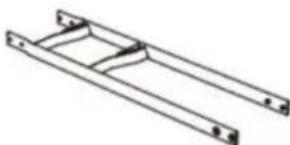
C: Middle bracket × 1 pc
PARAMETER LIST
Manufacturer: Shanghai Muxin Wood Industry Co., Ltd. Address:
Shuangchenglu 803nong11hao1602A-1609shi, baoshanqu, shanghai 200000 CN.
YH CONSULTING LIMITED. C/O YH Consulting Limited Office 147, Centurion House, London Road, Staines-upon-Thames, Surrey, TW18 4AX
Warranty certificate www.vevor.com/support
VEVOR®
TOUGH TOOLS, HALF PRICE
NEED HELP? CONTACT US!
A: Base × 1 pc
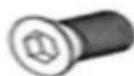
G: M5*8 Screw ×14 pcs
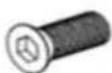
H: M5*8 Screw ×2 pcs
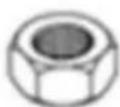
I: Nut for Long Screw ×2 pcs
PARAMETER LIST
| modell | HLXCQJ-C02 |
| produktstorlek | L*B*H:220×310*1270mm |
| Totalt antal krokar | 4 st |
| Rullande hjul | Ja |
Installation Guide
- Install wheel components.
Manufacturer: Shanghaimuxinmuyeyouxiangongsi Address:
Shuangchenglu 803nong11hao1602A-1609shi, baoshanqu, shanghai 200000 CN.
Imported to AUS: SIHAO PTY LTD. 1 ROKEVA STREET, EASTWOOD NSW 2122, Australia
Imported to USA: Sanven Technology Ltd. Suite 250, 9166 Anaheim Place, Rancho Cucamonga, CA 91730
| UK | REP |
YH CONSULTING LIMITED. C/O YH Consulting Limited, Office 147, Centurion House, London Road, Staines-upon-Thames, Surrey, TW18 4AX
| EC | REP |


Brand : Vevor
Model : HLXCQJ-C02
Category : Power tool accessory