
CT-8 - Storage furniture Vevor - Free user manual and instructions
Find the device manual for free CT-8 Vevor in PDF.
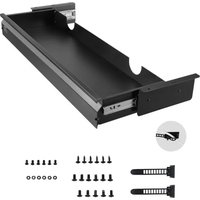


| Product Type | Under desk storage cabinet |
| Brand | Vevor |
| Model | CT-8 |
| Number of drawers | 1 |
| Total drawer length | 30.7 inches (about 78 cm) |
| Interior drawer length | 30 inches (about 76.2 cm) |
| Dividers included | No |
| Locking | No |
| Casters included | Yes, 2 pieces |
| Rail material | Stainless steel |
| Interior lining | Yes (1 piece) |
| Main material | Steel and alloy |
| Recommended use | Workshop, garage, office, home |
| Assembly required | Yes, instructions included |
| Functions | Under desk storage or keyboard tray |
| Accessories included | Screws, nuts, key (F1, F2, F3, F4) |
| Safety | Wear gloves during assembly, do not overload |
| Maintenance | Regularly check fasteners, clean with non-abrasive products |
| Warranty | Electronic warranty certificate at www.vevor.com/support |
| Country of origin | China (imported by Vevor) |
Frequently Asked Questions - CT-8 Vevor
User questions about CT-8 Vevor
0 question about this device. Answer the ones you know or ask your own.
Ask a new question about this device
Download the instructions for your Storage furniture in PDF format for free! Find your manual CT-8 - Vevor and take your electronic device back in hand. On this page are published all the documents necessary for the use of your device. CT-8 by Vevor.
USER MANUAL CT-8 Vevor
Technical Support and E-Warranty Certificate www.vevor.com/support
Under Desk Drawer
MODEL: CT-6 / CT-7 / CT-8
We continue to be committed to provide you tools with competitive price. "Save Half", "Half Price" or any other similar expressions used by us only represents an estimate of savings you might benefit from buying certain tools with us compared to the major top brands and does not necessarily mean to cover all categories of tools offered by us. You are kindly reminded to verify carefully when you are placing an order with us if you are actually saving half in comparison with the top major brands.
MODEL: CT-6 / CT-7 / CT-8
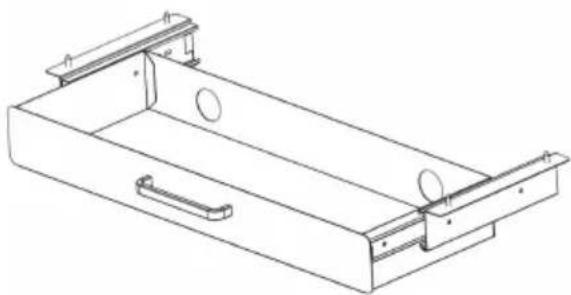
CT-6
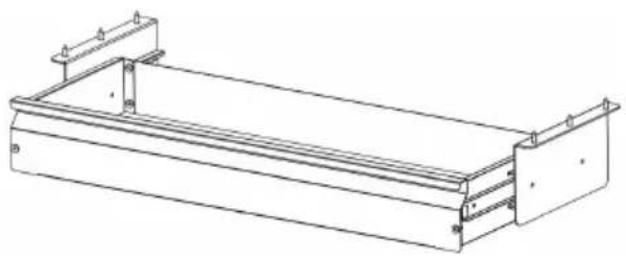
CT-7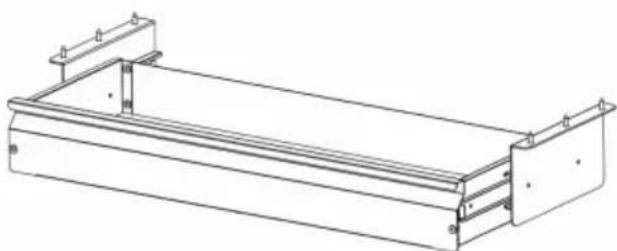
CT-8
NEED HELP? CONTACT US!
Have product questions? Need technical support? Please feel free to contact us:
Technical Support and E-Warranty Certificate www.vevor.com/support
This is the original instruction, please read all manual instructions carefully before operating. VEVOR reserves a clear interpretation of the user manual. The appearance of the product shall be subject to the product you received. Please forgive us that we won't inform you again if there are any technology or software updates on our product.
1. SAFETY INSTRUCTIONS
 | Warning - To reduce the risk of injury, user must read ins manual carefully. |
 | Warning- Be sure to wear gloves when using this product. |
1.1 Please make sure to read and understand all instructions before assembling and installing this product. 1.2 Make sure to use the correct tools and fixings for installation and avoid using unsuitable substitutes. 1.3 Please be careful when installing to avoid pinching hands or other body parts. 1.4 Do not store items in the drawer that exceed the recommended weight to avoid injury or damage due to the drawer falling off.
Product Description
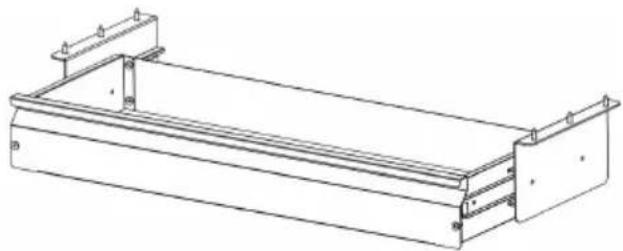
Under desk drawers are a type of drawer used for storing and organizing tools, parts, or other items, usually installed beneath a workbench. They help keep the work area neat and orderly, allowing users to conveniently access the tools or items they need at any time.
Under desk drawers can be widely used in workshops, laboratories, garages, offices, and various other places, making it convenient to store and retrieve all kinds of necessary tools or items.
Product Parameter
| Model | drawer layers | Total drawer length | Inner drawer length | With dividers | With lock | Hub | Stainless steel rails | liner |
| CT-6 | 1 | 22.8inch | 21.7inch | × | × | 2pcs | √ | 1 |
| CT-7 | 1 | 26.7inch | 26inch | × | × | 2pcs | √ | 1 |
| CT-8 | 1 | 30.7inch | 30inch | × | × | 2pcs | √ | 1 |
Part List - CT-6
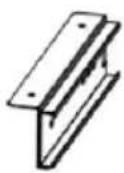 | 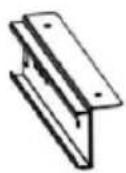 | 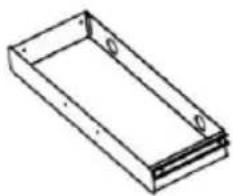 |
| P1x1 | P2x1 | P3x1 |
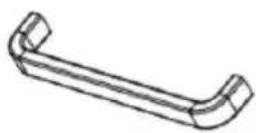 | 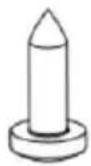 | 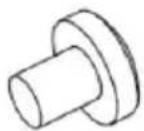 |
| P4x1 | F1x4 M5 | F2x2 M4 |
INSTALLATION INSTRUCTIONS - CT-6
Step 1: Assemble P1 and P2 using screw F1
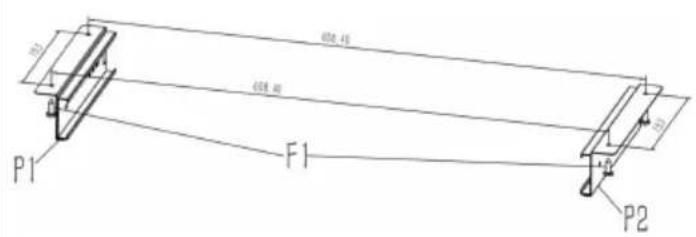
Step 2: Assemble P4 and P3 using screw F2
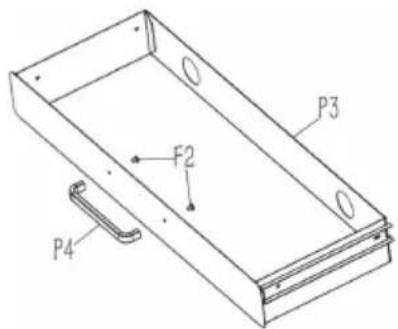
Step 3: Assemble the component from Step 1 and Step 2
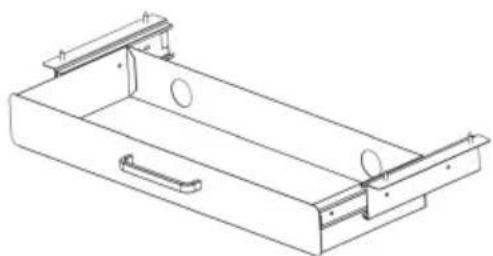
Step 4: Assemble the product under desk. Finished
Part List - CT-7 / CT-8
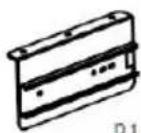 r1x1 r1x1 | 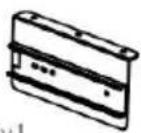 P2x1 P2x1 | 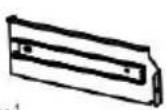 P3x1 P3x1 |
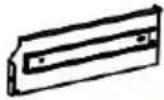 P4x1 P4x1 | 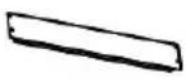 P5x1 P5x1 | 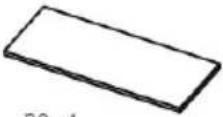 F6x1 F6x1 |
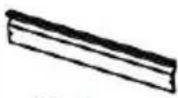 P7x1 P7x1 | OverloadF1x6 M5 | OverloadF2x11 M6 |
| CasealF3x6 M5 | OverloadF4x6 M5 |
INSTALLATION INSTRUCTIONS - CT-7
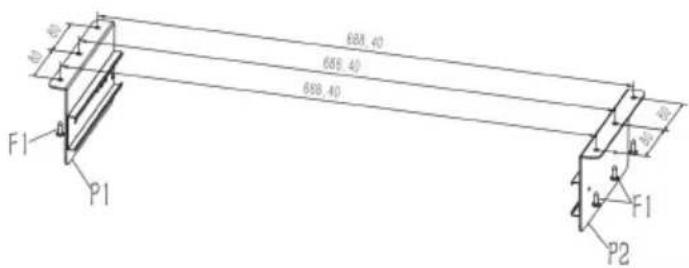
Step 1: Assemble P1 and P2 using screw F1
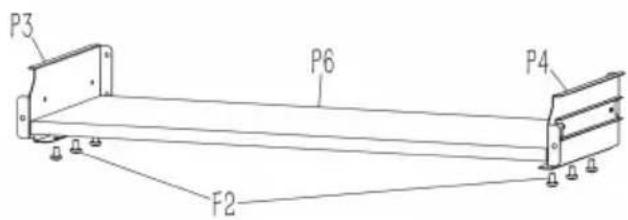
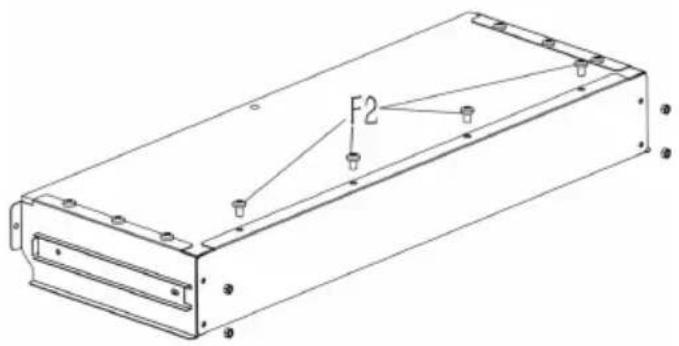
Step 2: Assemble P3, P4, P6 using screw F2
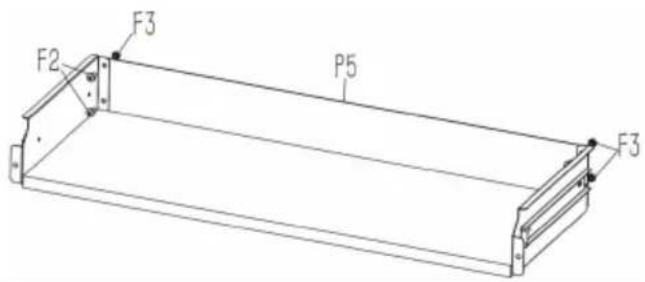
Step 3: Assemble P5 with the component from Step 2 using screw F2 and nut F3
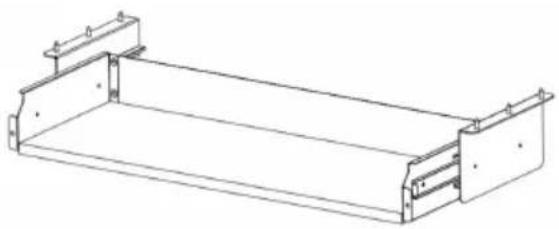
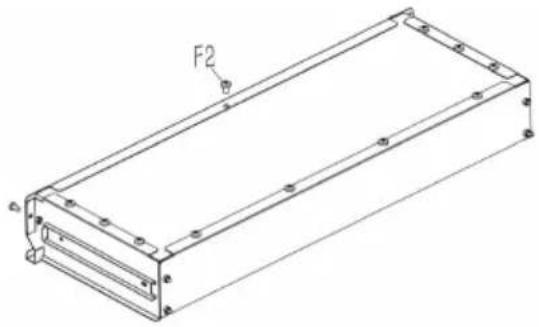
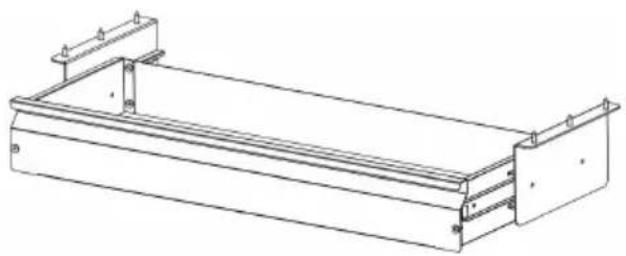
Function 1: Assemble the product under desk. In this mode, it can be used as a keyboard tray.
 | |
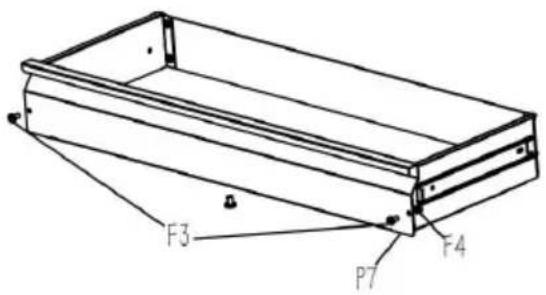
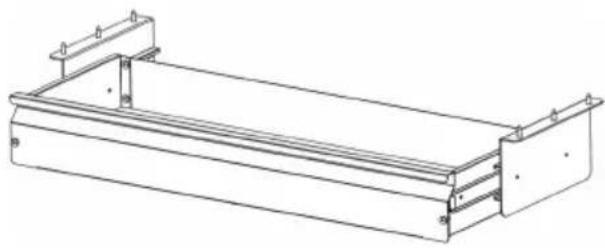
| Step4: Assemble P7 with the component from Step 3 using scr F3 and nut F4 | Step5: Assemble the product under desk. (Function 2) |
 |  |
 |
INSTALLATION INSTRUCTIONS - CT-8
Step 1: Assemble P1 and P2 using screw F1
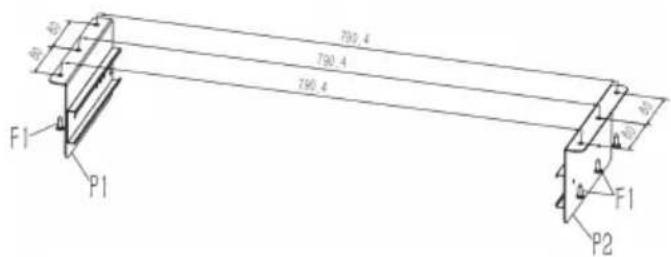
Step 2: Assemble P3, P4, P6 using screw F2
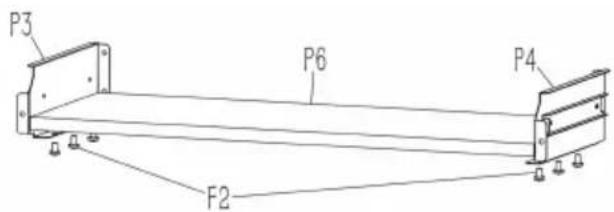
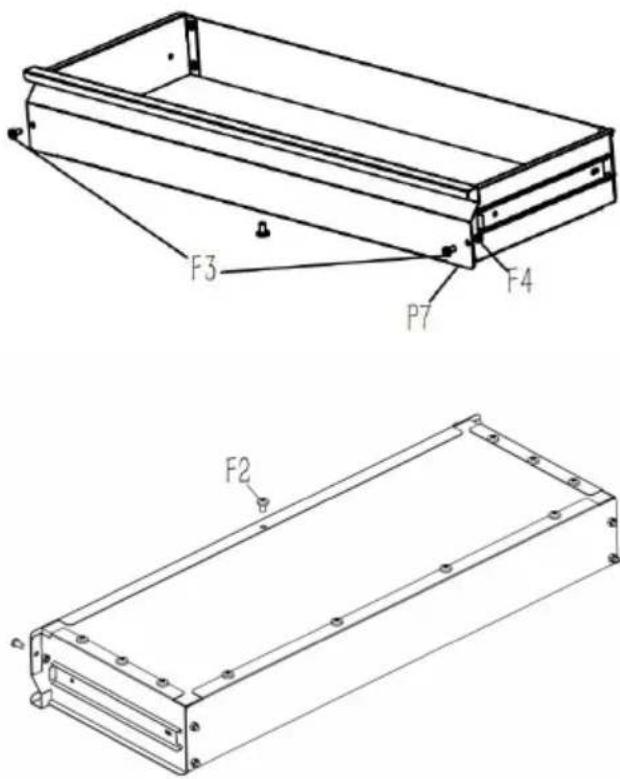
Step 3: Assemble P5 with the component from Step 2 using screw F2 and nut F3
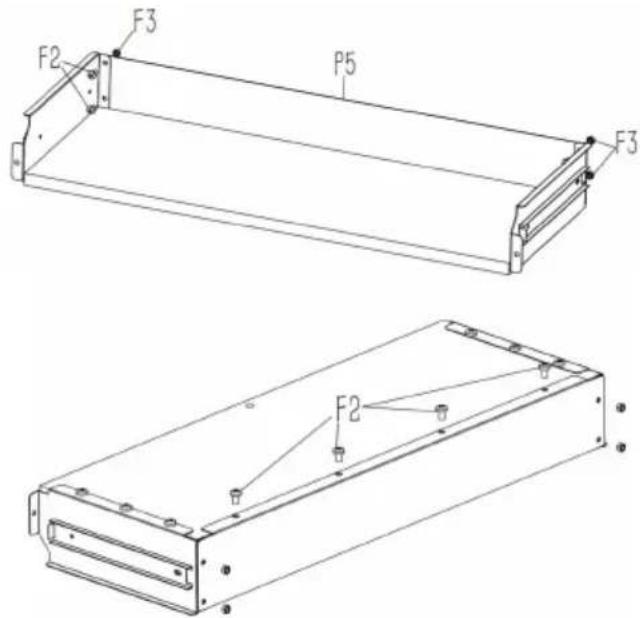
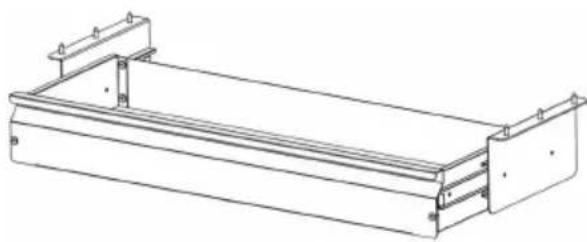
Function 1: Assemble the product under the desk. In this mode, it can be used as a keyboard tray.
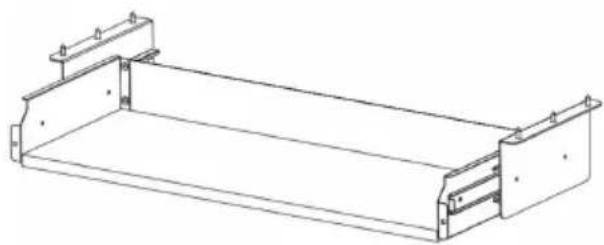
Step 4: Assemble P7 with the component from Step 3 using screw F3 and nut F4
Step 5: Assemble the product under the desk. (Function 2)
PRECAUTIONS FOR USE
- Gently pull the handle to open or close the drawer smoothly.
- Avoid pulling the drawer violently to prevent damage to the slide rail or derailment of the drawer.
TROUBLESHOOTING INSTRUCTIONS
- Drawer is not stable: Check if the slide rail is installed correctly and bolts are tight.
- Drawer is difficult to pull: Check if there is foreign matter or damage to the slide rail, clean the slide rail or replace it if necessary.
- Drawer is loose: Retighten all fixing bolts.
MAINTENANCE
- Check all drawer fastenings regularly to ensure they are securely fastened.
- Avoid using corrosive or abrasive cleaning agents.
Manufacturer: Shanghai Muxin Muye Youxiangongsi
Address: Shuangchenglu 803nong11hao1602A-1609shi, Baoshanqu, Shanghai 200000 CN.
Imported to AUS: SIHAO PTY LTD. 1 ROKEVA STREET EASTWOOD NSW 2122 Australia
Imported to USA: Sanven Technology Ltd. Suite 250, 9166 Anaheim Place Rancho Cucamonga, CA 91730
| EC | REP |
E-CrossStu GmbH
Mainzer Landstr.69, 60329 Frankfurt am Main
| UK | REP |
YH CONSULTING LIMITED.
C/O YH Consulting Limited Office 147, Centurion House
London Road, Staines-upon-Thames, Surrey, TW18 4
VEVOR®
TOUGH TOOLS, HALF PRICE
CT-6
CT-7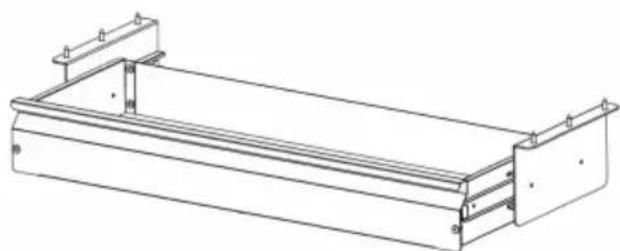
CT-8
NEED HELP? CONTACT US!
2. SAFETY INSTRUCTIONS
Part List - CT-7 / CT-8
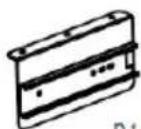 P1x1 P1x1 | 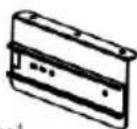 P2x1 P2x1 | 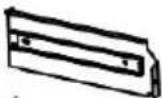 P3x1 P3x1 |
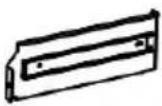 P4x1 P4x1 | 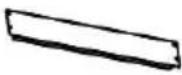 P5x1 P5x1 | 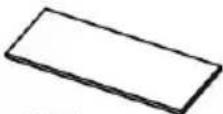 P6x1 P6x1 |
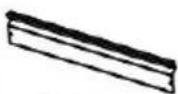 P7x1 P7x1 |  F1x6 M5 F1x6 M5 |  F2x11 M6 F2x11 M6 |
 F3x6 M5 F3x6 M5 | [H0W5]F4x6 M5 |
INSTALLATION INSTRUCTIONS - CT-7
TROUBLESHOOTING INSTRUCTIONS
C/O YH Consulting Limited Office 147, Centurion H
London Road, Staines-upon-Thames, Surrey, TW18 4
VEVOR®
TOUGH TOOLS, HALF PRICE
www.vevor.com/support
CT-6
CT-7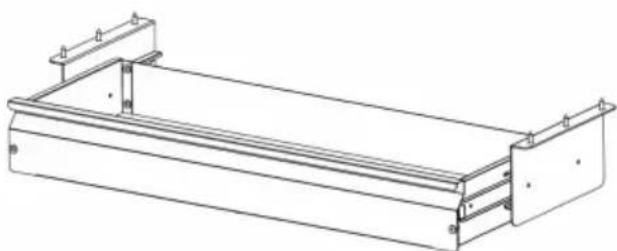
CT-8
3. SAFETY INSTRUCTIONS
Part List - CT-7 / CT-8
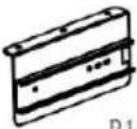 r1x1 r1x1 | 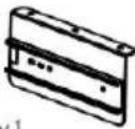 P2x1 P2x1 | 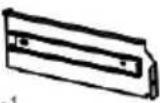 P3x1 P3x1 |
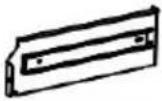 P4x1 P4x1 | 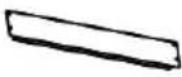 P5x1 P5x1 | 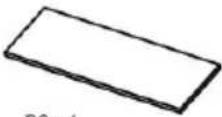 P6x1 P6x1 |
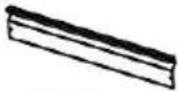 P7x1 P7x1 | [003A]F1x6 M5 |  F2x11 M6 F2x11 M6 |
 F3x6 M5 F3x6 M5 |  F4x6 M5 F4x6 M5 |
INSTALLATION INSTRUCTIONS - CT-8
PRECAUTIONS FOR USE
TROUBLESHOOTING INSTRUCTIONS
C/O YH Consulting Limited Office 147, Centurion H
London Road, Staines-upon-Thames, Surrey, TW18 4
VEVOR®
TOUGH TOOLS, HALF PRICE
CT-6
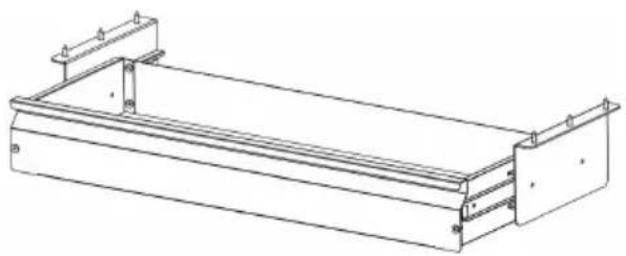
CT-7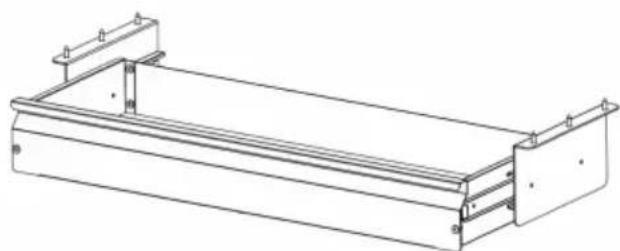
CT-8
4. SAFETY INSTRUCTIONS
Part List - CT-7 / CT-8
| P1x1 | P2x1 | P3x1 |
| P4x1 | P5x1 | 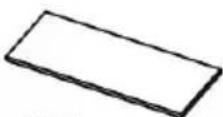 P6x1 P6x1 |
| P7x1 | [62xx]F1x6 M5 | F2x11 M6 |
| F3x6 M5 |  F4x6 M5 F4x6 M5 |
INSTALLATION INSTRUCTIONS - CT-7
TROUBLESHOOTING INSTRUCTIONS
C/O YH Consulting Limited Office 147, Centurion H
London Road, Staines-upon-Thames, Surrey, TW18 4
VEVOR®
TOUGH TOOLS, HALF PRICE
MODEL: CT-6 / CT-7 / CT-8
MODEL: CT-6 / CT-7 / CT-8
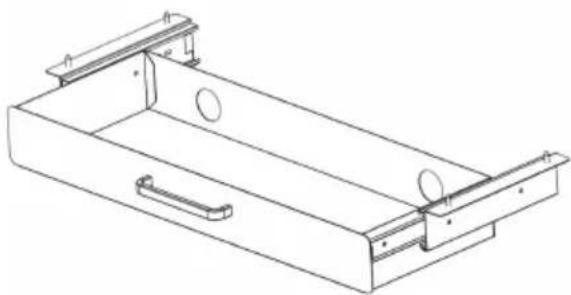
CT-6
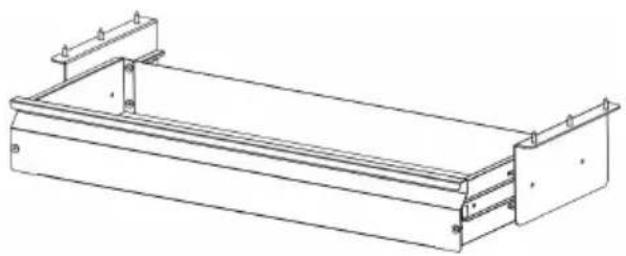
CT-7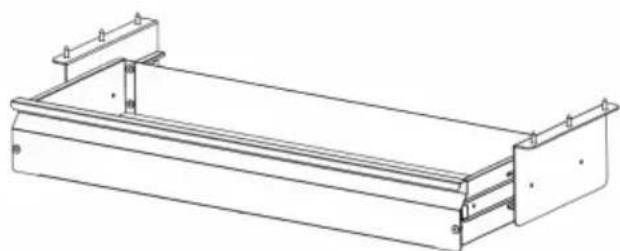
CT-8
5. SAFETY INSTRUCTIONS
Part List - CT-7 / CT-8
| P1x1 | P2x1 | P3x1 |
| P4x1 | P5x1 | P6x1 |
| P7x1 | F1x6 M5 | F2x11 M6 |
| F3x6 M5 | F4x6 M5 |
INSTALLATION INSTRUCTIONS - CT-7
Step 1: Assemble P1 and P2 using screw F1
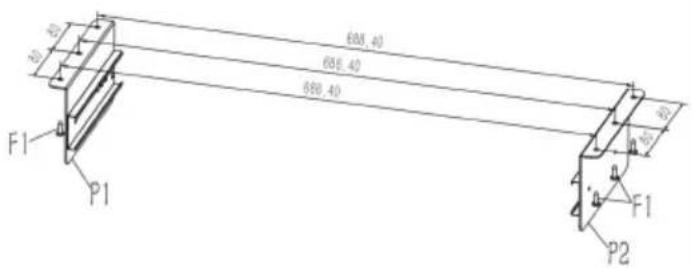
TROUBLESHOOTING INSTRUCTIONS
Place, Rancho Cucamonga, CA 91730
| EC | REP |
E-CrossStu GmbH
Mainzer Landstr.69, 60329 Frankfurt am Main
| UK | REP |
YH CONSULTING LIMITED.
C/O YH Consulting Limited Office 147, Centurion House
London Road. Staines-upon-Thames. Surrey. TW18 4
VEVOR®
TOUGH TOOLS, HALF PRICE
MODEL: CT-6 / CT-7 / CT-8
MODEL: CT-6 / CT-7 / CT-8
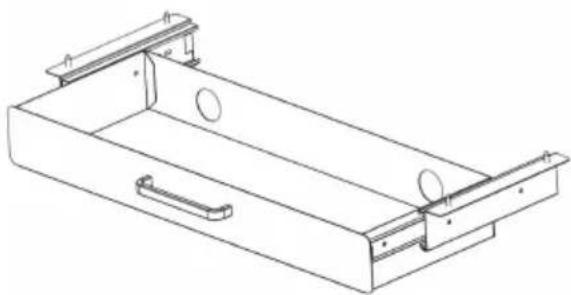
CT-6
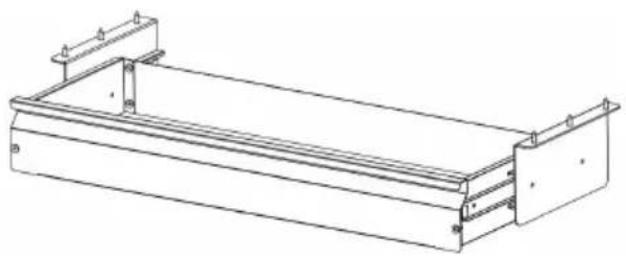
CT-7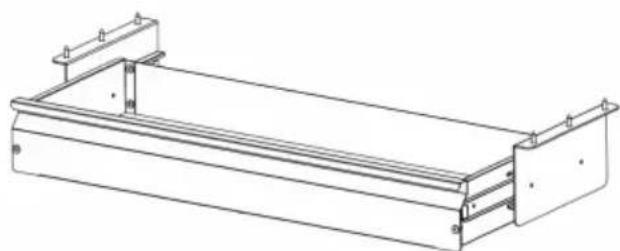
CT-8
NEED HELP? CONTACT US!
6. SAFETY INSTRUCTIONS
Part List - CT-7 / CT-8
| P1x1 | P2x1 | P3x1 |
| P4x1 | P5x1 | P6x1 |
| P7x1 | [3057]F1x6 M5 |  F2x11 M6 F2x11 M6 |
| [040C]F3x6 M5 | [08DH]F4x6 M5 |
INSTALLATION INSTRUCTIONS - CT-7
TROUBLESHOOTING INSTRUCTIONS
C/O YH Consulting Limited Office 147, Centurion House
London Road, Staines-upon-Thames, Surrey, TW18 4
VEVOR®
TOUGH TOOLS, HALF PRICE
Technical Support and E-warranty Certificate www.vevor.com/support
Under desk drawer
MODEL: CT-6 / CT-7 / CT-8
CT-6
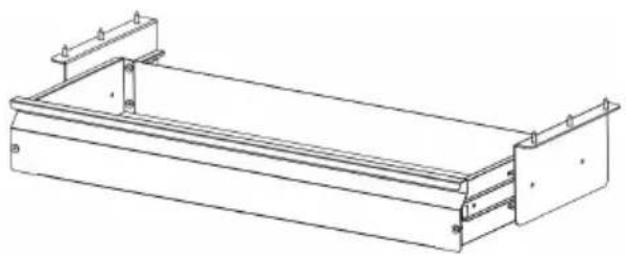
CT-7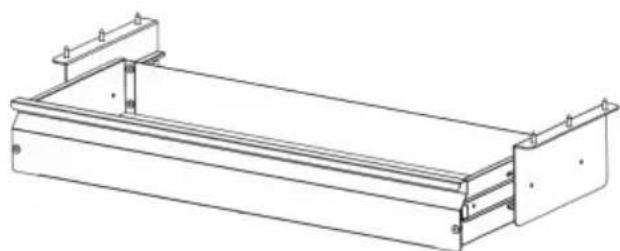
CT-8
NEED HELP? CONTACT US!
Part List - CT-7 / CT-8
| P1x1 | P2x1 | P3x1 |
| P4x1 | P5x1 | P6x1 |
| P7x1 | F1x6 M5 | F2x11 M6 |
 F3x6 M5 F3x6 M5 |  F4x6 M5 F4x6 M5 |
INSTALLATION INSTRUCTIONS - CT-7
TROUBLESHOOTING INSTRUCTIONS
C/O YH Consulting Limited Office 147, Centurion House
London Road, Staines-upon-Thames, Surrey, TW18 4
VEVOR®
TOUGH TOOLS, HALF PRICE
CT-6

CT-7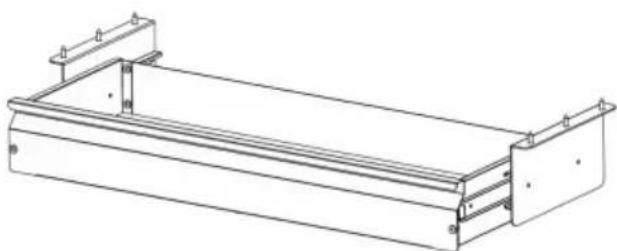
CT-8
NEED HELP? CONTACT US!
Part List - CT-7 / CT-8
| P1x1 | P2x1 | P3x1 |
| P4x1 | P5x1 | P6x1 |
| P7x1 |  F1x6 M5 F1x6 M5 | [OKDS]F2x11 M6 |
| [T20Y]F3x6 M5 |  F4x6 M5 F4x6 M5 |
INSTALLATION INSTRUCTIONS - CT-7
TROUBLESHOOTING INSTRUCTIONS
Rancho Cucamonga, CA 91730
| EC | REP |
E-CrossStu GmbH
Mainzer Landstr.69, 60329 Frankfurt am Main
| UK | REP |
YH CONSULTING LIMITED.
C/O YH Consulting Limited Office 147, Centurion H
London Road. Staines-upon-Thames. Surrey. TW18 4
- UNDER DESK DRAWER
- MODEL: CT-6 / CT-7 / CT
- NEED HELP? CONTACT US
- TECHNICAL SUPPORT AND E-WARRANTY CERTIFICATE WWW.VEVOR.COM/SUPPORT
- SAFETY INSTRUCTIONS
- PRODUCT DESCRIPTION
- PART LIST - CT
- INSTALLATION INSTRUCTIONS - CT
- PART LIST - CT-7 / CT
- PRECAUTIONS FOR USE
- TROUBLESHOOTING INSTRUCTIONS
- MAINTENANCE
- VEVOR®
- TOUGH TOOLS, HALF PRICE
Brand : Vevor
Model : CT-8
Category : Storage furniture