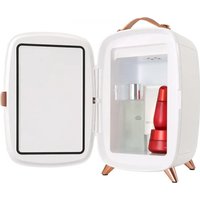
USER MANUAL J53 Vevor
Technical Support and E-Warranty Certificate www.vevor.com/support
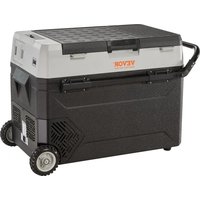
CAR REFRIGERATOR
USER MANUAL
MODEL: J38 J53
We continue to be committed to providing you with tools at competitive prices. "Save Half", "Half Price", or any other similar expressions used by us only represent the savings you might benefit from buying certain tools with us compared to top brands, and do not necessarily mean to cover all categories of tools offered. We kindly remind you to verify carefully when placing an order with us to ensure you are actually saving half in comparison with the top major brands.
VEVOR®
Car Refrigerator
J38 J53
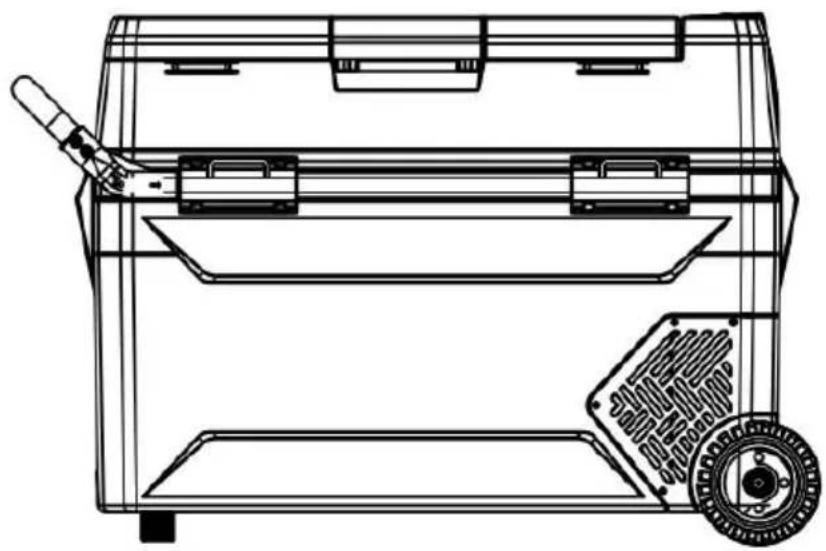
Have product questions? Need technical support? Please feel free to contact us:

CustomerService@vevor.com
This is the original instruction. Please read all manual instructions carefully before operating. VEVOR reserves the right to interpret the user manual. The appearance of the product shall be subject to the product you received. Please forgive us that we won't inform you of any technology or software updates on the product you received.
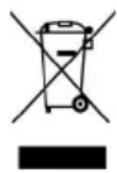
This product is subject to the provisions of European Directive 2012/19/EU. The symbol showing a wheelie bin crossed through indicates that the product requires separate refuse collection in the European Union. This applies to the product and all accessories marked with this symbol. Products marked as such may not be discarded with normal domestic waste, but must be taken to a collection point for recycling electrical and electronic devices.
Attentions
Before using the refrigerator, please read this manual carefully and keep it properly.
- Before using the refrigerator, clean it inside and outside with a damp cloth.
- Do not fill the refrigerator with corrosive liquids. Do not pour liquids directly into the refrigerator.
- When the refrigerator is not used for a long time, disconnect the power supply and keep it dry.
- Regularly clean the inner chamber to prevent odor and bacteria and ensure food safety.
- This manual applies to J38 and J53 refrigerators (American and European markets).
Connect the power supply.
- Find the DC power cord in the kit. Connect the DC plug to the power outlet of the car refrigerator.
- Place the refrigerator well in the car (e.g., in the trunk, on seats).
- Lay out power cords according to your car's interior space. Then, insert the cigarette lighter plug (one side of the power cord) into the car cigarette lighter hole.
- Press "ON/OFF" for 3 seconds, and the car refrigerator can be turned on.
![graph LR A["AC/Pump"] --> B["Switch"] B --> C["Bond"] C --> D["Switch"] D --> E["DC 12/24V"]](/content/2026/04/734105/images/1e1ed913c554f7bcf5b2ca71e8ef580d6fe94d53727bf49cb7db975d2f5d1ebe.jpg)
Adapter: Connect the car cigarette lighter. Connect the car refrigerator.
The product can be connected to more than one power supply.
The onboard refrigerator is directly connected to a DC12V/24V DC power supply.
The car refrigerator equipped with an AC100-240V AC adapter can be used at home with a voltage of AC100-240V.
Instructions
Car battery protection voltage reference:
Built-in ECO electronic control module can automatically monitor the vehicle battery voltage. Before the power consumption affects the standard ignition of the vehicle, the onboard refrigerator will automatically disconnect the power supply to ensure that the vehicle battery power will not be too low to affect the standard ignition of the vehicle.
| Battery voltage | Factory default voltage protection value H |
| H (high) level | M (medium) level | L (low) level |
| DC12V | DC11.3V OFF | DC10.1V OFF | DC9.6V OFF |
| DC12.5V ON | DC11.4V ON | DC10.9V ON |
| DC24V | DC24.6V OFF | DC22.3V OFF | DC21.3V OFF |
| DC26.0V ON | DC23.7V ON | DC22.7V ON |
Note: When the power supply is connected and the refrigerator is turned on, disconnecting or starting refers to disconnecting or starting the compressor.
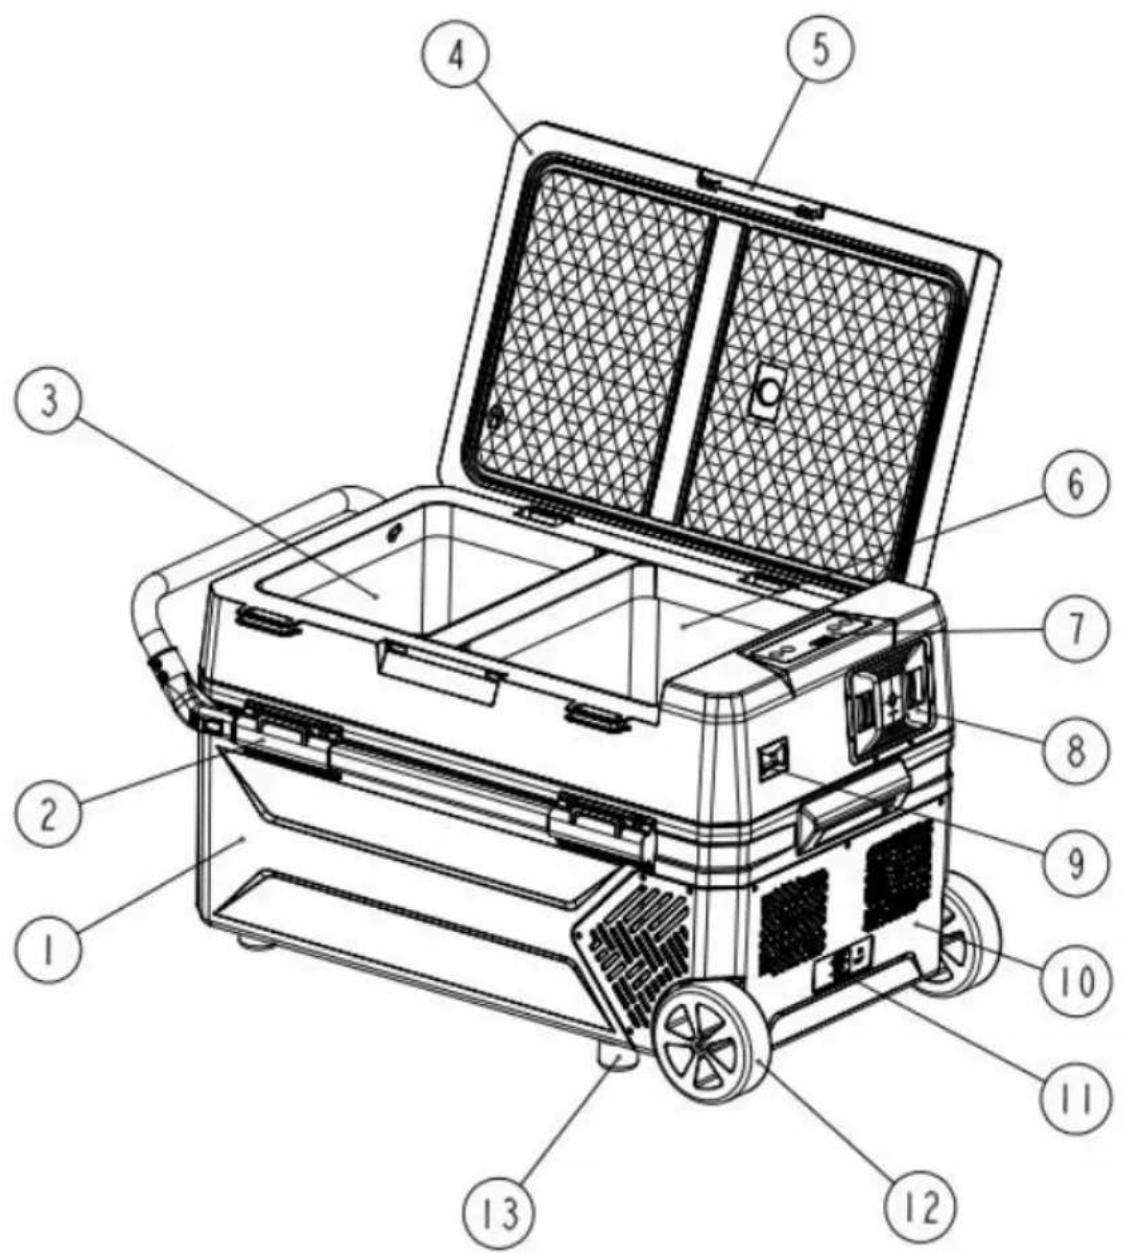
Component Diagram
- Cabinet 2. Pull rod (optional)
- Left compartment 4. Lid
- Door buckle 6. Right compartment
- Control panel 8. Storage box (optional battery)
- Bottle opener 10. Compressor cover
- Power connector 12. Wheels (optional)
- Bottom feet (optional)
Operation Method
△Description of key panel and display contents
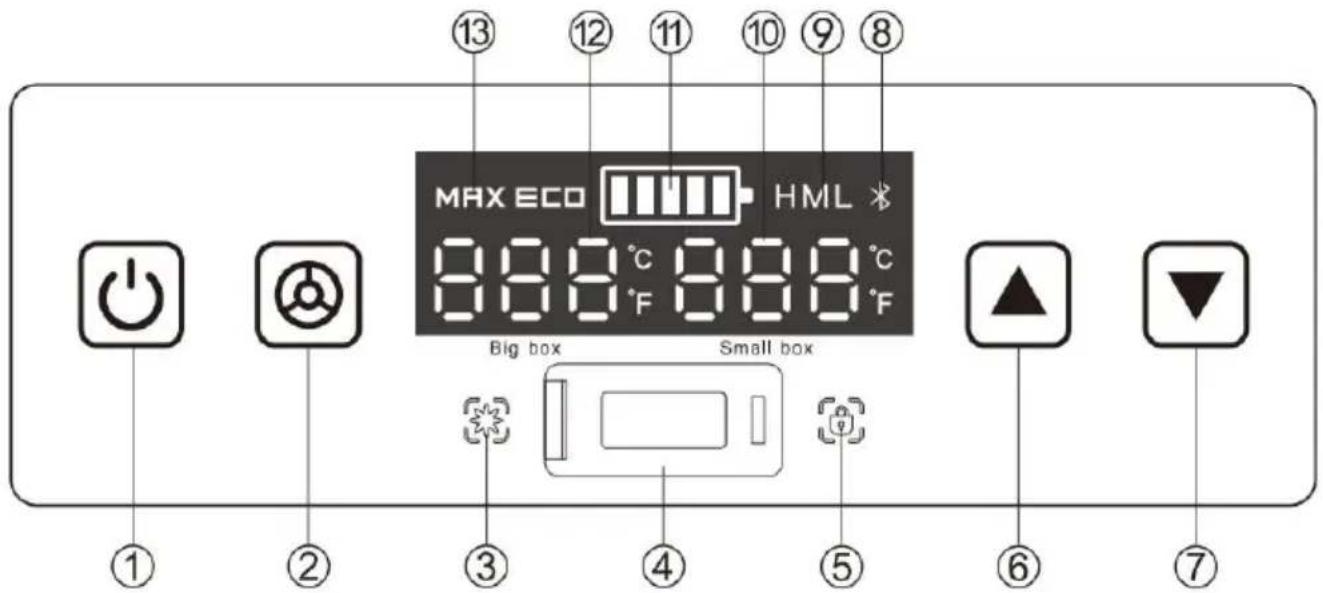
①ON/OFF button ②Setting button ③Cooling indicator ④USB charge port ⑤ Lock indicator ⑥ Temperature UP button ⑦ Temperature Down button ⑧ Bluetooth symbol (Optional) ⑨ Car battery protect level ⑩ Temperature indicator of right compartment ⑪Power level Indicator of battery ⑫Temperature indicator of left compartment ⑬Running mode
△Function introduction
After power-on, the digital display screen will be fully lit for 1 second and then display normally. The default is the last memory function. In standby mode, the temperature figure on the display screen will be permanently lit in the middle.
1. Open and Close
After the power is turned on, the refrigerator will be in standby mode.
Now, press the ON/OFF button to open the refrigerator. After the refrigerator is opened, the display will show the current temperature of the storage room. It starts running.
Warning: The displayed temperature is only the temperature around the sensor. The temperature at different points in the storage room is different.
Therefore, it is normal if the displayed temperature differs from the measured temperature.
When the refrigerator is running, press the ON/OFF button for 3 seconds, and the refrigerator will return to standby.
2. Temperature Setting
1) After starting up, briefly press the "△" or "▽" key to enter the temperature setting state, and the corresponding box temperature number will flash. Each press changes the temperature by 1 °C, with a maximum of 10 °C and a minimum of -20 °C. 2) After starting up, press and hold the "△" or "▽" key, and the temperature setting will adjust linearly at 2 °C per second. 3) In the temperature setting state, if no essential action is detected, the temperature flashes for 3 seconds, then exits and saves the current set temperature, and the display shows the actual temperature in the box. 4) The default value for initial startup is 0 °C/32 °F. 5) Press "→" to switch the left/right box temperature setting in the temperature setting state. 3. Celsius/Fahrenheit Temperature Switch: Press the "△" and "▽" keys at the same time to change the brightness and Celsius degree when the machine is turned on. 4. Operation Mode Switching
In the power-on state, briefly press " " to enter the cooling (MAX)/energy
saving mode (ECO) setting mode, and then briefly press " " to switch between cooling (MAX) and energy saving mode (ECO). ECO is displayed on the display in ECO mode, and MAX is displayed on the display in MAX mode. The selected mode flashes for 2 seconds, and the current setting state is saved by default. MAX running mode: the fridge will work hard to reduce temperature fast. ECO running mode: the fridge will work longer to reduce the temperature to save energy.
5. Battery Protection Settings
Battery protection is divided into three levels: L (low level), M (middle level), H (high level)
Press and hold the " " key to enter the battery protection voltage setting
state, and the current gear icon will flash. Press and hold the " " key again and the H/M/L cycle display will flash. If there is no key press for 3 seconds, exit setting, and the corresponding gear icon will remain on.
6. Key Lock Setting
After starting the machine, if no operation setting is made for more than 1 minute, the host will automatically enter the anti-misoperation locking state, and the
locking indicator " " will be on for a long time. Press and hold " " for 3 seconds to exit the anti-misoperation locking status for setting.
7. Temperature zone control setting
After starting the machine, press "Set" and "△" to close the left box, and press "Set" and "▽" to close the right box. There must be one box working between the left box and the right box.
8. Key operation instructions
When all keys are pressed, the buzzer rings once, indicating that the keys are valid; When there is no key operation within 5 seconds, exit the key setting and return to the actual temperature display status in the box.
The onboard refrigerator has a power-off memory function. The working state before power-off will be automatically restored after the next power-on, and there is no need to set it again.
Model Parameter Table:
| Model No. | Capacity | Voltage | Power | Temperature Adjustable | Plug Type |
| J38 | 38L | AC100~240V(50/60 Hz)DC 12V/24V | Cooling: 60W | 50~-4°F | USA plug DC plug |
| J38 | 38L | AC100~240V(50/60 Hz)DC 12V/24V | Cooling: 60W | 10~-20°C | EU plug DC plug |
| J53 | 53L | AC100~240V(50/60 Hz)DC 12V/24V | Cooling: 60W | 50~-4°F | USA plug DC plug |
| J53 | 53L | AC100~240V(50/60 Hz)DC 12V/24V | Cooling: 60W | 10~-20°C | EU plug DC plug |
△Install wheels and handles
In order to ensure the safety of products during transportation, the pull rod and roller are packaged separately, and the installation method is shown in the following figure:
Accessories:
 Left pull rod ×1 Left pull rod ×1 |  Right pull rod ×1 Right pull rod ×1 |
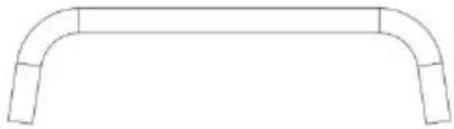 handle ×1 handle ×1 |  Wheels ×2 Wheels ×2 |
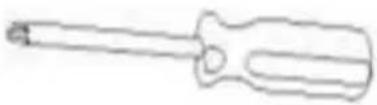 Screw driver ×1 Screw driver ×1 | 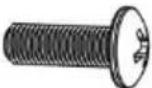 M4*12 screw ×16 M4*12 screw ×16 |
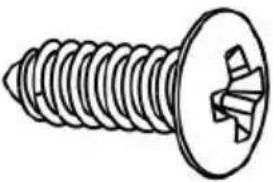 ST4*12 screw ×4 ST4*12 screw ×4 | |
1. Install handle
Insert the handle into the left and right rod, align the screw holes, and then fix them with screws.
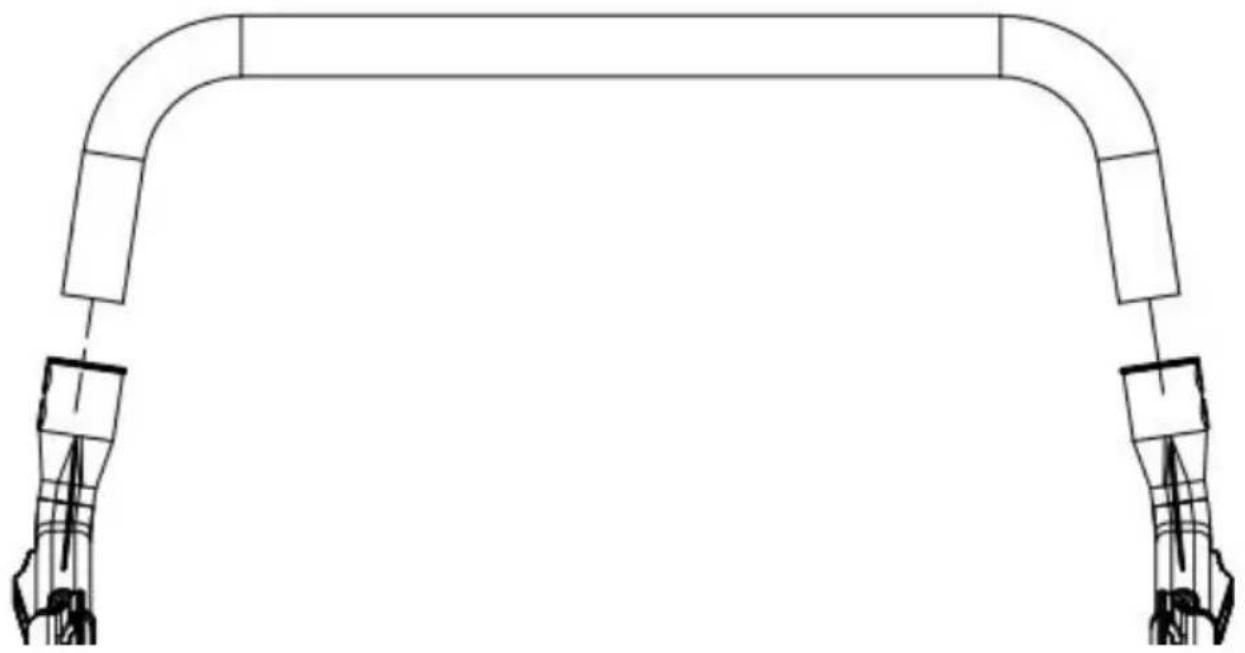
①Insert the handle to the left rod and the right rod
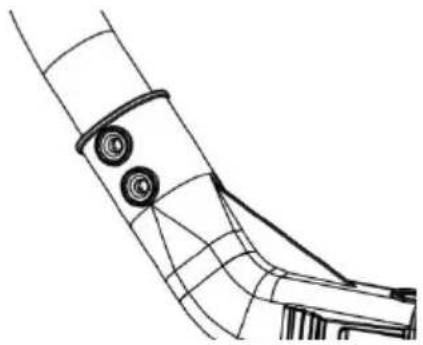
② Align screw holes in the handle and rods
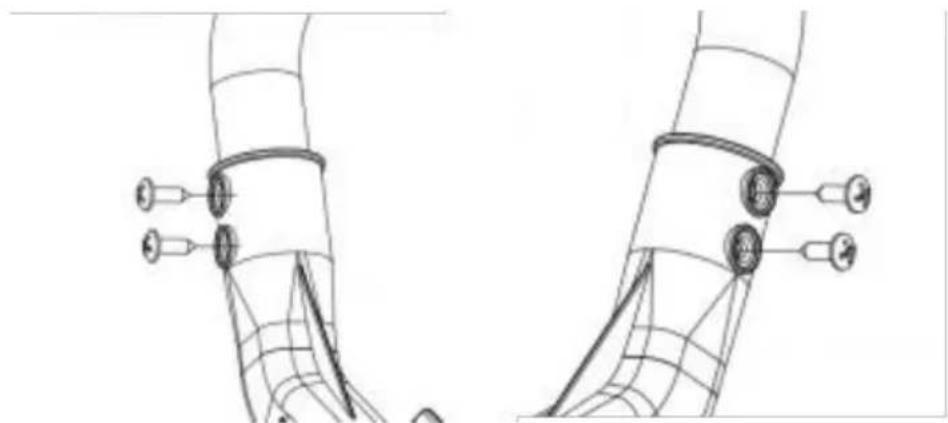
③ Fix the handle and rods by screws (ST4*12)
2. Connect brackets with body of fridge
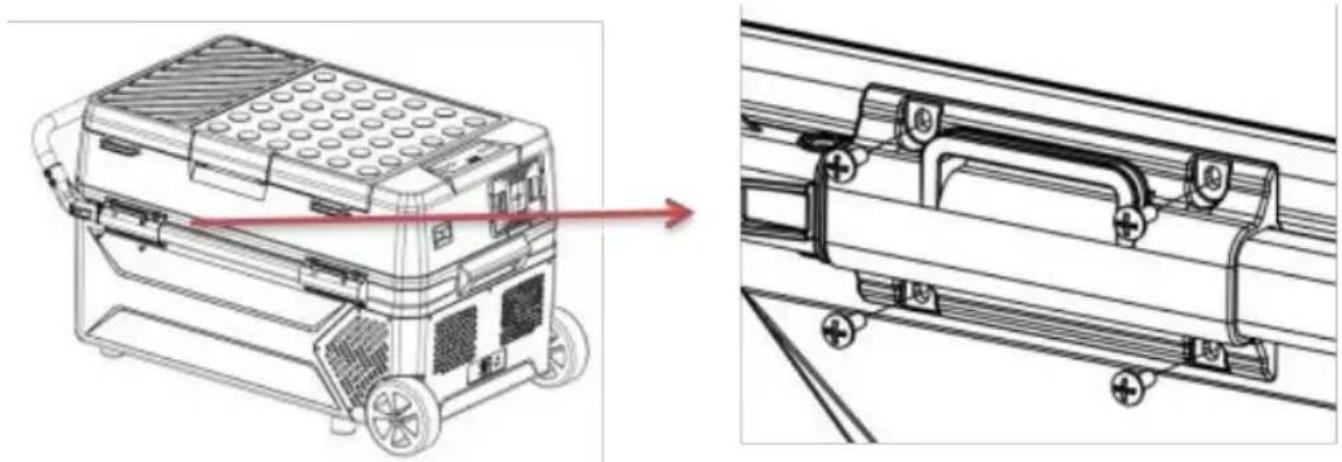
Match holes in brackets with holes in front and rear of body, then fix bracket body by screws (M4*I2).
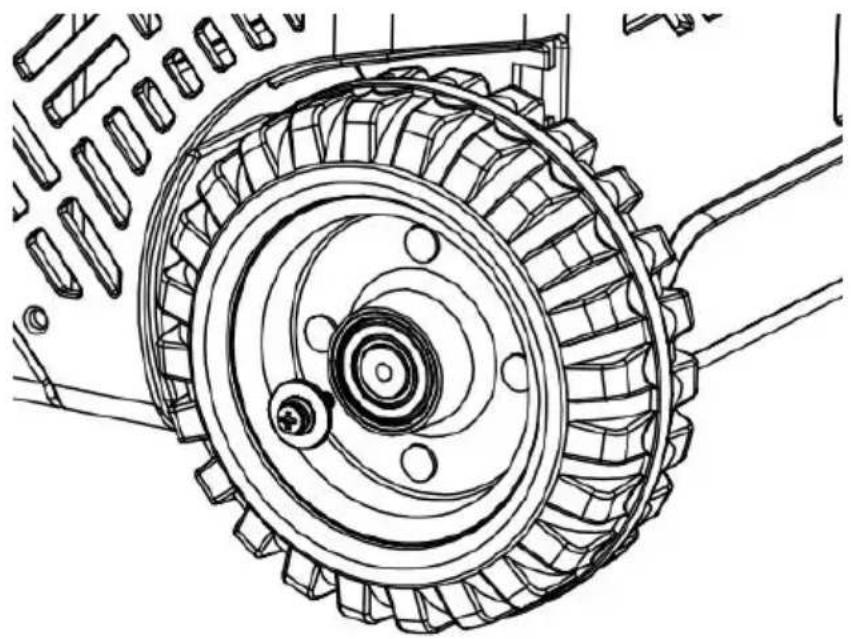
3. Install wheels
①Use a screwdriver to remove the screws and shims on both sides of the shaft.
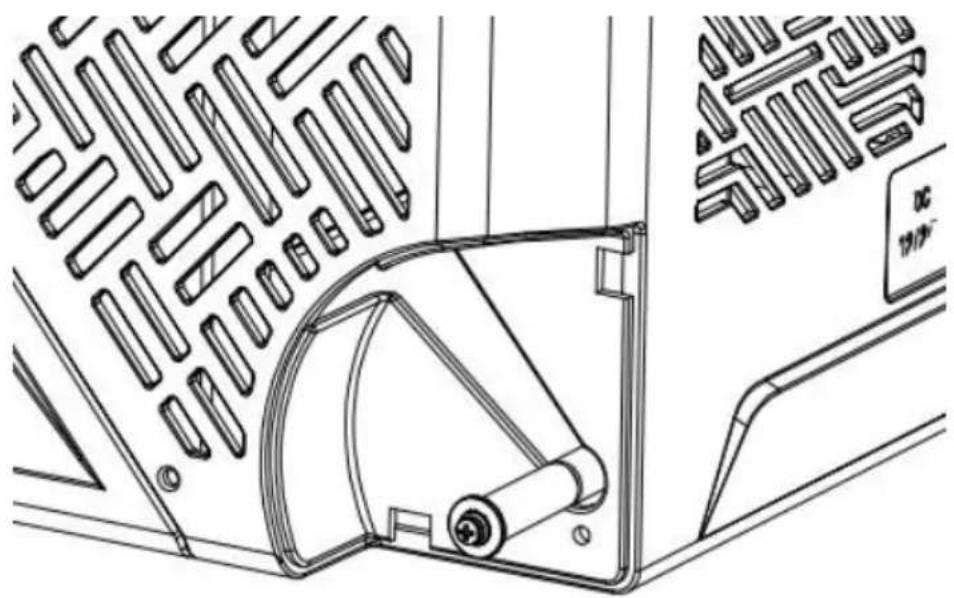
②Insert the roller into the roller shaft, and then tighten the removed screws and gaskets in the original sequence.
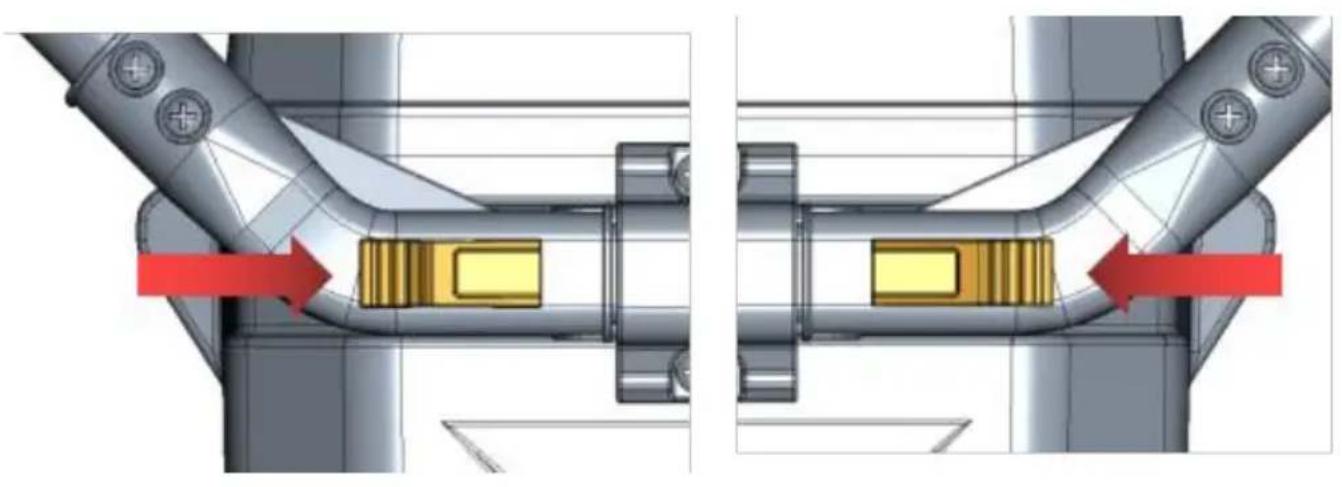
△Instructions for use of pull rod
The pull rod cannot be pulled out when it is locked. You need to operate the unlock button to unlock the pull rod, and then pull out the pull rod, as shown in the figure:
Simple Fault Analysis
Advice: If abnormal situations cannot be resolved through a simple fault analysis, please get in touch with professional customer service for assistance.
I. Car Refrigerator Does Not Work
- Check if the power is connected properly. (Check if the plug is loosened or positive and negative poles are reversed).
- Check if the power switch on the operation panel is turned on.
- Check if the cooling ventilation is normal.
- Check if the fuse is blown.
- Check if the lid is closed properly.
- Check if the door seal is damaged or deformed.
- Check if there is poor ventilation around the fridges.
- Check if the temperature is set properly.
△Definition Of Error Codes On The Display
| Error Code | Error Type |
| E1 | Low Input Voltage |
| E2 | Fan Fault |
| E3 | Compressor start failed |
| E4 | Low Rotational Speed of Compressor |
| E5 | Controller module temperature too high |
| E6 | Open or Short Circuit of NTC |
III. Abnormal Noise
- The car refrigerator is not placed smoothly.
- Touch a wall or other object. 3.There are parts loose or falling off inside.
IV. Condensation on Refrigerator Surface
When the ambient air humidity exceeds 75% , slight condensation will occur of the box surface, which is normal.
Failures and Solutions
Failure 1: Insert the refrigerator power cord into the cigarette lighter before the starts. Solution 1: Wait a while to connect the car after it starts.
Failure 2: The input voltage of the adapter is too low.
Solution 2: Adjust the battery protection level to middle-voltage or low-voltage. If it doesn't work, please replace a new adapter.
△E2: Fan Fault
Please replace a new fan when identify there is a fan malfunction.
When the refrigerator is used in car and E3 appearing, Please shut down for minutes and restart it.
If it doesn't work, that can be identified to be EI fault, please solve it according to the solution of EI.
When the refrigerator is connecting with adapter and E3 appearing
① Please adjust battery protection level to the middle level or low level. ② If it doesn't work, please replace a new adapter.
△E4: Low Rotational Speed of Compressor
Please adjust the input voltage and repower it.
△E5: Overheating of Controller Chip
Please power off for 5 minutes and check if the overheating is caused by the ventilation around compressor.
Use Suggestions
- If equipped with a backup battery, you can maintain any temperature you under any circumstances without worries.
- When placing ice cream, please adjust the temperature to the lowest; it needs to be powered on for a long time.
- Prevent the health problems of drinking bottled water caused by high temperature.
- Frozen food, rare seafood, and vehicle-mounted refrigerators let frozen fresh food accompany the journey.
- Healthcare products, insulin, and imported drugs need to be refrigerated, and the precise temperature control of onboard refrigerators will escort health along the way.
- The tea leaves are effectively kept fresh in the car refrigerator, and you can drink fresh and delicious tea anytime during the self-driving tour.
- The best storage temperature of red wine is 10 °C - 18 °C (50 - 64.4 °F). The
precise temperature control of the car refrigerator can effectively ensure the storage temperature of red wine.
- The storage time of high-grade fruit in the car at high temperature in summer will not exceed 2 hours. Even if the air conditioner is turned on, the storage time is also shorter. Using a car refrigerator can effectively preserve high-grade fruit.
- The coating of high-grade sunglasses will fall off under the high temperature in summer. The car refrigerator is an ideal place to place them.
- High-grade cosmetics are easy to deteriorate under high temperature in the car. Carry cosmetics with the car, and the car refrigerator will be your better choice.
Safety Precautions
(1) Ensure that the power voltage connected to the onboard refrigerator is correct at all times (The parameters are labeled with the approved voltage parameters of the onboard refrigerator). (2) Do not pour liquid directly into the car refrigerator. (3) Modifying the refrigerator without permission is forbidden to avoid danger. (4) This appliance is not intended for use by persons (including children) with reduced physical, sensory, or mental capabilities or lack of experience and knowledge unless they have been given supervision or instruction concerning the use of the appliance by a person responsible for their safety. (5) Children should be supervised to avoid playing with the appliance. (6) This appliance can be used by children aged from 8 years and above and persons with reduced physical, sensory or mental capabilities or lack of experience and knowledge if they have been given supervision or instruction concerning use of the appliance in a safe way and understand the hazards involved. Children shall not play with the appliance. Cleaning and user maintenance shall not be made by children without supervision.
(7) To avoid a hazard due to the instability of the appliance, it must be fixed according to the instructions. (8) Do not store explosive substances such as aerosol cans with a flammable propellant in this appliance.
WARNING: This appliance contains flammable foaming agent cyclopentane:
1) Please avoid contact with fire when you transport and use it. 2) Please ask a professional for servicing when the machine breaks down. 3) Please send it to your local appointed disposal station when you discard it.

WARNING: During use, service, and disposal of the appliance, please pay attention to a symbol similar to the one on the left side, which is located on the rear panel or compressor and is yellow or orange in color. It is a fire warning symbol. There are flammable materials in refrigerant pipes and compressors. Please keep away from fire sources during use, service, and disposal.
Electrical Schematic Diagram
VEVOR®
TOUGH TOOLS, HALF PRICE
Technical Support and E-Warranty Certificate
https://www.vevor.com/support
VEVOR®