Perform DSG200i - Fitness Equipment Flow Fitness - Free user manual and instructions
Find the device manual for free Perform DSG200i Flow Fitness in PDF.


User questions about Perform DSG200i Flow Fitness
0 question about this device. Answer the ones you know or ask your own.
Ask a new question about this device
Download the instructions for your Fitness Equipment in PDF format for free! Find your manual Perform DSG200i - Flow Fitness and take your electronic device back in hand. On this page are published all the documents necessary for the use of your device. Perform DSG200i by Flow Fitness.
USER MANUAL Perform DSG200i Flow Fitness
natural_image
Line drawing of a portable electric heater with cooling fans and two cylindrical sensors (no text or symbols)HANDLEIDING (NEDERLANDS) 3-19
MANUAL (ENGLISH) 20-36
Copyright © Flow Fitness
All rights reserved. Nothing in this instruction manual may be used or reproduced in any form or way without the express written permission of Flow Fitness.
1. PRODUCTINFORMATIE......4
Productlijst 4
Productspecificaties....5
natural_image
Top-down technical drawing of a rectangular device with horizontal slats and central vent, no text or symbols presentFlow Fitness DSG200i
Stroomkabel
Handleiding
ACCESSOIRES
natural_image
Simple line drawing of a horizontal bar with two hanging clips at both ends (no text or symbols)natural_image
Line drawing of a rectangular electronic device with two leads (no text or symbols)Heupband
natural_image
Line drawing of two identical mechanical arms with hooks and handles (no text or symbols)natural_image
Two identical mechanical clamps with end brackets and circular cutouts, shown side by side (no text or symbols)Enkelbanden
! Opmerking:
BESCHRIJVING KNOPPENPANEEL
flowchart
graph TD
    A["Groen\nStand-by (instelbaar)"] --> D((Center))
    B["Rood\nGereed (vergrendeld)"] --> D
    C["Geel\nMenu Instelling"] --> D
    D --> E["Eén stip:\nStandaardmodus"]
    D --> F["Twee stippen:\nExcentrische modus"]
    D --> G["Drie stippen:\nKettingmodus"]
    D --> H["Vier stippen:\nSnelheidsmodus"]
    D --> I["Weerstandsweergave\n(voor beide zijden)"]
! Opmerking:
natural_image
Simple line drawing of a lever system with two hanging weights and a central fulcrum (no text or symbols)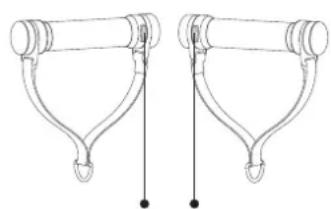
natural_image
Technical line drawing of two mechanical arms with hooks and connecting rods (no text or symbols)natural_image
Line drawing of a person using a weightlifting exercise machine (no text or symbols)Weerstand
bar
| Snelheid | Value | |---|---| | 1 | 1 | | 2 | 2 | | 3 | 3 | | 4 | 4 | | 5 | 5 | | 6 | 6 | | 7 | 7 | | 8 | 8 | | 9 | 9 | | 10 | 10 |https://www.flowfitness.com/nl/registreer-uw-product/
1. PRODUCT INFORMATION ...... 21
Product list 21
Parts illustration.... 22
Product specifications.... 22
Button panel description 23
2. OPERATION....25
Power on.... 25
Quick start 25
Training mode selection 26
Bluetooth & App 30
3. SAFETY AND MALFUNCTION 31
Power supply.... 31
Troubleshooting 35
5. WARRANTY 36
Warranty policy 36
PRODUCTLIST
natural_image
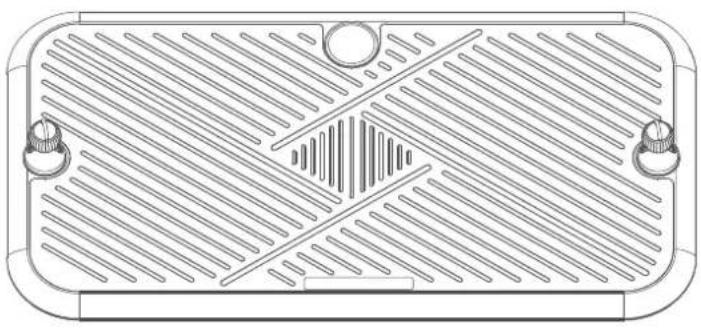
Top-down technical drawing of a rectangular device with horizontal slats and central vent, no text or symbols presentFlow Fitness DSG200i
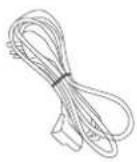
Powercord
User Manual
ACCESSORIES
natural_image
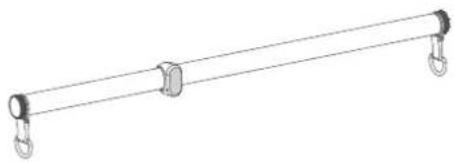
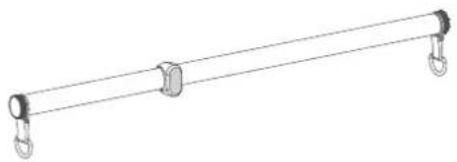
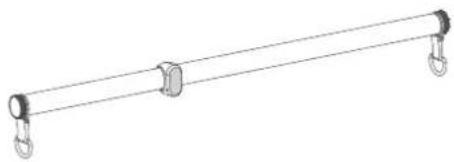
Simple line drawing of a horizontal bar with two hanging hooks at both ends (no text or symbols)Long bar With Safety Button
natural_image
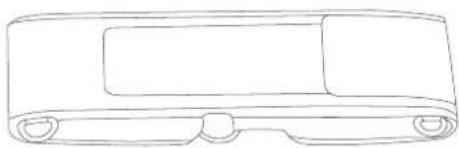
Simple line drawing of a rectangular object with rounded ends and a rectangular body, resembling a stylized vehicle or device (no text or symbols)Waist Strap
natural_image
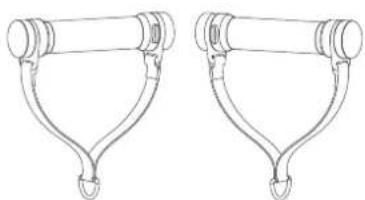
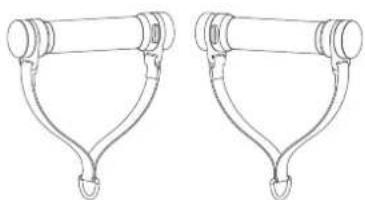
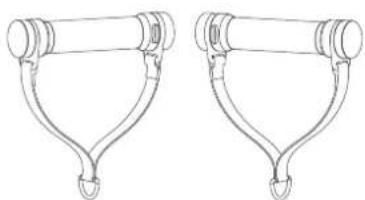
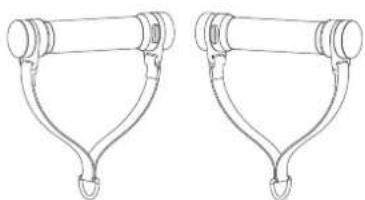
Line drawing of two identical mechanical arms with hooks at ends (no text or symbols)Smart Handles with Safety Button
natural_image
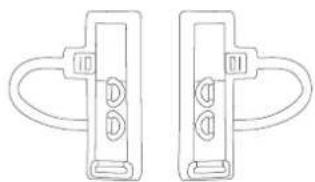
Two identical mechanical clamps with end brackets and mounting holes (no text or symbols)Ankle Straps
Note:
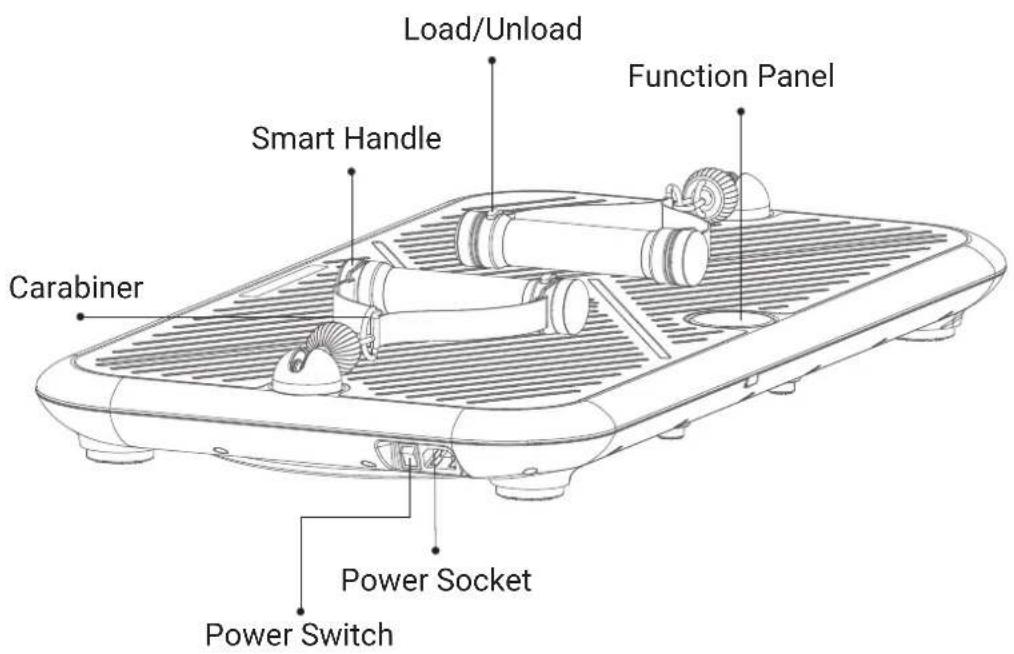
Accessories can easily be switched through carabiners.
PARTS ILLUSTRATION
text_image
Load/Unload Smart Handle Function Panel Carabiner Power Socket Power SwitchPRODUCT SPECIFICATIONS
| Model | DSG200i |
| Rated Power | 1000W |
| Product Size | 85 x 45 x 6.5 cm |
| Net Weight | 20 kg |
| Gross Weight 27 kg |
| Max. User Weight 150 kg |
| Resistance 90 kg |
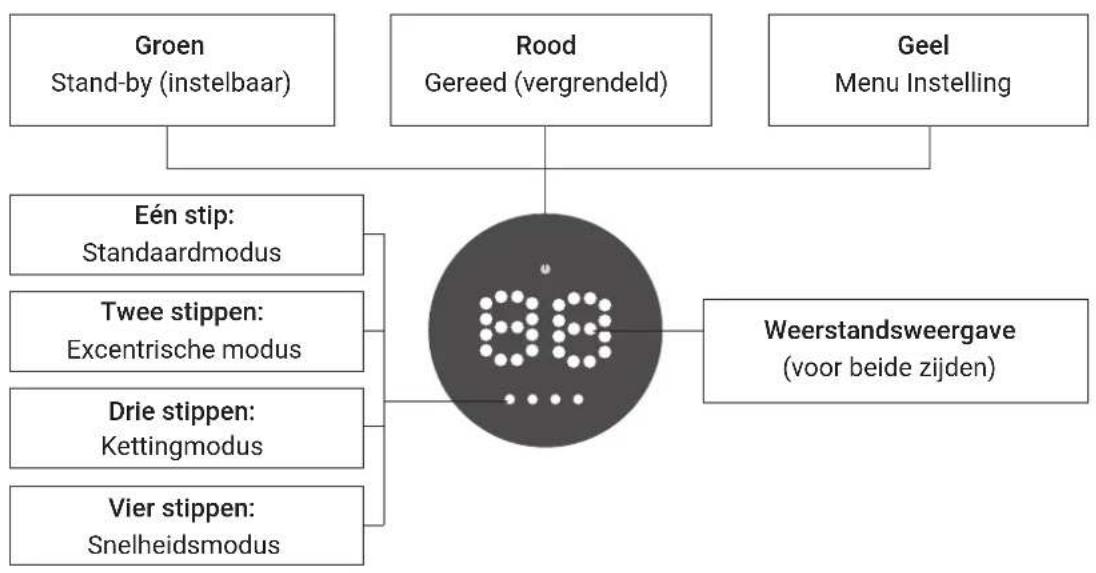
BUTTON PANEL DESCRIPTION
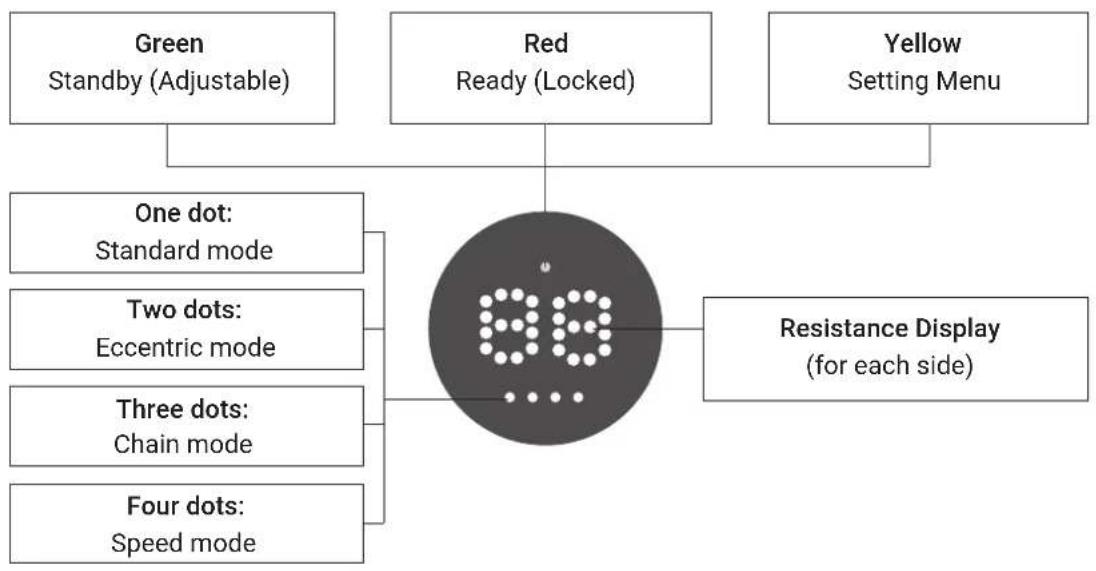
flowchart
graph TD
    A["Green Standby (Adjustable)"] --> D["90 Pin"]
    B["Red Ready (Locked)"] --> D
    C["Yellow Setting Menu"] --> D
    D --> E["One dot: Standard mode"]
    D --> F["Two dots: Eccentric mode"]
    D --> G["Three dots: Chain mode"]
    D --> H["Four dots: Speed mode"]
    D --> I["Resistance Display (for each side)"]

Note:
In standby mode (indicated by a green light), press and hold the panel to access the mode-switching menu.
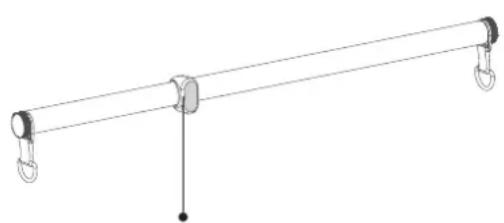
INTRODUCTION OF SAFETY BUTTONS
Long bar and smart handles: both feature safety buttons that allow you to load or unload the force with a single click.
- In standby mode (indicated by a green light), click the button to apply force and switch to ready mode (indicated by a red light).
- In ready mode (indicated by a red light), click the button to release the force and return to standby mode (indicated by a green light).
natural_image
Simple line drawing of a lever system with two hanging weights and a central fulcrum (no text or symbols)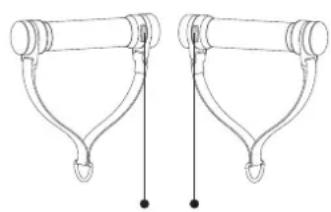
natural_image
Technical line drawing of two mechanical arms with hooks and rods (no text or symbols)Wireless safety button Wireless safety buttons
POWER ON
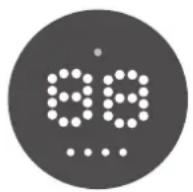
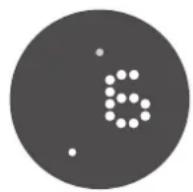
When the power is on, the knob panel will blink every second, displaying information as shown in Figure A1. This indicates the kalibration status. Please wait 10 seconds for the process to complete, after which a green light will turn on. Once the device is ready, the panel will display as shown in Figure A2.
A1
A2
Warning:
- When the screen flashes, calibration is in progress. Do not pull the cord during this time, as it will cause the calibration to fail.
- If the flashing continues for more than 15 seconds, the calibration process may have failed. Turn off the power, wait a few seconds, and then restart the device. Repeat this process until the flashing stops and the screen matches Figure A2.
- If the screen still does not match Figure A2 after several attempts, please contact customer service.
QUICK START
After the calibration is complete, adjust the resistance by turning the knob: clockwise to increase and counterclockwise to decrease. When ready, press the knob or click the wireless safety button on the accessory to start. The system now defaults to standard mode.
TRAINING MODE SELECTION
This machine is equipped with four different modes: standard mode, eccentric mode, chain mode and speed mode. This section explains how to select the mode.
STANDARD MODE
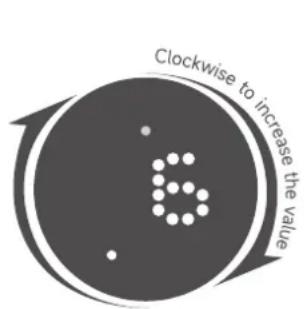
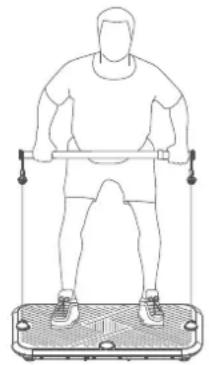
Displaying 1 dot indicates the standard mode (Figure A3).
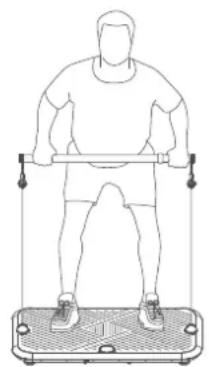
In this mode, the concentric force equals the eccentric force, simulating the counterweights found in a gym. The resistance range is 3-45kg.
Force Adjustment: Press the knob panel to select the mode and enter standby status. Adjust the resistance by turning the knob clockwise to increase or counterclockwise to decrease the value.
Start/Stop: After selecting the mode and adjusting the resistance, press the knob panel or click the safety button on the accessory to start or stop.
text_image
Clockwise to increase the value 6A3
natural_image
Line drawing of a person using a weightlifting exercise machine (no text or symbols)
Concentric force


Eccentric force
ECCENTRIC MODE
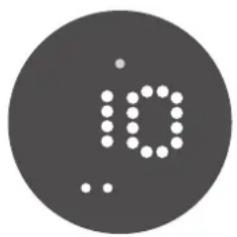
Displaying 2 dots is the eccentric mode. (As figure A4)
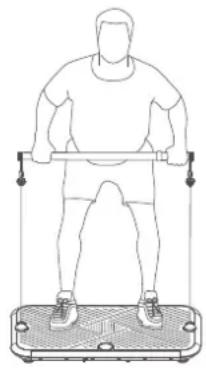
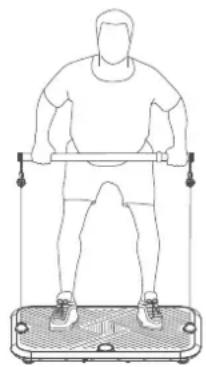
Eccentric mode: The eccentric force is twice of the concentric force. The resistance displayed on the knob panel is the eccentric force. The default is at 10 kg which means the eccentric force is 10kg and the concentric force is 5kg. (Resistance range: 6-45 kg)
Force adjustment: Press the knob panel to complete the mode selection and enter the standby status. Now the resistance can be adjusted by turning the knob. Clockwise to increase and counterclockwise to decrease the value.
Start/Stop: After confirming the mode and resistance, press the control panel or click the safety button on the accessory to start or stop.
natural_image
Circular icon with a dotted 'i0' symbol, no text or numbers presentA4
natural_image
Line drawing of a person using a weightlifting exercise machine (no text or symbols)
Concentric force


Eccentric force

Warning:
- In eccentric mode, the eccentric force is twice the concentric force. Therefore, be aware of the rapid speed of the eccentric force. It is highly recommended to start with a smaller resistance to get used to this mode.
- If the resistance feels too high, stop immediately and adjust to a lower resistance.
CHAIN MODE
Displaying 3 dots indicates the chain mode (Figure A5).
Chain Mode: In this mode, the resistance changes with the pulling length—the longer the pull, the greater the force. The value displayed on the knob panel is the maximum resistance of the chain. When the resistance reaches the displayed value, it will remain unchanged regardless of further pulling length. The default value is 15 kg, meaning the resistance will increase with the pulling length until it reaches 15 kg, after which it remains constant. The resistance range is 10-45 kg.
Resistance Adjustment: Press the knob panel to select the mode and enter standby status. Adjust the resistance by turning the knob clockwise to increase or counterclockwise to decrease the value.
Start/Stop: After selecting the mode and adjusting the resistance, press the knob panel or click the safety button on the accessory to start or stop.
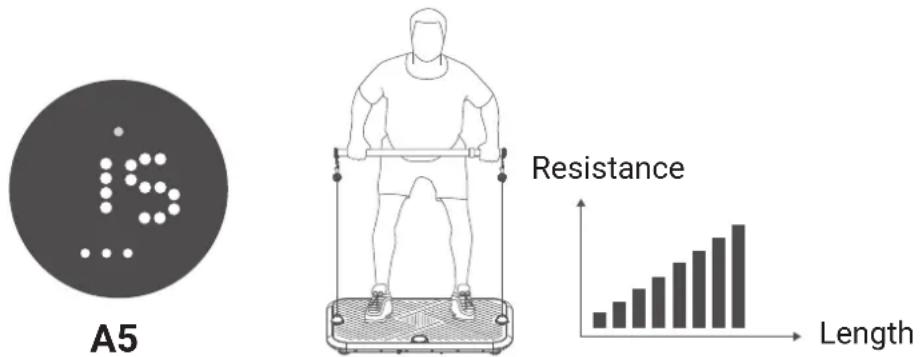
(The resistance increases with the pulling length)
Warning:
- It is highly recommended to start with a smaller resistance to get used to the mode.
- Chain Mode: The resistance is smallest at the starting point and increases the longer you pull.
SPEED MODE
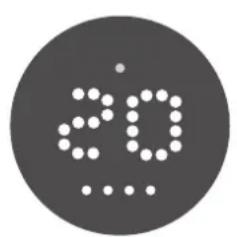
Displaying 4 dots indicates the speed mode (Figure A6).
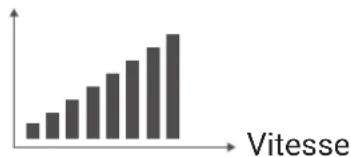
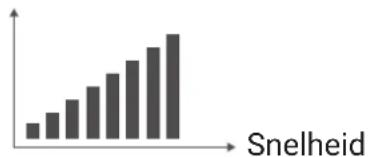
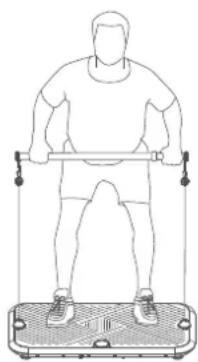
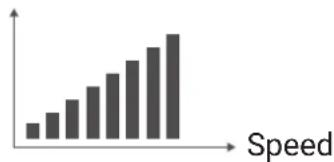
Speed mode: In this mode, the resistance changes with the speed of movement - the higher the speed, the greater the resistance. The value displayed on the button panel is the maximum resistance. Once the resistance reaches the displayed value, it remains unchanged regardless of any further increase in speed. This mode is suitable for explosive training. The default value is 20 kg, meaning the resistance increases with speed until it reaches 20 kg, after which it remains constant. The resistance range is 10-45 kg.
Resistance Adjustment: Press the knob panel to select the mode and enter standby status. Adjust the resistance by turning the knob clockwise to increase or counterclockwise to decrease the value.
Start/Stop: After selecting the mode and adjusting the resistance, press the knob panel or click the safety button on the accessory to start or stop.
text_image
20A6
natural_image
Line drawing of a person using a weightlifting exercise machine (no text or symbols)Resistance
bar
| Speed | Value | |---|---| | 1 | 1 | | 2 | 2 | | 3 | 3 | | 4 | 4 | | 5 | 5 | | 6 | 6 | | 7 | 7 | | 8 | 8 | | 9 | 9 | | 10 | 10 |(The resistance increases with the pulling speed)
BLUETOOTH SPEAKER
This device is equipped with a Bluetooth speaker that you can easily connect to your phone.
These speakers allow you to enhance your workout with motivational music, creating an energetic environment that keeps you refreshed and motivated as you work towards your fitness goals.
To connect, manually search for the Bluetooth name "DSG200i" and select it.
APP
iPhone users can easily find "INNODIGYM" on the App Store, while Android users can search for the app on Google Play. You can also scan the QR code to download the app directly.
Install the app for additional exercise support.
Device name: DSG200i
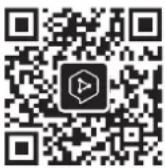
Innodigym App
POWER SUPPLY
The standard voltage for this product is 220 volts. The required voltage is listed on the manufacturer's sticker at the bottom of the lid.
Connect the plug to a grounded outlet. Earthing provides a path with minimal resistance in case of failure, reducing the risk of electric shock. The plug of this product is equipped with a grounding conductor. For safety, the earthed plug must be inserted into a correctly installed and earthed socket in accordance with all local rules and regulations.
Always use the device in accordance with the specific voltage requirements.
220V Must be grounded
FOR THE USERS
- The maximum load for this device is 150 kg.
-
Wear suitable sports shoes and clothing during use and perform proper warm-up exercises.
-
If you experience discomfort or abnormal physical condition, stop exercising immediately and consult a doctor.
-
Do not drink alcoholic beverages or other stimulants prohibited by national laws before or after using this device.
-
Fatigue, failure to follow operating instructions and excessive training can cause injury. Assess your physical condition and endurance carefully before exercising to ensure that the exercises, intensity and duration are appropriate.
-
Keep children and pets away from this product to avoid danger.
-
This product is not suitable for the following persons:
-
Persons with heart disease, high blood pressure, asthma or other conditions that prohibit vigorous exercise;
-
Persons who should avoid vigorous exercise according to medical advice to avoid accidents or physical discomfort.
-
Minors should only use this device under supervision and guidance and not independently.

Warning:
Incorrect, unsafe or excessive training can cause serious injury. If you feel dizzy, stop exercising immediately and consult a doctor.
USE ENVIRONMENT
- This product is an indoor sports device; do not use it outdoors.
- Provide at least 50 cm space on each side of the appliance.
- Keep the appliance away from water sources, heat sources, and flammable or explosive materials.
- Place the device on a flat, hard surface; do not place a soft mat underneath.
- Do not use the device at room temperatures above 40^ C.
- Avoid using the device in damp or dusty environments to avoid malfunctions.
- Do not place the device near electric stoves, cookers, or in direct sunlight.
- Do not use the device in an environment with insufficient oxygen.
- Keep liquids away from the device and do not place objects on the surface.
- Do not touch the power cord, socket and switch with wet hands.
- Only install the equipment on concrete bearing walls. Do not install it on wooden walls or other unstable surfaces.
OPERATIONAL SAFETY
- This device is intended for exercises only. Do not disassemble it or make any modifications to avoid safety problems.
- Use only parts recommended by the manufacturer.
- Modification of the electrical control system of this device is strictly prohibited except by professionals.
- The plug must be earthed. Preferably do not use other electrical appliances on the same power supply.
- Do not use damaged or wet power cords or plugs. The power cord of this appliance is custom-made. If damaged, contact the manufacturer or service centre to avoid injury.
- After use, switch off the appliance and unplug it.
MAINTENANCE
- Note: Check the equipment regularly for damage and wear on parts such as cables, pulleys and connection points to ensure the safety of the equipment.
- Replace defective parts immediately or stop using the equipment until maintenance has been carried out.
- Pay extra attention to the parts that wear most quickly.
- Unplug the machine before cleaning and wipe with a clean, slightly damp (microfibre) cloth.
Note: Do not use disinfectant, alcohol or various acidic and alkaline cleaning agents to clean parts of the machine.
TROUBLESHOOTING
| Error | Possible causes | Solutions |
| E1 | Releasing too quickly | Automatic recovery |
| E2 | Speeding up too fast | Automatic recovery |
| E3 | Overheating protection | Switch off and rest, restart the device 5 minutes later. |
| E4 | Restart the device. If it still does not work normally, contact customer service. | |
| E5 | ||
| E6 | ||
| E7 | ||
| E8 | ||
| E9 |
WARRANTY POLICY
The warranty is provided by the Flow Fitness distributor of your country and the reseller where you have purchased your product. Please check
https://www.flowfitness.com/en/dealers/for contact information.
1. PRODUKTINFORMATION ...... 38
Produktliste 38
natural_image
Top-down technical drawing of a rectangular device with horizontal slats and central vent, no text or symbols presentFlow Fitness DSG200i
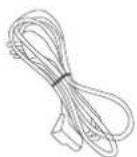
Stromkabel
Handbuch
ZUBEHÖR
natural_image
Simple line drawing of a horizontal bar with two hanging clips (no text or symbols)natural_image
Line drawing of a rectangular electronic device with two leads (no text or symbols)Hüftgurt
natural_image
Line drawing of two identical mechanical arms with hooks and handles (no text or symbols)natural_image
Two identical mechanical clamps with end brackets and circular cutouts, shown side by side (no text or symbols)Fußkettchen
Bemerkung:
PRODUCT SPECIFICATIONS
| Modell | DSG200i |
| Macht | 1000W |
| Produktformat | 85 x 45 x 6.5 cm |
| Nettogewicht | 20kg |
natural_image
Simple line drawing of a lever with two hanging weights and a central fulcrum (no text or symbols)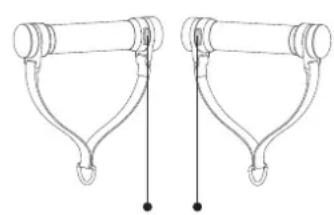
natural_image
Pure mechanical linkage diagram without any text, numbers, or symbolstext_image
Clockwise to increase the valueA3
natural_image
Line drawing of a person using a weightlifting exercise machine (no text or symbols)natural_image
Gray circular icon with white dots arranged in a grid, resembling a stylized number 10 or symbol (no text or numbers present)A4
natural_image
Line drawing of a person using a weightlifting exercise machine (no text or symbols)
Konzentrische Kraft


Exzentrische Kraft

Warnung:
natural_image
Top-down technical drawing of a rectangular device with horizontal slats and central vent, no text or symbols presentFlow Fitness DSG200i
natural_image
Simple line drawing of a horizontal bar with two hanging clips (no text or symbols)natural_image
Line drawing of a rectangular electronic device with two leads (no text or symbols)Ceinture de hanches
natural_image
Line drawing of two identical mechanical arms with hooks and handles (no text or symbols)natural_image
Two identical mechanical clamps with end brackets and circular cutouts, shown side by side (no text or symbols)Bracelets de cheville
Note:
SPÉCIFICATIONS DU PRODUIT
Modèle DSG200i
Puissance 1000W
natural_image
Simple line drawing of a horizontal beam with two hanging weights and a central vertical rod (no text or symbols)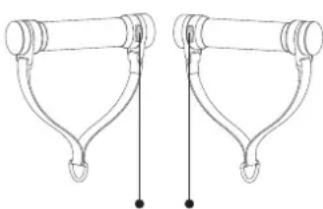
natural_image
Pure mechanical linkage diagram without any text, numbers, or symbolsnatural_image
Circular icon with a dotted 'i0' symbol, no text or numbers presentA4
natural_image
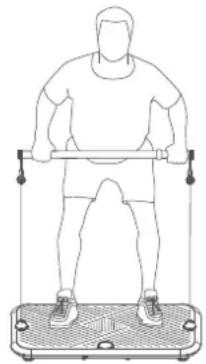
Line drawing of a person using a barbell presser machine (no text or symbols)
Force concentrique


Force excentrique
Attention:
natural_image
Line drawing of a person using a weightlifting exercise machine (no text or symbols)Résistance