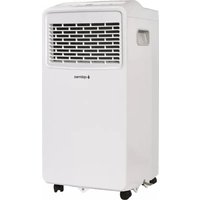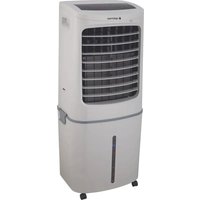
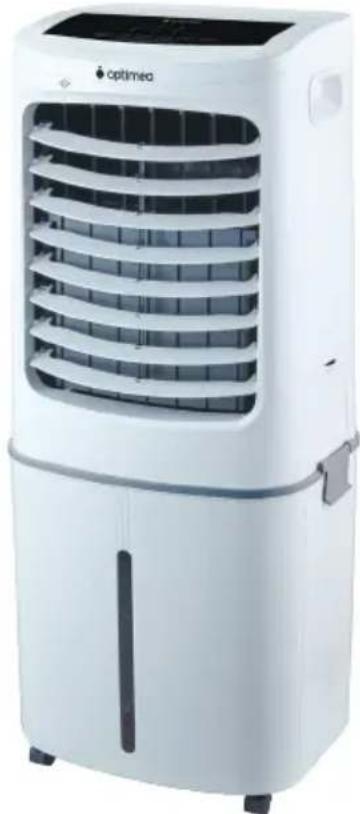
ORA-440D - Air Conditioning OPTIMEA - Free user manual and instructions
Find the device manual for free ORA-440D OPTIMEA in PDF.


User questions about ORA-440D OPTIMEA
0 question about this device. Answer the ones you know or ask your own.
Ask a new question about this device
Download the instructions for your Air Conditioning in PDF format for free! Find your manual ORA-440D - OPTIMEA and take your electronic device back in hand. On this page are published all the documents necessary for the use of your device. ORA-440D by OPTIMEA.
USER MANUAL ORA-440D OPTIMEA
text_image
QR code image containing encoded data, no visible human-readable text
Plus d'infos
natural_image
White portable air conditioner unit with heat exchanger and control panel (no visible text or symbols)text_image
QR code image containing encoded data, no visible human-readable textPlus d'infos
natural_image
Symbol of a trash bin crossed with no text or numbers, representing waste sorting or disposal (no text present)text_image
Diagram showing three-step installation of an air purifier with labeled parts and stepstext_image
Diagram of a portable air conditioner unit with numbered parts labeled 1 to 4natural_image
Illustration of a mobile phone control panel with icons for sound, power, and function buttons (no text or symbols)natural_image
Line drawing of a portable air conditioner unit with ventilation slots and control panel (no text or symbols)Cadre du filtre
text_image
QR code image containing encoded data, no visible human-readable text
Plus d'infos
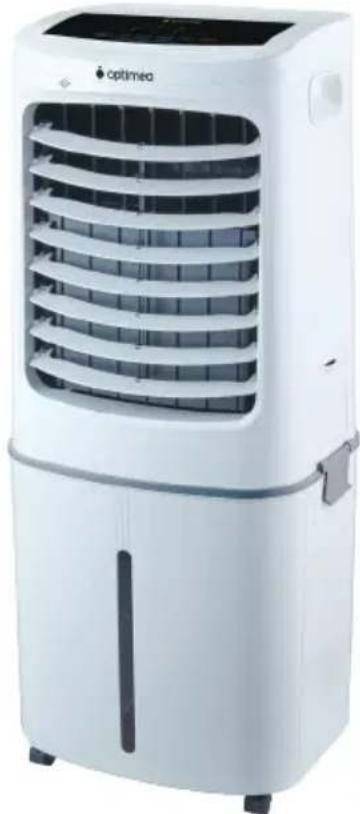
Air cooler
User manual
Item : ORA-440D

text_image
QR code image containing encoded data, no visible human-readable text
More info
natural_image
White portable air conditioner unit with ventilation slots and control panel (no visible text or symbols)Thank you for choosing our product.
For proper operation of the device, please read carefully and store these Instructions for Use.
If you lose this User Guide, please contact your reseller, or send an e-mail to info@optimea.fr to obtain the electronic version.
Content
- Safety instruction ____ 1
2.Name of components
2.1 Installation of the water tank 2
2.2 Foot-Wheel Installation 2
3.Instructions for key of remote controller 3
4.Instructions for operation of body 4
5.Troubleshooting 5
- Maintenance instruction
7.Cleaning 5
Please read these operating instructions through carefully before connecting your device to the mains, in order to avoid damage due to incorrect use. Please pay particular attention to the safety information. If you pass the device on to a third party, these operating instructions must also be handed over.

text_image
QR code image containing encoded data, no visible human-readable text
More info
1. Safety instruction
- If the supply cord is damaged, it must be replaced by manufacturer, its service agent or a similarly qualified person in order to avoid a hazard.
- This appliance can be used by children aged from 8 years and above and persons with reduced physical, sensory or mental capabilities or lack of experience and knowledge if they have been given supervision or instruction concerning use of the appliance in a safe way and understand the hazards involved. Children shall not play with the appliance. Cleaning and user maintenance shall not be made by children without supervision.
- Unplug the appliance during filling and cleaning.
- Prior to cleaning or other maintenance, the appliance must be disconnected from the supply mains.
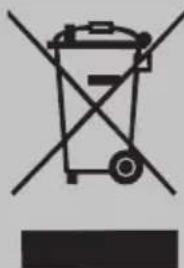
- Correct Disposal of this product
natural_image
Symbol of a trash bin crossed with no text or numbers, representing waste sorting or disposal (no text present)This marking indicates that this product should not be disposed with other household wastes throughout the EU. To prevent possible harm to the environment or human health from uncontrolled waste disposal, recycle it responsibly to promote the sustainable reuse of material resources. To return your used device, please use the return and collection systems or contact the retailer where the product was purchased. They can take this product for environmental safe recycling.
6.CAUTION: In order to avoid a hazard due to inadvertent resetting of the thermal cut-out, this appliance must not be supplied through an external switching device, such as a timer, or connected to a circuit that is regularly switched on and off by the utility.
2.Name of components
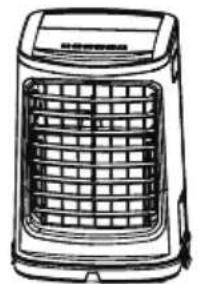
2.1 Installation of the water tank
natural_image
Line drawing of a portable electric heater with grid grille and front panel (no text or symbols)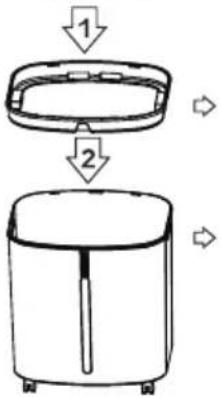
text_image
Diagram showing three steps of a device with labeled arrows indicating process flow.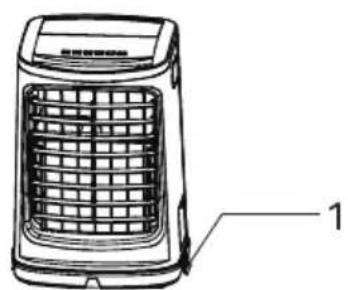
natural_image
Line drawing of a portable air heater with grid grille and labeled component (no text or symbols on the device itself)
text_image
3 2 3| NO. Description | |
| 1 Water tank fashener | |
| 2 Ice box | |
| 3 Water tank |
text_image
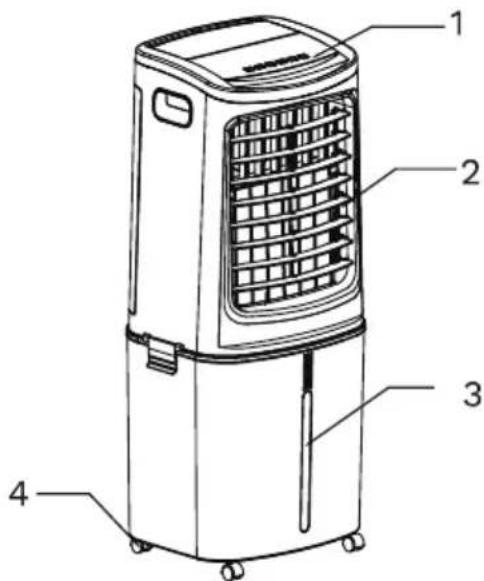
Diagram of an air conditioner unit with numbered parts labeled 1 to 4| NO. Description |
| 1 Control panel |
| 2 Air outlet |
| 3 Water window |
| 4 Wheel |
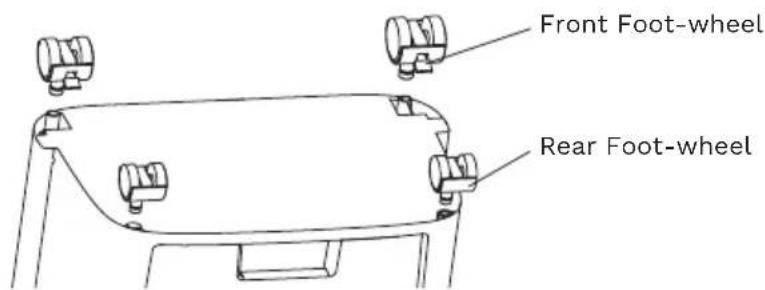
2.2 Foot-Wheel Installation
text_image
Front Foot-wheel Rear Foot-wheel3.Instructions for key of remote controller
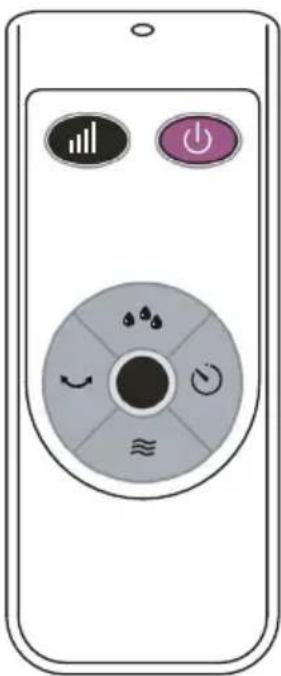
natural_image
Illustration of a smartphone remote control with buttons and function icons (no text or symbols)| Battery Installation | ||
Pull Notch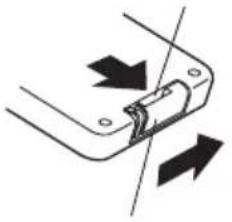 Locking latch Locking latch | 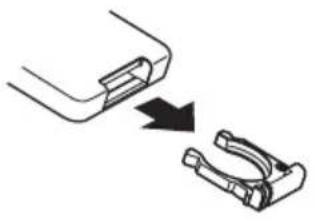 | CR2032Battery 3vded)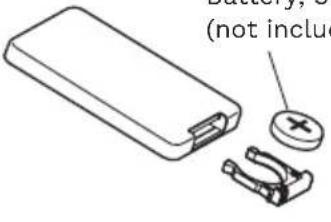 |
It uses one button battery of type "CR2032" (not included).
Considerate Hint:
- Install the battery with positive side facing up.
- Effective Range of Remote Control: within 5m distance and 30-degree deflection in front of Product.
4.Instructions for operation of body
text_image
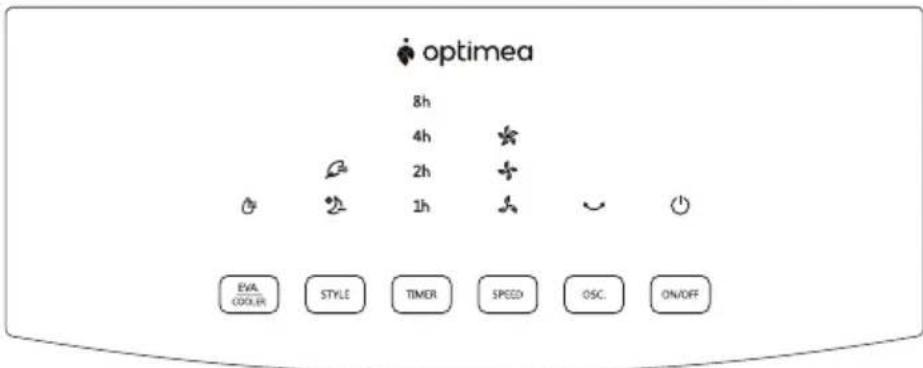
optimea 8h 4h 2h 1h EVA. COOLER STYLE TIMER SPEED OSC ON/OFFPress a key on the unit to activate a corresponding function.
For instance:
- Press [OSC.] Key to activate or deactivate Swing Function. (Note: Manual horizontal blade allows tilting flow direction.)
- Press [SPEED] Key to adjust 3 speeds of air flow.
- Press [STYLE] to switch between Normal mode (you can choose your air flow speed) to the 2 pre-registered modes: Natural and sleep. Natural mode is like the natural air flow with the medium speed of air flow. Sleep mode is the quietest style with a low air flow.
- Press [TIMER] Key to set 1-12 hour timer setting. The 12h timer is obtained when the 4h and 8h lights are on at the same time.
- When [EVA./COOLER] Key is pressed, the indicator lights up constantly if the operation is normal; when the indicator flashes, it denotes a water shortage, please add water immediately.
Considerate Hint :
Push Buttons on the unit may differ based on the actual product model.
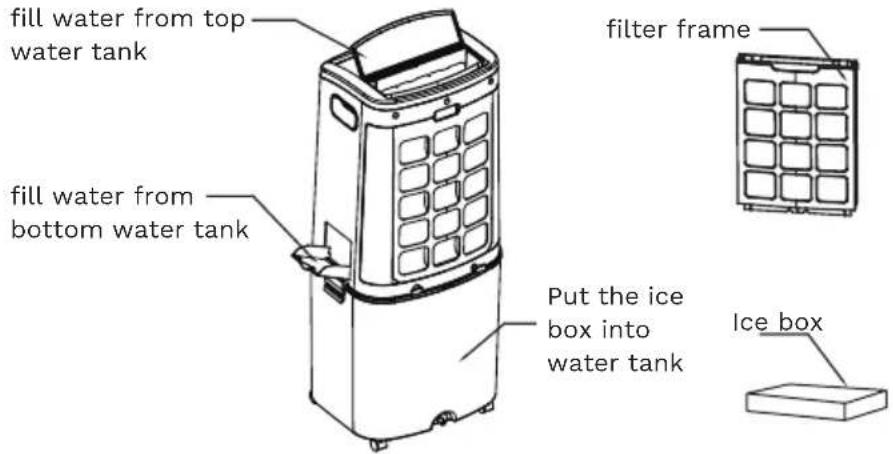
Add water
Add water from top: Rotate water tank's top cover, fill in water.
Add water from side: Rotate water tank's side cover, fill in water.
text_image
fill water from top water tank fill water from bottom water tank filter frame Put the ice box into water tank Ice boxConsiderate Hint :
- When humidifying, water level in the Water Tank must remain under MAX indication; replenish water if level gets lower than MIN indication.
- The water level in the tank is below minimum scale marked on water display window, don't use the humidification function.
- When the tank water level is lower than the minimum scale, the unit shall make 3 seconds buzzing warnings sound, then the water pump stop running, this time need add water to run humidification function.
- When the tank water level exceed the maximum, the unit shall make 10 seconds buzzing warnings sound, to prevent the water in a water flooded lead to overflow.
5.Troubleshooting
In case the product cannot be operated normally after installation, checks shall be made for items described bellow:
- Power cable unplugged or faulty contact.
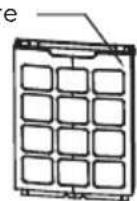
- Honeycomb filter assembly not properly installed.
- Power Switch on the back of product or in the display panel not switched on. If product remains dysfunctional after checking, a local dealer shall be sought for assistance.
6.Maintenance instruction
The fan requires little maintenance. Do not try to fix it by yourself. Refer it to qualified service personnel if service is needed.
- Before cleaning and assembling, fan must be unplugged.
- To ensure sufficient air supply, the honeycomb filter and dust filter shall be cleaned regularly.
- Please wipe the exterior parts with a soft cloth soaking a mild detergent.
- Do not use any abrasive detergent or solvents to avoid scratching the surface. Do not use any of the following as a cleaner: gasoline, thinner.
5.Do not allow water or any other liquid into the motor housing or interior parts.
7.Cleaning
- Be sure to unplug from the electrical supply source before cleaning.
- Plastic parts should be cleaned with a soft cloth moisten with mild soap. Thoroughly remove soap film with dry cloth.
Optimea
Please find our product range on our website www.optimea.fr :

text_image
QR code image containing encoded data, no visible human-readable text
More info