
USX-ST2043 - Steam cleaner Ulsonix - Free user manual and instructions
Find the device manual for free USX-ST2043 Ulsonix in PDF.
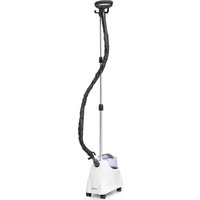


| Product type | Steam cleaner |
| Brand | Ulsonix |
| Model | USX-ST2043 |
| Rated voltage / Frequency | 230 V / 50 Hz |
| Rated power | 2000 W |
| Water tank capacity | 2,35 L |
| Dimensions (L x P x H) | 36 x 25 x 169 cm |
| Weight | 5,7 kg |
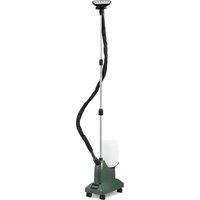
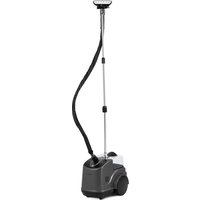
| Steam head | With removable brush |
| Steam hose | Flexible, screw connection |
| Support pole | In 3 sections, screwed |
| Handle | Thermally insulated |
| Use | Vertical only (do not tilt) |
| Heat-up time | Approximately 60 seconds |
| Water supply | Cold tap water |
| Safety | Disconnect before filling/cleaning; do not immerse; do not direct at people or animals |
| Maintenance | Do not bend the hose for storage; drain the tank after use |
| Spare parts | Power cord replaceable by professional |
| Included accessories | Steam head, brush, hose, support poles, tank |
Frequently Asked Questions - USX-ST2043 Ulsonix
User questions about USX-ST2043 Ulsonix
0 question about this device. Answer the ones you know or ask your own.
Ask a new question about this device
Download the instructions for your Steam cleaner in PDF format for free! Find your manual USX-ST2043 - Ulsonix and take your electronic device back in hand. On this page are published all the documents necessary for the use of your device. USX-ST2043 by Ulsonix.
USER MANUAL USX-ST2043 Ulsonix
| Parameter description | Parameter value |
| Product name | Steam Iron |
| Model | USX-ST2043 |
| Rated voltage [V~] / Frequency [Hz] | 230 / 50 |
| Rated power [W] | 2000 |
| Tank capacity [L] | 2.35 |
| Dimensions [Width x Depth x Height; mm] | 36 x 25 x 169 |
| Weight [kg] | 5.7 |
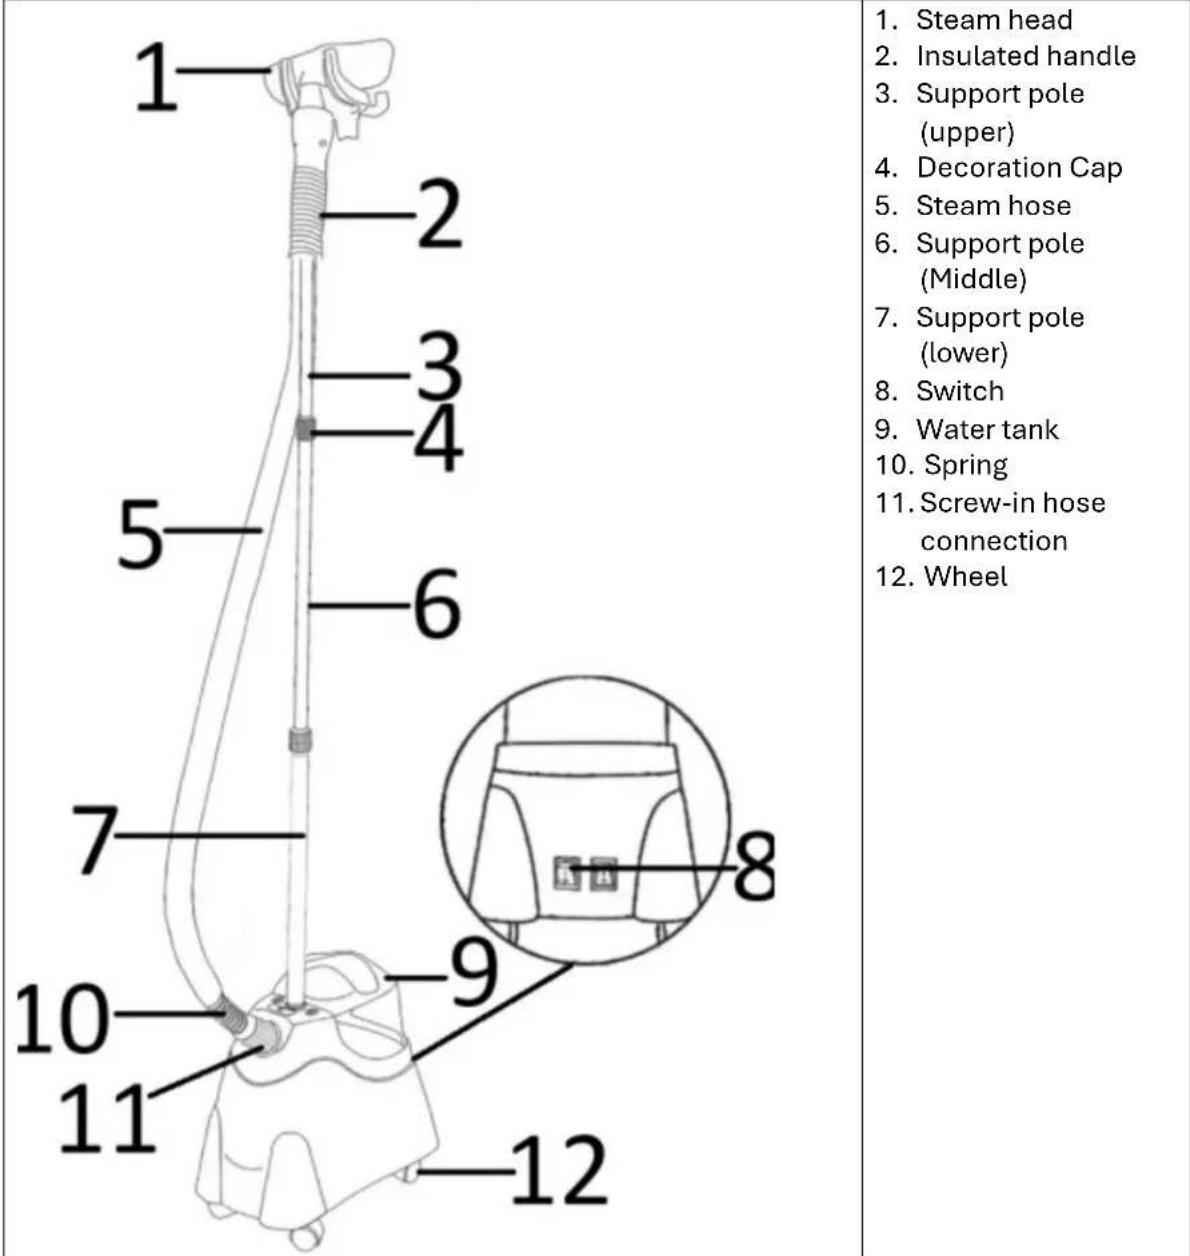
1. Important safety instructions
When using your steamer, basic precautions should always be followed, including the following.
a) Read all instructions. b) To reduce the risk of contact with hot water emitted from steam vents, check the appliance before each use by holding it away from your body while operating. c) Use the appliance only for its intended purpose. Steam in an up-and-down vertical motion. Never use the steamer in a horizontal or backward-tilted position, as this may result in water discharge. d) To reduce the risk of electric shock, do not immerse the appliance in water or other liquids. e) To minimize the likelihood of circuit overload, avoid operating another high-voltage device on the same circuit. f) Do not allow the cord to touch hot surfaces. Never pull the cord to disconnect from the outlet; instead, grasp the plug and pull to disconnect. g) Allow the appliance to cool completely before emptying the reservoir or storing it. h) Always disconnect the appliance from the power supply when filling with water, emptying, or when not in use. i) Do not fill the water bottle with hot water, as it may deform. j) Burns can occur from touching hot parts, hot water, or steam. Use caution when emptying the appliance, as there may be hot water in the reservoir. k) Never attempt to steam clothing while it is being worn. Do not steam directly toward people or animals. l) Close supervision is necessary when any appliance is used by or near children. Do not leave the appliance unattended while connected to a power source. m) For indoor use only. n) Always unplug the appliance from the electrical outlet when filling with water, emptying, or when not in use. o) If the supply cord is damaged, it must be replaced by the manufacturer, its service agent, or similarly qualified persons to avoid a hazard. p) This appliance is not intended for use by persons (including children) with reduced physical, sensory, or mental capabilities, or lack of experience and knowledge, unless supervised or instructed on how to use the appliance by someone responsible for their safety. q) Children should be supervised to ensure they do not play with the appliance.
2. Support pole Assembly
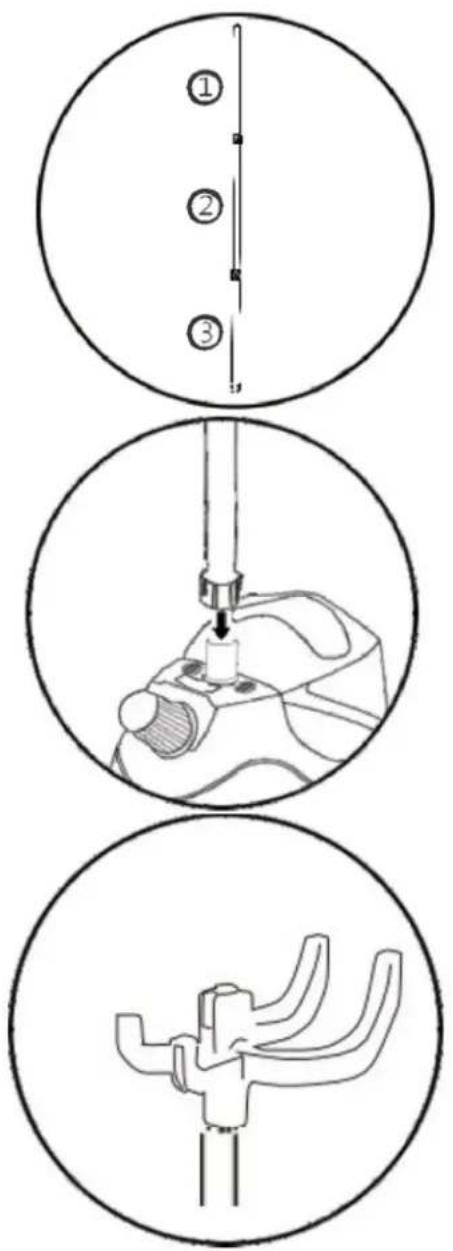
Screw 1 into 2 in a clockwise direction. Continue with the 3
Attach the support pole to the body of the steamer by inserting the assembled pole into steamer in a clockwise direction
Insert the cradle onto the top of pole.
3. Steam Hose Assembly
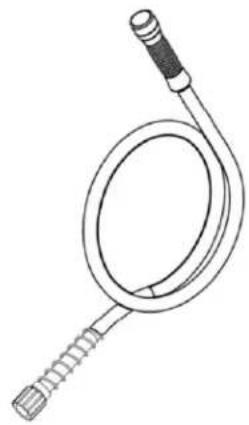
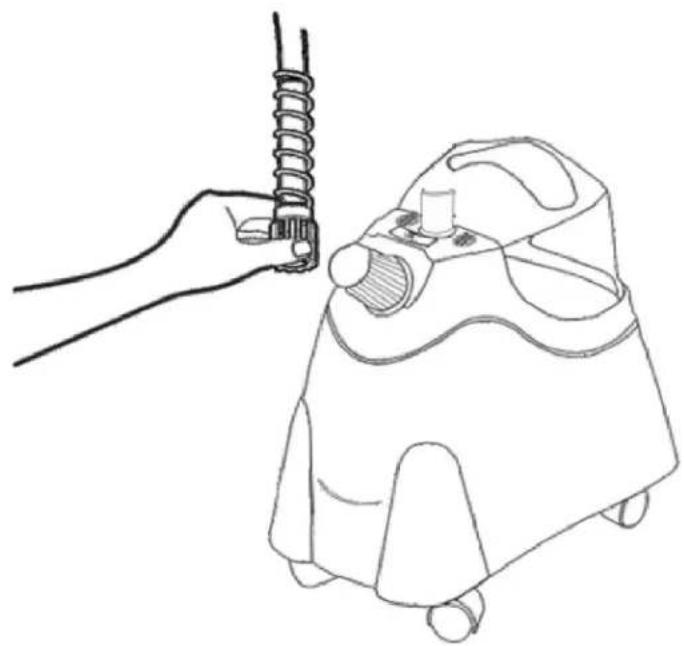
Screw steam hose into steamer in a clockwise direction.
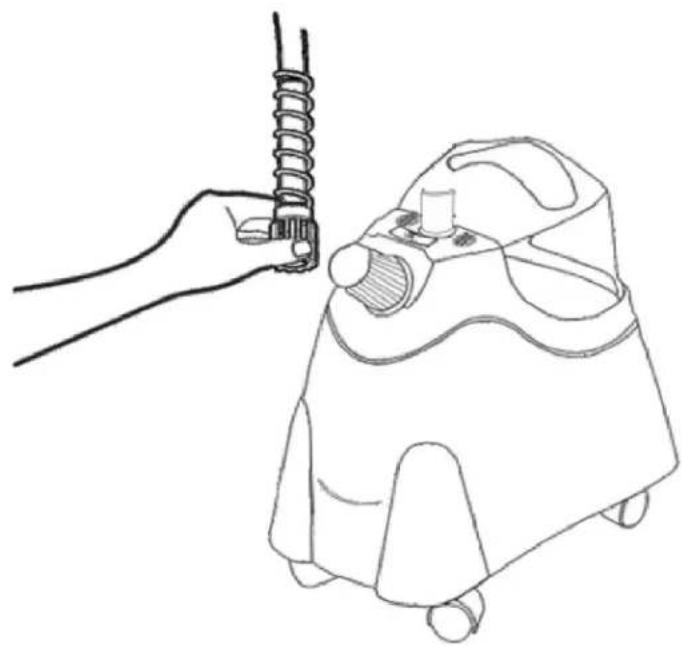
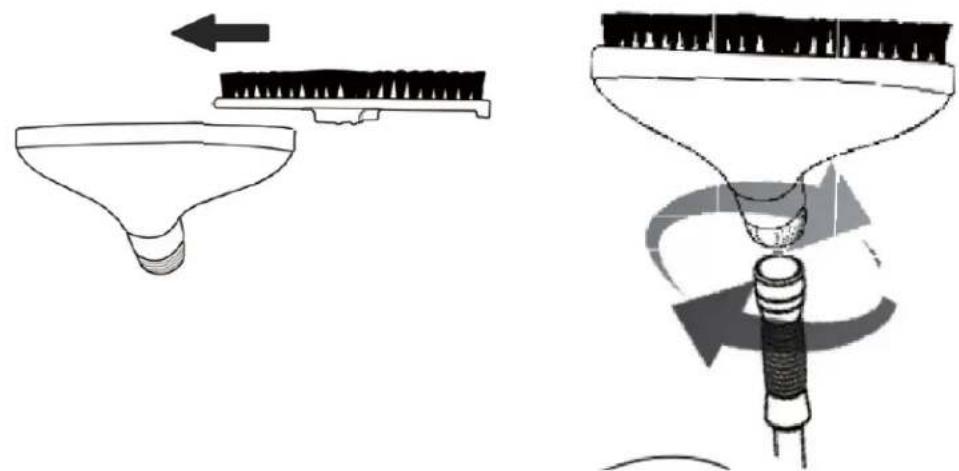
4. Steam Brush and Steam Head Assembly
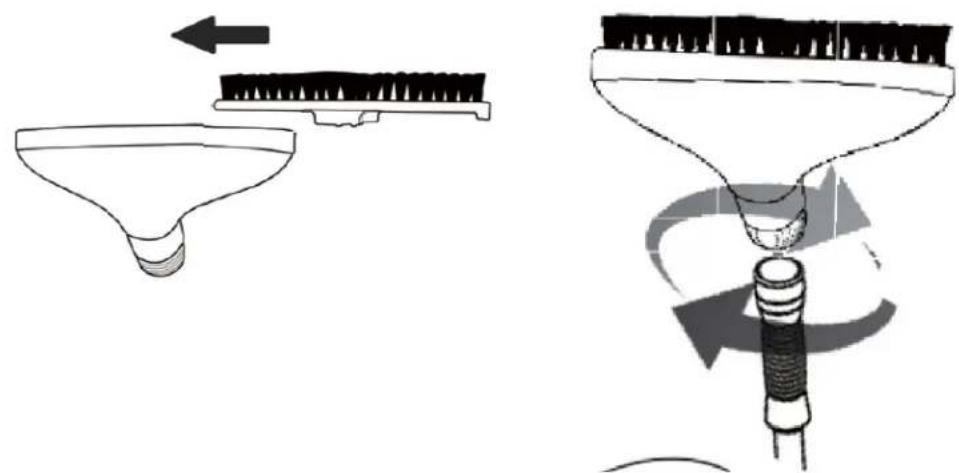
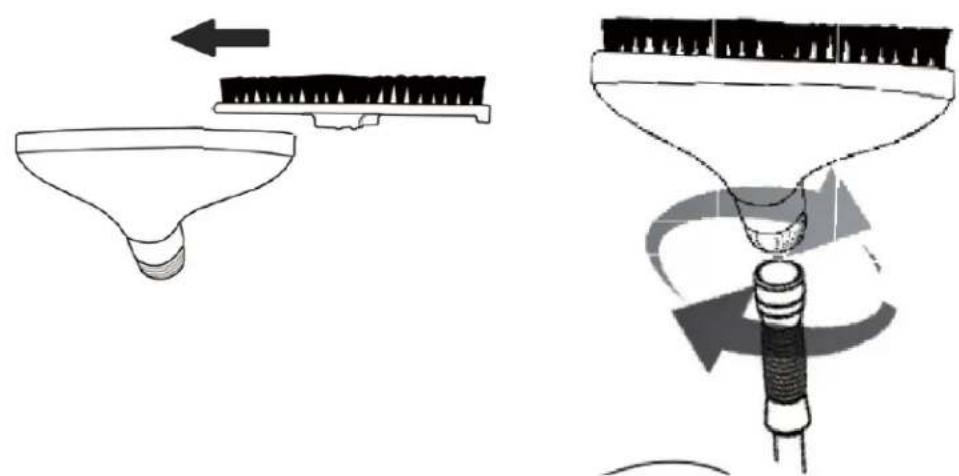
Attach the steam brush to the steam head as shown, then screw the steam head on in a clockwise direction.
Attention: Before using the steam head with the brush, test it on an inconspicuous area, as the brush may cause damage.
5. Steam your Garments
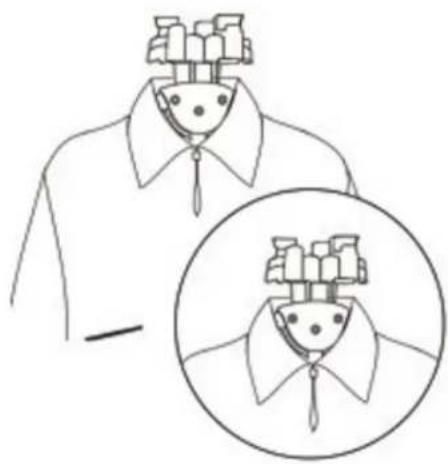
- Hang your garment on a separate hanger.
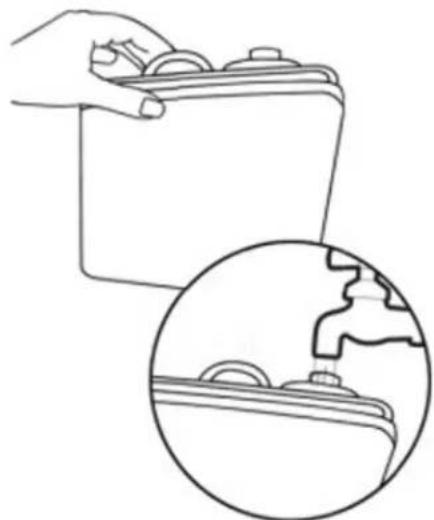
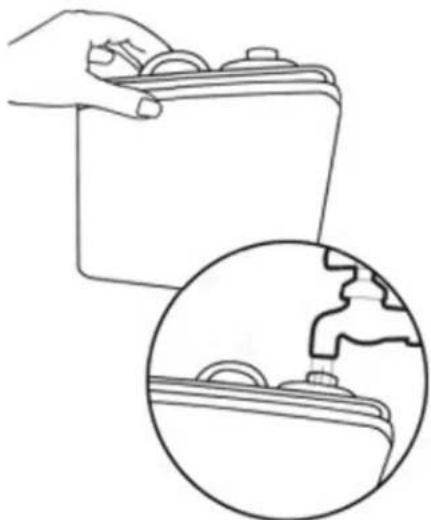
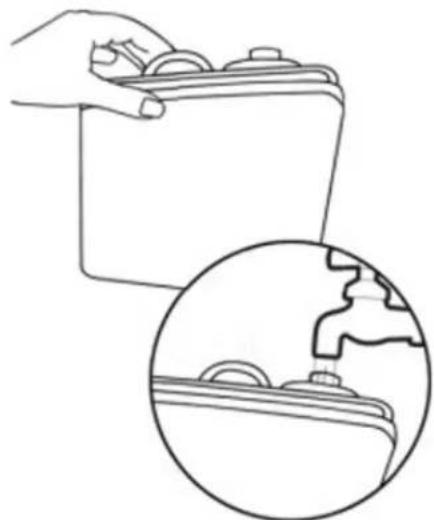
- Unscrew the water cap and fill with cold tap water. Screw the water cap in a clockwise direction.
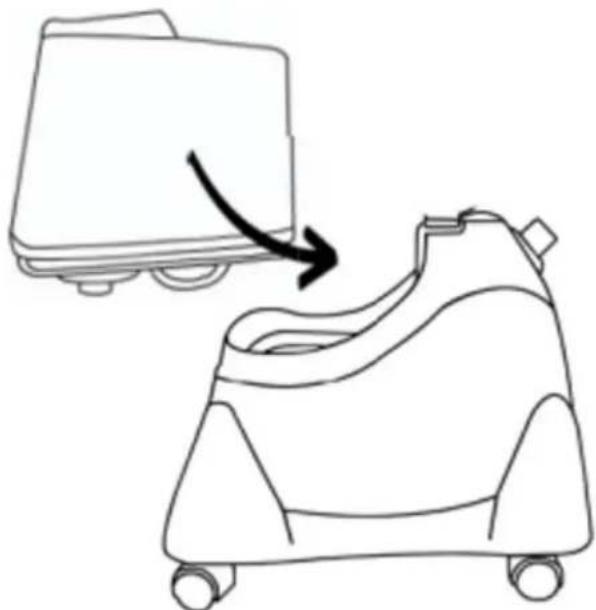
- Place the water tank back into the steamer.
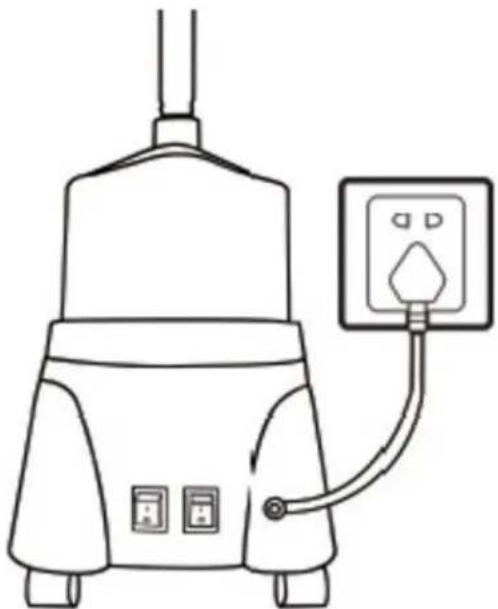
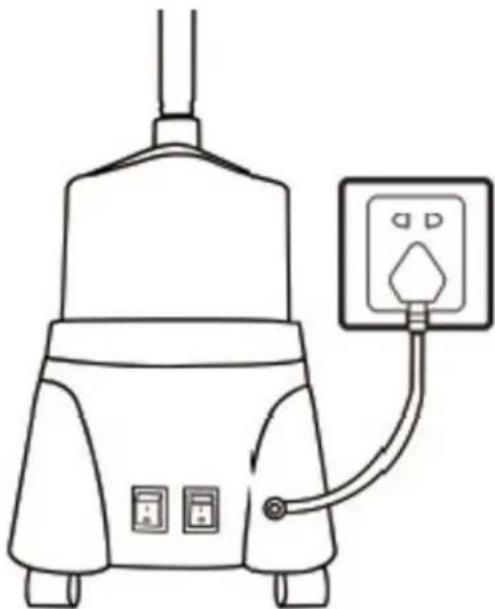
- Plug the steamer into the power supply and press the power switch. The steamer will be ready to use after 60 seconds.
Attention: Steam only in an up and down vertical motion. Never use the steamer in a horizontal position or tilt it backward, as this may result in water discharge.
6. Cleaning and maintenance
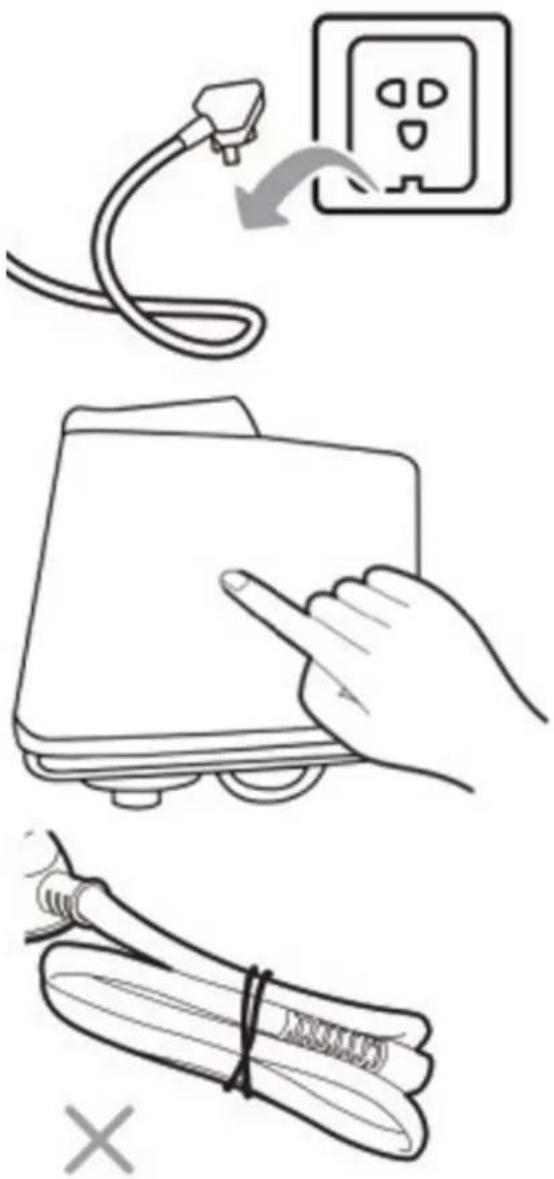
Always unplug the power cord after cleaning.
Never operate without water.
Do not bend the steam hose for storage purposes.
PL
FR
IT
HU
NL
4. Steam brush and steam head assembly
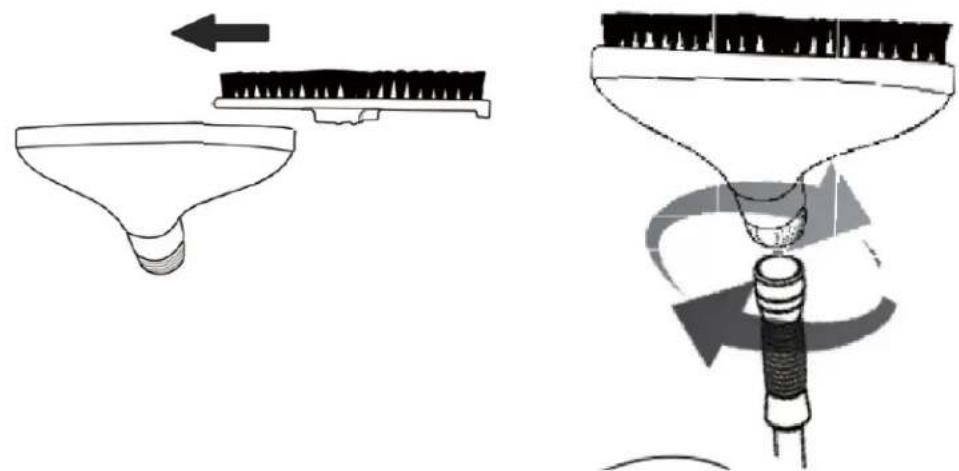
Turn 1 12 clockwise. Continue with 3
Screw the steam hose into the steamer clockwise.
NO
- Put the water tank back into the steamer
SE
PT
- Steam brush and steam head assembly
SK
4. Steam brush and steam head assembly
- Hang your garment on a separate hanger
4. Steam brush and steam head assembly
- Return the water tank to the steam appliance
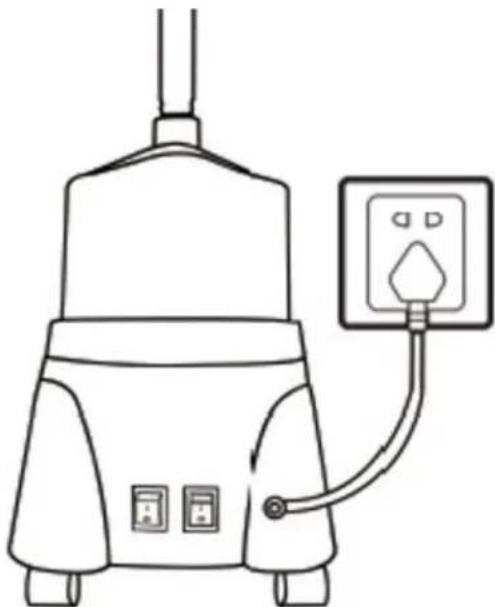
- Plug the steam appliance into the power outlet and press the switch. The steam appliance will be ready for use after 60 seconds.
Caution: Steam only with vertical up-and-down movements. Never use the steam appliance in a horizontal position or tilt it backward, as this may cause water leakage.
- Hang the garment on a separate hanger
Screw 1 into 2 in a clockwise direction. Continue with 3
Attach the support pole to the body of the steam container by inserting the assembled pole into the steam container in a clockwise direction
Place the cradle on top of the pole.
3. Steam pipe assembly
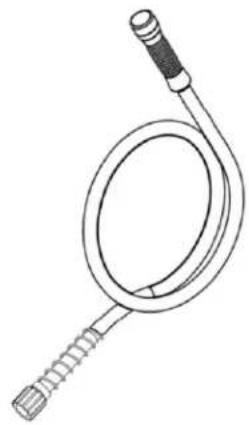
Screw the steam pipe into the steamer in a clockwise direction.
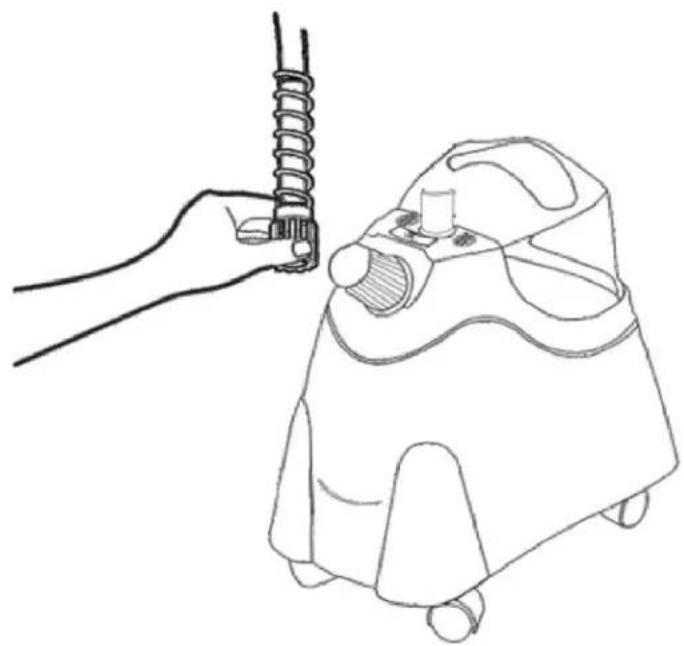
4. Steam brush and steam head assembly
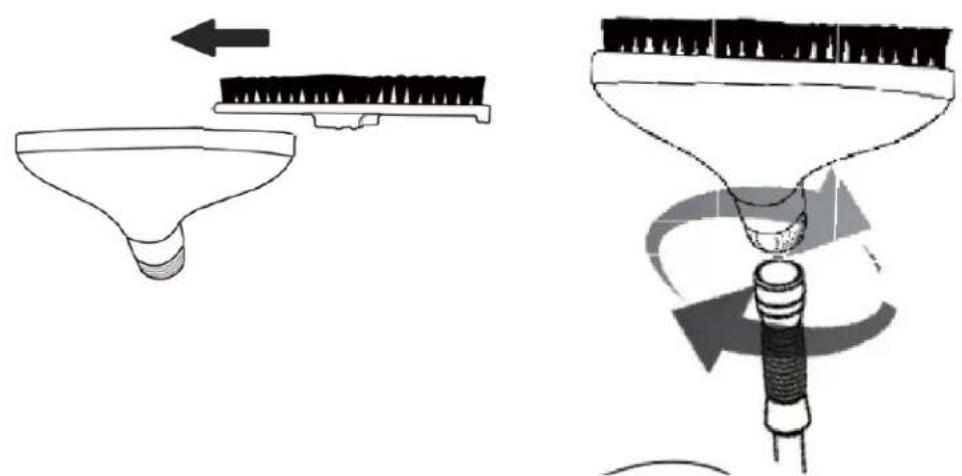
Attach the steam brush to the steam head as shown, then screw the steam head in a clockwise direction.
- Unscrew the water cap and fill with cold tap water. Screw the water cap back on in a clockwise direction.
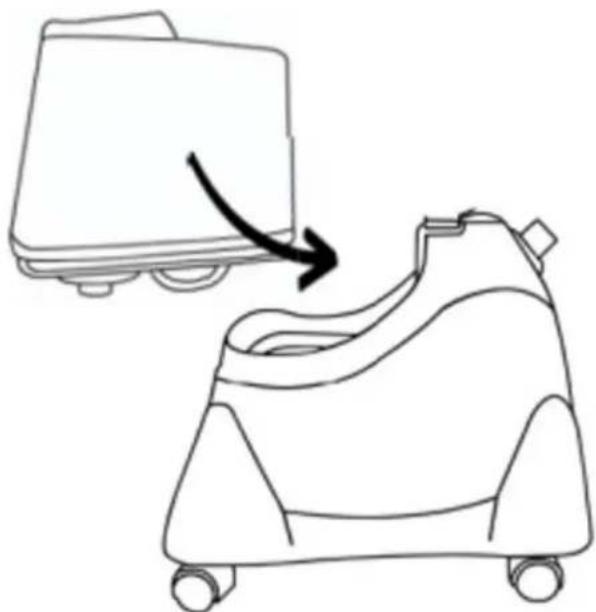
- Place the water tank back into the steamer.
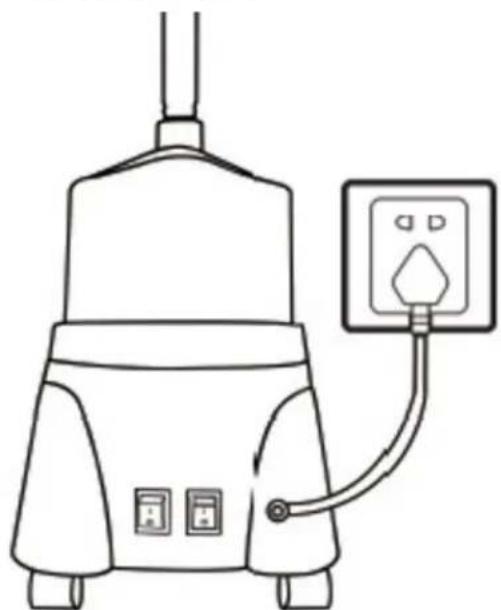
- Connect the steam cooker to the mains and press the power switch. The steamer will be ready for use after 60 seconds.
For the disposal of the device please consider and act according to the national and local rules and regulations.
CONTACT
expondo Polska sp. z o.o. sp. k.
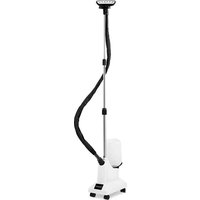
Brand : Ulsonix
Model : USX-ST2043
Category : Steam cleaner