3Sixti2 - High chair COSATTO - Free user manual and instructions
Find the device manual for free 3Sixti2 COSATTO in PDF.


User questions about 3Sixti2 COSATTO
0 question about this device. Answer the ones you know or ask your own.
Ask a new question about this device
Download the instructions for your High chair in PDF format for free! Find your manual 3Sixti2 - COSATTO and take your electronic device back in hand. On this page are published all the documents necessary for the use of your device. 3Sixti2 by COSATTO.
USER MANUAL 3Sixti2 COSATTO
baby stuff with personality
3 SIXTI ^2
highchair
NITTY GRITTY
1
natural_image
Simple line drawing of an insect wing with a green circular badge labeled '1' (no text or symbols on the wing itself)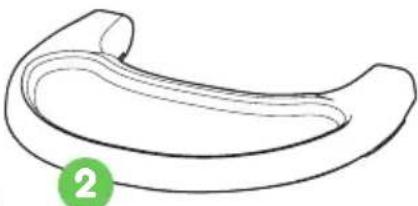
natural_image
Simple line drawing of a curved, elongated object with a green circular label containing the number 2 (no text or symbols on the object itself)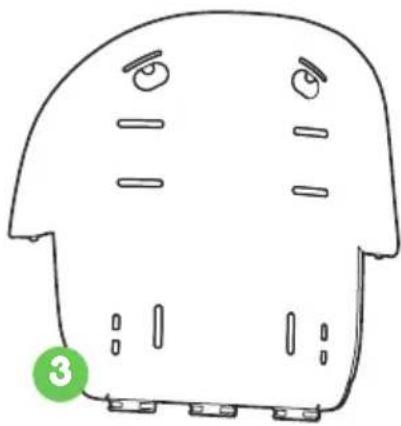
natural_image
Simple line drawing of a cartoon character's head with facial features and a green circular badge labeled '3' (no text or symbols on the character itself)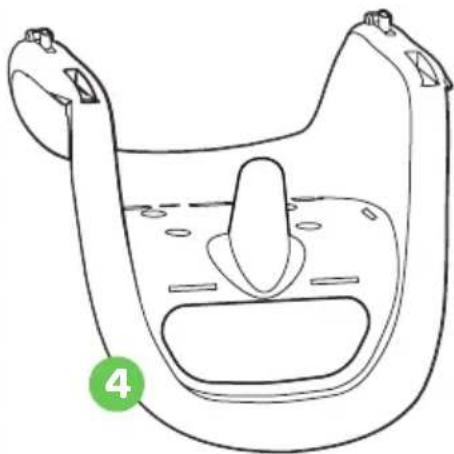
natural_image
Line drawing of a baby bottle with a side panel and mouth, no text or symbols present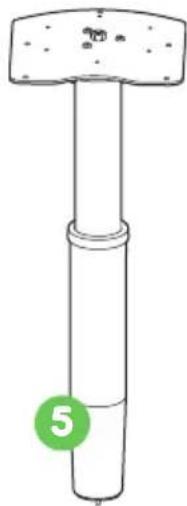
natural_image
Simple line drawing of a cylindrical mechanical component with a top and base, labeled with the number 5 (no text or symbols on the object itself)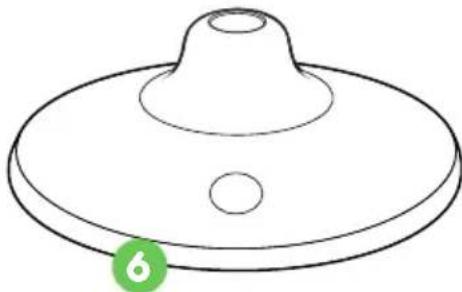
natural_image
Simple line drawing of a circular object with a central hole and two circular holes, labeled with the number 6 in a green circle (no text or symbols on the object itself)7
natural_image
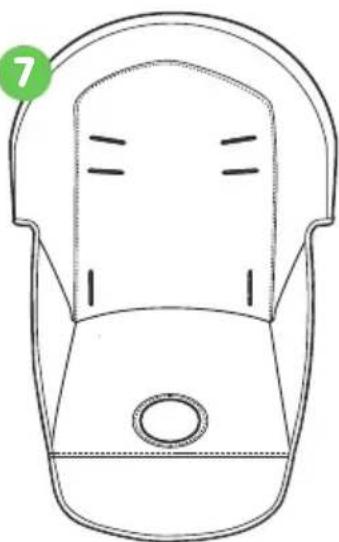
Top-down line drawing of a stylized car seat with no text or symbols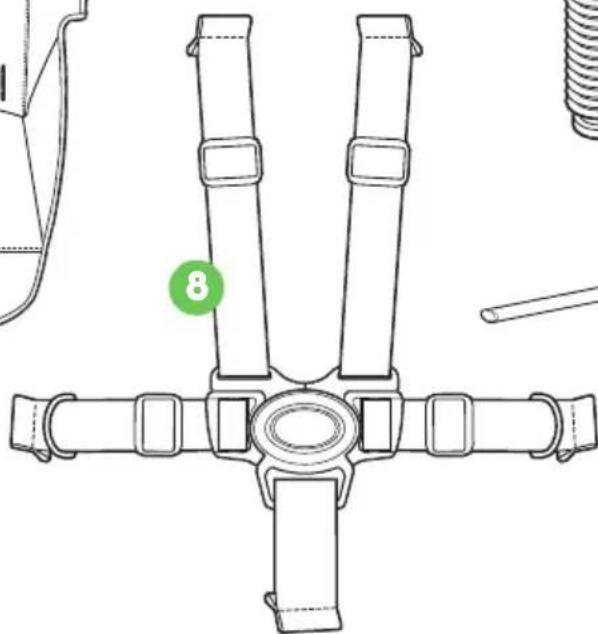
natural_image
Technical line drawing of a vehicle seatbelt assembly with no visible text or symbols9
11
natural_image
Simple line drawing of a walking stick with a green circular badge showing the number 12 (no text or symbols on the stick itself)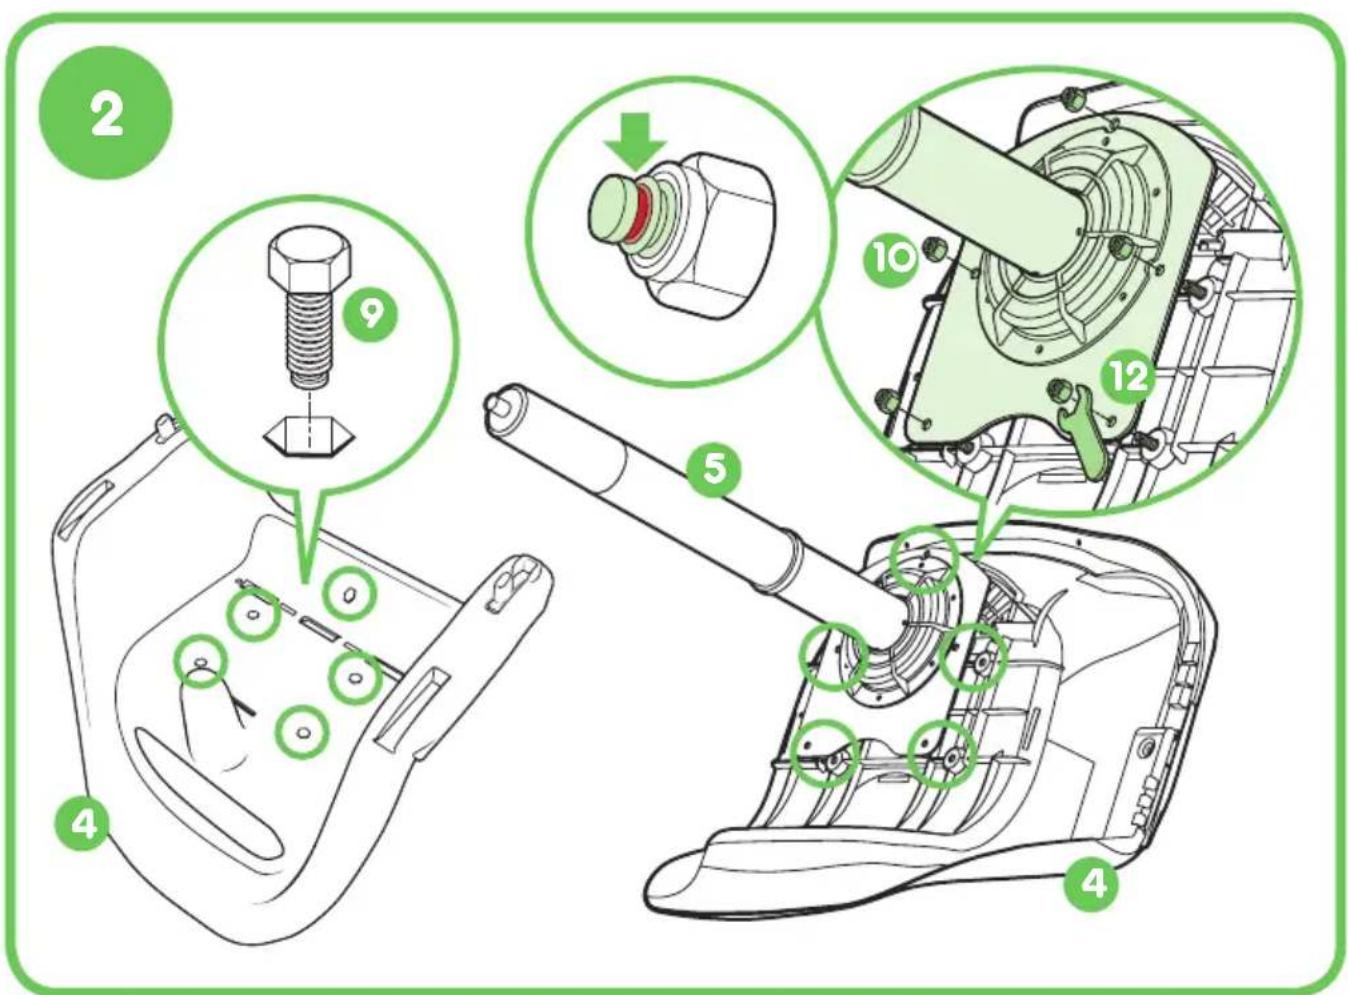
text_image
Technical diagram illustrating mechanical assembly steps with numbered components and green circular annotations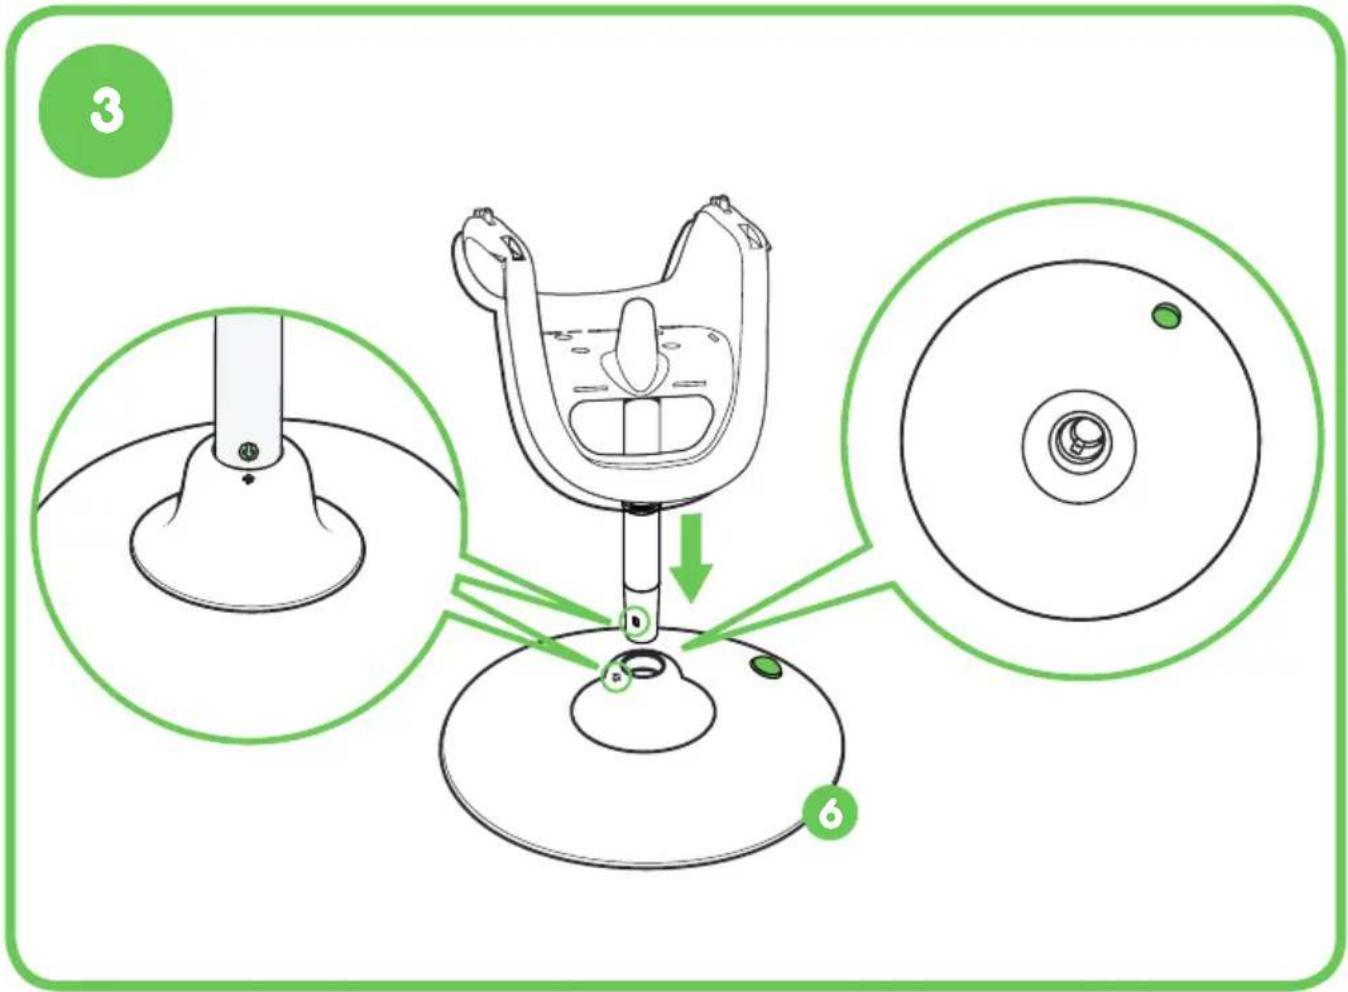
text_image
3 64
text_image
Illustration of a robot with labeled parts and green arrows indicating motion or assembly, showing internal components.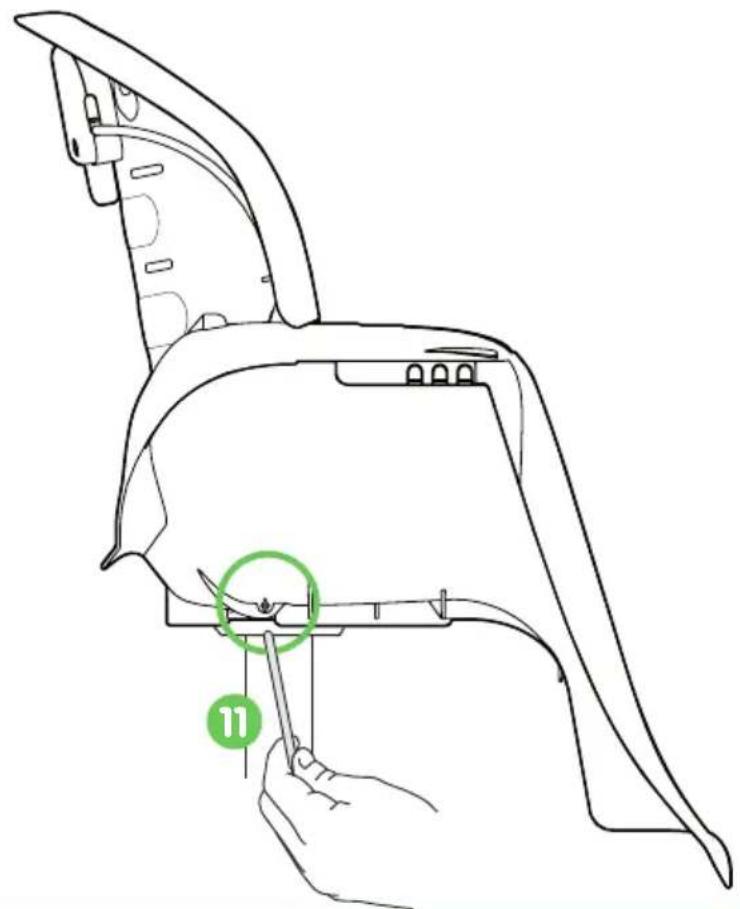
natural_image
Line drawing of a car interior showing a hand holding a tool, with a green circle highlighting a specific component (no text or symbols present)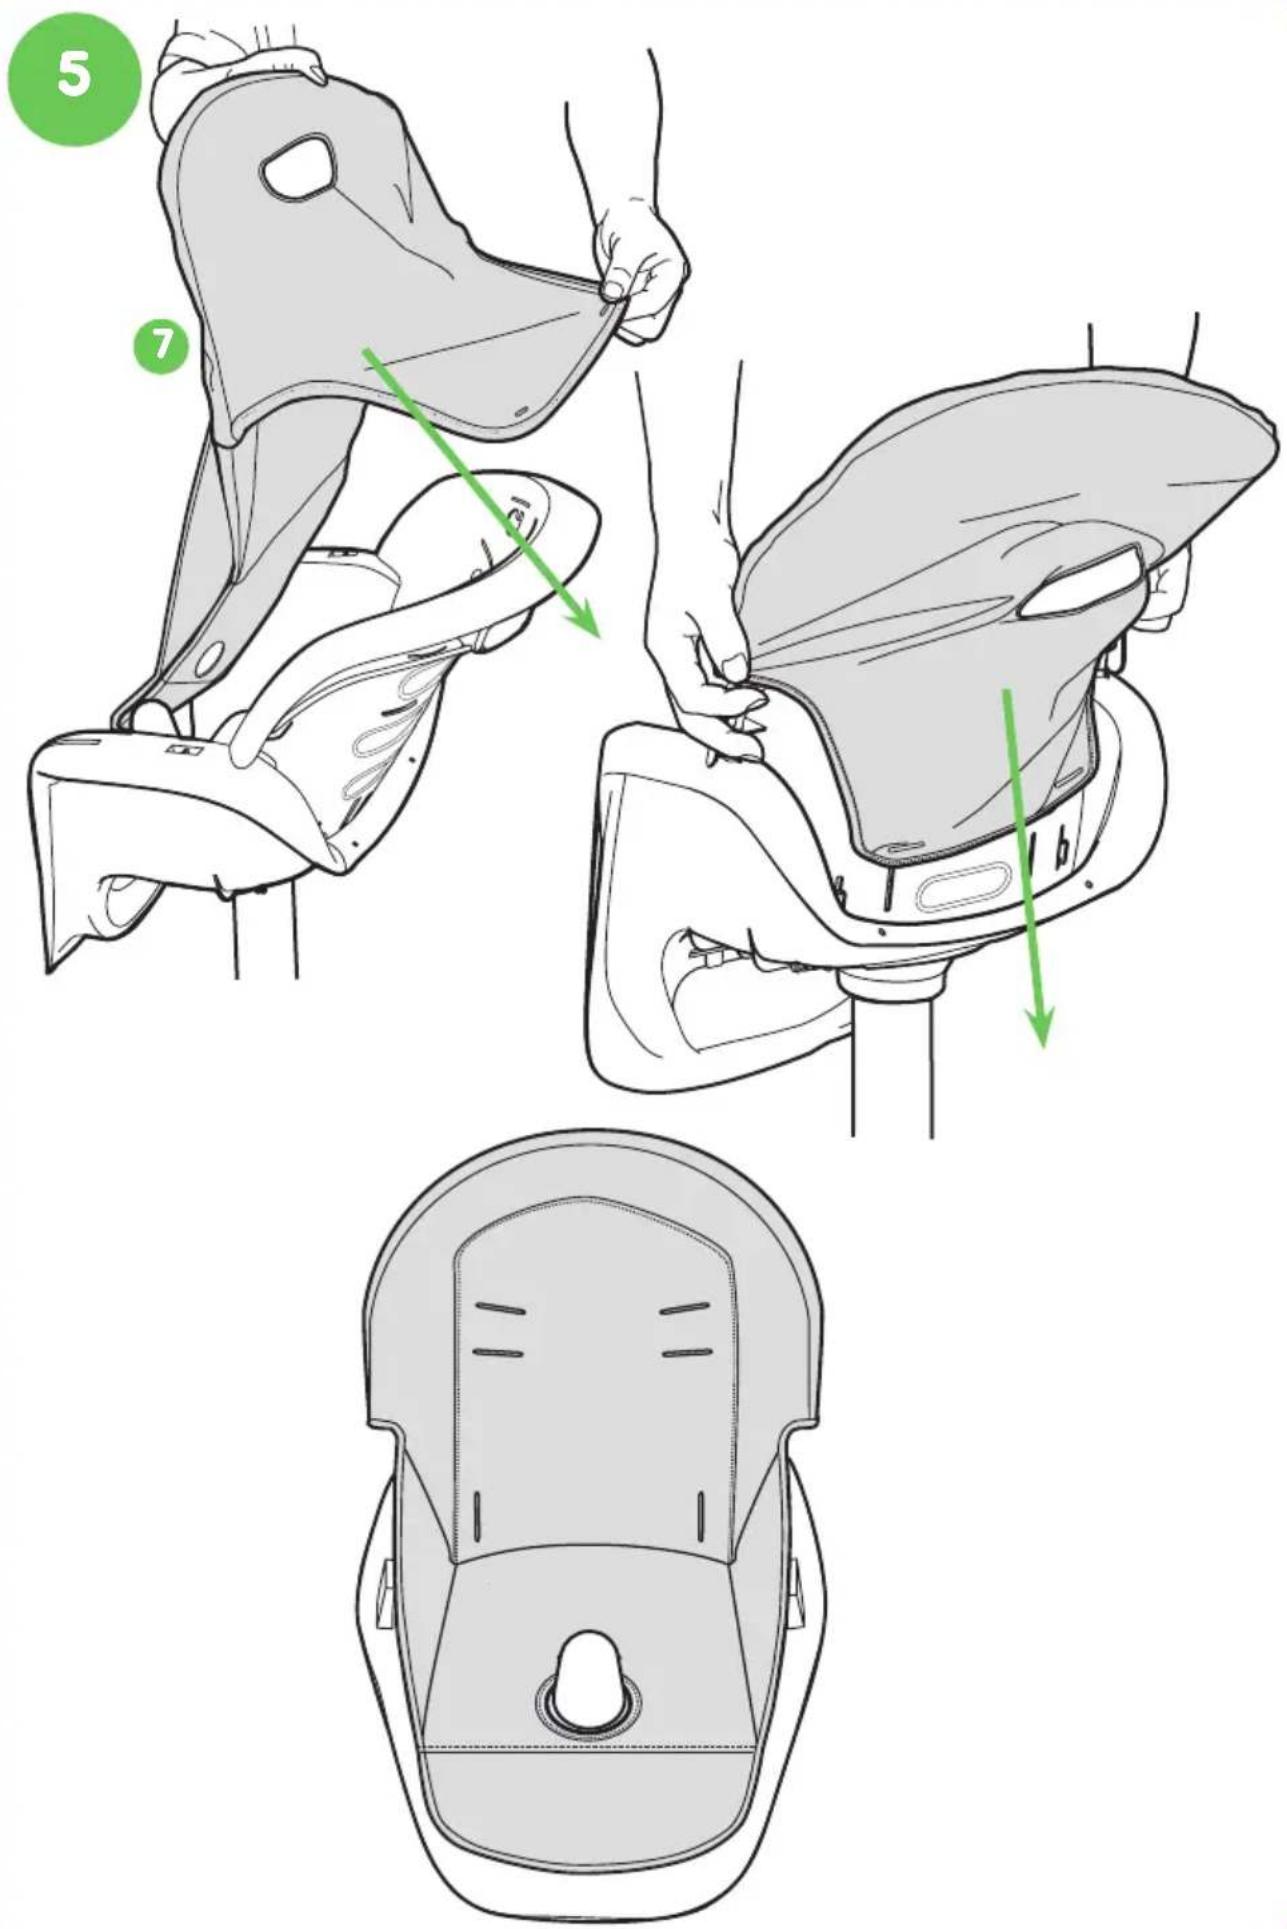
text_image
Technical diagram illustrating the step-by-step installation of a car seatbelt buckle, labeled with numbered components and directional arrows.7
text_image
Technical diagram of a mechanical component with labeled parts 1, 2, and a8
text_image
8 2 a bb c d

natural_image
Line drawing of a mechanical component with green alignment lines (no text or symbols)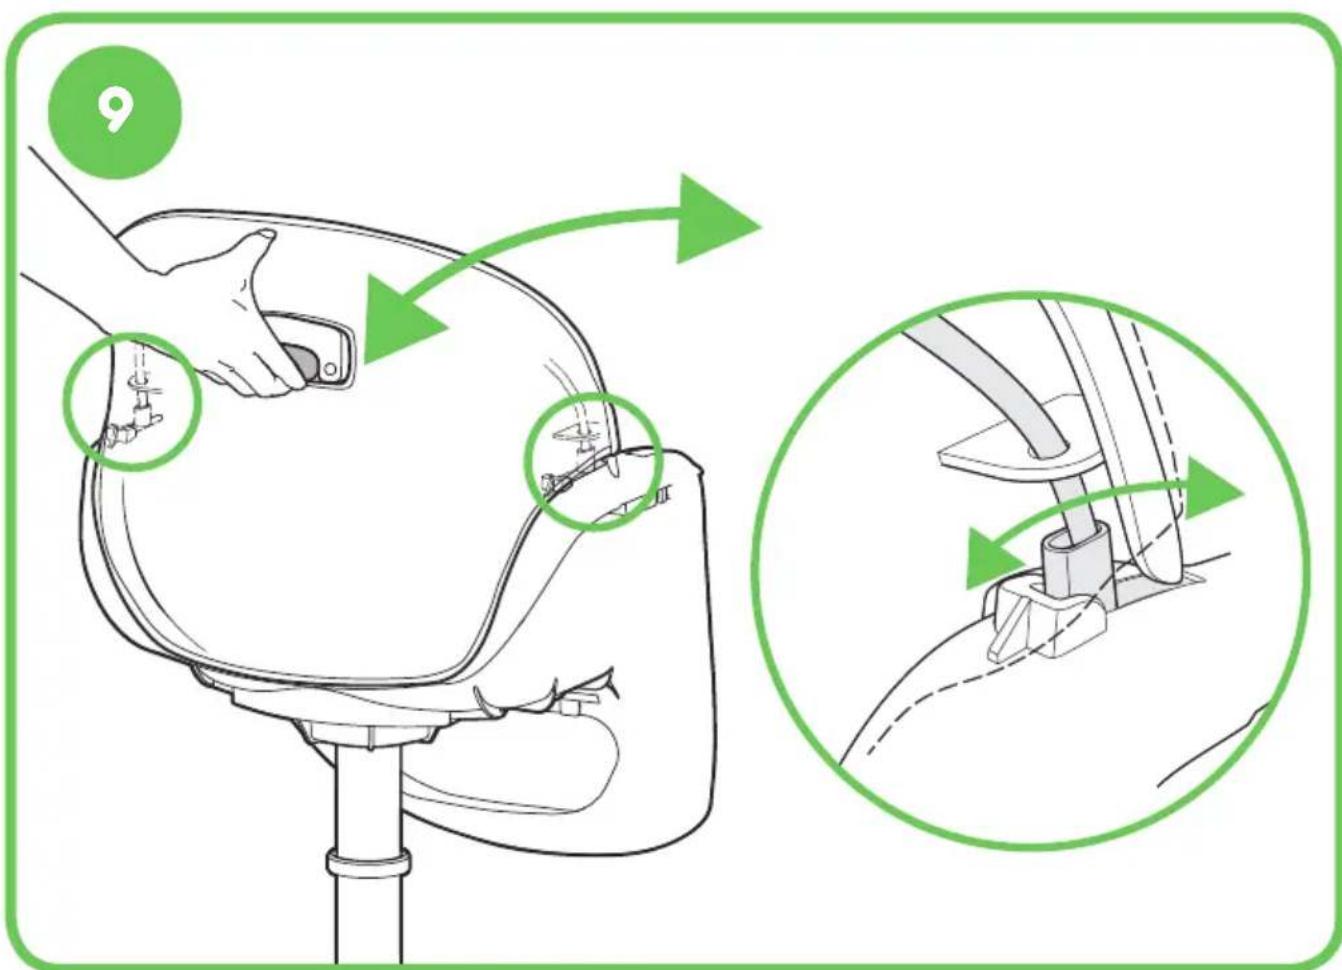
text_image
Diagram illustrating a hand operating a car seat with green arrows indicating motion and a magnified view of the seat assembly.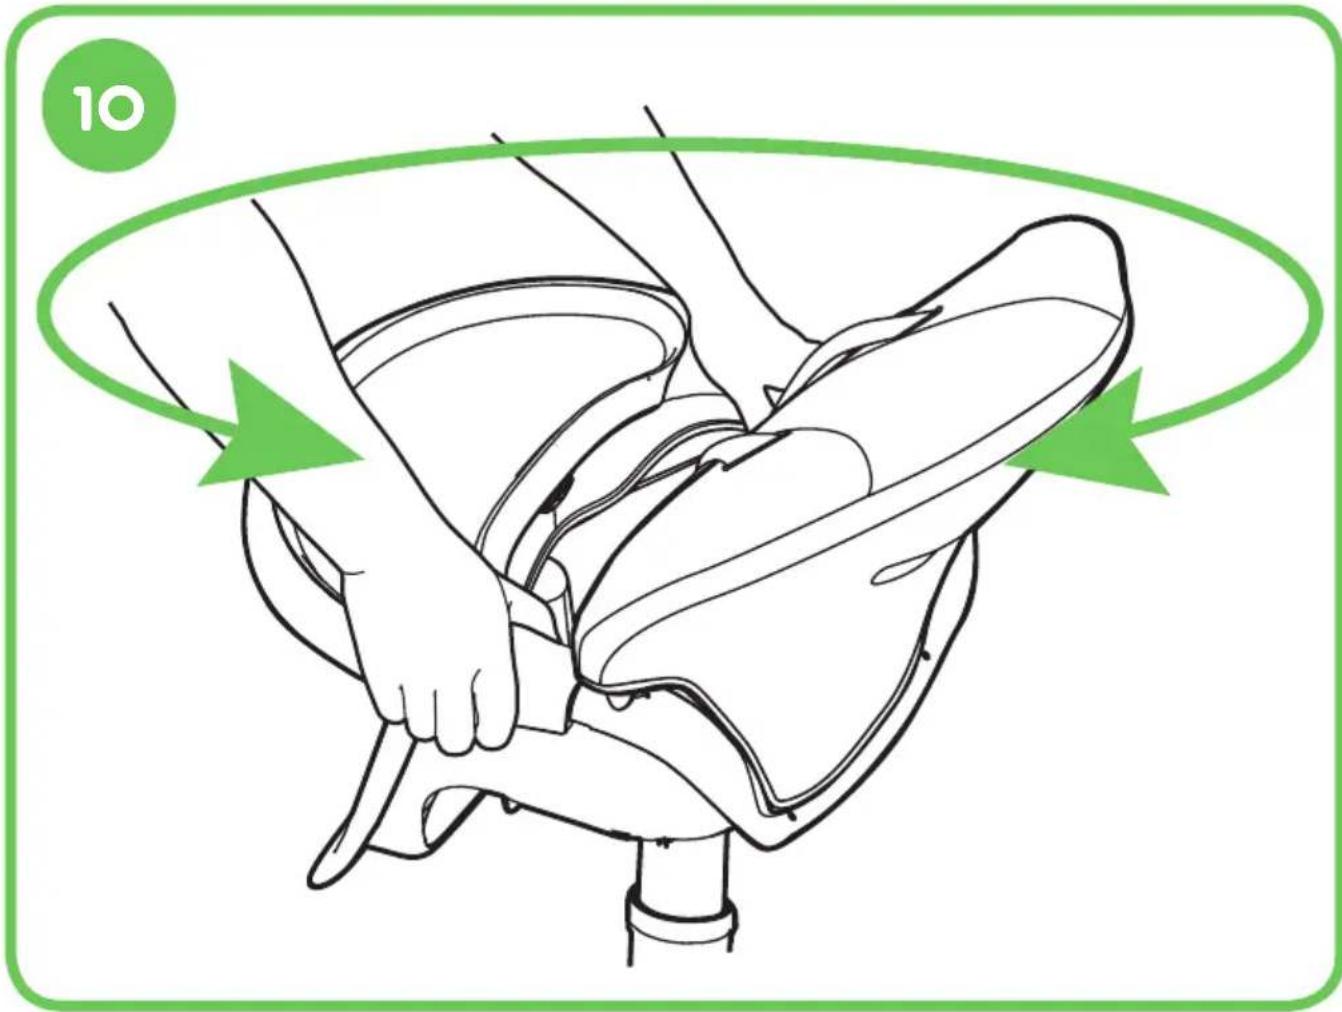
text_image
1011
text_image
Diagram illustrating a baby seat replacement technique with labeled parts and directional arrows indicating movement or force.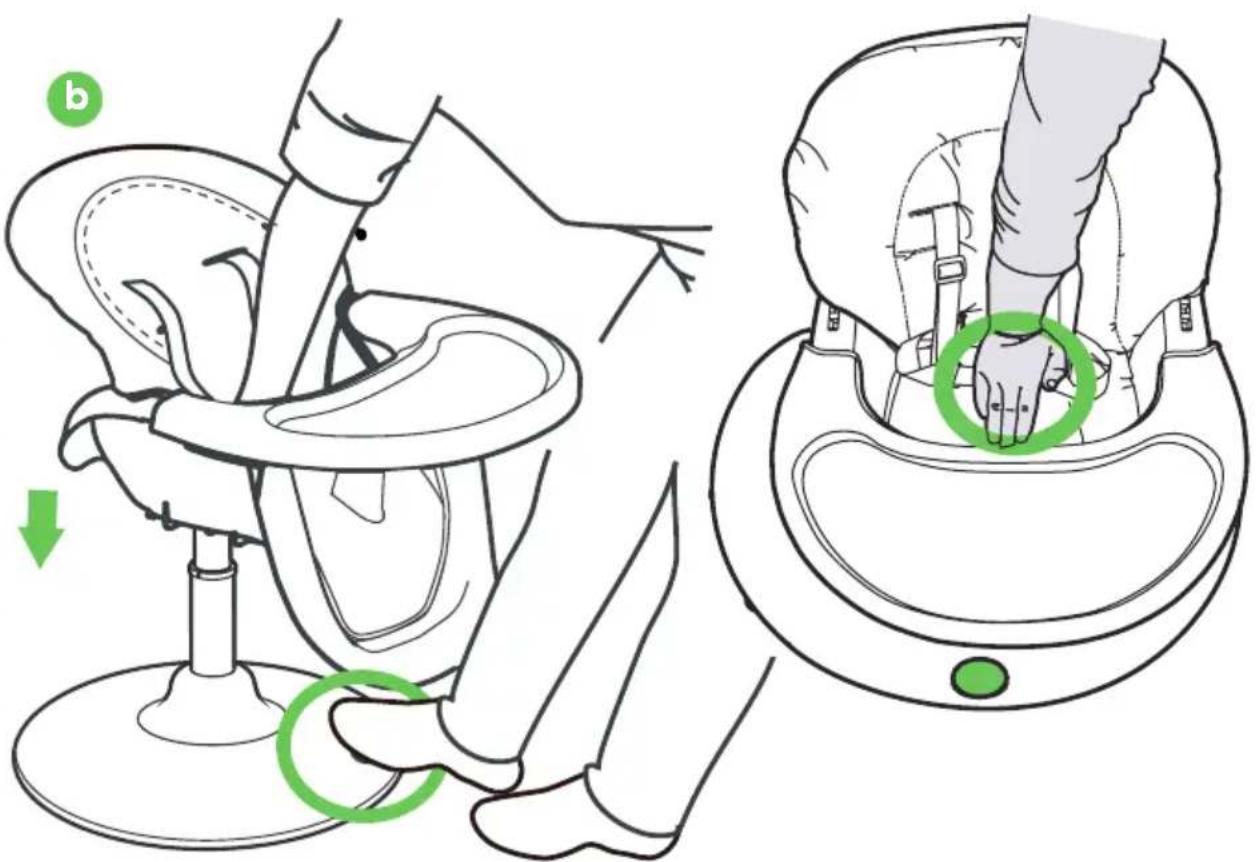
text_image
Medical illustration showing a baby seat replacement procedure with labeled steps and green arrows indicating movement.12
natural_image
Technical line drawing of a mechanical assembly with a hand holding a tool (no text or symbols present)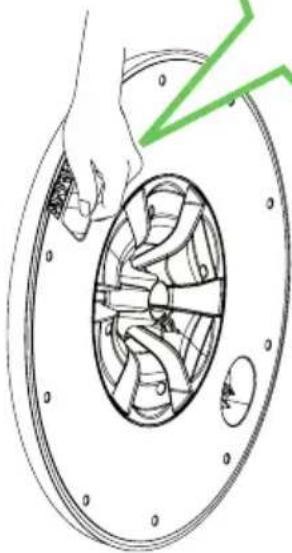
natural_image
Diagram of a hand holding a circular mechanical component with internal blades and mounting holes (no text or symbols)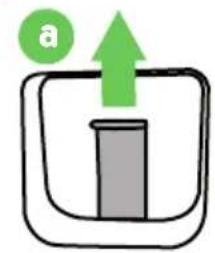
natural_image
Simple line drawing of a container with an upward arrow and a green circle labeled 'a' (no text or symbols on the diagram itself)13
natural_image
Line drawing of a car seat with a wheel rim and a green circular diagram highlighting the wheel (no text or symbols)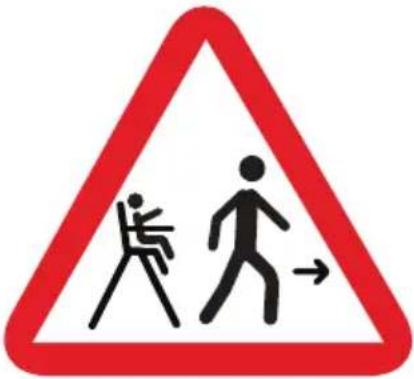
text_image
Traffic warning sign with pictograms showing a person assisting another, indicating danger or hazardNEVER LEAVE THE CHILD UN ATTENDED

natural_image
Red triangular warning sign with an open book symbol (no text inside)ALWAYS FOLLOW THE INSTRUCTIONS PROVIDED

text_image
Warning sign depicting a person falling from a pole inside a red triangle, indicating collision or hazard.NEVER ALLOW THE CHILD TO ROCK IN THE HIGHCHAIR
text_image
Warning sign depicting a person climbing a pole with a ladder, indicating workplace hazard or safety warning.NEVER ALLOW ANY CHILD TO HANG OR CLIMB ON THE HIGHCHAIR
natural_image
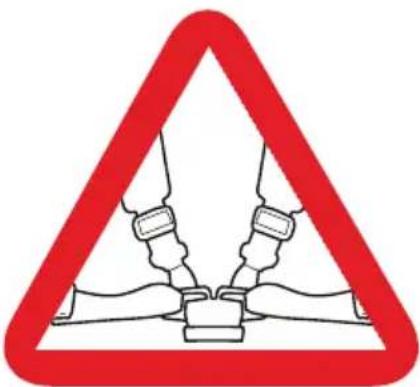
Warning symbol of a seatbelt with two hands and a belt buckle, enclosed in a red triangle (no text or numbers)ALWAYS USE A CORRECT LY FITTED SAFETY HARNESS
text_image
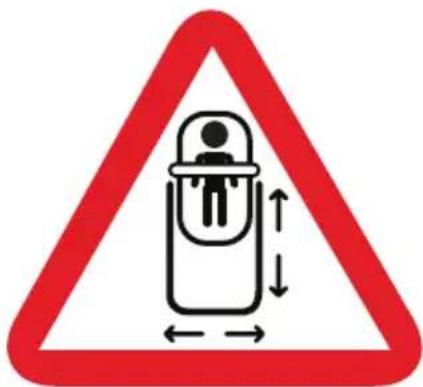
Warning sign depicting a person inside a device with height and width dimensions, enclosed in a red triangle.NEVER MOVE OR ADJUST THE HIGHCHAIR WITH THE CHILD IN IT

IMPORTANT: KEEP FOR FUTURE REFERENCE
READ THESE INSTRUCTIONS CAREFULLY. YOUR CHILD'S SAFETY MAY BE AFFECTED IF YOU DO NOT FOLLOW THESE INSTRUCTIONS.
user guide:
Thank you for choosing a Cosatto product. Please take a little time to read the important safety notes detailed below. This will ensure many years of happy, safe use.
safety: take note
WARNING: A CHILD'S SAFETY IS YOUR RESPONSIBILITY
- WARNING: Only suitable for children who are able to sit up unaided (approximately 6-9 months) up to 36 months.
• WARNING: Do Not leave the child unattended.
• WARNING: Make sure the harness is correctly fitted. - WARNING: Do not use the highchair unless all the components are correctly fitted and adjusted.
- WARNING: Be aware of the risk of open fire and sources of strong heat, such as electric bar fires, gas fires etc in the vicinity of the highchair.
- Do not use the highchair if any part is broken, torn or missing. Only use spare parts approved by Cosatto.
• Never lift the highchair or adjust the seat height with the child sat in it. - Do not leave near any products that could present a danger of suffocation or strangulation, e.g. strings, blinds/curtains cords etc.
• The tray is not designed to hold the child into the chair.
• Ensure all users are familiar with the products operation.
• Only use on a flat stable surface. - Ensure children are clear of all moving parts before making any adjustments.
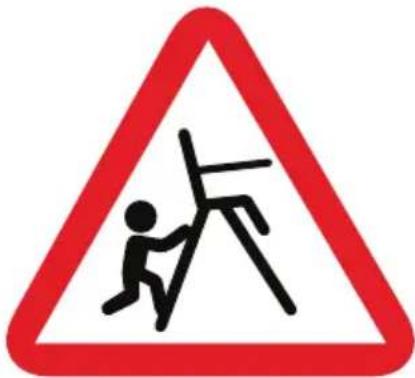
- Do not allow your child to climb unassisted into, play with or hang onto your highchair. This is not a toy.
- All additional hazards such as electrical flex should be kept out of reach of the child in the highchair.
• Adult assembly required. - Keep small parts out of the reach of children under 36 months because of possible choking hazard.
• Complies to BS EN 14988 : 2006 + A1 : 2012.
care & maintenance
- Ensure all locking devices work correctly & regularly check the locks, screws & fittings for security.
• DO NOT use spray lubricants, simply wipe clean after use. - For wash care instruction please refer to the wash care marking on the seat cover.
operation
1 - list of parts
Your highchair is supplied in one carton and contains:
-
Inner tray
-
Vertical leg
-
M6 bolt x 5
-
Tray
-
Base
-
M6 nut x 5
-
Backrest
-
Seat cover
-
Seat fixing bar
-
Seat
-
5 point harness
-
Spanner
2 - attaching the seat to the vertical leg
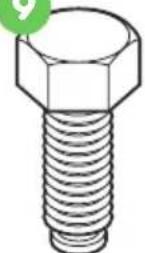
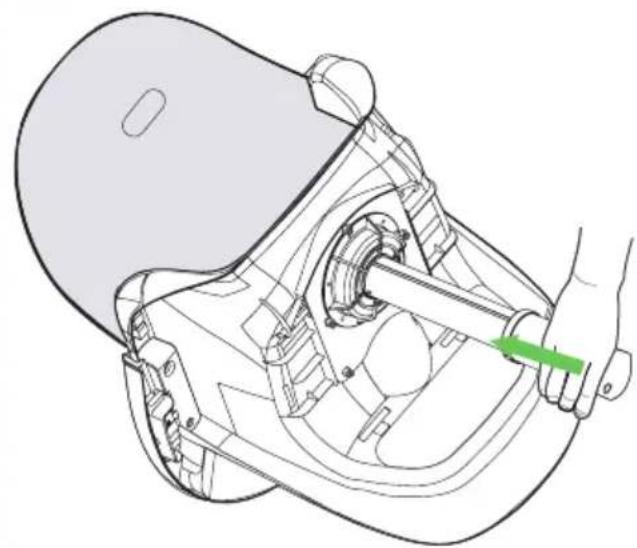
Fit the five M6 bolts (9) into the five holes in the top of the seat (4). Turn the seat on over so it is resting on the footrest and the front of the arms. Secure the vertical leg (5) to the underside of the seat with the five M6 nuts (10) using the spanner (12) supplied.
Once the nuts are fully tightened, the slot at the end of the bolts (arrowed) should be clearly visible. Inspect the bolts regularly to ensure the nuts have not come loose.
3 - attaching vertical leg to the base
Align the arrows on the rear of the vertical leg and base (6). Push vertical leg into the hole of base. Ensure the slot and buckle are aligned before inserting.
You will hear a "click" when they are secured into place.
4 - attaching backrest
-
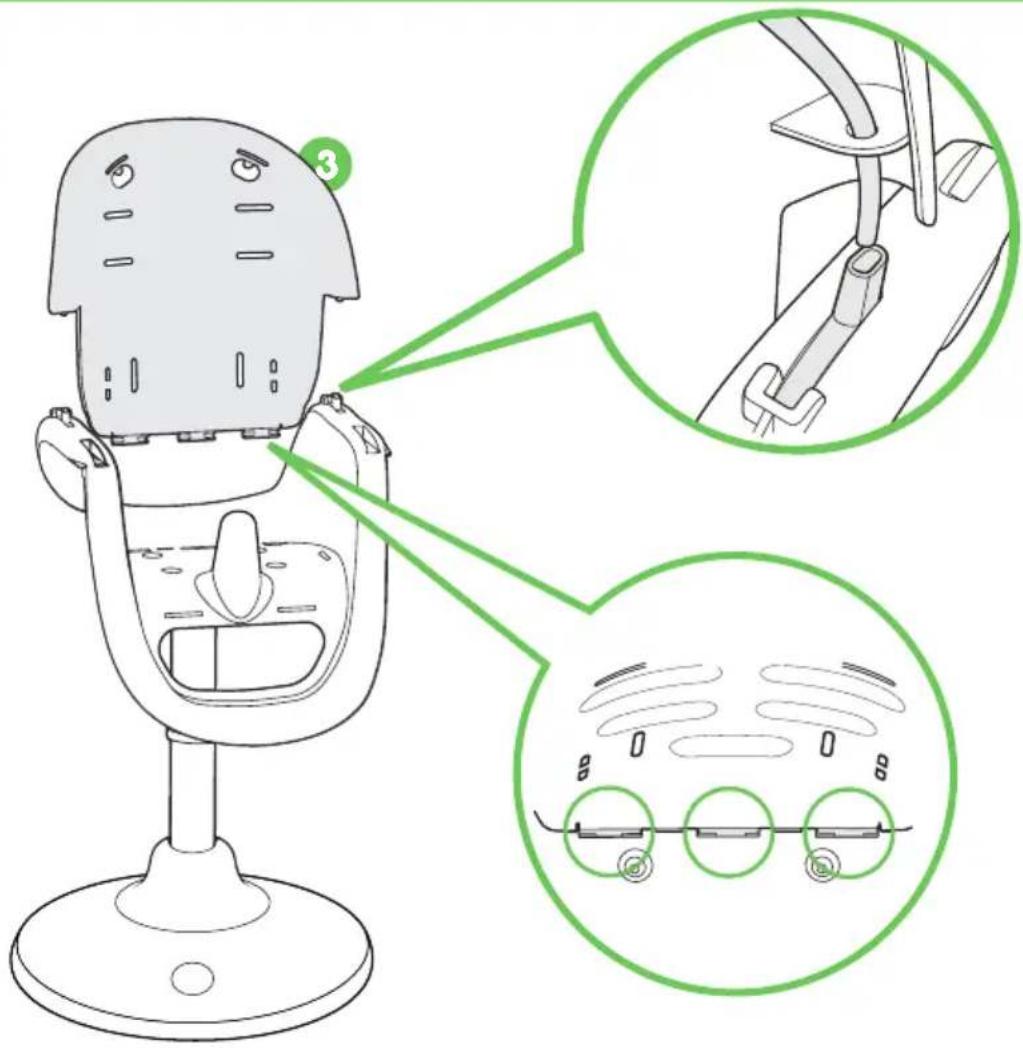
Insert the backrest (3) into the seat. Ensure the recline bar (a) is properly inserted in the hole as shown in the diagram.
-
Ensure the hooks securely locks to the seat.
-
Insert the seat fixing bar (11) into the backrest securely through the side of seat as shown in the diagram.
5 - attaching the seat cover
Place the seat cover (7) over the seat and pull down into position.
Fit the seat cover over the crotch post as shown.
6 - attaching and using the harness
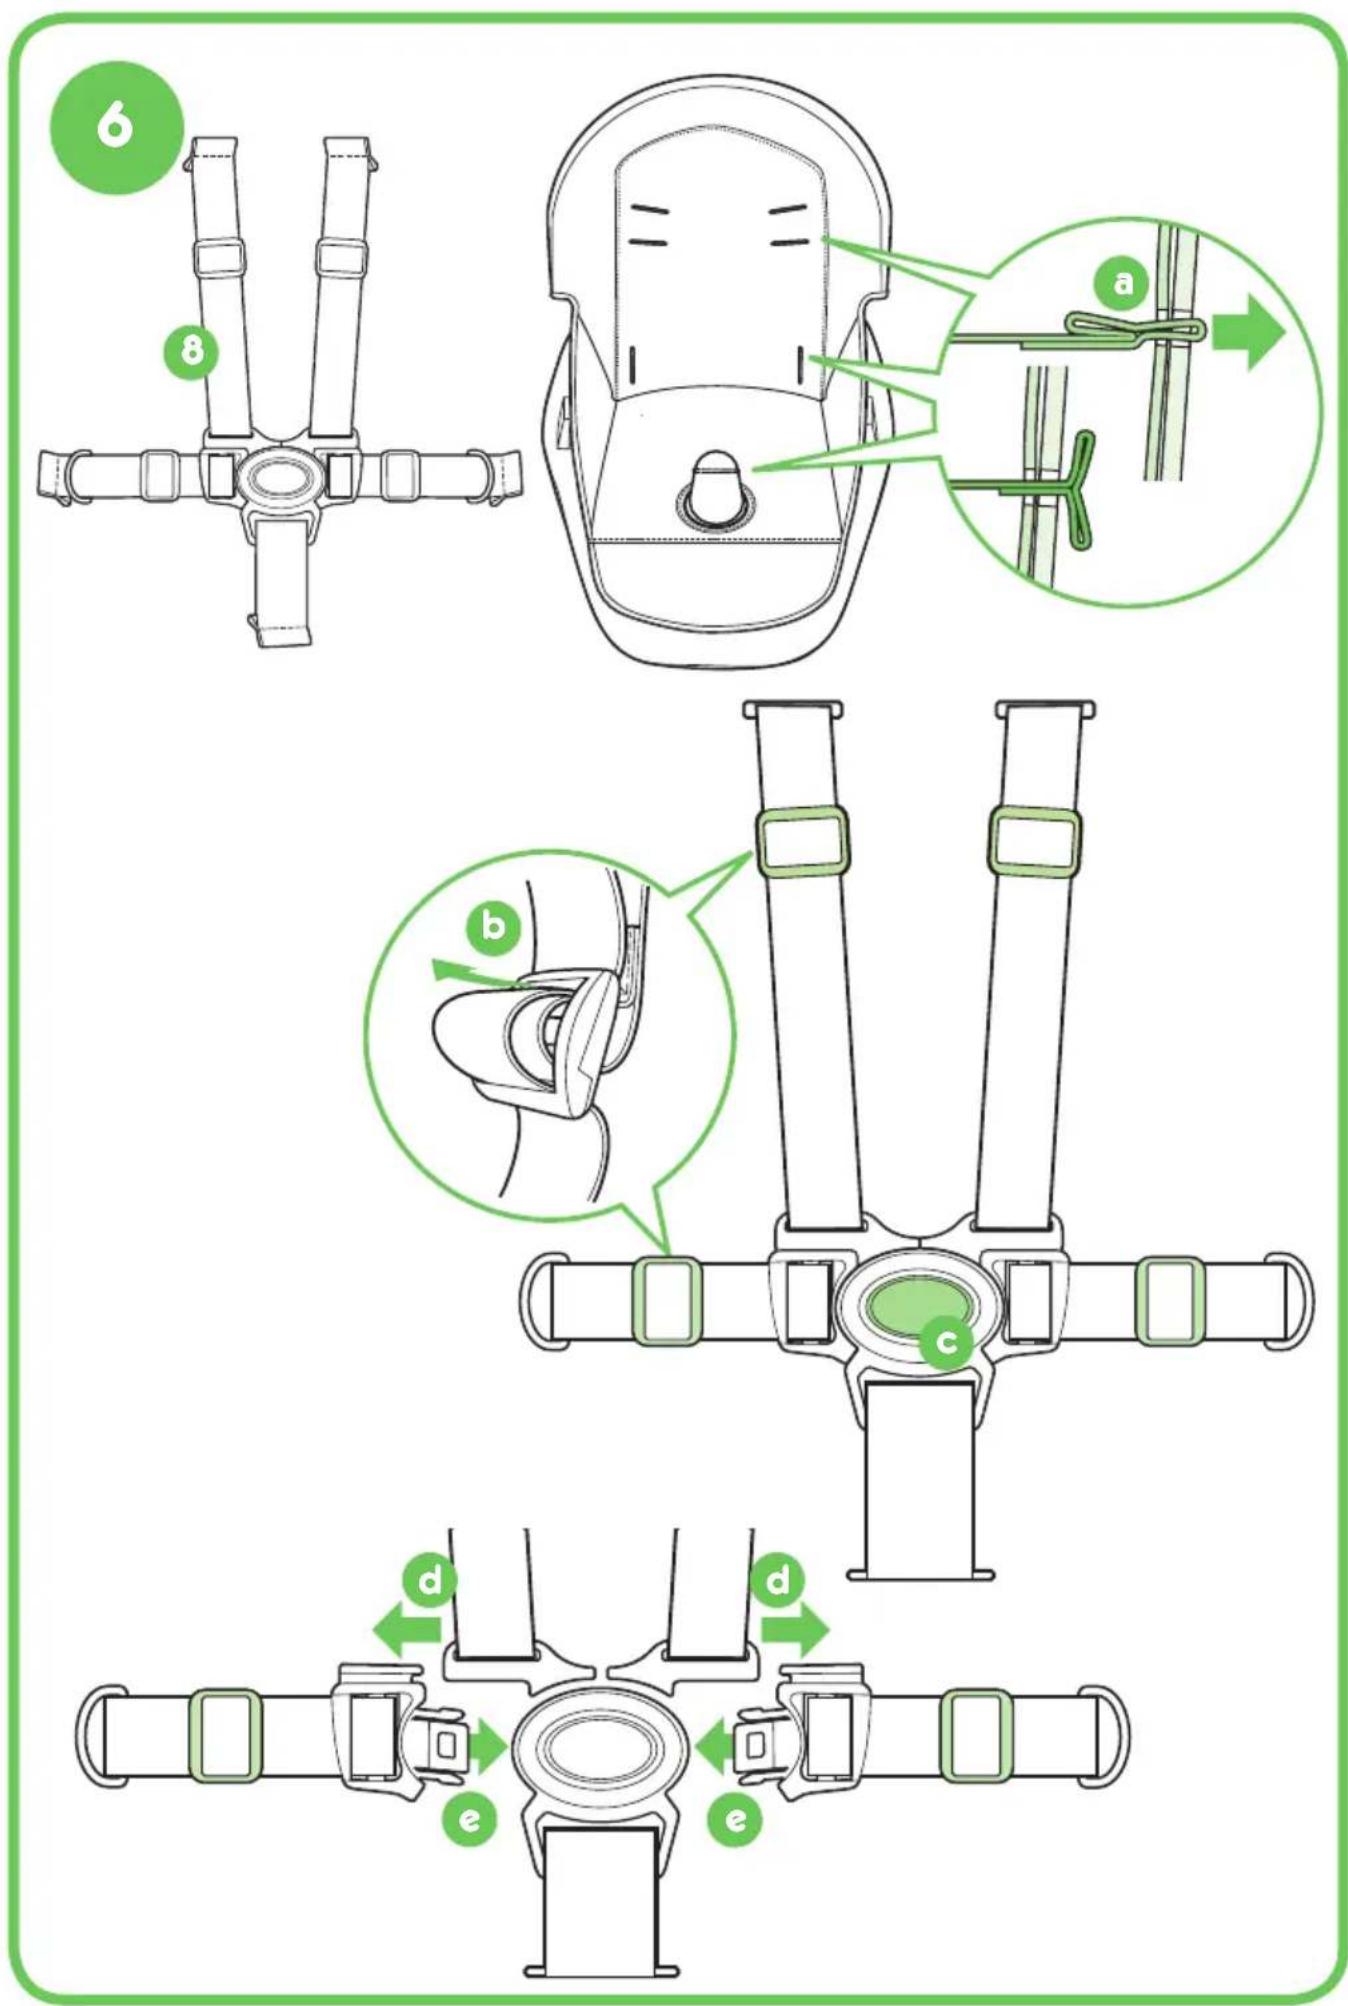
A five point harness (8) is provided to restrain your child. To fit the harness, push the butterfly ends (a) through the slots in the seat cover and seat.
Sliding adjusters are fitted on the waist and shoulder straps (b) and should be carefully adjusted so the harness fits your child comfortably. To adjust to the smallest size you will need to thread the adjusters through the "D" ring.
To release the harness push the button in the centre of the buckle (c). To fasten the harness push the shoulder strap clips onto the waist strap clips (d) then push the waist strap clips into the buckle (e).
'D' rings are fitted at the end of each waist strap should you wish to attach a separate harness complying to BS EN 13210. The length of each strap can be changed by using adjusters (b).
WARNING: Always use the crotch strap in combination with the waist strap.
7 - attaching the inner tray
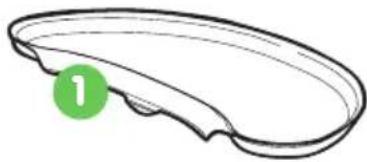
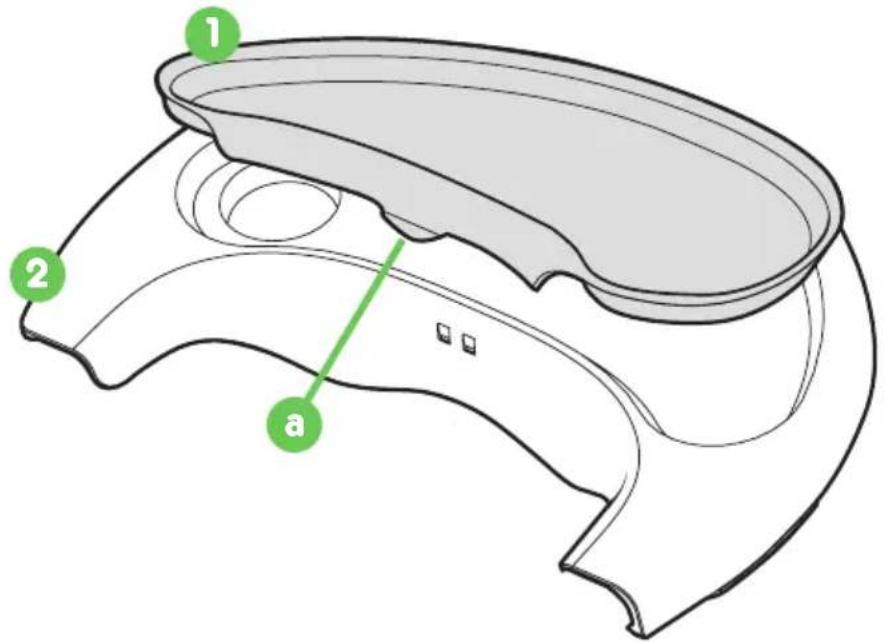
The inner tray (1) can be insert or removed by the clip (a) at the rear of the outer tray (2).
8 - attaching the tray
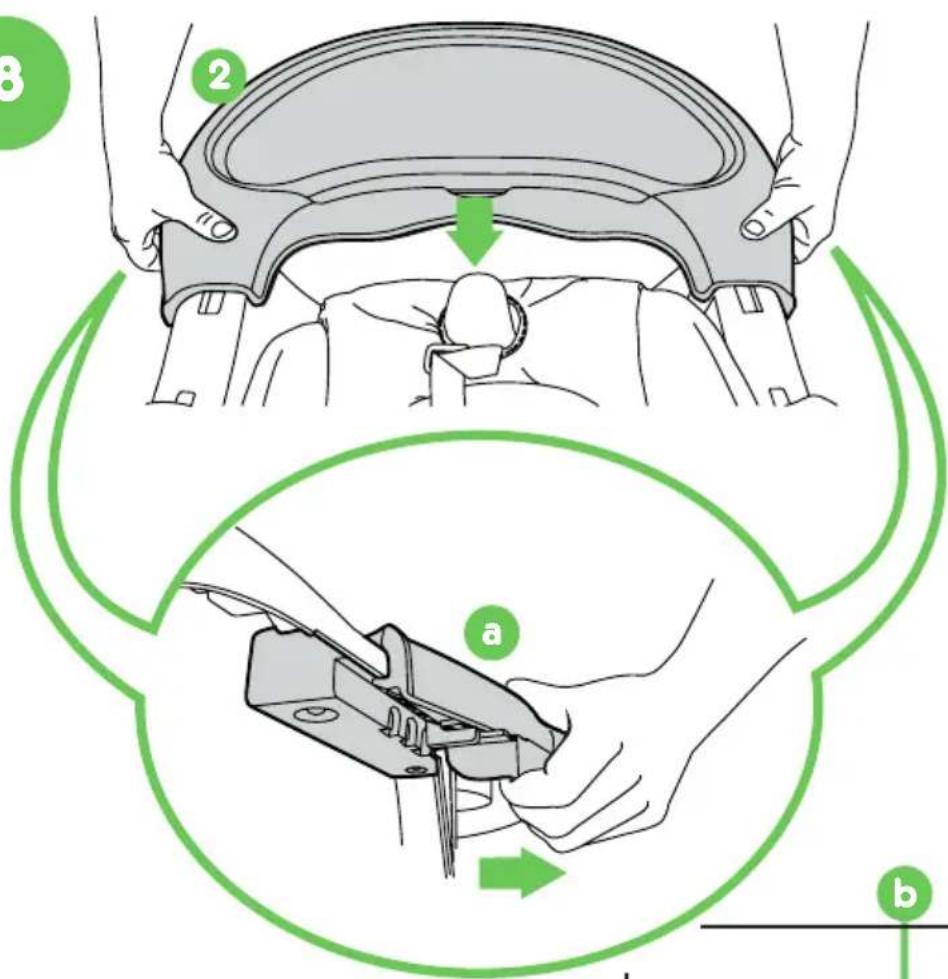
Attach the tray (2) by sliding it down the tracks on the arm of the chair, pull out the handles (a) simultaneously and lock it into one of the three positions (b, c & d) to best suit your child.
WARNING: The tray is not designed to hold the child into the chair. The child should be secured in the highchair at all times by the harness.
NOTE: When the tray is in the required position pull it forward to ensure that it is secured.
9 · reclining the seat
The backrest has 3 recline positions.
To adjust the seat angle, squeeze the recline handle (a) and recline the seat to desired position, release the handle to allow the seat locks into position.
WARNING: Before placing the child into the seat, make sure it is properly secured.
WARNING: Never recline seat whilst the child is seated in highchair.
10 - adjusting seat orientation
The seat can be rotate in 6 orientations.
To adjust simply twist the seat to the required orientation until it clicks into place.
11 - adjusting the seat height
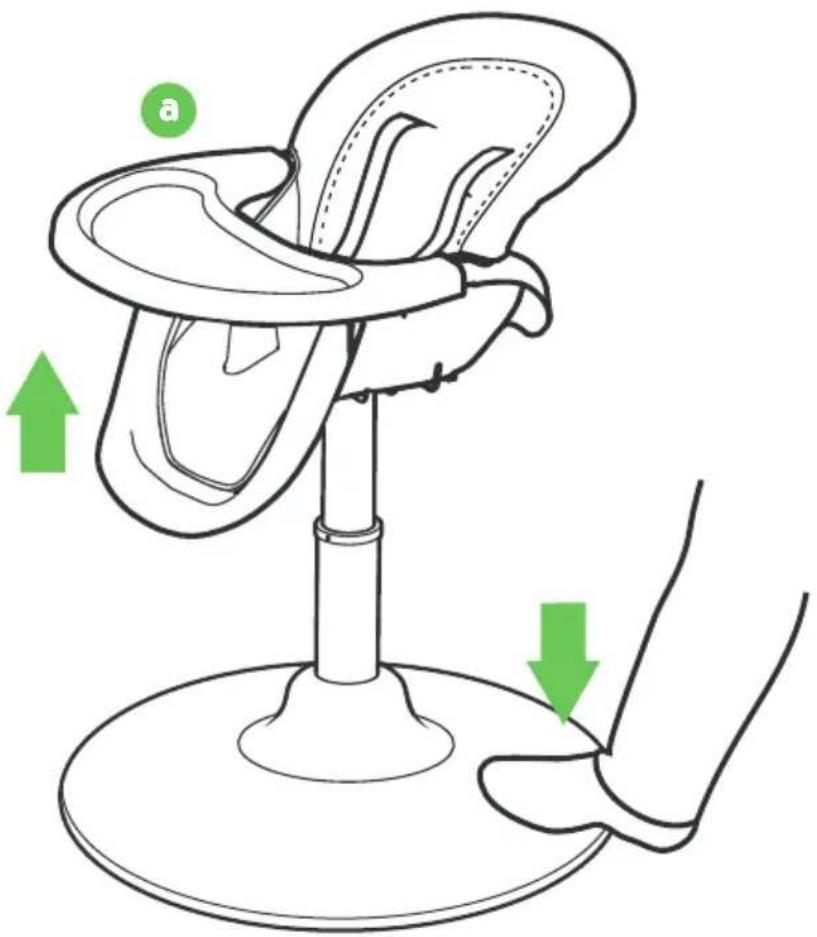
a. To raise the seat height, press the base pedal (a) to allow the seat to raise, release the pedal when the seat reaches desired position.
b. To lower the seat height press the base pedal (a) whilst pushing down in the middle of seat.
Release base pedal before letting go of seat once the seat reaches desired position.
NOTE: When lowering the seat, only press down in the middle of the seat as shown in the diagram.
NOTE: The base pedal may be stiff during the initial operations.
WARNING: Never adjust the seat height when child is in the highchair.
12 - detaching the vertical leg from base
The vertical leg can be detached from base for storage purposes.
NOTE: It is recommended to lower the seat to its lowest position prior to the detachment in order to achieve maximum compactness for storage and reduce the risk of injury while dismantling the product.
-
Place the highchair on its side, pull the trigger (a) underneath the base to release the vertical leg from the base unit.
-
Pull the two assemblies apart slowly until they are fully detached.
13 - transporting the highchair
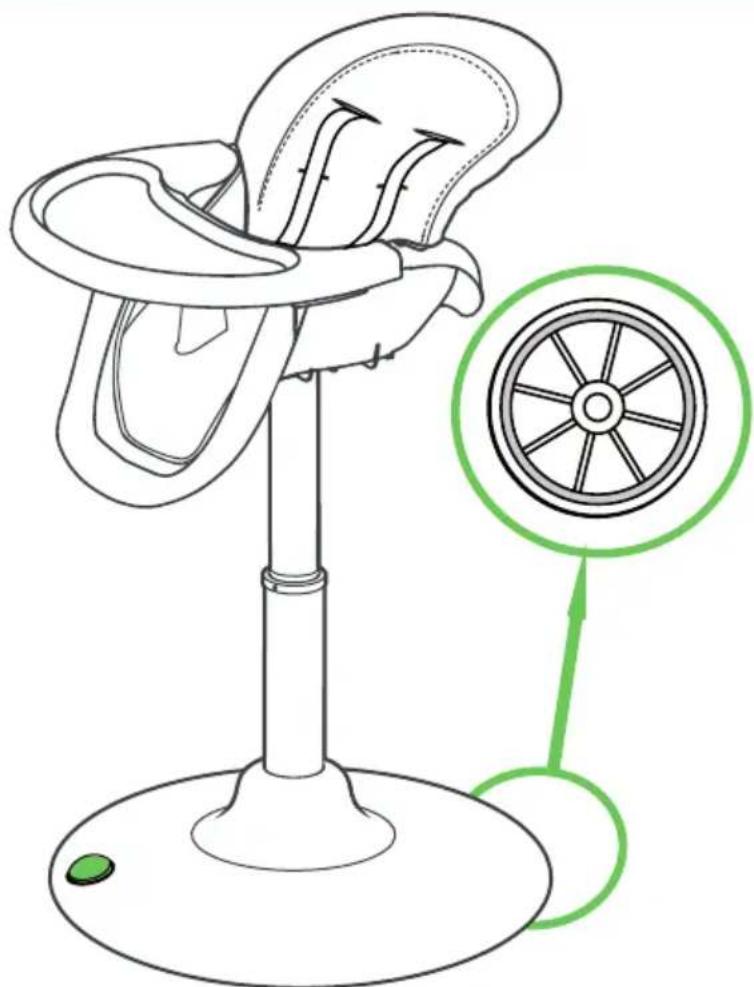
A wheel located at the rear underside of the highchair are used to aid the transportation of the highchair.
While standing in front of the highchair, lift the highchair by its seat unit until all friction pads on the front of the highchair are off the floor then the highchair can be pull along the ground.
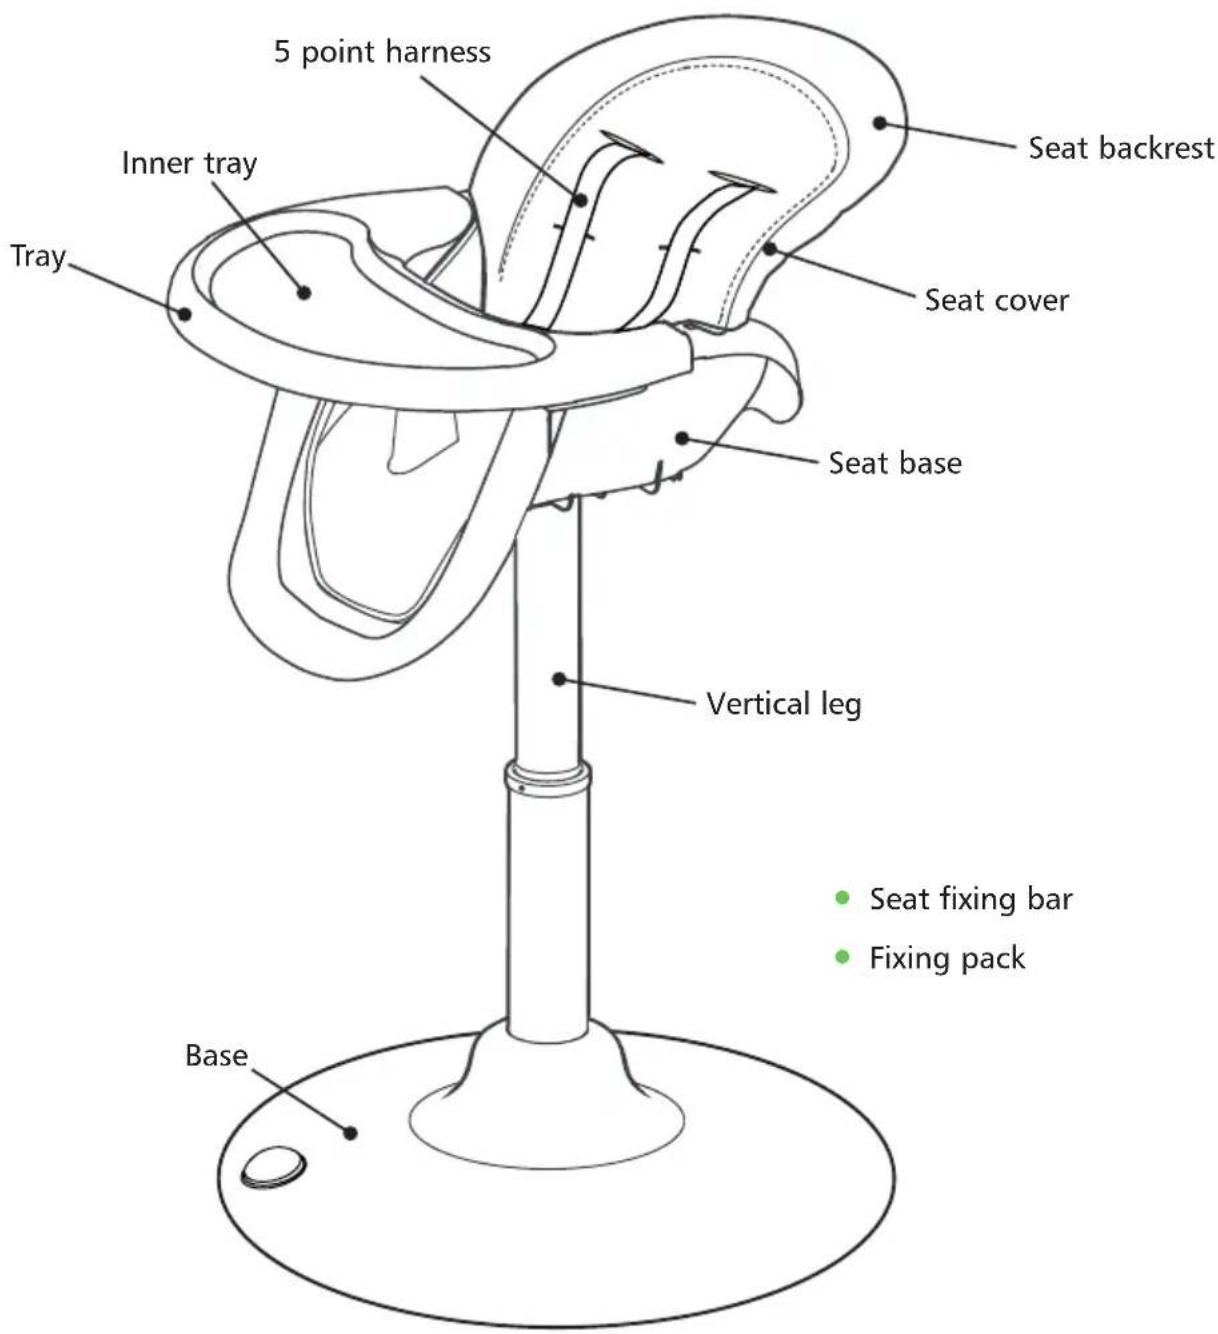
replacement parts
The replacement parts shown below are available for your product. In the event that you require any of these parts, please contact your local distributor. For the contact information for your local distributor please refer to http://www.cosatto.com/stockists
If you are a UK or Ireland customer, please contact us at spares@cosatto.com
text_image
5 point harness Seat backrest Inner tray Seat cover Tray Seat base Vertical leg Base • Seat fixing bar • Fixing pack
IMPORTANTE: CONSERVE PARA FUTURA REFERENCIA
LEA ATENTAMENTE. EN CASO DE NO SEGUIR ESTAS INSTRUCCIONES, LA SEGURIDAD DE SU HIJO PODRÍA VERSE AFECTADA.
guía del usuario:
Email: cuddle@cosatto.com
* Calls from BT landlines are free but calls from mobiles and other networks may vary
All the design and trademarks contained herein are the property of Cosatto Limited.
No part of this document may be reproduced without the permission of Cosatto Limited.