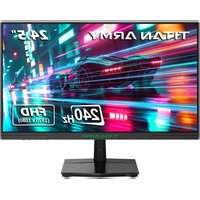
P2510H - Monitor Titan Army - Free user manual and instructions
Find the device manual for free P2510H Titan Army in PDF.


User questions about P2510H Titan Army
0 question about this device. Answer the ones you know or ask your own.
Ask a new question about this device
Download the instructions for your Monitor in PDF format for free! Find your manual P2510H - Titan Army and take your electronic device back in hand. On this page are published all the documents necessary for the use of your device. P2510H by Titan Army.
USER MANUAL P2510H Titan Army
- Keep the monitor away from water sources or damp places, such as bath rooms, kitchens, basements and swimming pools.
- Make sure the monitor is placed on a flat surface. If the monitor falls down, it may cause human injury or device damage.
- Store and use the monitor in a cool, dry and well ventilated place, and keep it away from emission and heat sources.
- Do not cover or block the vent hole in the rear casing, and do not use the product on a bed, sofa, blanket or similar objects.
- The range of the supply voltage of the monitor is printed on the label on the rear casing. If it is impossible to determine the supply voltage, please consult the distributor or local power company.
- If the monitor will not be used for a long period, please cut off the power supply to avoid electric shock in rainy days and damage due to abnormal supply voltage.
- Please use a reliable grounded socket. Do not overload the socket, or it may cause fire or electric shock.
• Do not put foreign matters into the monitor, or it may cause short circuits resulting fire or electric shock. - Do not disassemble or repair this product by self to avoid electric shock. If faults occur, please contact the after-sales service directly.
- Do not pull or twist the power cable forcedly.
- Please use a reliable grounded socket. Do not overload the socket, or it may cause fire or electric shock.
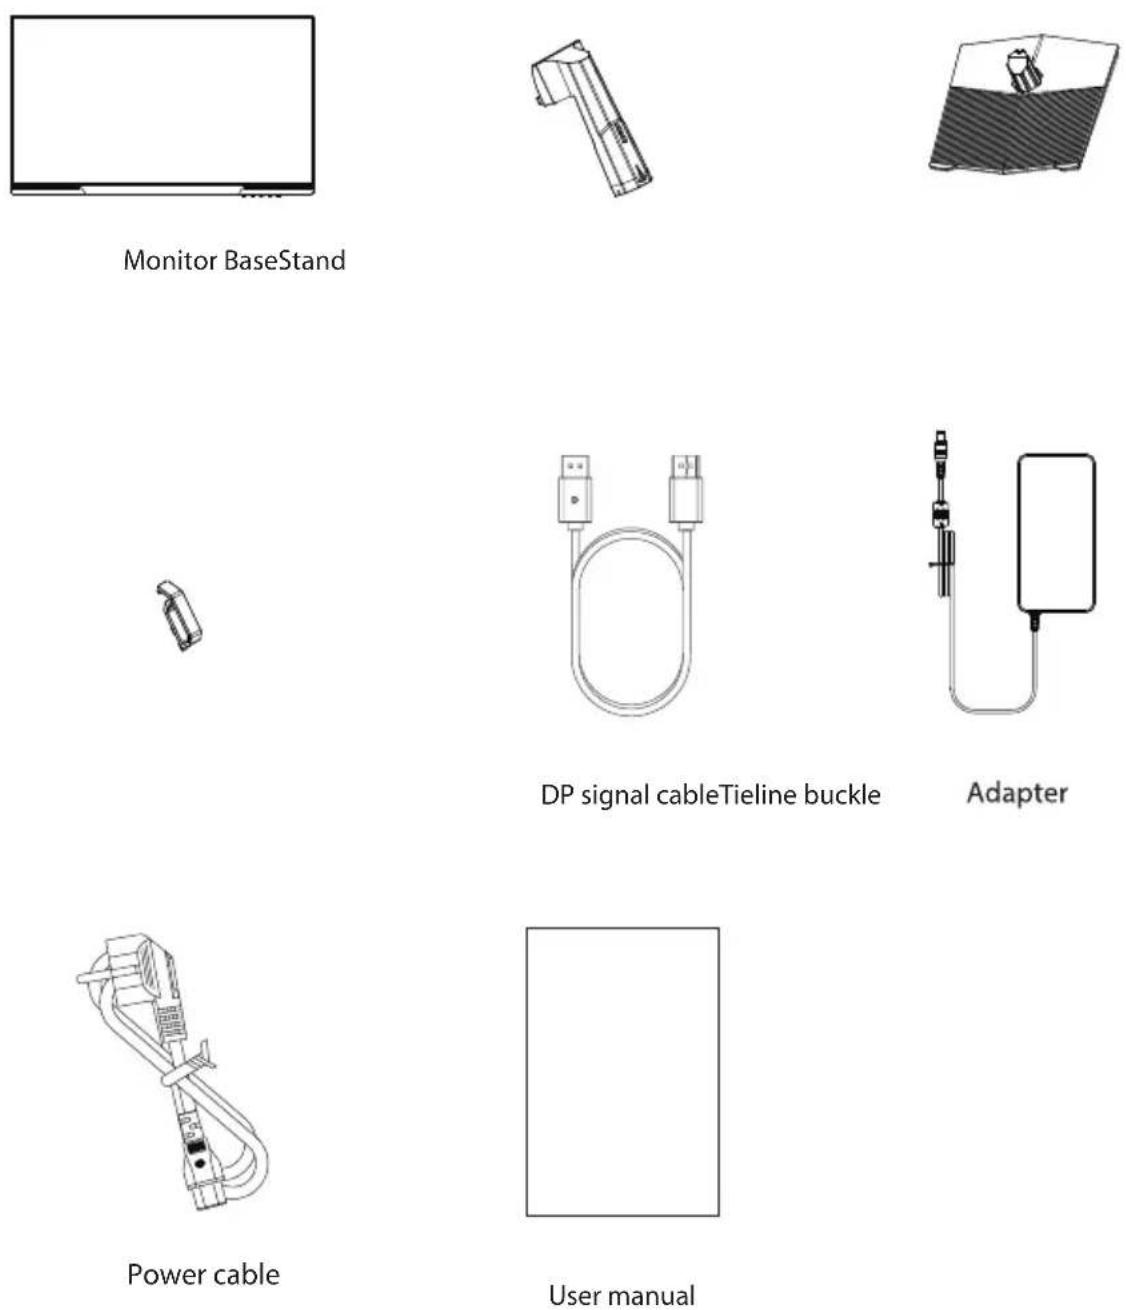
Package Content
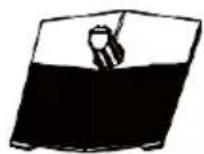
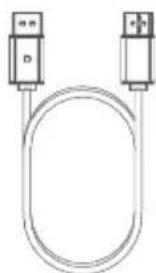
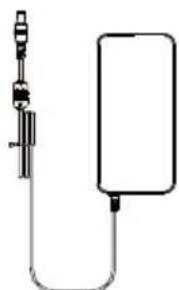
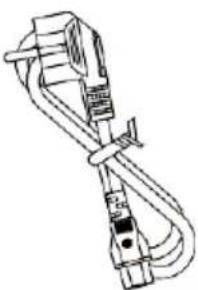
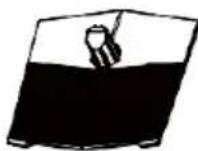
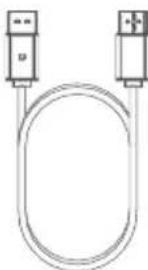
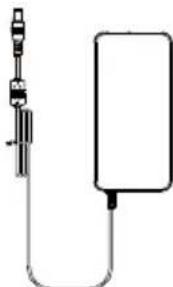
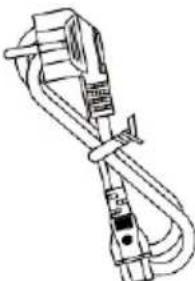
Packing list
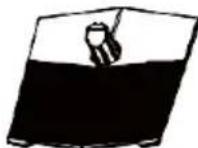
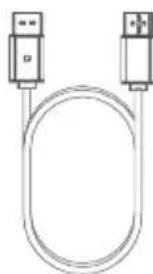
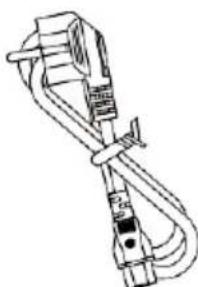
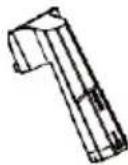
- Please check that the package of the monitor contains all parts. If any part is lost, please contact the distributor.
- The color and shape of parts may vary with models. Figures in this User Manual are for reference only.
- Cables supplied may vary with purchased products. Figures in this User Manual are for reference only.
Installation
Installation of base
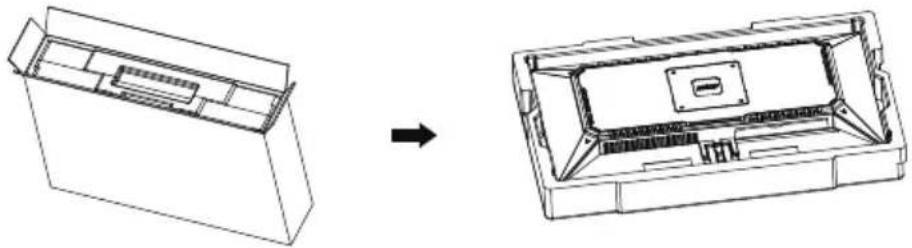
- Open the carton package, take out the foam and put it flat on the table top. Remove the upper foam cover and put it aside, take out the monitor film bag and put the monitor in the lower foam cover.
natural_image
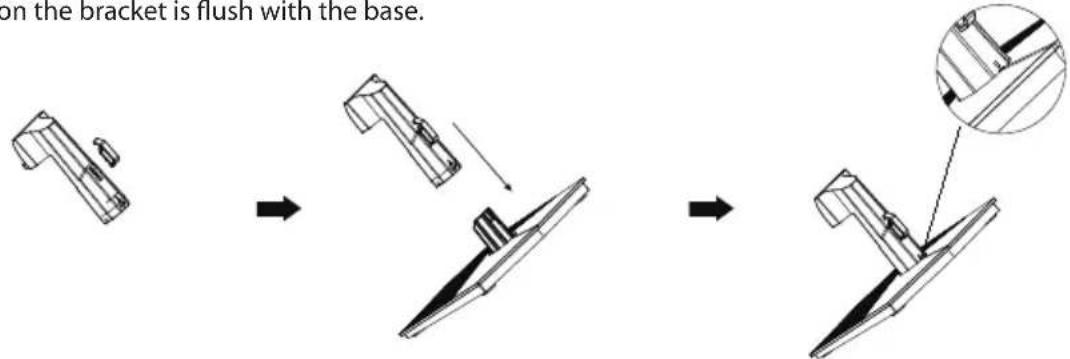
Technical line drawing of a device casing before and after assembly (no text or symbols)- Take out the tieline buckle from the accessory bag, align it with the slot on the bracket, and slide it down until the snap point clicks into the small hole. Align the base and insert it into the bracket, and check if the arrow on the bracket is flush with the base.
text_image
on the bracket is flush with the base.- As shown in the figure below, insert the base component assembled in step 2 straight into the corresponding slot of the rear shell, and check that the pull bracket does not automatically fall off from the rear shell.
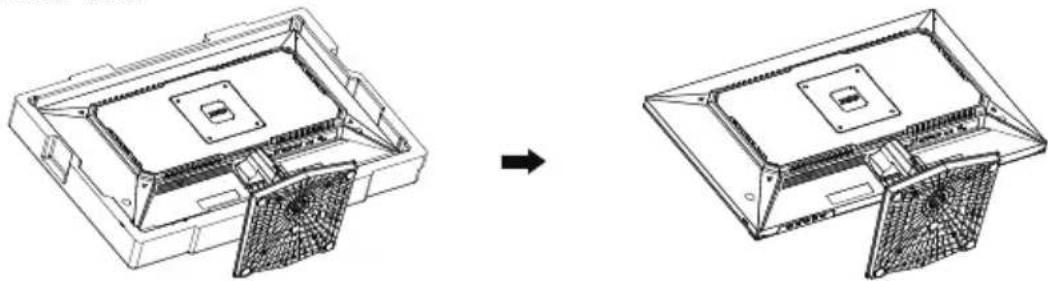
natural_image
Technical line drawing of a device housing with internal components, showing a transformation from an open frame to a closed panel (no text or symbols present)- After assembly, simply hold the stand with hand to stand the monitor upright.
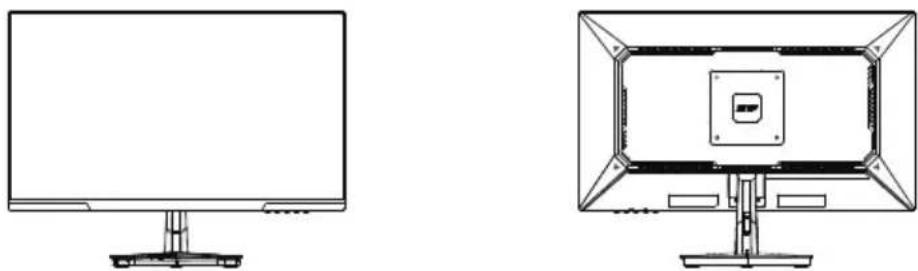
natural_image
Line drawings of two computer monitors, one blank and one with a central display (no text or symbols)
Note: During standing of the whole monitor, do not press the liquid crystal screen with hand to avoid damage to the screen.
Installation of mount
- Open the carton package, take out the foam and put it flat on the table top. Remove the upper foam cover and put it aside, take out the monitor film bag and put the monitor in the lower foam cover.
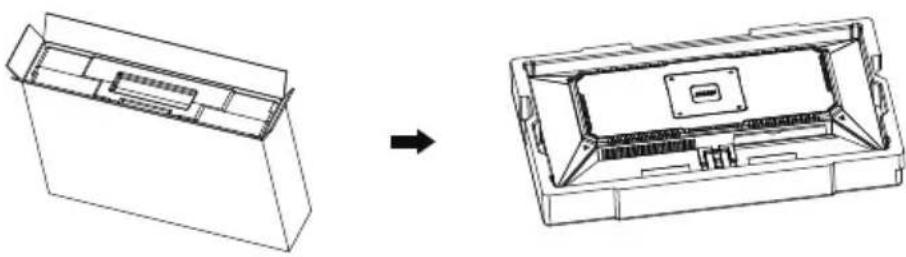
natural_image
Technical line drawing of a device casing before and after assembly (no text or symbols)- Follow the directions received with your mount, stand, or accessory and install the monitor on the wall or fixture as desired. The size of VESA mount is 100 x 100mm.
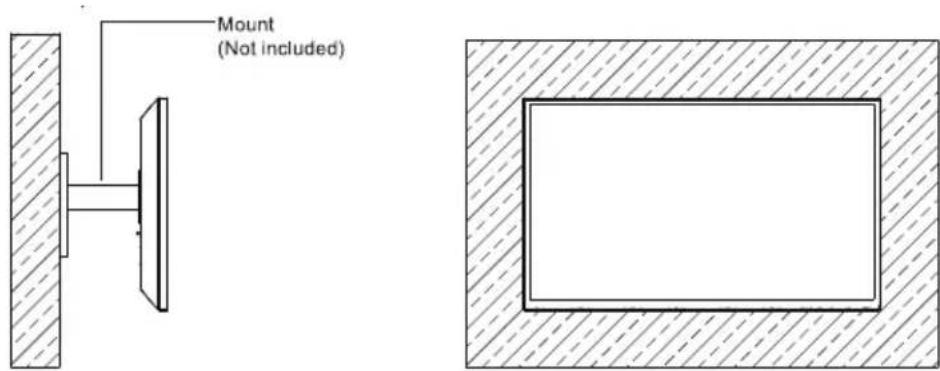
text_image
Mount (Not included)
Notes: To prevent the monitor on the mount from failing, please install it firmly and protect it fully. Do not place or hang any object on the mount, and the using height of the mount should be less than 2 meters.
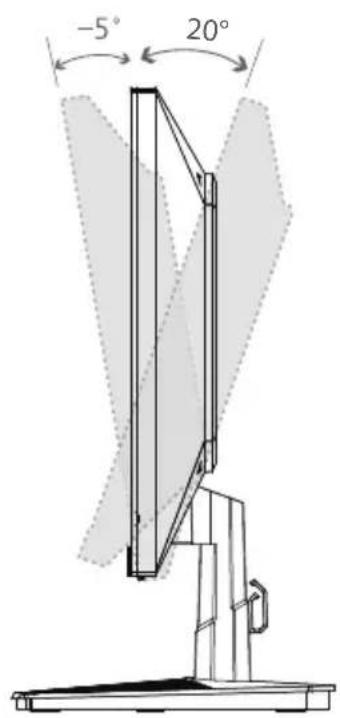
text_image
-5° 20°Tilting angle:
$$ - 5 ^ {\circ} (\pm 2 ^ {\circ}) \sim + 2 0 ^ {\circ} (\pm 2 ^ {\circ}) $$
Description of buttons
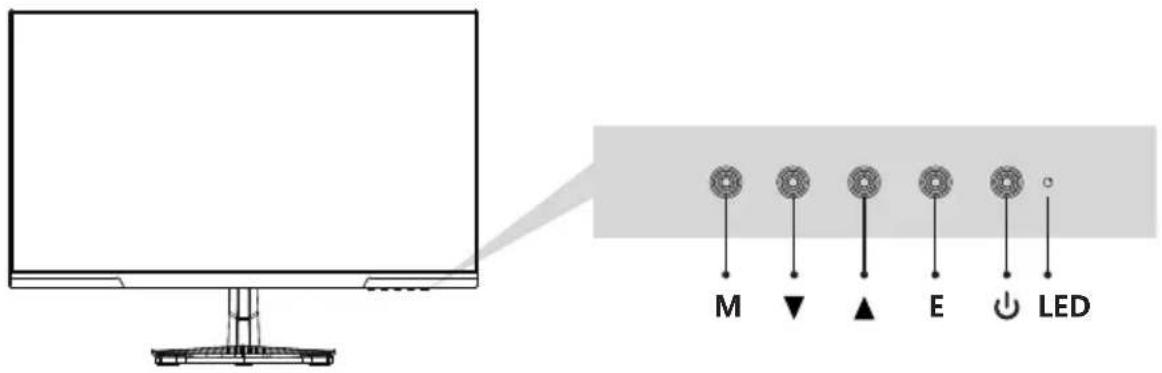
text_image
M ▼ ▲ E ↓ LED| Button | Function |
| M | Menu button:Press to enter sub-menus/ quickly enter the main menu. |
| ▼ | Down button:Press to move down in the menu/quickly adjust the brightness |
| ▲ | Up button:Press to move up in the menu/quickly switch input signals of the port |
| E | Exit:Press to return to the previous menu |
| ↓ | Power button:Press to turn on/off the monitor. |
| LED | LED Indicator:Changes colors to indicate status. |
Explanation of indicator light
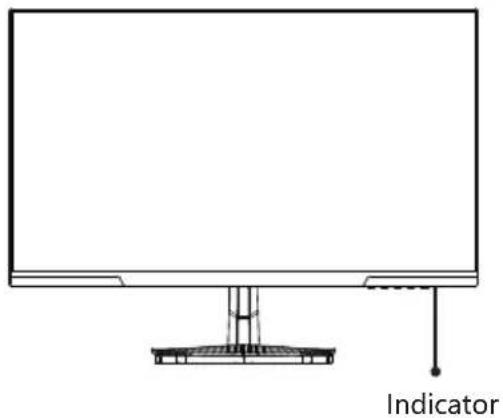
text_image
IndicatorIndicator: A white light indicates that the power is on and the monitor is operating normally. A red light indicates there is no video source and no horizontal or vertical signal or low voltage is detected. Make sure your computer It is turned on and all video cables are fully plugged in and/or connected.
Cable connection:
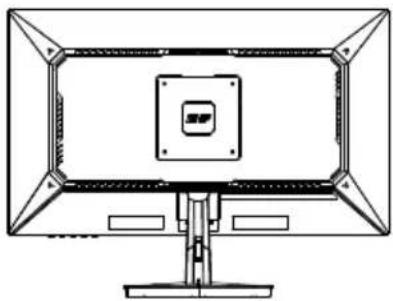
natural_image
Line drawing of a computer monitor with front panel and screen (no text or symbols)* The bottom interface configuration at the back of the monitor varie with products.
* Note: If the power cable or signal cable is damaged, you must replace it with special soft cables or special components purchased from the manufacture or maintenance department.
HDMI interface

text_image
Use the HDMI interface of the interface of a PUse the HDMI cable to connect the HDMI IN interface of the product to the HDMI OUT interface of a PC.
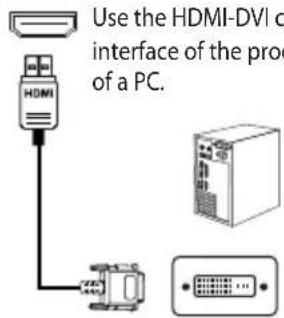
text_image
Use the HDMI-DVI c interface of the proc of a PC.Use the HDMI-DVI cable to connect the HDMI IN interface of the product to the DVI OUT interface of a PC.
DP interface AUDIO OUT
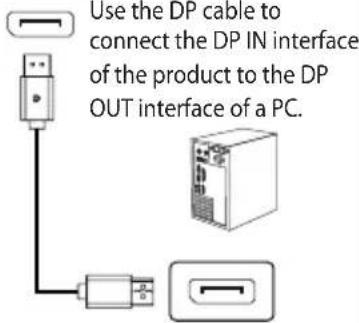
text_image
Use the DP cable to connect the DP IN interface of the product to the DP OUT interface of a PC.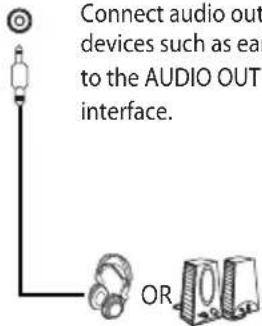
text_image
Connect audio out devices such as ear to the AUDIO OUT interface.DC interface
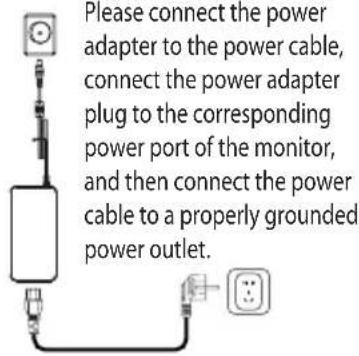
text_image
Please connect the power adapter to the power cable, connect the power adapter plug to the corresponding power port of the monitor, and then connect the power cable to a properly grounded power outlet.OSD Menu
Menu description
- The color and shape of the OSD menu of the actual computer may be slightly different from them shown in the figure.
- Specifications of the OSD menu may change with improvements of functions without prior notice.
The screen display (OSD) menu can be used to adjust settings of the monitor and is shown on the screen after the monitor is powered on and the M button is pressed.
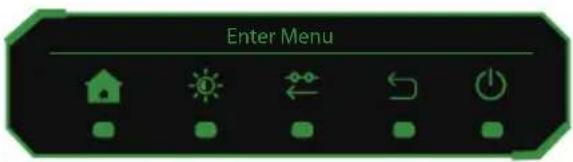
text_image
Enter Menu- Press the button M to activate the browser screen.
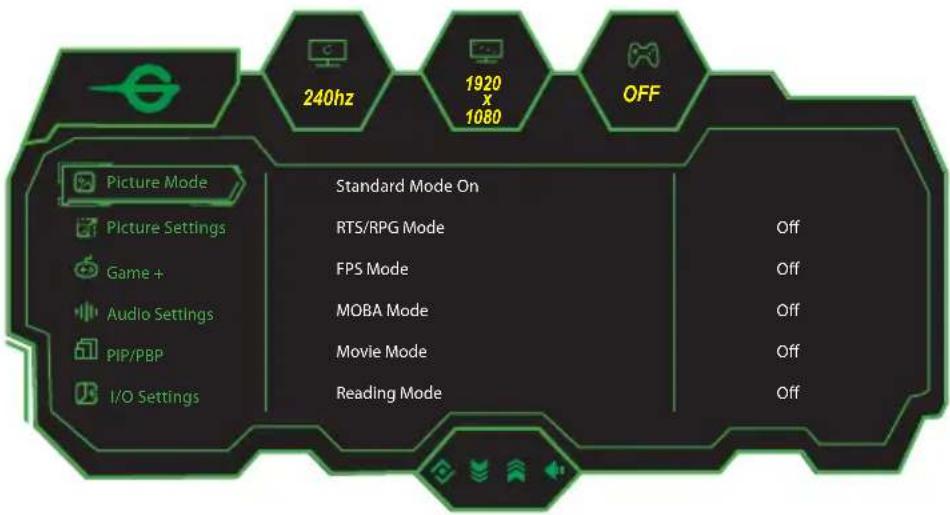
text_image
240hz 1920 x 1080 OFF Picture Mode Picture Settings Game + Audio Settings PIP/PBP I/O Settings Standard Mode On RTS/RPG Mode FPS Mode MOBA Mode Movie Mode Reading Mode Off Off Off Off-
Press ▼ or ▲ to scroll through the functions.
-
Select the desired function, and press M to enter the sub-menu.
- Press ▼ or ▲ to scroll through sub-menus, and press M key to select and confirm the desired function.
-
Press ▼ or ▲ to select one option, and press M to confirm settings and exit from the current menu.
-
Press E to exit from the menu screen
| Product Name Liquid Crystal Display | ||
| Product model P2510H | ||
| Screen Size | 24.5 inches | |
| Aspect Ratio 16:9 | ||
| Viewing Angle | 178°(H) / 178°(V) | |
| Pixel pitch (Sub Pixel) | 0.0944(H) * 0.2802(V)mm | |
| Contrast ratio 3000:1 (TYP) | ||
| Colors | 16.7M | |
| Resolution 1920x1080 | ||
| Maximum refresh rate | 240Hz | |
| Power specifications | 12V == 4.0AThe standard voltage and current may vary with countries, please refer to the label at the back of the product. | |
| Product Dimentions Normal base | Without base | 557.7×330.6×58mm |
| With base | 557.7×422.6×218.5mm | |
| -5°~20°Tilting angle | ||
| Height range | NA | |
| Rotation angle NA | ||
| NAVertical angle | ||
| Environmental conditions | Action | Temperature: 0°C~ 40°C (32°F ~ 104°F)Humidity: 10%~90% RH (non-condensing) |
| Storage | Temperature: -20°~ 60° (-4°F ~ 140°F)Humidity: 5%~95% RH (non-condensing) | |

HIGH-DEFINITION MULTIMEDIA INTERFACE
The terms HDMI and HDMI High-Definition Multimedia Interface, and the HDMI Logo are trademarks or registered trademarks of HDMI Licensing Administrator, Inc. in the United States and other countries.

TITAN ARMY
BENUTZERHANDBUCH FÜR MONITOR
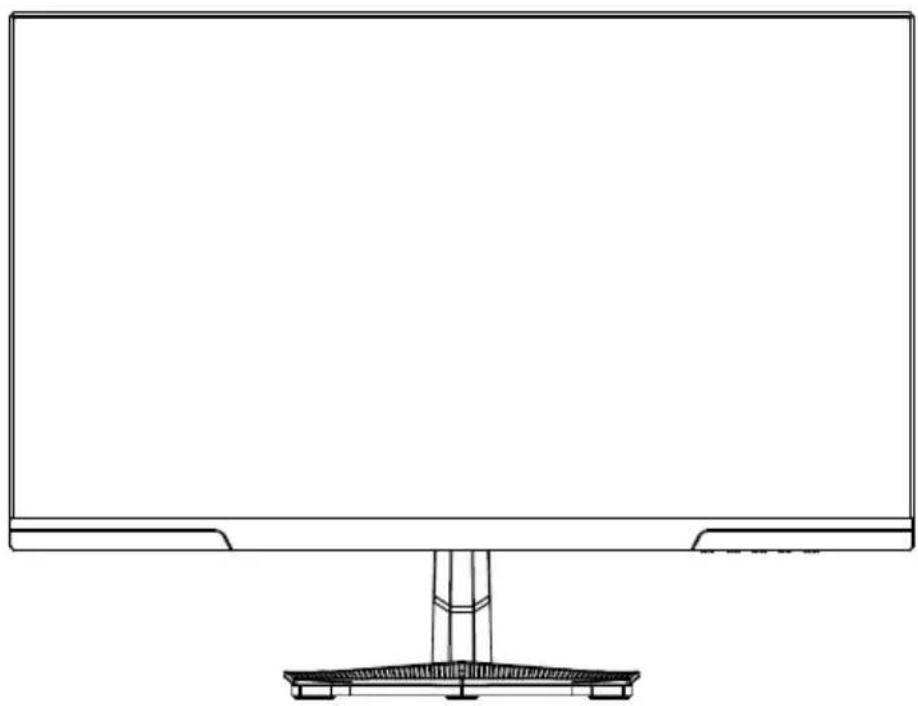
natural_image
Line drawing of a flat-screen monitor with a stand at the base (no text or symbols)P2510S
natural_image
Blank white rectangular frame with thin black border (no text or symbols)Monitor
Ständer
Sockel

Tieline-Schnalle
natural_image
Simple line drawing of a U-shaped cable with two connectors (no text or symbols)DP-Signalkabel
natural_image
Simple line drawing of a medical or laboratory device with a vertical tube and connected tubing (no text or symbols)Adapter
natural_image
Line drawing of a cable or connector with no visible text or symbolsStromkabel
natural_image
Blank white image with a thin black border (no text, symbols, or markings)Benutzerhandbuch
natural_image
Technical line drawing of a device casing before and after assembly (no text or symbols)natural_image
Mechanical assembly diagram showing a step-by-step transformation of a mechanical component (no text or symbols present)natural_image
Technical line drawing of a device housing with internal components, showing a transformation from an open frame to a closed panel (no text or symbols present)natural_image
Line drawings of a desktop computer monitor and its front view (no text or symbols)
natural_image
Technical line drawing of a device casing before and after assembly (no text or symbols)text_image
M ▼ ▲ E ● LEDtext_image
Indicatornatural_image
Line drawing of a computer monitor with front panel and screen (no text or symbols)natural_image
Line drawing of a flat-screen monitor with a stand at the base (no text or symbols)P2510S
Précautions
natural_image
Blank white rectangle with a thin black border and small corner marks (no text or symbols)Moniteur
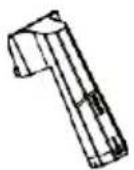
Tige de support
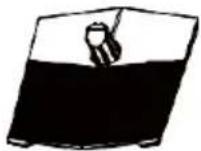
Base

Boucle d'attache
natural_image
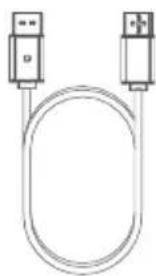
Simple line drawing of a USB cable with two connectors (no text or symbols)Câble de signal DP
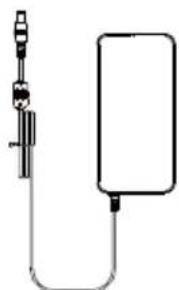
natural_image
Simple line drawing of a medical or laboratory device with a vertical rod and connected tubing (no text or symbols)Adaptateur
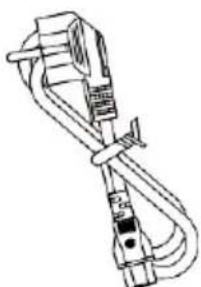
natural_image
Line drawing of a cable with attached electrical components (no text or symbols)natural_image
Blank white image with a thin black border (no text, symbols, or markings)natural_image
Technical line drawing of a device casing before and after assembly (no text or symbols)natural_image
Technical line drawing of a device housing with internal components, showing a transformation from an open frame to a closed panel (no text or symbols present)natural_image
Line drawings of two computer monitors, one blank and one with a central square panel (no text or symbols)
natural_image
Technical line drawing of a device casing before and after assembly (no text or symbols)text_image
Support (Non inclus)
natural_image
Empty rectangular frame with diagonal hatching on both sides (no text or symbols)
text_image
M ▼ ▲ E ● LEDnatural_image
Line drawing of a computer monitor with front panel and central screen (no text or symbols)natural_image
Line drawing of a flat-screen monitor with a stand at the base (no text or symbols)P2510S
Precauciones
natural_image
Blank whiteboard with a thin black border and a small rectangular cutout at the bottom (no text or symbols)Monitor
Soporte
Base

Hebilla de amarre
natural_image
Pure diagram of two USB connectors attached to a U-shaped cable (no text or symbols)natural_image
Simple line drawing of a handheld device connected to a rectangular device (no text or symbols)Adaptador
natural_image
Line drawing of a cable with connectors and a connector block (no text or symbols)natural_image
Blank white image with a thin black border (no text, symbols, or markings)Manual de Usuario
natural_image
Technical line drawing of a device interior showing a 3D box and its cross-section view (no text or symbols)natural_image
Mechanical assembly diagram showing a step-by-step transformation of a mechanical component (no text or symbols present)natural_image
Technical line drawing of a device housing with internal components, showing a transformation from an open frame to a closed panel (no text or symbols present)natural_image
Line drawings of two computer monitors, one blank and one with a central square panel (no text or symbols)
natural_image
Technical line drawing showing a device interior with a rectangular housing and internal components, before and after assembly (no text or symbols)natural_image
Empty rectangular frame with diagonal hatching on both sides (no text or symbols)
text_image
M ▼ ▲ E ● LEDnatural_image
Line drawing of a flat-screen monitor with a stand and cable (no text or symbols)Indicador
natural_image
Line drawing of a computer monitor with front panel and central screen (no text or symbols)natural_image
Line drawing of a flat-screen monitor with a stand (no text or symbols)P2510S
Precauzioni
natural_image
Blank whiteboard with two corner brackets at the bottom (no text or symbols)Monitor
Supporto
Base

Fibbia per legare
natural_image
Simple line drawing of a U-shaped cable with two USB connectors (no text or symbols)Cavo segnale DP
natural_image
Simple line drawing of a medical or laboratory device with a vertical tube and connected tubing (no text or symbols)Adattatore
natural_image
Line drawing of a cable with connectors and a connector block (no text or symbols)natural_image
Blank white image with a thin black border (no text, symbols, or markings)Manuale dell'utente
natural_image
Technical line drawing of a device interior showing a 3D box and its cross-section view, with no visible text or symbols.natural_image
Mechanical assembly diagram showing a step-by-step transformation of a mechanical component (no text or symbols present)natural_image
Technical line drawing of a device housing with internal components, showing a transformation from an open frame to a closed panel (no text or symbols present)natural_image
Line drawings of two computer monitors, one blank and one with a central square panel (no text or symbols)
natural_image
Technical line drawing of a device casing before and after assembly (no text or symbols)natural_image
Empty rectangular frame with diagonal hatching on both sides (no text or symbols)
text_image
M ▼ ▲ E ↓ LEDtext_image
Indicatornatural_image
Line drawing of a computer monitor with front panel and central screen (no text or symbols)natural_image
Line drawing of a flat-screen monitor with a stand (no text or symbols)P2510S
natural_image
Blank white rectangular frame with thin black border (no text or symbols)Monitor
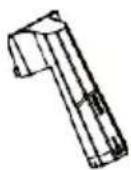
Stojak
Podstawa

Klamra wiążąca
natural_image
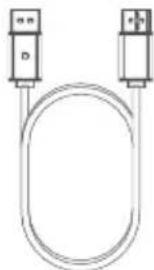
Simple line drawing of a U-shaped cable with two connectors (no text or symbols)Kabel sygnałowy DP
natural_image
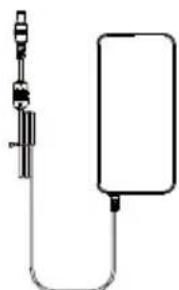
Simple line drawing of a medical or laboratory device with a vertical rod and connected tubing (no text or symbols)Adapter
natural_image
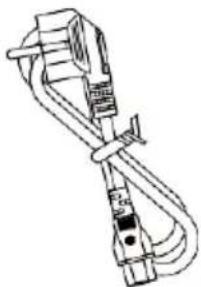
Line drawing of a cable or connector with no visible text or symbolsPrzewód zasilający
natural_image
Empty white rectangle with black border (no text or symbols)Instrukcja Obsługi
natural_image
Technical line drawing of a device casing before and after assembly (no text or symbols)natural_image
Technical line drawing of a device housing with internal components, showing a transformation from an open box to a closed panel (no text or symbols present)natural_image
Line drawings of two computer monitors, one blank and one with a central square panel (no text or symbols)
natural_image
Technical line drawing of a device casing before and after assembly (no text or symbols)natural_image
Empty rectangular frame with diagonal hatching on both sides (no text or symbols)