301583 - USB hub Aplic - Free user manual and instructions
Find the device manual for free 301583 Aplic in PDF.


| Product Type | USB Hub with Video Capture Function |
| Brand | Aplic |
| Model | 301583 |
| PC Interface | USB 2.0 |
| Video Inputs | S-Video (Mini-DIN 4), Composite CVBS (RCA) |
| Audio Inputs | Left and Right Channel (RCA) |
| Included Software | Honestech VHS to DVD 2.0 SE |
| Operating Systems | Windows 7, 8, 8.1, 10 |
| Video Formats | VCD (MPEG1), SVCD/DVD (MPEG2) |
| PAL Resolution | 352×288, 480×576, 720×576 |
| NTSC Resolution | 352×240, 480×480, 720×480 |
| Power Supply | Via USB port (bus-powered) |
| Power Consumption | 2.5 W (estimated) |
| Dimensions (approx.) | 10 × 5 × 2 cm |
| Weight (approx.) | 100 g |
| Material | Plastic |
| Color | Black (typical) |
| Included Accessories | Installation CD, user manual |
| Safety | Do not open, avoid humidity and high temperatures |
| Maintenance | Clean with a dry, soft cloth |
| Recycling | Compliant with WEEE directive (2012/19/EU) |
| Warranty | Legal warranty (unauthorized modifications void warranty) |
Frequently Asked Questions - 301583 Aplic
User questions about 301583 Aplic
0 question about this device. Answer the ones you know or ask your own.
Ask a new question about this device
Download the instructions for your USB hub in PDF format for free! Find your manual 301583 - Aplic and take your electronic device back in hand. On this page are published all the documents necessary for the use of your device. 301583 by Aplic.
USER MANUAL 301583 Aplic
natural_image
Line drawing of a USB cable connector with multiple connectors (no text or symbols)USB Videograbber
Mod.-Nr.: 301583
Table of contents
- Deutsch .... 3
- English 20
- Français 37
- Italiano 54
- Español....71
| Umgebungstemperatur + 0 | -3°C bis 35-40°C |
| Ambient temperature + 0 | -3°C until 35-40°C |
| Température ambiante + 0 | -3°C à 35-40°C |
| Temperatura ambiente + 0 | -3°C fino 35-40°C |
| Temperatura ambiente + 0 | -3°C a 35-40°C |
Thank you for having chosen this aplic product and for placing your trust in our company. Please read this manual carefully before installation to ensure your long-term enjoyment of this product. For future reference, please keep this manual. Before using the delivered product, check that it is complete, faultless and undamaged.
1. Scope of delivery
- USB video grabber
- Installation CD
- User manual
2. Technical specifications
| Interface USB 2.0 | |
| Video inputs | S-video socket (mini-DIN 4)Composite CVBS socket (Cinch) |
| Audio inputs • left channel | socket (Cinch)right channel socket (Cinch) |
| Digitalisation software Hon | estech VHS to DVD 2.0 SE (the licence code is automatically entered before the program is run for the first time) |
| System compatibility Microsoft Windows 7 / 8 / 8.1 / 10 | |
3. Product details
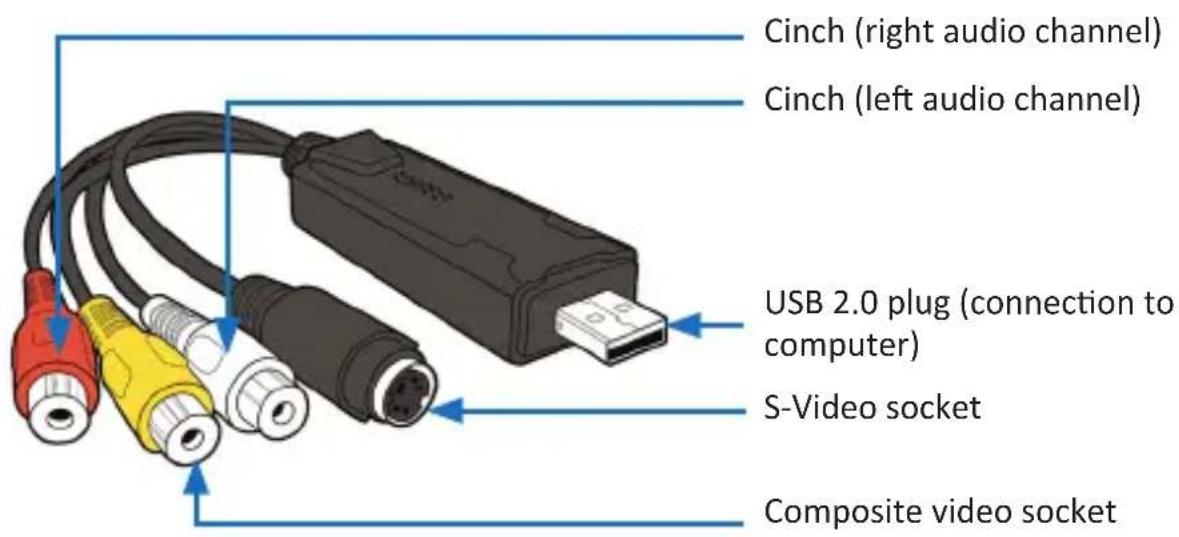
4. Functions
The aplic Video Grabber makes it possible to record and digitize analogue video and audio signals from an external playback device (such as a video recorder or an analogue video camera) on a computer.
Please use the software included to transfer the films you have recorded to your hard disk or DVD.
5. Getting started
When the device is put into operation for the first time, check the intactness of the product or components and their function again. Please take the Video Grabber out of its packaging and connect it to your computer and analogue playback device (e.g. a video recorder or analogue video camera). The Grabber gives you the choice between a composite and an S-video connection for the video signal.
Note: If your playback device supports both types of connectors, S-video will provide you with a higher signal quality.
The playback device is also connected to the Cinch sockets of the Video Grabber to transmit the audio signals.
Note: If you would like to link the Grabber to your video recorder, you can connect it to the Scart interface of the video recorder via a Scart adapter, which is not in this scope of delivery.
6. Driver installation
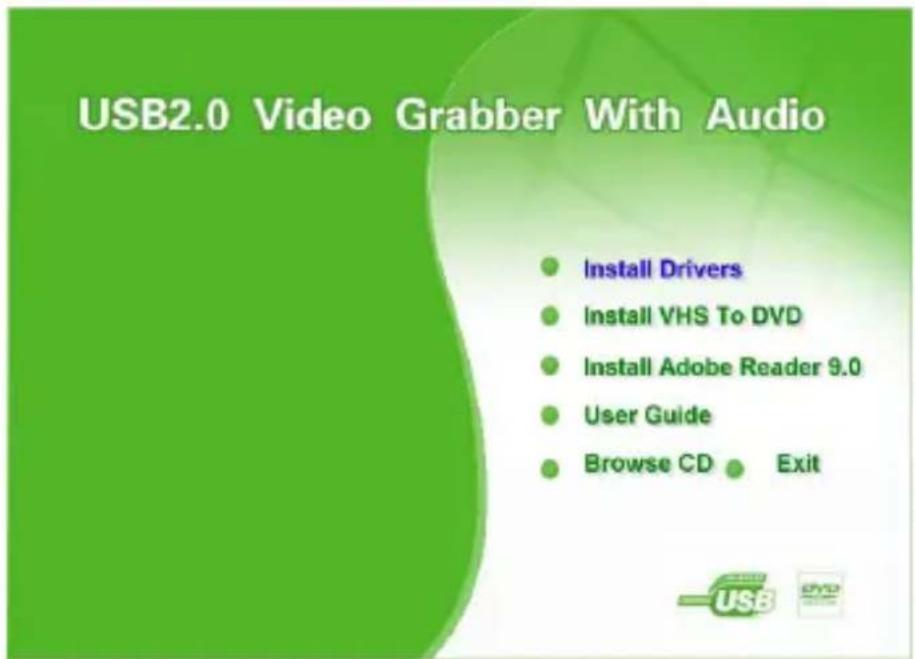
Right-click on the installation and select "Run as administrator". Place the installation-CD into your drive and close the drive. The Autostart function will automatically start up the "Autorun.exe" file from the home master directory on the CD. Depending on the operating system used, you might have to confirm it by clicking on "Run AUTORUN.EXE".

The installation menu will now open. Please click on "Install Drivers" first, so that the device drivers can be installed on your computer.
If you are asked whether you would like to allow the following program to make changes, please select "Yes". Depending on your Windows version this can occur more often.

The installation assistant will then start. Click on the "Install" button.
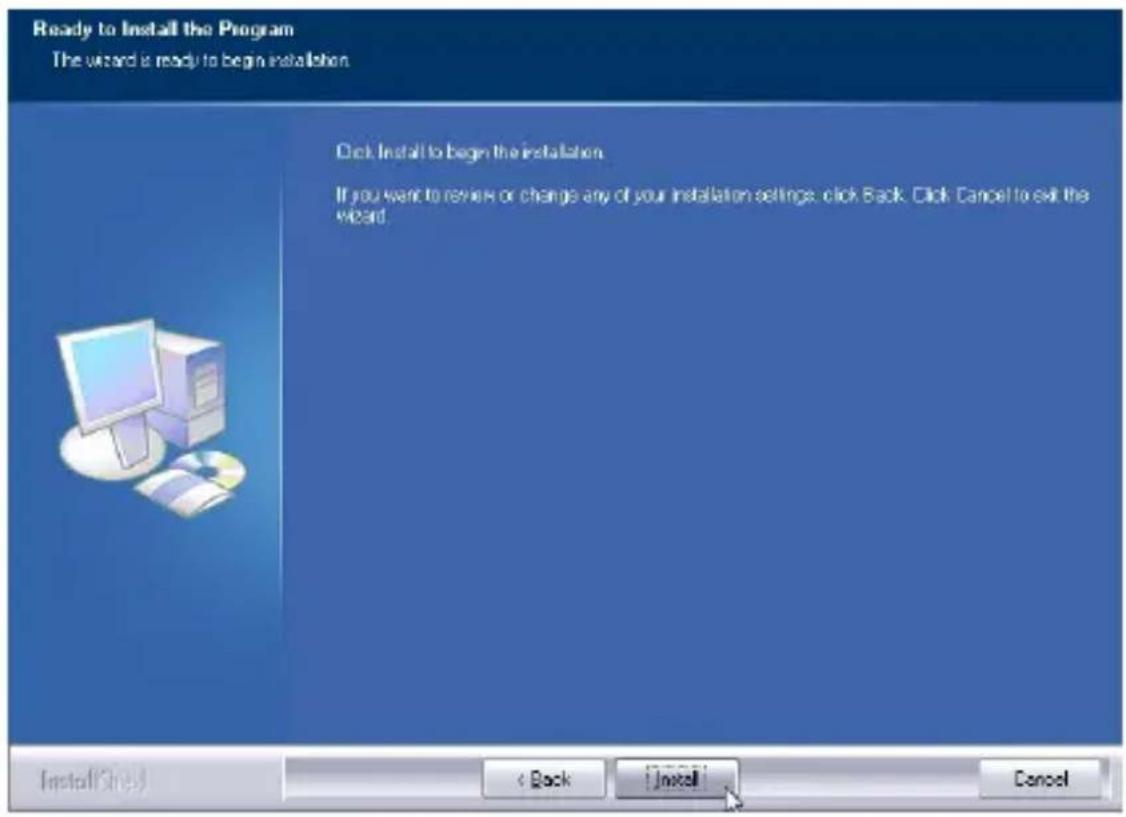
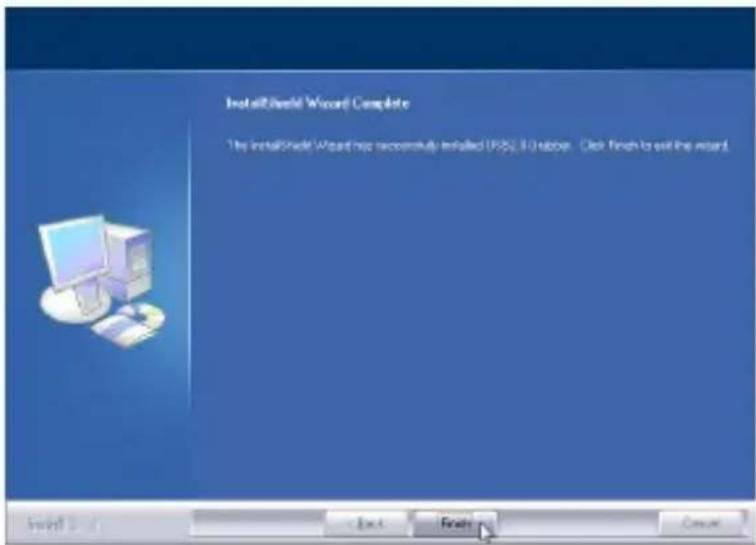
To complete the driver installation, click on "Finish".
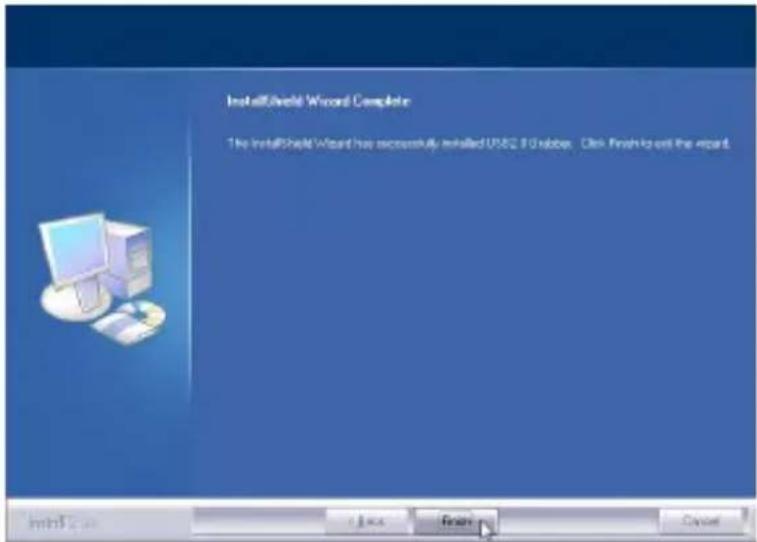
The driver has been successfully installed on your computer. Now continue with the installation of the software.
7. Software installation
In the installation menu, choose the option "Install VHS to DVD".
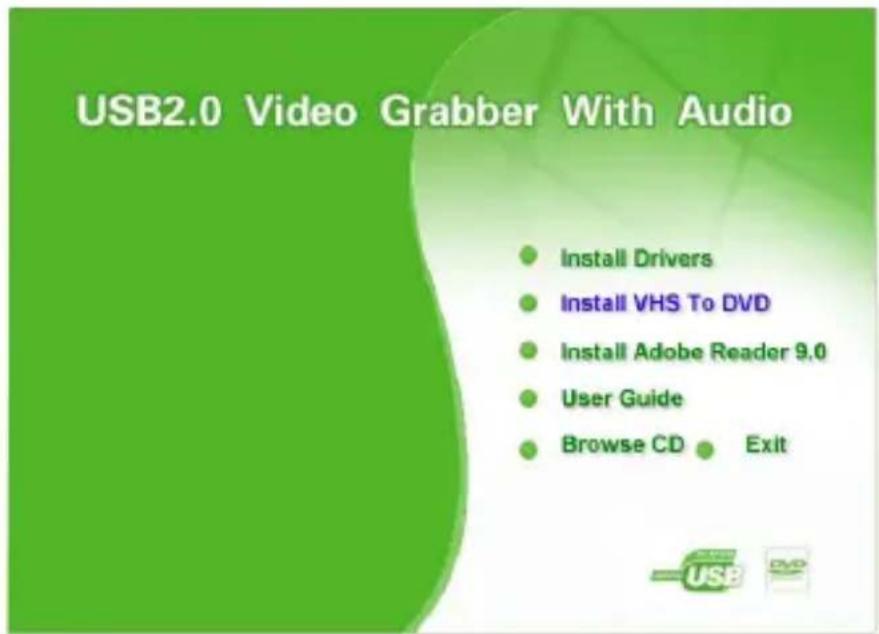
Again, if a message appears aksing for permissions to make changes to this computer, please also confirm it with "Yes".

The software can be installed in various language versions. Choose your preferred language and afterwards click "Continue".
In the next window, please click on the "Continue" button.
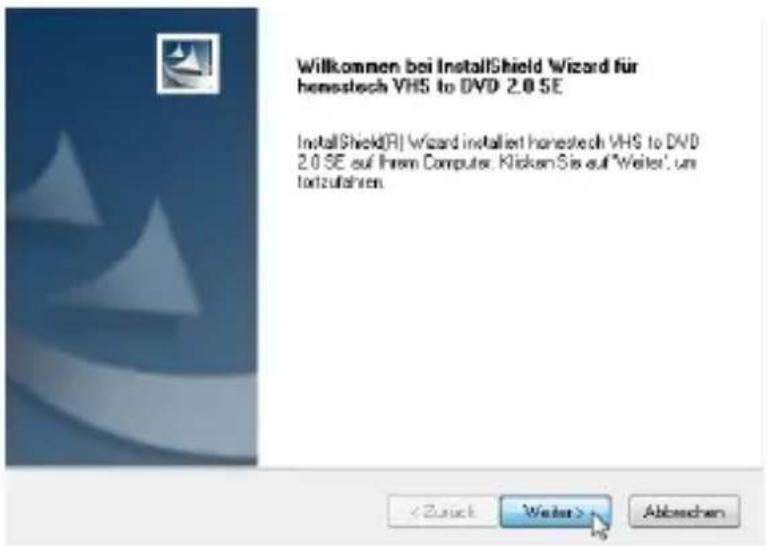
To start the installation, you now have to accept the conditions of the license agreement and click on the "Continue" button.
Lizenzvereinbarung
The next step allows you to change the target directory of the software installation. To install the software in the standard directory, please click on "Continue".
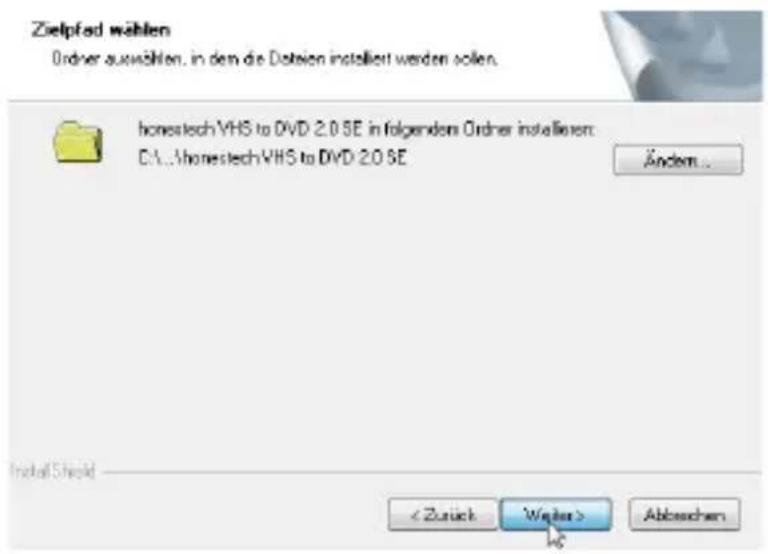
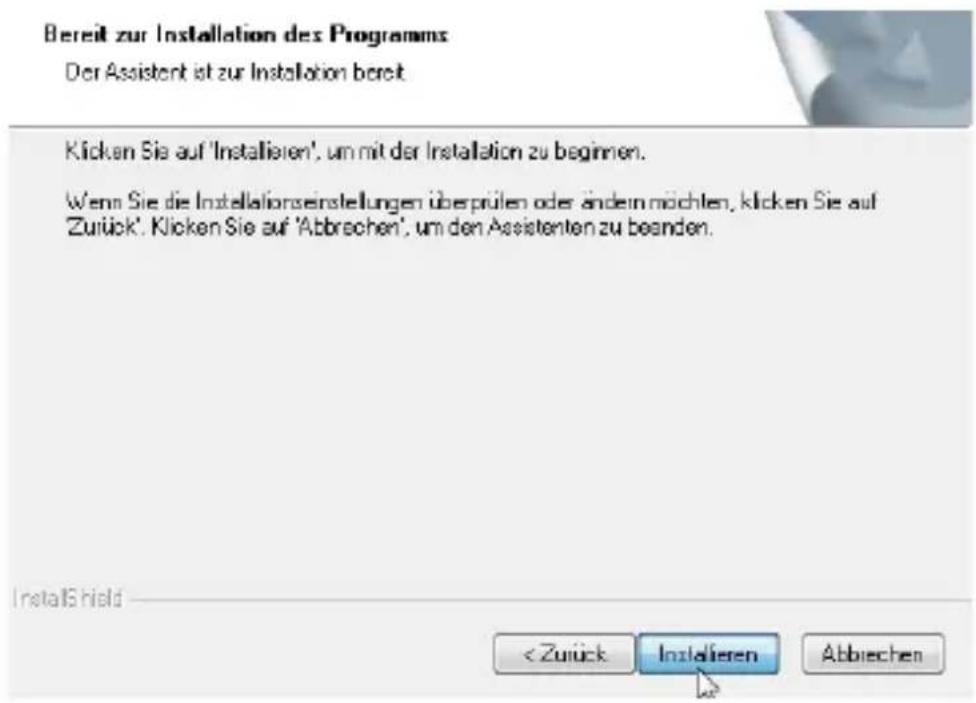
During the last step, you will be asked for the name of the program directory generated in the taskbar. Click “Continue” once again and then on “Install” in the next window. The installation will start.
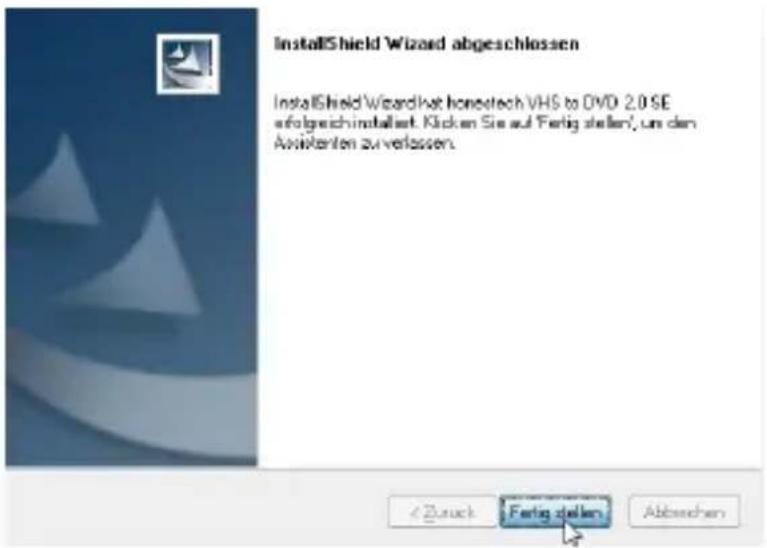
Click on the "Complete" button. The digitalisation software VHS to DVD has been successfully installed.
A further security dialogue will appear once the installation is complete. Please also confirm this with "Yes".

Programmname: Upgrade.exe
Afterwards please start the newly installed "Honestech VHS to DVD 2.0 SE" digitalisation software via the start menu or the desktop symbol.
The first time you start this software, a security message might be shown again. Please remember to click on the "Yes" button, so that the licence code of the digitalisation software can be entered automatically by the programm.
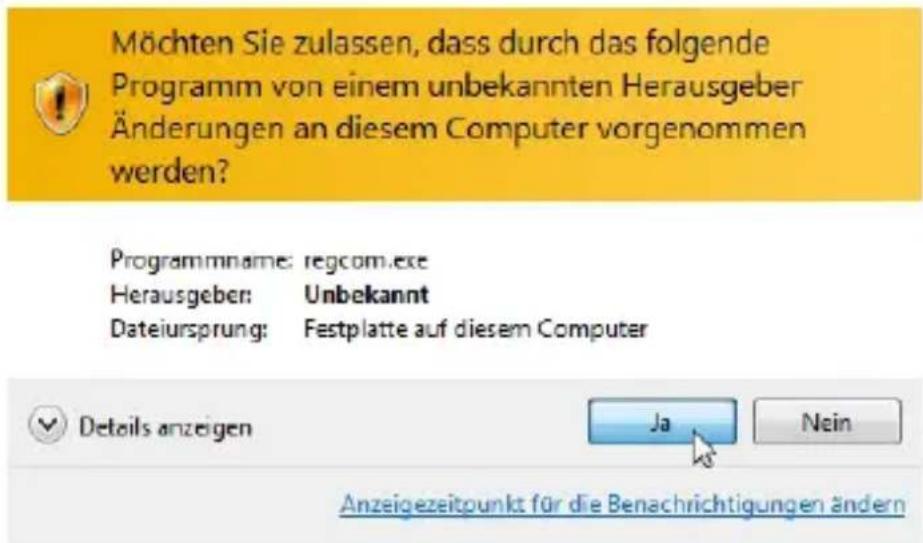
Then restart your computer to complete the installation and to enable the device.
8. Software settings
Please select an output directory for your digital videos. Ensure that the drive has sufficient space.
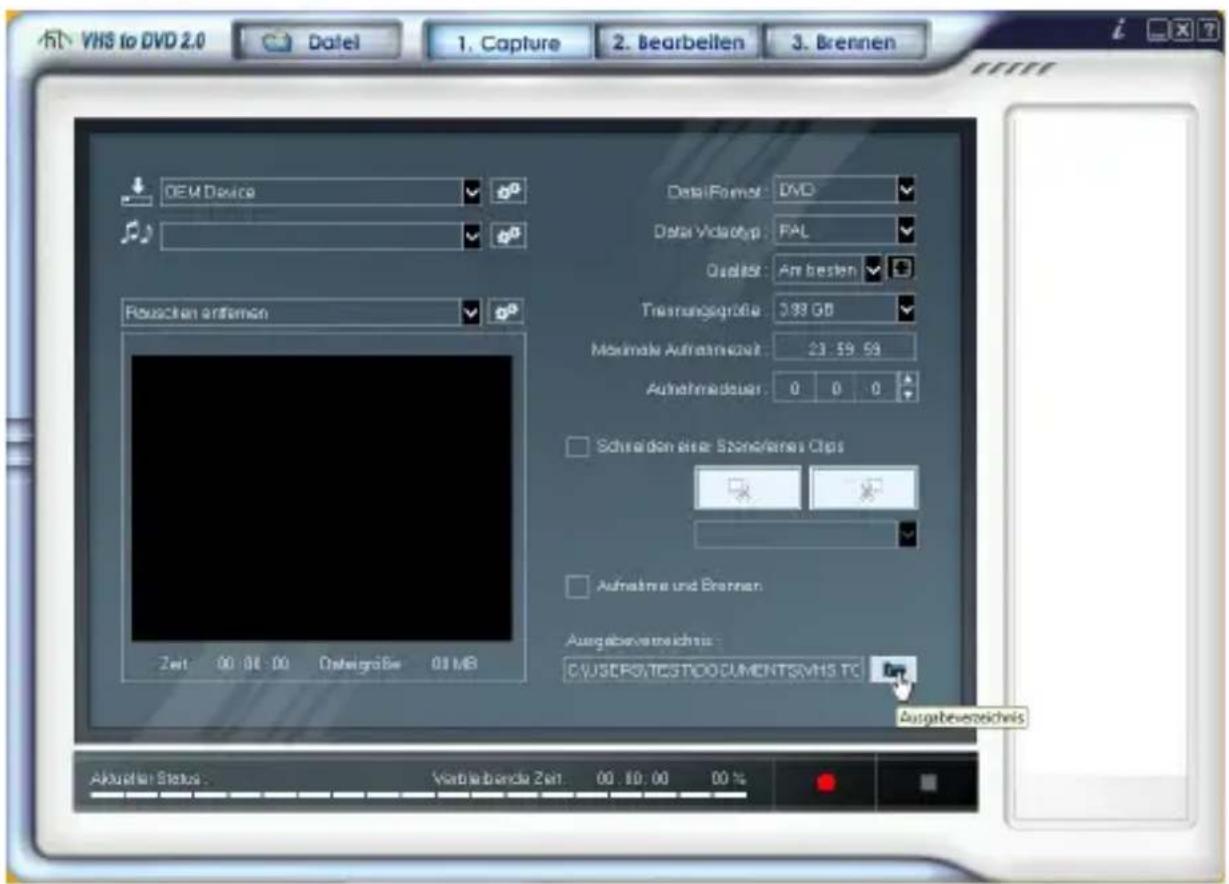
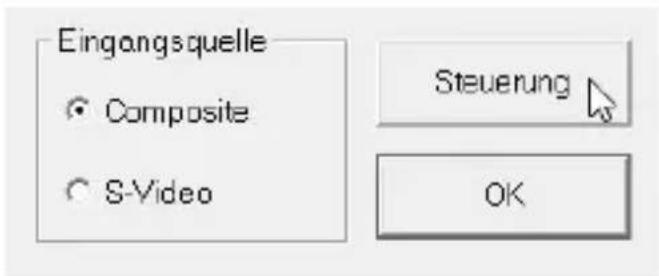
Then enter the name of the link to the input device in the software. To do this, click on the cogwheel symbol next to the top drop-down field. Choose the input and click on "Control".
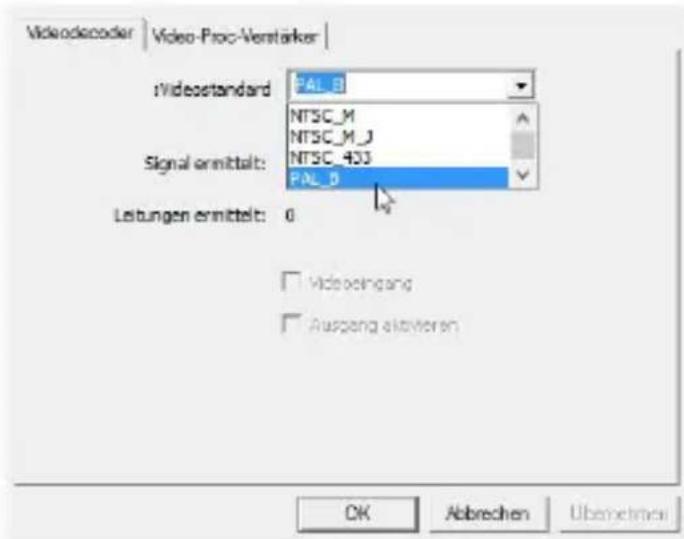
Enter the video standard of your input device. The PAL_B standard is most commonly used in Europe. Select the required standard (usually PAL /BDGHI) and click on the "OK" button.
Then confirm the interface-selection by clicking on the "OK" button.
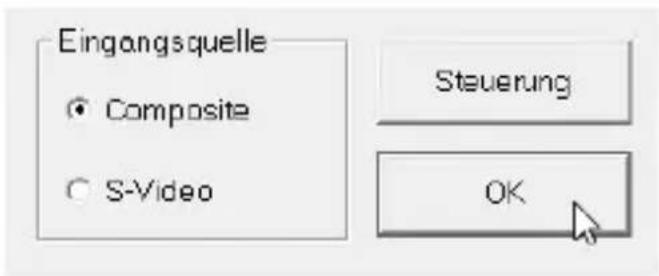
Your device will already play a video in the preview window. If this should not be the case, please check whether the two fields shown in the following diagram contain the words "USB2.0 Grabber" and "USB Audio Interface". If this is not the case, please select the corresponding inputs or proceed as described in section 11 of this user manual.
9. Setting up the sound using Windows 7
Depending on your operating version, the installed software and the settings, the preview of the recording software may not include any sound.
This only applies to the preview. The videos you have recorded will ultimately contain the desired audio track. Windows 7 is used as an example below to explain to you how to include the audio track in the preview.
Open the settings menu for the recording devices by right-clicking on the audio symbol in the task bar and then by left-clicking "Recording Devices".
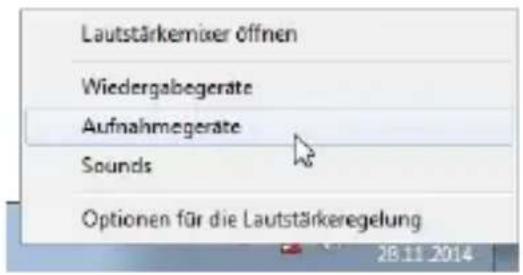
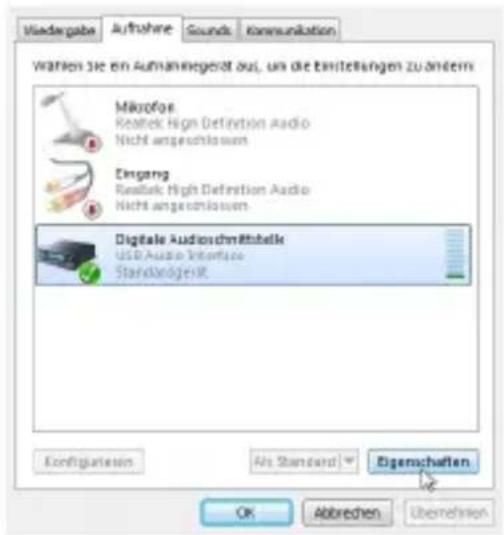
In the list shown, select the "Digital Audio Interface" with the description "USB Audio Interface" and click on "Properties".
Change to the "Listen" tab and check the box next to "Use this device as a play-back source". Confirm this change by clicking on "Apply" and then use the "OK" button to close the window.
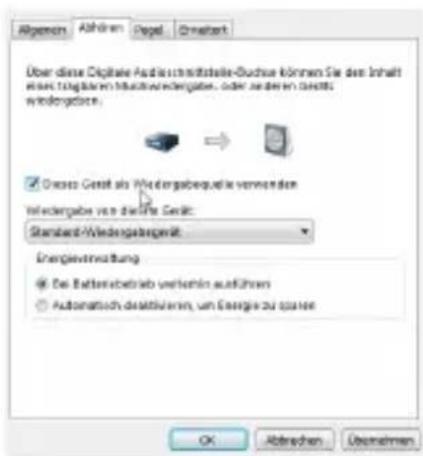
After this the sound being fed to the Video Grabber will be played back via your speakers or head set. To deactivate the function, once again proceed as described, but remove the tick in the box next to “Use this device as a playback source”.
10. Available file formats and video types
The following options will be available if the best quality is selected in the respective field.
| Video format PAL resolution NTSC resolution | |||
| VCD MPEG1 | 352x288@25FPS | 352x240@29,97FPS | |
| SVCD MPEG2 | 480x576@25FPS | 480x480@29,97FPS | |
| DVD MPEG2 | 720x576@25FPS | 720x480@29,97FPS | |
| Long DVD MPEG2 | 720x576@ | 25FPS 720x480@29,97FPS | |
Note: The “DVD” option generally provides a better recording quality than “Long DVD”, although the resolution is identical. However, the recorded files also require more storage space.
- Fault search
| Where do I find the licence code for the VHS to DVD software? | The licence code will be automatically entered once the software has been installed. To do this, you must confirm to the security message that appears when you first start the software by answering “Yes”. If you have inadvertently skipped this step, you will need to uninstall and subsequently re-install the digitalisation software. |
| No video signals are transmitted. | Please check the cable link and whether the correct input signal was selected in the digitalisation software. You should also make sure that the graphics card drivers of your computer are up to date. |
| No audio signals are transmitted. | Please check the cable link. Then check whether the correct input signal has been chosen in the software. |
| The quality of the video files recorded is poor. | The quality of the recorded videos primarily depends on the source material used. The cable connection and the input signal used also play an important role. Please use high-quality cables in order to avoid aloss of quality. If your device has a S-Video output, this should be connected to the S-video input of the Video Grabber. The S-Video signal quality is higher by contrast with composite connections (Cinch). |
| The pictures are shown in black and white. | Check whether the correct settings regarding PAL/NTSC have been made in the software. Also ensure that the signal cables are properly connected and functional. |
If no preview image is displayed, right-click on the program link. Go to the compatibility tab and check the box for reduced color mode. Then select 16-bit colors from the drop-down menu.
12. Safety instructions and disclaimer
Do not attempt to service this product by yourself as opening or removing covers may result in fire, electric shock or equipment damage. The product is only disconnected from the voltage system when the plug has been removed from the socket. Please avoid any contact to the electric current. Disregard of this warning could lead to contact with the operating voltage, or could generate a short circuit. Pull out the plug before a lightning storm or if you do not regularly use this product, to prevent a short-circuit. This device is only licensed for indoor use and dry areas. Please protect it from water, rain, snow or high humidity and keep it away from high temperatures and direct sunlight.
Do not expose this product to extreme and sudden changes of temperature or heavy vibrations; this may lead to damage to the electronic part of this unit. Check the product for signs of damage before putting it in operation. In case the device is damaged, it should not be used. Please contact our customer support. Please observe the relevant national provisions and legal restrictions. Do not use the device for anything other than intended and as described in the manual.
Any attempt of repairs or alterations by someone other than the original supplier will invalidate the guarantee and result in refusal of warranty claims. The machine may only be used by persons who are familiar with the operating manual and the applicable regulations concerning working safety and accident prevention. This device is not intended to be used by persons (including children) with limited physical, sensory or mental aptitude or lack of experience and/or knowledge unless they are supervised by a person responsible for their safety or have received instructions as to how the device is used properly. The technical specifications of this product may change without prior notice
13. Disposal Instructions
The European Directive (WEEE) requires that old electrical and electronic appliances shall be disposed of separately from normal household garbage for optimal recycling. The component parts must be separated, collected and sent for recycling or disposal in an environment-friendly manner. Otherwise, toxic and dangerous substances could cause enduring damage to the environment by an in-
correct disposal. As a consumer you are legally obligated (Electrical and Electronic Equipment Act-ElektroG) to return end-of-life electrical and electronic equipment to their manufacturer, point of sale, public collection points or importer of charge. The relevant local laws apply here. The symbol on the product, in the instructions or on its packing points out these regulations. The reuse or recycling of materials and old units makes an important contribution towards protecting the environment.

WEEE guideline: 2012/19/EU WEEE register number: DE 67896761
WD Plus GmbH, herewith declares that this product 301583 conforms to the principle requirements and other relevant stipulations. The complete Declaration of Conformity can be obtained from: WD Plus GmbH, Wohlenbergstraße 16, 30179 Hanover
- Table of contents
- Scope of delivery
- Technical specifications
- Product details
- Functions
- Getting started
- Driver installation
- Software installation
- Lizenzvereinbarung
- Software settings
- Setting up the sound using Windows 7
- Available file formats and video types
- Safety instructions and disclaimer
- Disposal Instructions
Brand : Aplic
Model : 301583
Category : USB hub