303480 - Barcode Reader Aplic - Free user manual and instructions
Find the device manual for free 303480 Aplic in PDF.


| Product Type | Barcode Reader |
| Brand | Aplic |
| Model | 303480 |
| Dimensions (H x W x D) | Approx. 15 x 7 x 5 cm |
| Weight | Approx. 150 g |
| Power Supply | USB powered (5V DC) |
| Interface | USB (wired) |
| Scanning Technology | Linear imager or laser (typical) |
| Supported Barcodes | 1D barcodes (UPC, EAN, Code 39, Code 128, etc.) |
| Scan Speed | Up to 200 scans per second |
| Operating Distance | Up to 30 cm (typical) |
| Operating Temperature | 0°C to 40°C |
| Storage Temperature | -20°C to 60°C |
| Humidity | 5% to 90% non-condensing |
| Drop Resistance | 1.5 m onto concrete |
| Cable Length | 1.5 m (typical) |
| Compatibility | Windows, macOS, Linux (plug-and-play) |
| Light Source | LED (Class 1 eye-safe) |
| Maintenance | Clean lens with soft, dry cloth; avoid solvents |
| Safety | CE, FCC compliant |
| Spare Parts / Repairability | Replacement cable and scanner head available; consult manual for repair |
| Manual Languages | English, German (manual available in PDF) |
| Warranty | 1 year (typical) |
Frequently Asked Questions - 303480 Aplic
User questions about 303480 Aplic
0 question about this device. Answer the ones you know or ask your own.
Ask a new question about this device
Download the instructions for your Barcode Reader in PDF format for free! Find your manual 303480 - Aplic and take your electronic device back in hand. On this page are published all the documents necessary for the use of your device. 303480 by Aplic.
USER MANUAL 303480 Aplic
natural_image
Abstract logo design featuring a blue lowercase 'a' and gray lettering 'aplic' (no text or symbols beyond the graphic elements)User Manual

natural_image
Line drawing of a handheld device with a pointed tip and handle (no text or symbols)Barcodescanner
Initialization Settings (Wired Mode)
Initialization Settings (Bluetooth Mode)
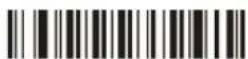

Scan-Einstellungen

Total Number of Data
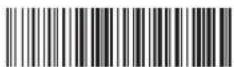
Clear Data (scan with caution)
Kabelgebundener Modus / Bluetooth Modus

Wired Mode

Bluetooth Mode
Sleep-Einstellungen

5 minutes 10 minutes


20 minutes

no sleep
Bluetooth-Modus
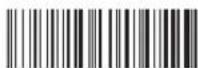
HID mode (default)

SPP mode
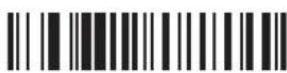
Auto continuous scan
Image

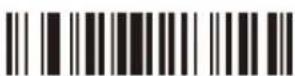
Decode options reverse image-enable Decode options reverse image-disable
Code ID

Add ID code in front-enable

Add ID code behind-enable
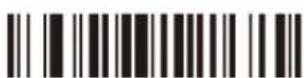
Cancel ID Code

Exchange of Capital and Lower Case
Prefix / Suffix Einstellungen

Termination CHAR-CR
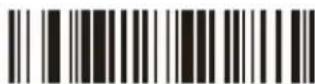
Cancel suffix CR

All codes add suffix ETX

All codes add prefix STX
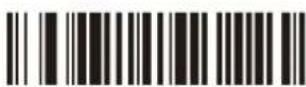
All codes add leading CHAR - Disable

Set to add prefix
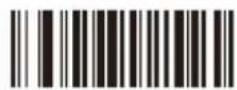
Clear all suffix CHARS

Set to add suffix

Clear all prefix CHARS
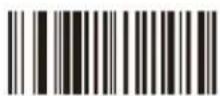
Hide the behind CHARS-disable

Set to hide behind CHARS

Hide the front
CHARS-disable

Set to hide front CHARS
Barcode-Einstellungen
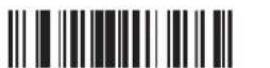
Code 11 /on Code 11/ off

Code 11
redundancy enable

Code 11 ID as 'u'

Code11 C verify
Code 11


Code 11
redundancy disable

Code11 auto CK verify

Code11 CK verify
Code 93

Code 93 /on Code 93 /off


Code 93 ID as "I"

Code 93
redundancy enable
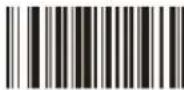
Code 93 MOD47/on

Code 93
redundancy disable
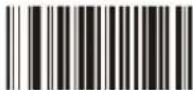
Code 93 MOD47/off
Code 39

Code 39 on Code 39 off
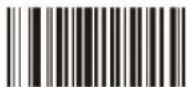

Code 39 ID as "m"

Code 39 Full
ASCLL-or

Code 39 MOD43
verify Off

Code 39 transmit
verify ON
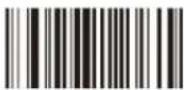
Code 39 Full
ASCLL-off
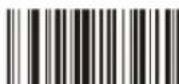
Code 39 MOD43
verify On

Code 39 transmit
verify ON
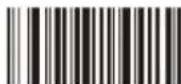
Code 39 transmit
CHARS On

Code 39 transmit
CHARS Off

Code 39
redundancy enable
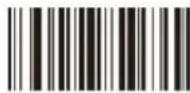
Interleaved 25

Interleaved/ITF25-on

ITF25 redundancy enable

ITF25 ID as "n"
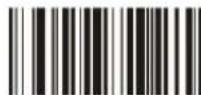
Interleaved/ITF25-off

ITF25
redundancy disable

Industrial 25/on

Industrial25
redundancy enable
Industrial 25

Industrial 25 ID as "o"
Industrial 25/off

Industrial25
redundancy disable

Matrix 25 on

Postage Code 25 on
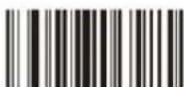
Aviation 25 off

Postage Code 25
ID as "r"
Matrix 25

Matrix 25 off
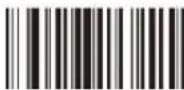
Postage Code 25 off

Aviation 25 on

Aviation 25 ID as "p"

Matrix 25 ID as "q"
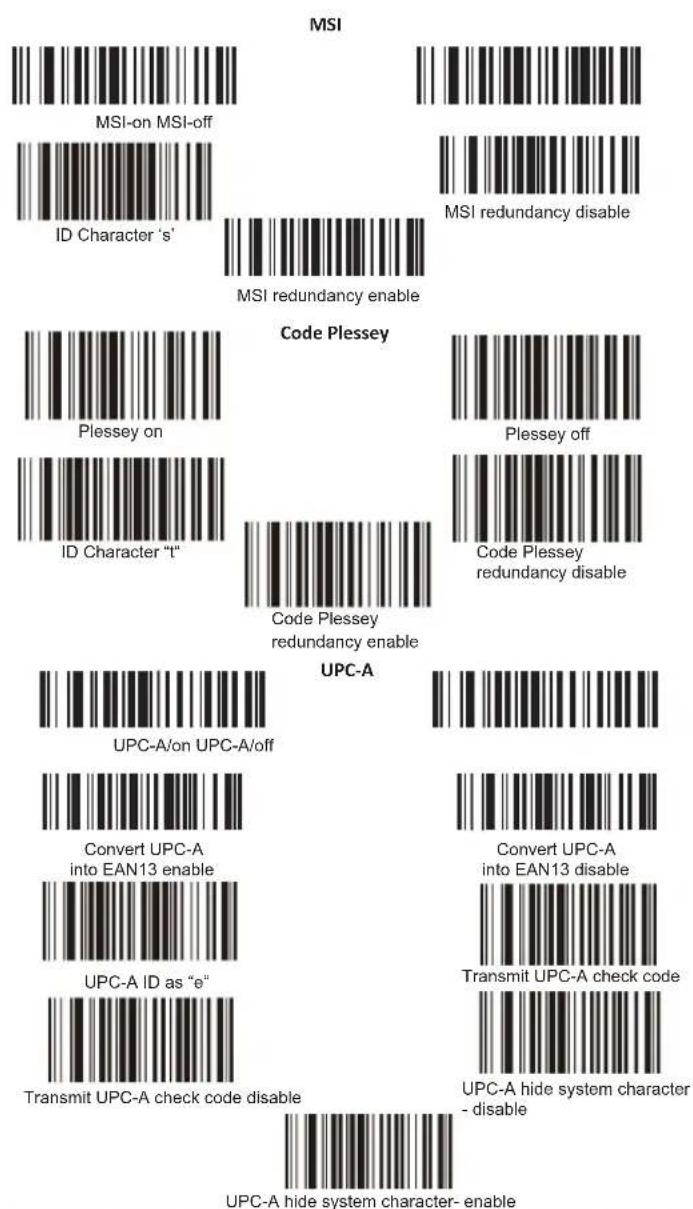
UPC-E

UPC-E/on UPC-E/off


Convert UPC-E into UPC-A enable

ID Character 'f
Convert UPC-E into UPC-A disable
EAN-13
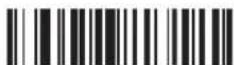
EAN-13/on EAN-13/off
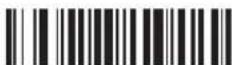

Convert EAN-13 into ISBN disable
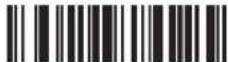
Convert EAN-13 into ISBN enable

Transmit EAN13 check code enable
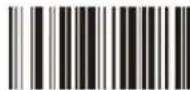
Transmit EAN13
check code disable

Convert EAN13 into ISSN enable

Convert EAN13 into ISSN disable

EAN13
redundancy enable

EAN13
redundancy disable

ID Character 'd'
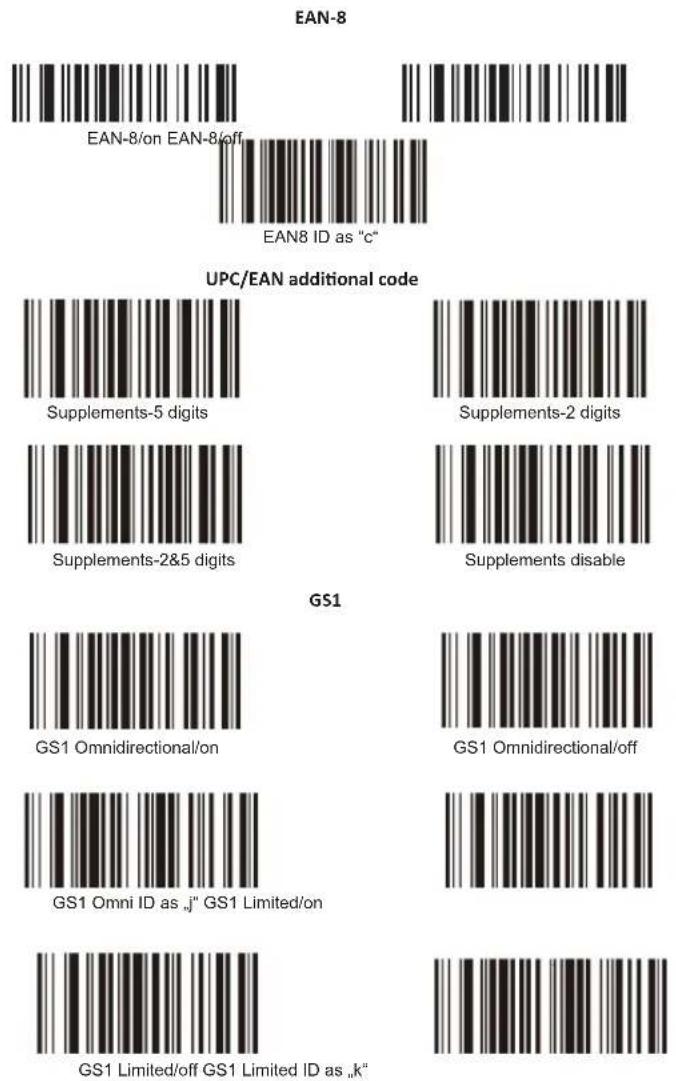
EAN-8

UPC/EAN additional code
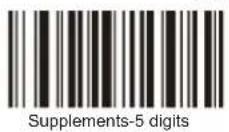


GS1

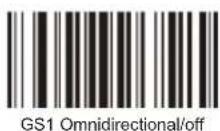


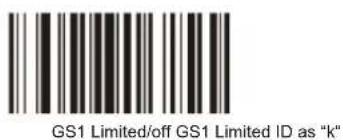


hide the front characters
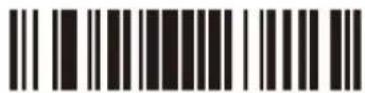
Hide the behind characters
Thank you for choosing an aplic product. Please read the following user manual carefully so that you can enjoy your purchased product for a long time.
1 Scope of supply
- Barcodescanner
• RJ45 to USB connection cable - User manual
2 Technical data
| Power supply DC 5V (via USB) | |
| Scanning modes | Manual scanningAutomatic scanningContinuous scanning |
| Resolution | min. 0,1mm |
| Frequency range / EIRP | 2402-2480MHz / -0.99dBm |
| Laser class | Class 1 laser safety regulations |
| ESD protection | 15kV air discharge |
| Shock resistance | Falling height from 1m onto solid surface |
| 2of5 Datalogic, 2of5 Interleaved, 2of5 Industrial, CODABAR, Code93, Code11, Code39, Code128, EAN8, EAN13, EAN14, EAN128, ISBN, MSI, UCC-14, UPC-A, UPC-E etc. | |

4 Setting up
Take the device and the accessories out of the package and remove all packaging material. First, charge the device completely by connecting the RJ45 to USB cable via the RJ45 port to the barcode scanner and the supplied charger. Press the "Trigger" button to turn on the device. The signal tone will beep twice and the status LED is switched on. Press the "Trigger" button for 5 seconds to switch off the device.
Note on code 39 and code 32: If you want to scan either "Code39" or "Code32", we advise you to disable the other code first. Otherwise it is difficult to rule out faulty scans!
5 Establishing a Bluetooth connection
Press the "Trigger" button for 10 seconds or scan the next barcode to activate the pairing mode.

scan and match
Android / iOS
Ensure that the pairing mode of the barcode scanner is enabled. If this is not the case, please turn on the pairing mode. Then open the Bluetooth settings on your Android or iOS device and start the Bluetooth scanning. Then establish connection with the barcode scanner.
Windows
Ensure that the pairing mode of the barcode scanner is enabled. If this is not the case, please turn on the pairing mode. Insert the Bluetooth adapter into a USB port on your computer. Open the Bluetooth settings and add a device. Turn the scanner on and scan the barcode "scan and match", or press and hold the "Trigger" button for 10 seconds. The status LED flashes quickly and the pairing mode is activated. Now press the "Add Bluetooth or other device" and then press "Bluetooth". In the following window, you will see all the Bluetooth devices that are currently within range. Connect with "APLIC-303480". The barcode scanner can now be used on your computer.
5 Scanning angle
To ensure correct scanning, make sure that the scanner is not held at a 90^ angle to the barcode. The scanner has to be pointed towards the barcode and the laser should cover the entire barcode. If this is not the case, errors might occur.
6 Advanced settings
You can use the advanced settings for additional settings such as enabling or disabling certain types of code. Scan the following barcodes to configure the scanner.
Note:
The Bluetooth barcode scanner is delivered with factory default settings. The device can be used straight away. Please do not scan any barcodes from the user manual to test the scanner. If you scanned an incorrect setup barcode, or there are unexpected errors, please scan the following barcodes to return the barcode scanner back to the factory settings.
Initialization Settings (Wired Mode)

Initialization Settings (Bluetooth Mode)
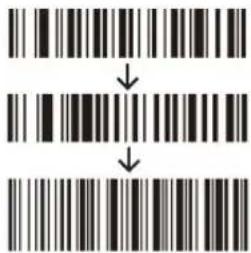
Scanner settings
The barcode scanner has a Normal mode and an Inventory mode.
• The regular Normal mode transfers the read barcode to another device in realtime, e.g., a computer, notebook or tablet.
- In the Inventory mode, you can use the internal memory of the barcode scanner. The barcode scanner saves the read barcodes.
- "Upload data": You can read the saved barcodes with this barcode. They are displayed on your computer, notebook or tablet.
- "Total Number of Data": With this barcode, you can see how many barcodes are currently stored in the scanner.
- Clear Data": All the saved codes which have been saved with the "Inventory mode" can be deleted from the memory with this barcode.

Normal Mode
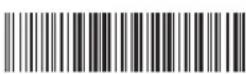
Inventory Mode

Upload Data
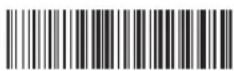
Total Number of Data
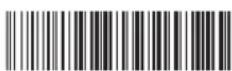
Clear Data (scan with caution)
Wired Mode/ Bluetooth Mode

Wired Mode

Bluetooth Mode
Sleep settings
First scan the "Sleep Time" barcode and then the barcode with the desired duration.

Sleep Time
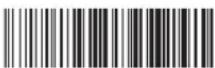
20 seconds

30 seconds

60 seconds

2 minutes

5 minutes 10 minutes

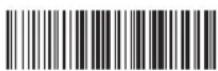
20 minutes
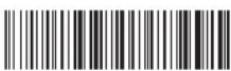
no sleep
Bluetooth mode
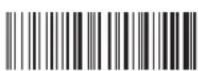
HID mode (default)

SPP mode
Language selection (Bluetooth module)

America Germany (default)
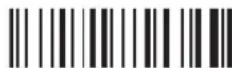

France
Bluetooth transfer speed
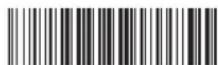
Low Speed
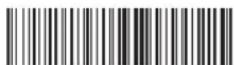
High Speed (default)
Switching off/Version information

Shutdown

Default value
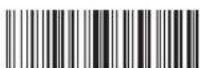
Software Version

Hardware Version
Reading modes

Single scan

Auto continuous scan
Image
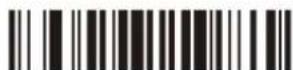

Decode options reverse image-enable Decode options reverse image-disable
Code ID

Add ID code in front-enable

Add ID code behind-enable

Cancel ID Code
Language selection (Wired Mode Setting only)
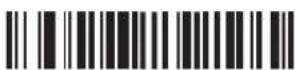
America

Germany

France
Uppercase or lowercase
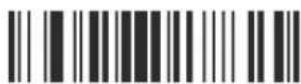
Capital Lower case
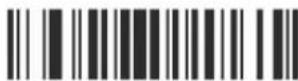
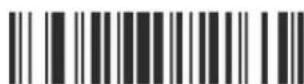
Exchange of Capital and Lower Case

Reset
Prefix / Suffix Einstellungen
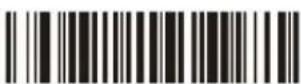
Termination CHAR-CR

Cancel suffix CR

All codes add suffix ETX

All codes add prefix STX

All codes add leading CHAR - Disable

Set to add prefix

Clear all suffix CHARS

Set to add suffix

Clear all prefix CHARS
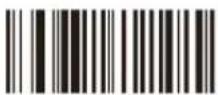
Hide the behind CHARS-disable
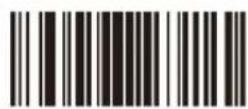
Set to hide behind CHARS

Hide the front CHARS-disable

Set to hide front CHARS
Barcode-Einstellungen
Code 11
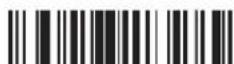
Code 11 /on Code 11/ off

Code 11
redundancy enable
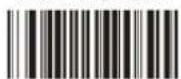
Code 11 ID as 'u'

Code11 C verify


Code 11
redundancy disable

Code11 auto CK verify

Code11 CK verify
Code 93

Code 93 /on Code 93 /off

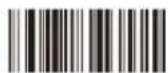
Code 93 ID as "I"

Code 93
redundancy enable
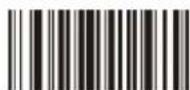
Code 93 MOD47/on

Code 93
redundancy disable

Code 93 MOD47/off
Code 39

Code 39 on Code 39 off
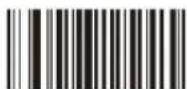
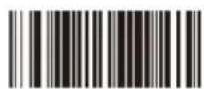
Code 39 ID as "m"

Code 39 Full
ASCLL-on

Code 39 MOD43
verify Off

Code 39 transmit
verify ON

Code 39 transmit
CHARS On

Code 39 Full
ASCLL-off

Code 39 MOD43
verify On

Code 39 transmit
CHARS Off

Code 39
redundancy enable
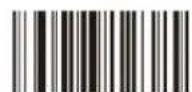
Code 39
redundancy disable
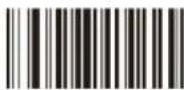
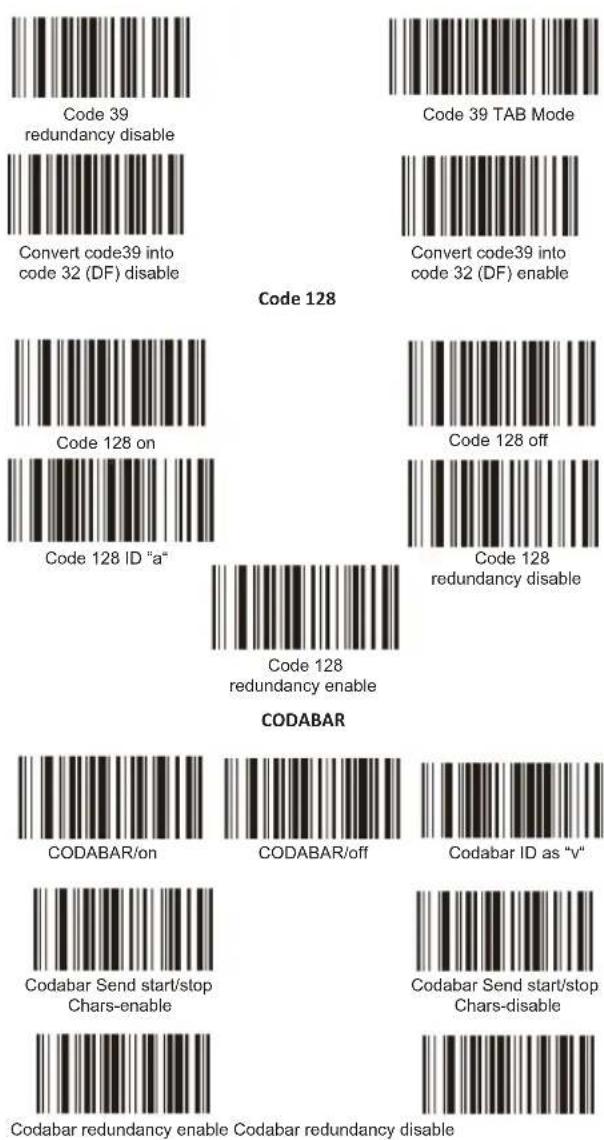
Convert code39 into code 32 (DF) disable
Code 128

Code 39 TAB Mode

Convert code39 into code 32 (DF) enable
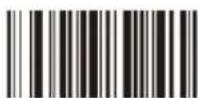
Code 128 on

Code 128 ID "a"

Code 128
redundancy enable
CODABAR

CODABAR/on

CODABAR/off
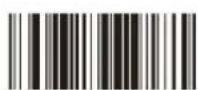
Codabar ID as "v"

Codabar Send start/stop
Chars-enable
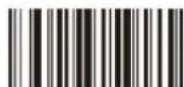
Codabar Send start/stop
Chars-disable

Codabar redundancy enable Codabar redundancy disable
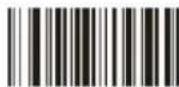

Interleaved/ITF25-on

ITF25 redundancy enable
Interleaved 25

ITF25 ID as "n"

Interleaved/ITF25-off
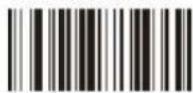
ITF25
redundancy disable
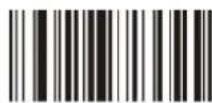
Industrial 25/on
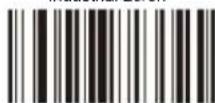
Industrial25
redundancy enable
Industrial 25

Industrial 25 ID as "o"

Industrial 25/off
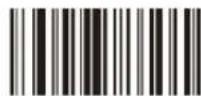
Industrial25
redundancy disable

Matrix 25 on

Postage Code 25 on

Aviation 25 off

Postage Code 25
ID as "r"
Matrix 25

Matrix 25 off

Postage Code 25 off
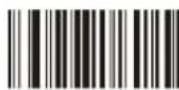
Aviation 25 on
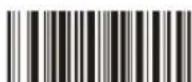
Aviation 25 ID as "p"

Matrix 25 ID as "q"

UPC-E

UPC-E/on UPC-E/off
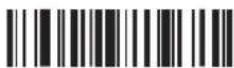

Convert UPC-E into UPC-A disable

Convert UPC-E into UPC-A enable
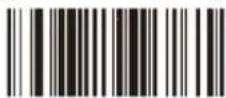
ID Character 'f'
EAN-13

EAN-13/on EAN-13/off


Convert EAN-13 into ISBN disable
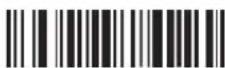
Convert EAN-13 into ISBN enable

Transmit EAN13
check code disable

Transmit EAN13
check code enable
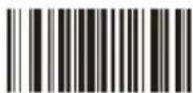
Convert EAN13 into ISSN enable
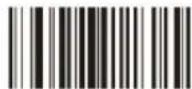
Convert EAN13 into ISSN disable

EAN13
redundancy enable

EAN13
redundancy disable

ID Character 'd'
6.1 Adding a prefix
Proceed as follows to add a prefix: Scan the following code. This step results in the previous settings being reset at this point.
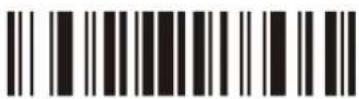
Then scan the barcodes of the desired characters (maximum 10 characters). For example, to configure a prefix with the letters "MG", you have to scan the character "M" and "G" one after the other.
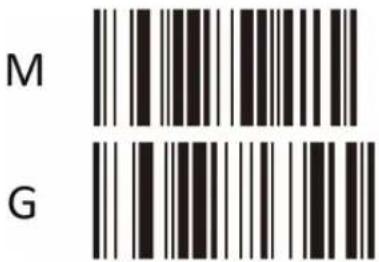
If you scan a barcode now, the newly scanned code is displayed before the barcode. Scan the following "TEST" barcode to check whether the prefix setting has been accepted.

The barcode scanner displays "MGTEST" after scanning the test barcode. If this is not the case, repeat the procedure.
6.2 Adding a suffix
Proceed as follows to add a suffix:
Scan the following code. This step causes the previously configured settings to be reset at this point.

Then scan the barcodes of the desired characters (maximum 10 characters). To configure a suffix with the letters "OK", scan the characters "O" and "K" one after the other.


If you scan a barcode, the code just scanned is displayed after the barcode. Scan the following "TEST" barcode to check whether the suffix setting has been accepted.

If this is not the case, please repeat the procedure.
The barcode scanner displays "TESTOK" after scanning the test barcode.
If this is not the case, repeat the procedure.
6.3 Hiding the leading characters
Proceed as follows to hide the leading characters of a barcode: Scan the following code. This step results in the previous settings being reset at this point.
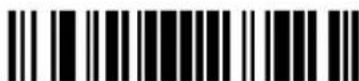
Hide the front characters
Scan the barcodes of the desired characters (maximum 10 characters). For example, to hide the first two characters, scan the following setting barcode "2".

If you now scan a barcode, the first two characters of the subsequently scanned barcodes will be hidden. Scan the following barcode as a test.

If you scan a barcode now, the newly scanned code is displayed as "3456789". If this is not the case, please repeat the procedure.
6.3 Hiding the trailing characters
Proceed as follows to hide the trailing characters of a barcode: Scan the following code. This step results in the previous settings being reset at this point.

Hide the behind characters
Then scan the barcodes of the desired characters (maximum 10 characters). For example, to hide the last three characters, scan the setting code "3".

If you now scan a barcode, the last two characters of the subsequently scanned barcodes will be hidden. Scan the following barcode as a test
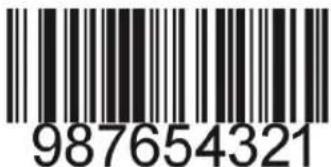
If you subsequently scan a barcode, the newly scanned code is displayed as "987654". If this is not the case, repeat the procedure
7 Character table
The character table at the end of this user manual lists all the characters which can be configured with the barcode scanner, for example, as a suffix or prefix. Only the barcodes "0" to "9" are available for hiding the leading or trailing characters.
8 Cleaning and Maintenance
Before cleaning, ensure that the barcode scanner is not connected to any USB port. Use a soft dry cloth to clean and wipe the barcode scanner carefully. The device should never be immersed in water for cleaning!
9 Safety instructions and Disclaimer
Never try to open the device to carry out repairs or odifications. Avoid contact with the mains voltage. Do not short-circuit the product. The device is not waterproof, therefore please use it only in dry surroundings. Protect it from high humidity, water and snow. Keep the device away from high temperatures. Do not expose the device to sudden changes in temperature or heavy vibrations, as this could damage the electronic components. Check the device for damage before using it. The device should not be used if it has been subject to impact or has been damaged in some other manner. Please follow the local regulations and restrictions. Do not use the device for purposes other than those described in the user manual. This product is not a toy. Keep it out of reach of children or mentally disabled persons.
Any repair or modification to the device not carried out by the original supplier will void any warranty and guarantee claims. The device should be used only by persons who have read and understood this user manual. The specifications of the device may be changed without special prior notice.
10 Disposal instructions
In line with the European WEEE directive, electrical and electronic devices should not disposed of along with domestic waste. Their components have to be sent separately for recycling or disposal, as improper disposal of toxic and dangerous components may permanently damage the environment. According to the electrical and electronic equipment act (ElektroG), you are obliged (as a consumer) to return (free of charge) all electrical and electronic devices to the manufacturer, the point of sale or public collection points at the end of their service life. The relevant local laws regulate the details in this regard. The symbol on the product, in the user manual or/and the packaging refers to these regulations. By sorting, recycling and disposing of used devices in this way, you make an important contribution towards protecting our environment.
11 Instructions on the disposal of batteries
With regard to the sale of batteries or the supply of devices containing batteries, the supplier is obliged to draw the customer's attention to the following:
As the end user, the customer has a statutory obligation to return used batteries. He can return old batteries stocked or previously stocked by the supplier in the form of new batteries to the supplier's despatch warehouse (despatch address) free of charge. The symbols shown on the batteries have the following meanings: Pb = battery contains more than 0.004 percent by mass of lead, Cd = battery contains more than 0.002 percent by mass of cadmium, Hg = battery contains more than 0.0005 percent by mass of quicksilver.

The symbol of the rubbish bin with a cross through it indicates that the battery may not be put in household waste.


WEEE Guideline: 2012/19/EU WEEE Register-No: DE 67896761
WD Plus GmbH, herewith declares that this product 303480/20191230F5014 conforms to the principle requirement of 2014/53/EU. The complete Declaration of Conformity can be obtained from: WD Plus GmbH, Wohlenbergstraße 16, 30179 Hanover, https://www.ganzeinfach.de
Character List
 SOH SOH | 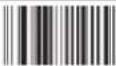 STX STX |  ETX ETX |
 EOT EOT |  ENQ ENQ |  ACK ACK |
 BEL BEL | 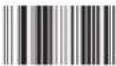 Backspace Backspace |  TAB TAB |
 Line feed Line feed |  VT VT |  FF FF |
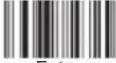 Enter Enter |  SO SO |  SI SI |
 DLE DLE |  DC1 DC1 |  DC2 DC2 |
 DC3 DC3 |  DC4 DC4 |  NAK NAK |
 SYN SYN |  ETB ETB | 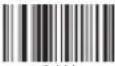 CAN CAN |
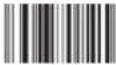 EM EM |  SUB SUB |  ESC ESC |
 FS FS | 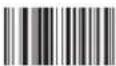 GS GS | 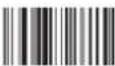 RS RS |
 US US | 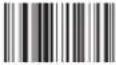 SPACE SPACE |  ! ! |
 " " | 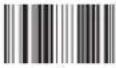 # # |  $ $ |
| % | & | |
| ( | ) | * |
| + | - | |
| / | 0 | |
| 1 | 2 | 3 |
| 4 | 5 | 6 |
| 7 | 8 | 9 |
| ; | < | |
| = | > | ? |
| @ | A | B |
| C | D | E |
| F | G | H |
| I | J | K | |
| L | M | N | |
| O | P | Q | |
| R | S | T | |
| U | V | W | |
| X | Y | Z | |
| [ | \ | ] | |
| - | 、 | ||
| a | b | c | |
| d | e | f | |
| g | h | l | |
| j | k | l |
 m m |  n n |  o o |
 p p |  q q |  r r |
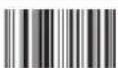 s s | 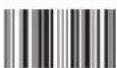 t t |  u u |
 u u |  w w |  x x |
 y y |  z z |  i i |
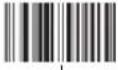 l l | 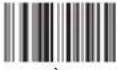 j j |  ~ ~ |
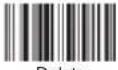 Delete Delete |  F1 F1 |  F2 F2 |
 F3 F3 |  F4 F4 |  F5 F5 |
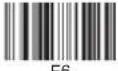 F6 F6 | 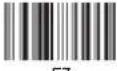 F7 F7 | 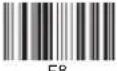 F8 F8 |
 F9 F11 F9 F11 | 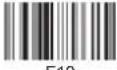 F10 F10 |  |
 F12 HOME F12 HOME | 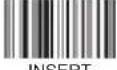 INSERT INSERT |  |
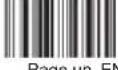 Page up END Page up END | 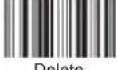 Delete Delete |  |
 | 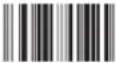 Right arrow Right arrow |  Left arrowPage do Left arrowPage do |
 Down arrow Down arrow |  Up arrow Up arrow |
| Right arrow | Left arrowPage do | |
| Down arrow | Up arrow |
Notes
Notes
Notes

aplic
WD Plus GmbH
- User Manual
- Barcodescanner
- Scan-Einstellungen
- Sleep-Einstellungen
- Scope of supply
- Setting up
- Establishing a Bluetooth connection
- Android / iOS
- Windows
- Scanning angle
- Advanced settings
- Note:
- Scanner settings
- Sleep settings
- Adding a prefix
- Adding a suffix
- Hiding the leading characters
- Hiding the trailing characters
- Character table
- Cleaning and Maintenance
- Safety instructions and Disclaimer
- Disposal instructions
- Instructions on the disposal of batteries
Brand : Aplic
Model : 303480
Category : Barcode Reader