301781 - Barcode Reader Aplic - Free user manual and instructions
Find the device manual for free 301781 Aplic in PDF.


| Product Type | Barcode Reader |
| Brand | Aplic |
| Model | 301781 |
| Dimensions (L x W x H) | 160 x 70 x 95 mm |
| Weight | 150 g |
| Power Supply | USB bus-powered |
| Interface | USB (HID or virtual COM) |
| Scanning Technology | Laser or linear imager |
| Barcode Types Supported | 1D: UPC, EAN, Code 39, Code 128, Interleaved 2 of 5; 2D: QR Code, Data Matrix (if applicable) |
| Scanning Distance | Up to 300 mm (varies by barcode density) |
| Scan Speed | 200 scans per second |
| Operating Temperature | 0°C to 40°C |
| Storage Temperature | -20°C to 60°C |
| Drop Resistance | 1.5 m onto concrete |
| Ingress Protection | IP42 (dust and splash resistant) |
| Maintenance and Cleaning | Clean the scanning window with a soft, dry cloth; do not use solvents |
| Safety | Low-powered Class 1 laser device; eye-safe under normal use |
| Spare Parts and Repairability | USB cable replaceable; no user-serviceable parts inside |
| Certifications | CE, FCC, RoHS |
| Included Accessories | USB cable, user manual (PDF) |
Frequently Asked Questions - 301781 Aplic
User questions about 301781 Aplic
0 question about this device. Answer the ones you know or ask your own.
Ask a new question about this device
Download the instructions for your Barcode Reader in PDF format for free! Find your manual 301781 - Aplic and take your electronic device back in hand. On this page are published all the documents necessary for the use of your device. 301781 by Aplic.
USER MANUAL 301781 Aplic
natural_image
Line drawing of a handheld device with a curved handle and lens (no text or symbols)Barcode scanner
Konfigurationsmodus
Funktionen
Ausgabemodus


Multi-Scan Multi-Scan

ohne Auslöser
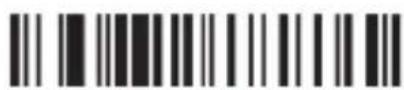
Dauerhafter Scan

Pulse-Scan
Code ID
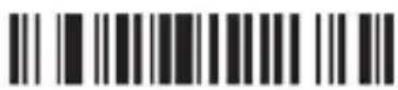
Code ID als Prefix senden Code ID als Prefix senden

Ausschalten
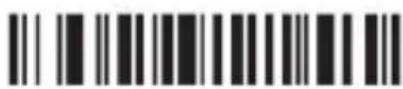
Code ID als Suffix senden Code ID als Suffix senden

Ausschalten
Sprache

American English German


French Zurücksetzen

Zurücksetzen
Serielle Parameter Einstellungen
Baud Rate

2400 4800

9600
19200
Hand Shake

Aus XON/OFF

RTS/CTS
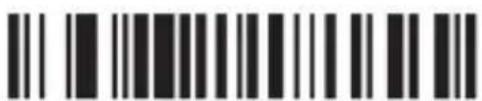
ACK/NAK

Hand Shake Timeout
2 Sekunden
Hand Shake Timeout
5 Sekunden

Data Bits

8
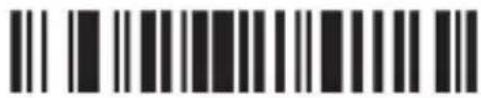
7
Stop Bits

1

2
Check Digits
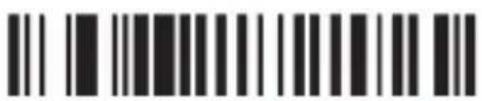
Aus ODD


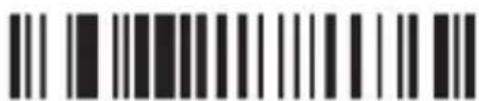
Even Mark Check Digit
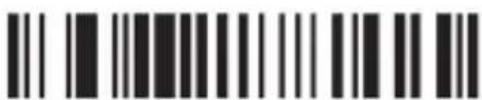
Space Reset

Keine Terminierung

Code 11 ausschalten

ID Character "m"

ID Character "z"
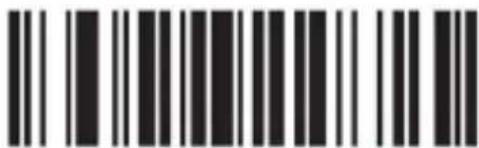
ID Character "h" ID Character "z"


Code 39 einschalten

Code 39 ausschalten
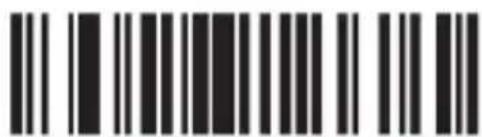
ID Character "a"
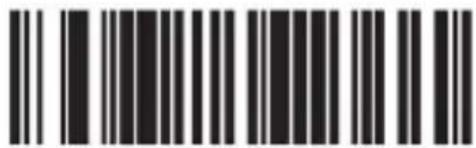
ID Character "z"

ID Character "g"

ID Character "z"

alten

ID Character "k" ID Character "z"

Bar width gap allowed ausschalten
Interleaved/ITF25

ID Character "l" ID Character "z"

ID Character "j" ID Character "z"
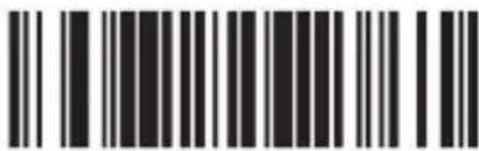

Industrial 25
redundantes Scannen ausschalten
MSI/PLESSEY

MSI einschalten

MSI ausschalten

ID Character "f"

UPC-A einschalten
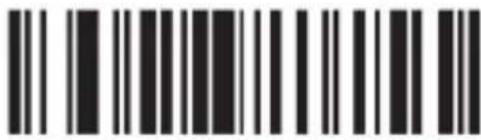
UPC-A ausschalten
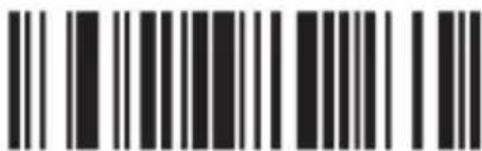
ID Character "b" ID Character "z"

UPC-E

UPC-E einschalten

UPC-E ausschalten

ID Character "c" ID Character "z"

EAN-13
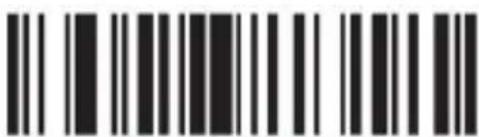
EAN-13 einschalten

EAN-13 ausschalten

ID Character "e" ID Character "z"

EAN-13
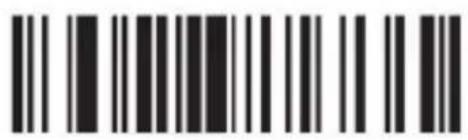
EAN-8 einschalten
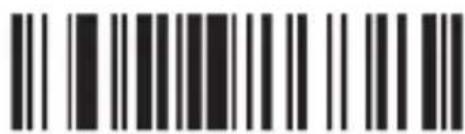
EAN-8 ausschalten

ID Character "d"

ID Character "z"
ISSN


ID Character "f"
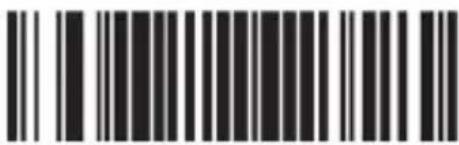
ID Character "z"
UPC/EAN

UPC/EAN supplements ausschalten

UPC/EAN supplements 2 Ziffern

UPC/EAN supplements 5 Ziffern

UPC/EAN supplements 2&5 Ziffern

UPC/EAN redundantes Scannen ausschalten
CODE 32


Hide the front characters

Thank you for choosing an aplic product. Please read the following user manual carefully to have an enjoyable experience with your purchased product.
1 Scope of supply
- Bar code scanner
• RJ45 to USB connection cable - User manual
2 Technical data
| Power supply DC 5V (via USB) | |
| Scanning modes | • Manual scanning• Automatic scanning• Continuous scanning |
| Resolution min. 0.1mm | |
| Laser class Class 1 laser safety regulations | |
| ESD protection 15kV air discharge | |
| Shock resistance Falling height from 1m onto solid surface | |
| Compatible barcodes | 2of5 Datalogic, 2of5 Interleaved, 2of5 Industrial, CODABAR, Code93, Code11, Code39, Code128, EAN8, EAN13, EAN14, EAN128, ISBN, MSI, UCC-14, UPC-A, UPC-E, etc. |
3 Product details

4 Initial use
Take the device and the accessory out of the package and remove all the packaging material. Connect the RJ45 to the USB cable via the RJ-45 connector with the barcode scanner and plug the USB connector into a free USB port of your computer. In order to remove the cable on the bottom of the barcode scanner, it is necessary to release the latching nose of the RJ-45 plug. This will be done by injecting a slim object (e.g. a straightened paperclip) into the lateral hole next to the RJ-45 connector. So it is easy to detach the cable from device. The driver is installed automatically. The device is now ready to be used. For advanced settings, continue with chapter "6 Advanced Settings".
5 Scanning angle
To ensure correct scanning, make sure that the scanner is not held at a 90^ angle to the barcode. The scanner has to be pointed towards the bar code and the laser should cover the entire barcode. If this is not the case, errors might occur.
6 Advanced settings
You can use the advanced settings for additional settings like enabling or disabling certain types of code. Scan the following barcode to put the scanner in the "Advanced setting mode".

Configuration mode
Functions
Output mode
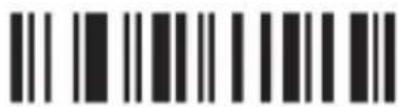
Version Factory settings


Keyboard wedge

Serial
Buzzer settings
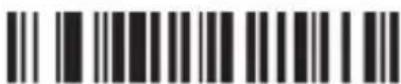
Buzzer sound off Buzzer sound on

Reading modes
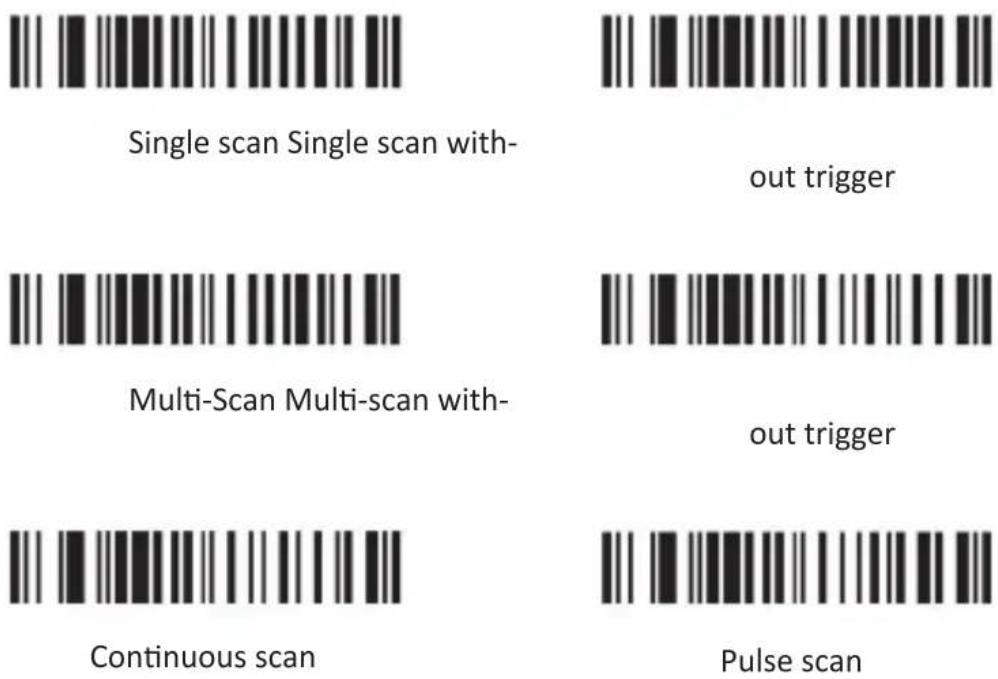
Code ID

Send code ID as a prefix Send code ID as a prefix
Switch off

Send code ID as a suffix Send code ID as a suffix
Switch off
Language

American English German

French Reset
Uppercase or lowercase

Uppercase letter Lowercase letter
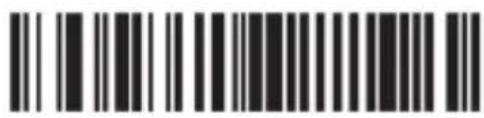
Reset
Serial parameter settings
Baud rate

2400 4800

9600
19200
Hand Shake

Off XON/OFF

RTS/CTS

ACK/NAK

Handshake timeout 2 seconds

Handshake timeout 5 seconds
Data bits
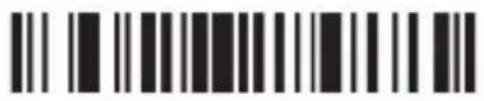
8

7
Stop bits

1
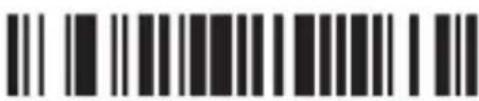
2
Check digits

Off ODD


Even Mark Checkdigit


Space Reset

Scheduling settings

No scheduling

Scheduling - Enter
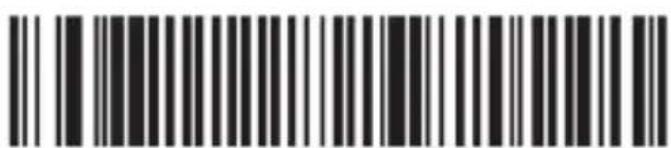
Scheduling - Spacebar

Barcode settings
Code 11

Switch on code 11

Switch off code 11

ID character "m"

ID character "z"

Code 11 switch on redundant scanning

Code 11 switch off redundant scanning
Code 93
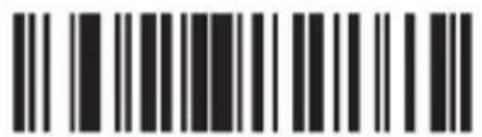
Switch on code 93

Switch off code 93
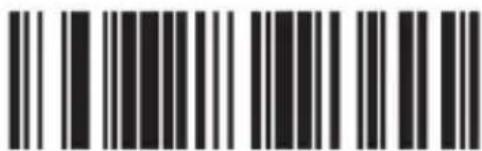
ID character "h" ID character "z"


Code 93 switch on redundant scanning

Code 93 switch off redundant scanning
Code 39

Switch on code 39

Switch off code 39

Code 39 ALL ASCII - on
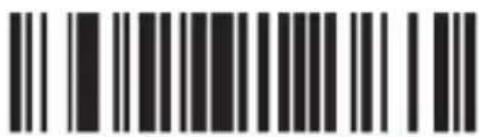
Code 39 ALL ASCII - off

Send start / stop character - on

Send start / stop character - off
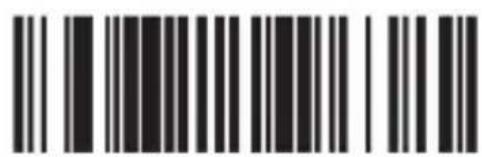
ID character "a"
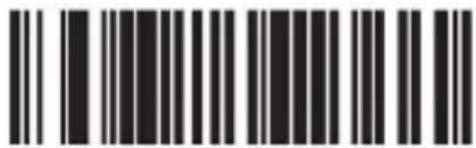
ID character "z"
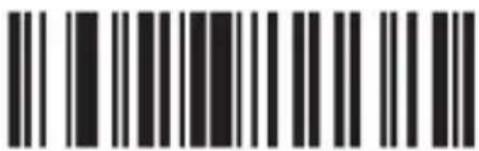
Code 39 switch on redundant scanning

Code 39 switch off redundant scanning
Code 128

Switch on code 128 Switch off code 128

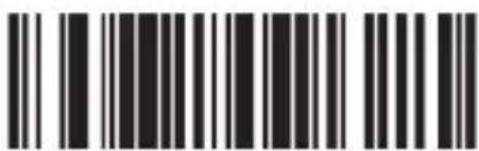
ID character "g"

ID character "z"
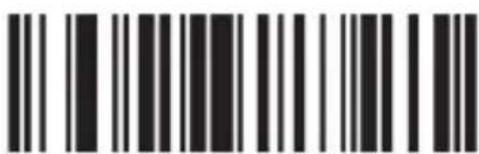
Code 128 switch on redundant scanning
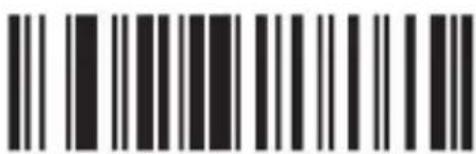
Code 128 switch off redundant scanning
CODABAR

Switch on CODABAR Switch off CODABAR


Send start / stop character - on

Send start / stop character - off

ID character "k" ID character "z"

Switch on CODABAR redundant scanning

Switch off CODABAR redundant scanning

Switch on Bar width gap allowed
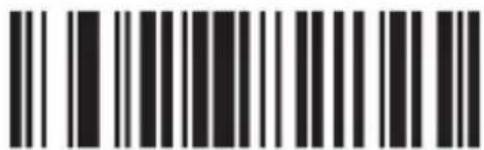
Switch off Bar width gap allowed
Interleaved/ITF25

Switch on Inter-leaved/ITF25

Switch off Inter-leaved/ITF25

ID character "l" ID character "z"

Switch on ITF25 redundant scanning

Switch off ITF25 redundant scanning
Industrial 25

Switch on Industrial25

Switch off Industrial25

ID character "j" ID character "z"


Switch on Industrial 25 redundant scanning

Industrial 25 switch off redundant scanning
MSI/PLESSEY

Switch on MSI
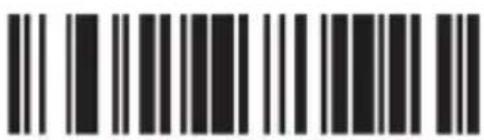
Switch off MSI
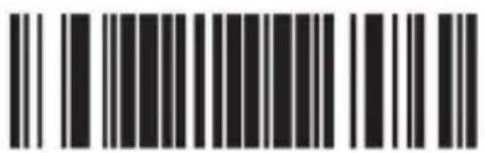
ID character "f"

Switch on MSI redundant scanning

Switch off MSI redundant scanning
UPC-A
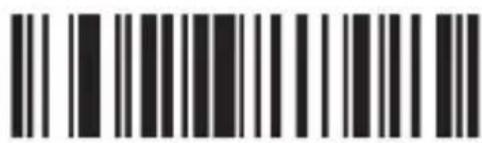
Switch on UPC-A

Switch off UPC-A

Switch on Convert UPC-A to EAN13

Switch off Convert UPC-A to EAN13

Switch on Transmit system bit

Switch off Transmit system bit

Switch on Transmit check digit

Switch off Transmit check digit

ID character "b" ID character "z"

UPC-E
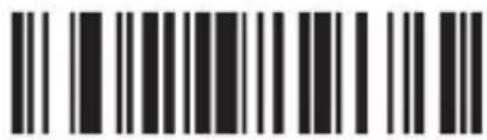
Switch on UPC-E

Switch off UPC-E

Switch on Convert UPC-E to UPC-A

Switch off Convert UPC-E to UPC-A

Switch on Transmit system bit

Switch off Transmit system bit

Switch on Transmit check digit

Switch off Transmit check digit

ID character "c" ID character "z"

EAN-13

Switch on EAN-13

Switch off EAN-13

Switch on Convert EAN-13 to ISBN

Switch off Convert EAN-13 to ISBN

Switch on Transmit system bit

Switch off Transmit system bit
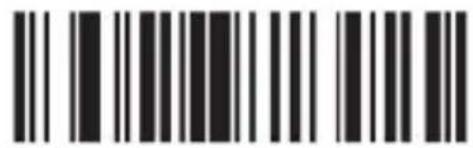
Switch on Transmit check digit

Switch off Transmit check digit

ID character "e" ID character "z"

EAN-13

Switch on EAN-8

Switch off EAN-8

Switch on Transmit system bit

Switch off Transmit system bit

Switch on Transmit check digit

Switch off Transmit check digit


ID character "d"

ID character "z"
ISSN

Switch on ISSN Switch off ISSN


ID character "f"
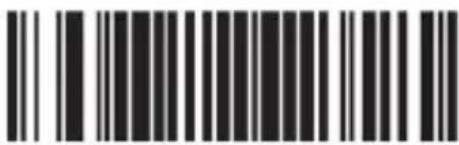
ID character "z"
UPC/EAN

Switch off UPC / EAN supplements

UPC / EAN supplements 2 digits
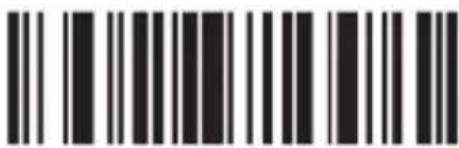
UPC / EAN supplements 5 digits

UPC / EAN supplements 2 & 5 digits

Switch on UPC/EAN redundant scanning

Switch off UPC/EAN redundant scanning
CODE 32


Switch on code 32 Switch off code 32
6.1 Adding a prefix
Proceed as follows to add a prefix:
Scan the following code. This step causes the previously configured settings to be reset at this point.

Then scan the barcodes of the desired characters (maximum 10 characters). To configure a prefix with the letters "MG" for example, scan the characters "M" and "G" one after the other.
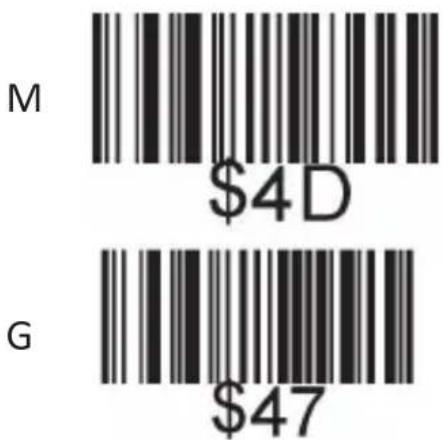
If you scan a barcode now, the newly scanned code is displayed in front of the barcode.
Scan the following "TEST" barcode to check whether the prefix setting has been accepted.

The barcode scanner displays "MGTEST" after scanning the test barcode. If this is not the case, repeat the procedure.
6.2 Adding a suffix
Proceed as follows to add a suffix:
Scan the following code. This step causes the previously configured settings to be reset at this point.
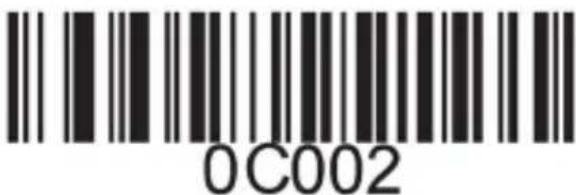
Then scan the barcodes of the desired characters (maximum 10 characters). To configure a suffix with the letters "OK", scan the characters "O" and "K" one after the other.
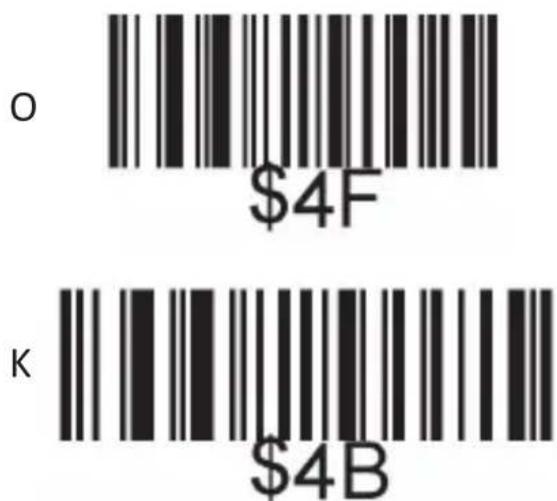
If you scan a barcode, the code just scanned is displayed behind the barcode.
Scan the following "TEST" barcode to check whether the suffix setting has been accepted.

The barcode scanner displays "TESTOK" after scanning the test barcode. If this is not the case, repeat the procedure.
6.3 Hide the front characters
Proceed as follows to hide the front characters of a barcode:
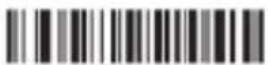
Scan the following code. This step causes the previously configured settings to be reset at this point.
Hide the front characters

Scan the barcodes of the desired characters (maximum 10 characters). For example, to hide the first two characters, scan the following barcode setting code "\$02".

If you now scan a barcode, the first two characters of the subsequently scanned barcodes will be hidden. Scan the following barcode as a test

If you scan a barcode now, the newly scanned code is displayed as "3456789". If this is not the case, repeat the procedure.
6.3 Hide the behind characters
Proceed as follows to hide the behind characters of a barcode:
Scan the following code. This step causes the previously configured settings to be reset at this point.
Hide the behind characters

Then scan the barcodes of the desired characters (maximum 10 characters). For example, to hide the last three characters, scan the setting code "\$03".

If you now scan a barcode, the last two characters of the subsequently scanned barcodes will be hidden. Scan the following barcode as a test

If you scan a barcode subsequently, the newly scanned code is displayed as "987654". If this is not the case, repeat the procedure.
7 Character table
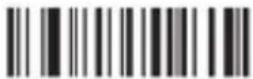
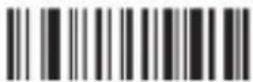
The character table at the end of this user manual lists all the characters that can be configured with the barcode scanner, for example, as a suffix or prefix. Only the barcodes "\01"(code: SOH) to "\10" (code: DLE) are available for hiding the front or behind characters.
8 Cleaning and Maintenance
Before cleaning ensure that the barcode scanner is not connected to any USB port. Use a soft dry cloth to clean and wipe the barcode scanner carefully. For cleaning, never immerse the device in water!
9 Safety instructions and liability disclaimer
Never try to open the device to carry out repairs or conversions. Avoid contact with mains voltages. Do not short-circuit the product. The device is not certified for use in the open air; only use it in dry conditions. Protect it from high humidity, water and snow. Keep it away from high temperatures. Do not subject the device to sudden changes in temperature or heavy vibration as this might damage electronic components.
Examine the device for damage before using it. The unit should not be used if it has received an impact or has been damaged in any other way. Please observe national regulations and restrictions. Do not use the device for purposes other than those described in the instructions. This product is not a toy. Keep it out of the reach of children or mentally impaired persons. Any repair or alteration to the device not carried out by the original supplier, will invalidate the warranty or guarantee. The product may only be used by persons who have read and understood these instructions. The device specifications may change without any separate prior notice to this effect.
10 Disposal instructions
Electrical and electronic devices may only be disposed of in accordance with the European WEEE Directive and not with household rubbish. Components must be disposed of or recycled separately as dangerous, toxic elements can inflict sustained damage on the environment if they are disposed of incorrectly. As a consumer, you are bound by the Electrical and Electronic Devices Act (ElektroG) to return electrical and electronic goods free of charge at the end of their useful life to the manufacturer, the place of purchase or to specially set up, public collection points. The details in each case are governed by national law. The symbol on the product, the operating instructions and/or the packaging refers to these regulations. By separating materials in this way, recycling and disposing of old devices, you are making an important contribution towards protecting our environment.
 0C001add prefix 0C001add prefix |  O8BS/Back Space O8BS/Back Space |  14DC4 14DC4 |
 0C002add suffix 0C002add suffix | 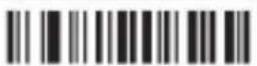 O9HT/TAB O9HT/TAB |  15NAK 15NAK |
 0C003hide the front characters 0C003hide the front characters |  OALF OALF |  16SYN 16SYN |
 0C004hide the behind characters 0C004hide the behind characters |  OBVT OBVT |  17ETB 17ETB |
 00NUL/SP 00NUL/SP |  OCFF OCFF |  18CAN 18CAN |
 O1SOH O1SOH |  ODCR/ENTER ODCR/ENTER |  19EM 19EM |
 O2STX O2STX |  OESO OESO |  1ASUB 1ASUB |
 O3ETX O3ETX |  OFSI OFSI |  1BESC/ESC 1BESC/ESC |
| KKYCO4EOT |  10DLE 10DLE |  1CFS 1CFS |
 O5ENQ O5ENQ |  11DC1 11DC1 |  1DGS 1DGS |
 O6ACK O6ACK |  12DC2 12DC2 |  1ERS 1ERS |
 O7BEL O7BEL |  13DC3 13DC3 |  1FUS 1FUS |
 |  |  |
 |  |  |
 |  |  |
 |  |  |
 | 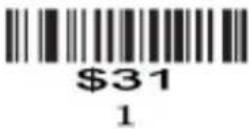 |  |
 |  |  |
 |  |  |
 |  |  |
 |  |  |
 |  |  |
 |  |  |
 D D |  P P |  \ \ |
 E E |  ● ● |  ] ] |
 F F |  R R |  0L 0L |
 G G |  S S |  5F 5F |
 H H |  T T |  0U 0U |
 I I |  U U |  a a |
 J J |  V V |  b b |
 K K |  W W |  c c |
 L L |  X X |  d d |
 M M |  Y Y |  e e |
 N N |  Z Z |  f f |
 O O |  [ [ |  g g |
 h h |  t t |  F1 F1 |
 i i |  u u |  F2 F2 |
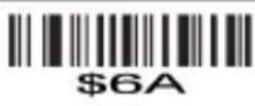 j j | [YYYY]v |  F3 F3 |
 k k |  w w |  F4 F4 |
 l l |  x x |  F5 F5 |
 m m |  y y |  F6 F6 |
 n n |  z z | 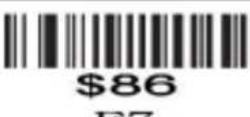 F7 F7 |
 o o |  |  F8 F8 |
 p p |  l l |  F9 F9 |
 q q |  |  F10 F10 |
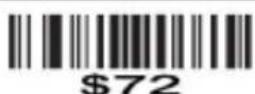 r r |  /E~ /E~ |  F11 F11 |
 s s |  DEL DEL |  F12 F12 |
 8CL SHIFT ON 8CL SHIFT ON |  98/(KP) 98/(KP) |  A46 (KP) A46 (KP) |
 8DL SHIFT OFF 8DL SHIFT OFF |  99*(KP) 99*(KP) |  A57 (KP) A57 (KP) |
 8ER SHIFT ON 8ER SHIFT ON |  9A-(KP) 9A-(KP) |  A68 (KP) A68 (KP) |
 8FR SHIFT OFF 8FR SHIFT OFF |  9B+(KP) 9B+(KP) |  A79 (KP) A79 (KP) |
 90L ALT ON 90L ALT ON |  9C.(KP) 9C.(KP) |  A8Inert A8Inert |
 91L ALT OFF 91L ALT OFF |  9DEnter (KP) 9DEnter (KP) |  A9Delete A9Delete |
 92R ALT ON 92R ALT ON |  9E0 (KP) 9E0 (KP) |  AAHome AAHome |
 93R ALT OFF 93R ALT OFF |  9F1 (KP) 9F1 (KP) |  ABEnd ABEnd |
 94L CTRL ON 94L CTRL ON |  AU2 (KP) AU2 (KP) |  ACPage Up ACPage Up |
 95L CTRL OFF 95L CTRL OFF |  AT3 (KP) AT3 (KP) |  ADPage Down ADPage Down |
 96R CTRL ON 96R CTRL ON | 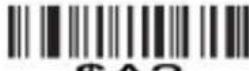 A24 (KP) A24 (KP) | 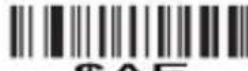 AEUp AEUp |
 97R CTRL OFF 97R CTRL OFF |  A35 (KP) A35 (KP) |  AFDown AFDown |
 B0Left B0Left |  B9Up B9Up |
 B1Right B1Right |  BADown BADown |
 B2 B2 |  BBLeft BBLeft |
 B3Inert B3Inert |  BCRight BCRight |
 B4Delete B4Delete |  BD BD |
 B5Home B5Home |  BENum Lock BENum Lock |
 B6End B6End | 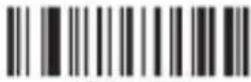 BFCaps Lock BFCaps Lock |
 B7Page Up B7Page Up |  C0Scroll lock C0Scroll lock |
 B8Page Down B8Page Down |


WEEE guideline: 2012/19/EU
WEEE register number: DE 94495668
WD Plus GmbH, herewith declares that this product 301781/20170214SZ129 conforms to the principle requirements and other relevant stipulations of Directive. The complete Declaration of Conformity can be obtained from: WD Plus GmbH, Wohlenbergstraße 16, 30719 Hanover
Notes


WD Plus GmbH
- Barcode scanner
- Funktionen
- Scope of supply
- Technical data
- Product details
- Initial use
- Scanning angle
- Advanced settings
- Functions
- Reading modes
- Code ID
- Language
- Adding a prefix
- Adding a suffix
- Hide the front characters
- Hide the behind characters
- Character table
- Cleaning and Maintenance
- Safety instructions and liability disclaimer
- Disposal instructions
- Notes
Brand : Aplic
Model : 301781
Category : Barcode Reader