
Beef Brisket - Barbecue Klarstein - Free user manual and instructions
Find the device manual for free Beef Brisket Klarstein in PDF.

| Product type | Charcoal offset smoker barbecue with side smoker and steam generator |
| Brand | Klarstein |
| Model | Beef Brisket |
| Dimensions (L x W x H) | 120 x 60 x 110 cm (estimated) |
| Weight | 65 kg (estimated) |
| Fuel | Charcoal |
| Main functions | Smoking, grilling, steam cooking, keeping warm |
| Cooking surface | Main grate + side grate + warming rack |
| Thermometer | Integrated on the lid |
| Material | Steel |
| Wheels | 2 wheels with axle and M8 nuts |
| Care and cleaning | Empty ashes after each use, clean grates with a wire brush, do not use abrasive cleaners |
| Safety | Outdoor use only, wear heat-resistant gloves, do not leave unattended, do not use gasoline or alcohol |
| Spare parts | Available on the manufacturer's website |
| Warranty | 2 years |
Frequently Asked Questions - Beef Brisket Klarstein
User questions about Beef Brisket Klarstein
0 question about this device. Answer the ones you know or ask your own.
Ask a new question about this device
Download the instructions for your Barbecue in PDF format for free! Find your manual Beef Brisket - Klarstein and take your electronic device back in hand. On this page are published all the documents necessary for the use of your device. Beef Brisket by Klarstein.
USER MANUAL Beef Brisket Klarstein
SICHERHEITSHINWEISE

WARNUNG
VORSICHT!
VERWENDEN SIE KEIN ALKOHOL ODER BENZIN ZUM ENTZÜNDEN ODER WIEDERENTZÜNDEN!
EINZELTEILE
Congratulations on purchasing this equipment. Please read this manual carefully and take care of the following hints to avoid damages. Any failure caused by ignoring the items and cautions mentioned in the instruction manual is not covered by our warranty and any liability. Scan the QR code to get access to the latest user manual and other information about the product.

SAFETY INSTRUCTIONS

WARNING
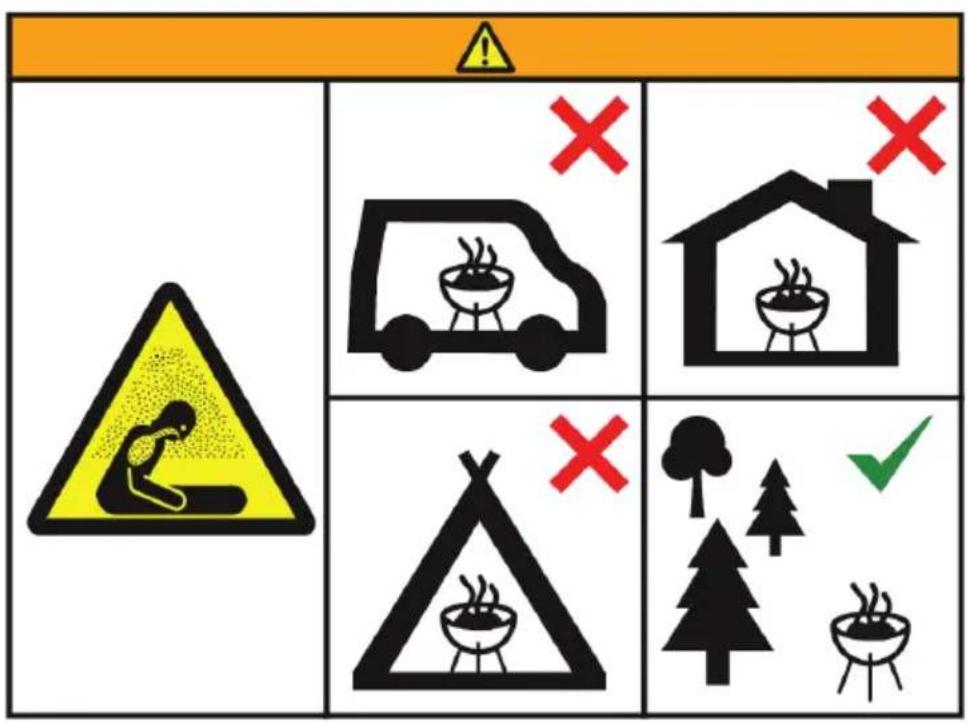
Risk of suffocation! This fire pit is for outdoor use only and shall not be used in a building, garage or any other enclosed area. Toxic carbon monoxide fumes can accumulate and cause asphyxiation.
• This fire pit is not for commercial use.
- This fire pit should only be used by adults and all children and pets should be kept at a safe distance.
- Do not use petrol, white spirit, lighter fluid, alcohol or other similar chemicals to light a fire as a rapid increase in temperature could damage the fire pit. This fire pit is only suitable for use with charcoal, untreated wood or dry logs. Do not use coal.
- Do not use this fire pit until it is completely assembled and all parts are securely fastened and tightened.
- Do not use the fire pit on decking or any other flammable surfaces such as dry grass, wood chips, leaves.
- Always empty this fire pit after use. Leave a thin layer of ash to protect the bottom. Do not remove ashes or charcoal until they are completely and fully extinguished.
- Do not touch the fi re pit until it is completely cooled unless you are wearing heat resistant gloves as it is hot when in use.
- Do not handle or move the fire pit when in use as it is hot.
- Do not attempt to store the fire pit until all ashes and charcoals are completely extinguished.
• Always use a safety tool and heat resistant gloves when adding or moving fuel.
• Do not leave a burning fire unattended.
• Fire hazard-Hot embers may emit while in use. - Do not overload the fire pit with fuel. Do not add additional fuel until the fire burns down. If an portion of the fire bowl is growing red, it is overloaded.
- Do not burn fuel directly on the fire bowl base.
- Do keep the fuel away from the wall of the fire pit as the high temperature may damage it.
- Avoid breathing smoke from the fire and avoid getting it into your eyes.
• Always thoroughly inspect the fire pit before use.
• A slight discolouration of finish may occur after use.
CAUTION!
DO NOT USE SPIRIT OR PETROL FOR LIGHTING OR RE-LIGHTING!
PARTS
| No. | Part Picture No. | Picture Part | |||
| 1 | Grill Body |  | 2 Gril |  | |
| 3 | Grill Lid |  | 4 Cha |  | |
| 5 | Smokestack |  | 6 Whee |  | |
| 7 | Charcoal Grid Handle |  | 8 WI |  | |
| 9 | Handle | 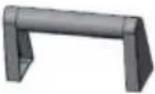 | 10 Bo |  | |
| 11 | Front Shelf | 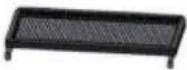 | 12 Foor Bra | 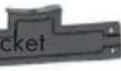 | |
| 13 | Front Plate Bracket | 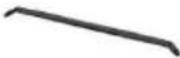 | 14 Damp | 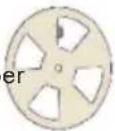 | |
| 15 | Left-front Foot | 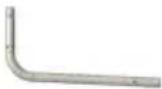 | 16 Rig |  | |
| 17 | Left-back Foot | 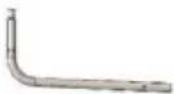 | 18 Rig |  |
| No. | Part Picture No. | Picture Part | |||
| 19 | Side Box Lid Stand | 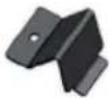 | 20 | 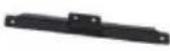 | Side Box Bracket |
| 21 | Side Box Bottom | 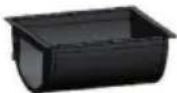 | 22 | 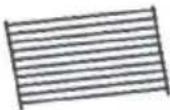 | Side Box Charcoal Grid |
| 23 | Side Box Lid | 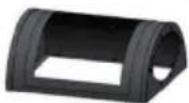 | 24 | 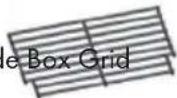 | |
| 25 | Side Box Lid Plate | 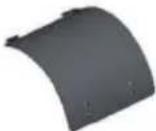 | 26 | 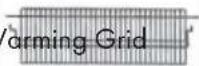 | |
| 27 | Side Door | 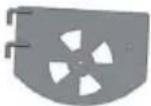 | 28 |  | |
| 29 | Side Box Hinge | 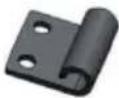 | 30 | Therr | |
| 31 | Charcoal Pan |  |
Kardware
 |  |  |  |
| [9571] | M6*13 | M6*20 | M5*12 |
 | [S8T6] |  |  |
| [YB4C] | M8 | M5 | M5*10 |
| M6*12 |  | ||
 | |||
| M6 |
M6
ASSEMBLY
| 1 | 2 |
 Left-front Right-front foot foot Left-front Right-front foot foot | 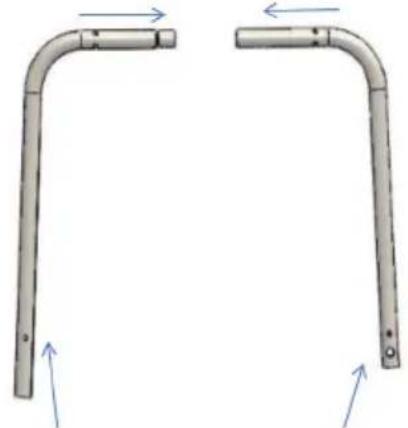 Left-back Right-back foot foot Left-back Right-back foot foot |
| Assemble the feet. Assemble the feet. | |
| 3 | 4 |
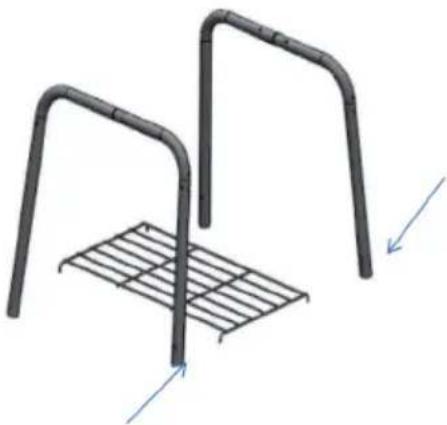 | 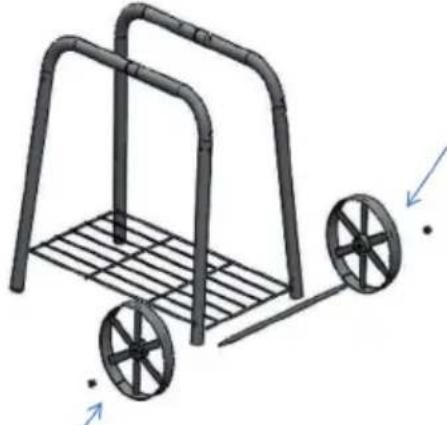 / / |
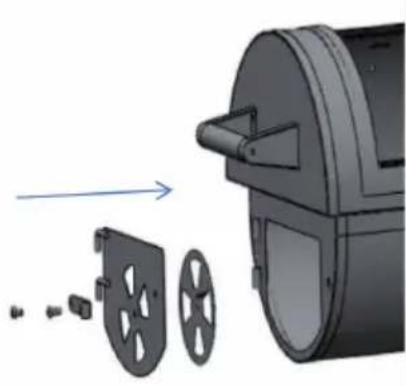
| Assemble the bottom grid. Assemble the wheel with 2 pcs M8 Lock nuts. | |
| 5 | 6 | ||
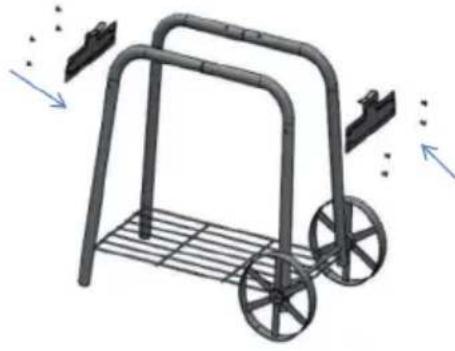 |  | ||
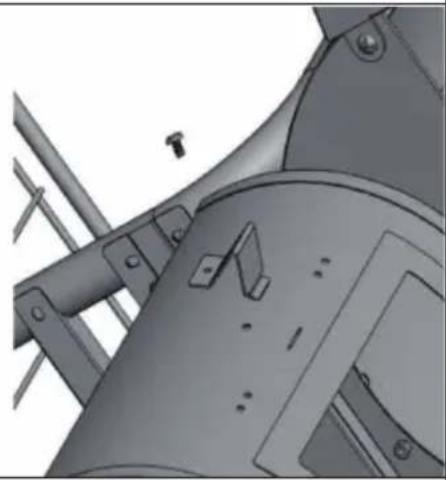
| Assemble foot brackets with 8 pcs M6*2 screws. | Assemble the side box bracket with 2 pcs M6*12 screws. | ||
| 7 | 8 | ||
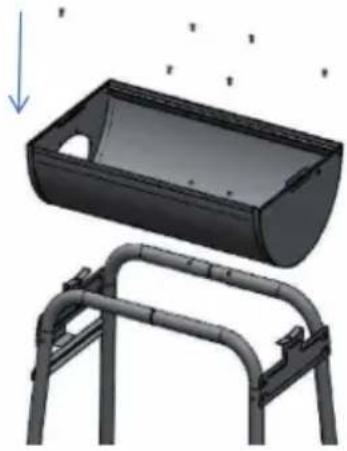 | 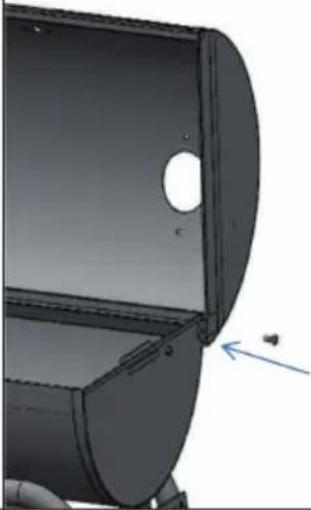 | ||
| Assemble the main body with 6 pcs M6*12 screws and 2 pcs M6 nuts. | Assemble the lid with 1 pc M6*20 step screws. | ||
| 9 10 | |||
 | 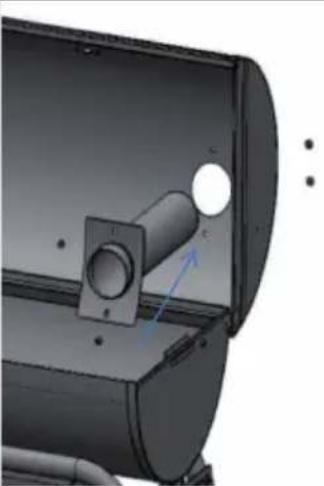 | ||
| Assemble the lid with 1 pc M6*20 step screw. | Assemble the smokestack with 2 pcs M6*12 screws and 2 pcs M6 nuts. | ||
| 11 12 | |||
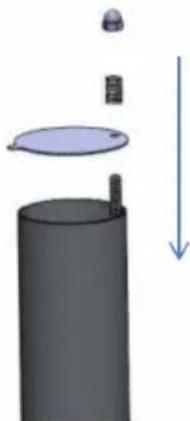 |  | ||
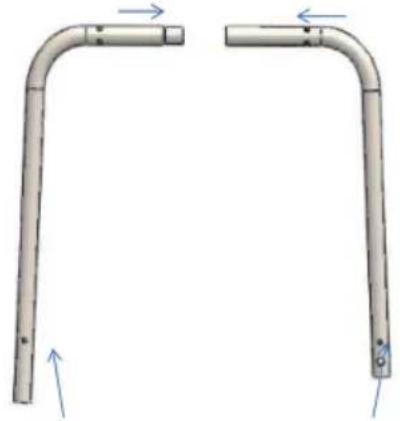
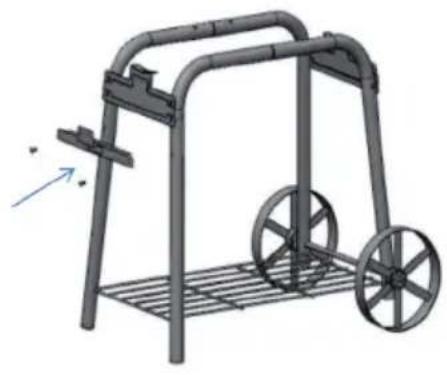
| Assemble the smoke stack lid with spring (usually this part was assembled). | Assemble the handle with 4 pcs M6*12 screws and 4 pcs M6 nuts. | ||
| 13 14 | |||
 | 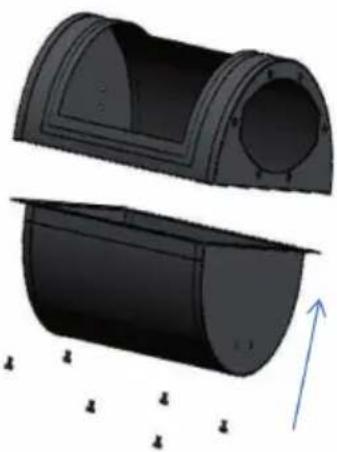 | ||
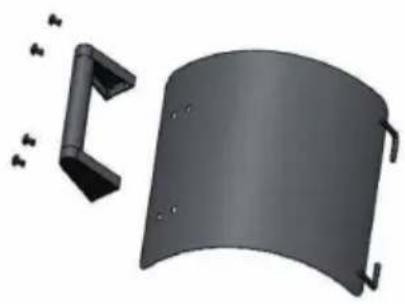
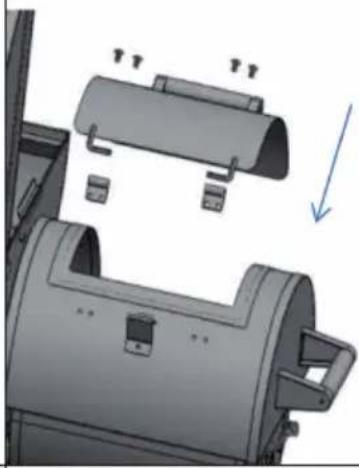
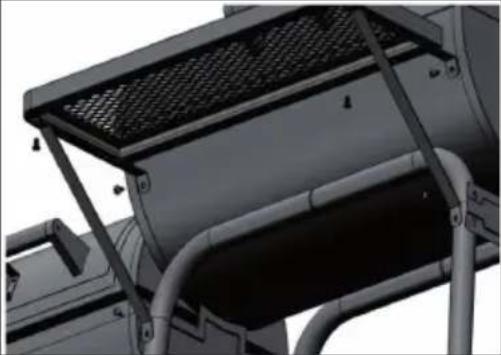
| Assemble the warming bracket with 2 pcs M6*15 screws. | Assemble the side box with 8pcs M6*12 screws and 2 pcs M6 nuts. | ||
| 15 16 | |||
 |  | ||
| Assemble the handle with 4 pcs M6*12 screws and 4 pcs M6 nuts.17 18 | Assemble the side box with 8 pcs M6*12 screws and 2 pcs M6 nuts. | ||
 |  | ||
| Assemble the side door and damper with 1 pc M6*12 screw and 1 pc M6 nut (usually this part was assembled); assemble the damper locker with 1 pc M5*12 step screw, 1 pc M5 nut and 1 pc M6*15 step screw. | Assemble the side box lid stand with 1 pc M5*10 screw amd 1 pcs M5 nut. | ||
| 19 20 | |||
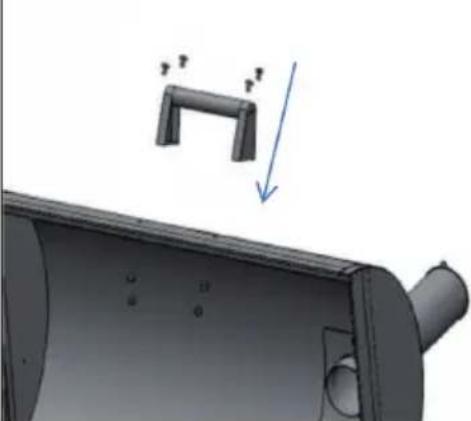
 |  | ||
| Assemble the handle on the side box lid with 4 pcs M6*12 screws and 4 pcs M6 nuts.21 22 | Assemble the side box lid with 4 pcs M5*10 screw 4 pcs and M5 nuts (usually this part was assembled). | ||
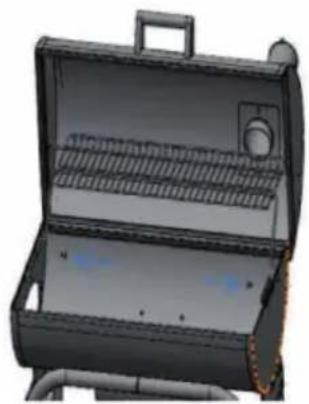
 | 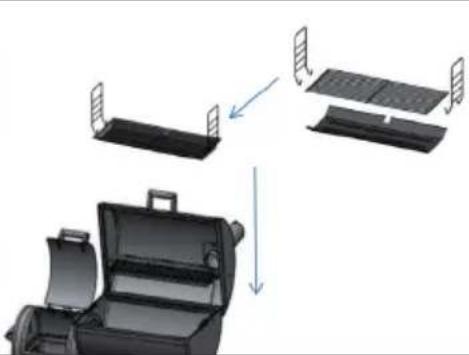 | ||
| Assemble the Front shelf with 6 pcs M6*12 screws and 2 pcs M6 nuts. | Assemble the charcoal grid. | ||
| 23 24 | |||
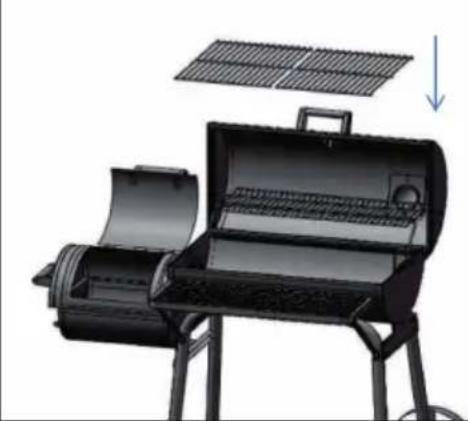 | 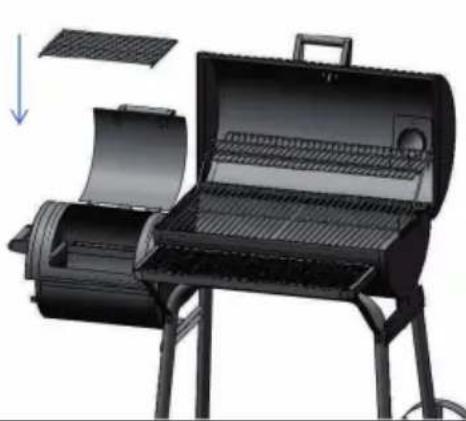 | ||
| Assemble the grill grid in the body. Assemble the charcoal grid in the side box. | |||
| 25 26 | |||
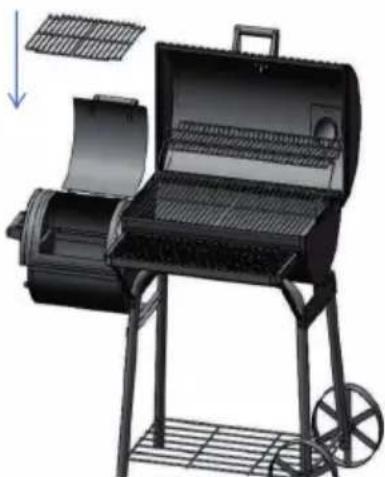 |  | ||
| Assemble the grill grid in the side box. Assemble the thermometer on the lid and finish the assembling. | |||
Estimado cliente:
ATENCIÓN!
¡NO UTILICE ALCOHOL O GASOLINA PARA ENCEDER LA CHIMENEA!
PARTES INDIVIDUALES
CONSIGNES DE SÉCURITÉ

MISE EN GARDE
ATTENTION!
NE PAS UTILISER D'ALCOOL OU D'ESSENCE POUR ALLUMER OU RALLUMER !
PIÈCES DÉTACHÉES
AVVERTENZE DI SICUREZZA

ATTENZIONE
ATTENZIONE!
NON UTILIZZARE ALCOOL O BENZINA PER ACCENDERE O RIACCENDERE IL BRACIERE!
SINGOLI COMPONENTI
Unit 6 Riverside Business Centre
Brighton Road
Shoreham-by-Sea
BN43 6RE
United Kingdom

area
| Category | Value | |---|---| | 1 | 100 | | 2 | 100 | | 3 | 100 | | 4 | 100 | | 5 | 100 | | 6 | 100 | | 7 | 100 | | 8 | 100 | | 9 | 100 | | 10 | 100 | | 11 | 100 | | 12 | 100 | | 13 | 100 | | 14 | 100 | | 15 | 100 | | 16 | 100 | | 17 | 100 | | 18 | 100 | | 19 | 100 | | 20 | 100 | | 21 | 100 | | 22 | 100 | | 23 | 100 | | 24 | 100 | | 25 | 100 | | 26 | 100 | | 27 | 100 | | 28 | 100 | | 29 | 100 | | 30 | 100 | | 31 | 100 | | 32 | 100 | | 33 | 100 | | 34 | 100 | | 35 | 100 | | 36 | 100 | | 37 | 100 | | 38 | 100 | | 39 | 100 | | 40 | 100 | | 41 | 100 | | 42 | 100 | | 43 | 100 | | 44 | 100 | | 45 | 100 | | 46 | 100 | | 47 | 100 | | 48 | 100 | | 49 | 100 | | 50 | 100 | | 51 | 100 | | 52 | 100 | | 53 | 100 | | 54 | 100 | | 55 | 100 | | 56 | 100 | | 57 | 100 | | 58 | 100 | | 59 | 100 | | 60 | 100 | | 61 | 100 | | 62 | 100 | | 63 | 100 | | 64 | 100 | | 65 | 100 | | 66 | 100 | | 67 | 100 | | 68 | 100 | | 69 | 100 | | 70 | 100 | | 71 | 100 | | 72 | 100 | | 73 | 100 | | 74 | 100 | | 75 | 100 | | 76 | 100 | | 77 | 100 | | 78 | 100 | | 79 | 100 | | 80 | 100 | | 81 | 100 | | 82 | 100 | | 83 | 100 | | 84 | 100 | | 85 | 100 | | 86 | 100 | | 87 | 100 | | 88 | 100 | | 89 | 100 | | 90 | 100 | | 91 | 100 | | 92 | 100 | | 93 | 100 | | 94 | 100 | | 95 | 100 | | 96 | 100 | | 97 | 100 | | 98 | 100 | | 99 | 100 | | Note: The actual values in the 'Value' column are not provided in the code. I have used the label 'The Region' to represent the 'Region'. The values are estimated based on the provided code.
KLARSTEIN

- SICHERHEITSHINWEISE
- WARNUNG
- VORSICHT!
- EINZELTEILE
- SAFETY INSTRUCTIONS
- WARNING
- CAUTION!
- DO NOT USE SPIRIT OR PETROL FOR LIGHTING OR RE-LIGHTING!
- PARTS
- ASSEMBLY
- Estimado cliente:
- ATENCIÓN!
- PARTES INDIVIDUALES
- CONSIGNES DE SÉCURITÉ
- MISE EN GARDE
- ATTENTION!
- PIÈCES DÉTACHÉES
- AVVERTENZE DI SICUREZZA
- ATTENZIONE
- ATTENZIONE!
- SINGOLI COMPONENTI
- KLARSTEIN
Brand : Klarstein
Model : Beef Brisket
Category : Barbecue