
U471AA-E - Surveillance Camera Lorex - Free user manual and instructions
Find the device manual for free U471AA-E Lorex in PDF.

| Product Type | 2K Wireless Security Camera |
| Brand | Lorex |
| Model | U471AA-E |
| Power Source | Rechargeable battery (battery pack included), 2 m power cable |
| Battery Life | Full charge in 4 to 6 hours |
| Video Resolution | 2K |
| Night Vision | Automatic mechanical IR filter |
| Audio | Built-in microphone and speaker, two-way audio |
| Motion Detection | Yes, with person detection |
| Connectivity | Wi-Fi, pairing with Lorex Home Hub |
| Mobile App | Lorex Home (iOS and Android) |
| Additional Features | Siren, LED light, privacy mode, live view, recording, snapshot, talk |
| Mounting | On wall or flat surface, mounting bracket included |
| Recommended Mounting Angle | 15° to 30° downward, height 2-3 m (wall) or 1.4-2 m (shelf) |
| Optimal Detection Distance | 2-10 m (wall) or 1.5-10 m (shelf) |
| Maintenance | Clean with a damp cloth, no abrasive cleaners |
| Safety | Do not disassemble, use UL/CSA certified power supply, avoid extreme temperatures |
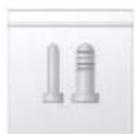
| Package Contents | Camera, battery pack, 2 m power cable, mounting bracket, mounting template, mounting plate |
| Warranty | Visit lorex.com/warranty |
| Compliance | FCC Part 15, operation with no harmful interference |
Frequently Asked Questions - U471AA-E Lorex
User questions about U471AA-E Lorex
0 question about this device. Answer the ones you know or ask your own.
Ask a new question about this device
Download the instructions for your Surveillance Camera in PDF format for free! Find your manual U471AA-E - Lorex and take your electronic device back in hand. On this page are published all the documents necessary for the use of your device. U471AA-E by Lorex.
USER MANUAL U471AA-E Lorex
Camera Safety Precautions
- Read this guide carefully and keep it for future reference.
- Follow all instructions for safe use and handling of the product.
- Operate the camera within the specified temperature, humidity and voltage and use manufacturer approved accessories.
- Do not disassemble the camera.
- Do not point the camera directly at the sun or a source of intense light.
- Periodic cleaning may be required. Use a damp cloth only. Do not use any harsh, chemical-based cleaners.
Battery Safety Precautions
Refer to the battery safety rules insert.
Disclaimers
- This camera includes an Auto Mechanical IR Cut Filter. When the camera changes between Day/Night viewing modes, an audible clicking noise may be heard from the camera. This clicking is normal, and indicates that the camera filter is working.
- Audio recording without consent is illegal in certain jurisdictions. Lorex Corporation assumes no liability for use of its products that does not conform with local laws.
Attention
A REGULATED UL / CSA APPROVED power supply is REQUIRED for use with this bundle (included). Use of a non-regulated, non-conforming power supply can damage this product and voids the warranty.
Thank you for your purchase!
How to get started with your 2K Wire-Free Camera
Contents
Section
1 Package Contents
2 Before You Start
3 Overview
4 Status Indicator
5 Pairing to the Hub
6 App Live View
7 App Device Management
8 Placement
9 Mounting
1 Package Contents
Wire-Free Camera (x1)
Battery Pack (x1)
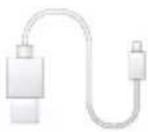
6.6ft (2m) Power Cable (x1)

Mounting Bracket (x1)
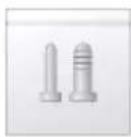
Anchors (x3)
Screws (x3)
Mounting Template (x1)
Mounting Plate (x1)
2 Before You Start
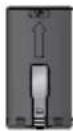
The camera battery comes partially charged (due to safety regulations). Please fully charge the battery prior to use, and before you begin your setup. This will take 4-6 hours.
To charge the battery pack:
- Use the power cable to charge the battery.
- When fully charged, the battery status indicator will turn green.

natural_image
Illustration of a gray electronic device with a cable extending from its side (no text or symbols visible)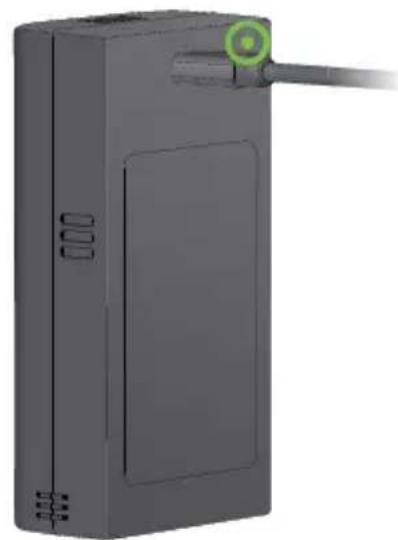
natural_image
3D rendering of a gray rectangular device with a green circular badge on top, showing internal components and mounting holes (no text or symbols)Green - Battery fully chargedRed - Battery low
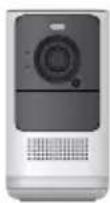
3 Overview
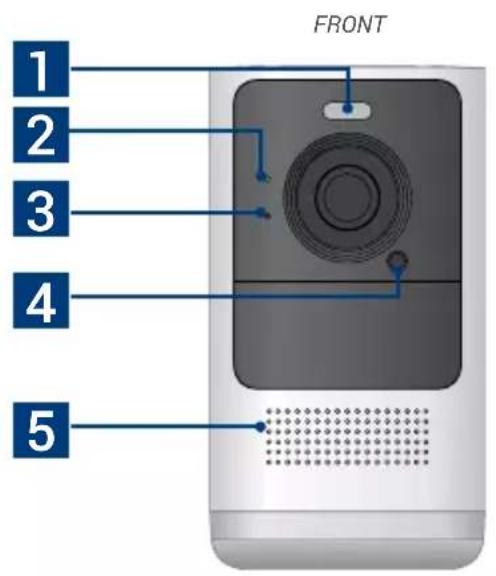
- Warning light
- Status indicator
- Microphone
- Light sensor
- Speaker
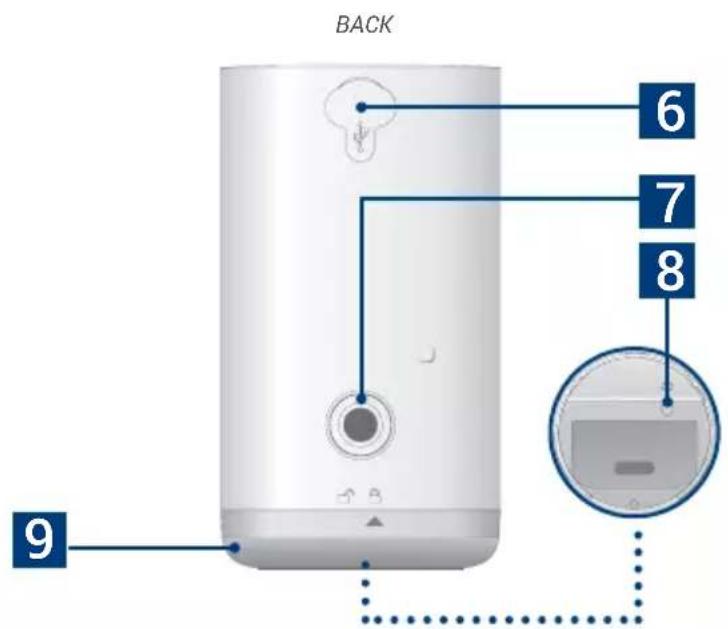
- Power port
- Threaded insert (for mounting)
- Pairing / reset button
- Bottom cover

Status Indicator
| Status Description | |
| Off Privacy mode or battery needs | recharging |
 (solid) (solid) | Operating correctly or motion detected |
 (flashing) (flashing) | Ready for pairing |
 (flashing) (flashing) | Testing Wi-Fi signal strength |
 (solid) (solid) | Factory reset |
 (flashing) (flashing) | Disconnected from network |
 (alternating) (alternating) | Firmware update in progress |
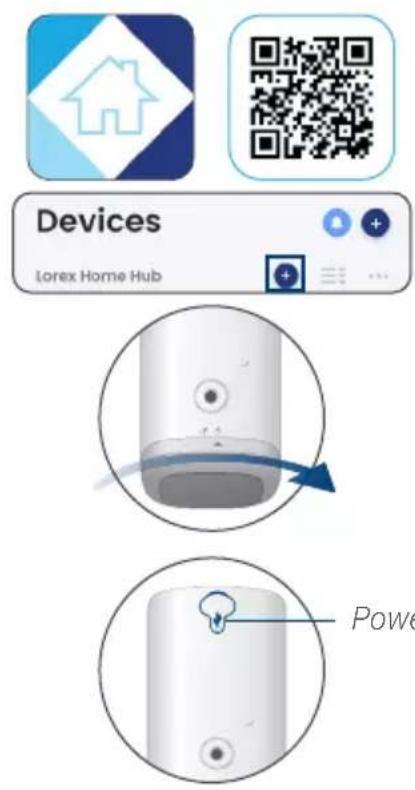
5 Pairing to the Hub
-
Download the Lorex Home app by scanning the QR code.
-
Open the Lorex Home app, and sign in or create an account.
-
Tap ✝ beside the Hub device and follow the in-app instructions.
-
Once the camera is set up, re-install the bottom cover by carefully aligning the arrow and the unlock symbols. Push and twist the bottom cover clockwise to lock.
Optional: Charging inside the camera
-
Use the power cable to connect to the camera's power port.
-
Plug into a power outlet until the camera's status indicator is solid green.
Ensure you update to the latest app and device firmware version.
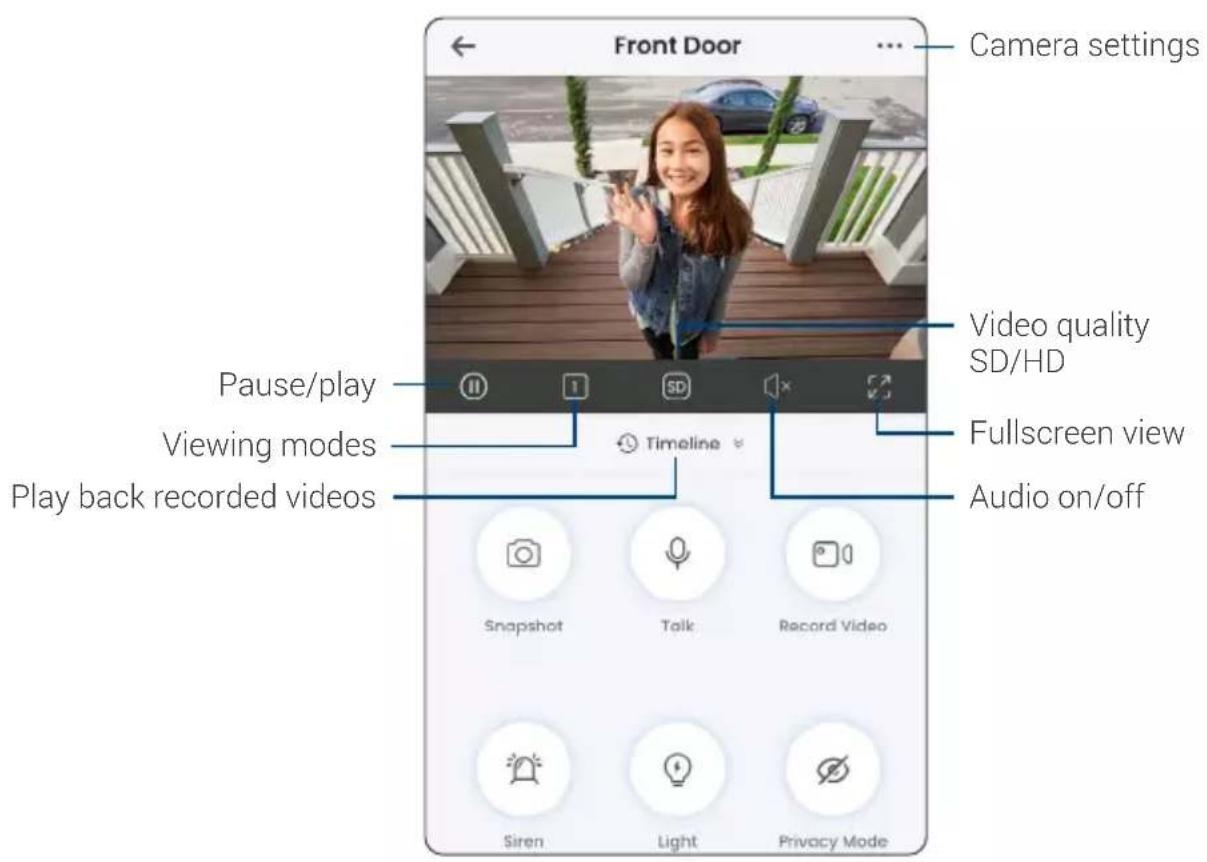
6 App Live View

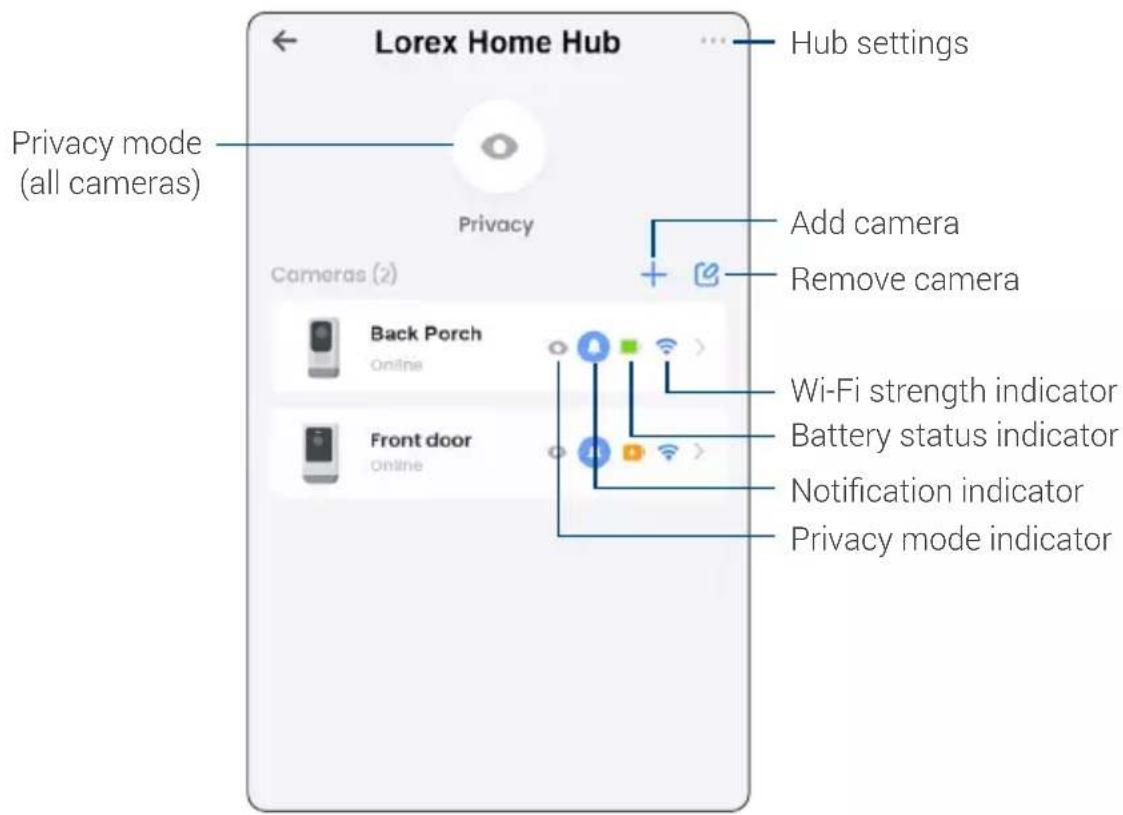
App Device Management

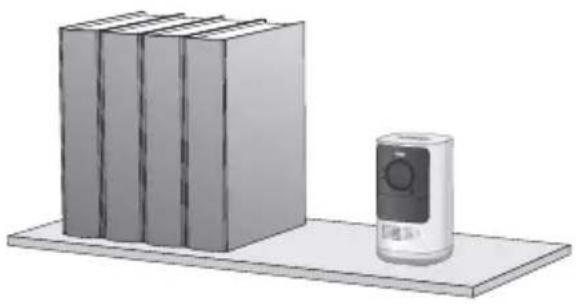
Placement
- Place the camera on any flat surface or mount it to a wall.
- Do not place the camera near air conditioners and other air outlets.
• Install the camera at the recommended angle and height per the guidelines below.
natural_image
Illustration of a bookshelf with five books and a mobile phone on a shelf (no text or symbols visible)To optimize motion detection accuracy when:
Mounted on a wall Placed on a shelf
Distance Distance accuracy for objects within 6.5ft to 32ft (2\~10m).
Optimal accuracy for objects within 5-32ft (1.5\~10m).
Angle Angle the camera around 15^-30^ down from the level position.
Angle
Make sure the flat surface/shelf is not obstructing the camera's field of view.
Height Install the camera between 7-10ft (2\~3m) off of the ground.
Height
Place the camera between 4.5ft to 6.5ft (1.4\~2m) off of the ground.
Note: Accuracy of person detection will be influenced by multiple factors, such as the person's distance from the camera, the height of the person, and the height and angle of the camera. Night vision will also impact the accuracy and distance of detection.

Mounting
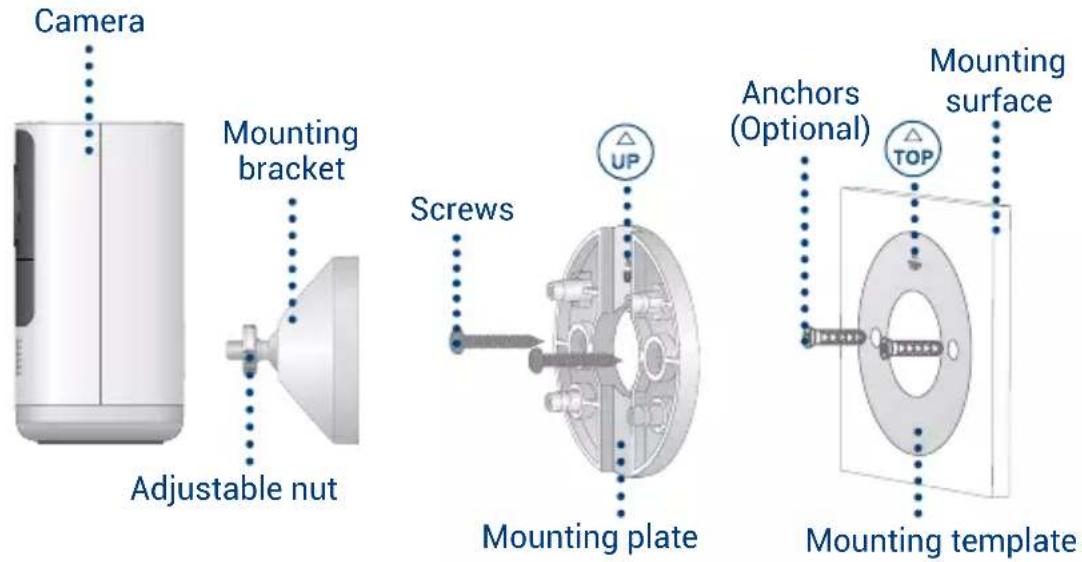
To install the camera:
- Place the mounting template on the desired location.
Optional: Drill 7/32" (5.5mm) holes for the anchors.
-
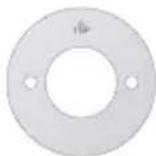
Align the arrows of the mounting plate and template. Using a Philips screwdriver and the provided screws, secure the mounting plate to the surface.
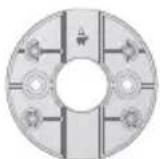
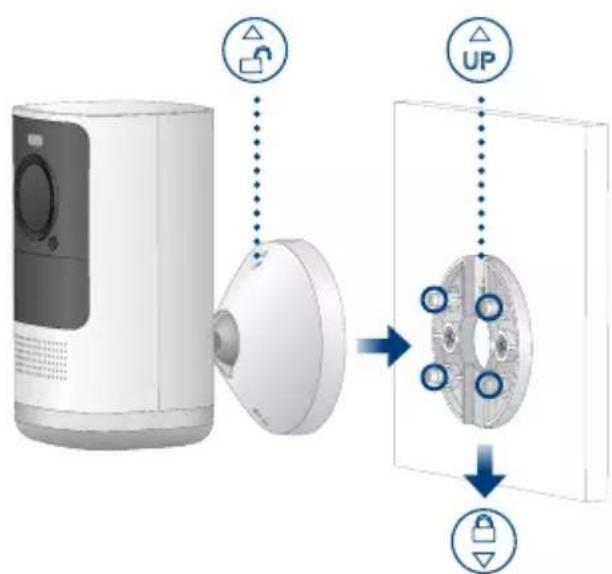
-
Align the arrows between the mounting bracket and plate. Push the bracket in to install, then slide down to lock in place. You will hear a 'click' when the bracket is installed.
- Attach the camera to the mounting bracket using the thread insert at the rear of the camera. Rotate the camera clockwise until attached, then tighten into place with the adjustable nut.
- Adjust the camera to the desired angle.
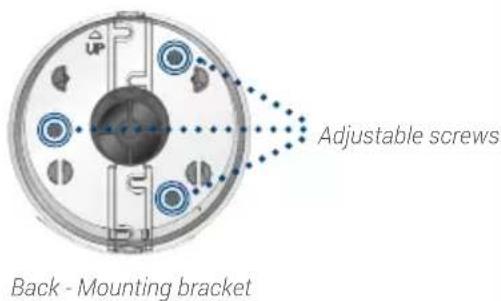
Note: If the camera is not holding in place or difficult to adjust, slide the bracket up to detach from the mounting plate. Tighten or loosen the 3 screws at the back of the mounting bracket to adjust accordingly. Repeat steps 3-5 to re-install.
Need help?
Visit help.lorex.com for up-to-date information and resources:
- Download product guides
- Watch how-to-videos
• Find related troubleshooting tips & FAQs
Register your product
Please see our full Terms of Service and Limited Hardware Warranty Policy at lorex.com/warranty.

This device complies with part 15 of the FCC Rules. Operation is subject to the following two conditions: (1) This device may not cause harmful interference, and (2) This device must accept any interference received, including interference that may cause undesired operation.
Copyright © 2021 Lorex Corporation
As our products are subject to continuous improvement, Lorex reserves the right to modify product design, specifications and prices, without notice and without incurring any obligation. E&OE. All rights reserved.
U471AA-Series_QSG_TRILINGUAL_R1
LOREX®
Caméra 2K Sans Fil
U471AA Series
Le Guide de Configuration Rapide
lorex.com
Fr
Ancrages (x3)
Vis (x3)
natural_image
3D rendering of a gray electronic device with a cable extending from its right side (no visible text or symbols)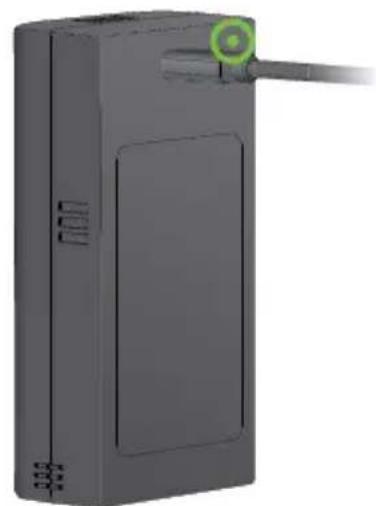
natural_image
3D rendering of a gray rectangular device with a green circular connector on top, no visible text or symbols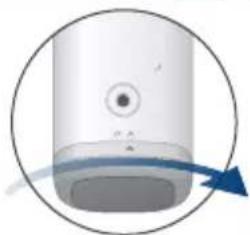
natural_image
Diagram of a cylindrical device with a blue arrow indicating rotation or flow, enclosed in a circular border (no text or symbols)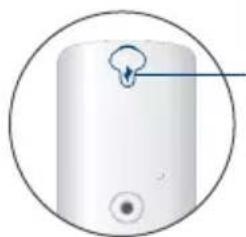
natural_image
White cylindrical water heater with a small circular outlet and a blue arrow pointing to the top outlet (no text or symbols)Port d'alimentation

natural_image
Illustration of a bookshelf with five books and a small mobile phone on a shelf (no text or symbols)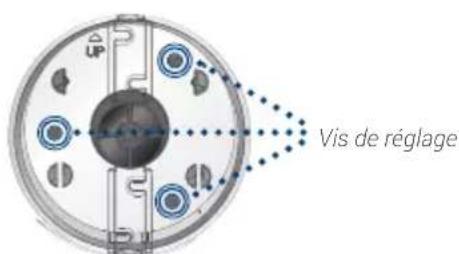
Copyright © 2021 Lorex Corporation
natural_image
Illustration of a gray electronic device with a cable extending from its side (no text or symbols visible)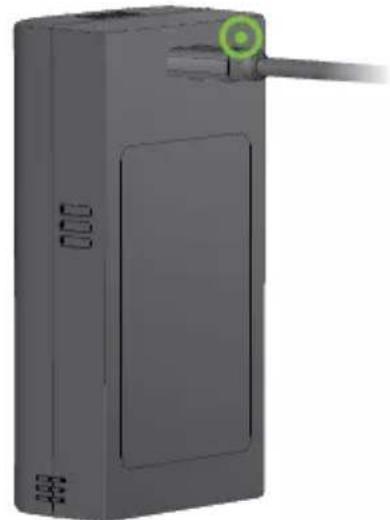
natural_image
3D rendering of a gray rectangular device with a green circular icon on top, showing no text or symbols.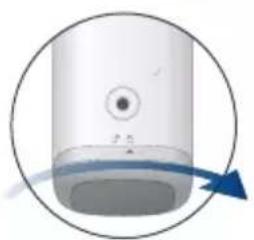
natural_image
Close-up of a cylindrical device with a circular arrow indicating rotation or movement (no text or symbols)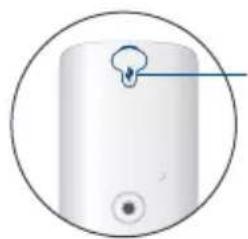
natural_image
White cylindrical device with a small blue tip and circular base, enclosed in a circle (no text or symbols)natural_image
Illustration of a bookshelf with five books and a small mobile phone on a shelf (no text or symbols)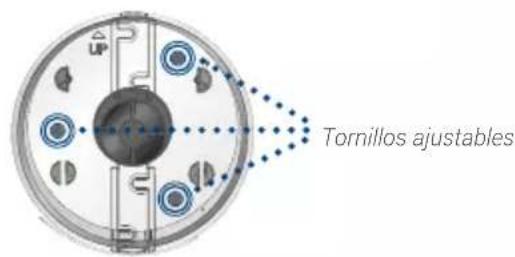
Copyright © 2021 Lorex Corporation