
ErgoFit FC9266 - Vacuum Cleaner PHILIPS - Free user manual and instructions
Find the device manual for free ErgoFit FC9266 PHILIPS in PDF.
Download the instructions for your Vacuum Cleaner in PDF format for free! Find your manual ErgoFit FC9266 - PHILIPS and take your electronic device back in hand. On this page are published all the documents necessary for the use of your device. ErgoFit FC9266 by PHILIPS.
USER MANUAL ErgoFit FC9266 PHILIPS
Congratulations on your purchase and welcome to Philips! To fully benet from the support that Philips offers, register your product at www.philips. com/welcome.
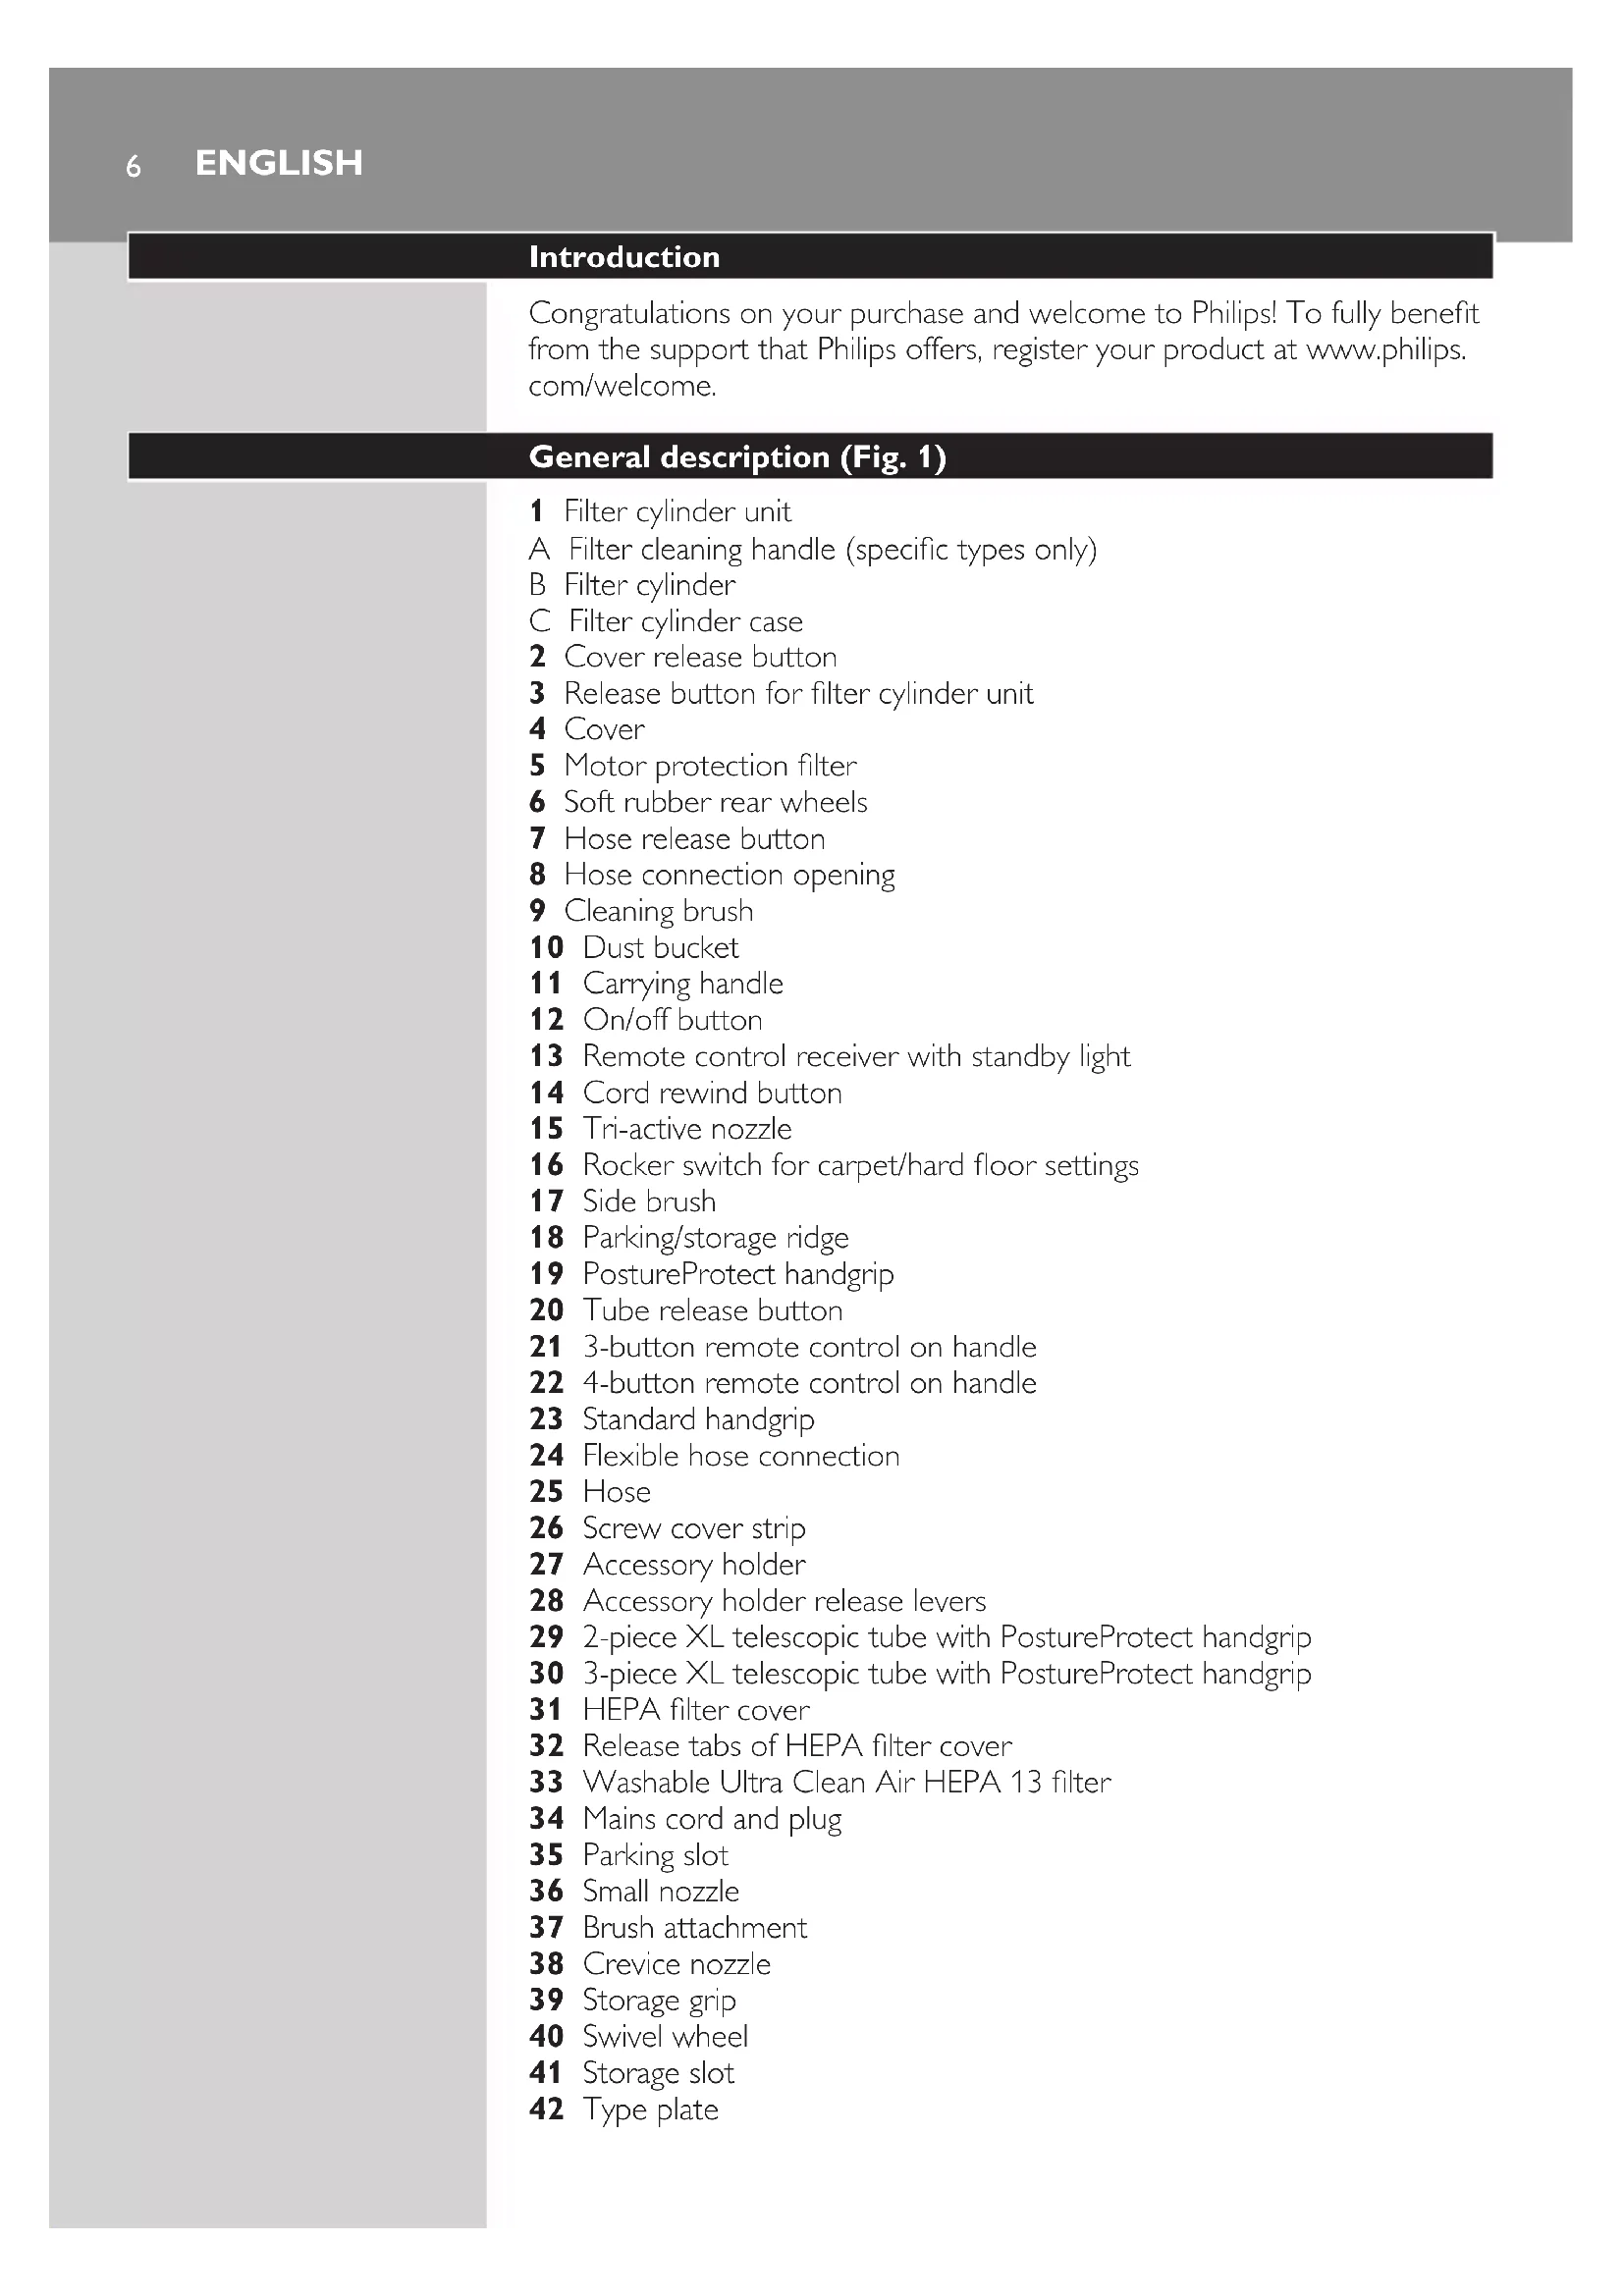
Filter cylinder unit A Filter cleaning handle (specic types only) B Filter cylinder C Filter cylinder case Cover release button Release button for lter cylinder unit Cover Motor protection lter Soft rubber rear wheels Hose release button Hose connection opening Cleaning brush Dust bucket Carrying handle On/off button Remote control receiver with standby light Cord rewind button Tri-active nozzle Rocker switch for carpet/hard oor settings Side brush Parking/storage ridge PostureProtect handgrip Tube release button 3-button remote control on handle 4-button remote control on handle Standard handgrip Flexible hose connection Hose Screw cover strip Accessory holder Accessory holder release levers 2-piece XL telescopic tube with PostureProtect handgrip 3-piece XL telescopic tube with PostureProtect handgrip HEPA lter cover Release tabs of HEPA lter cover Washable Ultra Clean Air HEPA 13 lter Mains cord and plug Parking slot Small nozzle Brush attachment Crevice nozzle Storage grip Swivel wheel Storage slot Type plate
Read this user manual carefully before you use the appliance and save it for future reference.
- Never suck up water or any other liquid. Never suck up ammable substances and do not suck up ashes until they are cold.
- Check if the voltage indicated on the appliance corresponds to the local mains voltage before you connect the appliance. - Do not use the appliance if the mains cord, the plug or the appliance itself is damaged. - If the mains cord is damaged, you must have it replaced by Philips, a service centre authorised by Philips or similarly qualied persons in order to avoid a hazard. - This appliance is not intended for use by persons (including children) with reduced physical, sensory or mental capabilities, or lack of experience and knowledge, unless they have been given supervision or instruction concerning use of the appliance by a person responsible for their safety. - Children should be supervised to ensure that they do not play with the appliance. - Do not point the hose, the tube or any other accessory at the eyes or ears nor put it in your mouth when it is connected to the vacuum cleaner and the vacuum cleaner is switched on.
- Do not suck up large objects as this may cause the air passage in the tube or hose to become obstructed. - When you use the vacuum cleaner to vacuum ashes, ne sand, lime, cement dust and similar substances, the pores of the lter cylinder become clogged. If you notice a strong decrease in suction power, clean the lter cylinder. - Never use the appliance if the lter cylinder, lter cylinder case and the dust bucket are not properly installed or if the cover is not closed properly. - Always unplug the appliance before you empty the dust bucket. - Do not press the AutoClean button if the dust bucket, the lter cylinder and lter cylinder case are not properly installed or if the cover is not closed properly. - Never use the appliance without the motor protection lter. This could damage the motor and shorten the life of the appliance. - Only use the Philips lter cylinder supplied with the appliance. - The lter cylinder is not waterproof and cannot be cleaned with water, cleaning agents or ammable substances. Only clean the lter cylinder with the AutoClean system or the cleaning brush supplied. - During vacuum cleaning, especially in rooms with low air humidity, your vacuum cleaner builds up static electricity. As a result you can experience electric shocks when you touch the tube or other steel parts of your vacuum cleaner. These shocks are not harmful to you and do not damage the appliance. To reduce this inconvenience we advise you: 7 to discharge the appliance by frequently holding the tube against other metal objects in the room (for example legs of a table or chair, radiator etc.); to raise the air humidity level in the room by placing water in the room. For example, you can hang containers lled with water from your radiators or place bowls lled with water on or near your radiators.
This Philips appliance complies with all standards regarding electromagnetic elds (EMF). If handled properly and according to the instructions in this user manual, the appliance is safe to use based on scientic evidence available today.
Batteries for the remote control on the handle are supplied with the appliance. Insert the batteries into the battery compartment before you use the appliance. The batteries last at least 2 years. 1 Use a screwdriver to remove the screw of the battery compartment lid (1) and remove the battery compartment lid (2). 2 Insert two AAA 1.5-volt alkaline batteries into the handle. Note: Make sure that the - and + poles of the batteries point in the right direction. 3 Reattach the battery compartment lid and fasten the screw with a screwdriver. The appliance is now ready for use.
1 Attach the handgrip to the telescopic tube (‘click’). 2 To disconnect the handgrip from the tube, hold the handgrip with one hand. With the other hand, hold the telescopic tube and press the tube release button (1) and pull the tube off the handgrip (2). Note (specic types only): The holes at the end of the handgrip prevent objects from getting stuck or damaged when you use your vacuum cleaner without the tube or accessories supplied.
1 To connect the hose, push it rmly into the appliance (‘click’). 2 To disconnect the hose, press the release button and pull the hose out of the appliance.
Tip: For optimal ergonomy, we advise you to hold both handgrips when you move the nozzle to and fro. This prevents you from having to twist and bend your spine. 1 Adjust the length of the tube in such a way that the hand holding the standard handgrip is at hip level. 92 For optimal ergonomy, we advise you to hold the tube in such a way that the standard handgrip is at hip level. 3 To connect the tube to a nozzle, press the spring-loaded lock button on the tube and insert the tube into the nozzle. Fit the spring-loaded lock button into the opening in the nozzle (‘click’).
1 Slide the accessory holder onto the handgrip (‘click’). 2 Push the accessories onto the holder. 3 To detach the accessory holder, squeeze the release levers together (1) and slide the accessory holder off the handgrip (2).
1 Connect the crevice nozzle (1) or small nozzle (2) with or without brush attachment directly to the standard handgrip or to the tube.
1 To assemble the brush attachment, slide it onto the bottom of the small nozzle (‘click’). 2 To disassemble the brush attachment, slide it off the bottom of the small nozzle.
1 Use the hard oor setting to clean hard oors (for instance for tiled, parqueted, laminated and linoleumed ooring): push the rocker switch on top of the nozzle with your foot to make the brush strip come out of the housing. At the same time, the wheel is lifted to prevent scratching and to increase manoeuvrability. 2 Use the carpet setting to clean carpets: push the rocker switch again to make the brush strip disappear into the nozzle housing. The wheel is lowered automatically.
- The remote control has three buttons (specic types only) or four buttons (specic types only) with which you operate the vacuum cleaner.
1 Pull the cord out of the appliance and put the mains plug in the wall socket. 2 Press the on/off button on top of the appliance to switch on the appliance. Tip: To avoid bending your back, press the on/off button with your foot. , The vacuum cleaner starts operating at the highest suction power level. 3 To switch off the appliance, press the on/off button on top of the appliance or the standby button on the remote control.
1 During vacuuming, you can adjust the suction power level with the – and + buttons on the remote control. - Use maximum suction power to vacuum very dirty carpets and hard oors. - Use minimum suction power to vacuum curtains, tablecloths etc.
1 If you want to pause for a moment, press the standby button on the remote control to switch off the appliance temporarily. 2 Insert the ridge on the nozzle into the parking slot to park the tube in a convenient position. 3 To ensure stable parking of the telescopic tube, adjust the tube to the shortest length. 4 To continue vacuum cleaning, simply press the standby button on the remote control again.
A clean lter cylinder helps maintain high suction power. After every vacuuming session, clean the lter cylinder in the way described below. Always leave the hose connected to the appliance during the lter- cleaning process to prevent dust from coming out of the appliance.
1 Switch off the appliance and unplug it. 2 Keep the appliance in horizontal position, with all wheels touching the oor. 3 Press the cover release button (1) and open the cover (2). 4 Turn the lter-cleaning handle until it has made 6 full circles. 5 Close the cover rmly (‘click’).
Always press the AutoClean button when you have nished vacuum cleaning. Make sure the dust bucket, the lter cylinder and the lter cylinder case are installed properly and the cover is closed properly. 1 Switch off the appliance. Leave the mains plug in the wall socket. 2 Keep the appliance in horizontal position, with all wheels touching the oor. 3 Press the AutoClean button on the remote control on the handgrip. , You hear a beep and the lter-cleaning process starts. , During the lter-cleaning process, the appliance produces a rattling noise. This is completely normal. , When the lter-cleaning process is nished, you hear a beep.
You can also press the AutoClean button during vacuum cleaning. When you do this, the motor stops running and the lter-cleaning process starts. During the lter-cleaning process, the appliance does not suck up dirt. When the lter-cleaning process is nished, the motor automatically starts running again and you can continue vacuum cleaning.
You have to clean the lter cylinder after each vacuuming session. This prevents the lter cylinder from clogging and helps maintain optimal suction power. - If you fail to clean the lter cylinder a number of vacuuming sessions in a row, the lter light ashes for 15 seconds.
Always unplug the appliance before you empty the dust bucket. The dust bucket is not dishwasher-proof. Empty the dust bucket as soon as the dust level has reached the round disc of the lter cylinder case. 1 Switch off the appliance and remove the mains plug from the wall socket. 2 To disconnect the hose, press the release button (1) and pull the hose out of the appliance (2). 3 To unlock the cover, press the cover release button. Swing open the cover. 4 Lift the dust bucket out of the appliance. 5 Press the release button for the lter cylinder unit on the bucket handle (1) and remove the lter cylinder unit (2). 6 Hold the dust bucket over a dustbin and empty it. 7 Clean the dust bucket with cold tap water and some washing-up liquid. 15 sec. 15 sec. 148 If you want to clean the lter cylinder unit, remove the lter cylinder from the lter cylinder case. Turn the handle on top of the lter cylinder anticlockwise (1) and lift the lter cylinder out of the case (2). 9 To clean the lter cylinder, gently tap it against the dustbin to release all ne dust from the lter cylinder. - If you persistently fail to clean the lter cylinder after every use, the lter cylinder clogs up with dirt and the suction power decreases over time. If this happens, unclog the lter cylinder in the following way: 1 Hold the lter cylinder over a dustbin. 2 Clean it with the cleaning brush supplied. Gently brush from the top of the lter downwards along the ribs of the lter. Only use the cleaning brush that comes with the appliance. Other brushes may damage the lter cylinder. The lter cylinder is not waterproof and cannot be cleaned with water, cleaning agents or ammable substances. Note: Cleaning does not restore the original colour of the lter, but does restore its ltration power. 10 To clean the lter cylinder case, use a dry cloth or the cleaning brush supplied. You can also clean it with cold tap water and some washing- up liquid. - Do not clean the lter cylinder case with the lter cylinder in it under the tap, as the lter cylinder is not waterproof. English 1511 Put the lter cylinder back into the lter cylinder case (1) and turn it clockwise to x it (2) (‘click’). Make sure that the lter cylinder case is dry before you reinsert the lter cylinder into it. 12 Put the lter cylinder unit back into the dust bucket (‘click’). Make sure that the dust bucket is dry before you reinsert the lter cylinder unit.
Clean the permanent motor protection lter every two months. 1 Unplug the appliance. 2 Take the motor protection lter out of the appliance and clean the lter by tapping the dust out of it over a dustbin. If you want to clean the motor protection lter more thoroughly, you can rinse it under a cold tap. Do not use washing-up liquid, ammable substances or any other cleaning agent to clean the motor protection lter. Make sure that the motor protection lter is completely dry before you put it back into the lter compartment. 3 Press the clean lter rmly back into the lter compartment to ensure that it is properly placed.
Note: To guarantee optimal dust retention and performance of the vacuum cleaner, always replace the HEPA lter with an original Philips lter of the correct type (see chapter ‘Ordering accessories and lters’). Clean the washable HEPA 13 lter every 6 months. You can clean the washable HEPA 13 lter max. 4 times. Replace the lter after it has been cleaned 4 times. Note: Do not clean the HEPA 13 lter in the washing machine, but follow the procedure below. 1 Unplug the appliance. 162 Grab the release tabs of the HEPA lter cover to open and remove the lter cover. 3 Take out the washable HEPA 13 lter. 4 Rinse the pleated side of the HEPA 13 lter under a warm slow- running tap. - Hold the lter in such a way that the pleated side points upwards and the water ows parallel to the pleats. Hold the lter at an angle so that the water washes away the dirt inside the pleats. - Turn the lter 180° and let the water ow along the pleats in the opposite direction. - Continue this process until the lter is clean. Never clean the washable lter with a brush. Note: Cleaning does not restore the original colour of the lter, but does restore its ltration power. 5 Carefully shake the water from the surface of the lter. 6 Let the HEPA lter dry completely. 7 Place the dry HEPA lter back into the appliance. English 178 Reattach the top of the lter cover (1) and then close the cover (2) (‘click’).
1 Replace the batteries when the light on top of the remote control does not ash when you press any button. Note: Your remote control may differ from the one shown in the gure. 2 Follow steps 1 to 3 in chapter ‘Before rst use’.
Note: Before you store the appliance, always make sure you have cleaned the lter cylinder by pressing the AutoClean button (specic types only) or with the lter-cleaning handle (specic types only). See section ‘Cleaning the lter cylinder’ in chapter ‘Using the appliance’. 1 Switch off the appliance and remove the mains plug from the wall socket. 2 Press the cord rewind button to rewind the mains cord. 3 Adjust the telescopic tube to the shortest length. 184 Put the Tri-Active nozzle in the carpet setting when you store it (brush strip retracted into the nozzle). Also prevent the side brushes from becoming bent. 5 Use the storage grip to put the appliance in upright position. Insert the ridge on the nozzle into the storage slot on the appliance. Tip: You can also detach the tube from the hose. Tip: You can also store the appliance horizontally. In this case, insert the ridge on the nozzle into the parking slot.
To purchase accessories and lters, visit our website www.philps.com, contact the Philips Consumer Care Centre in your country or visit your vacuum cleaner specialist. If you have any difculties obtaining lters or other accessories for this appliance, contact the Philips Consumer Care Centre in your country or consult the worldwide guarantee leaet. - Washable Ultra Clean Air HEPA 13 lters are available under service number 432200493350 - Filter cylinder for FC9262, dark aubergine: 432200909850 - Filter cylinder for FC9256, ice white: 4322 009 09840 - Filter cylinder for FC9258, pea green: 432200900090
- The batteries of the remote control contain substances that may pollute the environment. Do not throw away batteries with the normal household waste, but dispose of them at an ofcial collection point for batteries. Always remove the batteries of the remote control before you discard and hand in the appliance at an ofcial collection point.
19- Do not throw away the appliance with the normal household waste
at the end of its life, but hand it in at an ofcial collection point for recycling. By doing this, you help to preserve the environment.
If you need service or information or if you have a problem, please visit the Philips website at or contact the Philips Consumer Care Centre in your country (you nd its phone number in the worldwide guarantee leaet). If there is no Consumer Care Centre in your country, go to your local Philips dealer.
This chapter summarises the most common problems you could encounter with the appliance. If you are unable to solve the problem with the information below, contact the Consumer Care Centre in your country. Problem Possible cause Solution The light in the AutoClean button (specic types only) or the lter- cleaning reminder light (specic types only) ashes. The lter cylinder needs to be cleaned. Press the AutoClean button (specic types only) or turn the lter-cleaning handle (specic types only) to clean the lter cylinder. The suction power is insufcient. You have selected a low suction power setting. Select a higher suction power setting. The lter cylinder is clogged with dirt. Clean the lter cylinder (see chapter ‘Cleaning and maintenance’). The motor protection lter and/or the HEPA lter are dirty. Clean or replace the lters (see chapter ‘Cleaning and maintenance’). The nozzle, hose or tube is blocked up. To remove the obstruction, disconnect the blocked-up item and connect it (as far as possible) the other way around. Switch on the vacuum cleaner to force the air through the blocked-up item in opposite direction. The infrared remote control does not function. You have not inserted the batteries properly or the batteries are empty. Insert the batteries properly or replace them. See chapter ‘Replacement’. 20Problem Possible cause Solution The appliance does not function and the standby light on the cover of the appliance ashes. The dust bucket and/or the lter cylinder unit are not installed properly. Unplug the appliance. Make sure that the lter cylinder is assembled properly into the lter cylinder case (‘click’). Also make sure that the lter cylinder unit is inserted properly into the dust bucket (‘click’). The cover is not closed properly. Make sure the cover is closed properly. Put the plug in the wall socket and try again. When I use my vacuum cleaner I sometimes feel electric shocks. Your vacuum cleaner has built up static electricity. The lower the air humidity in the rooms, the more static electricity the appliance builds up. To reduce this inconvenience, we advise you to discharge the appliance by frequently holding the tube against other metal objects in the room (for example legs of a table or chair, radiator etc.). To reduce this inconvenience, we advise you to raise the air humidity level in the room by placing water in the room. For example, you can hang containers lled with water from your radiators or place bowls lled with water on or near your radiators.
If you do not nd the PostureProtect handgrip comfortable to use, you can consider removing it. 1 Remove the screw cover strip from the PostureProtect handgrip. 2 Use a Torx T15 screwdriver to remove the screws of the PostureProtect handgrip. 3 Remove the PostureProtect handgrip from the tube.