
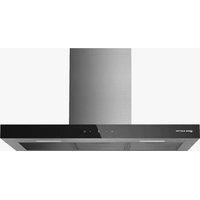
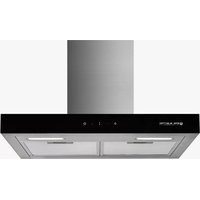
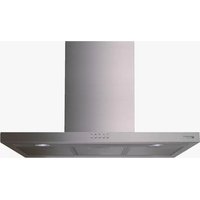
EMRH60TX - Range hood EAS Electric - Free user manual and instructions
Find the device manual for free EMRH60TX EAS Electric in PDF.

| Brand | EAS Electric |
| Model | EMRH60TX |
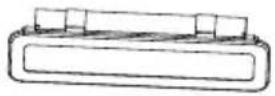
| Product type | Decorative hood |
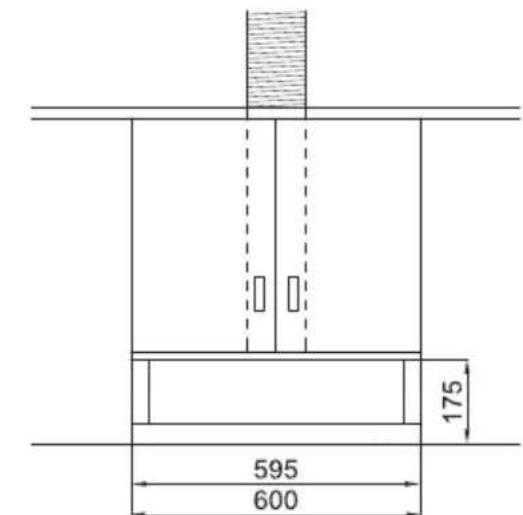
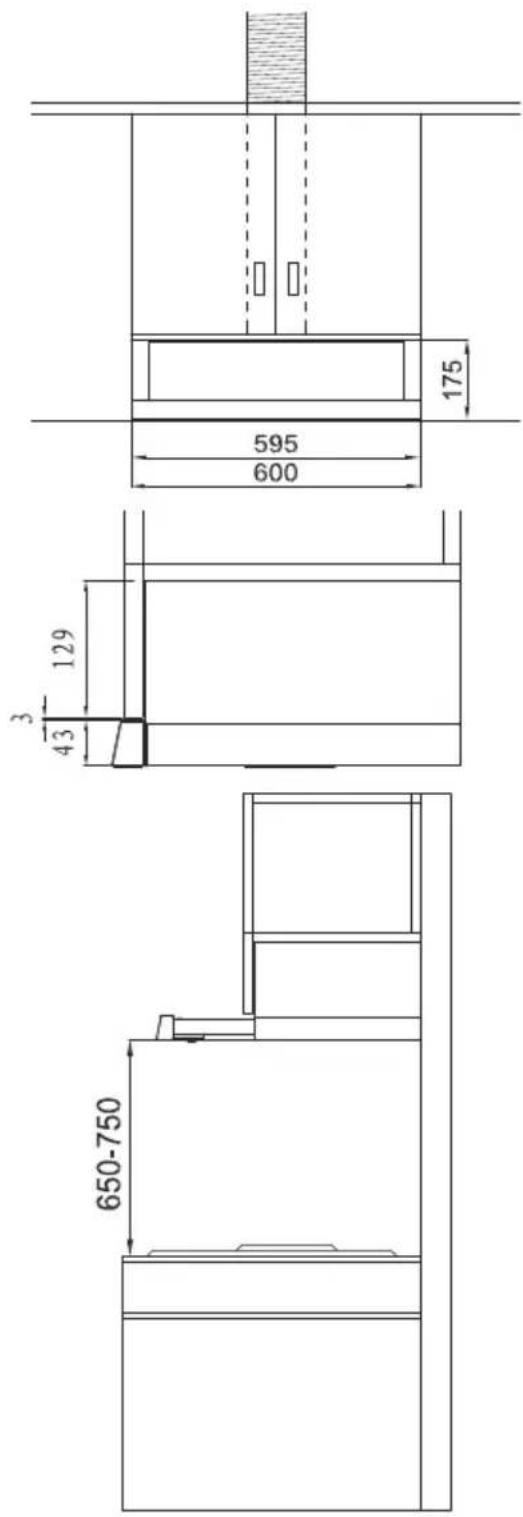
| Width | 60 cm |
| Depth | 50 cm |
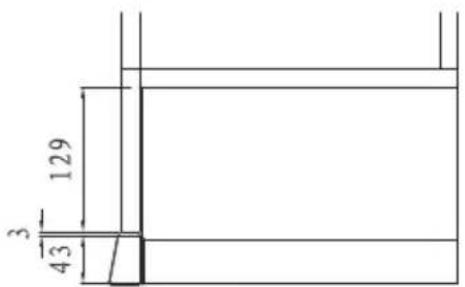
| Height (min - max) | 70 - 120 cm |
| Weight | 15 kg |
| Power supply | 220-240 V, 50 Hz |
| Maximum extraction power | 650 m³/h |
| Maximum noise level | 65 dB(A) |
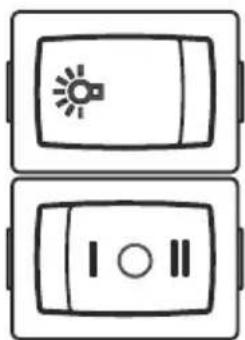
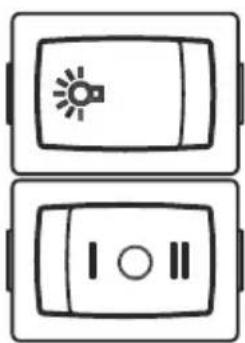
| Number of speeds | 3 |
| Filter type | Washable metal grease filters |
| Lighting | Integrated LED |
| Controls | Electronic push-button |
| Energy class | A+ |
| Special functions | Extraction or recirculation |
| Maintenance | Clean filters every 2 months |
| Appliance cleaning | Soft cloth and mild detergent |
| Safety | Automatic shut-off in case of overheating |
| Spare parts | Filters, LED bulbs |
| Repairability | Repairability index: 7.5/10 |
| Warranty | 2 years |
Frequently Asked Questions - EMRH60TX EAS Electric
User questions about EMRH60TX EAS Electric
0 question about this device. Answer the ones you know or ask your own.
Ask a new question about this device
Download the instructions for your Range hood in PDF format for free! Find your manual EMRH60TX - EAS Electric and take your electronic device back in hand. On this page are published all the documents necessary for the use of your device. EMRH60TX by EAS Electric.
USER MANUAL EMRH60TX EAS Electric
natural_image
Simple line drawing of a rectangular block with a circular top and a separate black triangular shape (no text or symbols)
natural_image
Solid black right-pointing triangle shape on white background (no text or symbols)
natural_image
Empty rounded rectangle with black border (no text or symbols)
 |


natural_image
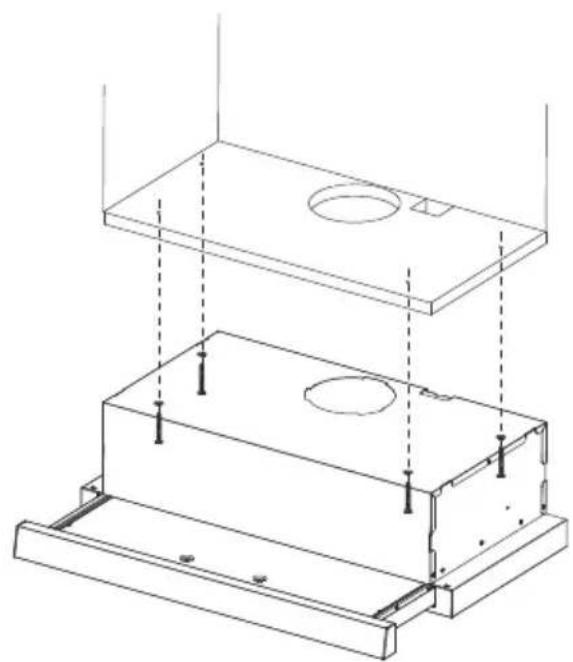
Technical line drawing of a mechanical assembly with two rectangular components and mounting base (no text or symbols)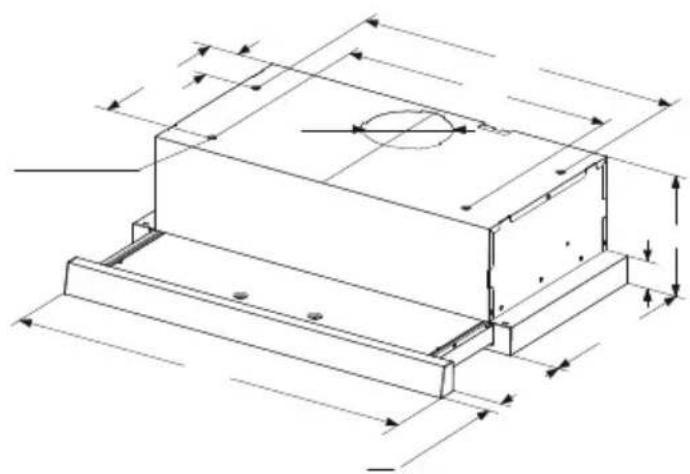
natural_image
Technical line drawing of a mechanical housing or enclosure with dimension lines and internal features (no text or symbols)
natural_image
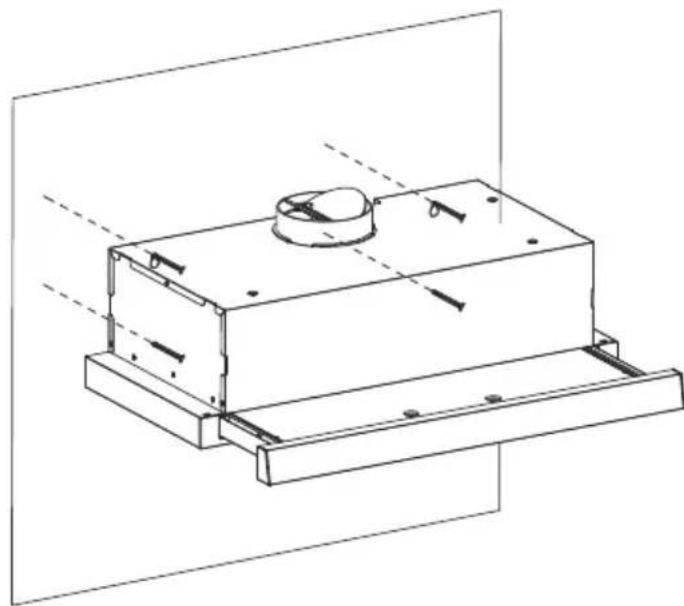
Technical line drawing of a mechanical assembly with mounting base and housing (no text or symbols)
natural_image
Technical line drawing of a mechanical assembly with mounting brackets and internal components (no text or symbols)
natural_image
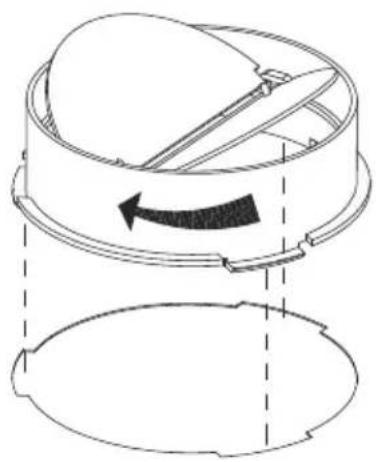
Technical line drawing of a mechanical component with an arrow indicating rotation or movement (no text or symbols)


OFF ON
0 1 2 3


natural_image
Two identical rectangular electronic devices with indicator lights and control buttons, no text or symbols present.

natural_image
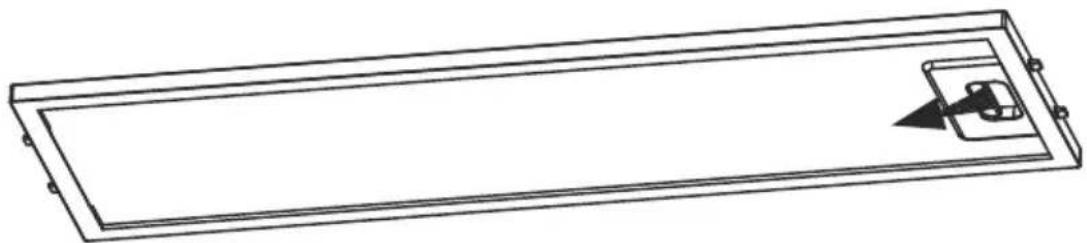
Pure technical line drawing of a rectangular frame with an internal component, no text or symbols present!
 |

natural_image
Solid black right-pointing triangle shape on white background (no text or symbols)

natural_image
Empty rounded rectangle with black border (no text or symbols)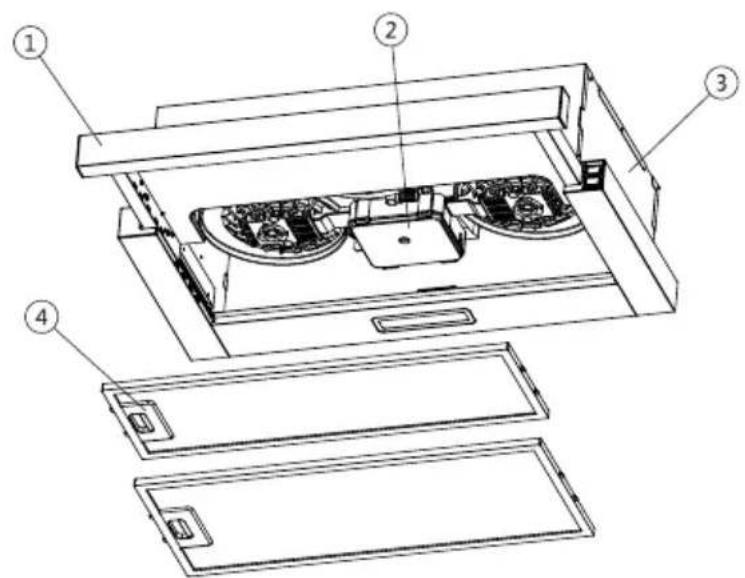
|


natural_image
Technical line drawing of a mechanical assembly with two rectangular components and mounting base (no text or symbols)
natural_image
Technical line drawing of a mechanical housing or enclosure with dimension lines and internal features (no text or symbols)

natural_image
Technical line drawing of a mechanical assembly with mounting base and housing (no text or symbols)
natural_image
Technical line drawing of a mechanical assembly with mounting brackets and internal components (no text or symbols)

natural_image
Technical line drawing of a mechanical component with an arrow indicating rotation or movement (no text or symbols)


OFF ON
0 1 2 3


O
|
||
[Non-Text]
natural_image
Two identical rectangular electronic components with a sun icon and two internal symbols (no text or labels)


natural_image
Pure technical line drawing of a rectangular frame with an internal component, no text or symbols present!
|

natural_image
Solid black right-pointing triangle shape on white background (no text or symbols)

natural_image
Empty rounded rectangle with black border (no text or symbols)
 |


natural_image
Technical line drawing of a mechanical assembly with two rectangular components and mounting base (no text or symbols)
natural_image
Technical line drawing of a mechanical housing or enclosure with dimension lines and internal features (no text or symbols)

natural_image
Technical line drawing of a mechanical assembly with mounting base and housing (no text or symbols)
natural_image
Technical line drawing of a mechanical assembly with mounting brackets and internal components (no text or symbols)

natural_image
Technical line drawing of a mechanical component with an arrow indicating rotation or movement (no text or symbols)


OFF ON
0 1 2 3


O
|
||
图
natural_image
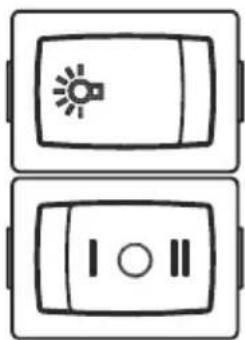
Two identical rectangular electronic components with internal symbols: a light bulb icon on the top and two ports with I and II labels on the bottom (no text or labels)


natural_image
Pure technical line drawing of a rectangular frame with an internal component, no text or symbols present!
 |

natural_image
Solid black right-pointing triangle shape on white background (no text or symbols)

natural_image
Empty rectangular frame with rounded corners (no text or symbols)
 |


natural_image
Technical line drawing of a mechanical assembly with two rectangular components and mounting base (no text or symbols)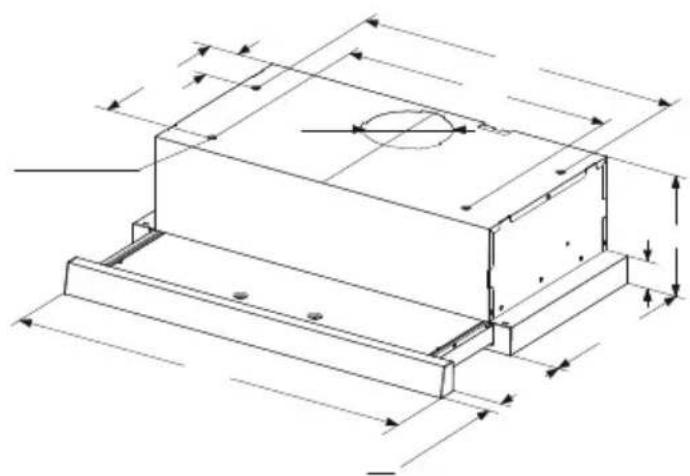
natural_image
Technical line drawing of a mechanical housing or enclosure with dimension lines and internal features (no text or symbols)

natural_image
Technical line drawing of a mechanical assembly with mounting base and housing (no text or symbols)
natural_image
Technical line drawing of a mechanical assembly with mounting brackets and internal components (no text or symbols)

natural_image
Technical line drawing of a mechanical component with an arrow indicating rotation or movement (no text or symbols)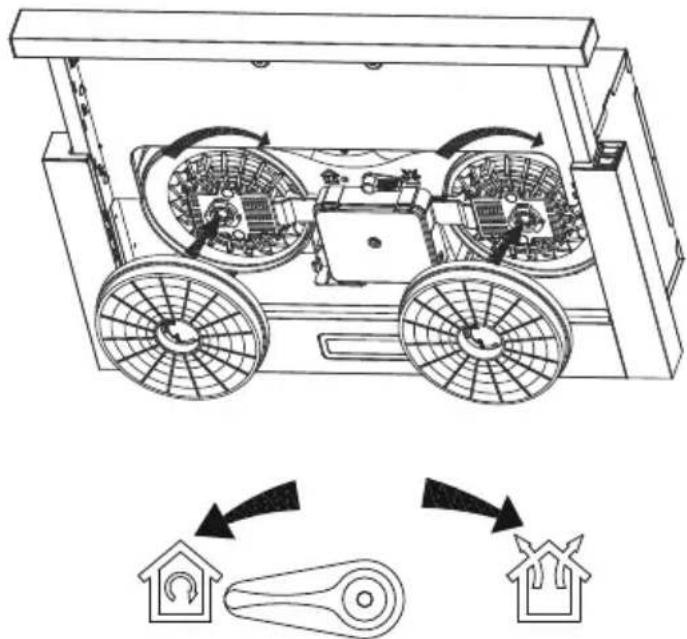


OFF ON
0 1 2 3

。
I
||


natural_image
Two identical rectangular diagrams with internal symbols: a sun icon and two circular ports (no text or labels)


natural_image
Pure technical line drawing of a rectangular frame with an internal component, no text or symbols present!
|
EAS ELECTRIC
SMART TECHNOLOGY
Scan for manual in other languages and further updates:

Brand : EAS Electric
Model : EMRH60TX
Category : Range hood