
BP2007 - Fan BLAUPUNKT - Free user manual and instructions
Find the device manual for free BP2007 BLAUPUNKT in PDF.
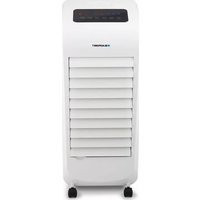

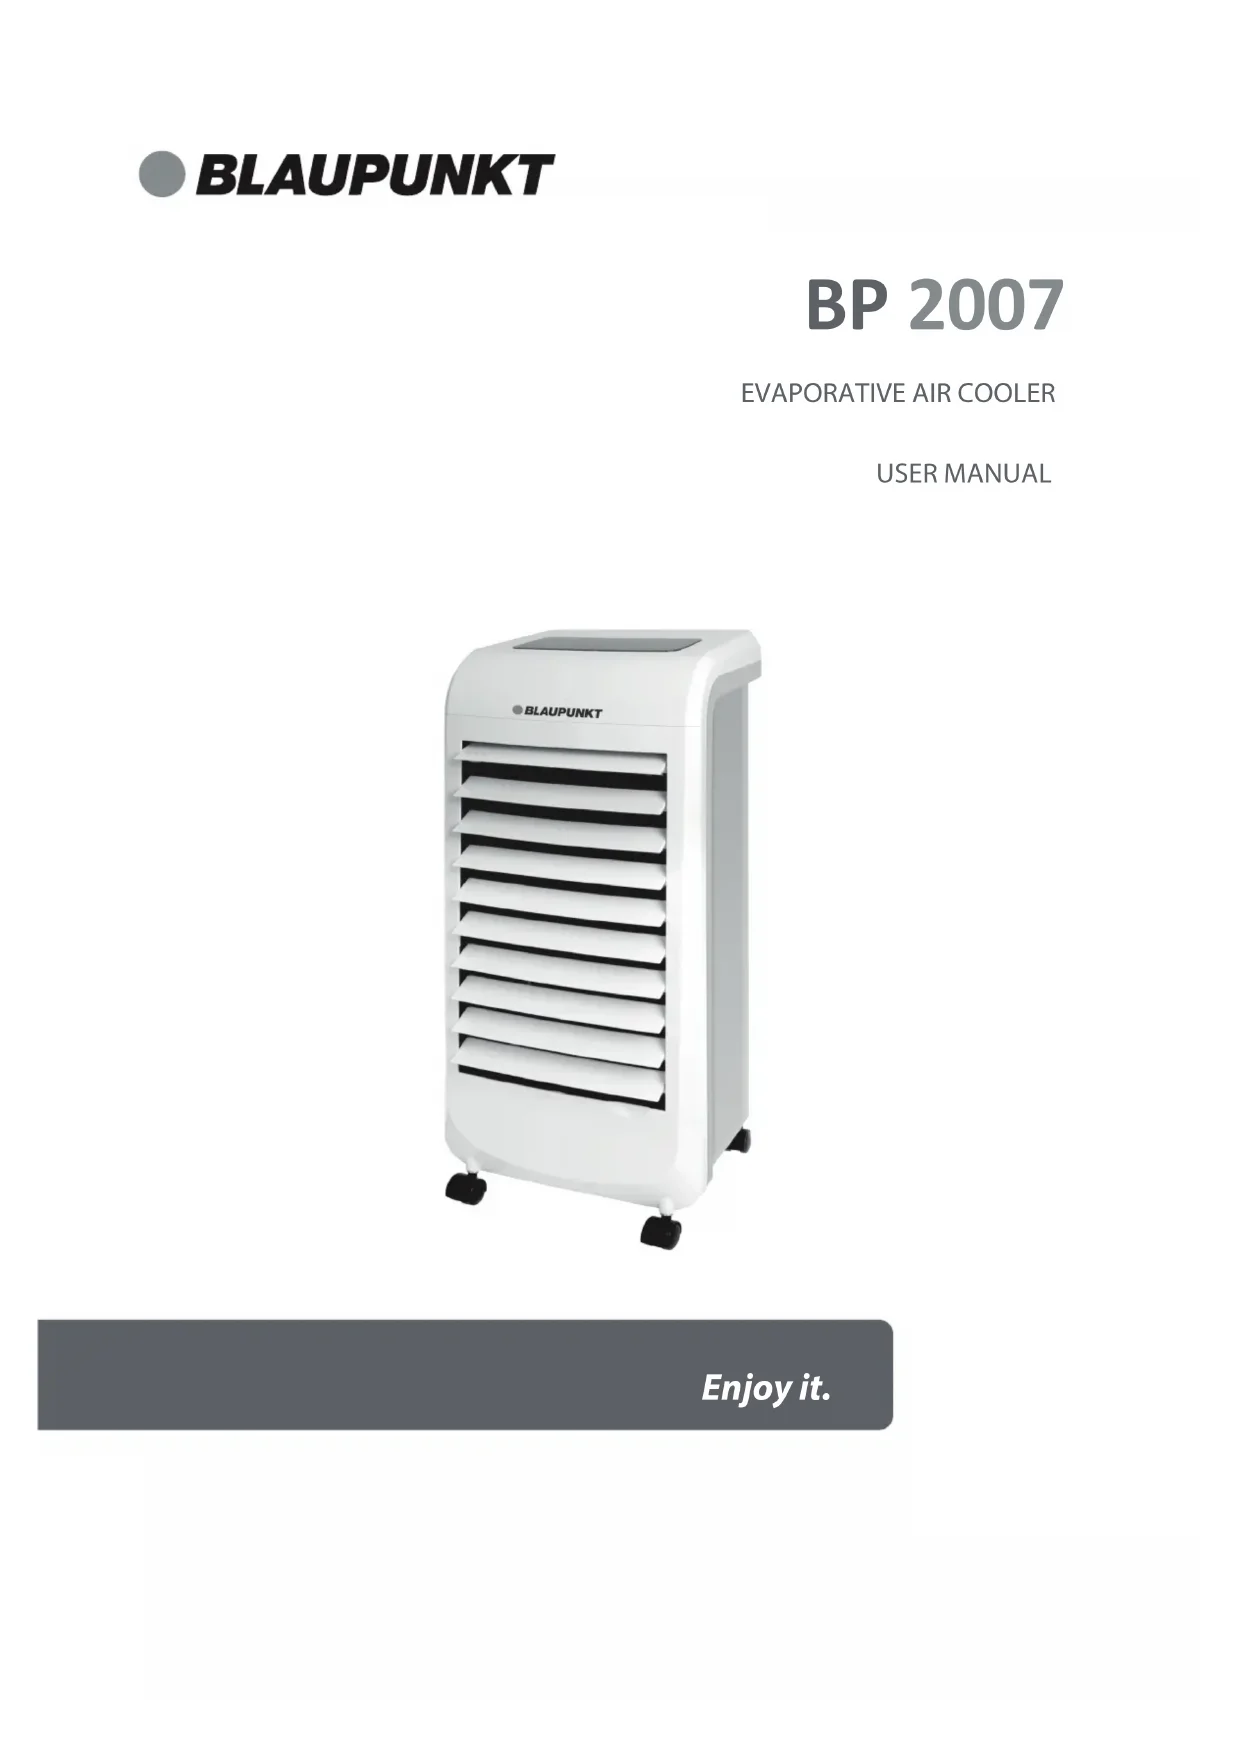


| Product Type | Evaporative Air Cooler |
| Brand | Blaupunkt |
| Model | BP2007 |
| Voltage / Frequency | 220-240 V ~ 50/60 Hz |
| Power | 80 W |
| Speed Levels | 3 (Low, Medium, High) |
| Timer | 1 to 12 hours |
| Oscillation | Automatic horizontal, manual vertical direction |
| Water Tank Capacity | Indicated by MIN and MAX levels |
| Cooling Function | Evaporation via water pump and cooling pad |
| Ionizer | Yes, release of negative ions |
| Remote Control | Yes, with CR2025 battery |
| Casters | 4 casters for mobility |
| Dust Filter | Removable, cleanable with mild detergent |
| Cooling Pad | Removable, washable with water |
| Ice Tubes | Included for enhanced cooling |
| Automatic Shut-off | In case of tipping, unplug and have it repaired |
| Warranty | 2 years |
| Power Cord | Type Y, replacement by professional |
| Usage | Indoor only |
Frequently Asked Questions - BP2007 BLAUPUNKT
User questions about BP2007 BLAUPUNKT
0 question about this device. Answer the ones you know or ask your own.
Ask a new question about this device
Download the instructions for your Fan in PDF format for free! Find your manual BP2007 - BLAUPUNKT and take your electronic device back in hand. On this page are published all the documents necessary for the use of your device. BP2007 by BLAUPUNKT.
USER MANUAL BP2007 BLAUPUNKT
Dear consumer, please read these instructions carefully before use in order to avoid damage due to incorrect use and to better understand the functions of this product.
Please pay particular attention to the safety guide.
If you pass the device on to a third party, these operating instructions must also be handed over.
Please keep them for future reference.
A copy of this instruction manual in various languages is available on our website:
www.avanteuropa.es
IMPORTANT SAFEGUARDS:
- Use as per the rated voltage on the product.
- Do not repair or remake the appliance yourself; it should be repaired by a qualified technician.
- Do not operate the appliance with wet hands, in order to avoid a shock hazard.
- If the supply cord is damaged, it must be replaced by the manufacturer, its service agent or similarly qualified persons in order to avoid a damage or hazard.
- When the appliance is not in use, switch off and unplug it.
- Do not insert foreign things to air outlets and inlets, in order to avoid damage.
- Do not use the appliance near explosive and combustible gas. Avoid long-term direct solar radiation.
- Use the appliance only on a flat surface.
- Do not use outdoors.
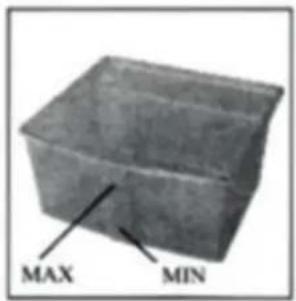
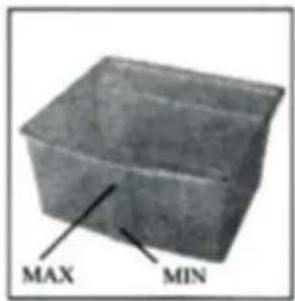
- The level of water tank should not be over "MAX" scale at any time, when humidifying, the total level of water tank should not be below "MIN" scale.
- After adding water to the tank, do not tilt or knock it over when placing or moving it. If you need to move it, push it slowly from the side to avoid tipping the appliance. If it tips over and water gets inside, unplug the power supply first, then send it to a repair center or after-sales service for inspection.
- Do not cover the air vent.
- Clean the exterior with a lightly damp cloth. Do not use any detergents or solutions. Do not rinse the appliance.
- Do not place the air outlets and inlets near walls or curtains.
- Do not knock or shake the appliance during use, as this may cause it to stop automatically.
- The water in the tank can easily spoil and develop an odor in summer; please change the water frequently.
- This appliance is not intended for use by persons (including children) with reduced physical, sensory, or mental capabilities, or lack of experience and knowledge, unless they have been given supervision or instruction concerning use of the appliance by a person responsible for their safety.
- Children should be supervised to ensure that they do not play with the appliance.
- To avoid the risk caused by instability of the unit, you must fix the castors firmly according to the manual.
- Should it be necessary to move the unit after the water has been added, roll gently to the required position and activate the bracket of the castors.
- The power cord is with "Y" type connection and it must be changed by professional technicians if necessary.
- This appliance can be used by children aged from 8 years and above if they have been given supervision or instruction concerning use of the appliance in a safe way and understand the hazards involved. Children shall not play with the appliance. Cleaning and user maintenance shall not be made by children unless they are older than 8 years and supervised.
- Keep the appliance and its cord out of reach of children aged less than 8 years.
- Do not use this appliance with a programmer, counter or another device which can automatically turn it on because if the appliance is covered or incorrectly positioned there is a danger of fire.
TECHNICAL SPECIFICATIONS
Rated Voltage/Frequency: 220-240V~50/60Hz Power: 80W
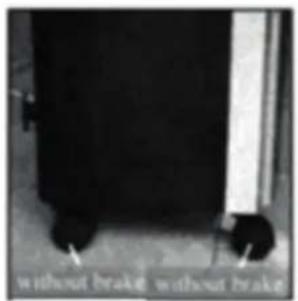
- Installation of Wheels: Place 4 wheels into the holes located at the base of the air cooler. Insert the wheels tightly into the air cooler's body (Fig. 1).
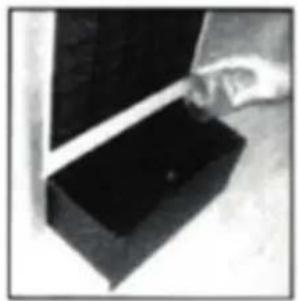
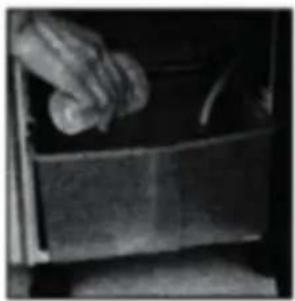
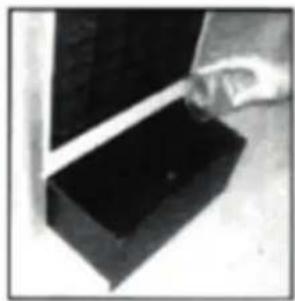
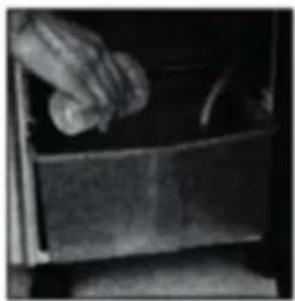
- Filling Water: Turn the water tank lock to the horizontal position, take out the water tank, put in the ice boxes, and add clean tap water to the large section of the tank (Fig. 2 and 3). Be sure that the water level in the tank does not exceed the level 'MAX' which is located at the back of the tank (Fig. 4).
Your cooler takes water from the narrow section of the tank and pumps it onto the cooling pad. The water flowing through the cooling pad spills down to the large section of the tank. This cycle causes water to absorb dust and dirt in the air. The filter at the middle of the tank filters and cleans the water, therefore it should be attached to its place while the device is operating. Push the water tank to its housing and turn the tank lock to the vertical position.
Insert the plug into the electrical outlet. The LED indicator showing the room temperature lights up with a beep sound, and the air cooler switches to the standby position. The function of the unit can be controlled via the on-board control panel or by remote control.
- ON/OFF: Press the ON button on the control panel or press the ON/OFF button on the remote control to turn the unit on. The unit will start at intermediate speed and then drop to slow speed. To switch back to the standby position, simply press the OFF button on the control panel or press the ON/OFF button on the remote control.
- Speed: Wind speed can be adjusted to 3 levels as Low - Med - High by pressing the 'Speed'
button. Each time the 'Speed' button is pressed, an icon will appear on the LED screen indicating the current speed level.
- Timer: Press the 'Timer' button to set the fan running time between 1-12 hours, which switches the unit to standby after the preset time. Each time the button is pressed, the hours will increase one by one and the time indicator will light on the screen. To cancel the timer, simply press the button until the indicator shows "00".
- Swing: Press the 'Swing' button to change the wind direction. The swing icon will appear on the screen when the function is activated. Press the button again to stop the oscillation. The vertical direction of air flow can be adjusted manually by directing the outlet louvers up and down.
- Cooler: To activate the air cooler function, please press the "Cooler" button. The water pump will take the water from the tank and pour it onto the cooling pad. The cooling pad absorbs the heat of the water and the evaporated air is blown out by the help of the fan. The cool breeze blown by the cooler drops the temperature and creates a relaxing cooling effect.
Caution: If the water level is low or there is no water in the tank, do not activate the 'Cooler' function. Check the water level and add water if needed. Replace the stale water with fresh water. It is recommended to replace the water in the tank at least once a week.
- Ionizer: Press the 'Ion' button to activate the ionizer function. The Ion icon on the screen will light up and the negative ion release will start. Ions attract tiny particles in the air such as dust, pollen, mold spores, etc., which cause them to become too heavy to remain airborne. This feature lets us have clean air in the environment.
- Remote control: Works with CR2025 button cell. Before use, please pull out the card which is inserted at the bottom of the remote control.
OPERATING THE WATER TANK
Check the level of water in the tank frequently. Be sure that the water level is not below the 'MIN' marking which is located on the water tank. Activating the 'Cooler' function with insufficient amount of water may cause malfunction of the water pump and the warranty of your product will be void. Before refilling water, turn your unit to 'Off' position by pressing the switch located on the back panel and unplug the power cord.
USING THE ICE TUBES
In order to increase the cooling effect of your fan, you can use ice tubes which are supplied with the unit. Before using, fill them with water and place them in the freezing compartment of your refrigerator for a few hours. Then place them into the large section of the tank and add water to the 'MAX' level. Using the ice tubes will drop the temperature of the air flow which will create more effective cooling effect.
CLEANING AND MAINTENANCE
After operation for a long time, the dust accumulated in the dust filter or cooling pad may influence the inflow of air. Therefore, it is recommended to clean your fan regularly. Please follow the steps below to clean your device.
Turn off the unit and unplug the power cord before cleaning and maintenance.
- Dust Filter: To remove the dust filter, first remove the screw, then simply press the locks with both hands and pull out. Use neutral cleaning agent and brush to clean the dust and dirt on the filter. To attach the clean filter, place the bottom of the filter first and then push the upper part until it is locked tightly.
- Cooling Pad: After removing the dust filter, you can see the cooling pad. Press the lock in the middle and gently pull out the pad, use a clean or soft brush to remove dust and dirt from the pad. Rinse with water if needed and leave it to dry in open air. Never use any chemical cleaning solution that can harm the pad.
- Water Tank: Turn the water tank lock to horizontal position and pull the tank. Use soft cleaning agents for cleaning. Wash with water and rinse, then place it back into its housing by pushing gently. Turn the lock to vertical position.
- Exterior Cleaning: Clean the exterior case of the fan with a soft damp cloth except control panel. Never use hard cleaning agents that can harm the case. Make sure the unit is dry before operating it. Caution: Never let water contact the control panel. Always clean it with a soft dry cloth.
GUARANTEE DOCUMENT
Thank you for purchasing this BLAUPUNKT product. This device has been meticulously checked in all its components, so we guarantee its correct operation. However, for this to be the case, we need YOU
to read the instruction book carefully, as this will contribute to the best performance of this article.
R.S.A guarantees to the buyer of this product a total guarantee of TWO YEARS, governed by the established conditions whose regulation is found in Royal Legislative Decree 1/2007 of 16 December, which approves the revised text of the General Law for the Defense of Consumers and Users (articles 114 to 127). R.S.A is committed to repairs being completely free, including labor and spare parts.
The Technical Assistance Service will resolve any repairs that may be required by this apparatus.
Carefully review the INSTRUCTION BOOK included, on the use, maintenance, and conservation of the device.
Any anomaly that could occur due to the non-observance of such instructions will not be protected by the guarantee.
The date of sale of the device, for the purposes of the warranty period, will be that which appears on the purchase invoice.
Guarantee operation: As regards all those compliance defects detected by the technical assistance, which are manifested within six months of the delivery of the goods, it is assumed that they already existed on that date, and the intervention will be completely free (unless this hypothesis is incompatible with the nature or nature of the conformity defect).
During the following eighteen months, it must be the user who demonstrates that the lack of conformity existed at the time of delivery.
MANUFACTURED IN CHINA FOR BLAUPUNKT
DECLARATION OF CONFORMITY
Manufacturer Name: RAMSONS, S.A.
Address: Pedro Muñoz Torres n° 1
Post Code: 41006
SEVILLA
We declare under our responsibility that the product:
Product Description: EVAPORATIVE AIR COOLER
Model: BP2007
Brand: BLAUPUNKT
It complies with the European Union legislation in compliance with the 2004/108/EU guidelines
The standards apply: EN 55014-1: 2006+A1:+A2:
EN 55014-2: 1997+A1:+A2:
EN 61000-3-2:2006+A1:+A2:
EN 61000-3-3:2013
Name: Vivek Sadhwani
Position: manager
Date: 26 December 2020
Signature:
26 December
Ramsons, S.A,
Pedro Muñoz Torres N° 1 NAVES HYTASA 41006 SEVILLA
Tel. 954 933 404 • Fax. 954 660 533
USER
DATE OF SALE
Seller's signature and stamp
IMPORTANT: To make the guarantee effective, the SELLER must fill out, sign and stamp this Certificate.
To receive assistance under the conditions set forth in this certificate, please submit to the Technical Service Authorized, this document next to the Purchase Invoice
INFORMATION ON RECYCLING
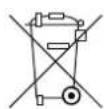
Disposal of the old appliance: The European Directive 2002/96/EC on waste electrical and electronic equipment (WEEE) establishes that old appliances cannot be thrown as municipal waste without normal classification. Appliances have to be collected separately to optimize the recovery and recycling of the materials they contain and reduce the impact
on human health and the environment.
The symbol "container with wheels" crossed out on the product reminds you of the obligation that when you dispose of the device it must be collected separately.
Consumers should contact the local or retail authority to obtain information about the correct disposal of your old device.

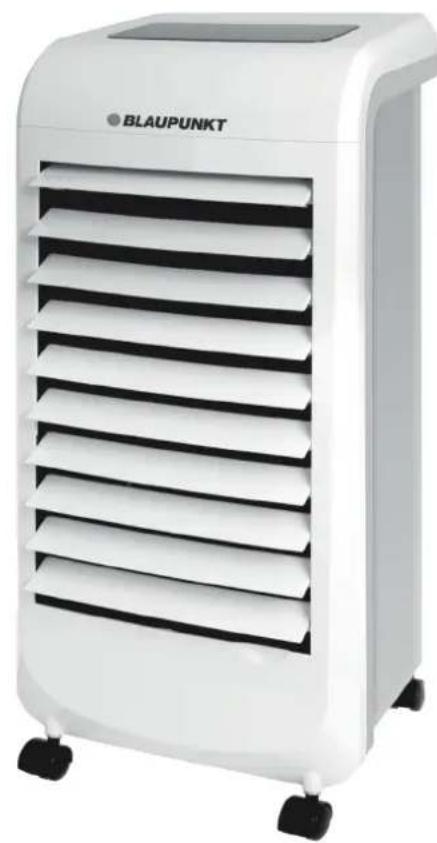
BP2007
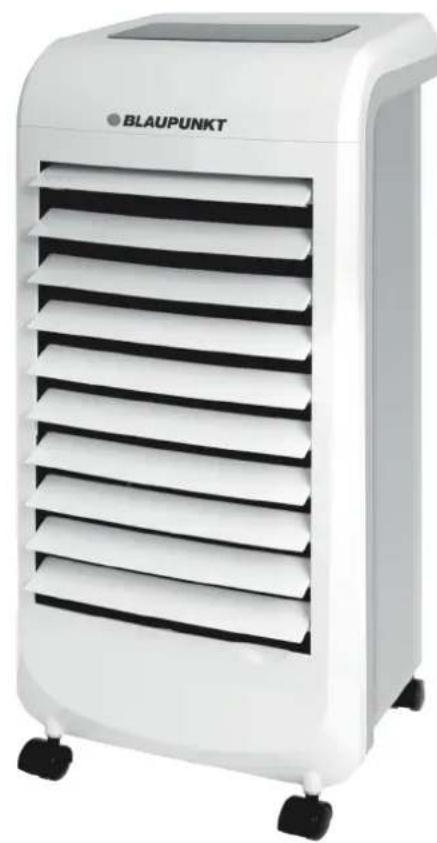
EVAPORATIVE AIR COOLER
INSTRUCTION MANUAL
Enjoy it.
Fig.-1
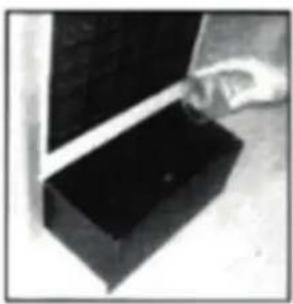
Fig.-2
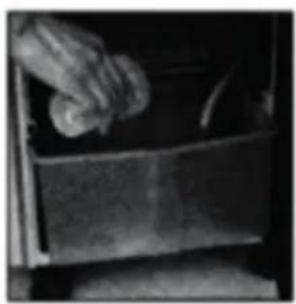
Fig.-3
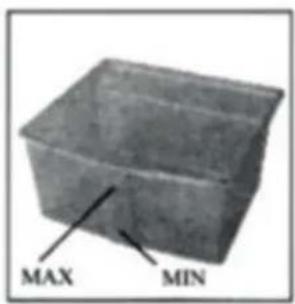
Fig.-4
DECLARATION OF CONFORMITY
Manufacturer's name: RAMSONS, S.A.
INSTRUCTION MANUAL
Enjoy it.
Fig.-1
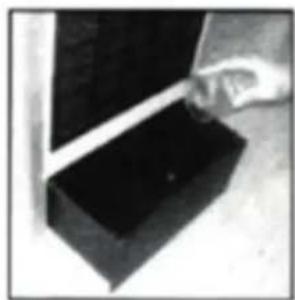
Fig.-2
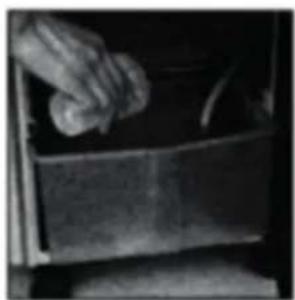
Fig.-3
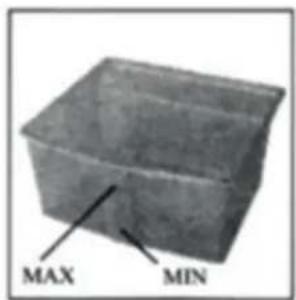
Fig.-4
Name: Vivek Sadhwani

- IMPORTANT SAFEGUARDS
- TECHNICAL SPECIFICATIONS
- OPERATING THE WATER TANK
- USING THE ICE TUBES
- CLEANING AND MAINTENANCE
- GUARANTEE DOCUMENT
- MANUFACTURED IN CHINA FOR BLAUPUNKT
- DECLARATION OF CONFORMITY
- WE DECLARE UNDER OUR RESPONSIBILITY THAT THE PRODUCT
- IT COMPLIES WITH THE EUROPEAN UNION LEGISLATION IN COMPLIANCE WITH THE 2004/108/EU GUIDELINES
- INFORMATION ON RECYCLING
- BP
Brand : BLAUPUNKT
Model : BP2007
Category : Fan